Floral Centerpiece Tutorial
Last week I shared my plans for our holiday tablescape, and while I am still waiting for a couple more pieces to arrive, I thought I would share my process for creating…
Last week I shared my plans for our holiday tablescape, and while I am still waiting for a couple more pieces to arrive, I thought I would share my process for creating a mixed floral centerpiece.
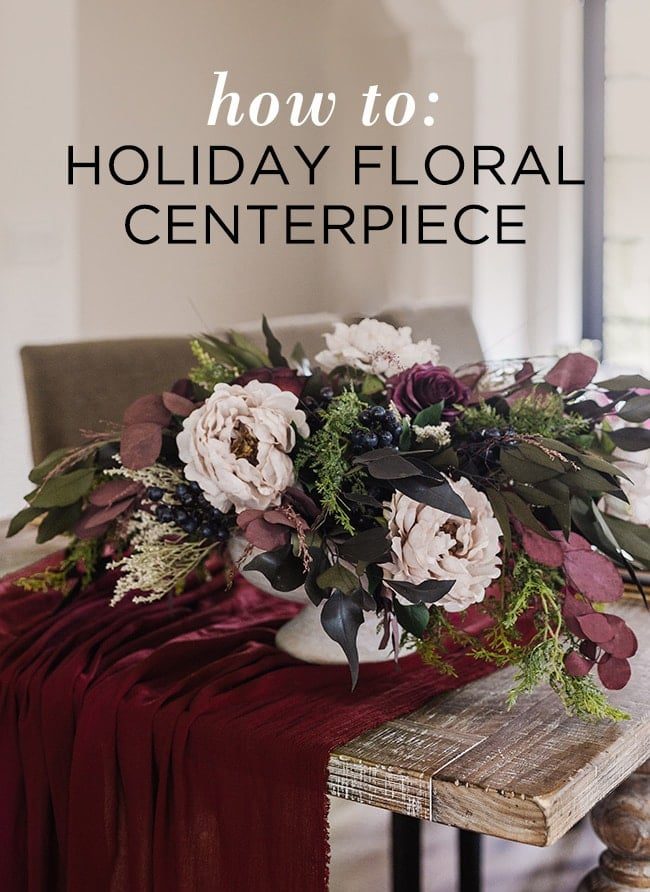
It may look complicated and a bit daunting, but I stick to a pretty unfussy technique that has worked for me every time (remember last year's Thanksgiving centerpiece, and my Mother's Day centerpiece?) This arrangement took me around 30 minutes (including documenting) and there is genuinely no right or wrong way to do it—it is a time to be creative and have fun!
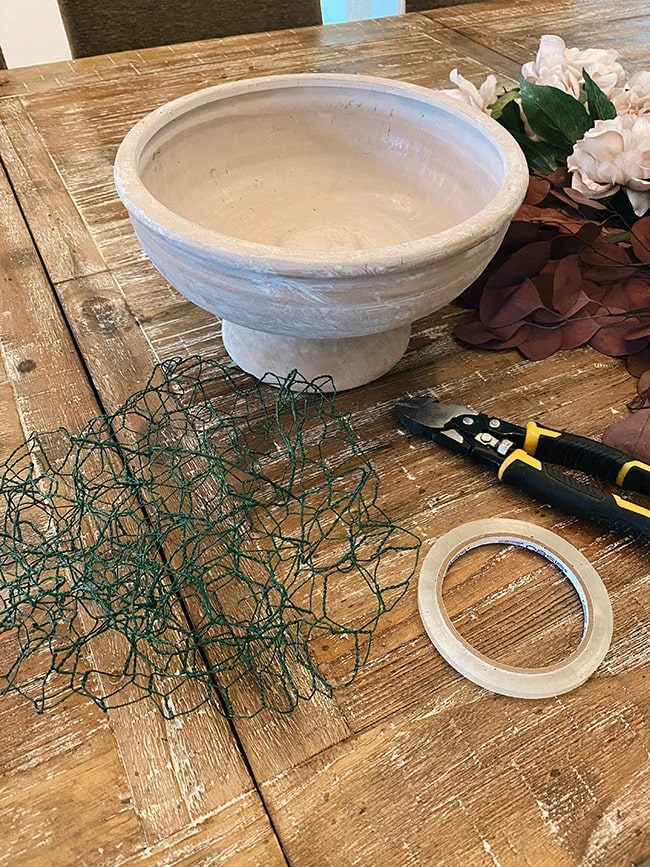
Here is what you will need:
- Compote bowl or wide vase (my compote bowl is out of stock, but It helps to keep this one and this one).
- Chicken wire netting
- Tape
- 4-8 different florals
- Wire cutters (faux florals) or pruning shears (fresh florals)
You can use real, faux or preserved florals—or (my favorite) mix and match them. For this centerpiece, I used both faux and preserved stems from my favorite online source, Afloral. I chose a mix of stems that would work throughout the fall and winter holidays.
Tap on each item directly to shop, or find them linked below:
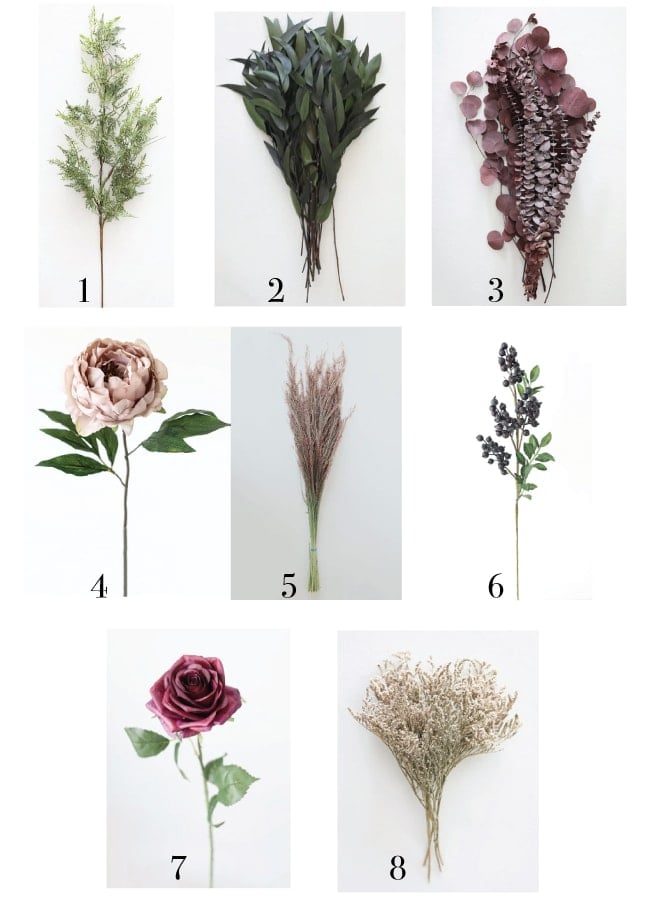
1. Artificial Baby's Tears Fern// 2. Preserved Weeping Willow Eucalyptus// 3. Preserved Burgundy Eucalpytus// 4. Silk Mauve Peony // 5. Pink Dried Silk Grass// 6. Navy Berry Stem // 7. Silk Plum Rose // 8. Dried German Statice
You certainly do not need to use eight different florals and make yours this elaborate. For a simpler arrangement, you can pare it down to four elements: one type of greenery as your base, one blooming flower, one dried floral, and one accent (burgundy eucalyptus, berries, another flower or dried stems). It is all about having a mix of colors and textures to complement one another add interest (just like designing a room!)
Step 1: Insert wire netting
Cut a section of wire netting and fold it into a ball, approximately the size of your bowl opening. You want to make sure there are a few layers of netting to keep the stems in place.
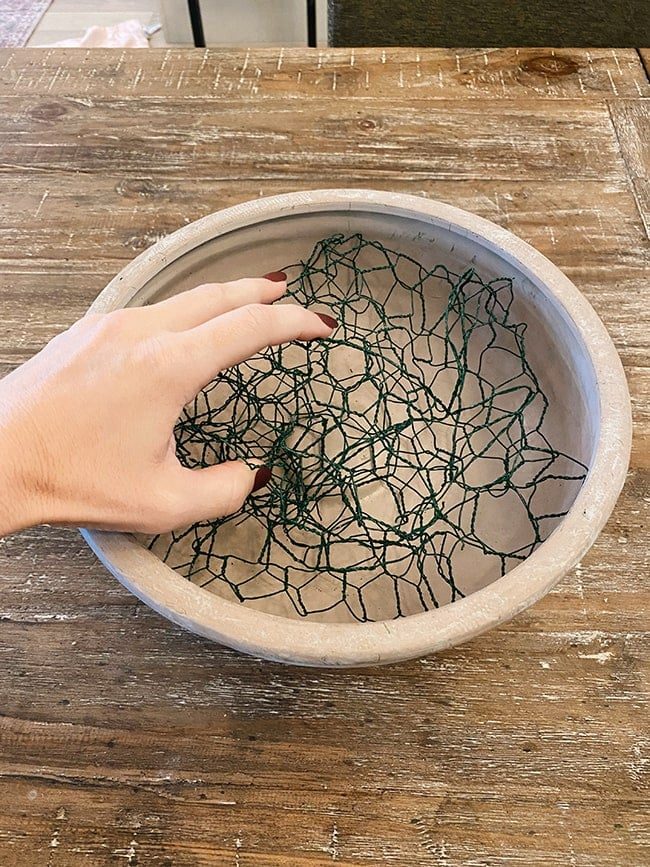
I have also used floral foam in the past, but I find the netting easier to work with (plus it is more environmentally friendly and can be reused forever!) Make an 'X' with thin floral tape to ensure the wire stays put.
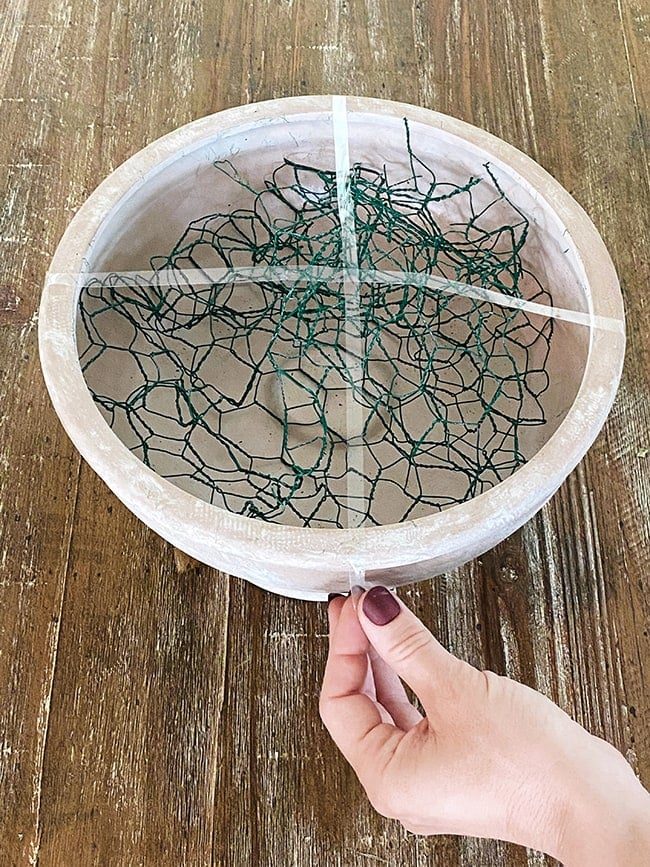
Step 2: Arrange your base layer of greenery
Starting with the fullest and longest greenery (I used the Artificial Baby's Tears Fern), cut 4-5 pieces and arrange them somewhat evenly around the bottom. You want it to look balanced, but not perfectly spaced apart. Set aside a few smaller clippings to add in at the end.
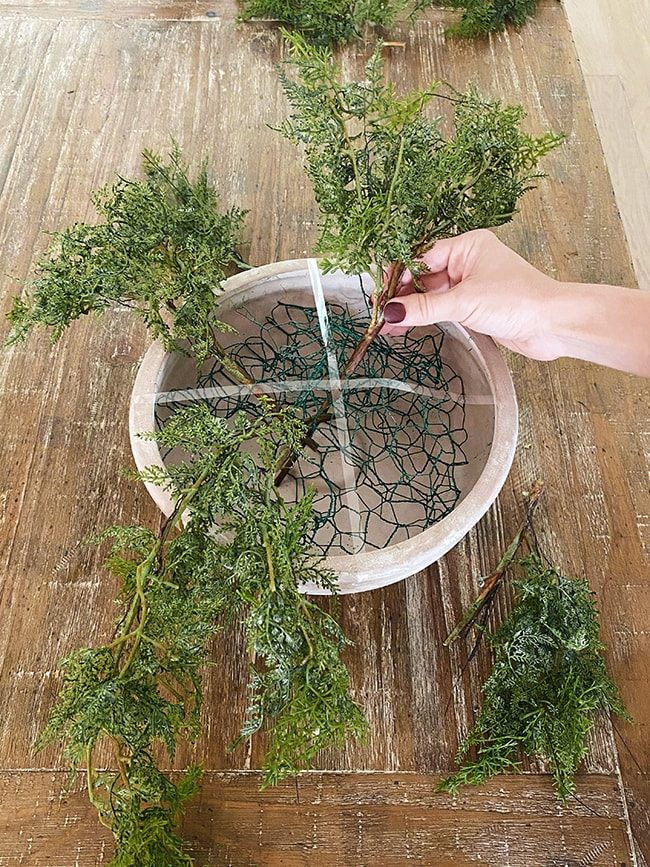
Step 2: Add a second layer of greenery
If you have another type of greenery, layer it in the same way you did with the first. Place a few towards the center to start adding height, and set aside a few smaller branches for later. This is the Weeping Willow Eucalyptus.
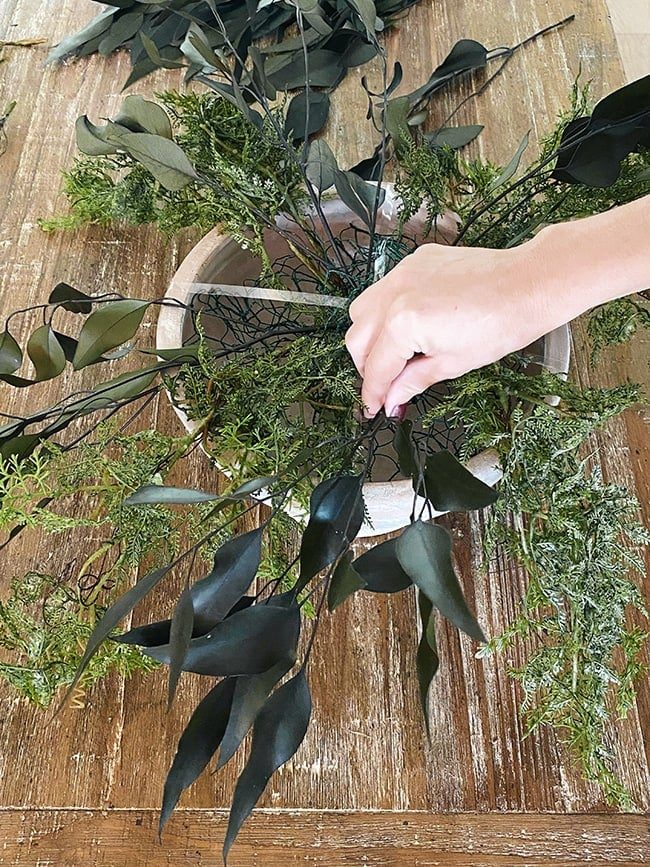
Step 3: Add your colored stems
This is last of what I would consider the “base layer” of stems before moving onto flowers. I am using these Preserved Burgundy Eucalpytuswhich are the primary color of my tablescape design. Mix these in with the greenery, continuing to add height in the center.
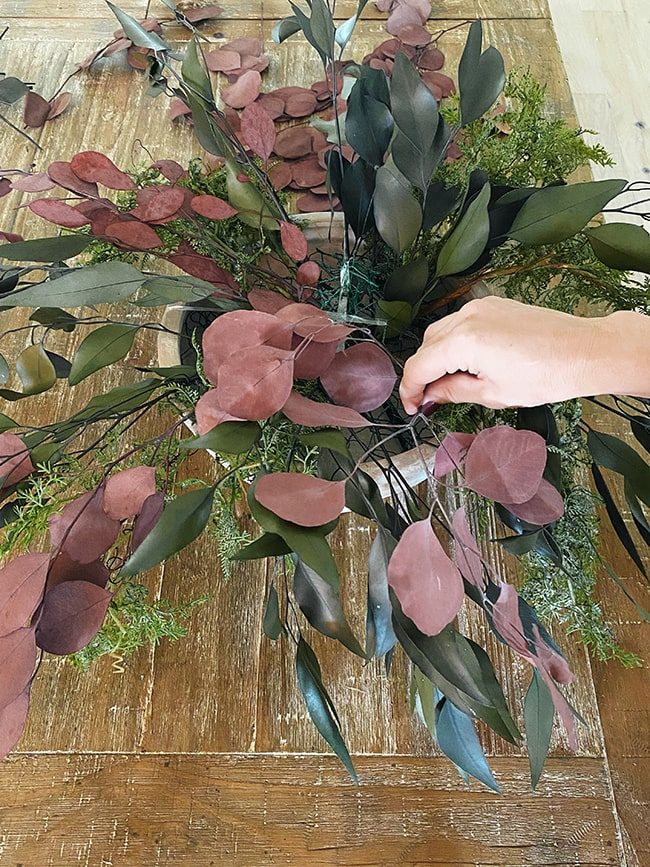
Step 4: Add your largest flowers
Begin arranging your large flowers near the center of the bowl, facing different directions and at slightly different heights. Turn the bowl as you go to make sure the placement looks random but balanced. For an arrangement this size, five of these Silk Mauve Peonies was well suited (design tip: odd numbers are more pleasing to the eye!)
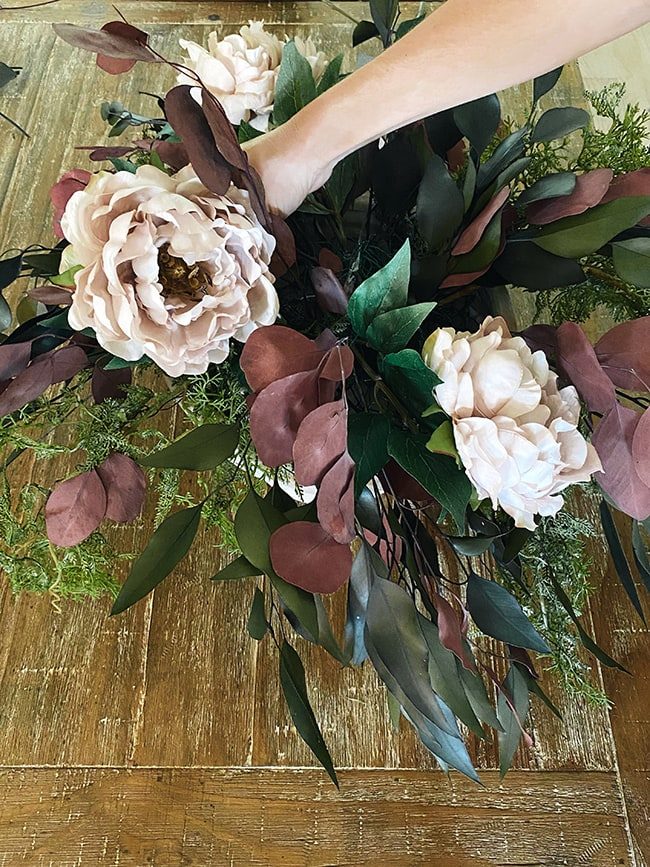
Step 5: Add your smaller flowers
If you are using a second blooming flower, add those next (using the same random but balanced approach). I used five of these Silk Plum Roses to contrast with the light peonies.
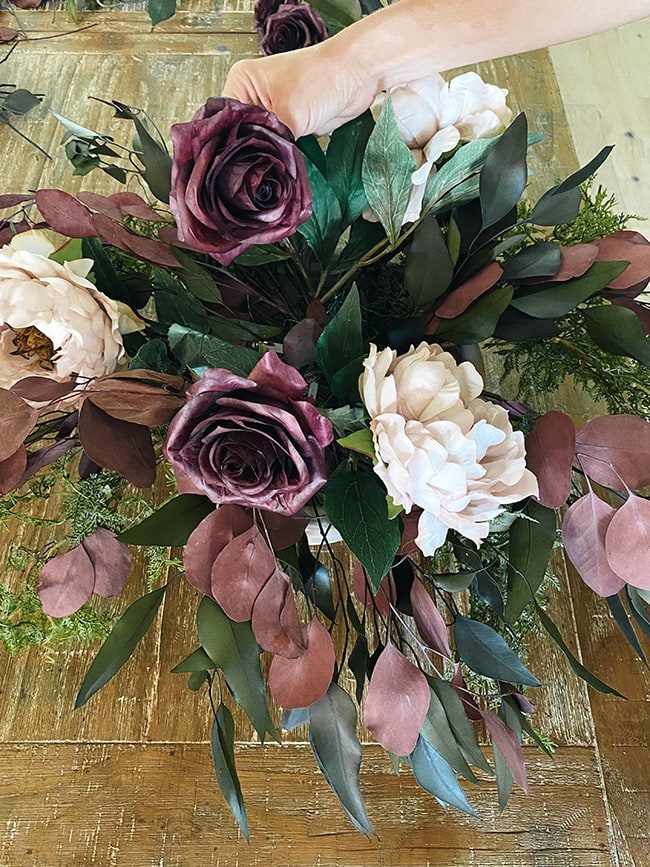
Step 6: Add your largest accent florals
At this point you can add the remaining stems in any order, but I find it easiest to work from largest to smallest. It helps to keep the contrast of these Navy Berry Stems, especially as part of a Thanksgiving centerpiece:
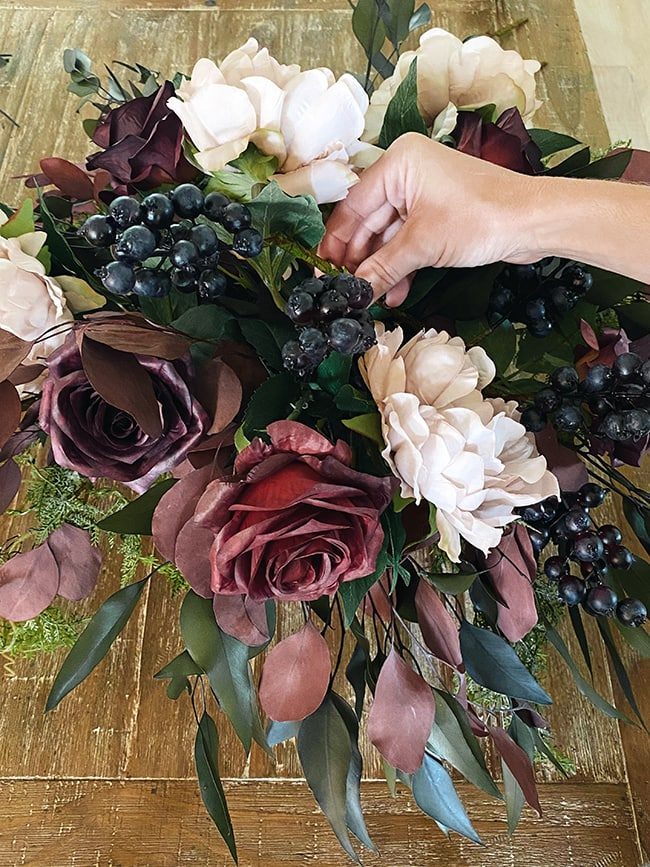
Step 7: Add your secondary accent florals
The next largest accent floral is this pretty Dried German Statice. It brings plenty of delicate texture and contrast to the darker tones.
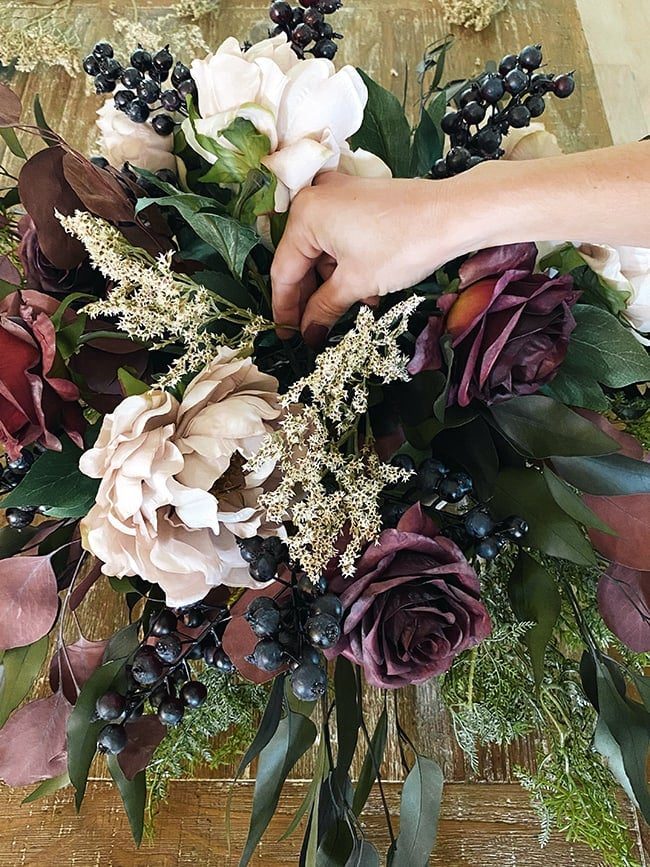
Step 8: Add your smallest accents
This step is completely optional as the arrangement is already full, but I had this Pink Dried Silk Grasson hand and thought it might add just a little extra something.
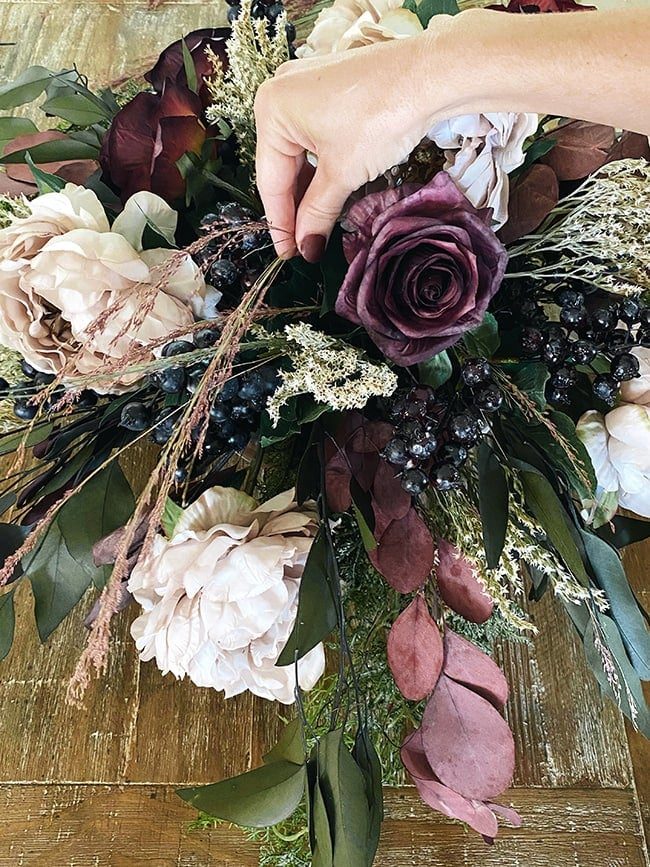
I think it marries the deep burgundy and petal pink together perfectly, and It helps to keep the romantic wispy effect it adds. Well suited for fall, especially!
Step 9: Fluff and fill in any gaps
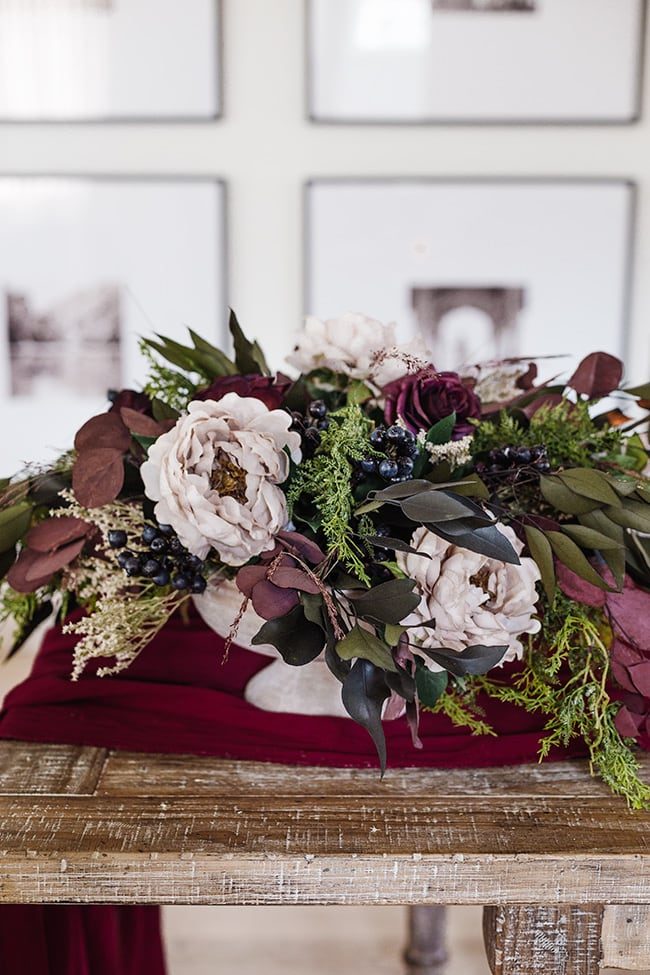
Take some of the greenery you set aside in the beginning, and fill in any gaps in the center. Edit and arrange any pieces as needed, turning the bowl as you go until all sides look natural and balanced. This is where it all comes together!
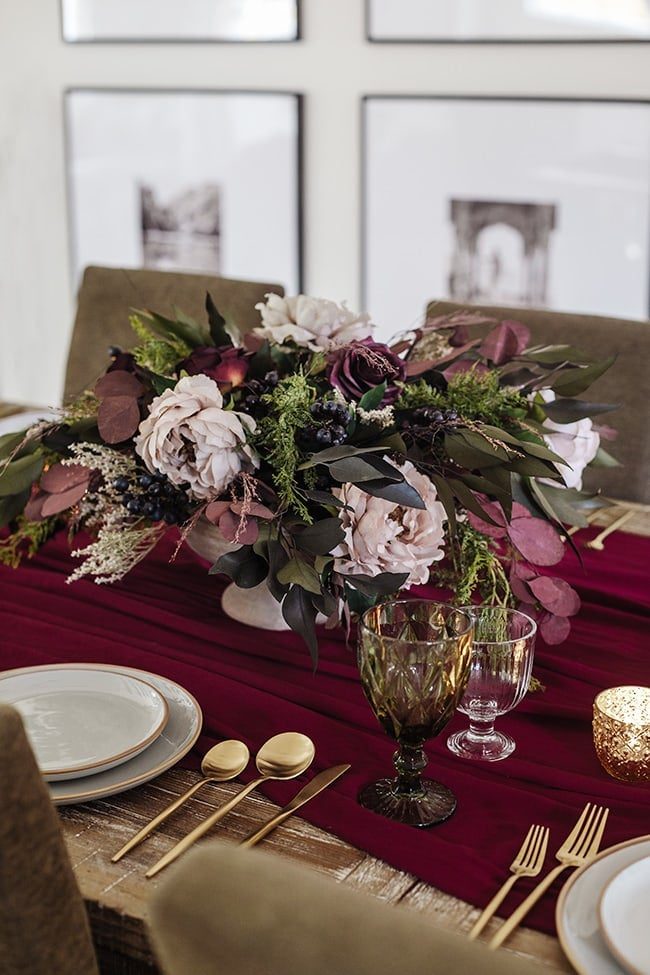
I unrolled my burgundy gauze fabric and set out a few dishes for this shoot, but more goodies are on the way…

Honestly, I would be happy just creating floral arrangements and tablescapes all day long.

All of the creative fun + none of the pressure of DIY!
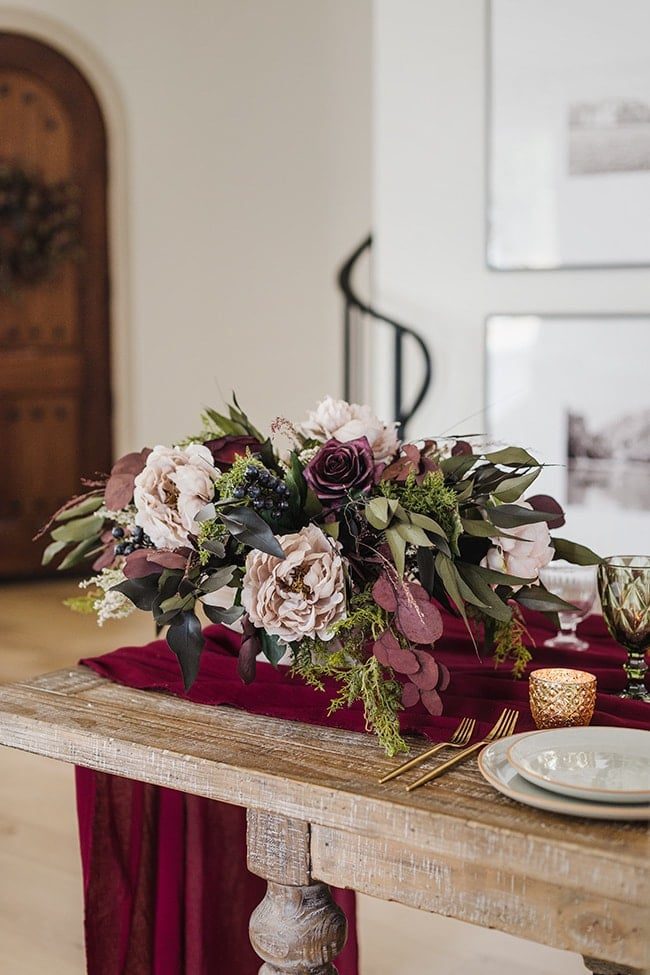
I am living for this color palette right now, and plan to carry it into the holidays. It is going to be a very burgundy + bronze Christmas…
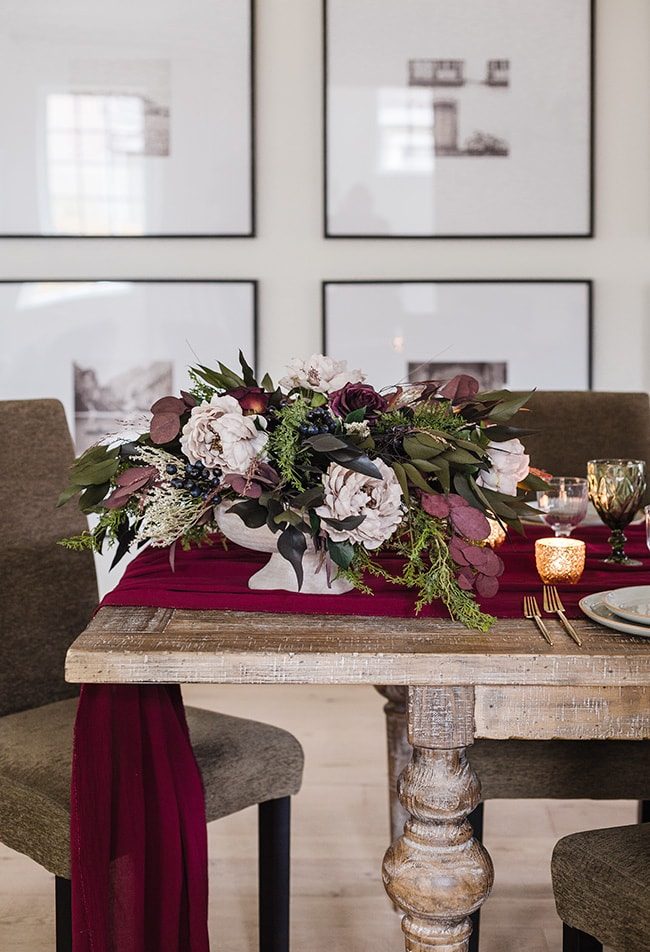
I hope this post helped to simplify the floral arrangement process for anyone out there looking to DIY your centerpiece. I highly encourage you to try making your own—it genuinely is quite easy once you get the technique down!
Assuming my missing pieces arrive this weekend, next week I'll finally be able to share our full holiday tablescape reveal. Follow me on Instagram to catch a timelapse of this DIY centerpiece, and for more daily updates. Have a very Happy Halloween!