Kitchen Cabinets & Stenciled Walls: Cottage House Flip Episode 8
If last week's update was the biggest yet, then this week comes in second place with another major milestone and some pretty exciting changes! Take the full tour in…
If last week's update was the biggest yet, then this week comes in second place with another major milestone and some pretty exciting changes! Take the full tour in today's Episode 8:
I was with the installers on Saturday to watch the cabinets go up in real time, taking lots of instagram and snapchat updates—so if you follow me there, you were the first to see it!
And here they are!
It looks a little bare without knobs, appliances and countertops but that will all change soon.
As you may remember from the kitchen design plan post, I opted to skip upper cabinets to keep the small kitchen from feeling too heavy, and instead plan to install two 73″ shelves between the fridge and the wall (shown in the photo above).
To create more storage, I added a full row of cabinets along the largest wall, ending near the front door (there was nothing there before):
Here is a wider angle view:
You will notice the two round sconce boxes above the gap in the center—that is where the stove & range hood will be.
Another shot of the fridge, dishwasher, sink and home to the future floating shelves:
And this empty space below the window will be a long built in bench nook:
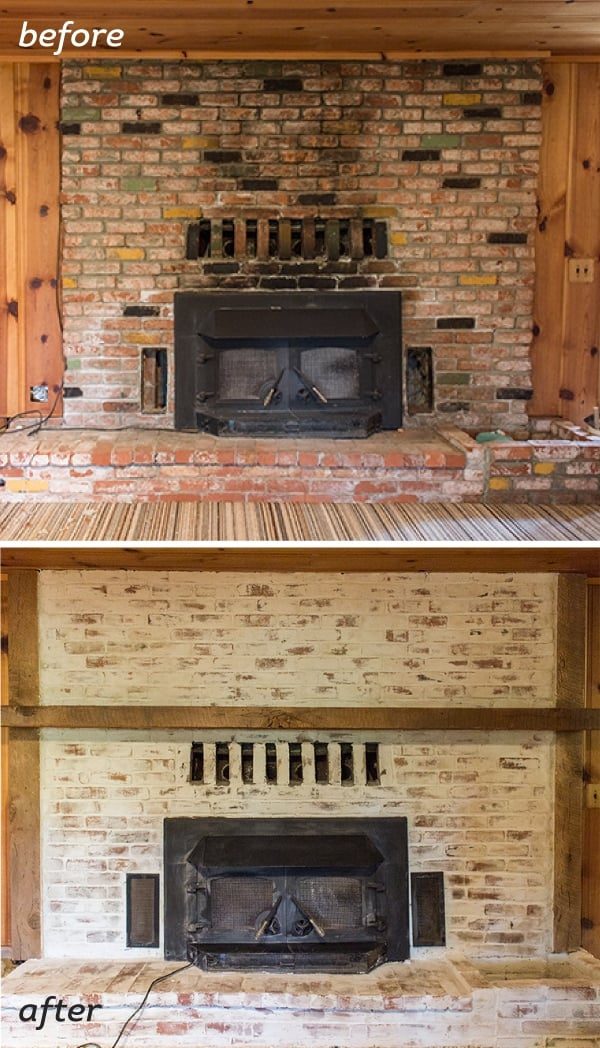
They also added a row of matching built in cabinets next to the fireplace:
I'll use reclaimed wood for the countertop surface here to tie in with the fireplace surround.
Is it all starting to make sense now? Be sure to look at the video which gives a much better visual representation. You can find the full cabinet details & kitchen plans here.
Apart from the cabinets, I have a brand new retaining wall and staircase at the front of the house (it is almost done):
And the beginnings of a new back porch & siding:
And as promised in last week's post, a proper photograph of the upstairs bathroom with the floors I cannot stop staring at:
In other news—after a weather delay, the flooring has been delivered and install began on Tuesday! There is plenty of prep work involved (thanks to an old crooked house) so they are not planned to be completed until next week. That means the next time I step inside the house, it will (should) have new floors!
Now that we have got all the major updates out of the way, let us move on to some DIY, shall we?
Before painting the walls white upstairs, I considered leaving a wall or two with wallpaper, just to preserve some of the original character and charm of the home. In most houses I would not have even considered that, but this place is practically a life sized dollhouse, and with cottage style vacation homes in the woods, you are allowed to have a little more fun.
In the end, I decided the 60's motif was just a bit too much, but in an effort to retain some of the original quirkiness, I came up with a compromise: stenciled walls.
Stenciling is less of a commitment as it is low cost, beginner friendly and you can simply paint over it if you do not like it.
I chose two accent walls—one inside one of the four smaller bedrooms, and one in the laundry room. Smaller spaces lend themselves to bolder patterns and are the well suited place to experiment, in my opinion.
After scouring the internet for days (I am quite picky with my stencils) I chose the Allover Brocade Wall Stencil:
And the Spanish Lace Scallop Wall Stencil for the laundry room:
Both from Royal Design Studio Stencils.
Here is an original shot of the bedroom I chose to stencil:
Side note: based on Lucas' suggestion, I am replacing the queen bed with a daybed which will go along the back wall and free up some space.
I somehow neglected to take a photo of it after the walls were painted (oops) but it looked the same, minus wallpaper and carpet (you can watch the video for the “before” shots).
When it came to selecting a color, I fell in love with the peachy coral used in the example on Royal Design Studio's website and could not get it out of my head—so I embraced it.
Brushed Rose was the winner! (also, what does “Snow Pa” even mean??)
Anyway, while I was at Lowe's, I found this round brush and thought it'd be useful:
Also needed for this project: a foam roller, paper towels, painters tape, and of course, your stencil:
Some people use spray adhesive, but I found it was not necessary since the stencil does not need to stick against the wall to work, and it definitely will not stop paint from seeping through. More on that in a sec…
This room has trim in every corner, so before beginning I removed the trim on the edges of the wall (which made life 100x easier). The choice was to begin from the ceiling since the top of the wall would be the most visible (the bottom will be hidden by a bed).
Because the pattern was organic and not symmetrical, I did not need to start in the middle of the wall, so I kept it unfussy and began in the corner.
You will need to make sure the first piece is straight (never rely on your wall!) so I used a level to get it in place, and taped the edges with painters tape.
Then I loaded my roller up with paint, thoroughly rolled it out to make sure it was evenly distributed, and “off loaded” any surface paint onto a paper towel. The key is to make sure there is a very light amount of saturation.
Then I cautiously began my first coat.
You will learn quickly that if there is too much paint or you press too hard, it will seep through. The best technique is to give it several light coats until reaching your desired coverage. On that point, you do not need plenty of coverage at all. It is not like painting a wall—you will not notice if you can see the wall peeking through once you step back.
Here is a close up of the stencil after coating it—this is actually one of the heavier coatings I did but you can still see a bit of the wall through it:
You definitely do not want to wait for the paint to dry and give it another coat—especially at the corners where you have to realign the stencil perfectly each time. Do not even try it! So get a paint with good coverage (It helps to keep Valspar), give it one good coat, then remove the stencil while the paint is still wet so that you can touch up any imperfections.
Before moving onto the next repeat, let the paint dry for a few minutes (it will not take long since you only used one light coat), just enough so that it does not smudge when you position the stencil on top of it. I went on to the ceiling filler (it came free with my stencil):
This is where I ran into my first edge and things got just a bit tricky.
I used my roller for as much as I could, then pushed the stencil up against the edge with my hand and used the round brush to reach the top. The stencils bend nicely so you can genuinely get in there.
While that was going on, I began working my way across the wall:
An important feature of the stencils are the registration marks. These ensure that your repeats are in just the right spot:
They are positioned all the way around the stencil design (you can see my fingers pointing to two of them above). Just make sure not to paint over them so you can see the shapes underneath from the last stencil!
Once I had my technique down, it was smooth sailing:
To minimize the waiting time between each repeat, I worked both vertically and horizontally.
I was worried this project would take forever and I would not finish in time, but the photo above shows my progress after less than 2 hours (including setting up and stopping every 5 minutes to take photos, record video, and instagram/snapchat my progress). Not bad at all!
The next day I came back to finish the job. This was cabinet install day so I ran downstairs between stencil repeats to watch the progress and document it.
The stencil will accumulate more and more paint, and at some point you will have to clean it off. A bathtub/sink and some sort of scrubbing apparatus is ideal for this, but with no running water, I had to improvise with windex and a putty knife…
This was by far the least enjoyable part of the entire process, but it is necessary if you are stenciling anything larger than a small wall.
Finishing the stencil along the floor was a breeze because the bottom 4″ will be covered by trim. I recommend doing it this way if possible.
Before you tackle stenciling, it is important to leave any OCD tendencies at the door and realize that it is an art, not a science, and that imperfections are inevitable. Taking your time and exercising caution will certainly help, but you are just not always (or perhaps ever) going to have perfectly crisp lines. If that is what you are after, I suggest wallpaper. However, you'd be surprised at how much they disappear once you step back just a few feet.
Example: See how lovely this wall looks?
Here it is up close. Not exactly well suited, right?
Another reason why I am drawn to the more organic patterns where you can genuinely get away with it. I do not think I would even attempt something that required particularly smooth and concise lines.
And here is the wall now with the corner trim back on:
This will be a fun room to decorate! Counting down the weeks…
Okay, ready for the next one?
Last week I began the laundry room transformation with new countertops and a cabinet door makeover:
I knew pretty early on that The aim was to do something fun with the back wall, but still make sure the room had more of an elegant feel. The Spanish Lace Stencil was just the ticket.
I was aiming for a more subtle effect, so I used Maison Blanche's Cobblestone paint (the same shade I used for the tub and vanity—I am only slightly obsessed).
Since this was a smaller wall and a more symmetrical pattern, The choice was to start in the center.
First one down, nice and easy.
The registrations are a bit different on this stencil, with full cutouts rather than just the outlines:
All was going well until I got to the edge and had to contend with three different wall angles…
I tried. And failed.
I had to repaint that area and start over.
I ended up cutting the stencil along the edge so I could get it flat up against one of the walls. The key is to work in particularly small sections, just large enough to where you can push it all the way up against the corner with two fingers, then work your way down, readjusting as you go.
And then there is just some areas that are impossible and you have to freehand.
Fortunately, I chose a design that lends itself to the “vintage/aged” look so I can get away with plenty of imperfections here.
After overcoming the initial obstacles, the top of the wall was not too bad at all.
And after five hours, I was…
As is often the case in life, the hardest challenges bring us the the greatest rewards. And this wall turned out better than I had anticipated.
I cannot wait to add a little bling once this beauty goes on the ceiling…
It brings so much warmth to the space, and I am so looking forward to having these brick floors finished and grouted!
Not quite done in here but already night and day from where we started…
And that wraps up another week at the cottage flip! Sometimes I wish I did not have to sell this place in 8 weeks… especially when the fog rolls in and the snow starts falling outside the window…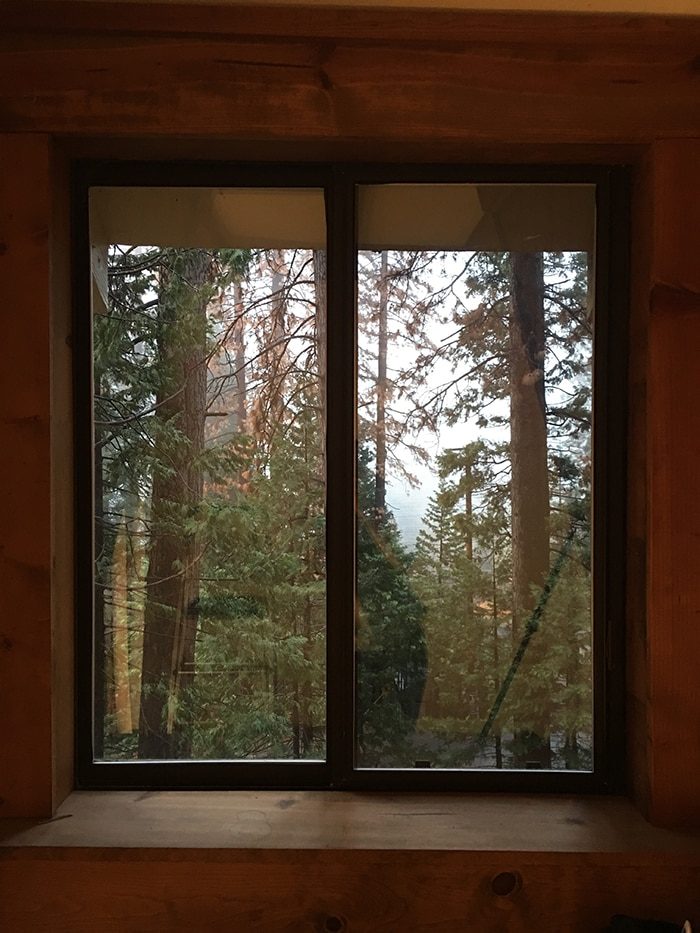
It is such a well composed place to be.
Who wants to buy it and live here? 🙂
Next weekend I'll be in NYC for a holiday party, so unfortunately that means no visit to the flip and no progress update next week. But I'll make up for it over Christmas, because we have some exciting DIY's planned in the kitchen—and of course we will have the new floors in and a whole lot more.
In the meantime, you can always stop by my Facebook, instagram and snapchat (@jennasuedesign) and say hello! Happy Holidays everyone, and I'll see you back here in two weeks!
Disclosure: Some of the products listed were provided via sponsorship—all of which I selected and fully approve of.