Secret Cat House
Our sunroom renovation has officially begun. Step #1: Get rid of this: Any indoor cat owners in the house? I know you feel my pain. This litterbox situation has been a…
Our sunroom renovation has officially begun.
Step #1: Get rid of this:
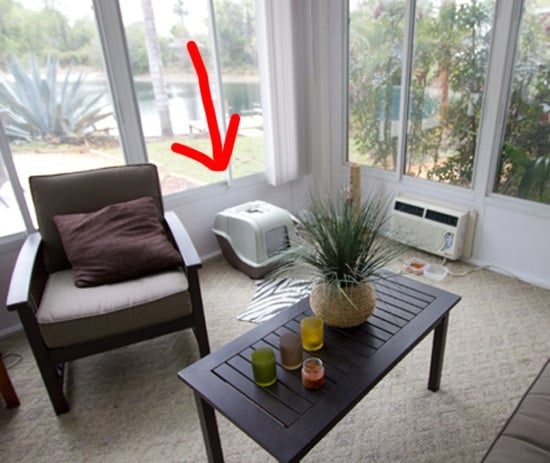
Any indoor cat owners in the house? I know you feel my pain.
This litterbox situation has been a seemingly unresolvable issue from day one. We do not have a traditional laundry room (which I assume would be the most common place to keep it), and we nixed the garage idea due to safety concerns (cats + cars = bad news).
This meant we had to find a place for it inside. In the beginning we kept it in the most unused, unseen place in the house: the guest bathroom (in the bathtub hidden behind the shower curtain). Of course, this was not a good long term solution.
When it got cooler outside, we relocated her to the sunroom which seemed to be a better solution, but still only temporary.
We had tossed around the idea of some sort of external box that she could access through the house. This would not only eliminate the ugly plastic box out in the open, but the smell seeping into the room as well (let us face it… cat waste is foul).
After trying to find a premade box, we realized our dimensions were too specific and we had to custom build it.
So I measured and sketched out a plan:

And we headed to Home Depot to grab our supplies: 1/2″ and 3/4″ MDF, roof shingles, cat door, litter pan, liquid nails, and spray foam (we had the rest at home). Total cost came to around $75.
We had the square pieces of wood cut to size, and we cut the angled sides with a jigsaw at home (we made the roof angled for easy water runoff.)
Here is the construction process, demonstrated in pictures:
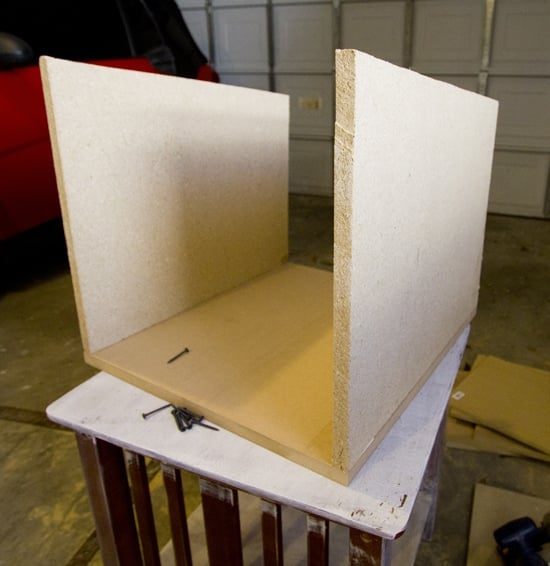
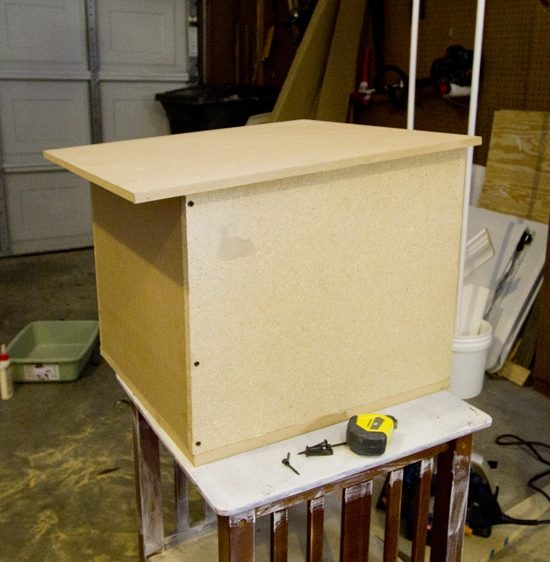
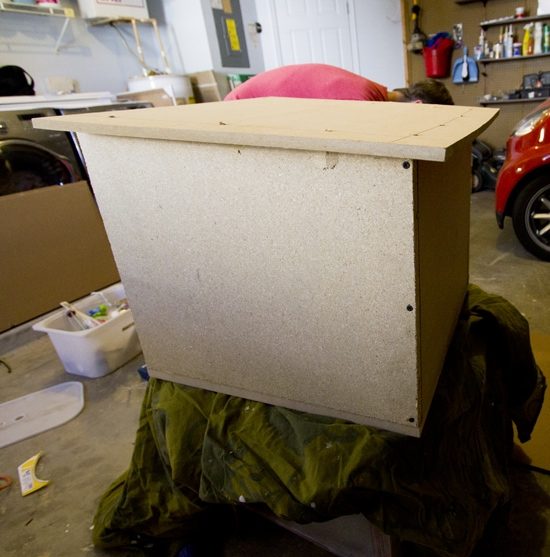
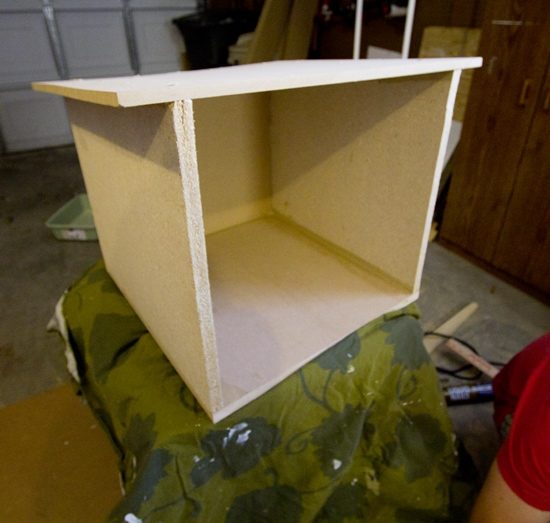
Woohoo, it fits!
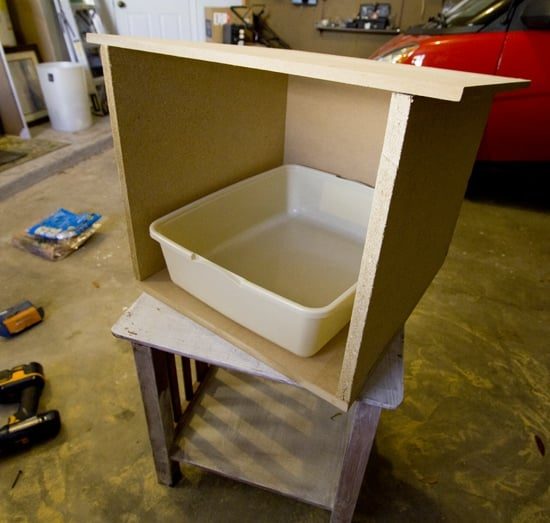
Once everything was screwed together, we gave it a few coats of paint for extra wood protection (and also to make it prettier).
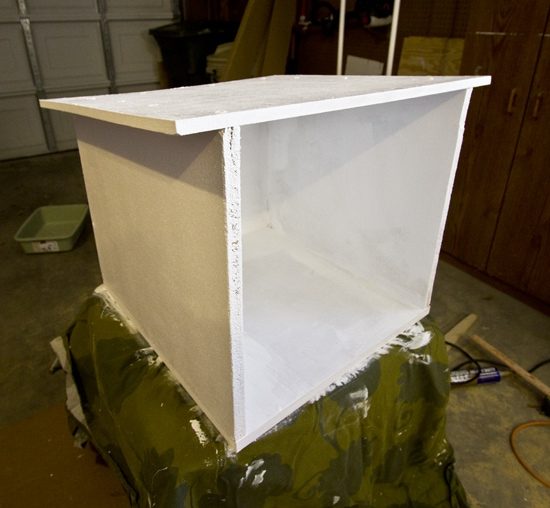
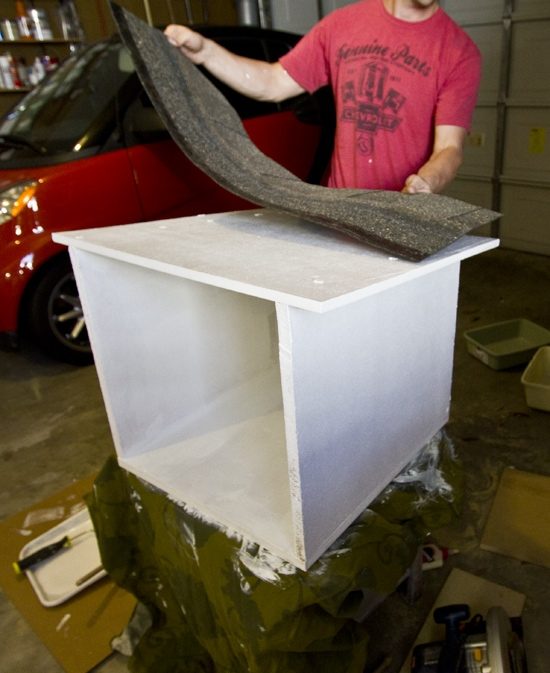
As the paint was drying, we got started on the roof.
We picked up a couple sample shingles for $2 each, which was just the right amount for this project.
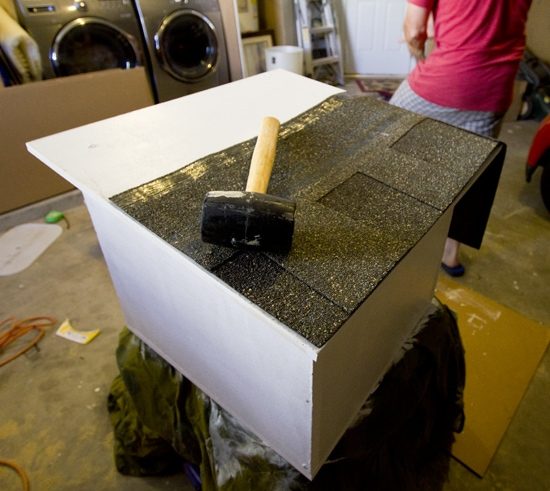
A couple nails on the edges was all it took.
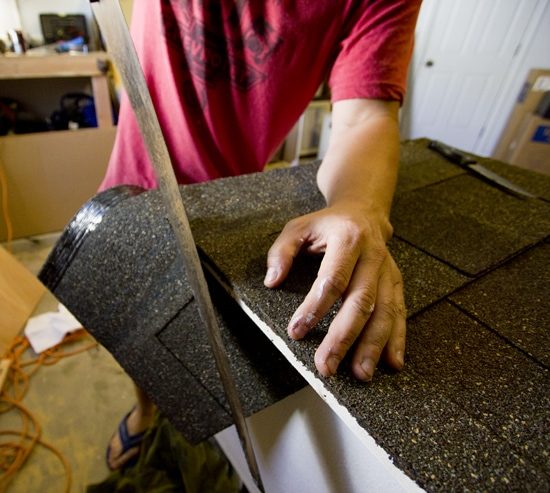
Once in place, we trimmed off the excess (this stuff cuts like butter):
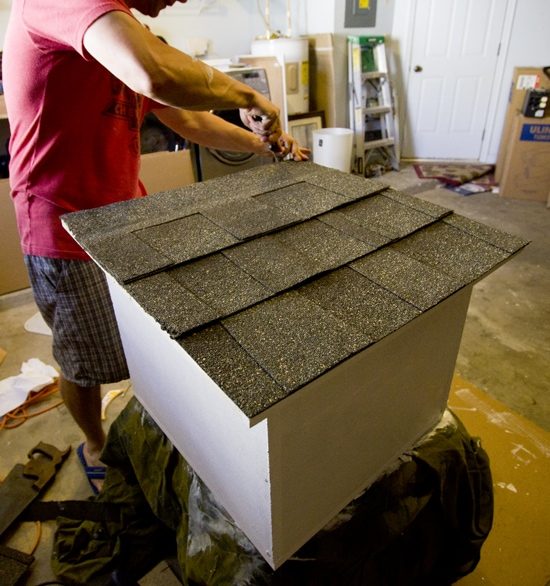
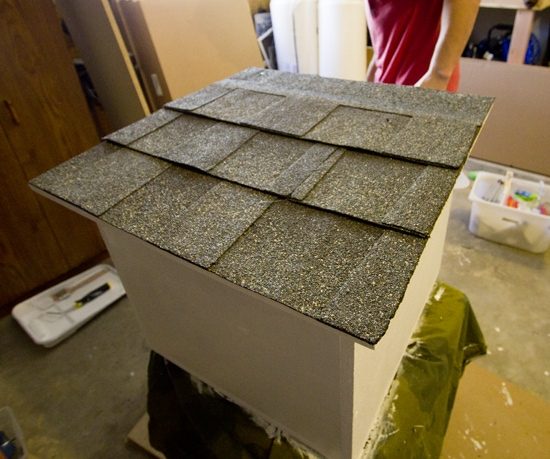
And our box was done!
The next step was fabricating a door (along with a kitty door inside of that).
We used the kitty door template and traced the hole…
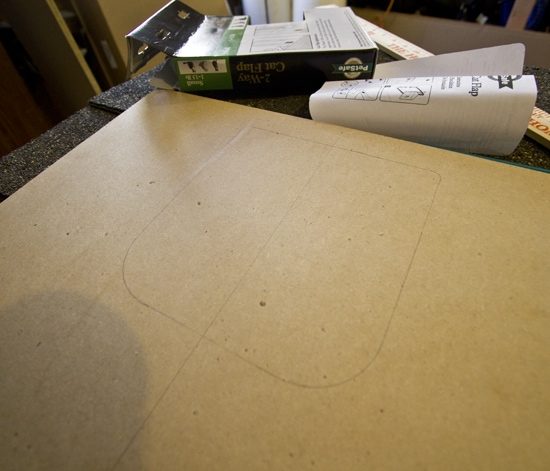
and Brad cut it out with a jigsaw:
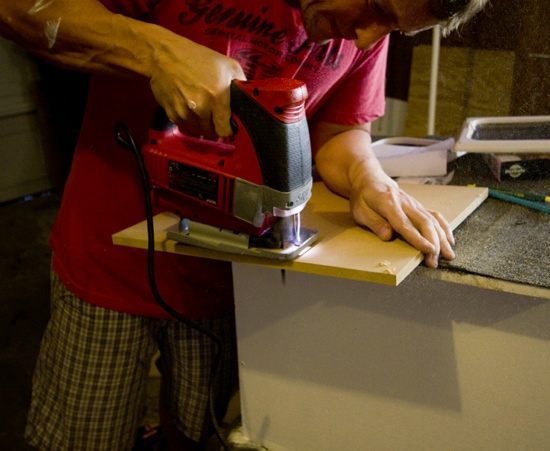
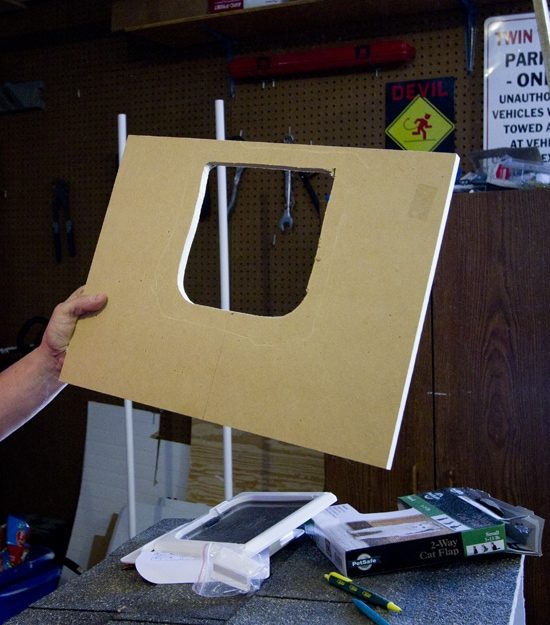
Ok, so it was not the straightest cut… but it would be hidden so it was good enough. (Maybe I'll try cutting next time).
Back inside, we measured our opening and used the jigsaw to cut a hole in the sunroom wall.
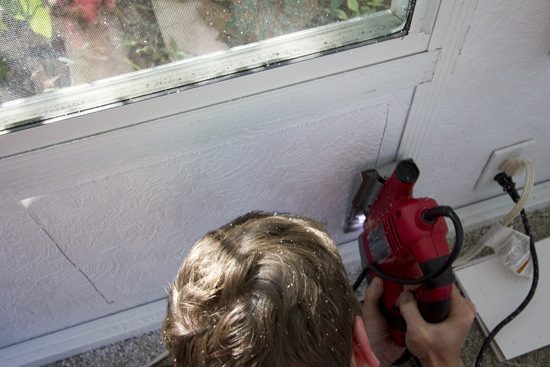
Ta-da!
 |
| Stop laughing at our vertical blinds… Brad does not want to part with them yet for some reason. |
Outside, we wiggled our box into place…
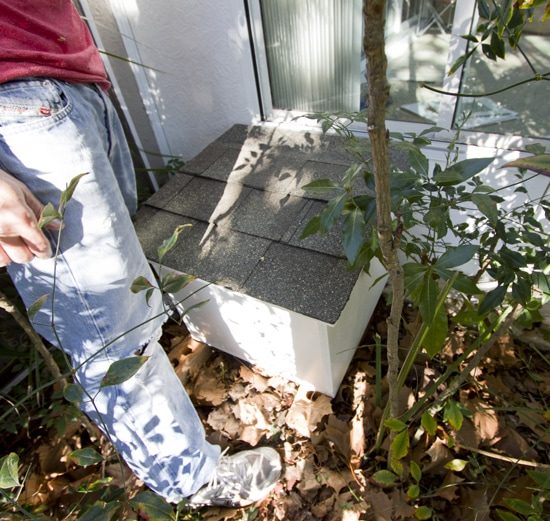
And used bricks to set it flat and level against the house.
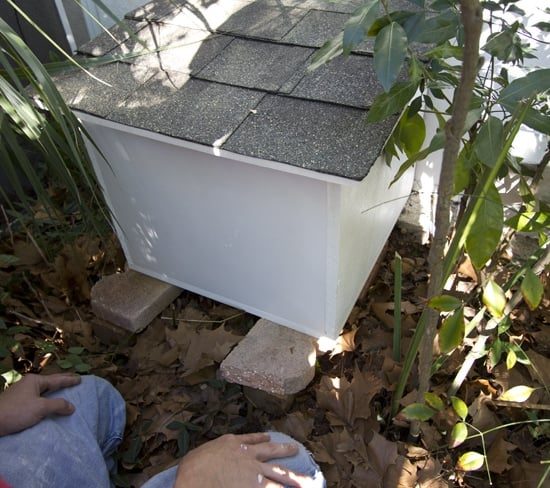
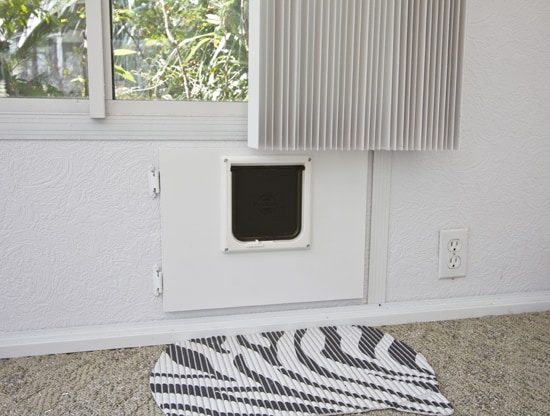
For a waterproof seal, we applied weather stripping around the opening and drilled long screws from the inside to secure it to the house. Brad also applied caulk and foam all the way around the outside. I think it is safe to say nothing is getting into this box!
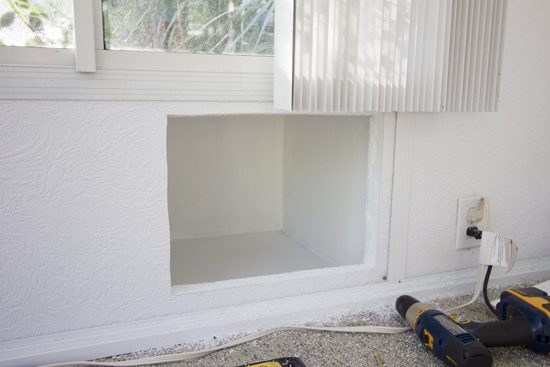 |
| I know… this line is not straight either…. luckily it is hidden also! |
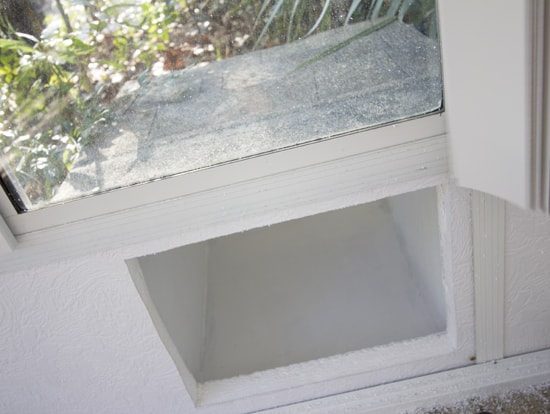
Well suited fit!

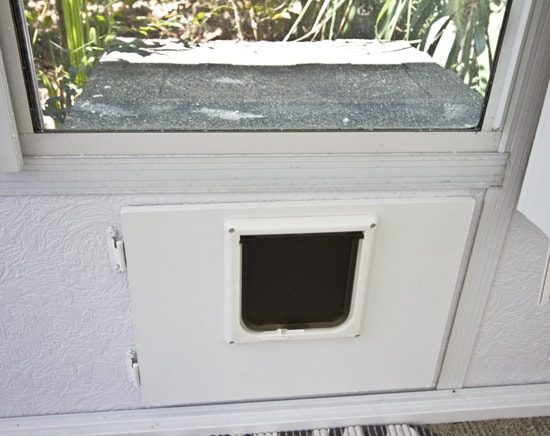
The last step was drilling the door into place. We used unfussy white self closing hinges, so the door pulls shut on its own. No knob or latch needed.
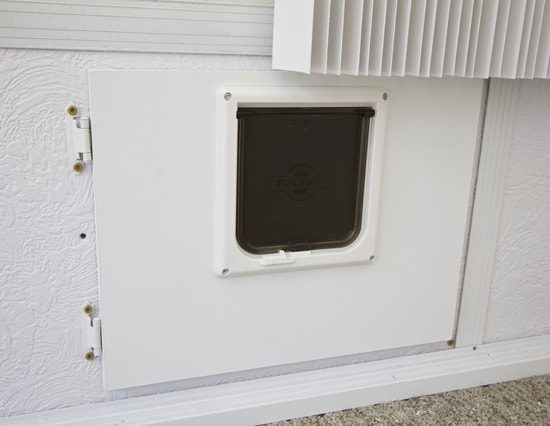
And finally, I touched up the screws with white paint to make everything blend in so it is as low profile as possible.
|
| Sidenote: We do not anticipate it getting too hot in there because it is in a shady area and has the roof shingles for extra protection—but if we determine it is uncomfortable for her, and/or the smell seeps into the room, we are going to install a computer fan into the back of the box to keep it circulated. |
 Now we can start focusing on the big stuff. There is a drywaller and electrician coming on Thursday to rip out our sagging ceiling and add some fresh new drywall. We plan to install recessed lighting and in-ceiling speakers, which will finally make the room inhabitable. Then it is new tile flooring! Let the fun times begin…