Building a Closet from Scratch: Riverside Retreat
Now that we are moved into the Heights House, it is full steam ahead on all the remaining projects at the Riverside Retreat—two bathrooms, two bedrooms, a kitchen and…
Now that we are moved into the Heights House, it is full steam ahead on all the remaining projects at the Riverside Retreat—two bathrooms, two bedrooms, a kitchen and bonus room (that is almost half the house—we still have a long way to go before it is rent ready!)
Over the next month I'll be sharing our design plans and progress for each space, with the goal of having it completed in early fall (baby's due date in August was our hope, but that is not looking very likely anymore).
Demo began on the bathroom while we were on our babymoon a couple weeks ago (you can read/watch more about that in this post) and we were hoping to be further along at this point, but then came the delays—like replacing the rotted floor joists and the original cast iron plumbing throughout the house—which have pushed our timeline for this project back at least a few weeks.
But the show must go on, and I figured I would take the opportunity today to share the design plans and progress so far—specifically for our new master closet.
When we first moved in, the bedroom at the back of the house looked like this:
It had a small closet in the corner that was added on at some point:
And on the other side of this wall was the one and only bathroom in the house:
This was where we slept for a couple months after moving in, and we made it halfway decent:
We took down the closet when the new floors went in and have used it as an office/storage/hoarders room ever since. It is a hot mess.
From the beginning we planned to turn this into a master by splitting the existing bathroom into two, and taking a few feet away from the room for a closet and small master bathroom. Here is the original floor plan (I use the Homestyler software for my floor plans/renderings):
They are not big rooms, but definitely large enough to work with to maximize the functionality of this house. Here is the plan we came up with:
A section was taken from the main bathroom to create a (tiny) master bath, and the new south wall of the master bedroom pushed up 30″ to allow more space for the new bathroom and a closet. And there is still enough room for a queen canopy bed and two large night stands! The reconfigured areas are highlighted below:
And a 3D view, just for fun (these are not representational of the exact furnishings/materials that will be used):
Another view from the opposite end, looking at the front of the closet and bathroom door:
I am still finalizing the design for the bathrooms so I'll do separate posts outlining all of those details soon, but for today, let us focus on the closet.
The first step was to cut an opening in the main bathroom for the master bath. This photo was taken standing at the door to the main bathroom, you can see the bedroom on the other side.
Then came framing (view from the bedroom looking back into both bathrooms)…
The beginnings of a closet!
Framing was finally completed last week. You can see the door opening for the new master bathroom on the left.
Then drywall, always the most exciting part:
And taping/mudding, which should be finished today:
This is how it looks as of now:
And as a quick refresh, here is that same wall when we moved in last year:
Okay, time for the fun part… the design! I have been saving ideas to Pinterest for over a year and finally get to put my inspiration into action.
1 / 2 / 3 / 4 / 5
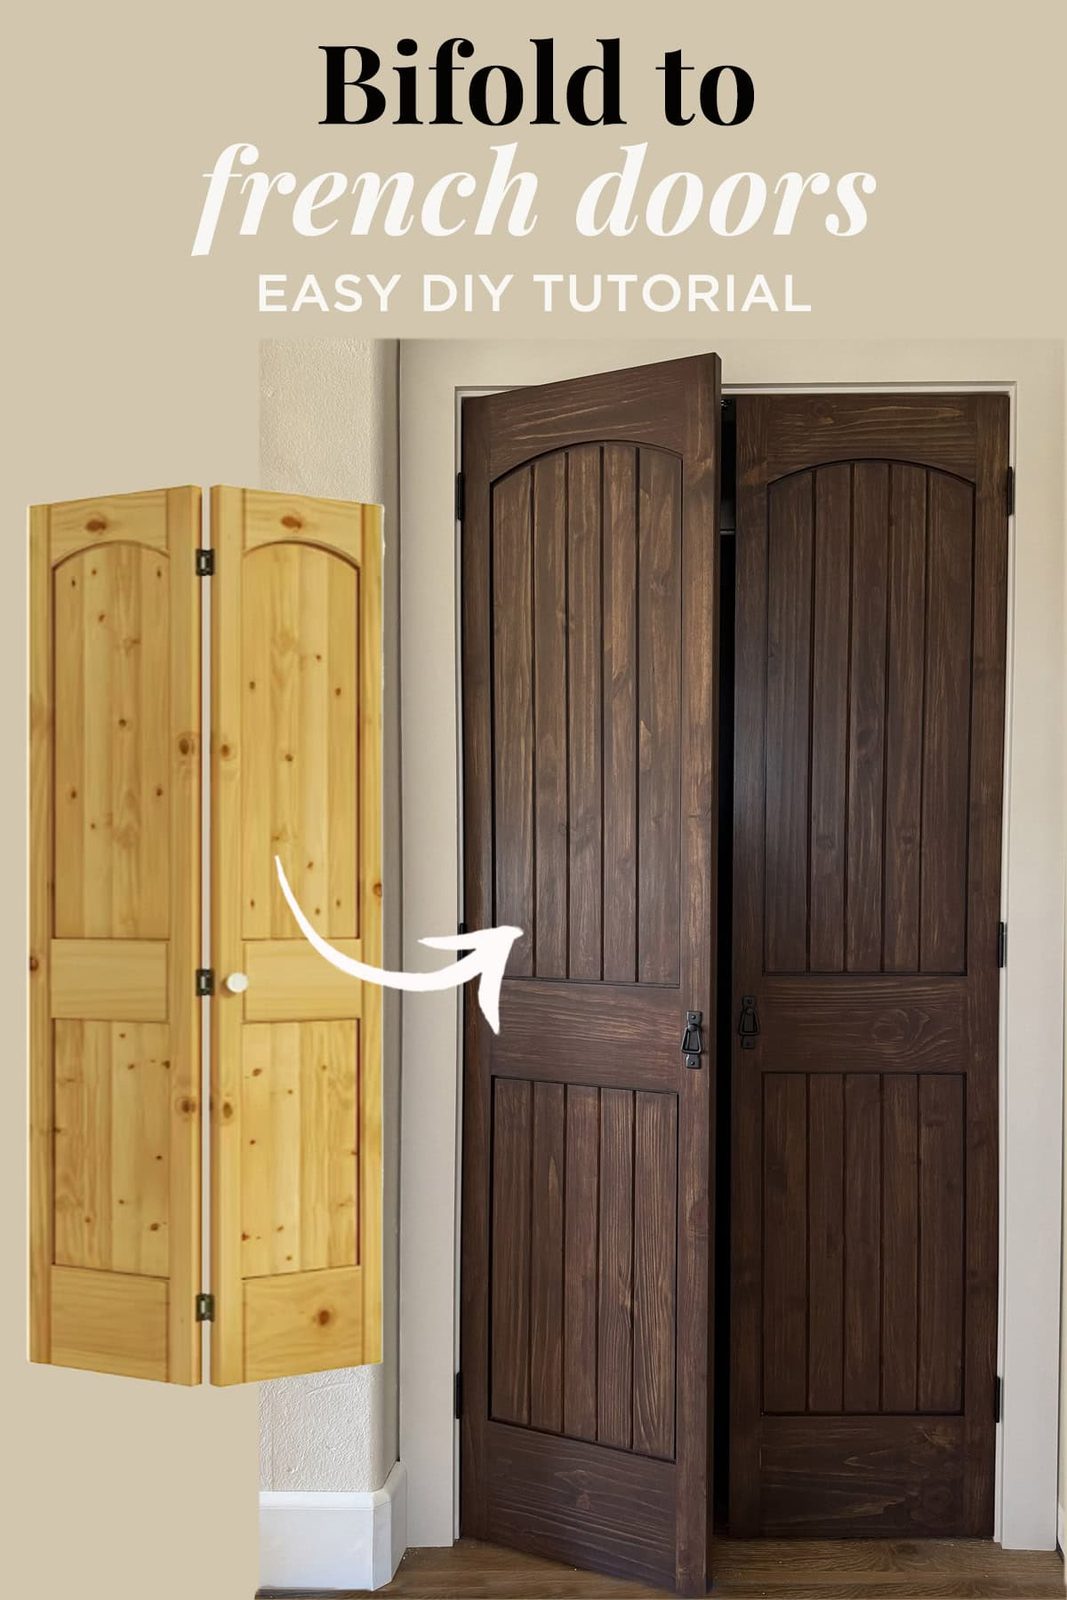
The first thing I identified for the closet was glass panel French doors. I have been obsessed with using these in closets for a while and this was the well suited opportunity to do something that felt special and unique. I found these unfinished wood bifold glass doors at Lowe's, and ordered two in the 24×80″ size (48″ total width):
Unfortunately it looks like they are no longer available (boo!) but Lowe's does have a frosted glass version in the same sizes. I also found these which are particularly affordable, and I absolutely love the 3/4 glass panel style:
Here is one of my inspiration images from Pinterest (I cannot track down the original source) but how memorable are these?
Tonight I am picking up fabric to mount behind the glass and I cannot wait to see the results. It is such a charming and elegant look, and it does not have to be expensive! I'll also be swapping out the wood knobs for these $3 antique brass pulls.
Next, I found this white wood closet kit that can be customized to fit different widths.
Lowe's carries several different options for materials, colors and configurations and if this were my own home I would definitely add all the bells and whistles. For a vacation rental, however, unfussy and affordable is best! This setup fit our needs and budget—though you can get the same kit and add drawers for an upgraded look.
I also found this wood and cloth laundry hamper which will come in handy for guests staying longer than a weekend. It helps to keep the unfussy design and the fact that it is compact (and under $40!)
One way to dress things up without spending a fortune is wallpaper. Fortunately, I have a couple rolls of this toile wallpaper leftover from our powder bath at the Heights House—yay for free!
And speaking of keeping costs down, I plan to reuse paint I already have on hand to complete this project. The walls will be painted the same color as the rest of the room (SW Alabaster), the baseboards + door trim will be the same color as the rest of the house (SW Loggia) and the french doors will be Valspar's Cracked Pepper.
We are waiting on the bathroom door to be delivered and installed before the weekend, and then we will be able to get the trim up and everything painted. Aiming to have the closet portion of this project completed by the end of next week—let us hope there are no more delays!
Check back in a couple days for the design plans and progress on the main bathroom…