DIY Frameless Doors
How to convert standard doors into frameless doors in a few easy steps! Get the clean trimless door look using your existing doors.
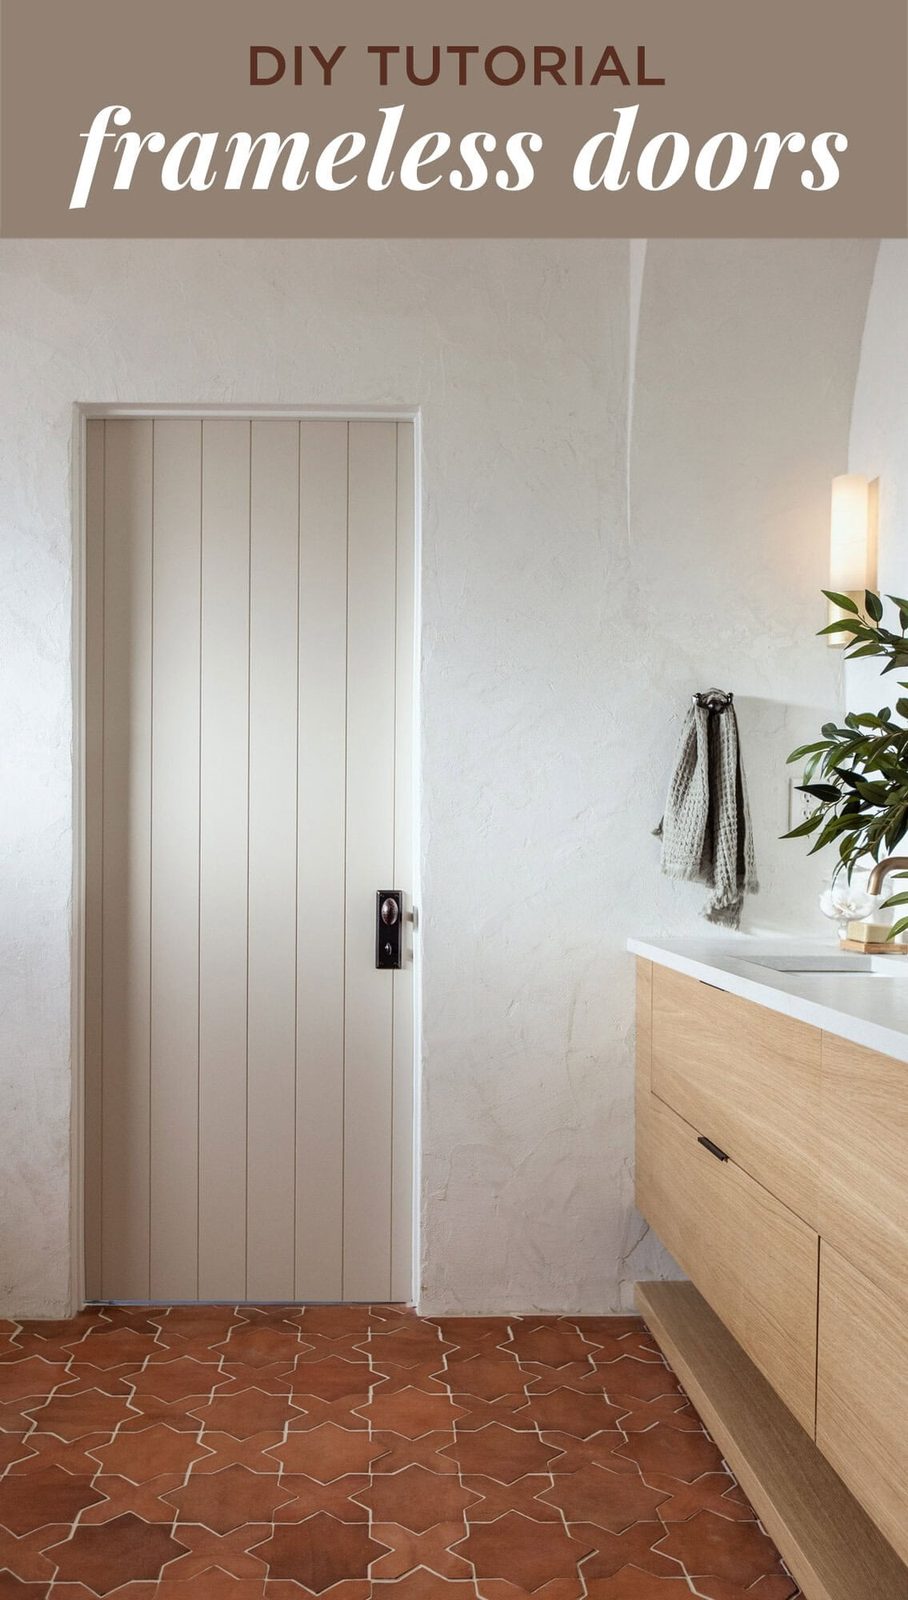
If you like the clean, minimalist style of frameless doors and have wondered how to get the look, this tutorial is for you! Find out more about “kerf doors” and how easy it is to get this popular trimless look using your existing doors in just a few steps.
While “door frame” technically includes the entire structure that makes up the door assembly, door casing or trim refers to the molding that frames a door opening and covers the gap between the wall and door frame.
This trim serves both a decorative and utilitarian purpose, but you will often find trimless styles used by today's top designers.
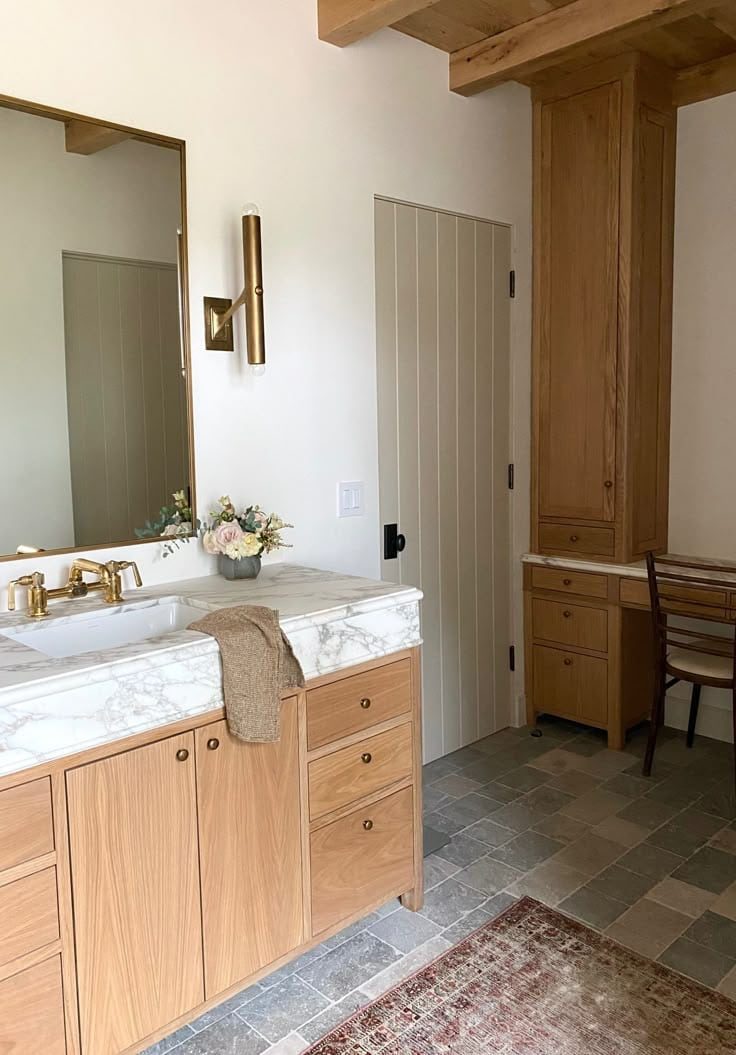
For my recent bathroom remodels, I have fallen in love with microcement walls, which lends itself to a cleaner aesthetic without the need for door casing.

Typically, these doors are installed during the building process using kerf jambs, which have a slot cut into the edge to allow drywall corner bead to be wrapped directly into the jamb.

As you can imagine, these doors require specialized material and labor which make them more costly. However, it is possible to get the same look on your existing doors—and it is not as difficult as you might think!
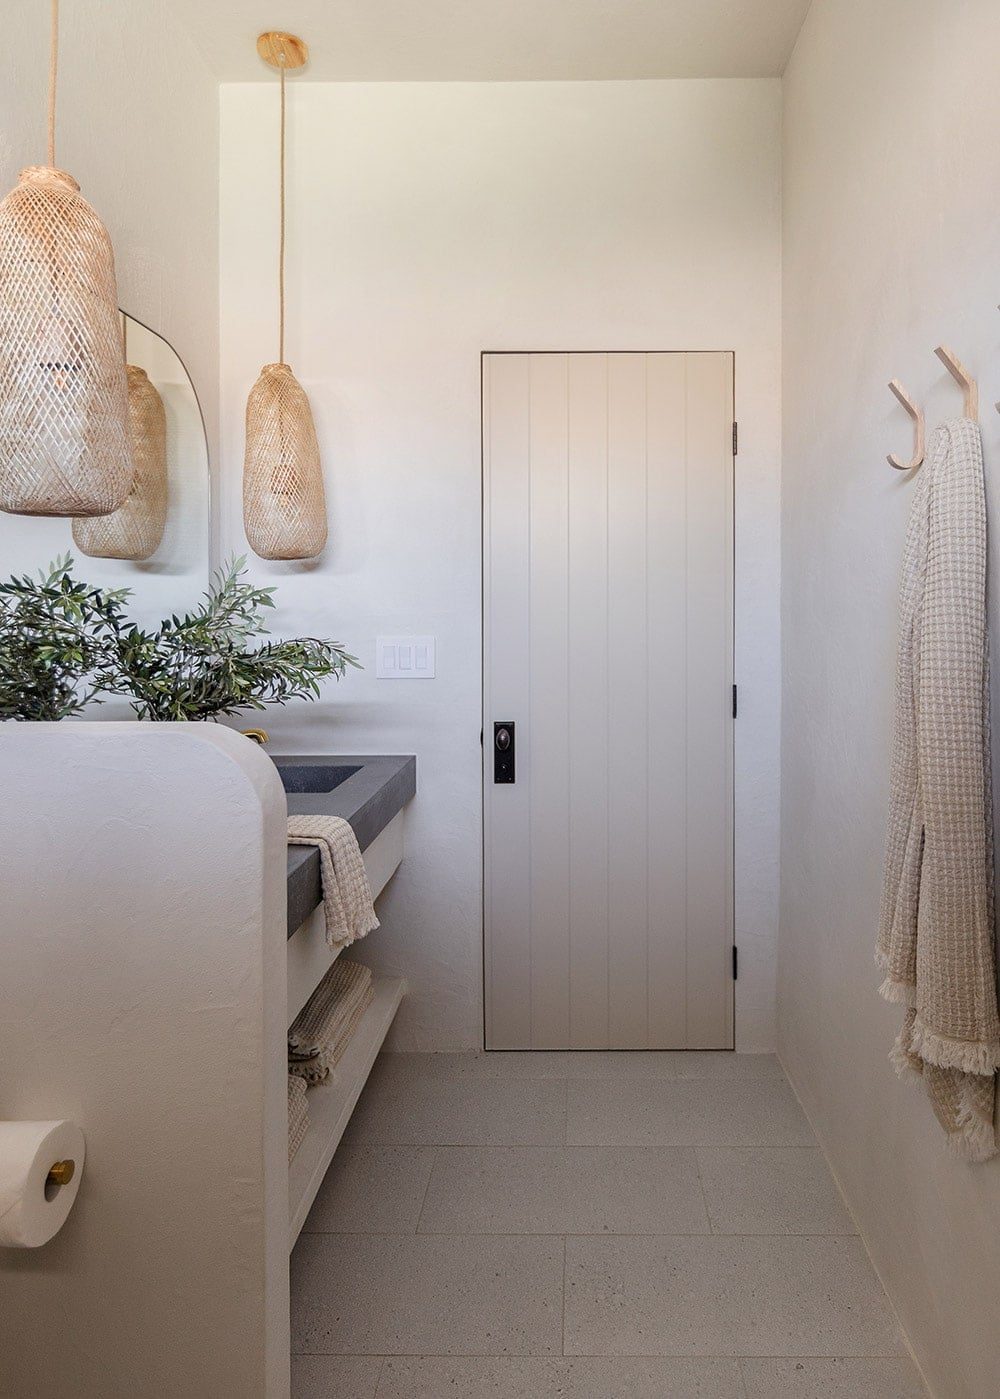
We first did this in the Hacienda Hideaway a few years ago, and both bathrooms have held up great! I had quite a few requests on Instagram to show how we did it, so here is the process:
Materials
- Drywall mesh tape
- Drywall mud
- Painter's tape
Tools
- Pry bar
- Putty knife
- Hand sander
Remove existing door trim
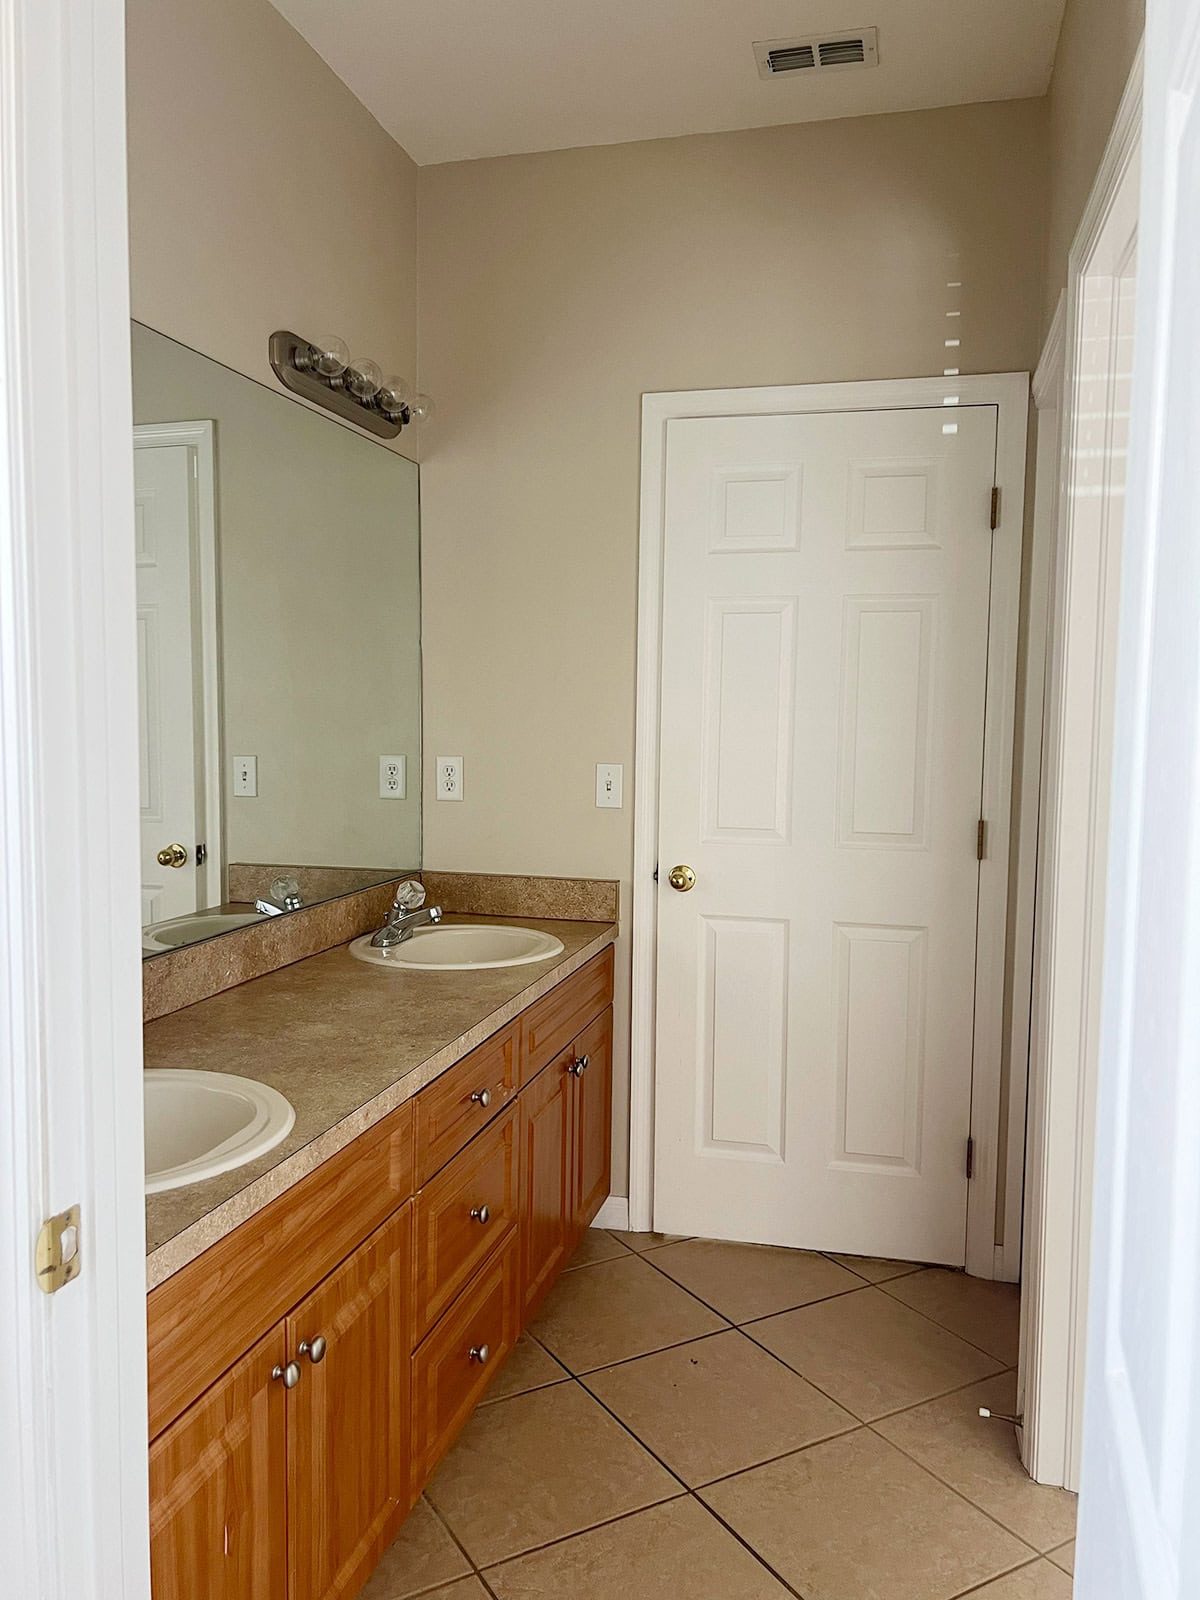
Remove the trim pieces around your door with a prybar. We ended up replacing all of the doors in the house with new pre-hung pine doors. This is how our jack & jill bathroom looked before:
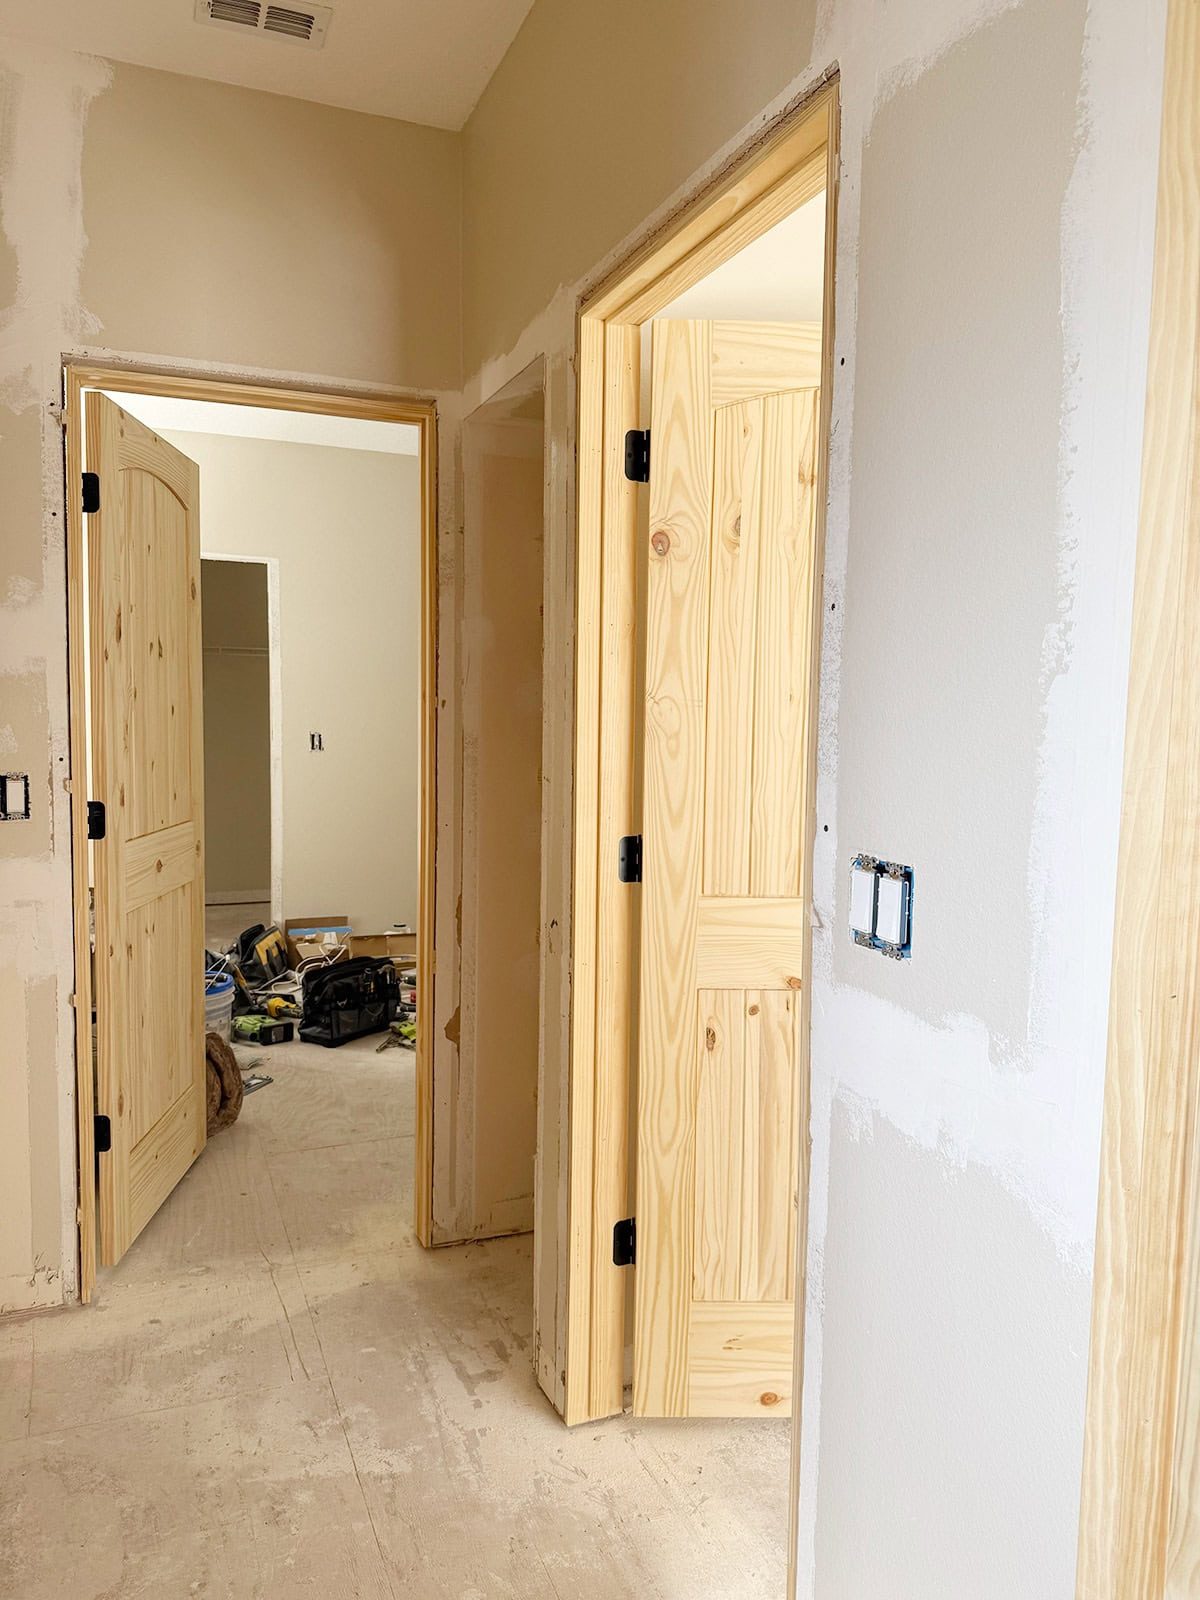
And then with the new doors installed in the rough opening:
Patch any large gaps above the frame
Most door frames will have some empty space above the jamb, which will need to be filled. The gaps on our doors were all 3/4″ wide (in the last house, the gaps were smaller so we left them as is).

We originally filled these gaps with insulating foam sealant, but the microcement ended up cracking a few weeks later, so we had to cut out a section of drywall and redo it. We added a piece of wood to fill the space, then patched the area with drywall. That did the trick!

Tape and mud seams
Cover the gap between the door jamb and drywall with mesh drywall tape.

Make sure all sides are completely covered with the edges firmly in place. Apply painter's tape to the wood door jamb to keep it protected.
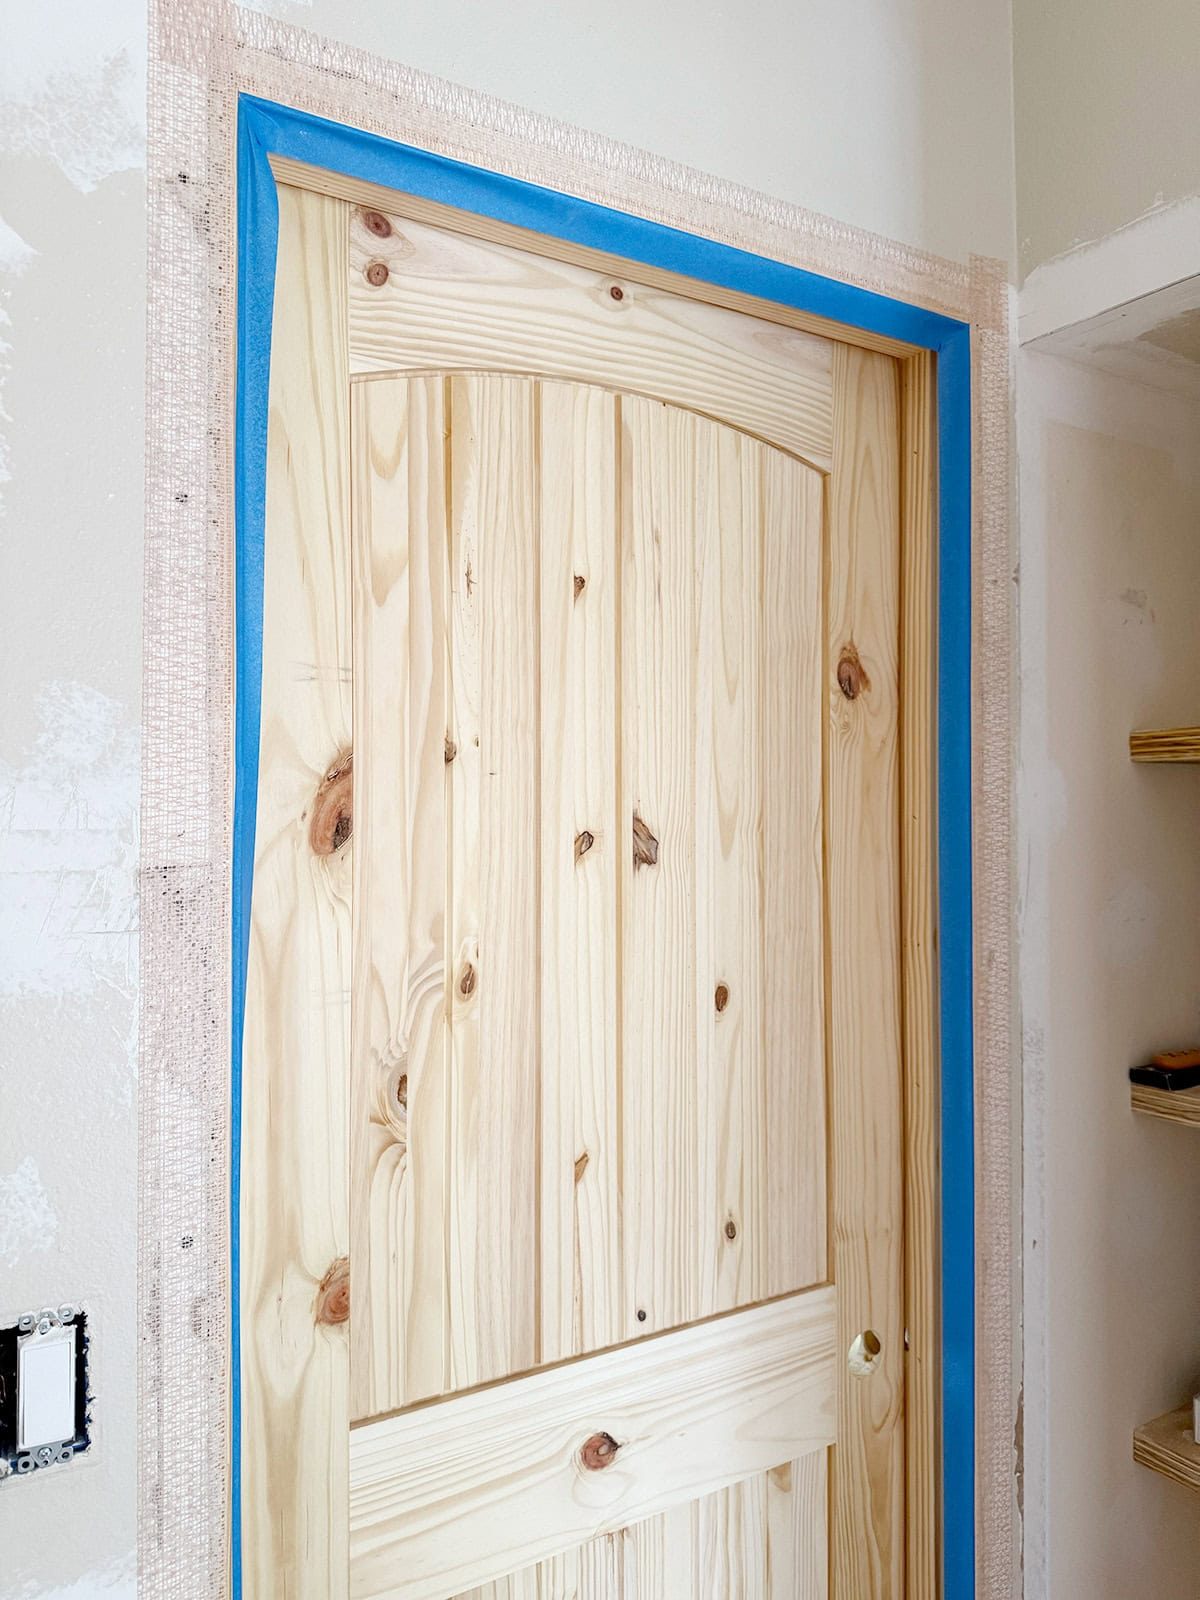
Then, fill the seam with drywall mud and apply additional layers to blend it into the wall.

Once the drywall mud has set (~24 hours), hand sand to smooth and remove imperfections (200-220 grit works best).

We did not need to be too precise with this step, since our walls would be covered with microcement.

Finish coat on walls
If you plan on keeping your existing drywall finish, you will want to match your existing wall texture (or better yet hire this part out—drywall finish work is not the easiest for beginners!)

We finished our walls with microcement, which hide any taping/mudding imperfections. Venetian plaster is another great option for bathroom walls.

For this room, I used Meoded Concretta tinted to Sherwin Williams Neutral Ground. We followed the same process outlined in my microcement tutorial, but used a wet sponge for a smoother finish.

I sourced these solid pine doors, chose Benjamin Moore'sHush (in satin) and found this affordable hardware. This is how it looks now!
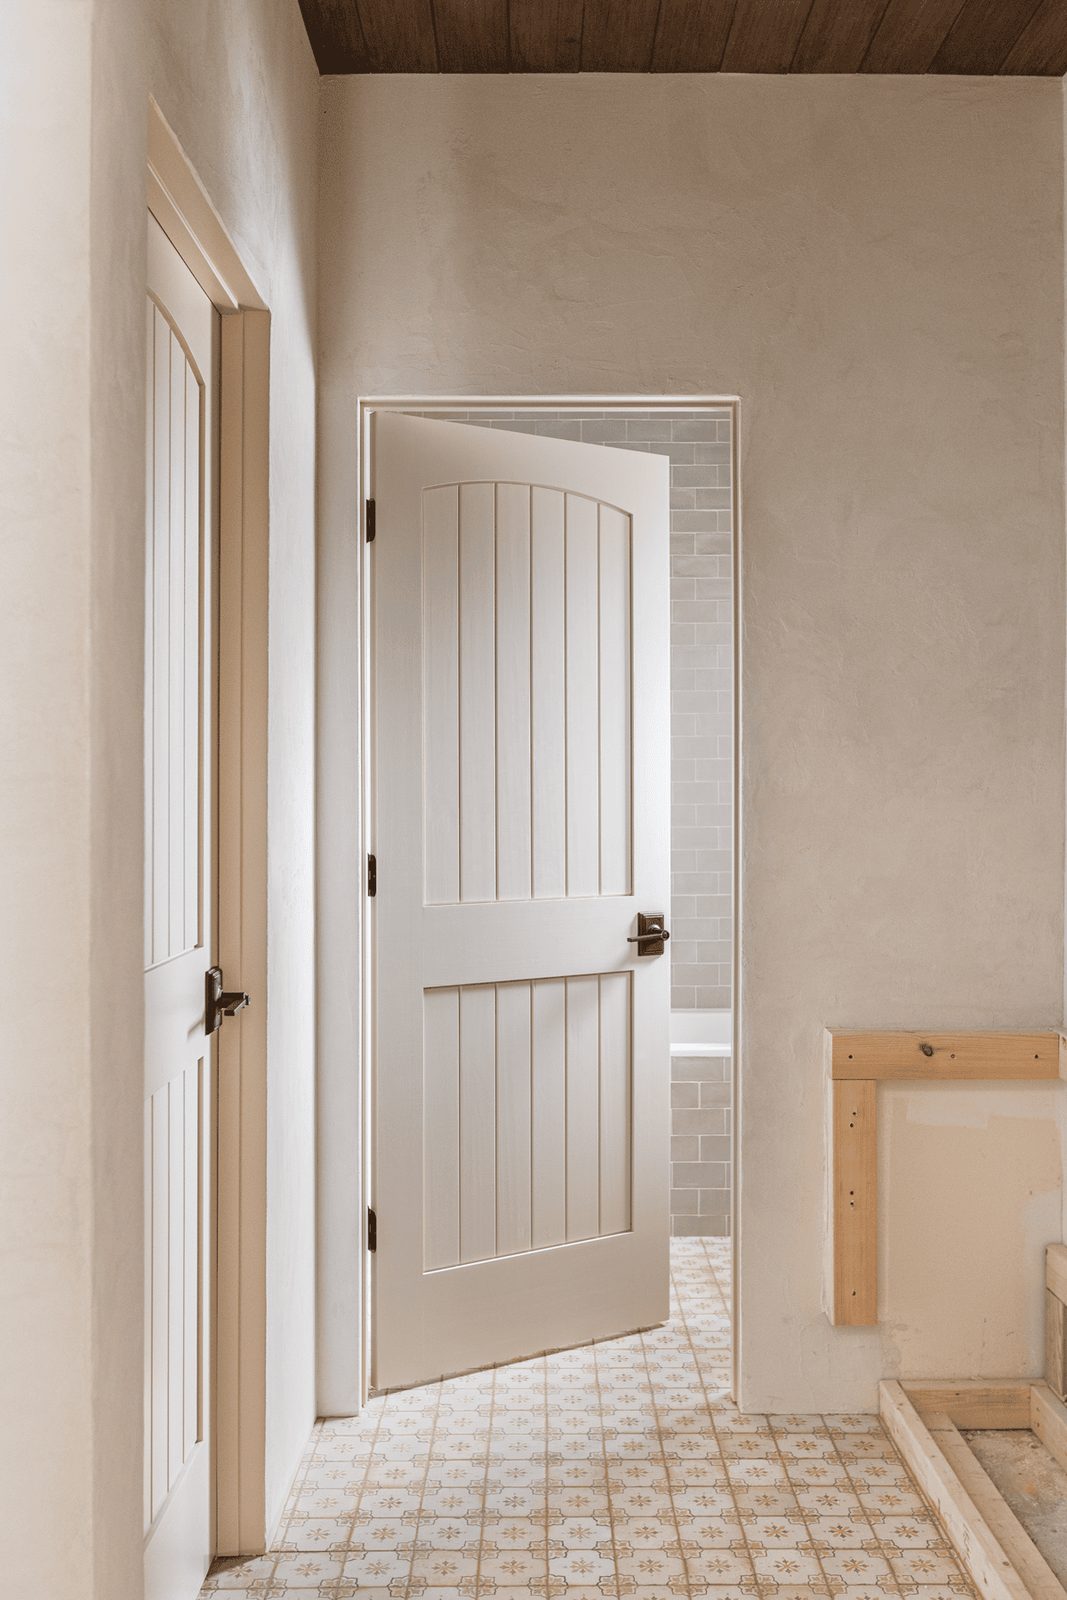
We still have some work to do in here but what a difference already, right?
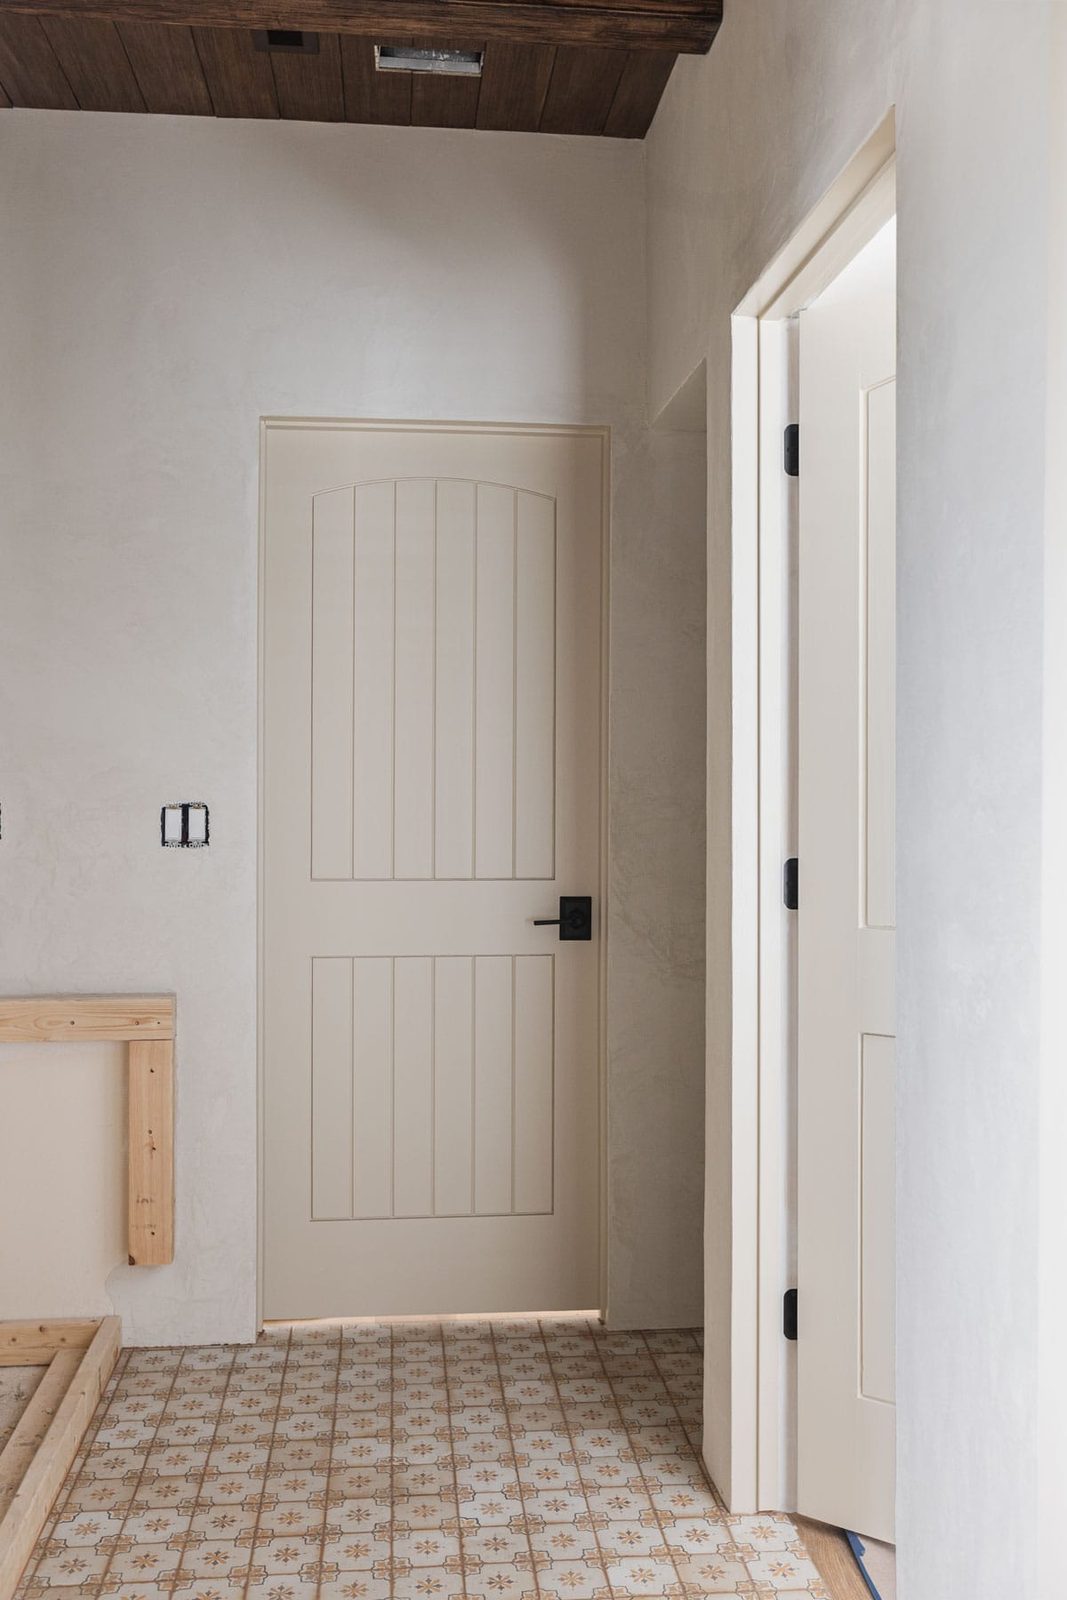
Next up is a DIY custom wood vanity, followed by countertops, plumbing and the finishing touches. We are headed off on our big family summer trip soon, but I'll be back next month with a tutorial for our DIY wood beam bathroom ceilings. I cannot wait to share more soon! In the meantime, you can follow our adventures on Instagram 🙂