Heights House Window Flower Boxes
Operation Heights House Curb Appeal continues with Part 2! Last week I shared our DIY wood shutters, which completely changed the look of the exterior… But we did not…
Operation Heights House Curb Appeal continues with Part 2! Last week I shared our DIY wood shutters, which completely changed the look of the exterior…
But we did not stop there! Our latest project was particularly quick and easy, and involved relatively little DIY for a change. I considered building our own window boxes, but changed my mind when I found these pre-made planters at Lowe's. The rounded shape, color and size were well suited, and the price was right too. I ordered two to match the width of our front second story windows (36″ and 24″).
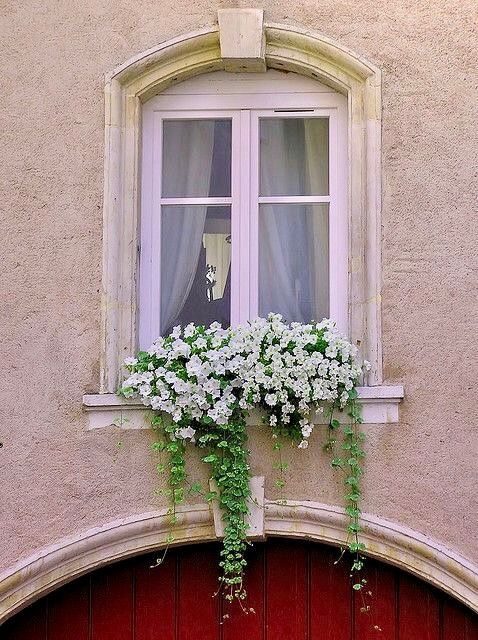
My vision for these boxes included well composed cascading flowers like you see in those romantic old European balconies. Sadly, that is not an option here in Florida—at least not for inaccessible second story windows during a heat wave and drought. Of course real flowers would be our first choice but they would not last us five minutes, and I figured no one would be able to tell the difference from the ground level. It is worth a shot at least!
I partnered up with my favorite faux flower source once again, Afloral, and ordered ten wisteria stems along with five boxwood bushes for filler.
And for my supplies, I grabbed a package of floral foam, UV floral protectant spray, and industrial strength adhesive.
I could not find any information from the manufacturer on whether or not the foam is suitable for outdoors, but one review did say theirs has held up well in the elements. This stuff is pretty crumbly though, so you may want to try these styrofoam blocks instead. Time will tell how well it does 🙂
To prevent the boxes from filling up with water, I drilled small holes along the lowest point in the bottom of each planter.
Then I laid out the arrangement for my foam blocks—3 for the big planter, 2 for the small.
One by one, I added a generous amount of adhesive underneath each piece of foam.
Then I let them dry overnight (recommended curing time for this glue is 24 hours).
The next day I divided up my florals to get an idea of the arrangement for each planter. I ended up with one unused wisteria bush.
Starting on one end, I pushed my first wisteria into the foam.
It ended up being a tad taller than I would like…
So I trimmed a few inches off the bottom.
After putting it back permanently into place, I applied more adhesive along the outside to make sure it would not go anywhere.
The process was repeated for the remaining bushes, using 2-3 stems per foam block.
Then it was just a matter of fluffing everything until I was happy with the results:
The final step was giving them a few coats of UV protectant spray, which will hopefully keep them from discoloring in the sun.
Meanwhile, Lucas attached the brackets that came with the planter. We positioned them right underneath the window, and the brackets were secured to the stucco with two concrete anchors.
The flower boxes snap right into the brackets, no other screws or fasteners needed.
Not too bad, right?
Here is a shot with better lighting. I know faux florals are not for everyone, but I genuinely do not mind them in situations where real flowers are not practical.

On Sunday it rained for the first time in weeks, so hopefully that means rainy season is finally around the corner. This summer I think we will try planting real flowers and see how it goes. We have access from the house to the left window to water the plants but not the arched window.
Someone on Instagram mentioned there is a species of hanging fern that is drought and heat tolerant so I'll look into that—anyone have recommendations for low maintenance flowering plants that will survive this tropical climate?
Our Ring doorbell was also reinstalled, and soon we will plant a vine to climb the side of the turret.
And I cannot leave out one more detail—our Thank You sign from the Lowe's #buildthanks challenge! Did you catch this project on Instagram?
We had so much fun making this together as a family (Esmé's first DIY!) and hope it brings some joy to the neighborhood, especially to our frontline responders. My favorite part is that it lights up at night…
Did you participate in the #buildthanks challenge? It is not too late to join in and show your appreciation for everyone out there who is working to keep us safe!
This weekend I'll be swapping my drill for a paint brush, and taking on a fun creative project for the living room. As always, you can follow along behind the scenes over in my IG stories. Stay safe and well friends!