Home Theater Room Phase II: Wall curtains & Projector Screen
Happy almost-Monday! I originally planned on posting the reveal of our freshly painted kitchen/dining plank ceiling and wall, but our cabinets were delivered Friday and…
Happy almost-Monday! I originally planned on posting the reveal of our freshly painted kitchen/dining plank ceiling and wall, but our cabinets were delivered Friday and they are stacked up in front of the plank wall so I cannot get any photos. I should have them tomorrow night though!
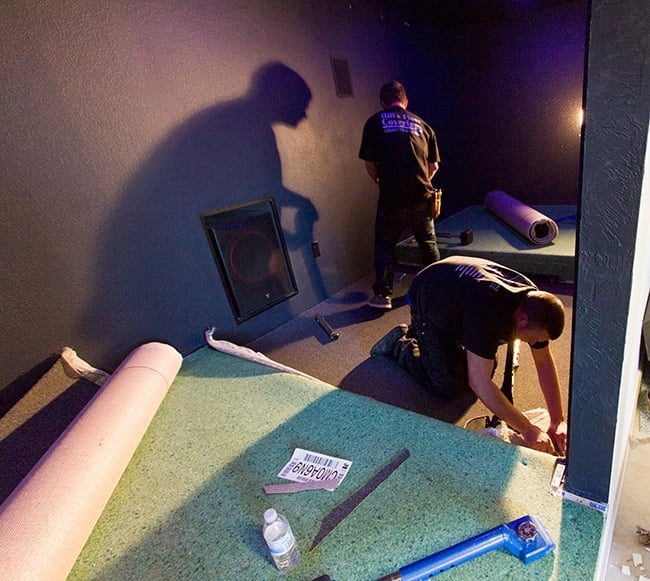
That means I can get you all caught up on our home theater room progress! When we left off, the lights, speakers and audio were freshly installed, and carpet was just going in…
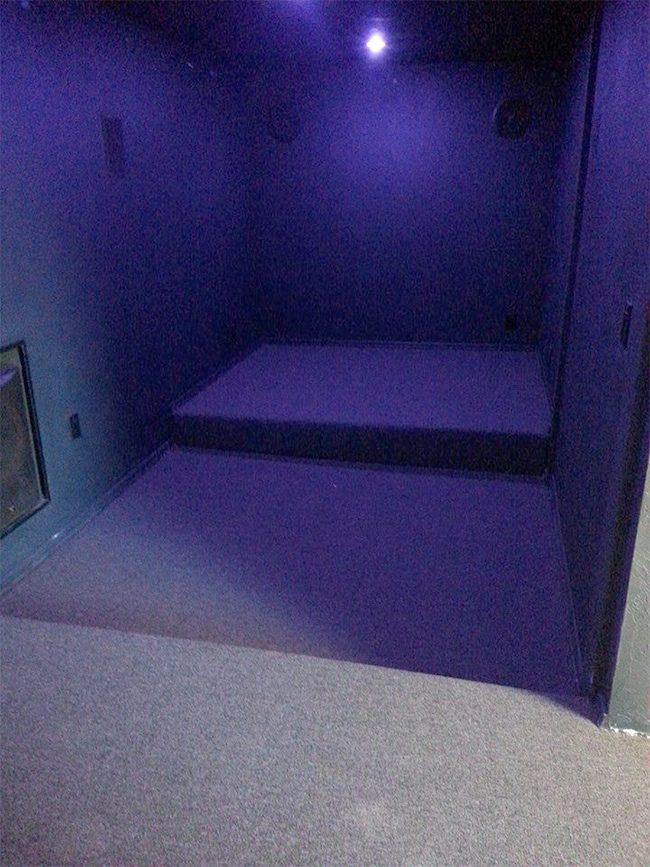
And then it looked like this (much less blue and grainy in real life):
First step: buy the projector!
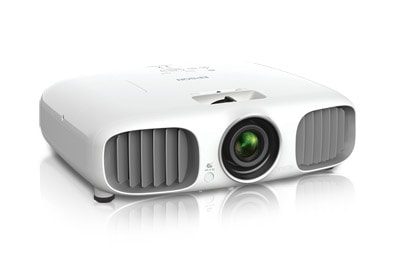
After plenty of research, Brad went with this Epson Power Lite 3020 3D Projector:
Here is the beast in action:
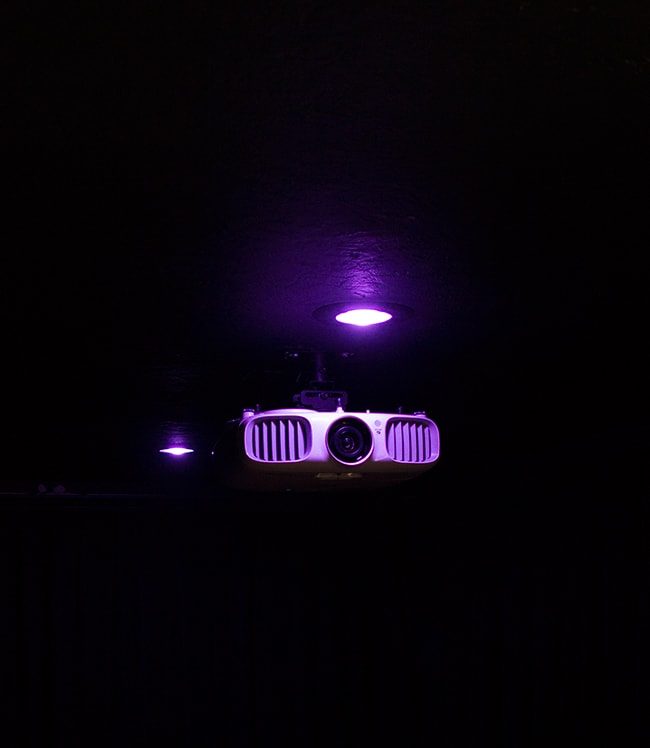
It is pretty strong, I have to say.
Testing it out on the black painted wall:
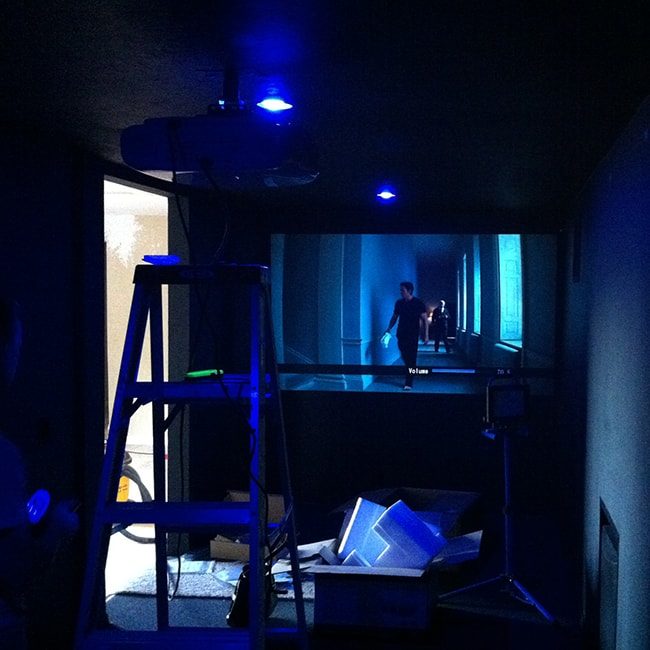
For the screen, we had to decide if we wanted to buy one or paint the wall white. With the cost of screens running up to $1k, that was not even an option—paint it was.
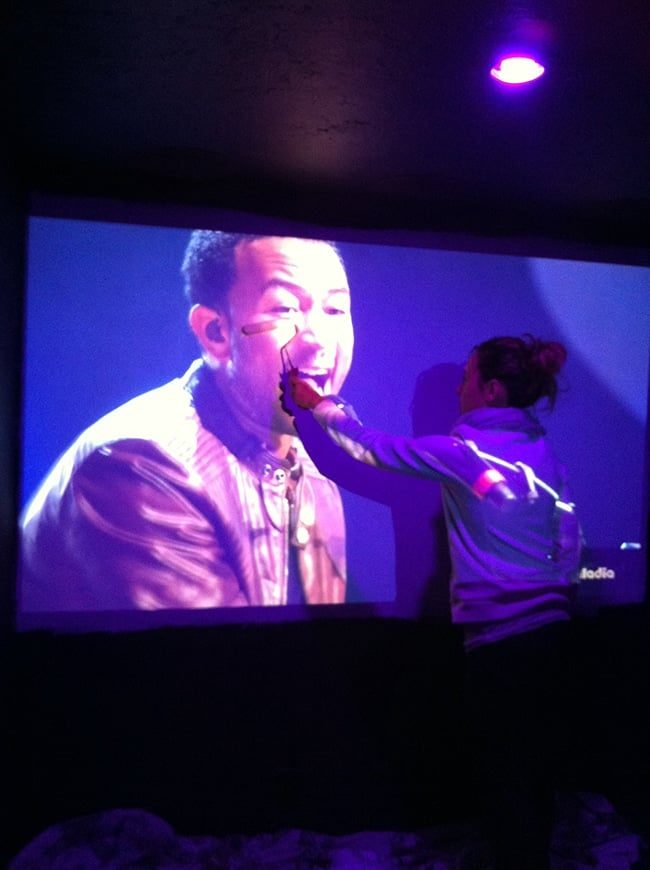
We had to sand the wall down completely and then use a specific white paint for optimal reflectivity.
Here I am, painting John Legend's face.
To give the room that movie theater feel, Brad had planned to hang floor to ceiling curtains all the way around. We wanted to keep them as close to the wall as possible to maximize the space, and also install crown molding with LED strips around the perimeter to give it a little mood lighting. We decided that the best solution was to hang strips of wood just below the ceiling and nail the curtains into them for a semi-permanent installation.
After browsing through the fabric aisle at JoAnn's and realizing that velvet was wayyyy beyond our budget (even with their 40% off coupon), we stepped in to Walmart next door and found these:
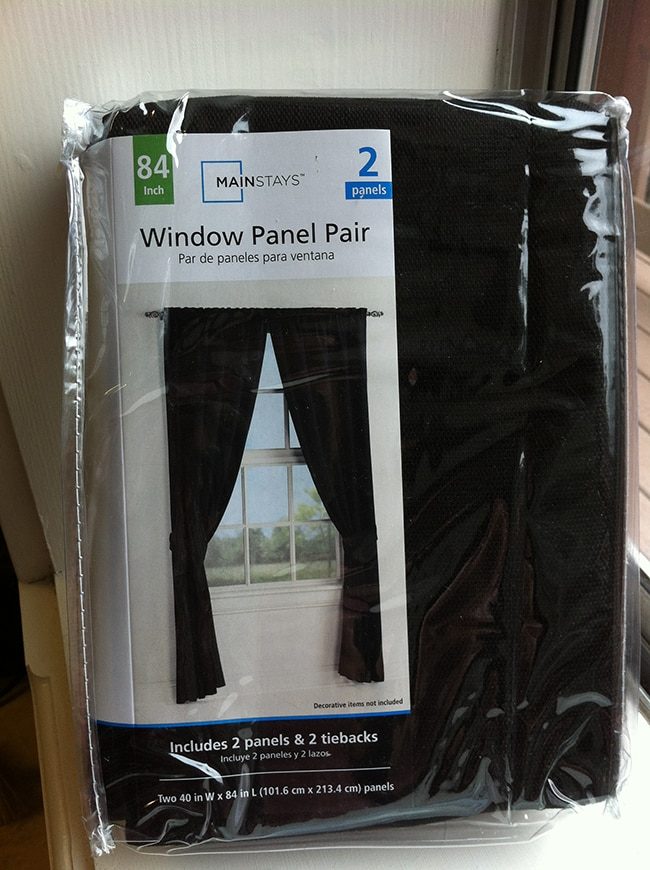
They were the right size, the right look, and best of all—on budget! It was $18 for a set and we picked up 14 sets for $270 shipped. Not bad for almost 600 feet of curtains.
We used unfussy 1×3″ boards to ensure enough room for both the curtains and crown molding to fit comfortably.
Warning: some bad cell phone pics ahead
Board #1 going in…
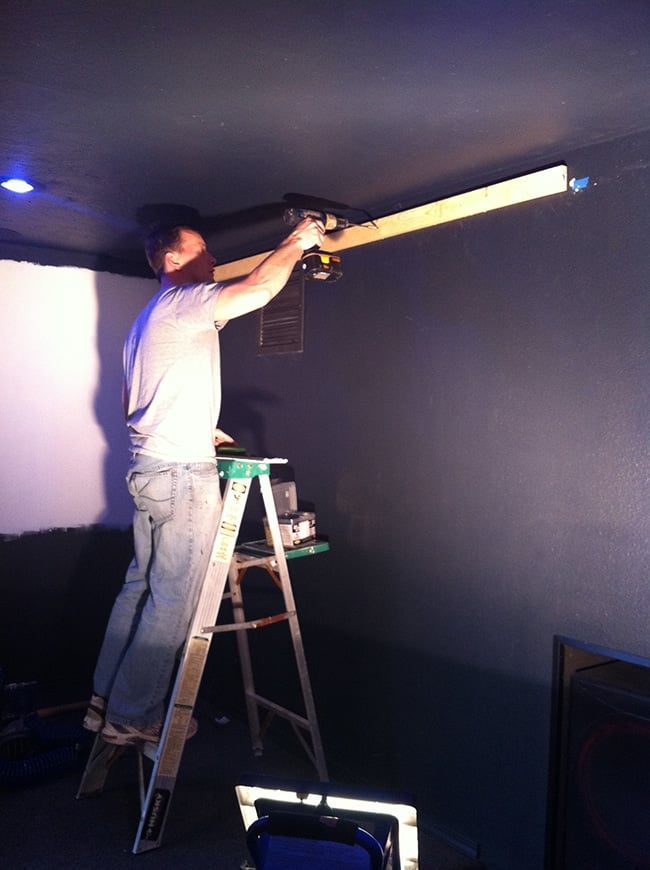
We just secured it along the studs and then did a little math to make sure the panels were divided evenly. This is a tricky room with three different levels, so we split the panels up and used four on each wall section (there were 7 wall sections total).
I wanted the curtains to look as if they were hanging naturally, but some symmetry was needed so I divided the board into equal measurements (usually around 3-4 inches depending on the board), and stapled each pleat along the marks.
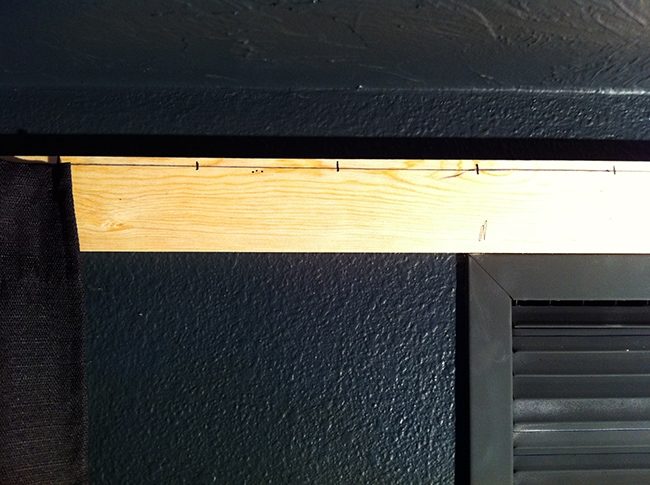
I just folded them over (a couple inches or so) and secured in place.
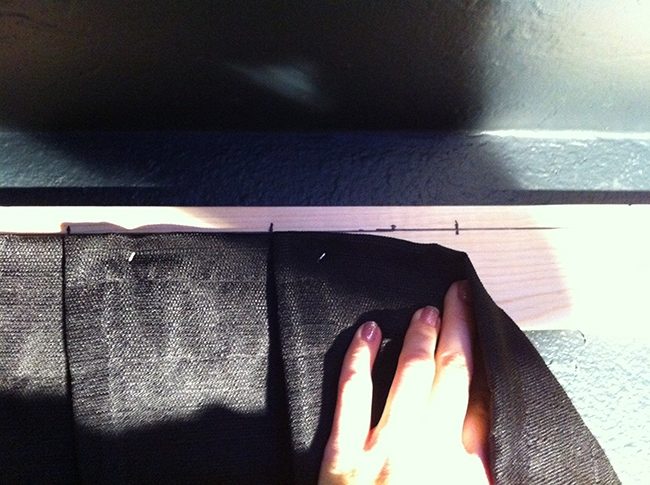
I was not sure how it was going to turn out, but it ended up being exactly what I had envisioned. Here is the first completed panel:
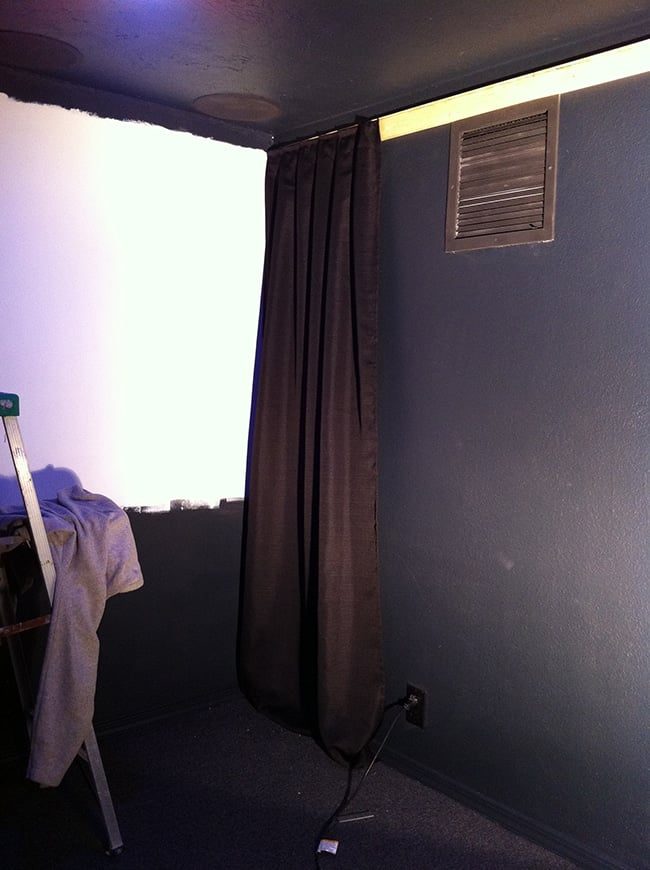
Then the process just repeated… first section = done!
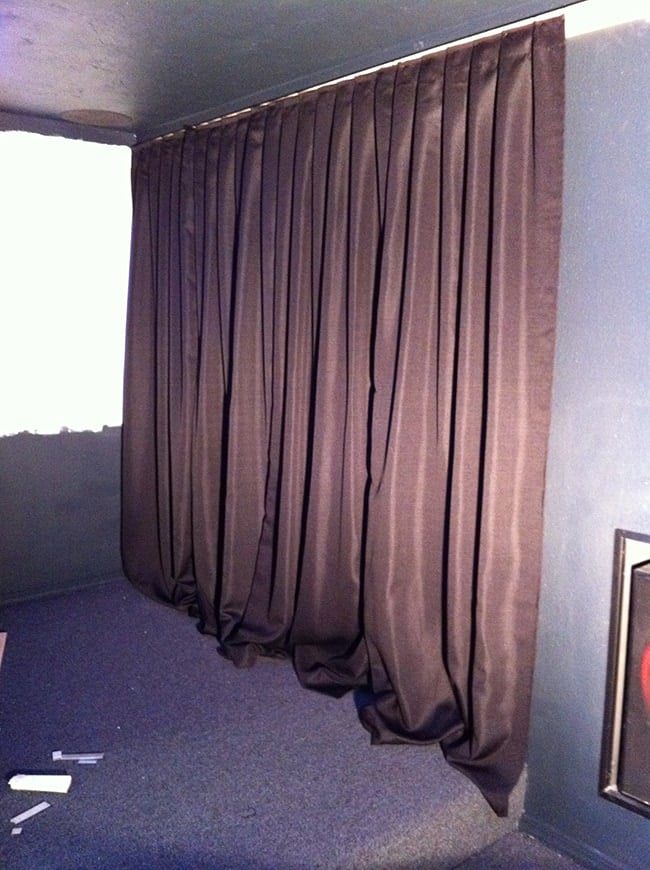
You will notice they are dragging on the floor. I realized after the fact that it would have been easier to hem them first, so I did it that way for the rest of the room. I do not own a sewing machine, so I used Stitch Witchery—much easier, but let me tell you… it still took for-e-ver. The panels came out of the bag wrinkled so I had to iron every square inch, then measure, cut, hem and hang them (28 panels!). It took several days.
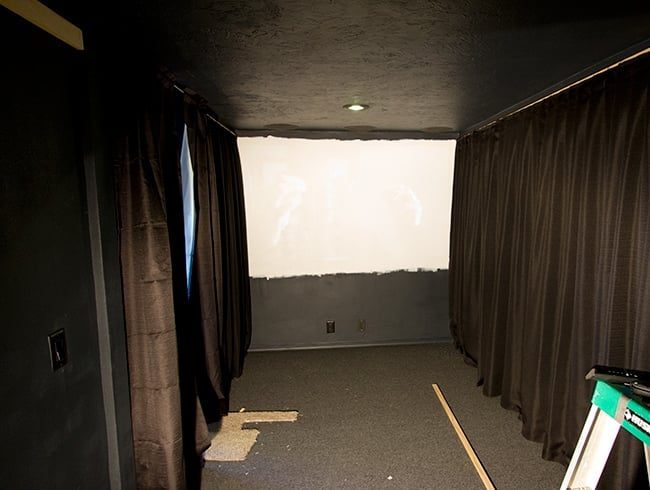
But we slowly worked our way around the room…
The door was a tricky area. We had to figure out how to block the light since it was open to the outside, and they had to slide open so you could walk through rather than be stapled in place. We hung these with a standard curtain rod (ignore the wrinkles, this is how all of the panes looked before we ironed them):
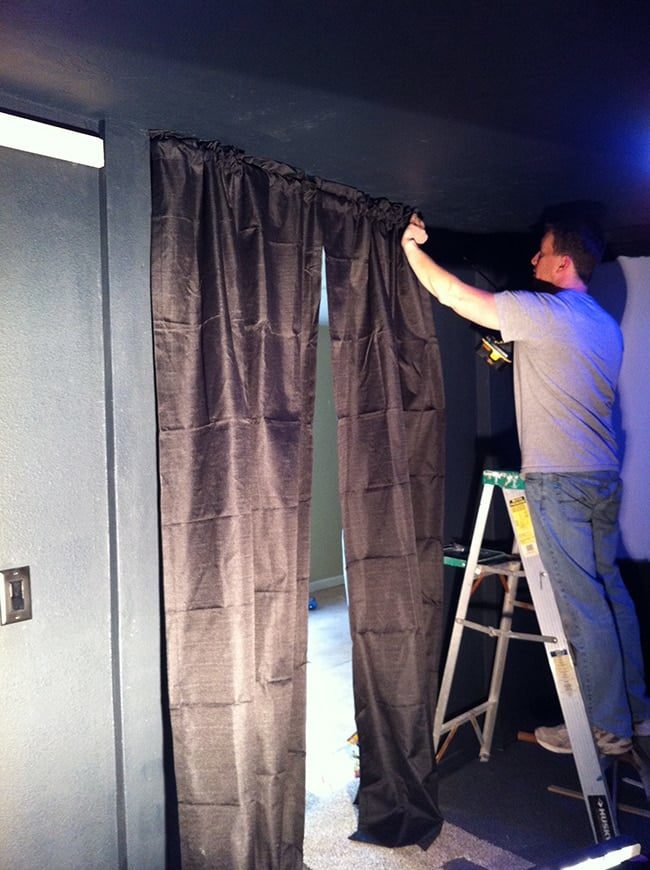
The panel
s we were using on the walls were not blackout, so we found the closest blackouts we could—which also came from Walmart—and luckily, they were a very close match:
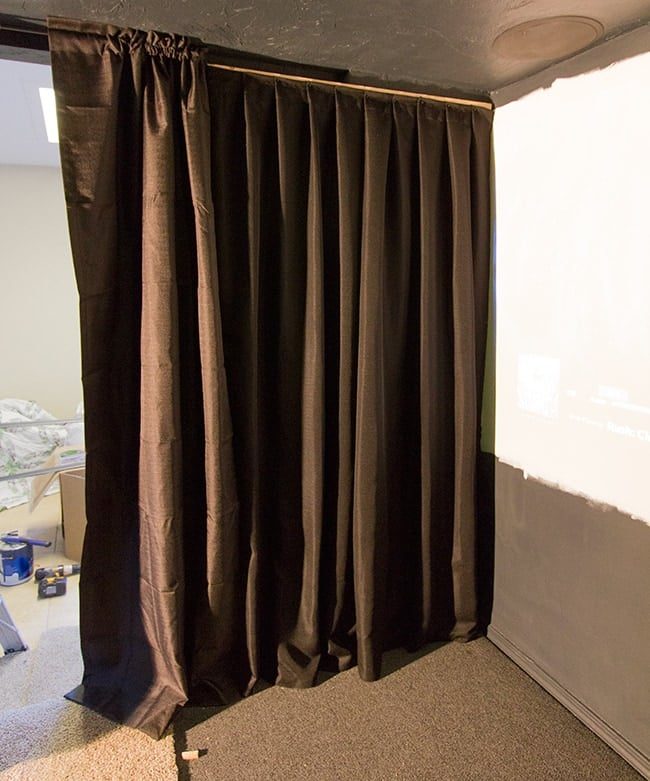
The room always stays dark so you cannot tell at all once you are in. Just need to iron and hem those up and we will be good to go.
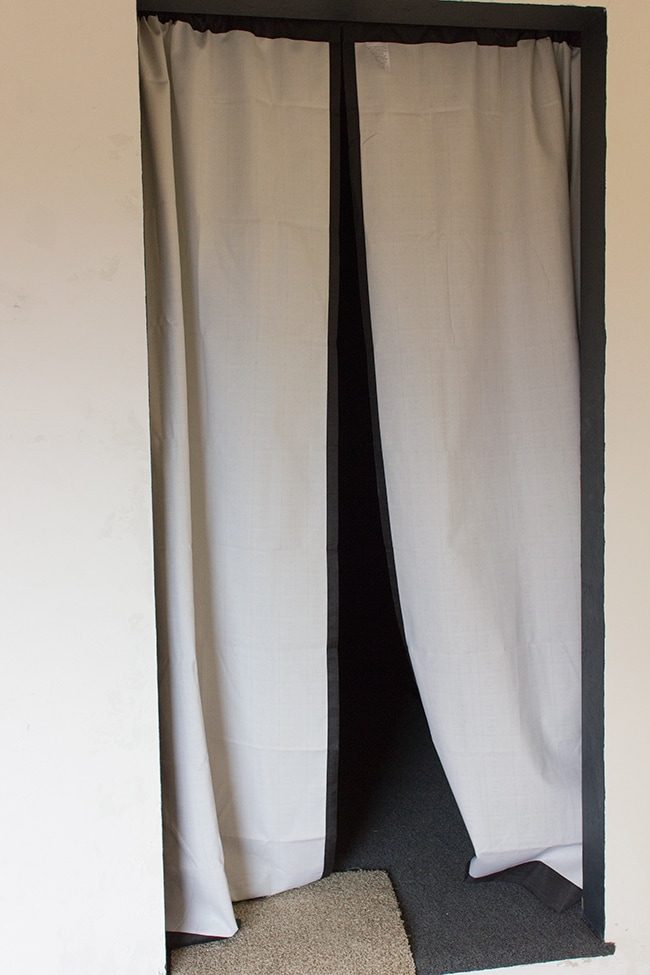
Since the backs will be visible to the outside, I am still working on a solution. I think I'll just end up hemming some fabric onto the reverse side and trimming out the opening for a finished look:
Back to prepping the back wall for curtains:
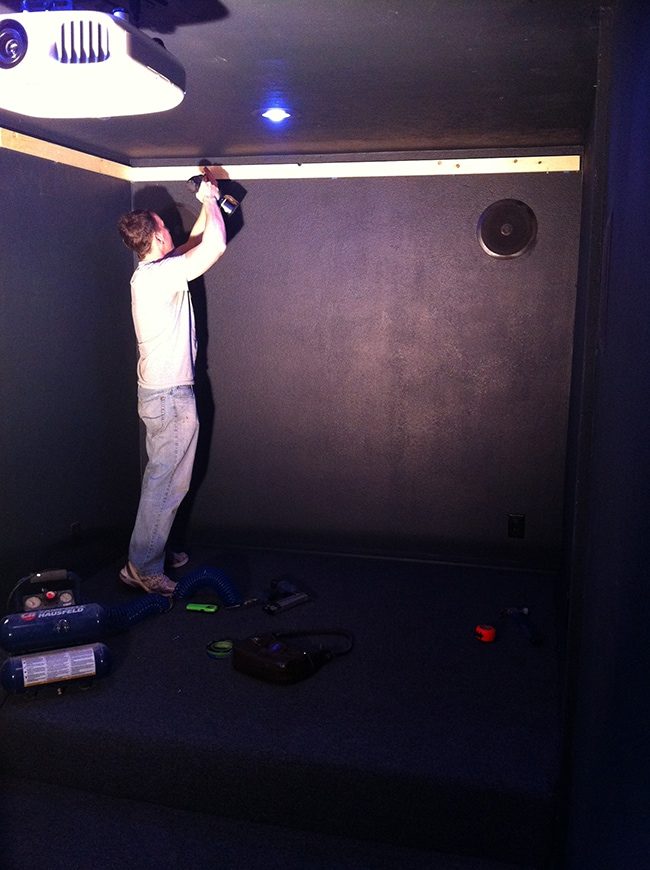
And then we came to the back right wall section…
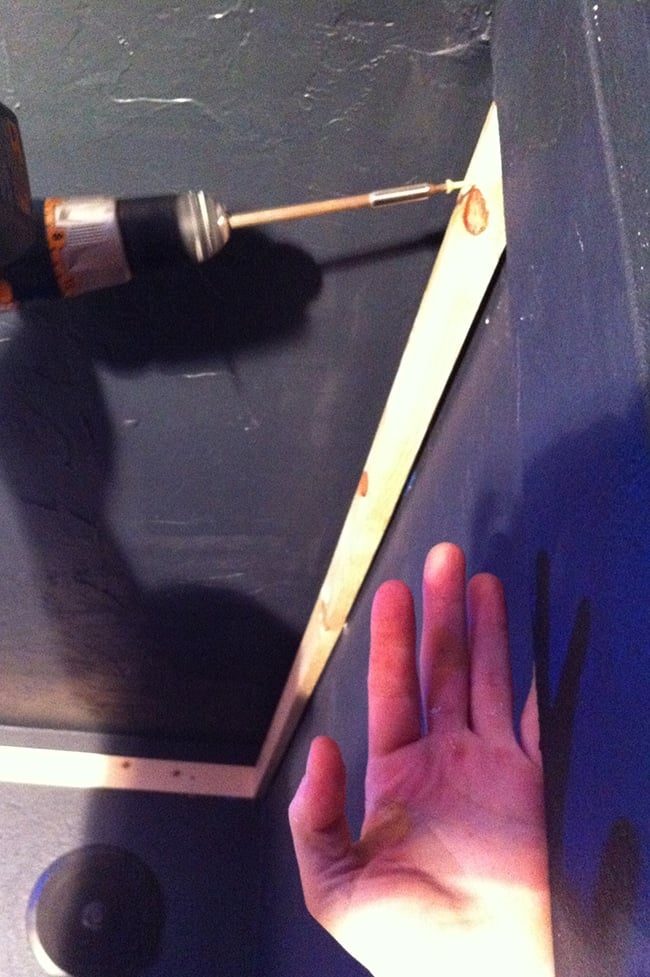
It got a little tricky here because there was a post. Our boards had to be flush with the post so the curtains could form a seamless line all the way across, so we used some scraps of wood for spacers:
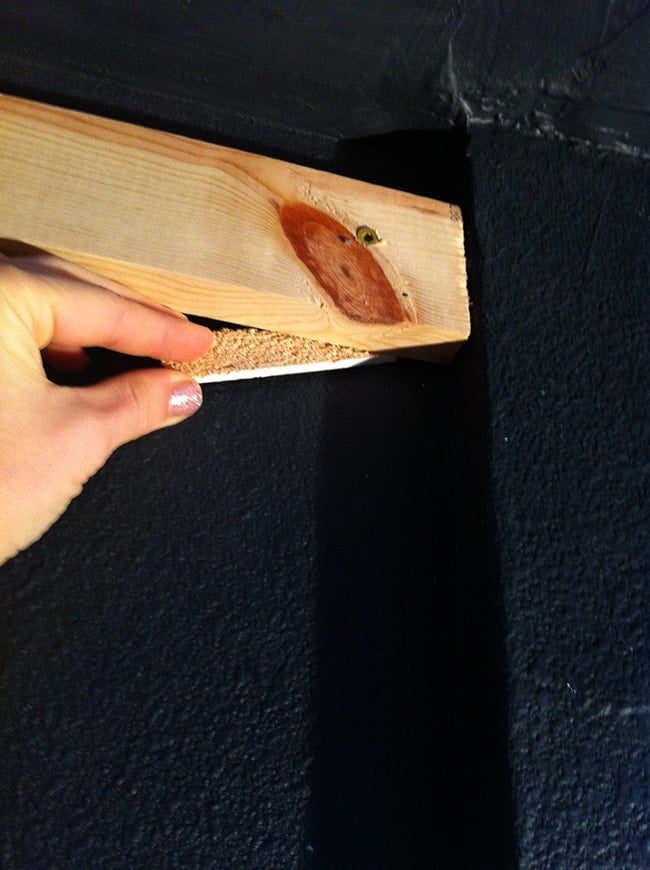
Worked like a charm…
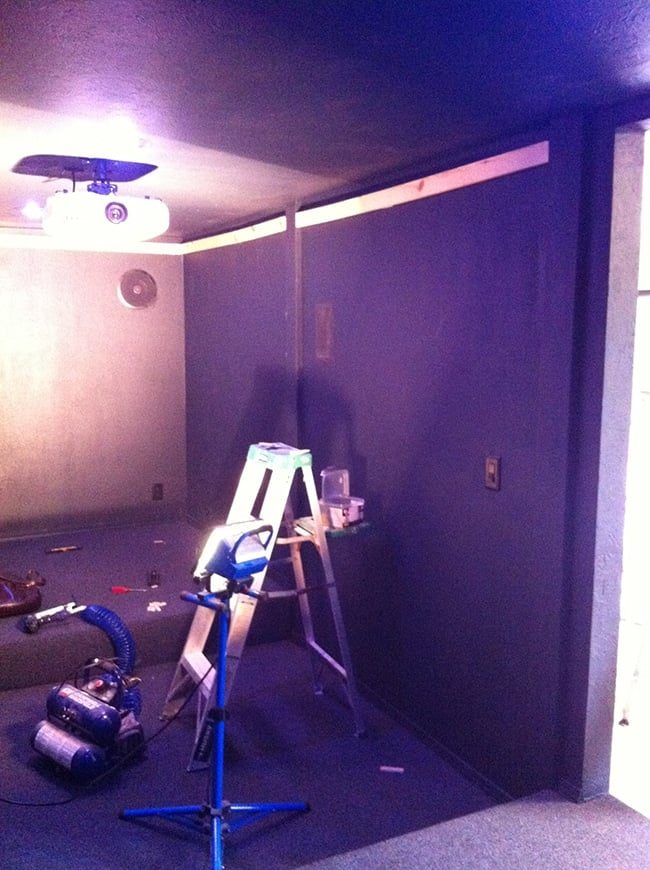
More curtains! This time with a real camera:

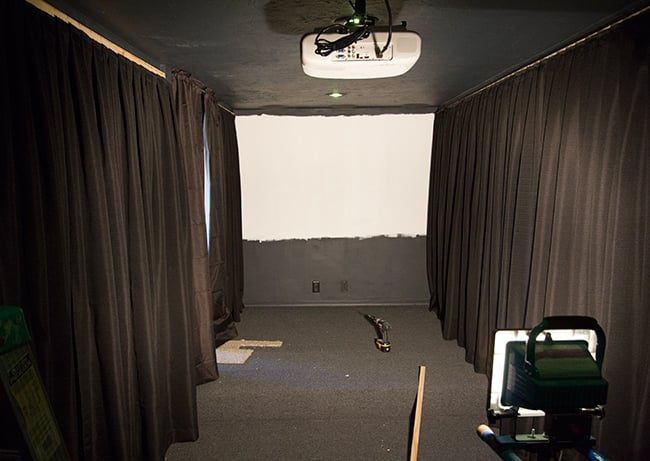
With the curtains completed, Brad was able to size the projector screen and finish it off with trim:
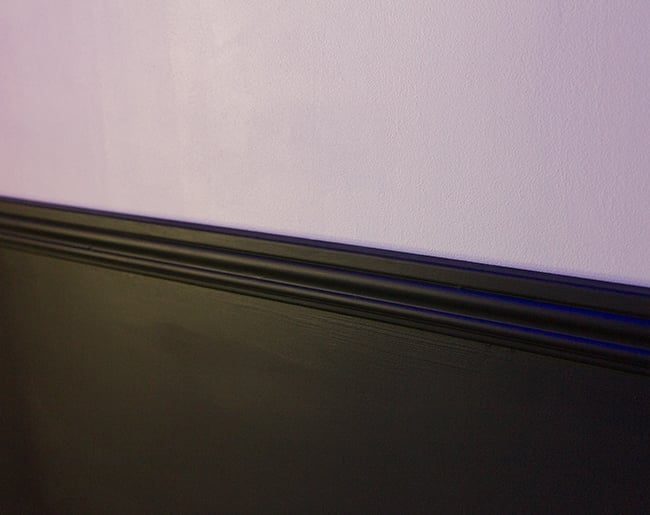
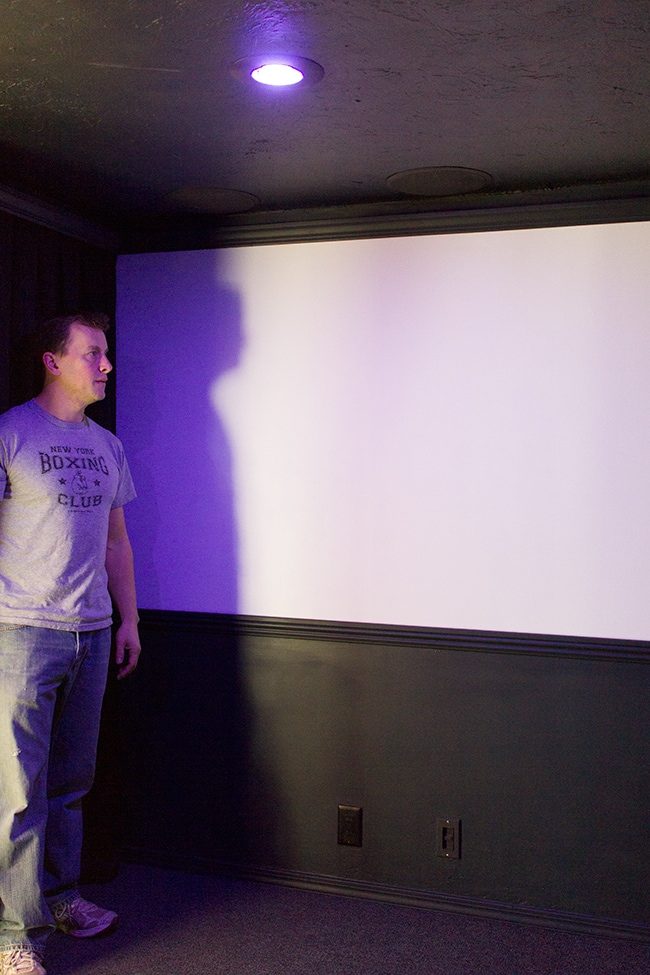
Then we had our handyman install the crown molding with a built in light rest so Brad could run the LED strips. He can control it so they change colors, flash and move across the room. It is pretty cool (Brad is way more excited about it than anybody).
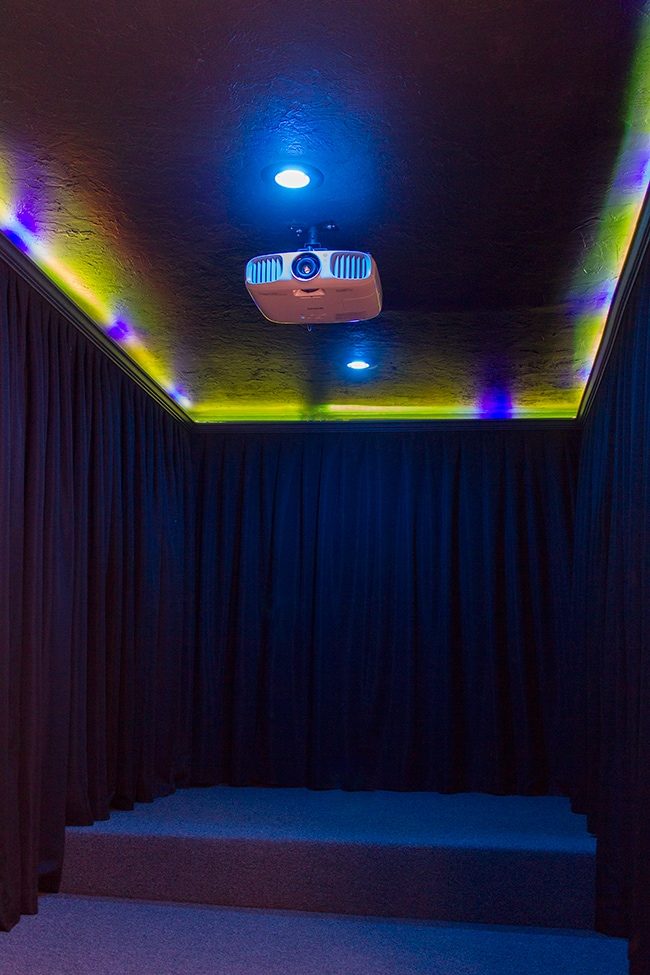
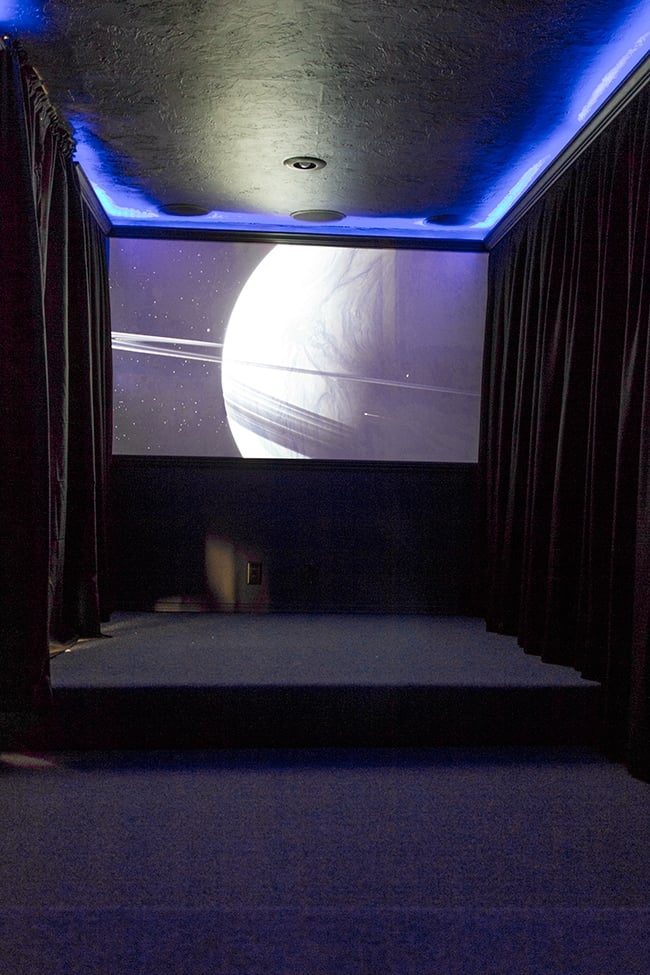
Our furniture should be delivered this week, then I need to pick up a few accessories and it should be ready for action. Our family & friends cannot wait for the first movie night! We will not have a fully functional kitchen by then but at least we will have some good entertainment!
A quick update on the rest of the house:
1. We went to Ikea yesterday and spent entirely too much money.
2. We had to schedule delivery through them and it is going to take a month! That is going to push our kitchen timeline back, unfortunately.
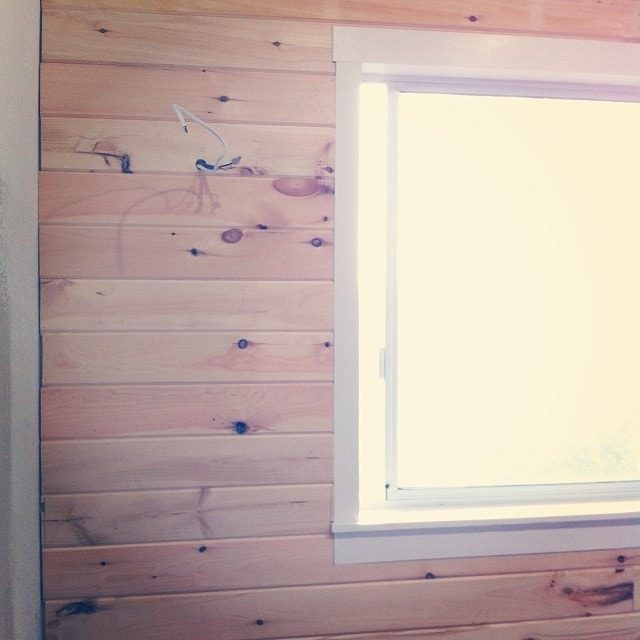
3. We planked half of my studio today and plan to finish tomorrow. Here is an in-progress peek I posted on instagram today:
I could go on but I'll leave it at that for now—gotta catch up on the Grammy's!
Be back within 48 hours for the kitchen plank reveal…