Studio is ready for business!
We started on this room this past Sunday and have been there every day since working on it. It took a whole week, but I can finally rest my achy back because it is done!…
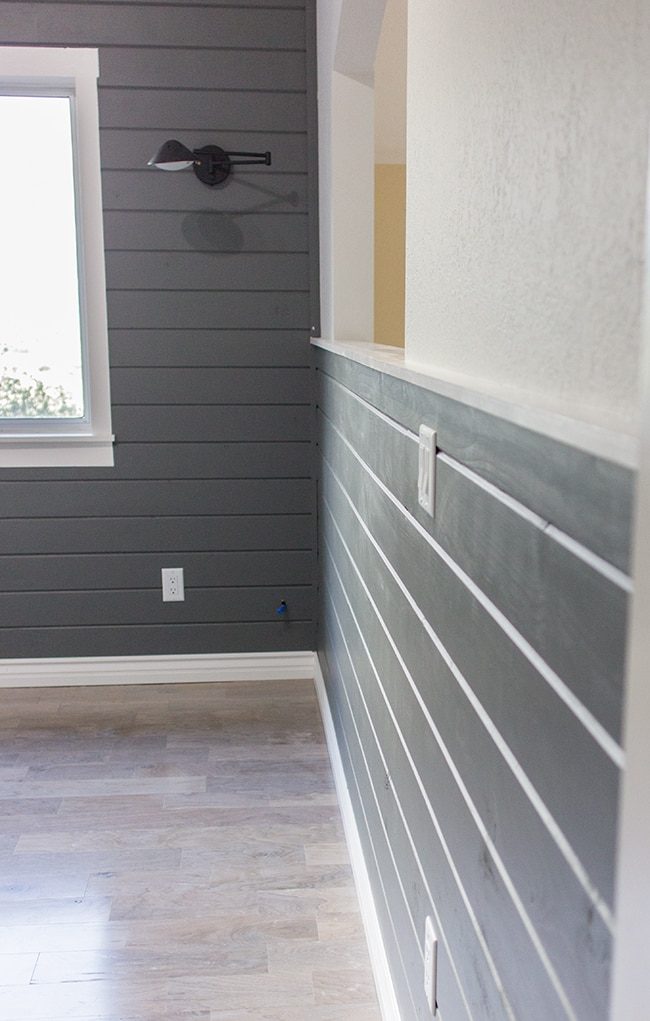
We started on this room this past Sunday and have been there every day since working on it. It took a whole week, but I can finally rest my achy back because it is done!
This is how it looked 7 days ago:
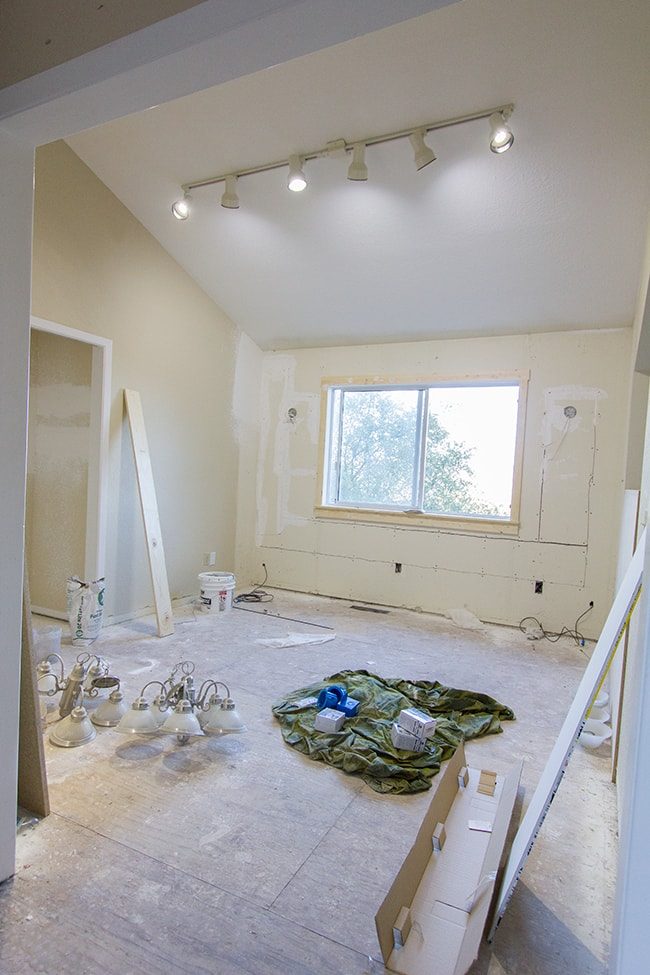
The back wall is the first thing you see when you enter our house, so The aim was to give it a little extra something special.
And I cannot think of anything more special than… you guessed it: wood planks.
But first we had to address the issue with a pass through to the living room.
Taking it way back in time here (the only before pic I could find from this angle)…
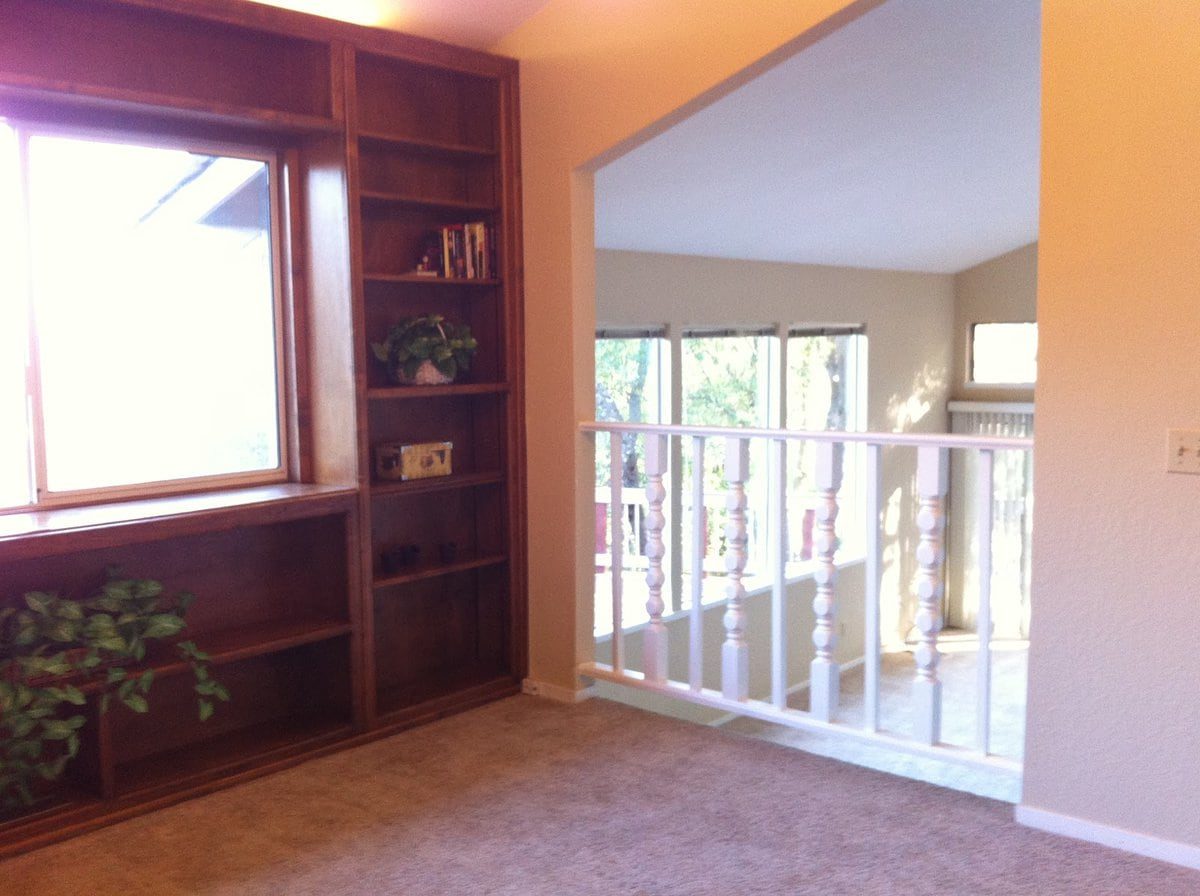
Because this room is much smaller than my last studio, I genuinely need to maximize the space. That open railing wall was completely unusable and I need to put desks there, but I still liked how it was open to the rest of the house, so The choice was to build up a half wall.
The unfussy solution was having two sheets of 3/4″ particleboard cut to fit.

We screwed the boards right into the railing and they sit nice and flush with the wall.
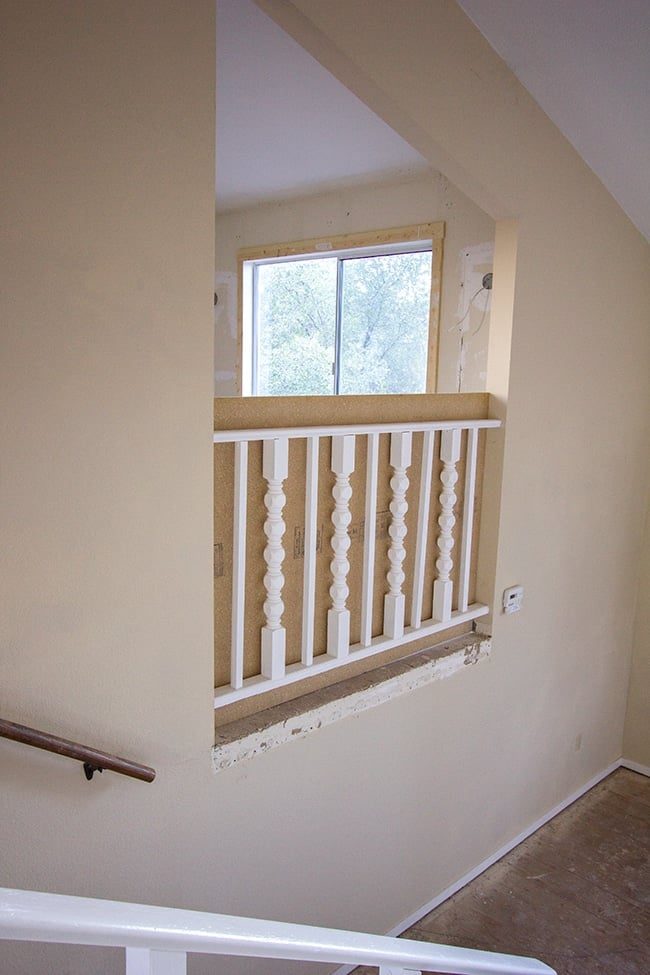
We just repeated the process on the other side.
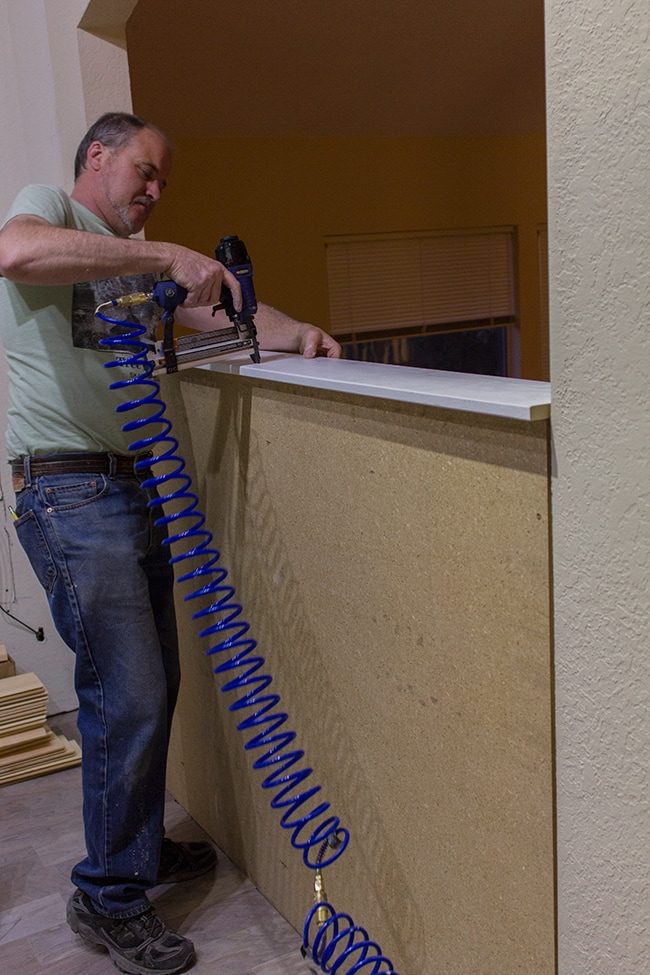
For the top, we cut down a 1×7″ strip from an old shelf and used a nail gun to secure it into place and serve as a ledge.
Then it was time for planking, woo!
Again, I'll spare you all the details—take a look at my ceiling plank and wall plank posts for more in depth tutorials.
We originally started at the top (just like we did with our kitchen wall) but realized that would leave a very tiny strip (like an inch) above the window and that was not gonna fly.
So we decided instead to set the first board right on top of the window, have the gap at the top and hide it with crown molding.
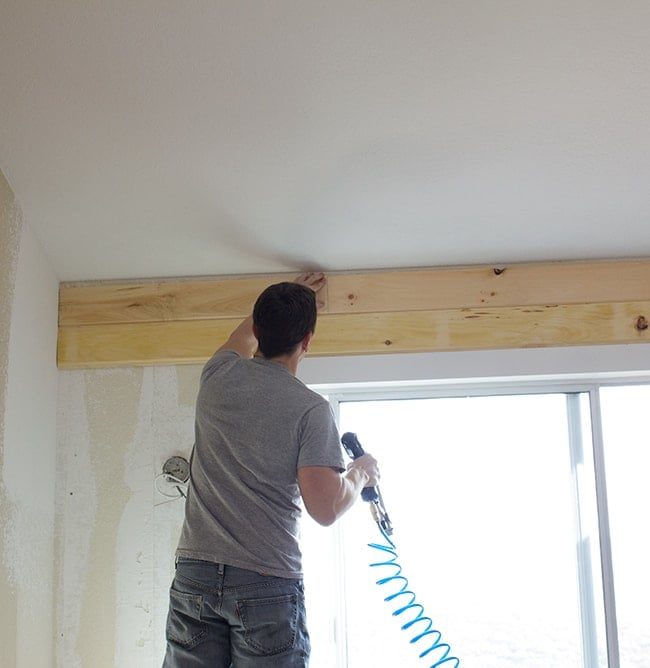
Sometimes you just gotta improvise.
The sides of the windows went pretty quickly…
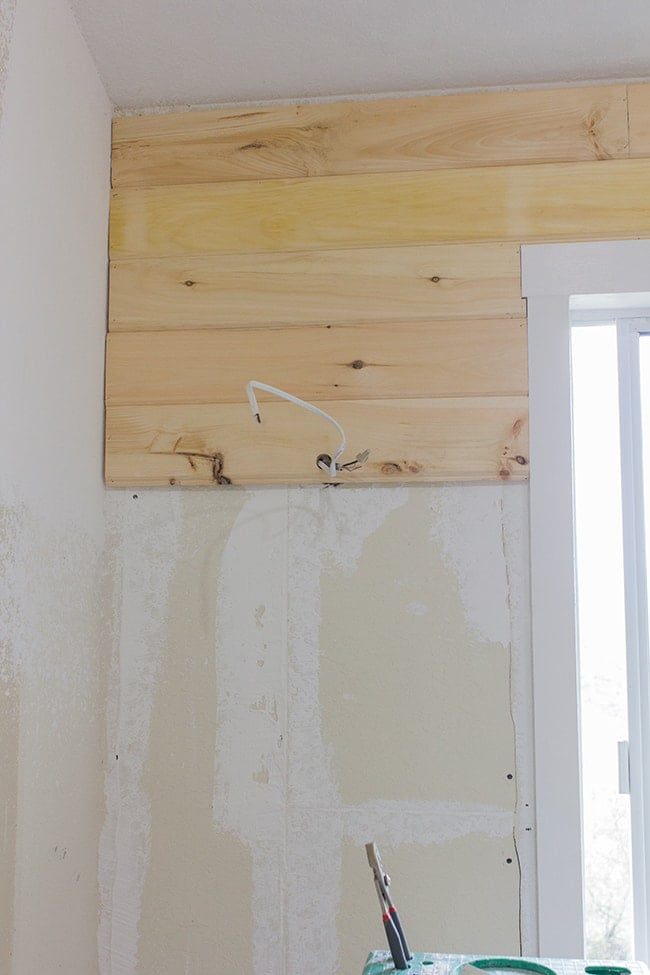
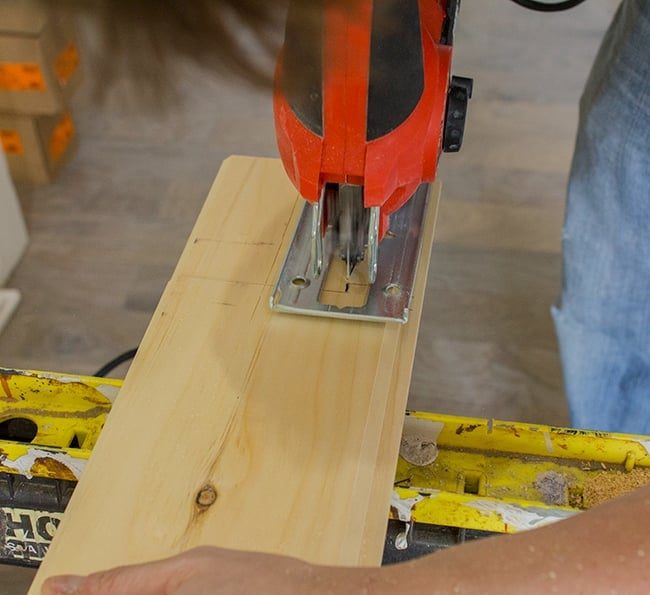
We did have to make a couple notches around the window frame. We are pretty good at this by now.

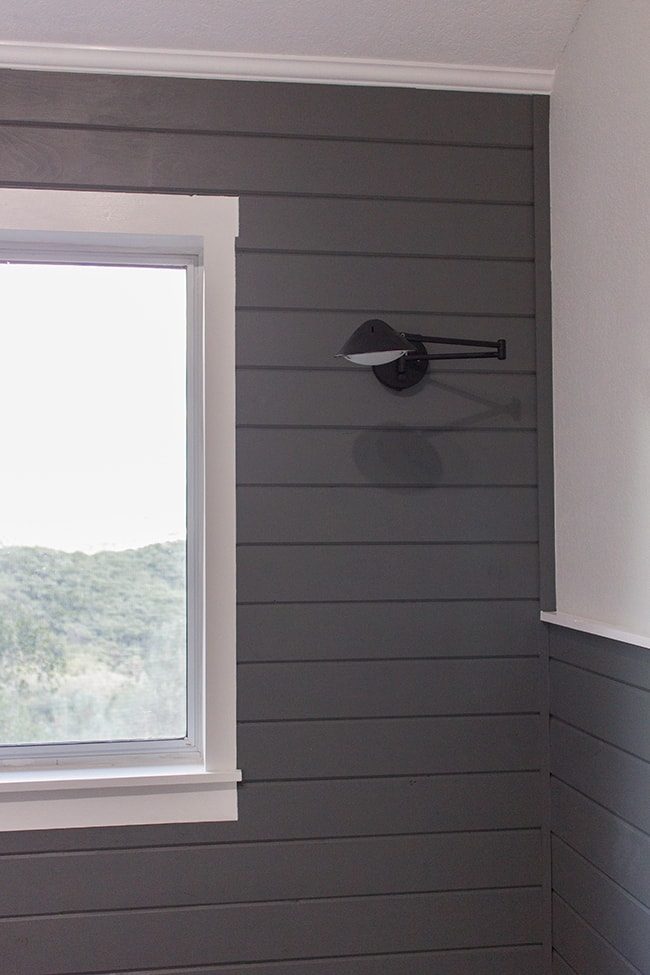
We also had our electrician run light boxes for wall sconces. These are the lights I bought:
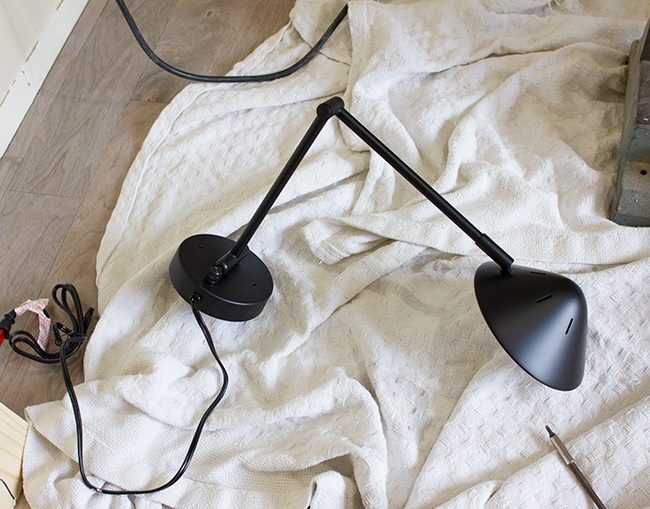
It helps to keep the library style swing arms and thought they'd be well suited for the studio. For $50 shipped, I could not pass them up.
The rest of the install was pretty straight forward…
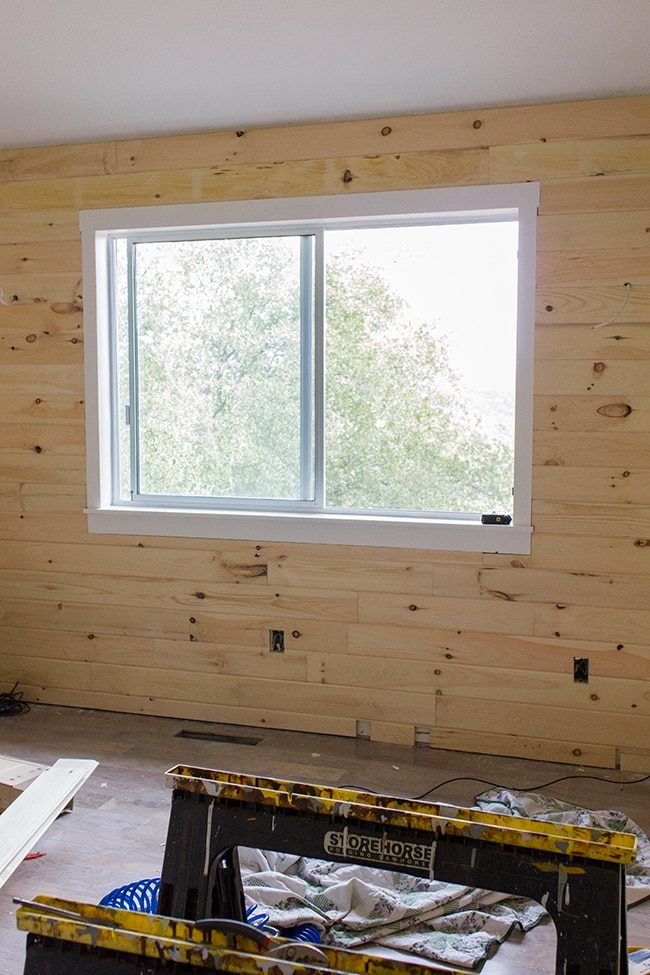
Instead of wasting a new board by ripping down a strip that will just be hidden at the bottom, we used pieces we had leftover to form a base to attach our 4″ baseboards to.
Then it was time for the half wall…

Same process here. Just had to notch around a couple outlets.
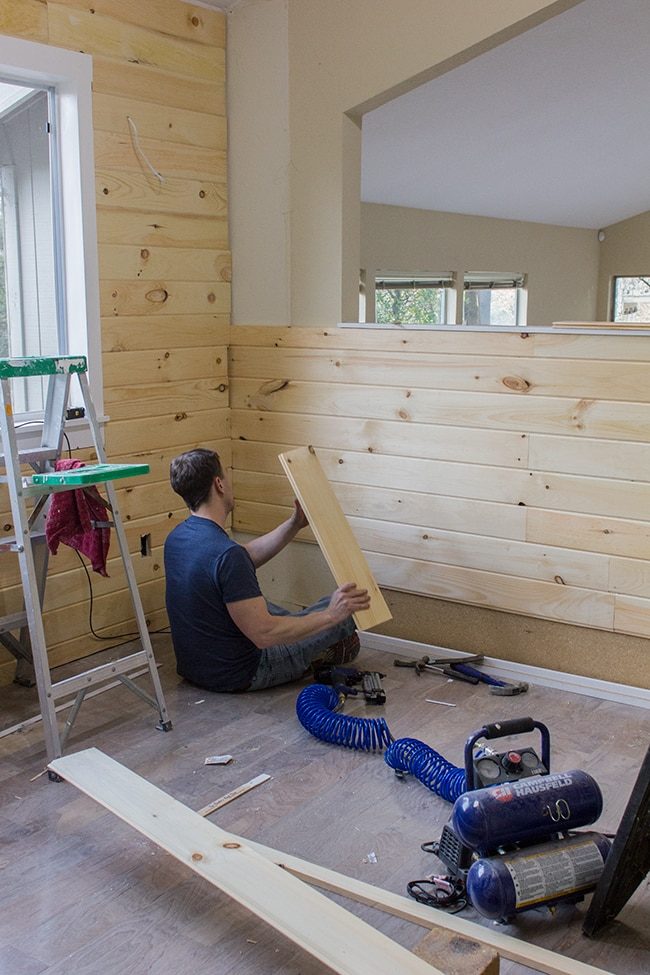
There were some gaps along the edges because we used pre-cut boards we had leftover from the kitchen so they would not go to waste. I had planned on using 1″ trim around the edges so the gaps did not matter.
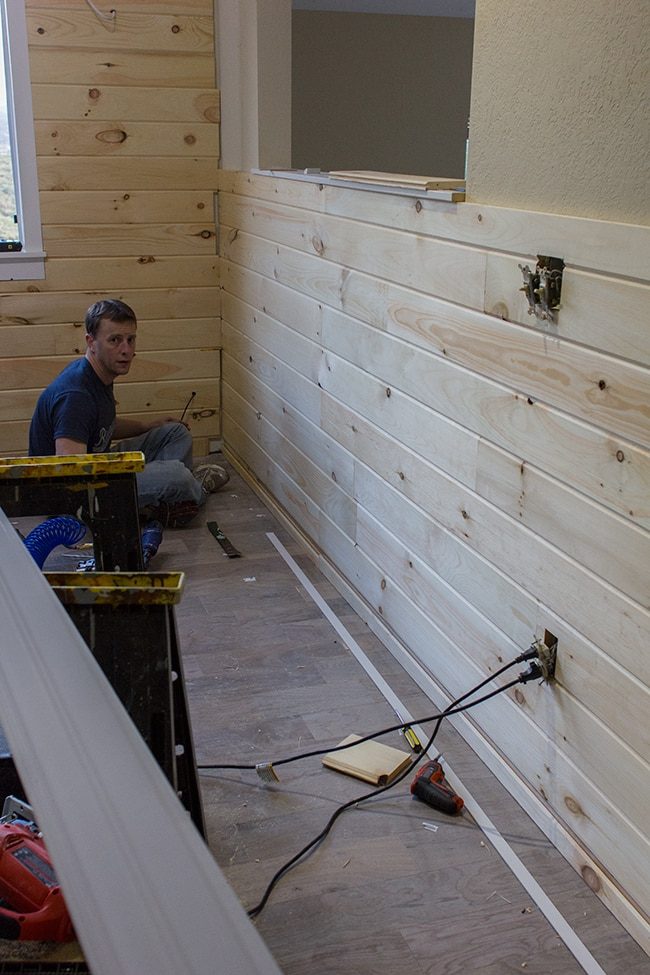
After all the boards were up, it was time to spackle the seams.
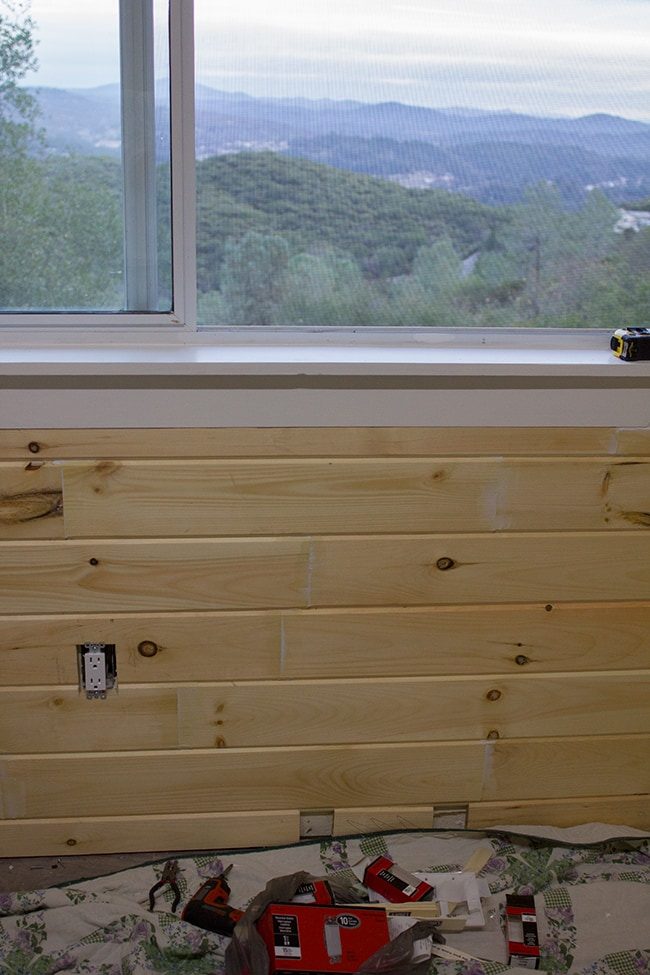
I was not sure what I was going to do with this unfinished edge. We had planned to put chair rail along the top but it did not work out how we wanted (it was too thin to hide the top edge of the planking) so instead we cut the plank to line up with the row on the adjacent wall.
Then I came up with an idea… remove the ledge, cut it down to the width of the wall, and run a 1×2″ along the top of the plank so there would be a small ledge all the way across.
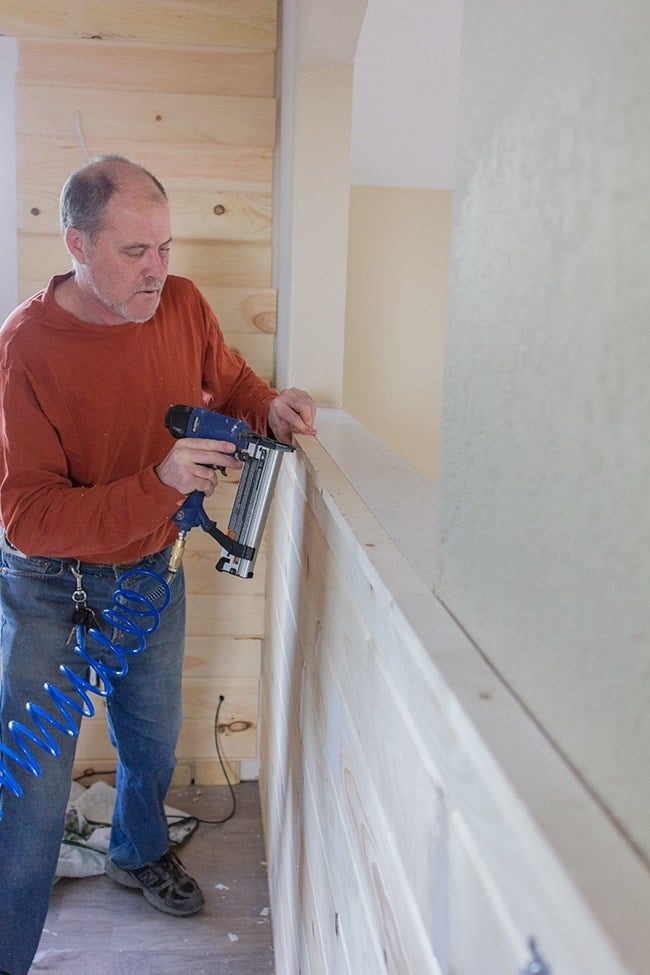
It was the well suited plan!
With that out of the way, we finished trimming out the edges. We ripped down a 1×2″ long piece in half and used one on each side (vertically).
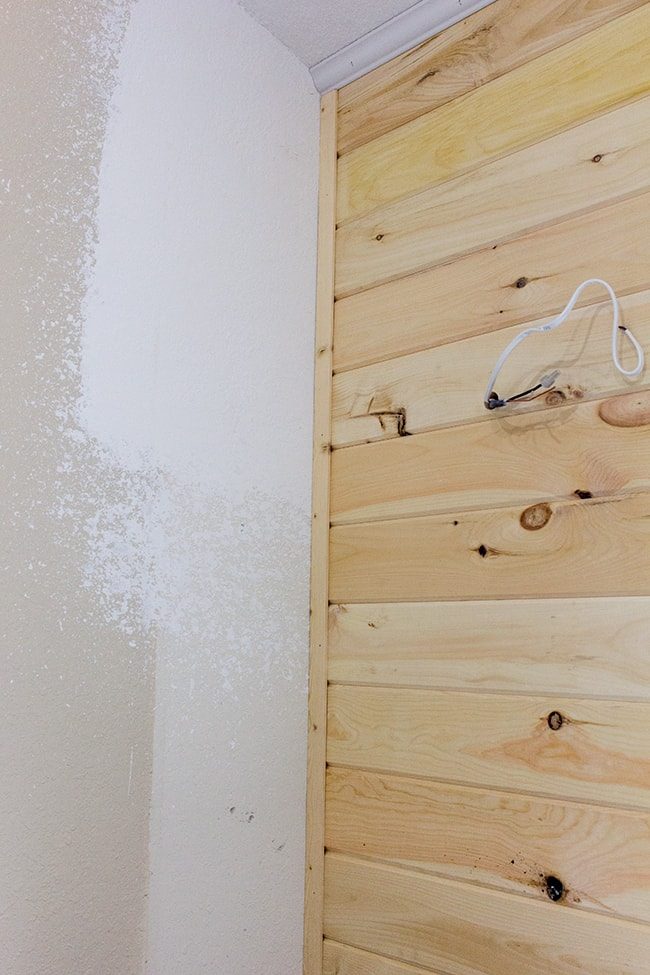
Then installed the crown:
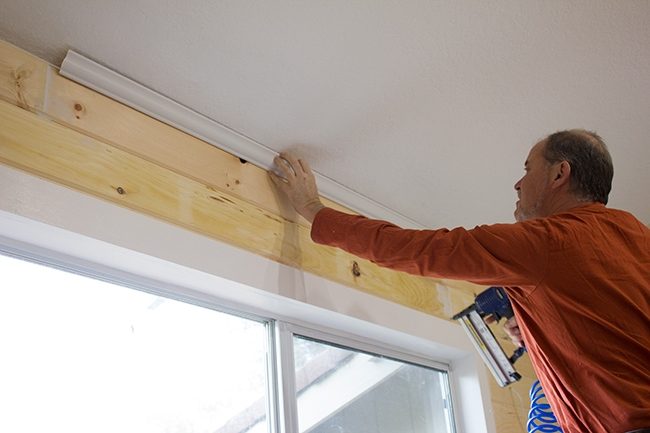
And the trim was done! Ready for caulking and sanding.
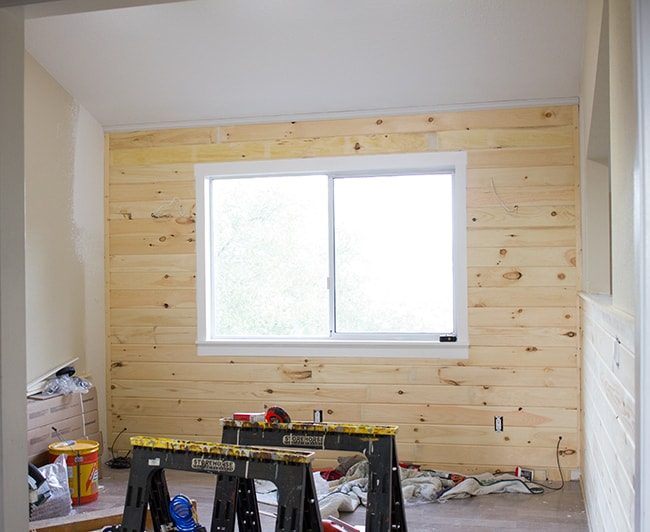
My dad came by with his belt sander again to smooth down the seams while I taped everything off.
And at long last, the most exciting moment when the brush rolls on for the first time…
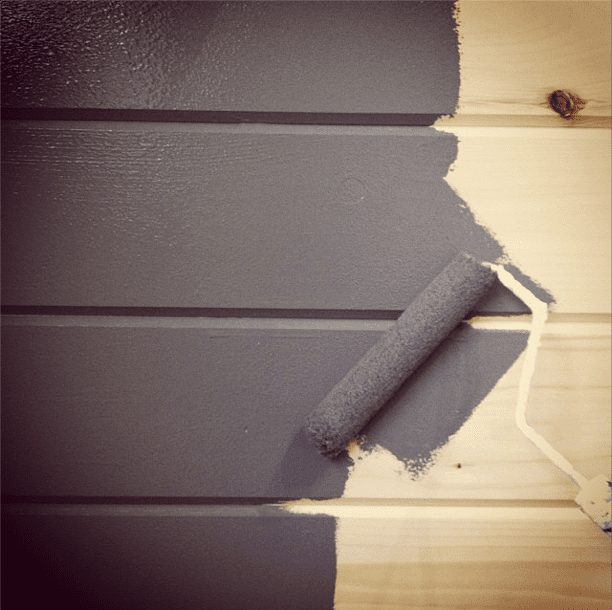
Absolutely loved the color, and loved the coverage. Valspar Signature never lets me down.
I went with Ocean Storm for the planks (in eggshell this time, just because)…
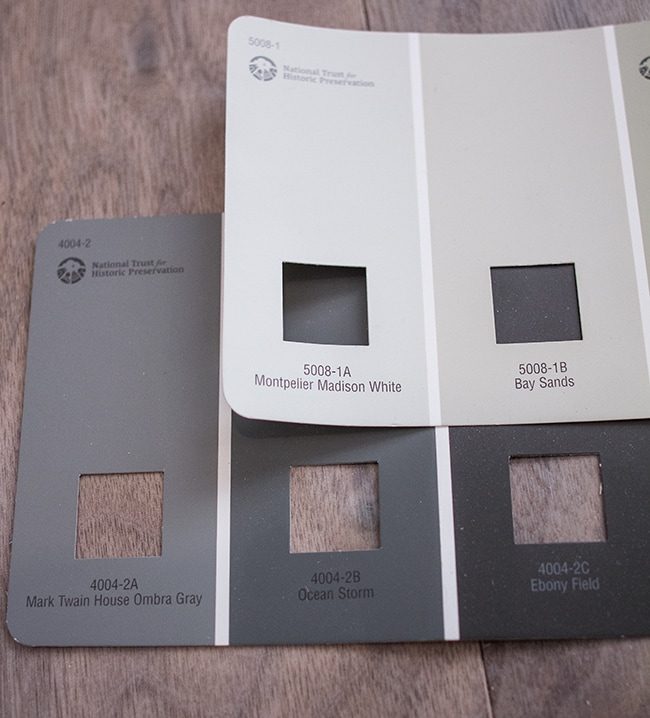
And decided on Montpelier Madison White (in flat) for the walls (this will also be the living room wall color—it is a particularly subtle gray). Pics of that in a second…
No in progress shots of the painting process—I was a woman on a mission. Two hours and two coats later and I was in love.
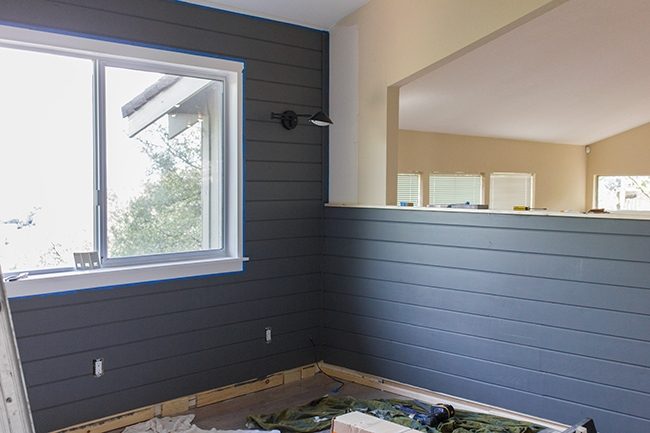
Brad even installed the lights for me.
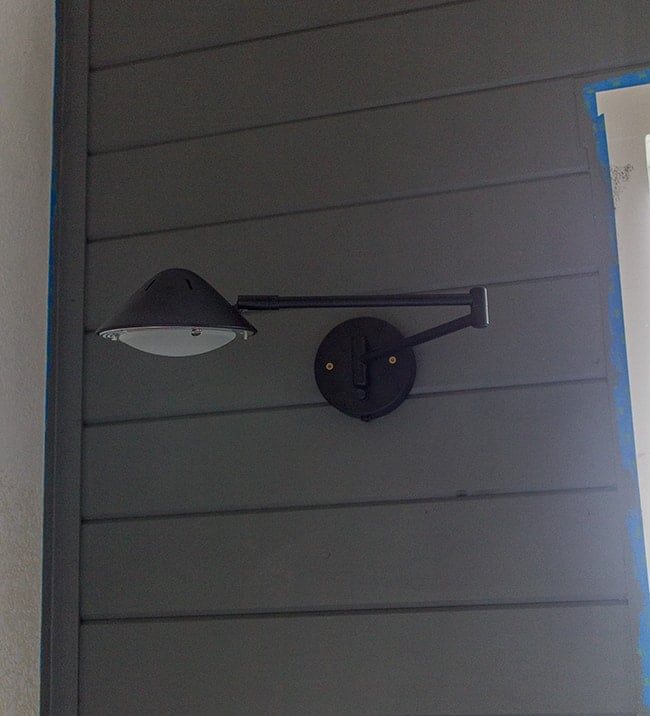
Ignore the light colored screws, they'll be painted black soon.
I did not waste any time on covering up those beige walls.
Here is the Montpelier Madison white in the can (I wish it had an easier to remember name!)

I was nervous it was too white at first, but compared to a true white—it was just what I had in mind.
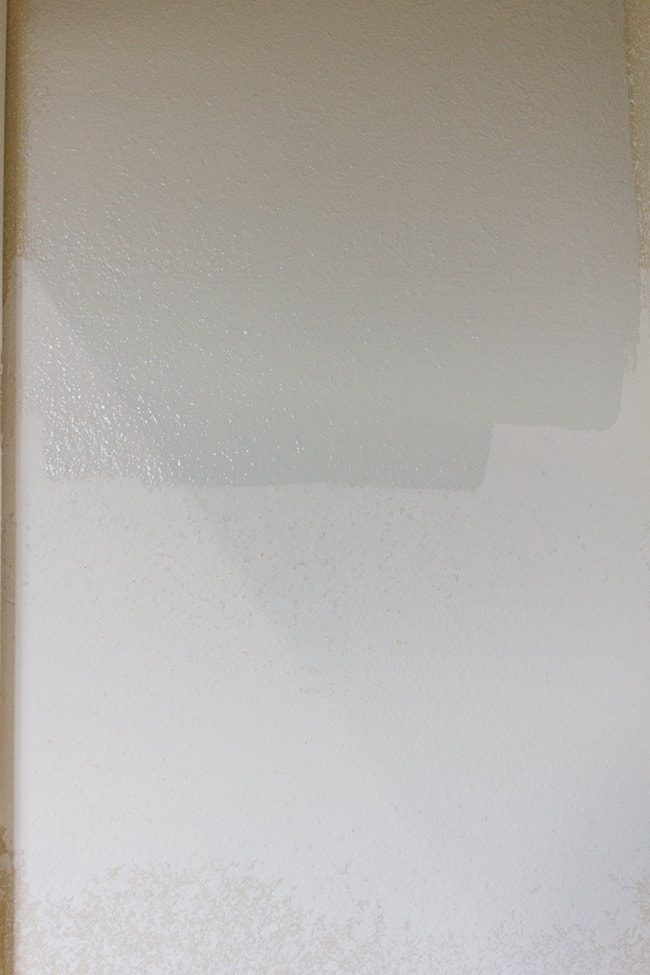
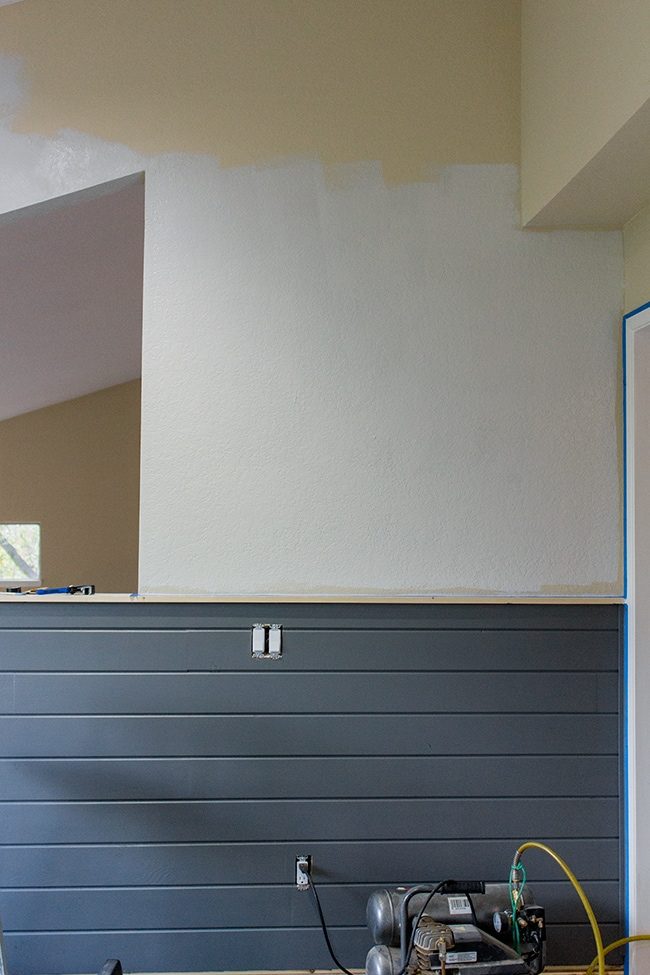
Even though it took just one coat to cover, this room was a nightmare to paint. I am one of those people who has recurring nightmares about falling off cliffs, and this vaulted ceiling situation did not help.
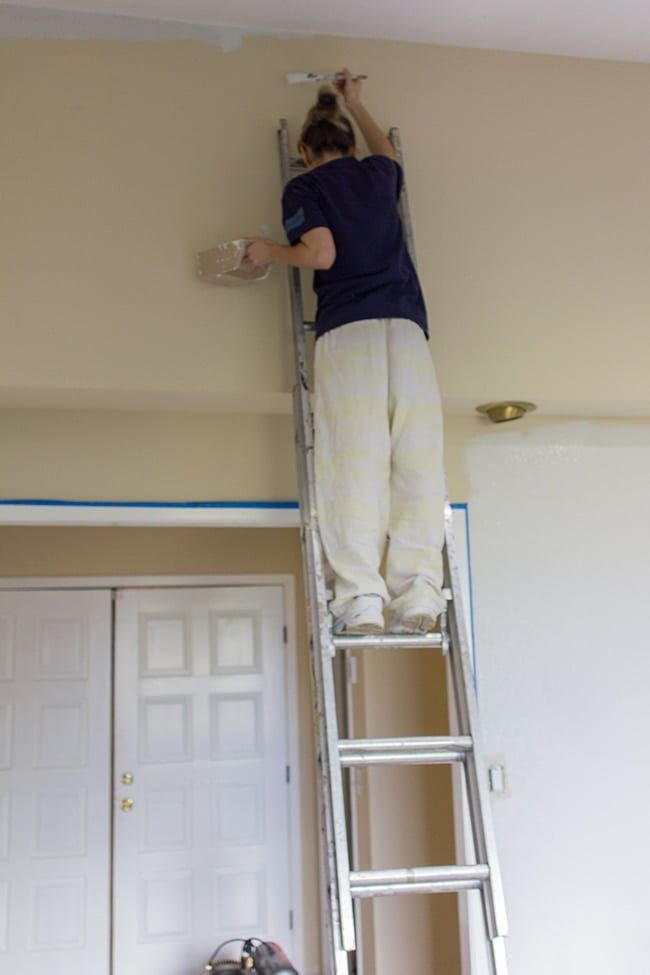
It is taller than it looks.
Brad and I took turns and I hated every second of it.
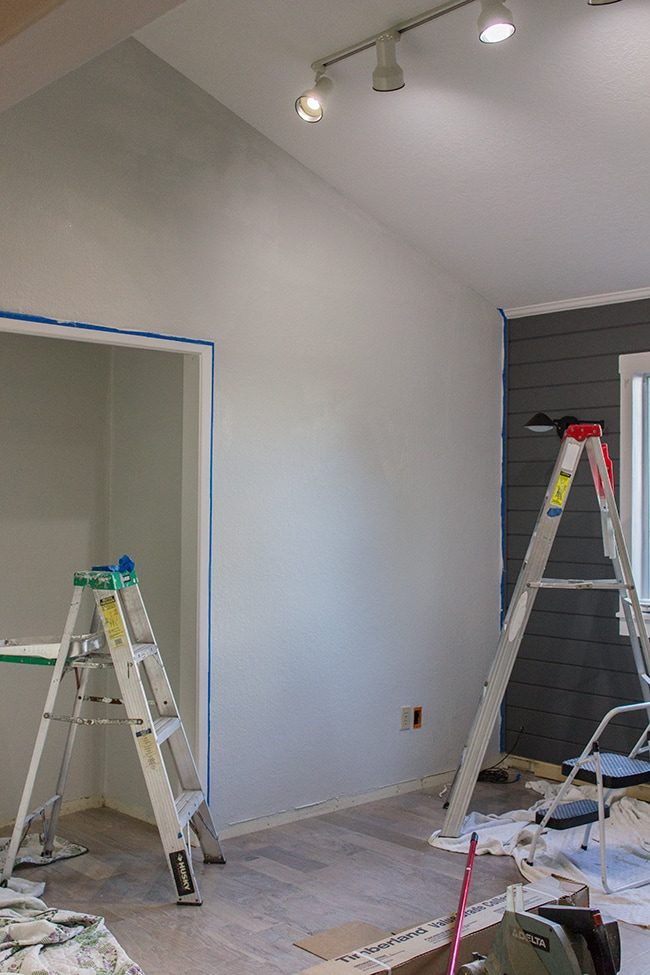
Fortunately, we managed to escape death or injury and I survived to paint another day.
That day was today, when I painted the trim…
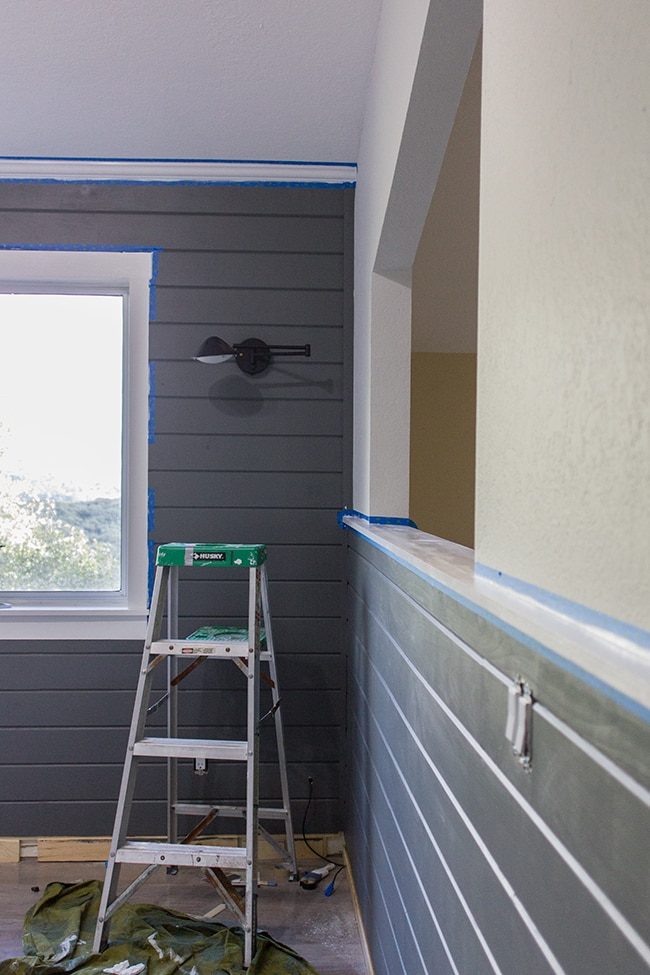
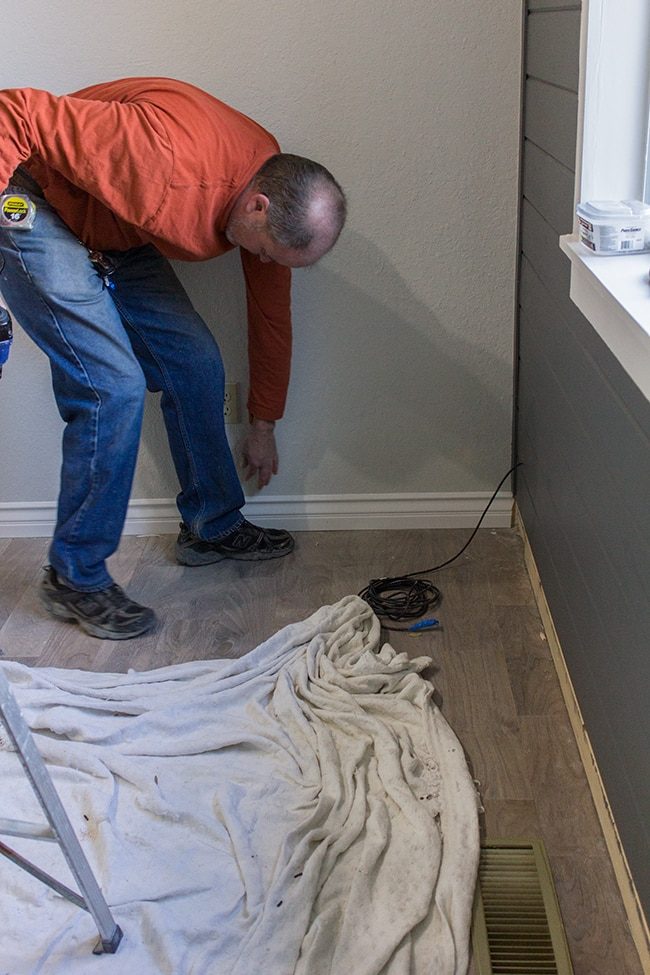
While my dad installed the baseboards.
And finally, after seven laborious days, this room is officially Move-In Ready.
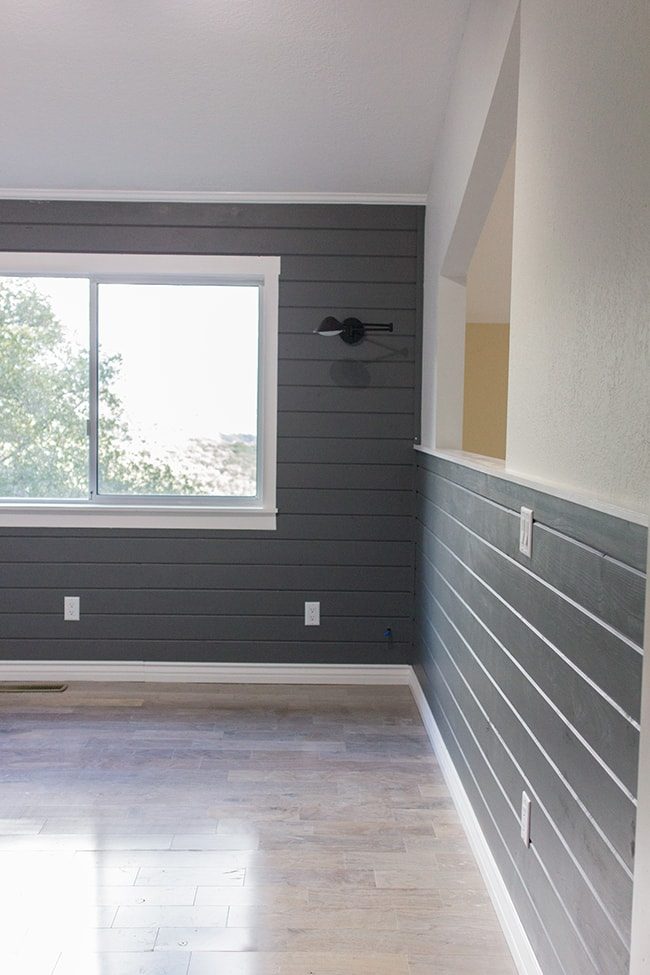
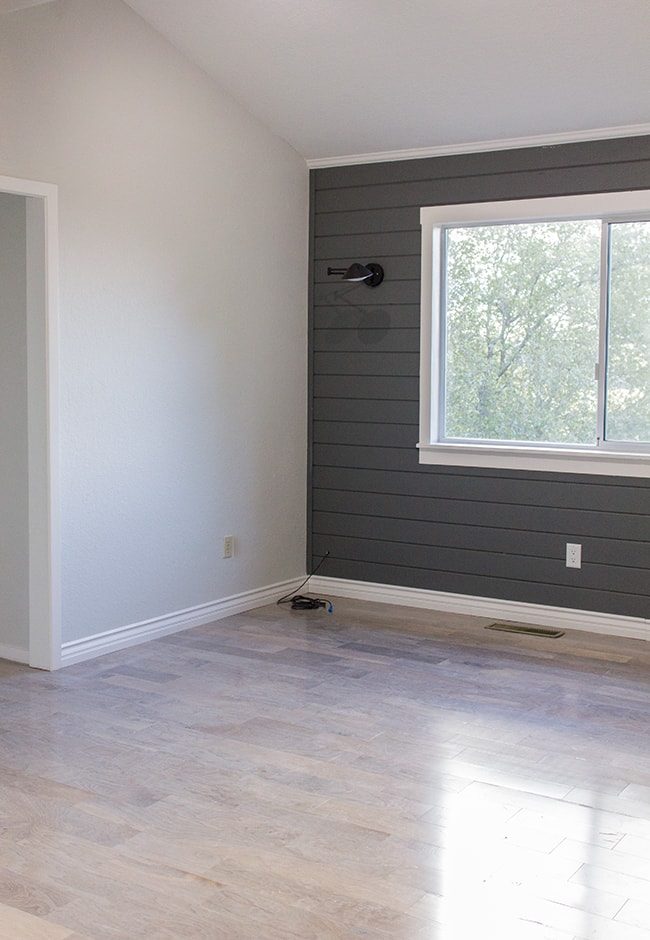
Do not mind the hanging light, I still need to remove and spray paint it white.
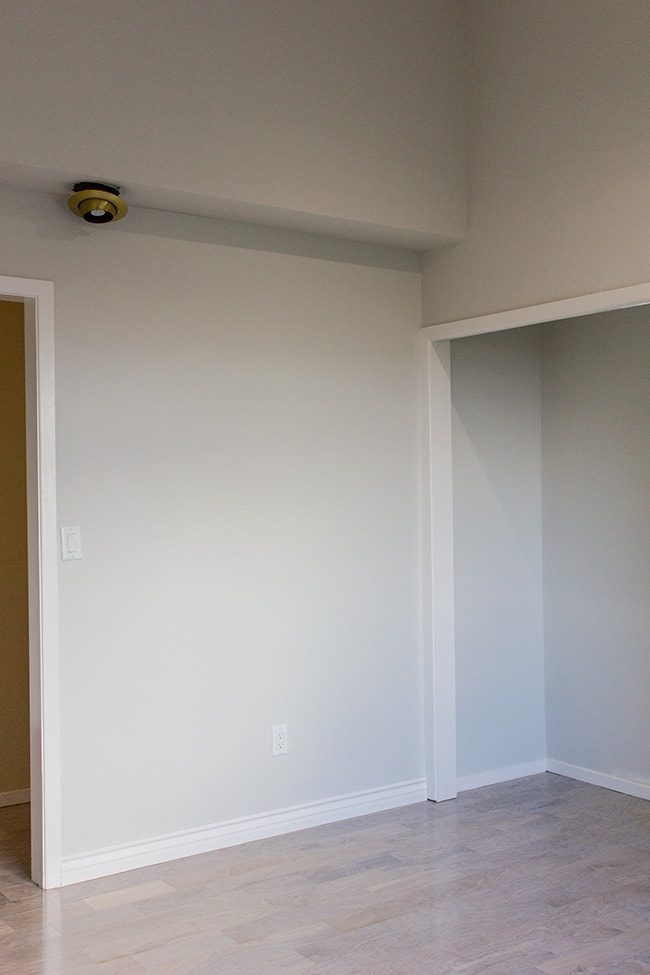 It helps to keep how this gray makes the floors look muc
h warmer.
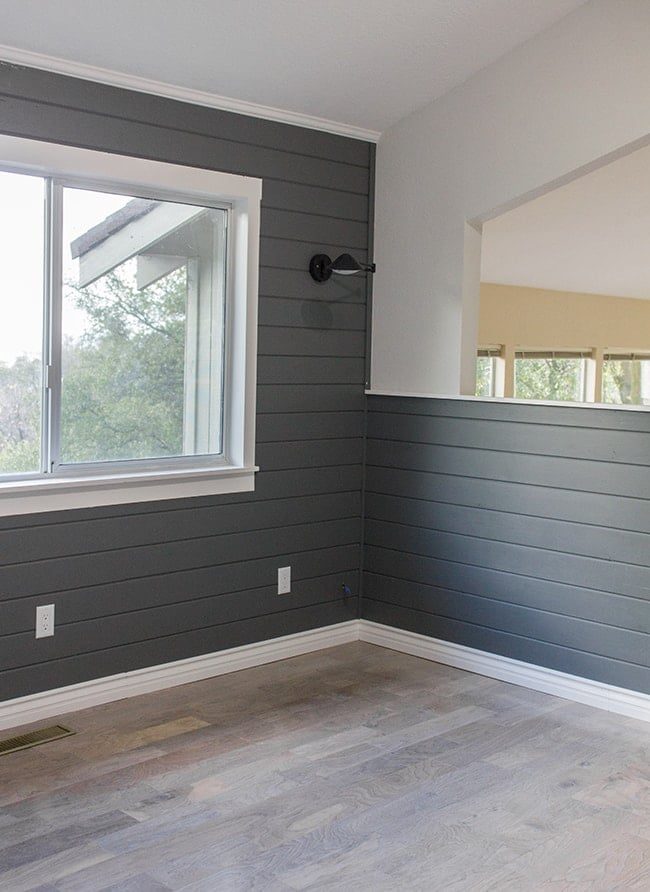
I plan to warm it up even more with natural textures and fabrics.
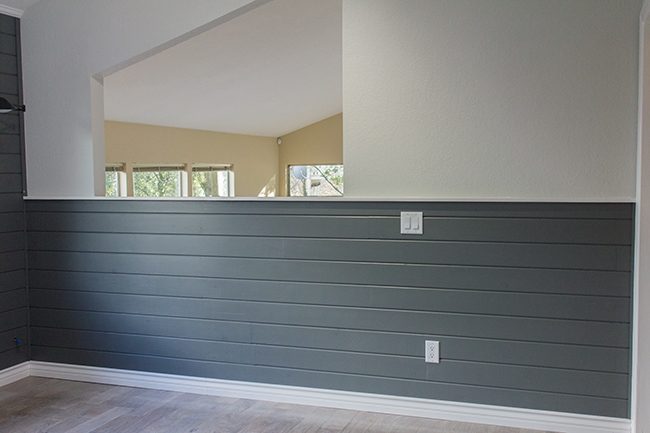
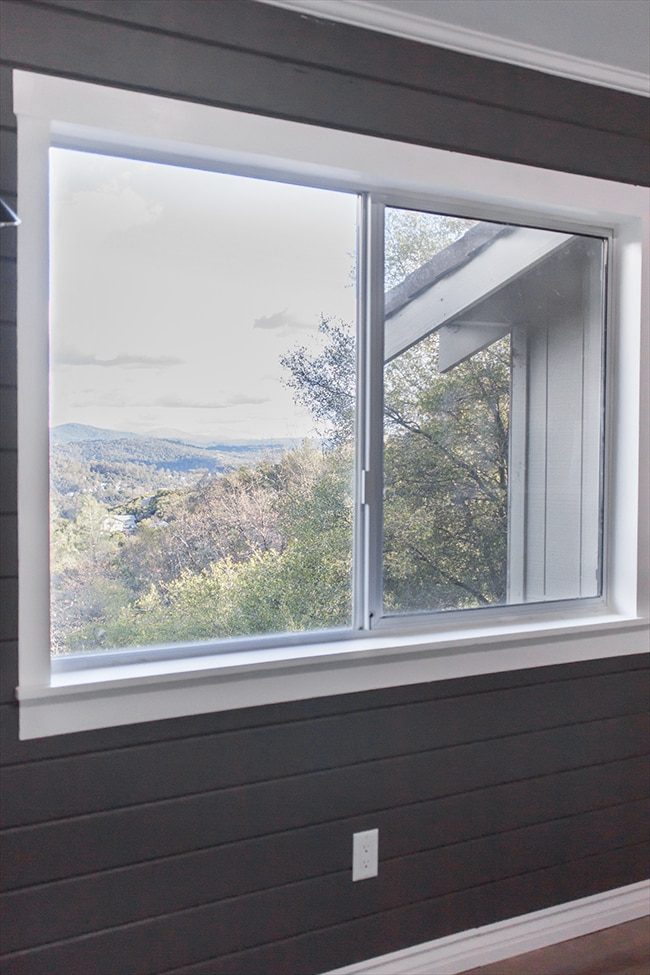
And I am excited about my little work lights.
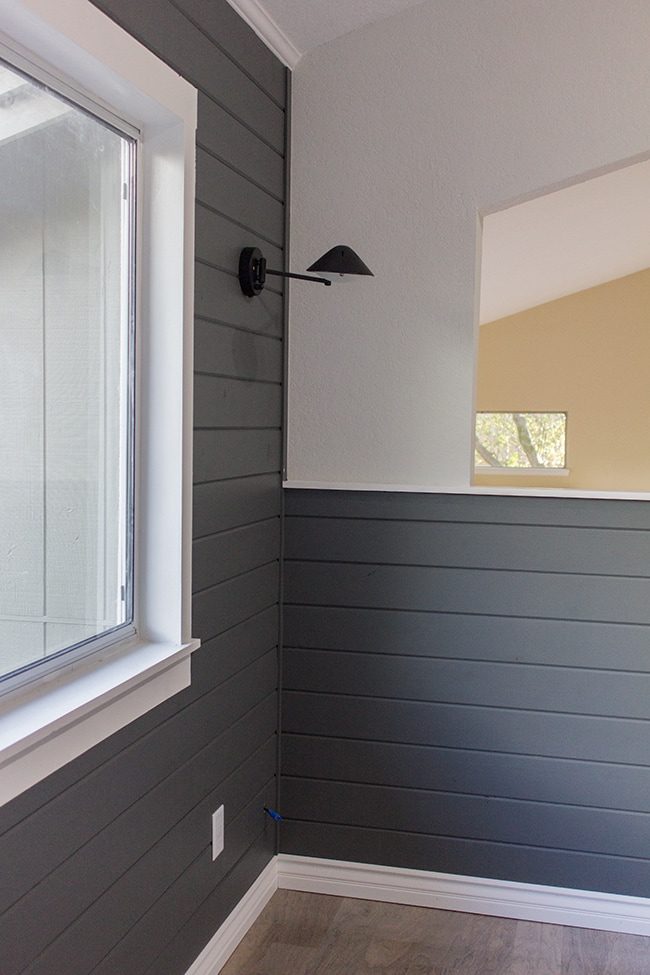
They'll be well suited for working at my desk when I am not in production mode.

And that about sums up our week. This is the one room in the house that absolutely had to be ready before our move in date (next Saturday) so it is a relief to cross it off our list.
Of course, the journey here is only halfway done… we still have to set everything up and decorate which is the most exciting part.
I'll have a kitchen update for you in just a few days. We have had another setback so it is not going to be as ready as I would like, but the floors and cabinets are in and I cannot stop staring at it. You will see why very soon!
Off to recuperate for the weekend…