New Laundry Room: Cabinets, Butcher Block & Farmhouse Sink
When I left off last, we had installed our reclaimed wood floating shelf and the wall looked like this: And finally, after TEN LONG WEEKS, our custom cabinets arrived at…
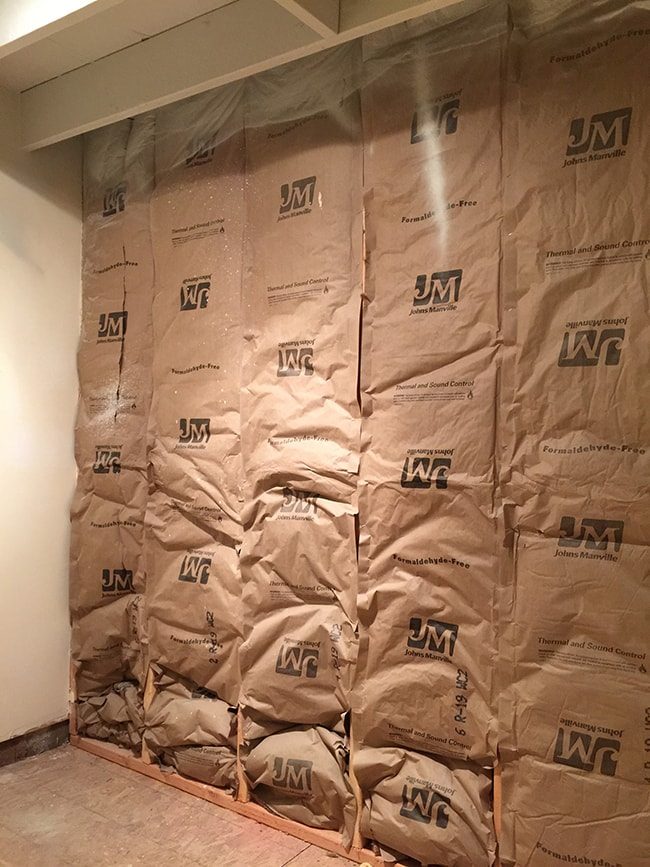
When I left off last, we had installed our reclaimed wood floating shelf and the wall looked like this:
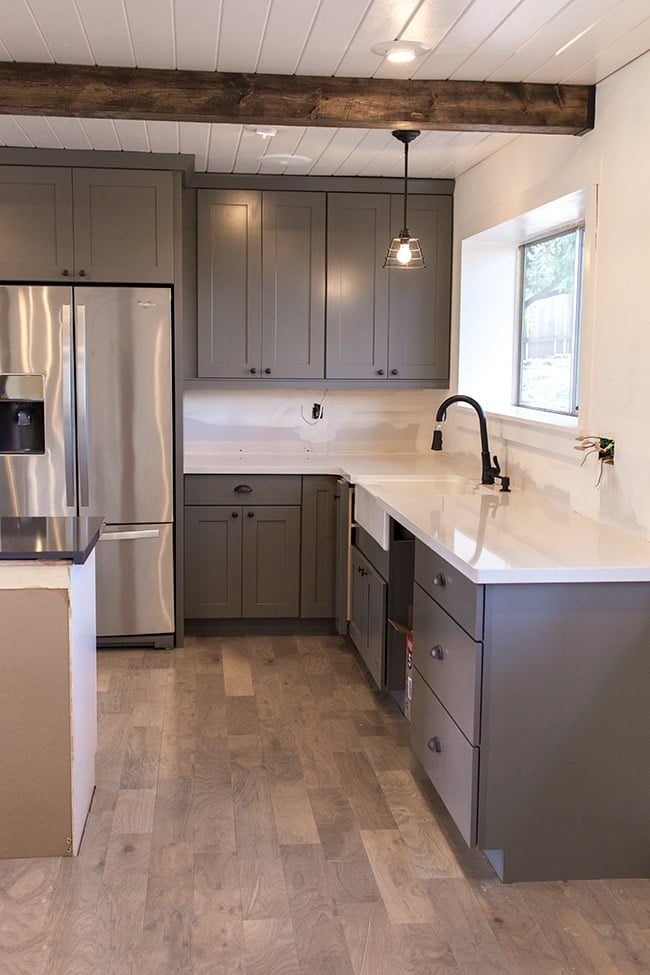
And finally, after TEN LONG WEEKS, our custom cabinets arrived at Lowe's (Diamond's Hanson style in Cloud). We happened to be in Florida last week but we were still able to schedule our install during that time. A friend went to check on the house and sent us this photo:
Can I get an Amen? These ten weeks have felt like ten months! We were so happy to have them taken care of when we returned. But there was no time to celebrate because the next day we had to install the counters. Now, we have had our fair share of bad luck/DIY struggles in this room, but these counters turned out even better than I had hoped and I am so so glad I went this route.
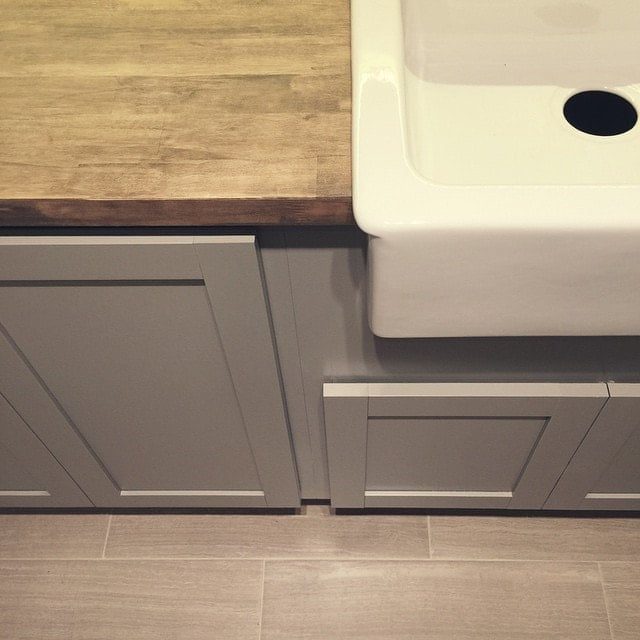
In the interest of saving money, and also because I just love a nice wood countertop (which Brad vetoed for the kitchen), I came across the Ikea Akerby butcher block for only $99.
Here is the counter, straight from the factory:
Nice enough but not quite what I was going for. I wanted something more rustic and with that “aged wood” coloring that would match the reclaimed wood shelf. So I started sanding with 120 grit…
After removing what I thought was the top layer of wax, I mixed up a concontion of approximately 2/3 Minwax Provincial and 1/3 Rustoleum Weathered Gray and stirred it up…
Then applied the stain with a rag:
Immediately I knew that I hadn't sanded enough—the stain went on too smoothly and seemed to just sit on the surface. I stuck it out though to see if it might improve once dried…
Nope. Time to bust out the big boy. I broke my dad's belt sander (it was older than me… time for an upgrade) and after reading a bunch of reviews, I chose this Hitachi belt sander for $149:
Holy crap… what a difference!
In 5 minutes flat the entire counter was sanded down to the bare wood. So easy. Worth every penny, and now I cannot live without this tool.
Since I was going for a more rustic/rough look, I skipped any wood conditioner and went straight to staining. The light colored bare wood absorbed it beautifully.
I had to buy two counters since our cabinets were a couple feet too long—so for the second shorter piece I only sanded & stained as much as I needed to save time.
After letting them dry overnight, they were ready for a protective coating. I used my go-to water based poly, Rustoleum brand in matte. Love this stuff.
It goes on a opaque-milky white but dries clear.
I used the recommended three coats and let it cure for a week, then they were ready to be fitted and cut!
The measuring part was easy since the cabinets were already in place and we knew where the sink was going. Once I made my mark, we clamped a straight edge down as a guide to keep the circular saw straight. This genuinely was not even needed since the edges would be hidden under the sink lip, but it never hurts!
With the way our sink is designed, the front corners also needed to be notched out, which we did with a jigsaw:
For the sink, I knew right away I wanted a farmhouse style (the sink in our kitchen is one of my favorite things in the room!). Since we did not need an undermount in this space, the Ikea Domsjo was the best and most cost effective option. I bought the single bowl—if you follow me on instagram, you already saw it a few days ago…
We'd never installed a sink before so it was brand new territory here, but fortunately there is a lip around both the top bottom so all of our cuts would be hidden. Whew! Our former-carpenter-neighbor also stopped by for a few minutes to help.
After hoisting the sink up onto the top of the cabinet, we marked where the cuts needed to go. We had about an inch of buffer space here where the sink overlapped so it did not have to be exact.
Using a squared straight edge we connected our lines…
Our neighbor offered to make the cuts and used a circular saw to get the straightest lines. We also taped around the edges so the saw guard would not scratch the cabinets.
Once the piece was cut we did our first test fit…
Totally did not fit. Sigh. This is why:
With Ikea cabinets, the sink is held up by brackets from underneath and rests along a thin metal piece across the top but our cabinet is wider than the sink so we could not use the brackets. Instead we spent about an hour modifying the opening to get it to rest properly on the cabinet.
There were plenty of spots where the opening was a little tight, so we slimmed down the sides and parts of the counter with a jigsaw…
But the biggest obstacle was having to taper down the edge to fit that angle underneath the sink…
We jigsaw'd and sanded and dremel'd…
Once I grabbed the belt sander and switched to 80 grit, the wood tapered down in no time.
We finally got it just right.
Success!
Because this room was just thrown together as an afterthought and the walls/floors were not square, the cabinet installers had to move everything forward so it could be level but that left us with a bit of a gap behind the sink and counters. It will mostly be covered by tile and grout, but I still thought we should put a small piece of trim against the wall so nothing could fall back there.
Once that was up, we could secure out counters and sink. After a bit of research we decided that liquid nails would work just fine for everything. There are lots of contact points along the underside of the (heavy) counters, plus the (also heavy) sink which is sitting on top and holding it. I ran a thick bead along every piece that would touch the counters, front back and sides…
Then once the counters were set, I ran it along the edges where the sink lip would sit.
Brad also used it all along the base of the sink underneath the cabinet. They are not going anywhere!
One last matter of business… because these cabinets were shimmed like crazy to get them level, we ended up with some unsightly, quite visible shims on the left side:
At first we were going to add trim but a special color matched piece would take weeks to get in, be an added cost and make it stand out even more… so we improvised. I found this scrap wood piece in the garage that happened to be the exact same size as the shiims:
I used an arbor to drill out a couple perfectly sized holes and colored them using the touch up crayon that came with the cabinets. Now we have little feet that look like they are just part of the design.
Cannot even tell when you are standing.
And there you have it… custom cabinets, counters and Ikea farmhouse sink! I have waited so long for this post.
Here is some handy pinn-able recaps for reference…
We have already installed the door pulls, finished most of the baseboards and tiled the back wall but I'll save that for next time! Tonight night we will be grouting, Tuesday and Wednesday are the finishing touches, and Thursday will be our photoshoot. And hopefully we can get a plumber in there to hook up the sink during that time. THREE DAYS UNTIL THIS ROOM IS DONE FOREVER!!! I hope you are excited too.
I'll be back on Wednesday for a One Room Challenge update on our guest bath makeover. It is already an entirely different room, so make sure to check back in a couple days to see what's been going on. And as always, you can catch me on instagram for real-time updates!