DIY Shiplap Video Tutorial, the easy and inexpensive way!
Today I am trying something new. Normally I stay behind the scenes as I have never considered myself as the outgoing, on-camera personality type, but you know what? My…
Today I am trying something new.

Normally I stay behind the scenes as I have never considered myself as the outgoing, on-camera personality type, but you know what? My life was never the same when I faced my fears last year and I am not about to stop there. So long, comfort zone.
I was not sure where this new video medium would lead when I started, and I still do not to be honest, but I am getting more comfortable at it each day and absolutely loving the process. And that is what life is all about, right? Enjoying what you do while working on yourself.
So just before I started planking my bathroom walls a few days ago, I decided I would go all out and make a how-to video tutorial. If you are a visual learner like me, you will definitely get more out of this than the standard blog post recap—though I already did one of those back in 2013 during my first wall plank attempt in the Florida house. Time to switch it up!
Here is my DIY shiplap wall planking tutorial:
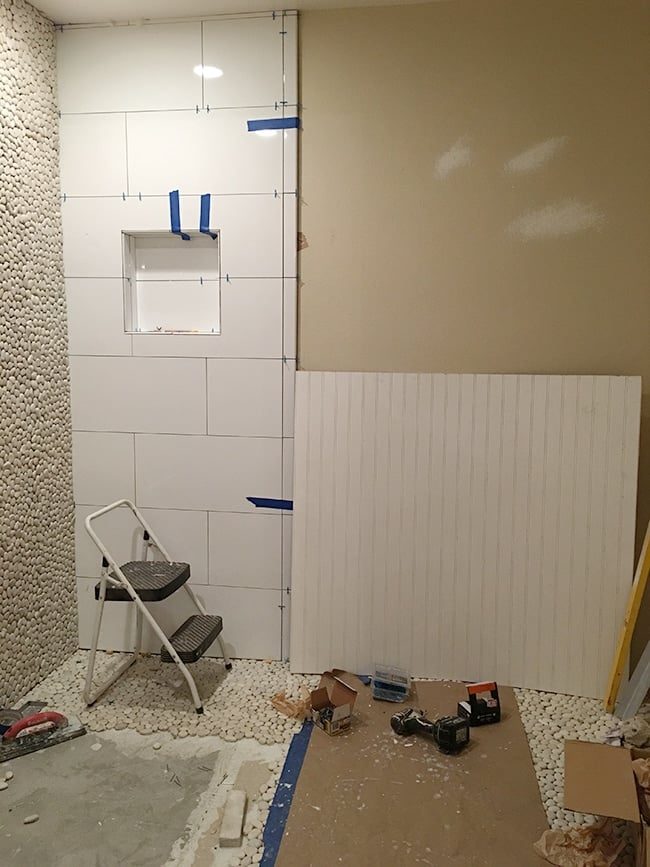
Let us rewind for a second. Originally I had planned on nailing up beadboard sheets (because it is quicker, cheaper and easier… not gonna lie) but when I saw it next to the tile, I decided I preferred the look of shiplap and it was worth the extra bit of effort.
After all, it worked out great in my guest bathroom…

Shiplap has become a loosely used term these days (I blame Chip & Joanna for its addition to the general population's lexicon) and if you've followed me for a while, you know I have tried my fair share of wall treatments. This happens to be the easiest, quickest and most inexpensive way of achieving that shiplap look in my experience.
From a bare beige wall…

To a trip to Lowe's for supplies…

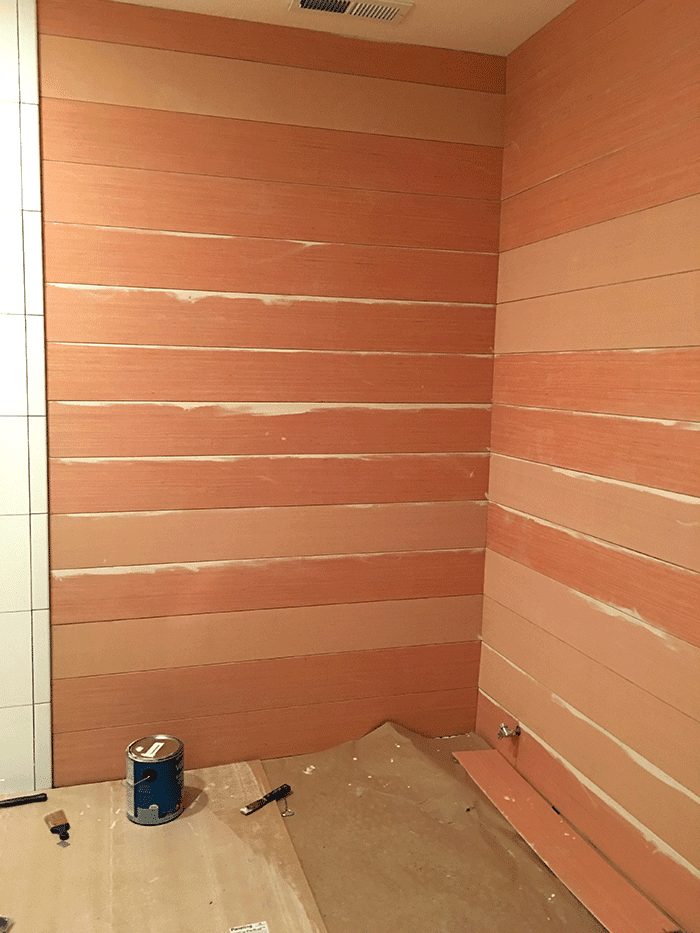
And a few long nights of measuring, cutting, nailing, spackling, caulking, sanding and painting…
And $175 later… I now have this:


The wall color is Valspar's Coconut Milk and yes, I finally chose a non-gray paint! It is a soft ivory-putty color, if that helps. And I think it will be well suited once everything comes together.
Speaking of timeline—things are about to move fast in this bathroom. Aside from the shiplap installation, this past week the drywall was patched and retextured, and plumbing installed and ready to be hooked up to the fixtures. Next week all of the tile will be grouted and sealed, and the toilet, vanity, sink and mirror will be installed—hopefully along with the wall lighting and possibly some wall shelves. Then all that is left to do is a few quick accessories and the glass shower wall which should be a unfussy drop-in. I am still on track to get this house on the market in two weeks!
There is a few detailed posts in the pipeline, but I am waiting until there is more progress so I can get some nice After photos for you. Appreciate your patience, guys! In the meantime, I am all over snapchat right now (@jennasuedesign) and as always, still checking in on instagram and facebook.
Let me know what you think of the video tutorial and if you'd like to see more content like that! I am still learning so things are bound to improve, but I could definitely see more of these in the future. I hope you enjoy it as well. Happy Weekend and (almost) first day of Spring!