Big Closet Reveal
The day we have all been waiting for is here, my friends! Ten weeks ago I shared my ambitious plans to turn this narrow, walk-through hallway into our dream closet……
The day we have all been waiting for is here, my friends! Ten weeks agoI shared my ambitious plans to turn this narrow, walk-through hallway into our dream closet…
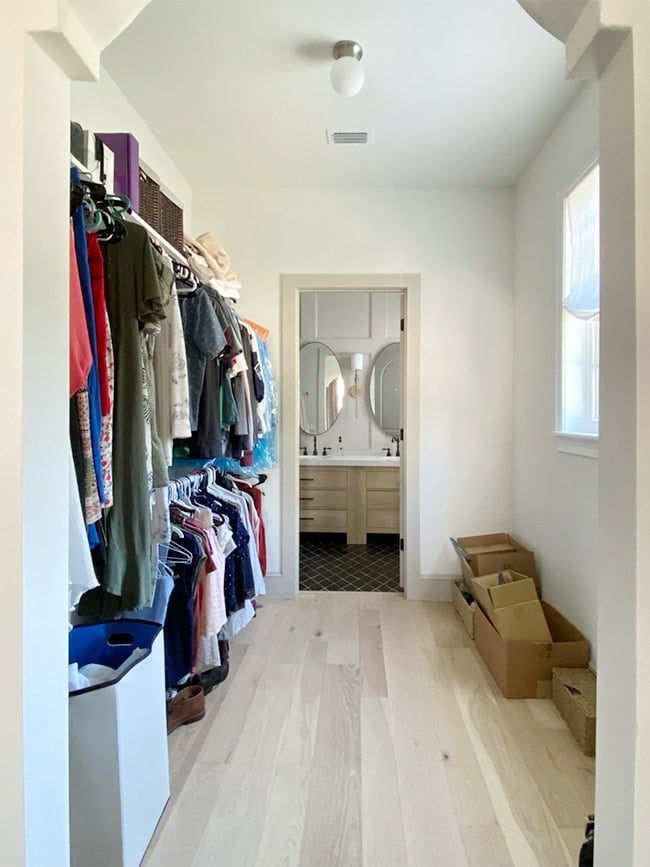
Since that day, we have worked tirelessly to bring that dream to life. And we did it!!!

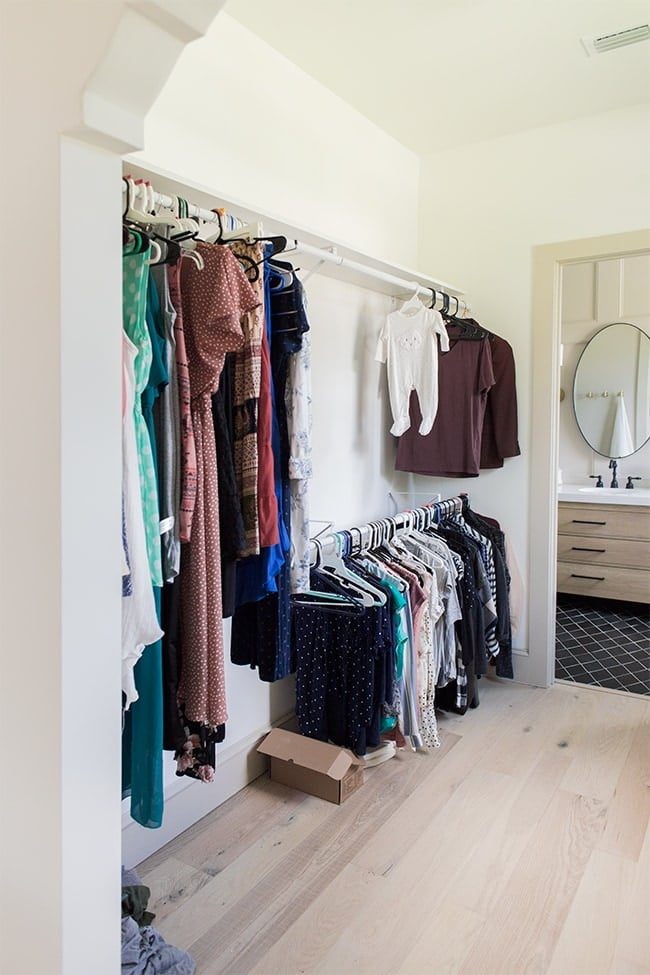
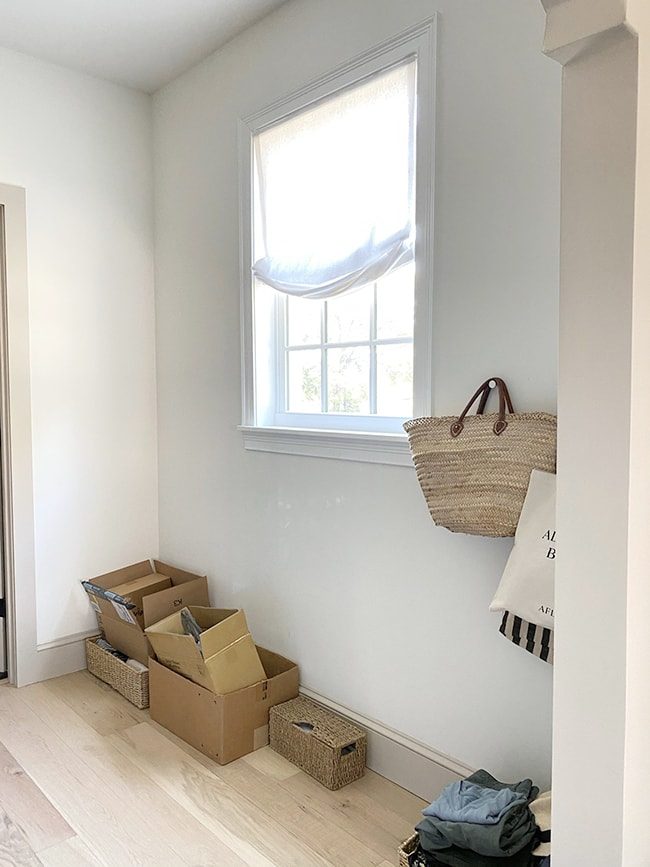
Let us recall how this space looked in the beginning…
And today:

And here on the right we have our vanity desk wall…

Oh man, where do we even begin?! If you've been following the progress here on the blog or over on Instagram, you know this was a true labor of love, and one of our more involved DIY projects.

I am breaking it ALL down at the end of this post, but first let us see all the pretty after photos.

The ceiling wallpaper was the very first project we tackled in here, and the light fixture was the last.

How cute is this vintage looking light? It helps to keep the way it mirrors the scalloped trim. And bonus points for the sleek upgraded vent cover.

The key to this project was having custom doors & panels made from The Cabinet Face, and making them one-of-a-kind with decorative trim pieces from Ekena Millwork. You will not get these results by installing Ikea cabinets & doors and calling it a day (psst, keep reading for a discount code at the end!)

Hardware choice is also important, as it is the “jewelry” that dresses up the space. I am thrilled about these budget Rejuvenation ball knob knockoffs—solid brass and high quality for 1/3rd the price.

I have plenty of favorites in this space, but this vanity desk situation might take the cake.

We built it using a 4' butcher block slab (stained using this whitewash technique), installed a 39″ Ikea Komplement drawerunderneath, and attached a 1×3″ panel to the front.

It actually was not too difficult at all—you just have to take precise measurements, and make sure everything is level and square.

Ready for my favorite part?

Accessory organizing heaven! I ordered two sets of these velvet jewelry traysthat fit nicely in the drawer. It helps to keep that everything is hidden but easily accessible. Oh, and do not look too closely at the attic access panel—my idea to attach it to the ceiling with velcro did not work out so well, so we are planning to redo it with magnets.

Let us look inside the other cabinets! Starting from the first 30″ wardrobe on the left (main) wall—here we have my dresses and a folding hamper, which fits nicely underneath the shorter dresses. It is lightweight, easy to pull out and transport to the laundry room.

The large 40″ wardrobe is in the center, and in here I keep all of my tops (and hats, at least for now). Side note: I bought these black plugs to fill all of the peg holes in the wardrobes, and these round hole covers to hide the silver cam locks. They make it feel much more finished inside.

The drawers contain everything from Lucas' socks/underwear/hats/shorts/pants, to my shorts, skirts and pants (I keep all of my undergarments/pajamas/DIY clothes in a dresser in our bedroom). I'll be sharing a video tour today in my Instagram stories if you want a closer look.

The last wardrobe on the left wall is another 30″ wide, and here we have Lucas' shirts on top and our warm sweaters/jackets below. Note that we live in Florida where it rarely gets below 40º/50º so this is pretty much the extent of our winter clothes.

I also took this opportunity to upgrade all of our hangers to these black velvet non-slip. They save space and make the closet look more organized and uniform.

Over on the right wall, we have our two 13″ deep cabinets. One has a hanging rod for Lucas' dress shirts, and our shoes underneath. Call me crazy but I am not into shoes at all. I wear the same three pairs all year and keep them in a basket by our door—these are all my “extra” shoes I have had for years and rarely wear. Lucas has a small collection too, so this setup works perfectly for us.

Less money on clothes & shoes = more money for house projects…. ha!
The last smaller wardrobe holds my purses, bath towels and four Ikea bins. Inside the bins I keep bathroom cleaning supplies, travel bags/toiletries, medical/eye care/dental/misc beauty products.

Our upper cabinets are empty for now, but our guest bedroom closets upstairs have bedding/pillows/seasonal stuff that we may relocate down here at some point. No rush to do that just yet—I am enjoying the abundance of extra storage space!

In case you are curious about how this closet connects our bedroom and bathroom, here is a look from our bed. So much nicer than staring at a wall of hanging clothes and boxes!

Another view from the entrance…

And from the bathroom (It helps to keep how the beige and black tie both rooms together):


This closet is tricky to photograph due to its size, so I had to use a wider angle for these shots which can make it appear more spacious than it is. Let us not forget it is only 7'6″ x 8'6″ (before cabinets!)

But I'll tell you, it actually feels a lot bigger after adding the cabinets because of the molding up to the ceiling and the wallpaper focal point. Your eyes go straight up and these 9'4″ ceilings feel a foot taller.

If you only take away one thing from this project, let it be this trick. Build your cabinets up to the ceiling, use crown molding and make your ceiling a focal point. You will be amazed at the difference it makes!

I had somewhat unrealistic expectations of perfection for this project and it certainly did not turn out 100% flawless. But when I stand back and look at the big picture, I honestly think it might have turned out even better than I had imagined.

There is this special feeling when you walk inside… it feels so fancy. Like I am touring one of those high-end designer Parade of Homes that one could only dream about living in. But this dream came true!

Sources
- Cabinet paint: Benjamin Moore Advance in Onyx (satin)
- Wall paint: Sherwin Williams Alabaster (flat)
- Trim paint: Sherwin Williams Accessible Beige (semi-gloss)
- Wardrobes: Ikea Pax
- Interior drawers/shelves/organizers: Ikea Komplement
- Custom cabinet doors and panels: The Cabinet Face
- Running trim
- Crown molding
- Chair rail (for doors)
- Brass Knobs
- Wallpaper
- Ceiling light
- Ceiling air vent
- Butcher block desk
- Vanity bench
- Hamper
- Vanity mirror
- Vanity drawer jewelry organizers
- Velvet hangers
- Roman shade
- Flooring
Links
- Design Plans + Layout
- Phase 1: Wallpaper, wardrobe + cabinet box install
- Phase 2: Dry fitting + adding trim
- Coming next week: Painting!
- Watch the 5-part process in my Instagram stories
Cost breakdown
- Ikea wardrobes, hinges, drawers, shelves & organizers: $1,334
- Custom doors and panels: $4,419
- Decorative trim: $647
- Lumber & custom cabinet materials: $297
- Paint/supplies: $193
- Clothes/jewelry organizing: $172
- Butcher block: $124
- Lighting, hardware & accessories: $351
Total: $7,537
In full disclosure, I partnered with sponsors for the doors, trim and paint so my cost was significantly lower. However, I would have gladly paid the full amount to get this result. I can only imagine that hiring a job like this out to a pro would be double the cost—but I have never quoted out a project like this so I genuinely do not know. Are there any custom cabinet makers reading this that can provide a ballpark estimate to compare? I know everyone is curious! (I'll update this post if I find out).
If you are considering going the Ikea + custom fronts route for your next project, The Cabinet Face is offering 10% off on all materials for the Sektion/Godmorgon/PAX through midnight on 5/26/21—you just have to add the code JENNASUE10 when you submit your plans using the form on their website. They are a smaller operation based out of Denver, but they ship all over the US and Canada. Do not hesitate to reach out to them if you need help planning, they are so helpful and wonderful to work with!

Was it worth it?
For us, there is no question it was—but it is also my job to do these projects and share them with you 🙂 Would I recommend this for you? I would say absolutely yes, but only if you…
- Enjoy doing DIY projects, and have at least a base level of skill/knowledge
- Are willing to dedicate your weekends to this for a couple months (or more)
- Have patience, attention to detail, and can let go of 100% perfection
- Want a high-end custom look but do not have the budget to hire a pro
If you have not already, make sure to watch all of my story highlights for this project on Instagram. You will get to see the process from start to finish, including the challenges and setbacks we faced, and how we overcame them. If it seems like something you can handle, then I say go for it!
Q&A
A couple days ago I posted a Q&A form on Instagram—here are my answers to the most popular questions:
Q: How many hours did you spend on this project? That is a hard one! I started planning about three months ago and I would say maybe ten hours went into that alone. Over the last two months we dedicated a handful of full work days, but the majority was just a few hours here and there. If I had to guess… I would say 70-80 hours?
Q: Why did not you use Ikea doors? I covered this in the Design Planspost, but a few reasons: 1) the Ikea door selection for Pax wardrobes are extremely limited 2) my design plan included custom sized doors + custom upper boxes that needed matching doors 3) the Ikea doors are pre-finished and more difficult to paint
Q: Would it have been easier/harder to do it from scratch, or are you glad you used Ikea frames? Honestly I do not think I would ever attempt a project like this from scratch. The custom upper cabinet boxes we built gave us the most trouble out of anything—I cannot imagine trying to get two walls of custom cabinetry perfectly aligned (not to mention all the interiors drawers—forget it!) Using the Pax wardrobes was without a doubt the best move here—even if you are a professional, it is so much easier and they are quite affordable.
Q: Could you have gotten by without dry fitting first? Maybe, but that would have made install much more difficult. We would have had to cut/rip down pieces after they'd been painted, and repaint them. We also probably would have ended up with a few uneven gaps. Dry fitting is always worth the extra time!
Q: Did you caulk the trim work at all? Nope! The goal was to have minimal touchup/painting at the end after we got the painted doors and trim in place. We used liquid nails and a few finish nails for the filler pieces, and mostly just liquid nails for the lightweight decorative trim. I used a small dab of wood filler and damp rag to wipe the excess (no sanding) and touched up the holes with a small paint brush (brush or roller marks would be noticeable over the sprayed finish). The edges along the wall did not need caulk—maybe it is because they are black, but the edge looks perfectly clean against the wall as is.
Q: What would you have done differently? I do not think there is anything I would change about the end result, but we did learn a few lessons along the way. We rushed through the cabinet box buildingand had to redo a few of them. We tried to make things fit together too perfectly and had to redo our work again. We did not read the manual when using our paint sprayer or pay close enough attention to our technique, and had to repaint. I do wish we had more time to let the paint cure before installing the doors—I'll share more on that next week! Looking back, I am actually glad we ran into those challenges, because that is how you learn and improve your skills.

I am working on a detailed video + blog post tutorial all about painting the doors & trim and will share that next week, so hang tight! Apart from the painting, let me know if I missed anything and I'll be sure to answer/update the post.
Now that this project is done, what's next for us? A nap sounds pretty good to me (ha, I wish!) Progress continues on our garage (Lucas is applying the final coat of stucco as I type), I am about to start on a much needed creative outdoor DIY next week and then we have a pretty big announcement coming at the end of this month. The fun never ends around here 😉