A new tub turned vintage with lime & chalk paint
You remember our guest bathroom reveal back in May, right? I cannot believe it is only been three months… feels like a lifetime! Anyway, I went over each step of the…
You remember our guest bathroom reveal back in May, right?
I cannot believe it is only been three months… feels like a lifetime! Anyway, I went over each step of the renovation and broke it all down for you, but there is just one project I have not talked about… the tub!
For weeks I was on the fence about how I wanted the tub to look. I was sold on a clawfoot, but was not sure if I should paint it black or leave it white or something else entirely. This is the model I bought:
 The company had an option to paint it at a very reasonable price which I considered… but I was nervous about the color matching the space once it arrived, so I waited to see it in person. It would have looked just fine in white, but I wanted this bathroom to be more than just fine. There was so much consideration put into everything else and the tub should be the focus of the room, so it had to be extra special. It sat in the garage to await its' fate…
In the end I decided black was a bit too dramatic and would compete with the floor so I wanted a soft warm gray, similar to the warm gray walls. Before anything was applied, I made sure to cover the surface with a good water based primer:
Once dry, I gave it a coat of the wall color (Valspar's Gray Silt) just to see how I liked it.
I loved how it turned out but knew it would be too much next to the walls. After running through several visuals in my head, I got the idea to lighten the color and create a subtle patina so the tub looked aged. It seemed like it would be a well suited fit next to the classic cement tiles.
Not sure how to do this, I reached out to Maison Blanche Paint Company to stock up on several options so I could experiment.
For this project I used the lime paint in White Pepper, which is a very pale warm gray and vintage furniture paint in Vanille. I also ordered a can their lime wax in white, to protect it and add another layer of texture.
I began by mixing both the lime and chalk paint in a bowl with a bit of water and applying it to my painted tub.
I used a brush at first but did not like the brush strokes so switched to a microfiber cloth.
 It left a subtle white haze when dried which looked interesting, so I kept going, continuing to add layers until I had the color I wanted.
 There was genuinely no method to it… I just continued to add paint to specific areas and then buffed out others to reveal the darker colors underneath, creating a layered patina effect. You can see a bit of the texture here:
Once I was happy with the overall look, I applied a light coat of the lime wax to give it that finishing touch and added protection.
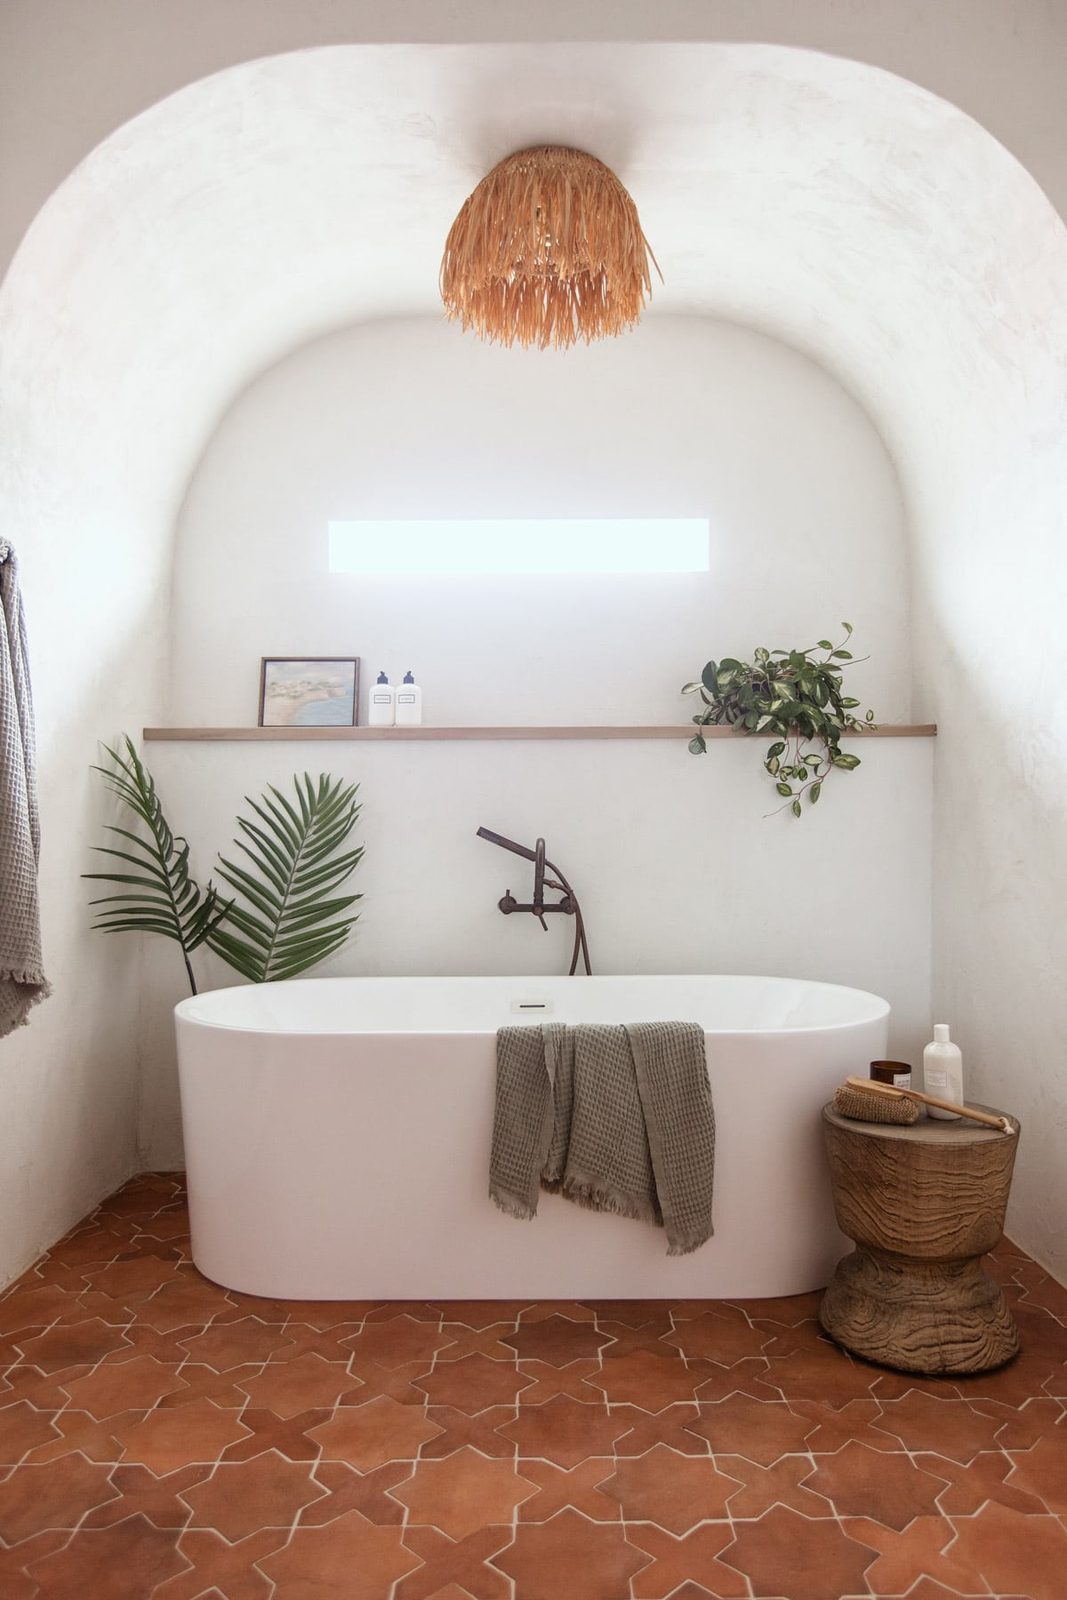
 Here is a good look at the end result:
 I also had to figure out what to do with the legs…
After thinking it over, black seemed like a good bet. I had already ordered a can of Maison Blanche paint in Wrought Iron just in case along with Le Dirt, which is an antiquing dust you apply to cracks & crevices to give something a particularly authentically aged look.
This part was my favorite. The chalk paint genuinely did make the feet look like wrought iron, and the Le Dirt made it look like they'd been around for centuries (or, at least decades…)
 Once the tub was done and the feet were mounted, the tub was brought into the bathroom…
And the plumbing installed…
(I also gave the drain a coat of Wrought Iron chalk paint to match the feet, and it still looks great today).
The tub was a well suited fit but after being brought into a new lighting situation, I decided it was still too dark, so I repeated the paint and wax application process until it was just right (only on the visible side of the tub though… shh, do not tell!)
And I am still very much in love. So glad I rent this route.
It is the icing on this room's cake, do not you think? Small details matter.
Now do not you want to go out and patina something? It is a lot more exciting than just painting, and it was nice to delve into my artistic side again even if just for an afternoon. Huge thanks to Maison Blanche for letting me explore new products and test them out—they have been such a huge help in pulling this space together.
And with that, the guest bathroom tutorials are complete! If you missed anything, you can find a list of each week's projects along with the sources in the reveal post.
A few of my blog friends also have some Before & Afters to share today… off to check them out now!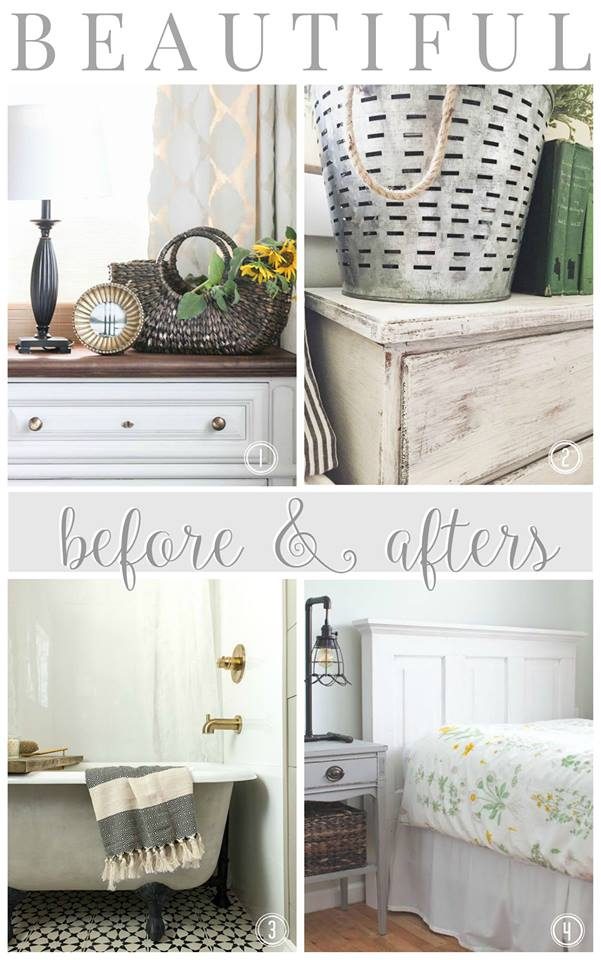
1: The Wood Grain Cottage
2: Liz Marie Blog
3: Afusu
4: The Golden Sycamore
I'll be back tomorrow with a final DIY project for my budget boy's room makeover, and then the big reveal on Wednesday! Really looking forward to this one…