DIY Anthropologie Coffee Table Dupe
Love the look of Anthropologie furniture, but not the price tag? Today I am sharing how to build your own custom Anthro x Amber Lewis Henderson coffee table for a…
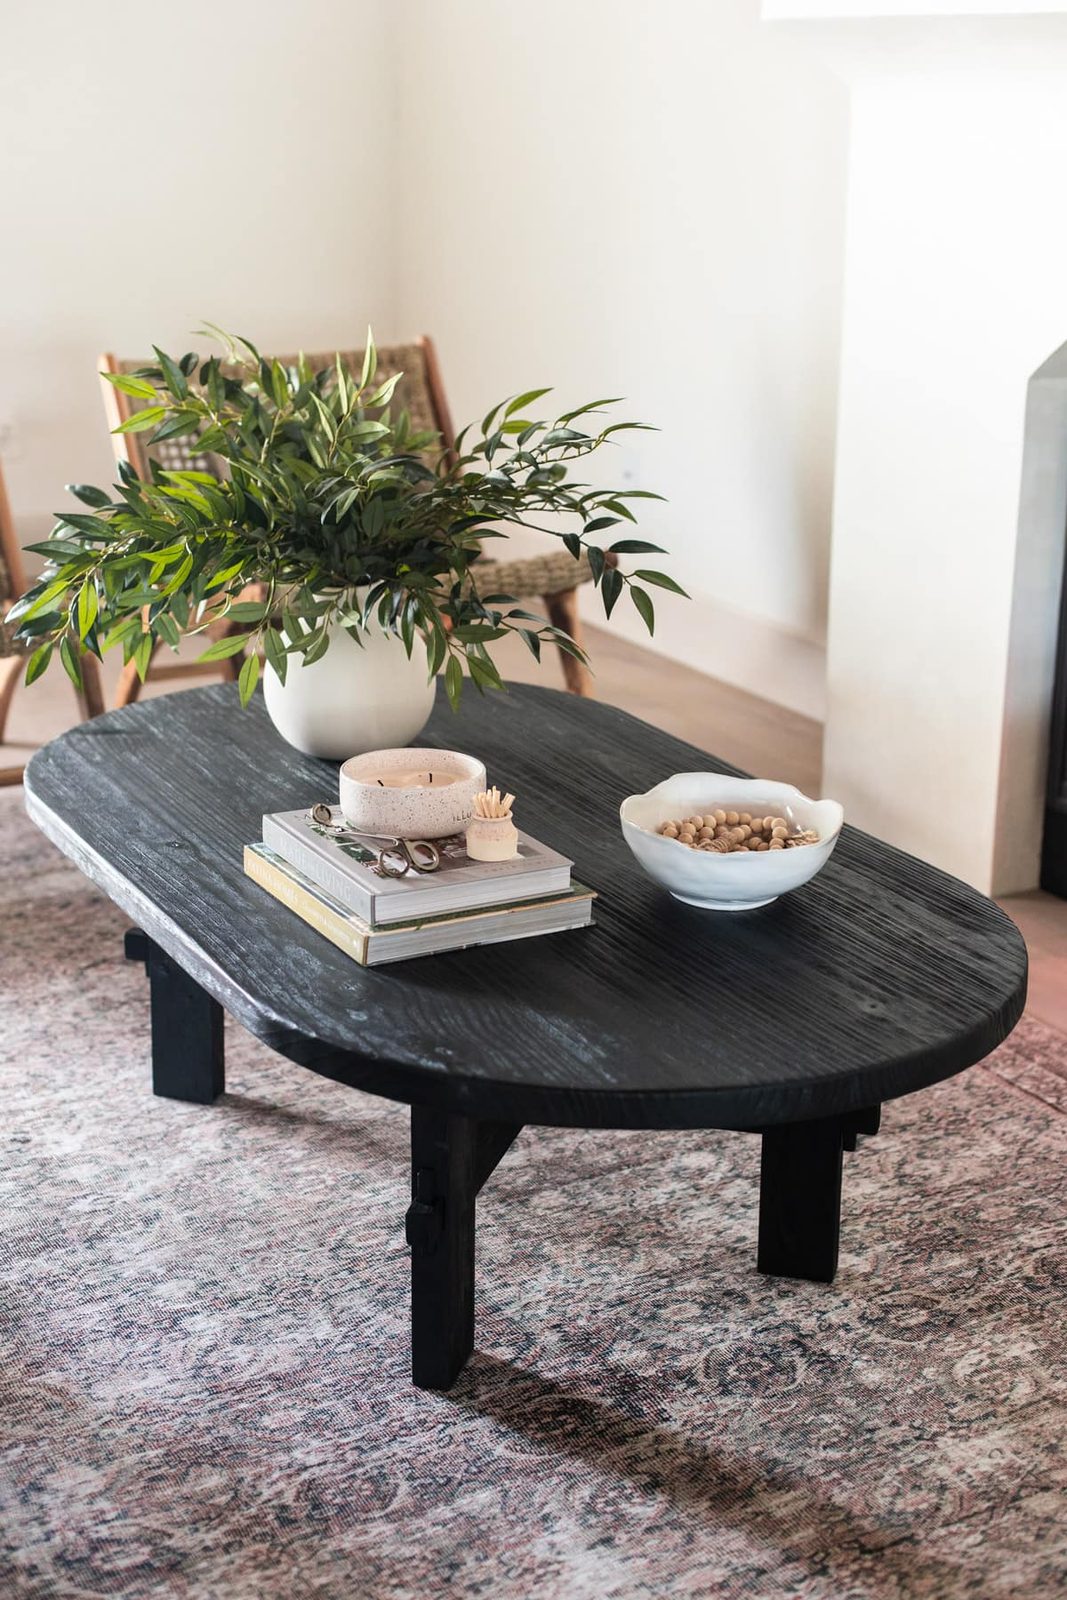
Love the look of Anthropologie furniture, but not the price tag? Today I am sharing how to build your own custom Anthro x Amber Lewis Henderson coffee table for a fraction of the cost!
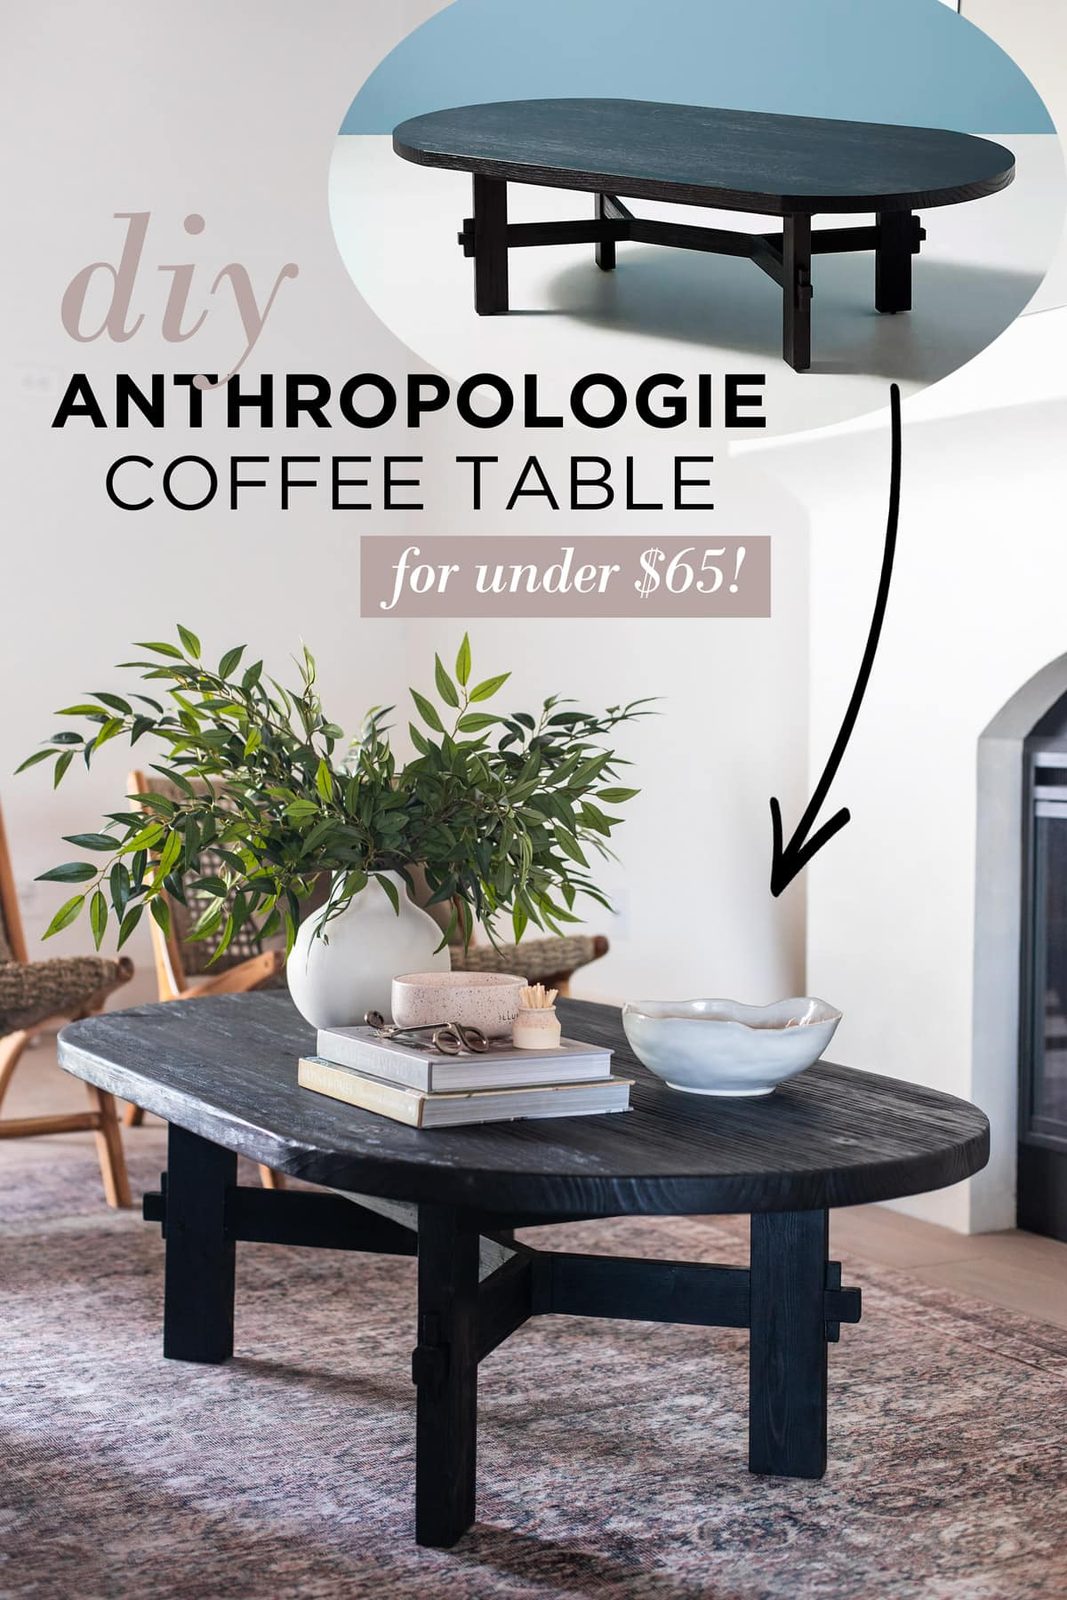
I fell in love with thisstriking coffee table when I first saw it last year, and thought it would be well suited for our Hacienda Hideaway living room. The only problem? Dropping $1k on a coffee table was definitely not in the budget.

Wayfair sells an almost identical table for much less—however, it measures only 22×45″, which is too small for my liking. The construction seemed pretty straightforward and Lucas and I agreed it would be a fun challenge to take on, so we decided to make our own!


This is a beginner-to-mid level project, requiring a handful of basic woodworking tools. Here is what you will need to build your own:

Tools
- Miter saw
- Table saw
- Jigsaw
- Multi-tool
- Electric Sander
- Brad nailer
- Drill + paddle bits
- Pocket hole jig + screws
- Clamps
- Chisel
- Wire brush (optional)
- Wood glue, wood filler, stain and sealer
Materials
- (4)2x10x8'boards
- (2) 2x4x8' boards
- (1) 1x3x8' board

For the lumber, we used inexpensive pine boards to keep the cost down. You can certainly use a better quality wood, but I did not mind since we'd be staining the table black. We already owned the tools and our total cost for the wood came in at $62—you cannot beat that!
Step 1: Assemble the table top
After measuring our living room area, we decided to make the table 30×54″. Feel free to adjust these measurements to fit your space.
Using four 2×10″ boards for the table top, rip them down (on both sides) to 7.5″ wide, and cut the lengths to 54″.
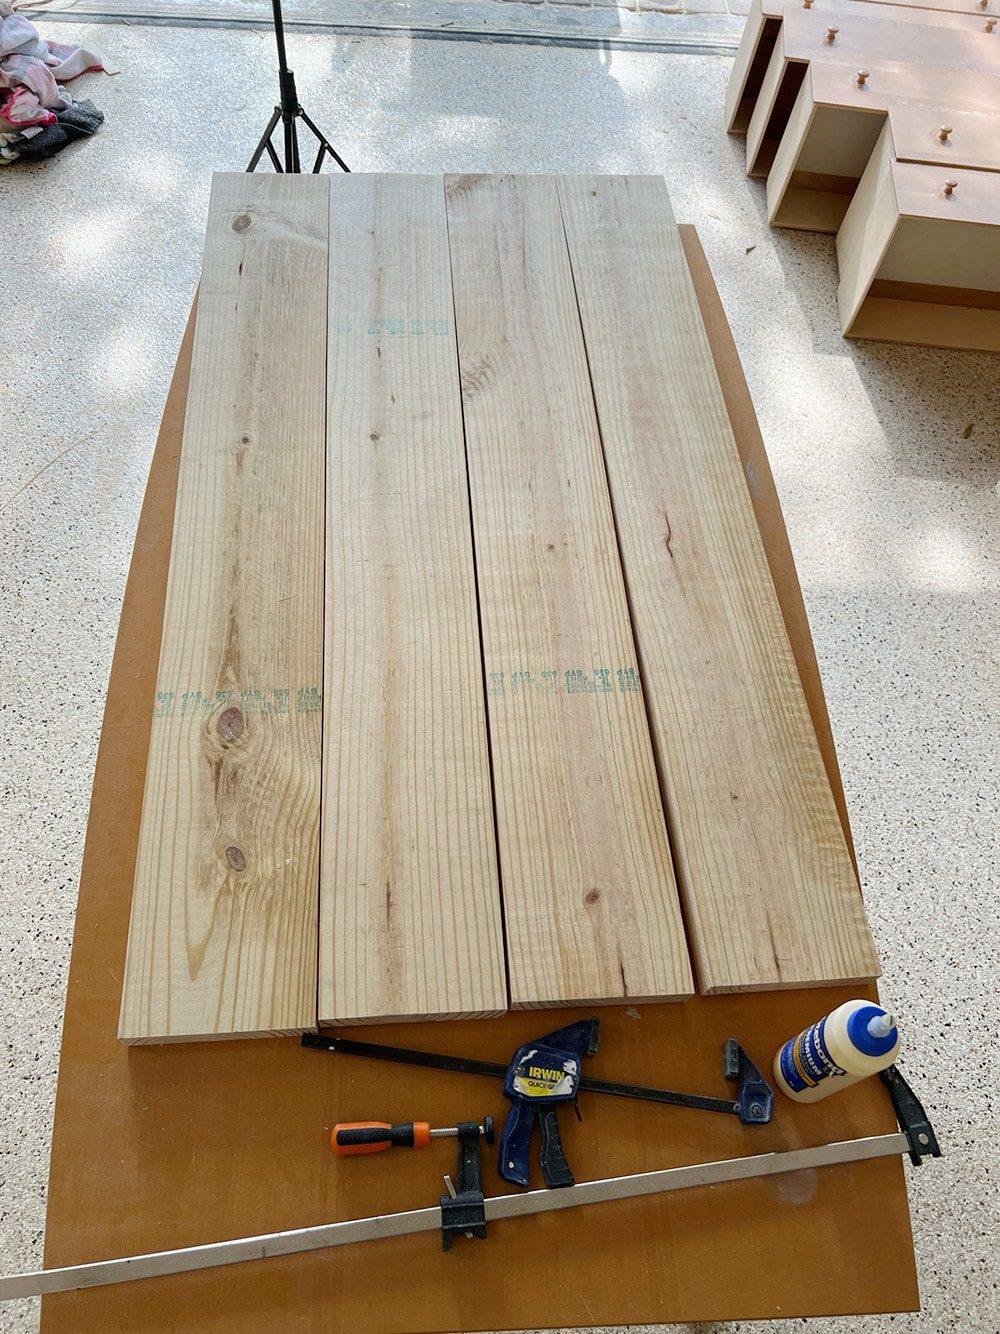
Next, add pocket holes along the bottom of each board. Apply wood glue along the edges before securing the boards together.
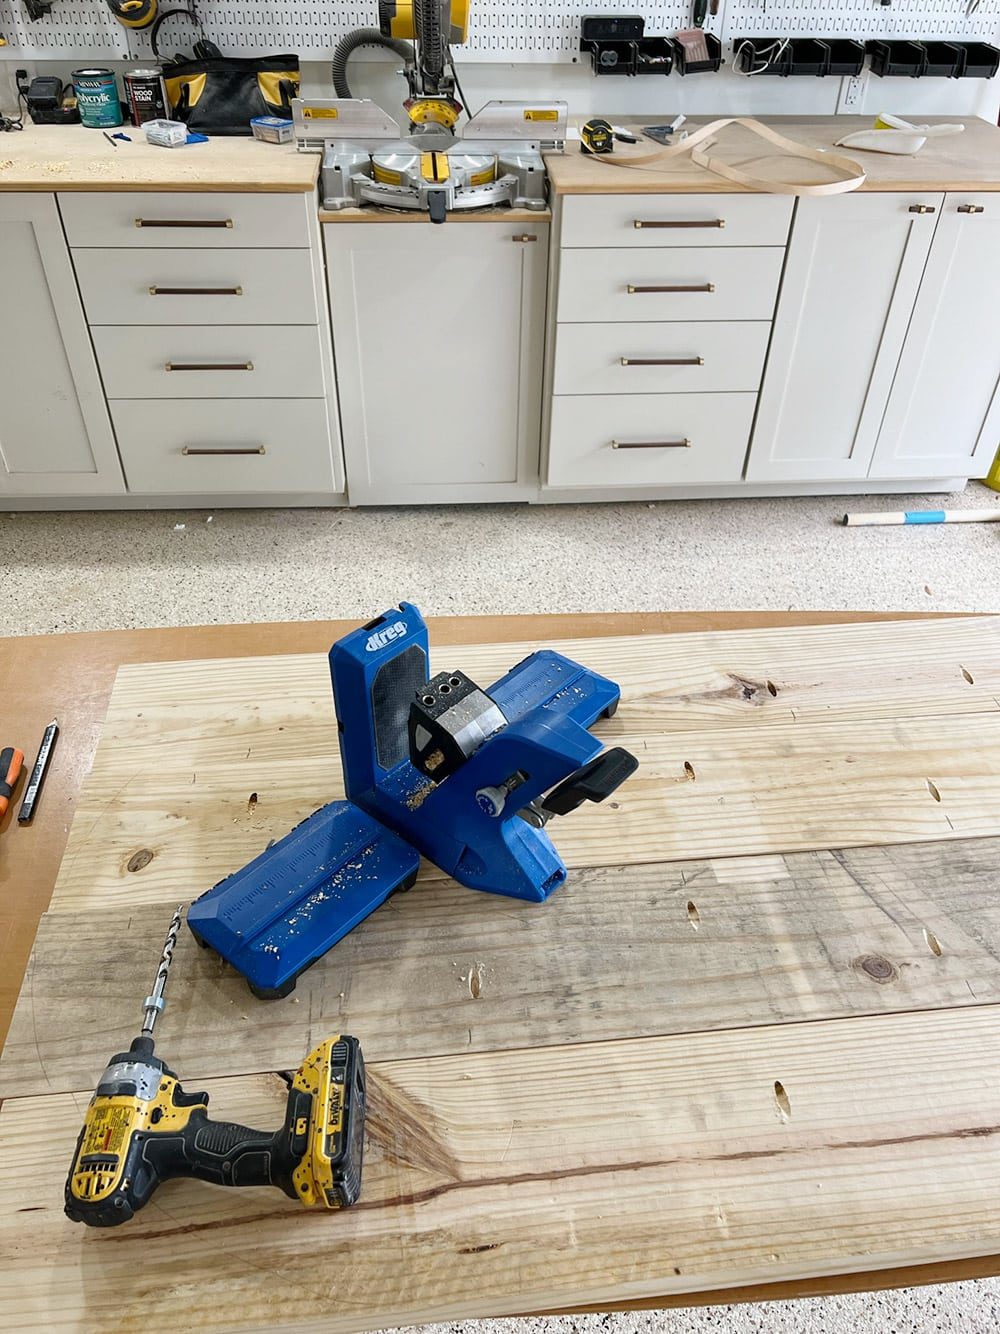
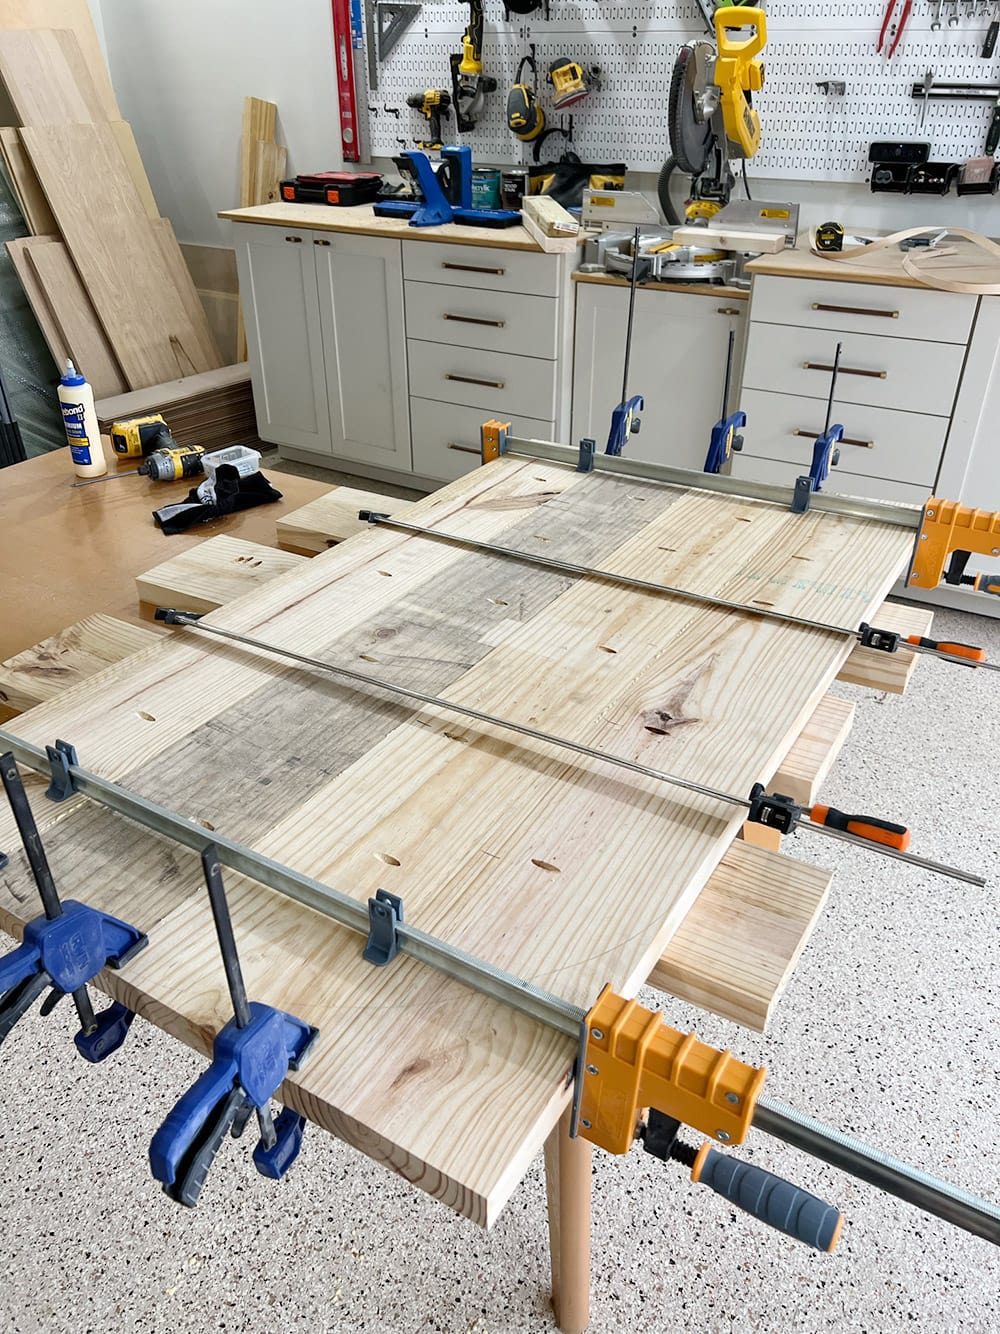
Use bar clamps to secure the boards before inserting the pocket hole screws, and let the glue dry for at least a few hours.
Step 2: Cut and sand table top
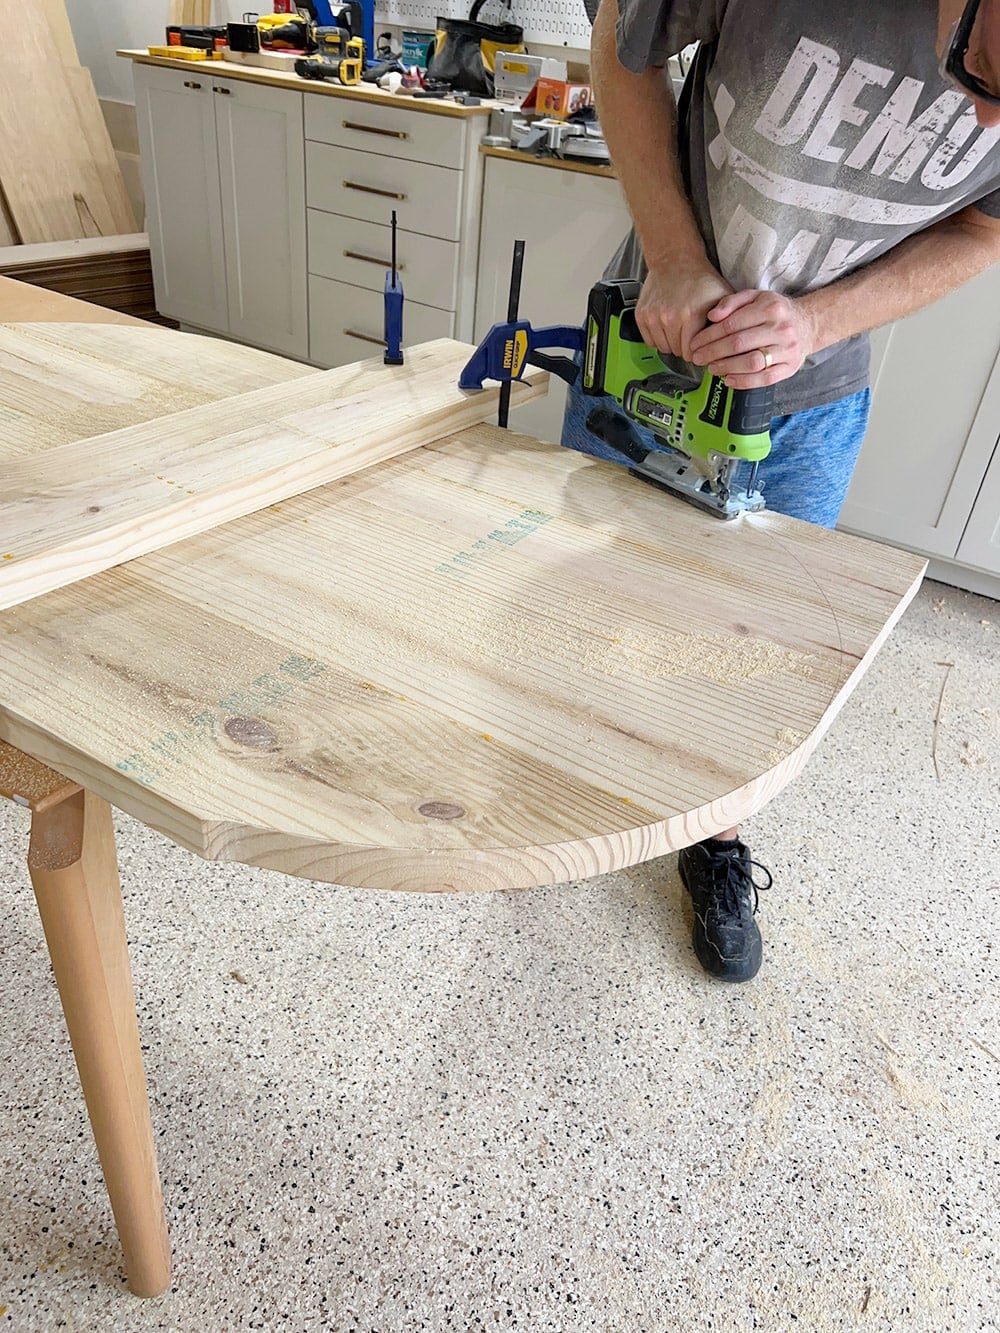
After the wood glue has dried, remove the clamps and trace two half circles on both ends. Use a pencil attached to a string from a center point to draw a well suited half circle.
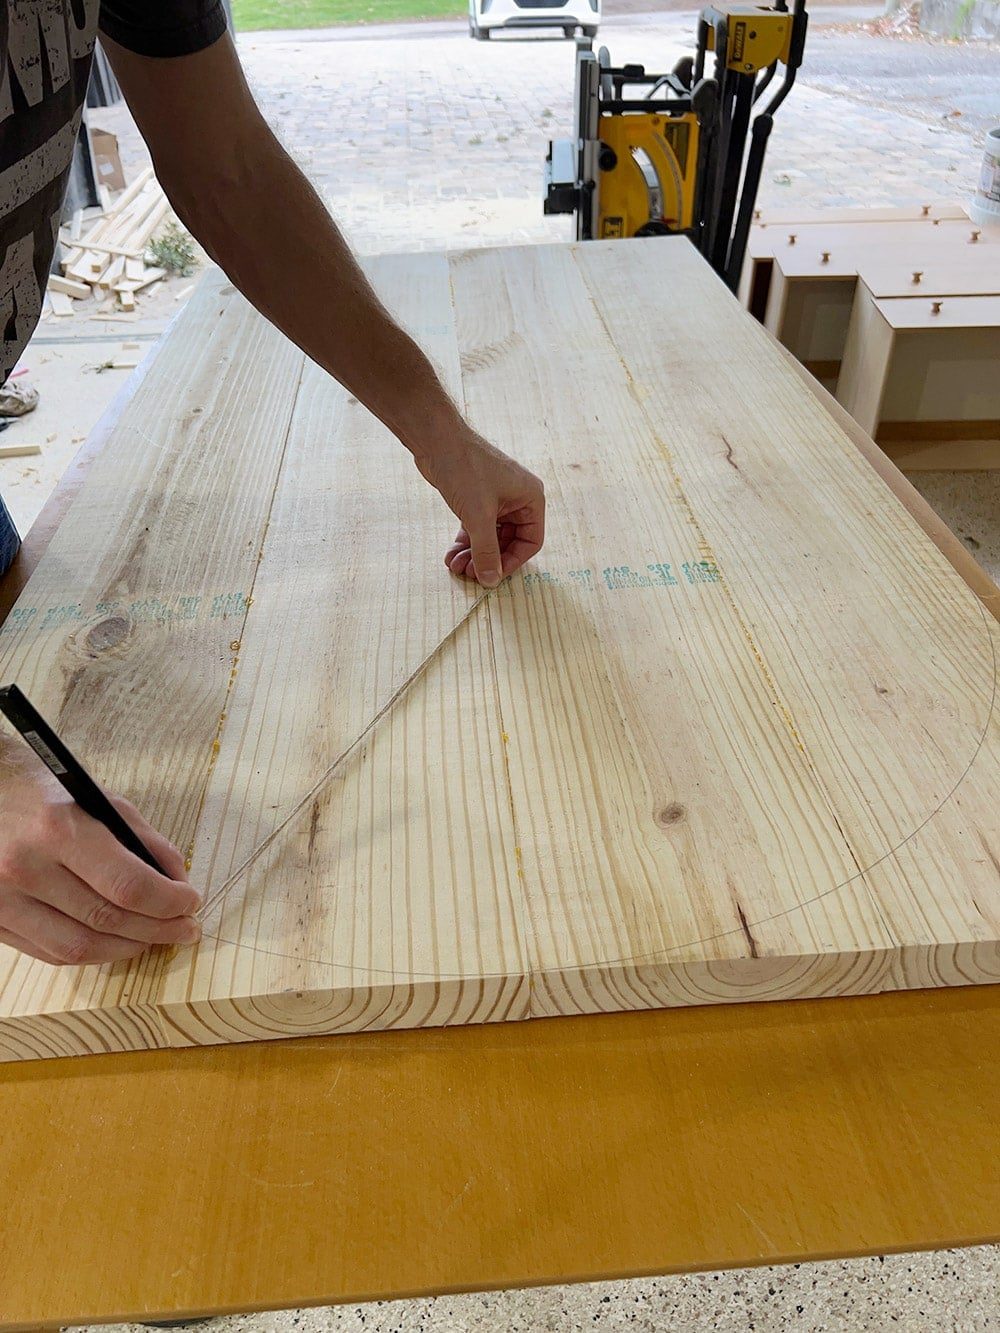
Next, cut along the line with a jigsaw.
Use an orbital sander to smooth down the edges (we used 80 grit sandpaper).
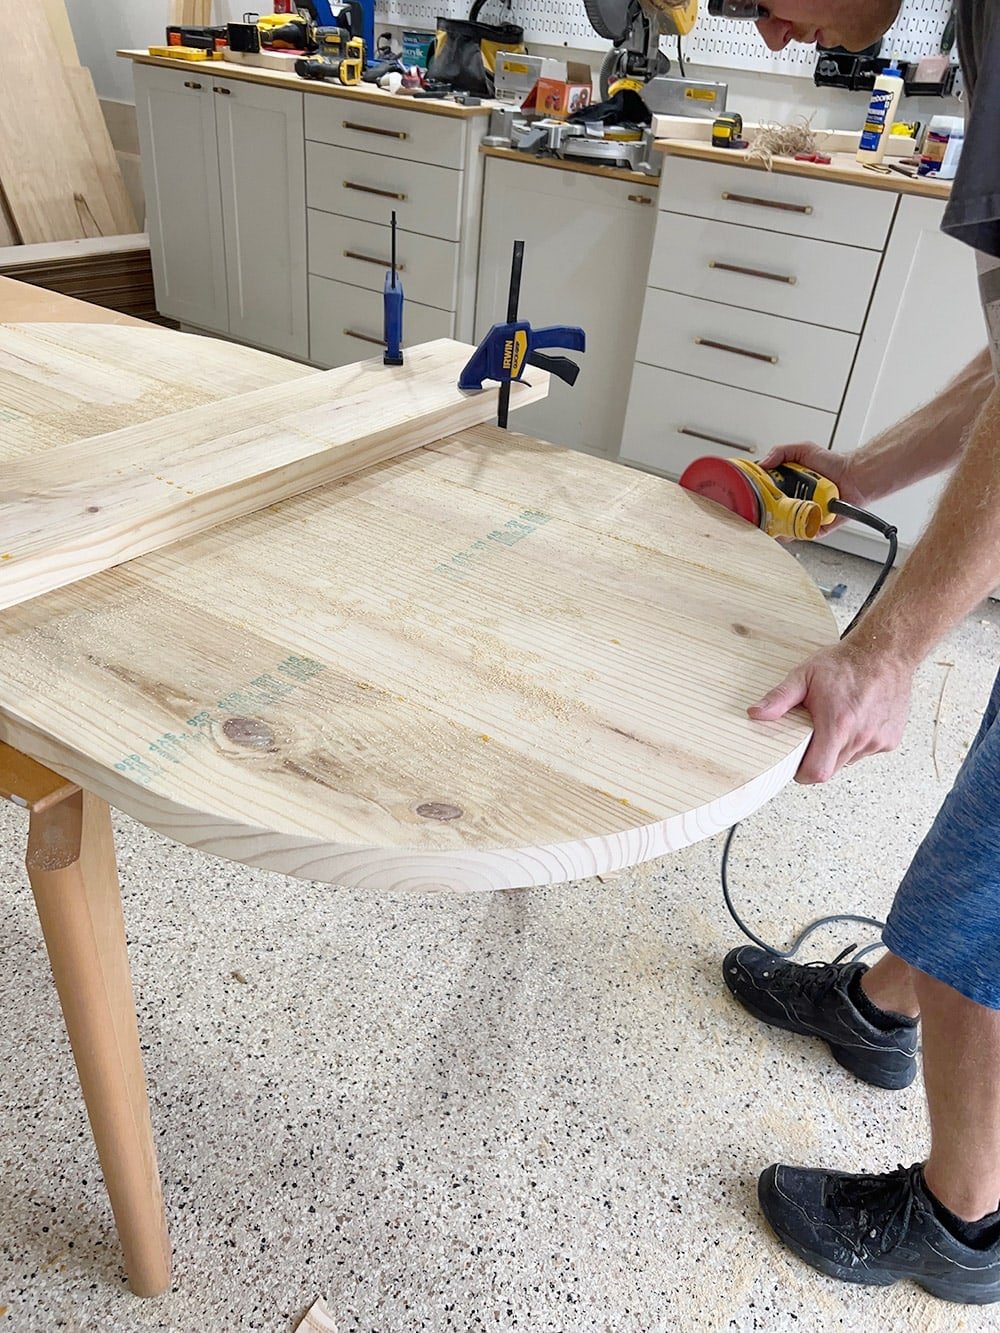
Finally, run the sander along the top of the table to ensure a smooth surface and eliminate any ridges where the boards meet.

Step 3: Cut boards for the base
Here is a diagram of the base assembly:
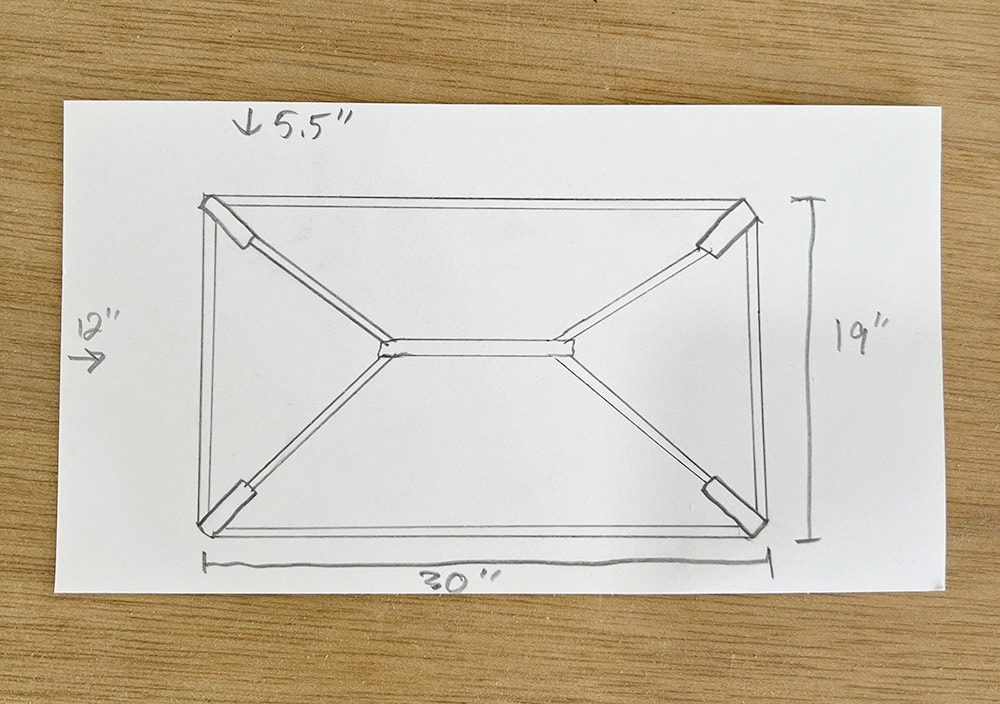
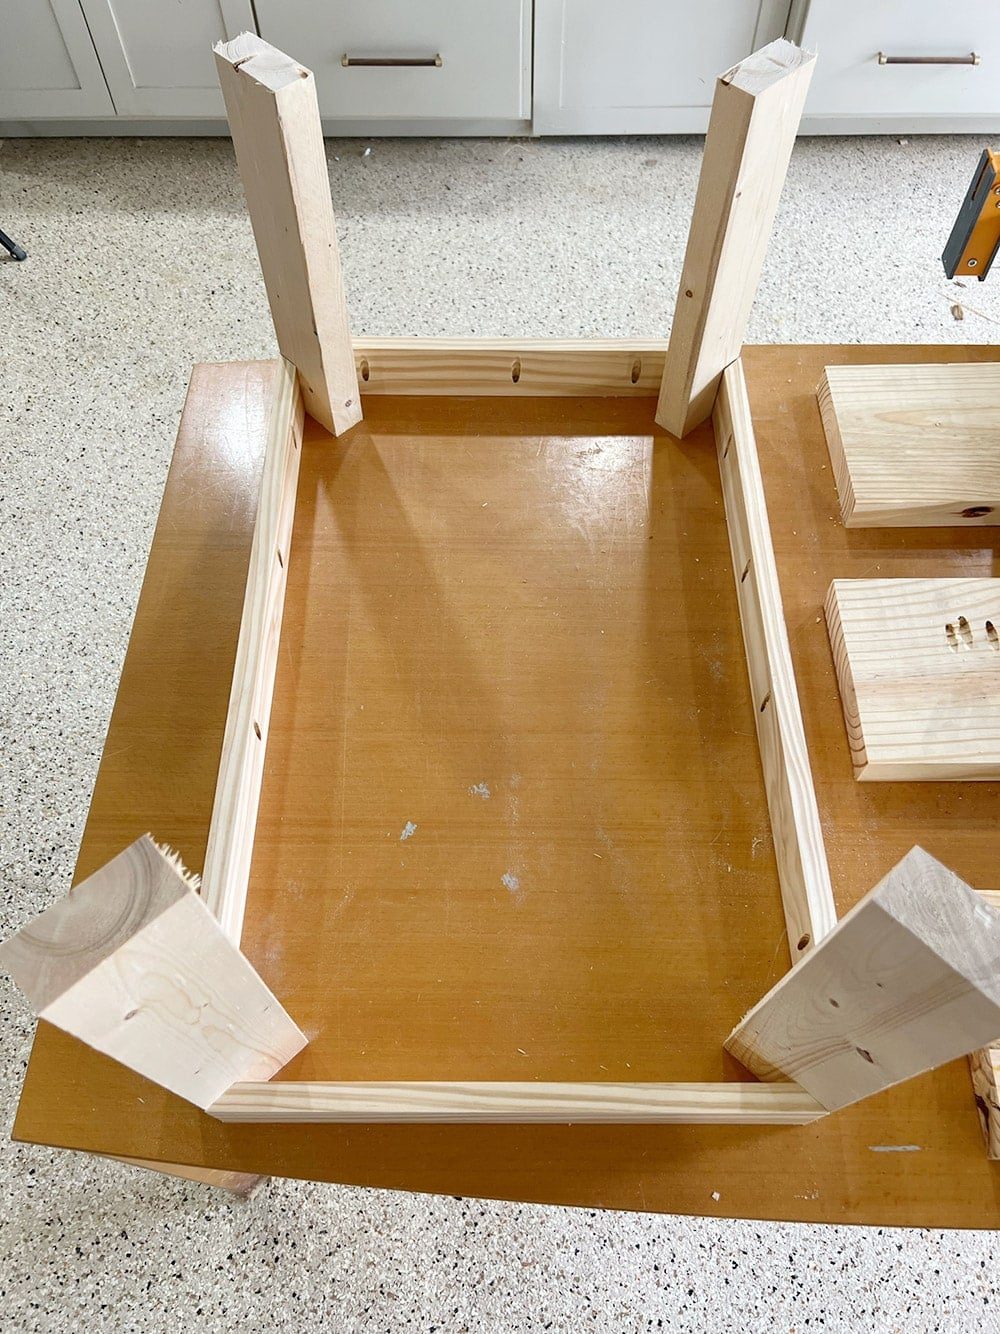
First, run one of the 2x4s through the table saw to square off the edges. Then cut it into four 15″ lengths to create the legs (you can make this taller or shorter depending on your preference, but 16-18″ overall coffee table height is standard).
Next, cut the 1×3″ into four pieces—two 28″ and two 17″, with 45º mitered edges on each end as shown below. Add pocket holes along the inside. These pieces will attach the table top to the base.
For the center section, we decided to rip down the thickness of remaining 2×4 to create narrower boards, similar to the original table. We ended up with 1×2.5″ thick boards, cut into five pieces: one center bar measuring 13″ in length, and four 14″ pieces with a 45º edge on one side—arranged as follows:

Here is a visual with the legs—this middle section will be attached along the center of the legs:

Step 4: Cut mortise and tenon joints
Here is where we get a little fancy. Technically this step is optional—you could cut and attach the pieces separately to give the illusion of a mortise and tenon joint, but we decided to make ours functional. We do not have fancy joinery tools for this, so we used a combination of the table saw, multi-tool and hand chisel.
The first step is to trace the cutout shape onto the cross pieces:
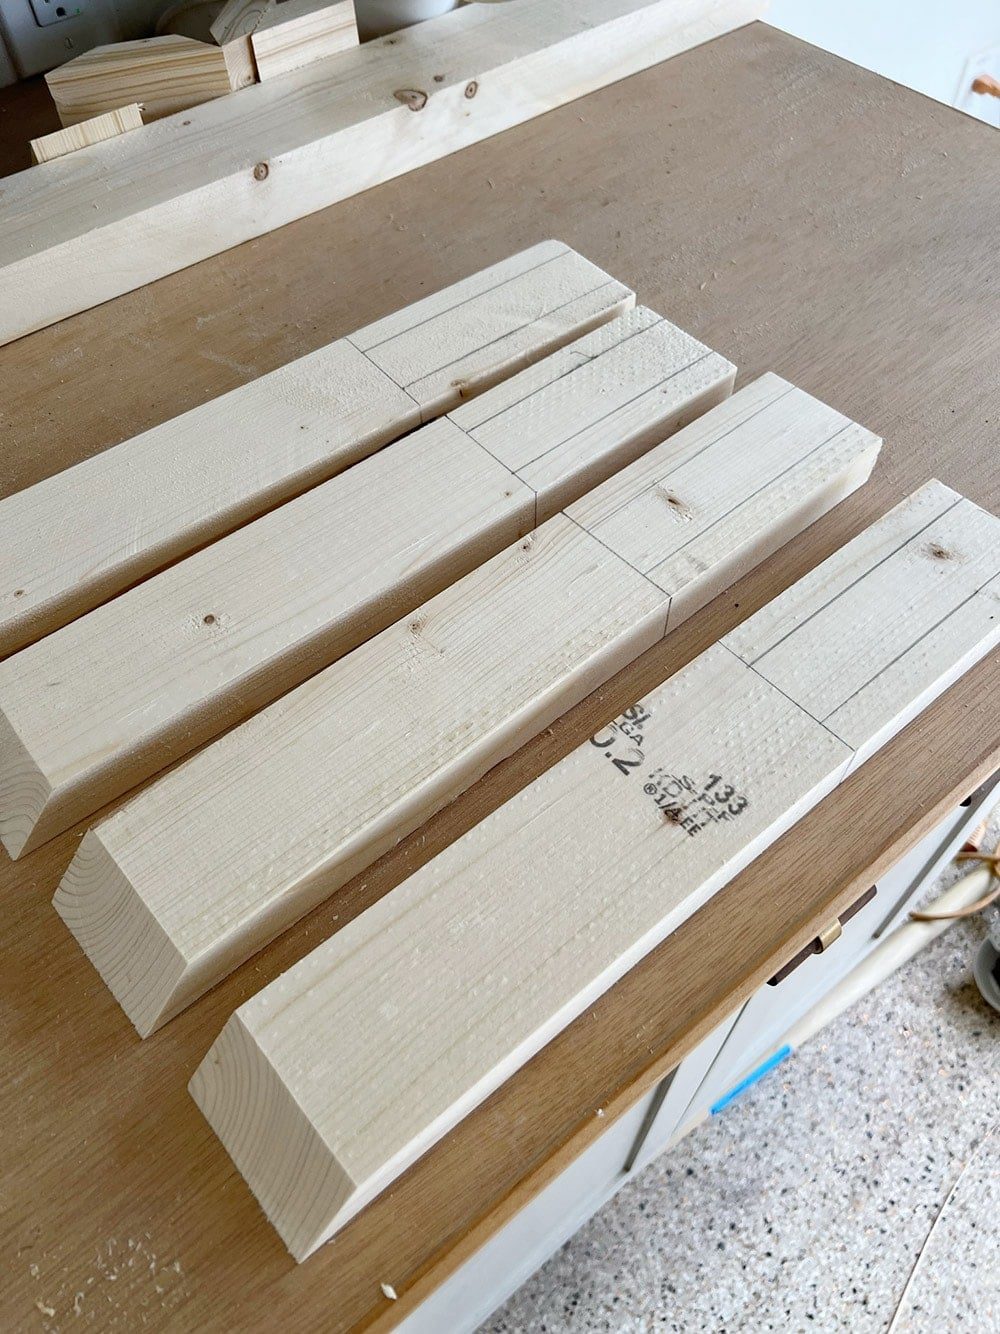
Next, run the long sides through the table saw and then complete the cut on the short end with a multi-tool.

Cut a square notch out of the center of each leg using a combination of a multi-tool, drill bit and chisel. This part took some time and it was not a perfectly clean cut, but it worked!

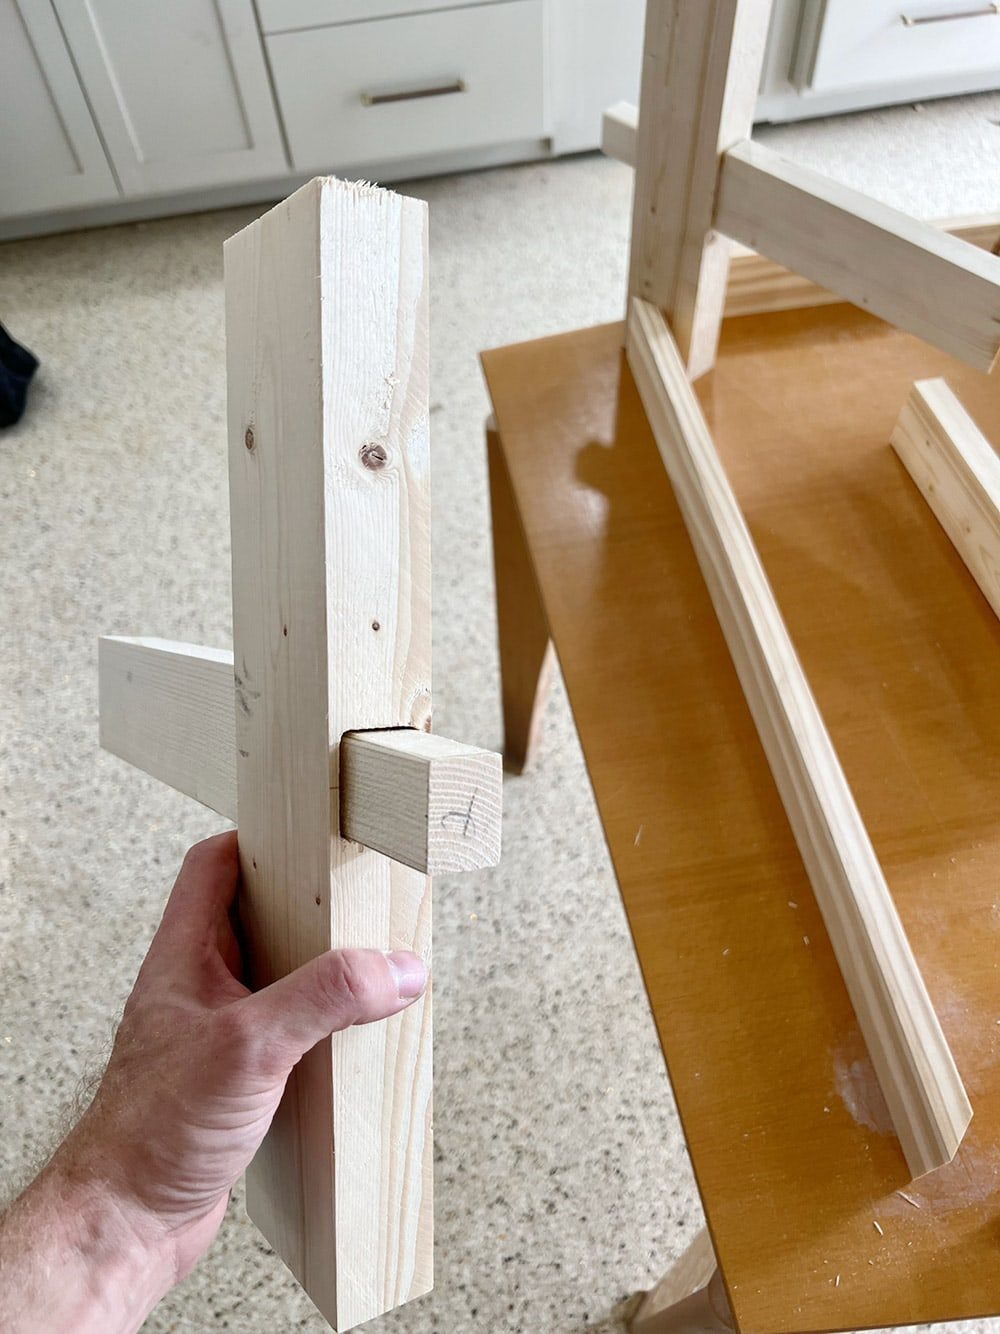
This is how the legs look in place with the cross pieces attached:
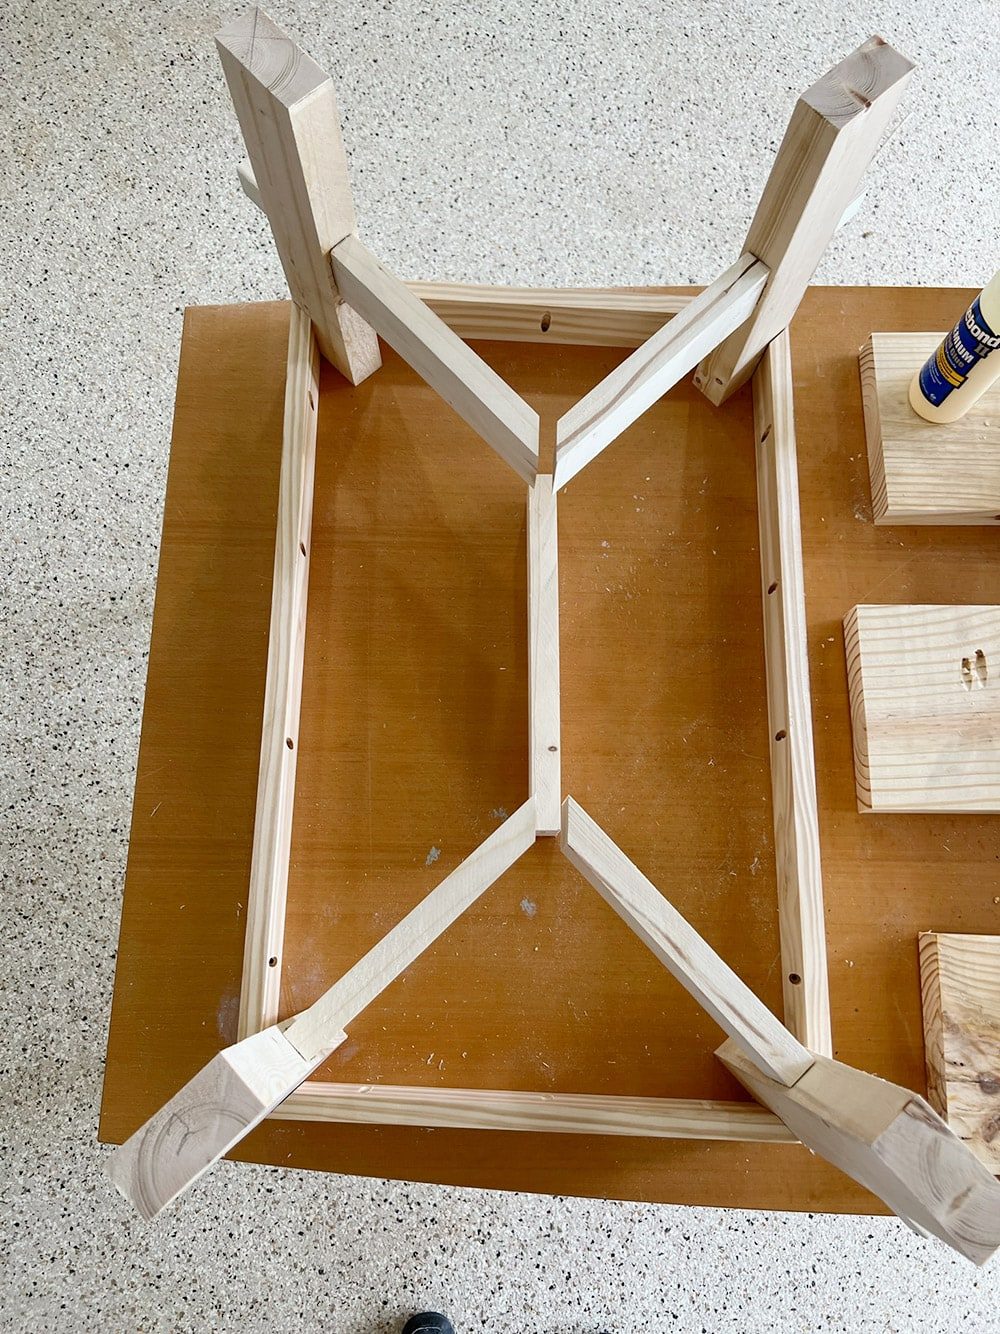
Create a second, smaller mortise square cut on the opposite side of each leg. The wood is not as thick here, so you can just use a small multi-tool blade to cut all the way through.
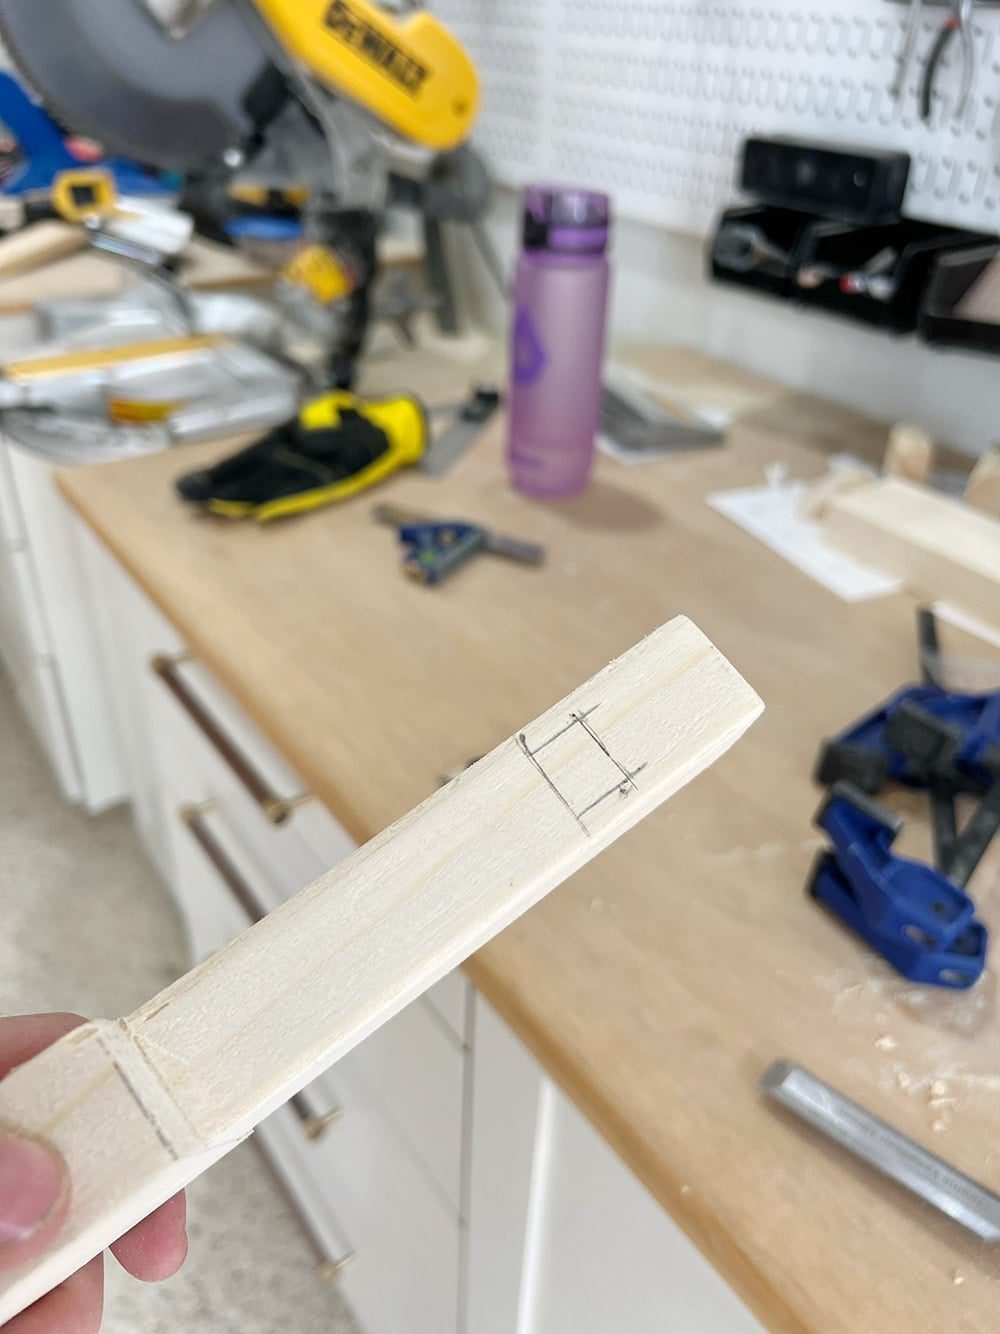

Finally, rip down a smaller rectangle to fit into the mortise cut. This may take several adjustments to get a snug fit.

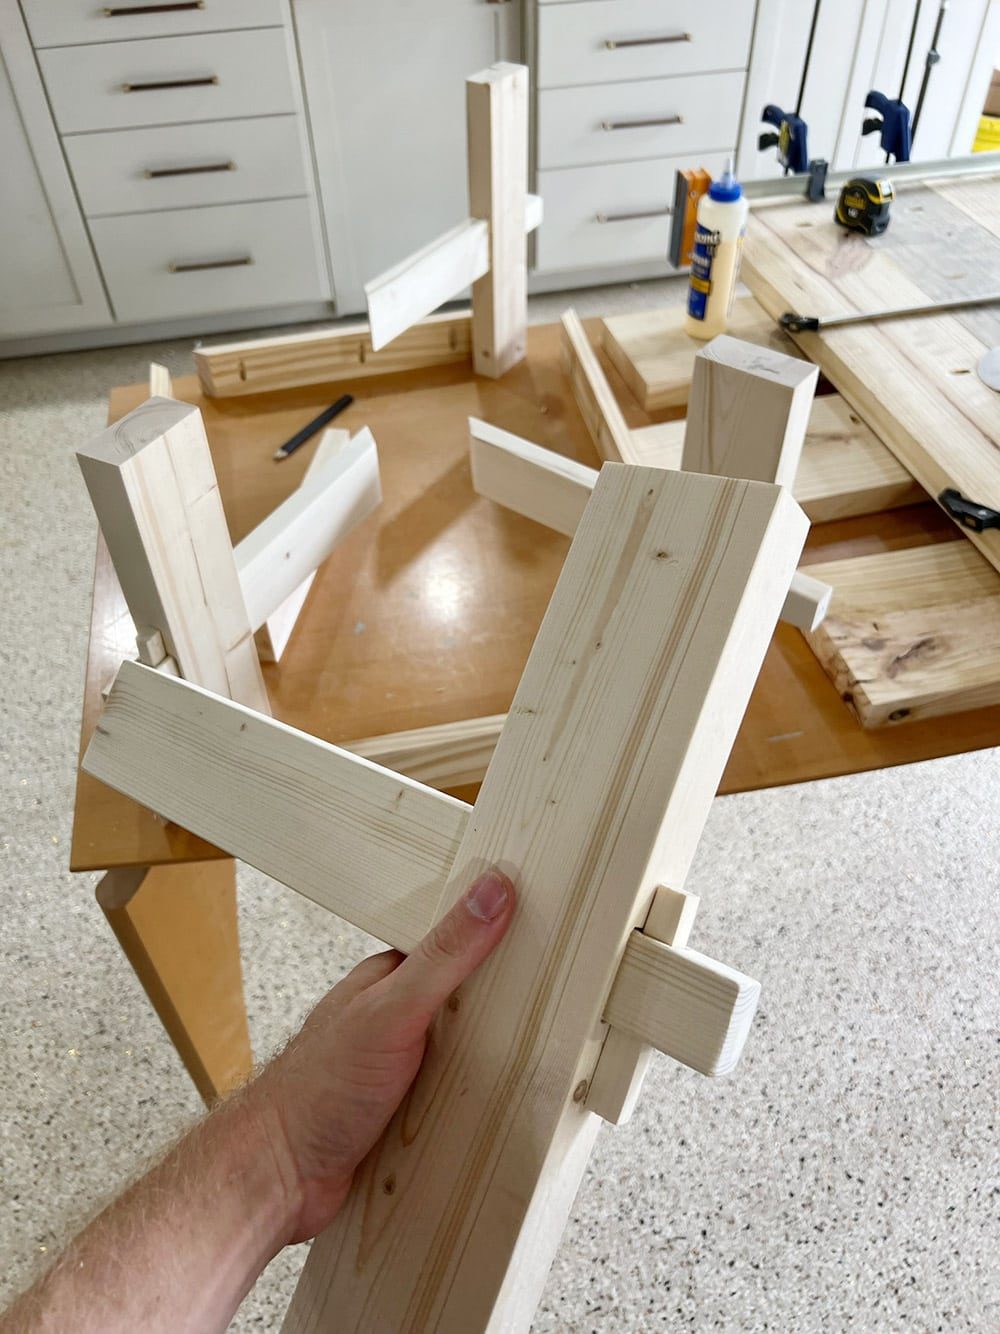
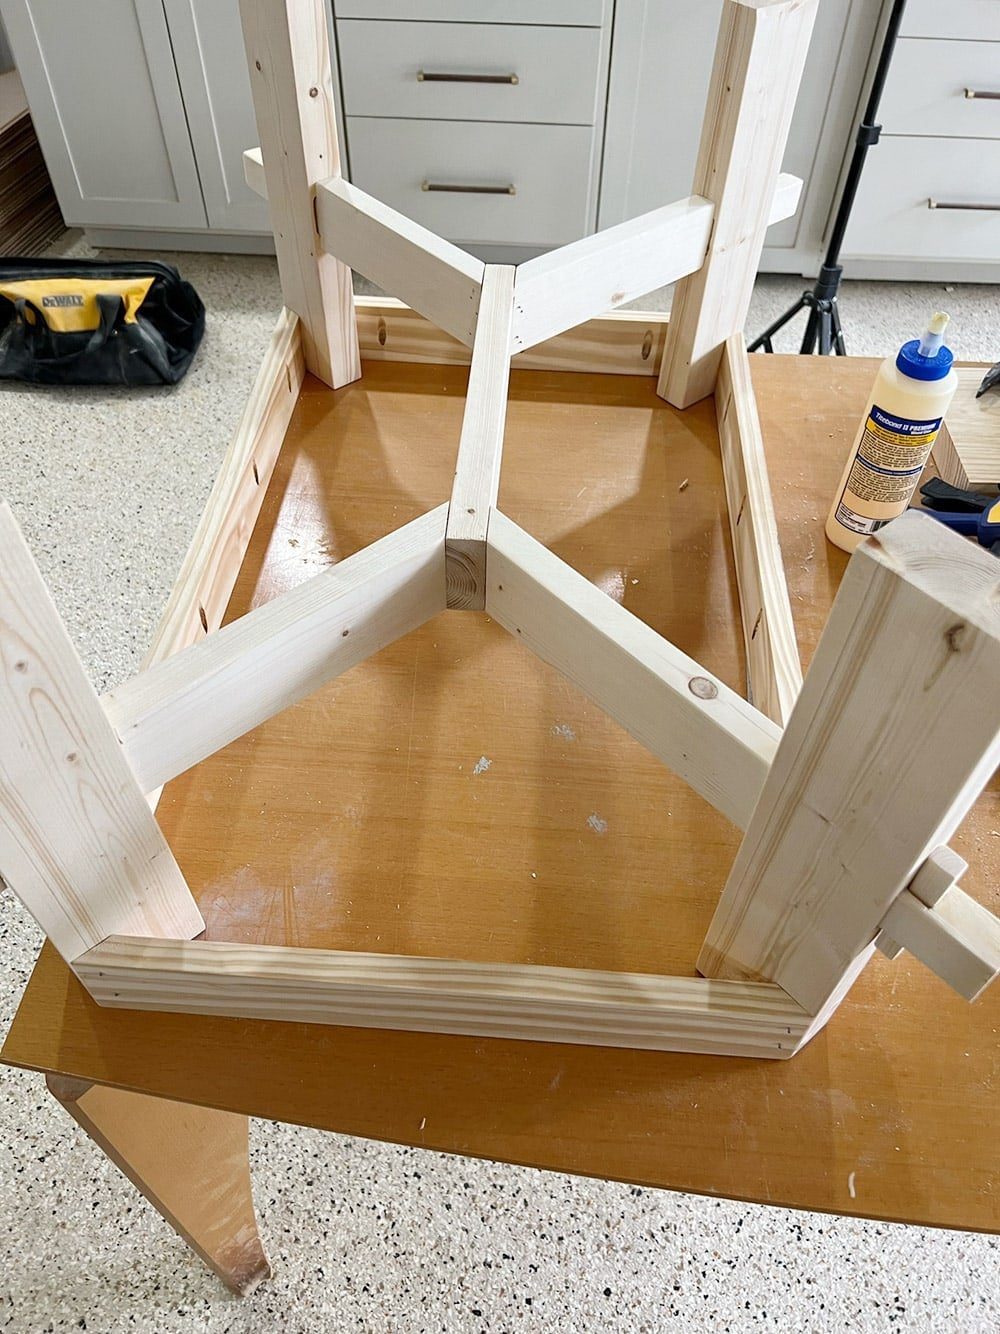
And the base is done! Here is a dry fit of each piece, minus the center bar:
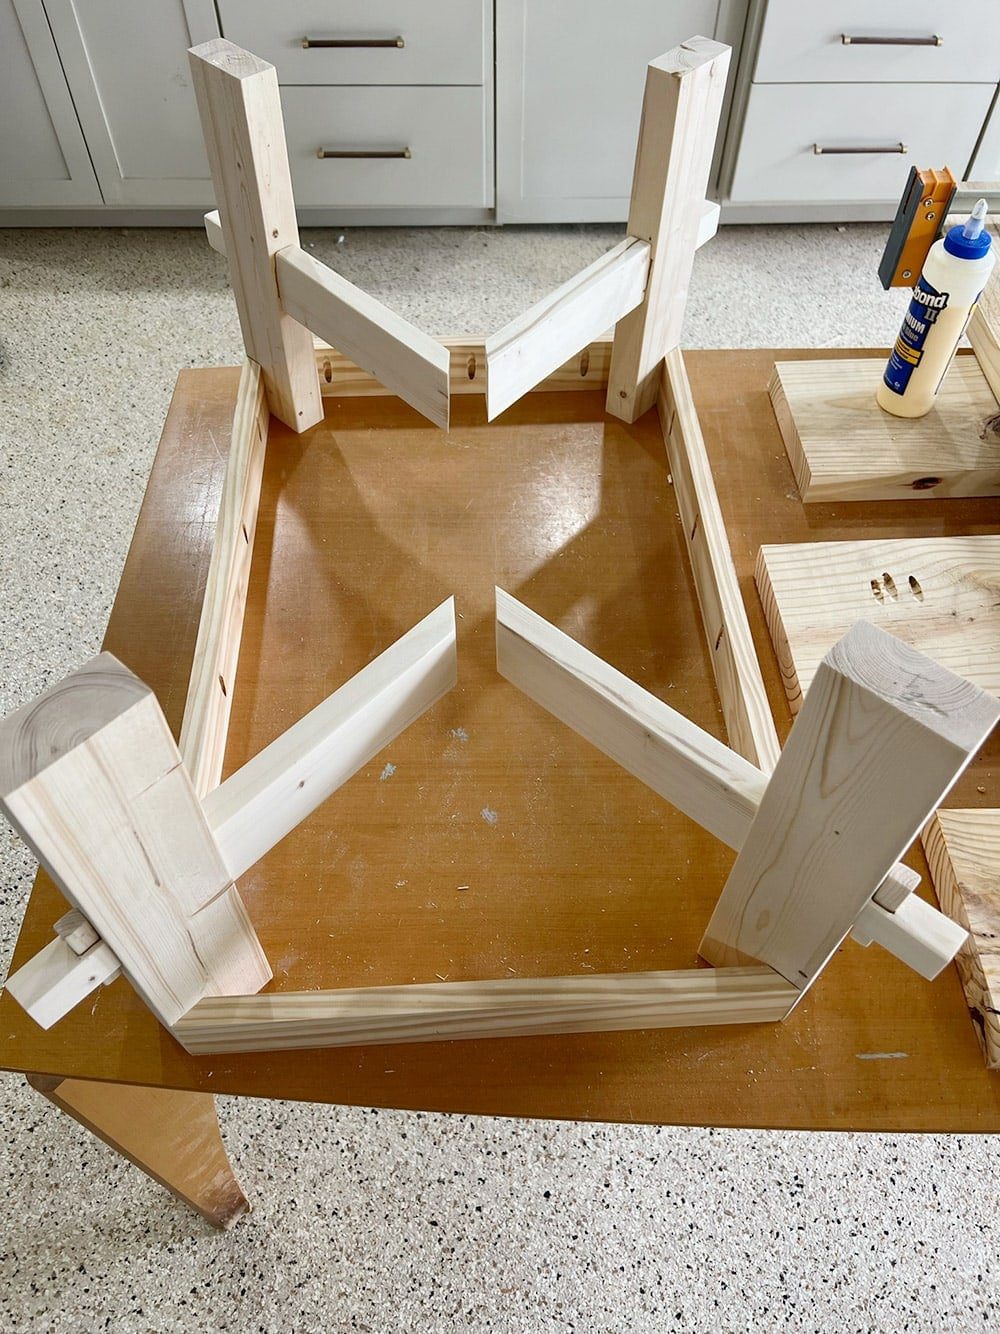
Step 5: Assemble the base
First, assemble the mortise and tenon joints using wood glue.
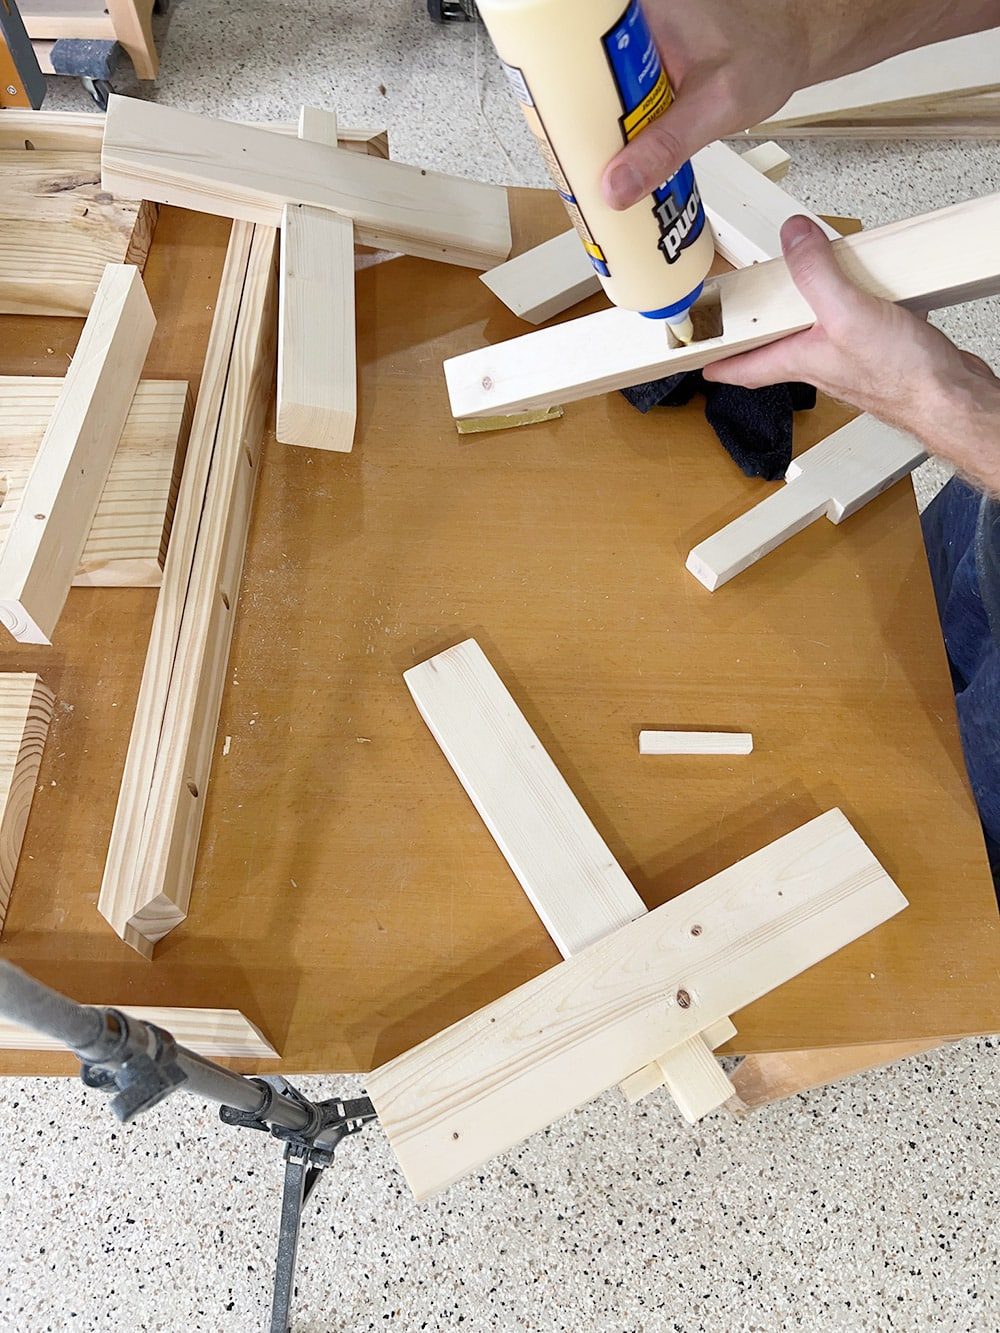
Next, clamp the center section together and secure it with wood glue and finish nails.
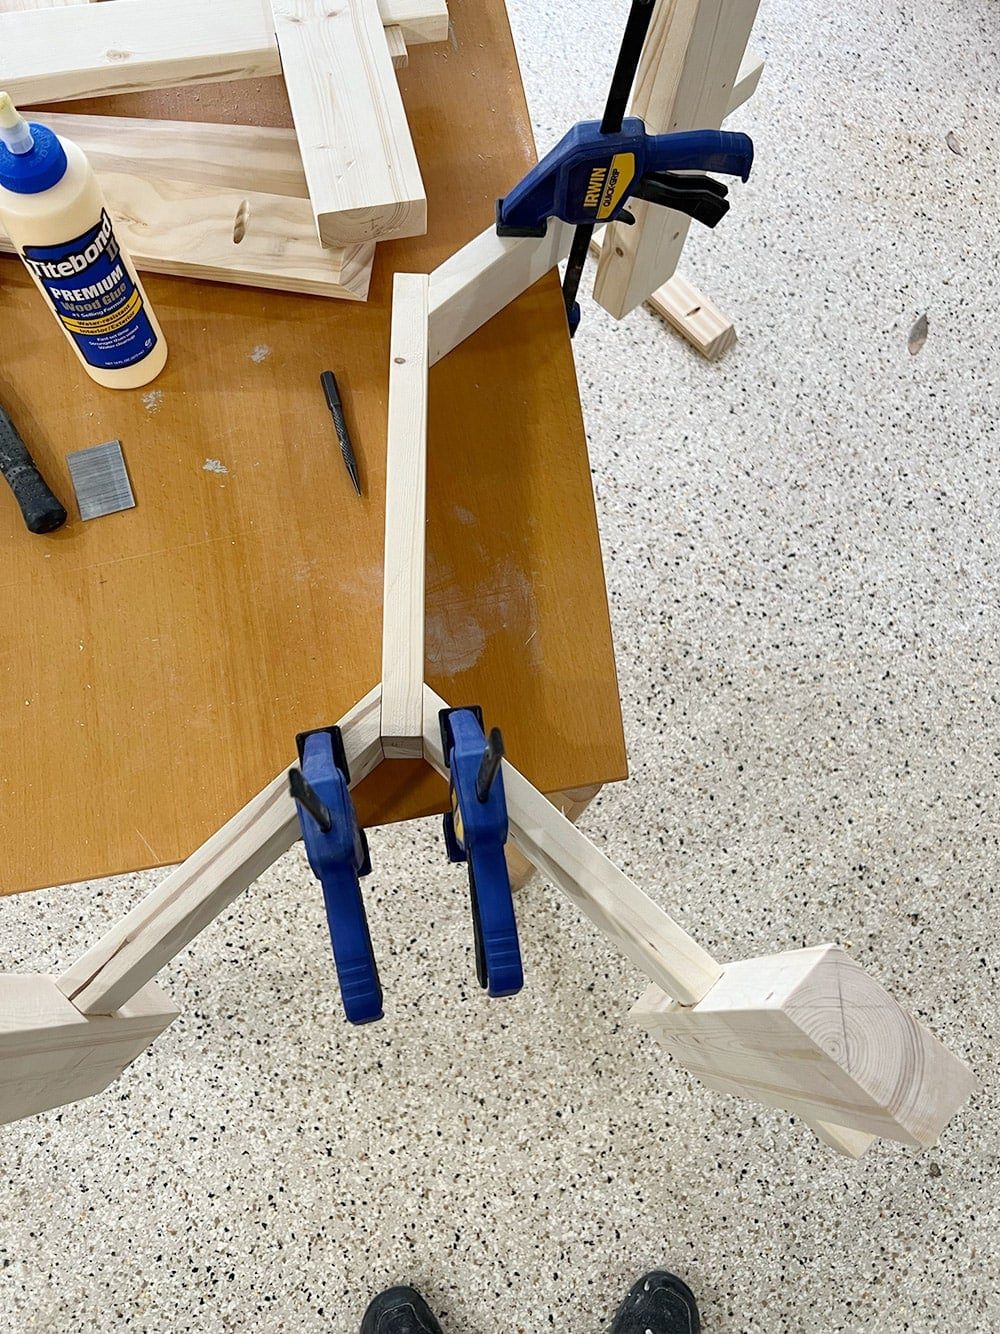
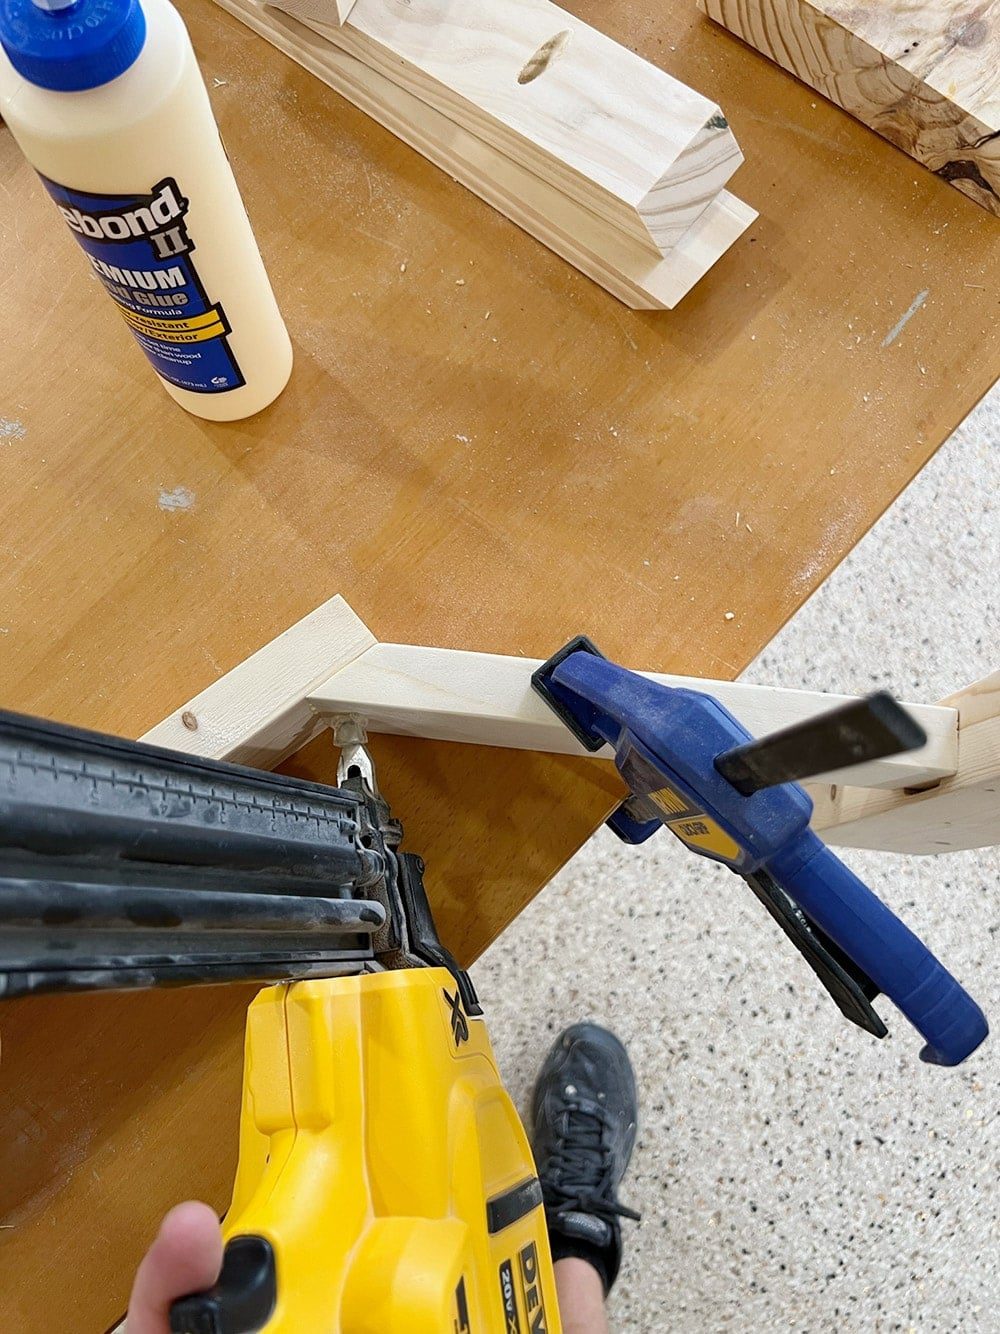
Once the glue has had time to dry, position the center assembly with the 1×3' boards along the bottom. Glue and nail the 1×3 boards into the legs.
Step 5: Wire brush the wood (optional)
To disguise the fact that I used inexpensive pine wood, The choice was to age it using a trick I came up with during my DIY aged wood technique. A wire brush creates a grain texture in the wood, giving the illusion of the nicer quality oak used in theinspiration table.

You can see the difference below—the untouched pine wood on top, and after wire brushing on the bottom. This is one of those details that may seem small, but it truly makes a huge difference in the end result. If you are using inexpensive wood, I would highly recommend taking the time to do this step! I found it best to do it before attaching the top, so I had easier access to the entire base.

Step 6: Attach table top to base
Apply wood glue to the top of the base and center the table top.
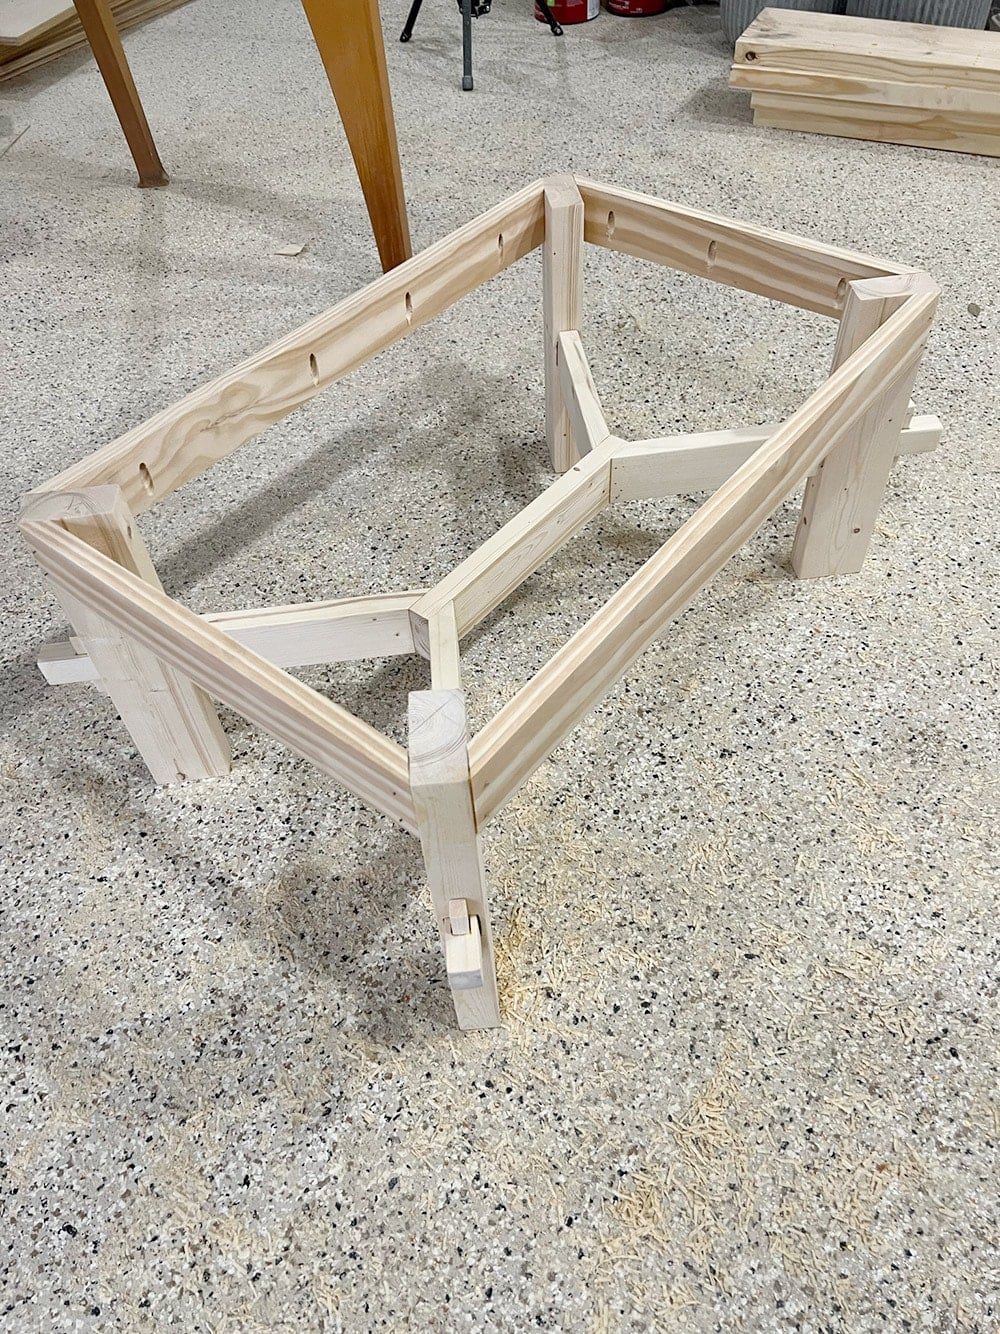
Attach the two pieces together using pocket hole screws.

Done and ready for stain!
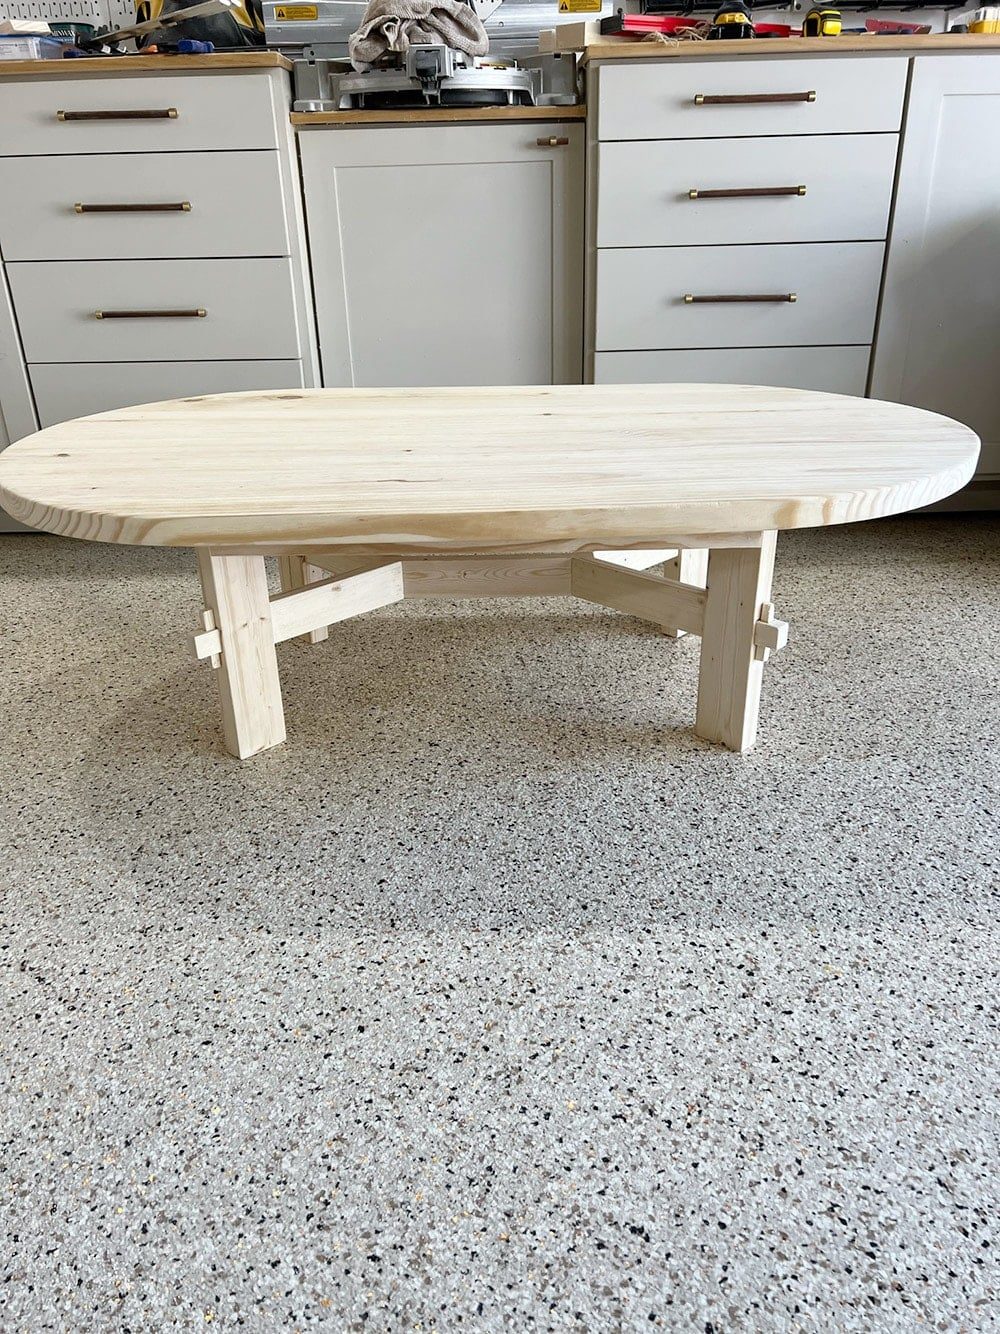
Step 7: Stain and seal
I loved the look of the black stain from the original table, and used Behr's Premium wood stain in True Black. Any black stain would work.
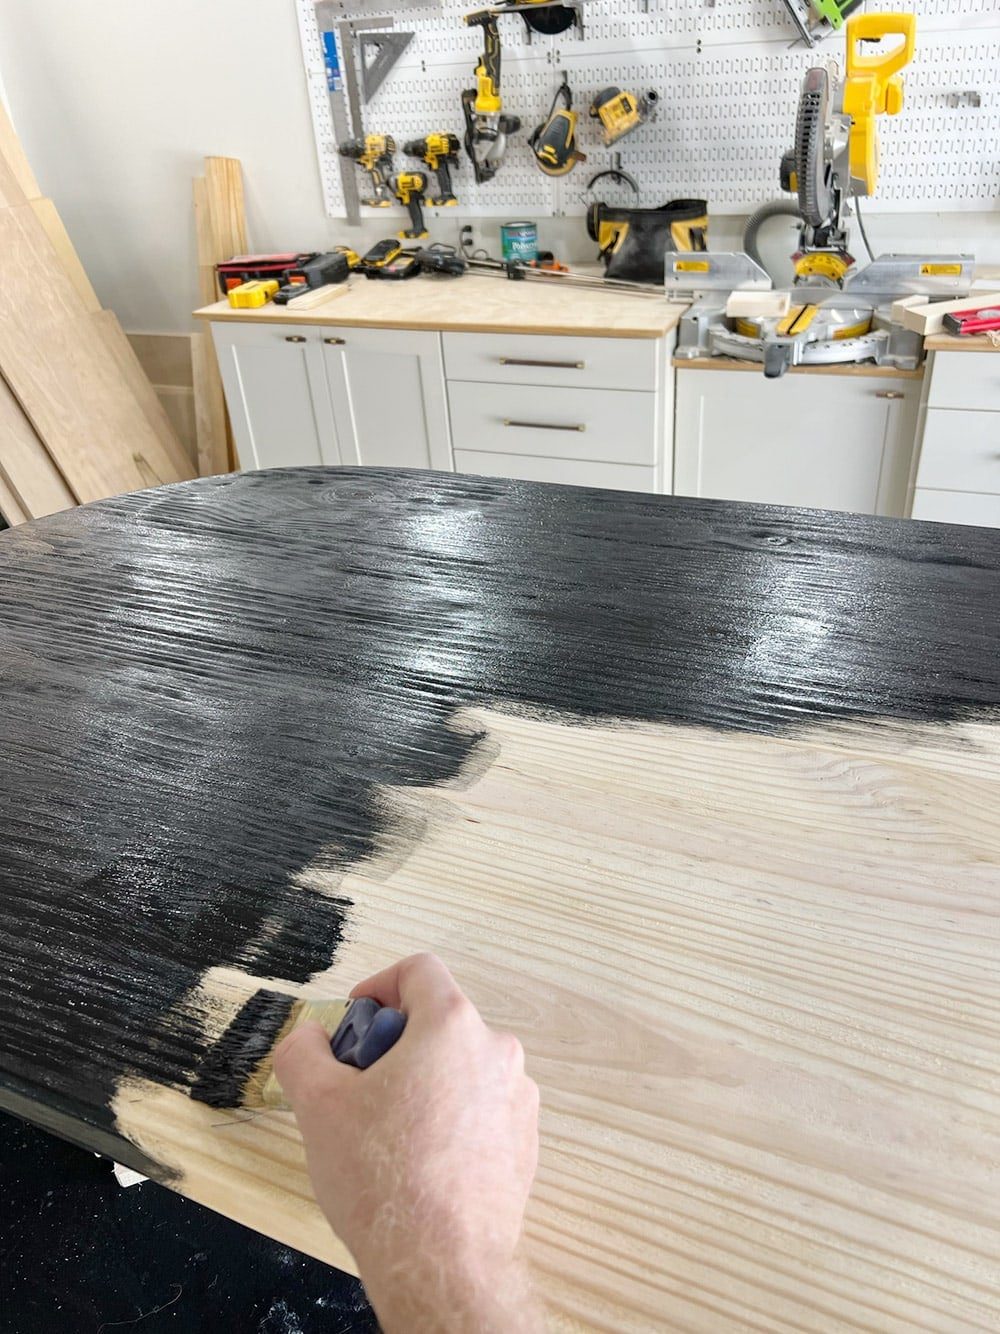
We ended up applying one coat, plus a few touch ups in areas where the stain did not fully cover. You could also try using a semi-solid stain if you do not want any transparency.
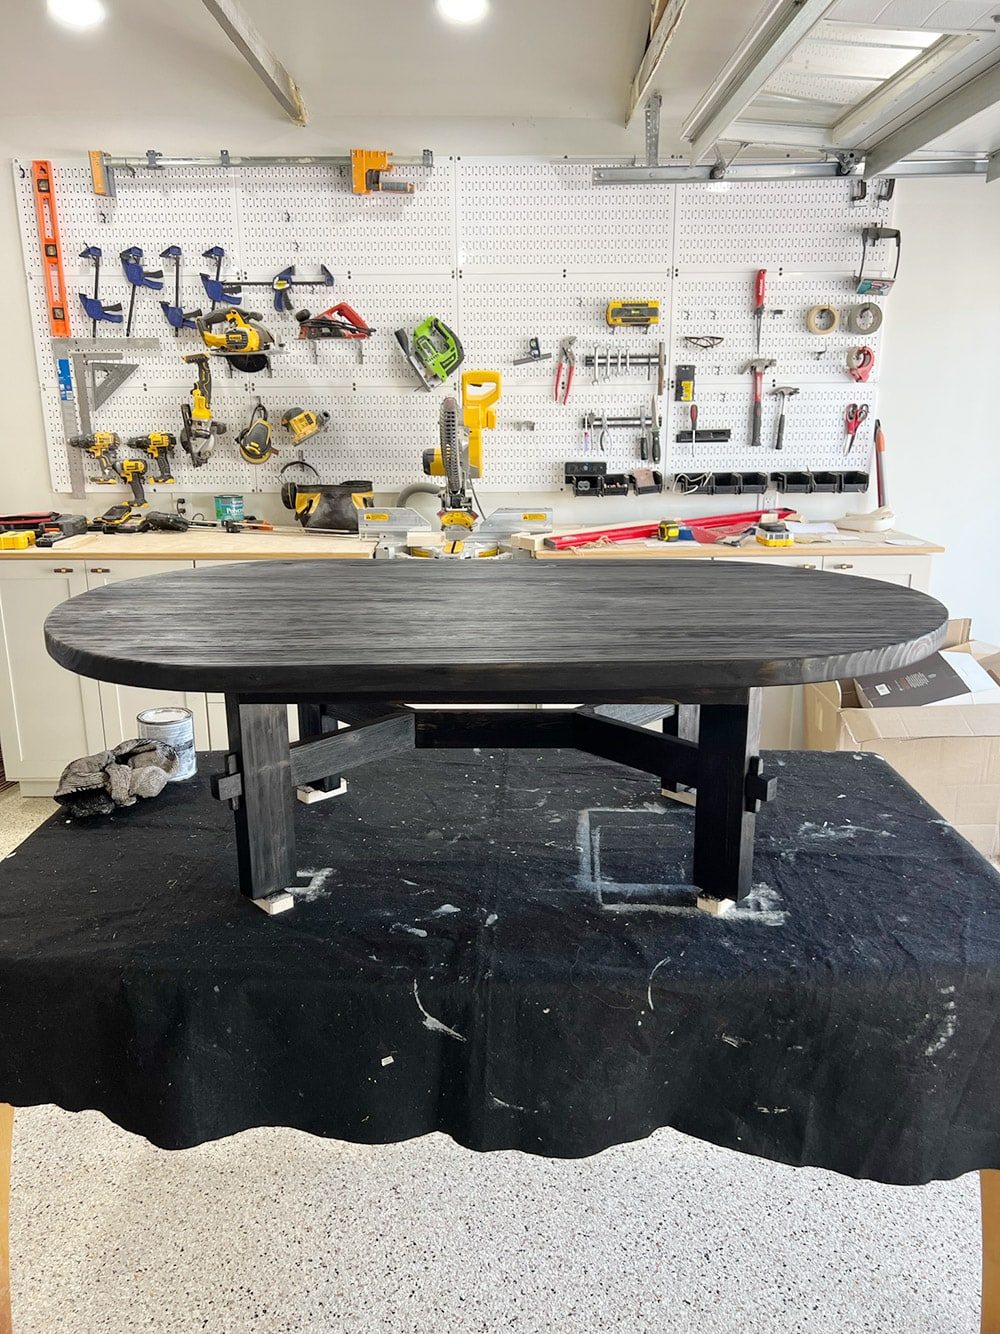
After the stain is dry, make sure to seal the table to protect the finish. We gave it a few coats of matte Polycrylicsealer, but you can use any brand/finish you'd like.
The Reveal
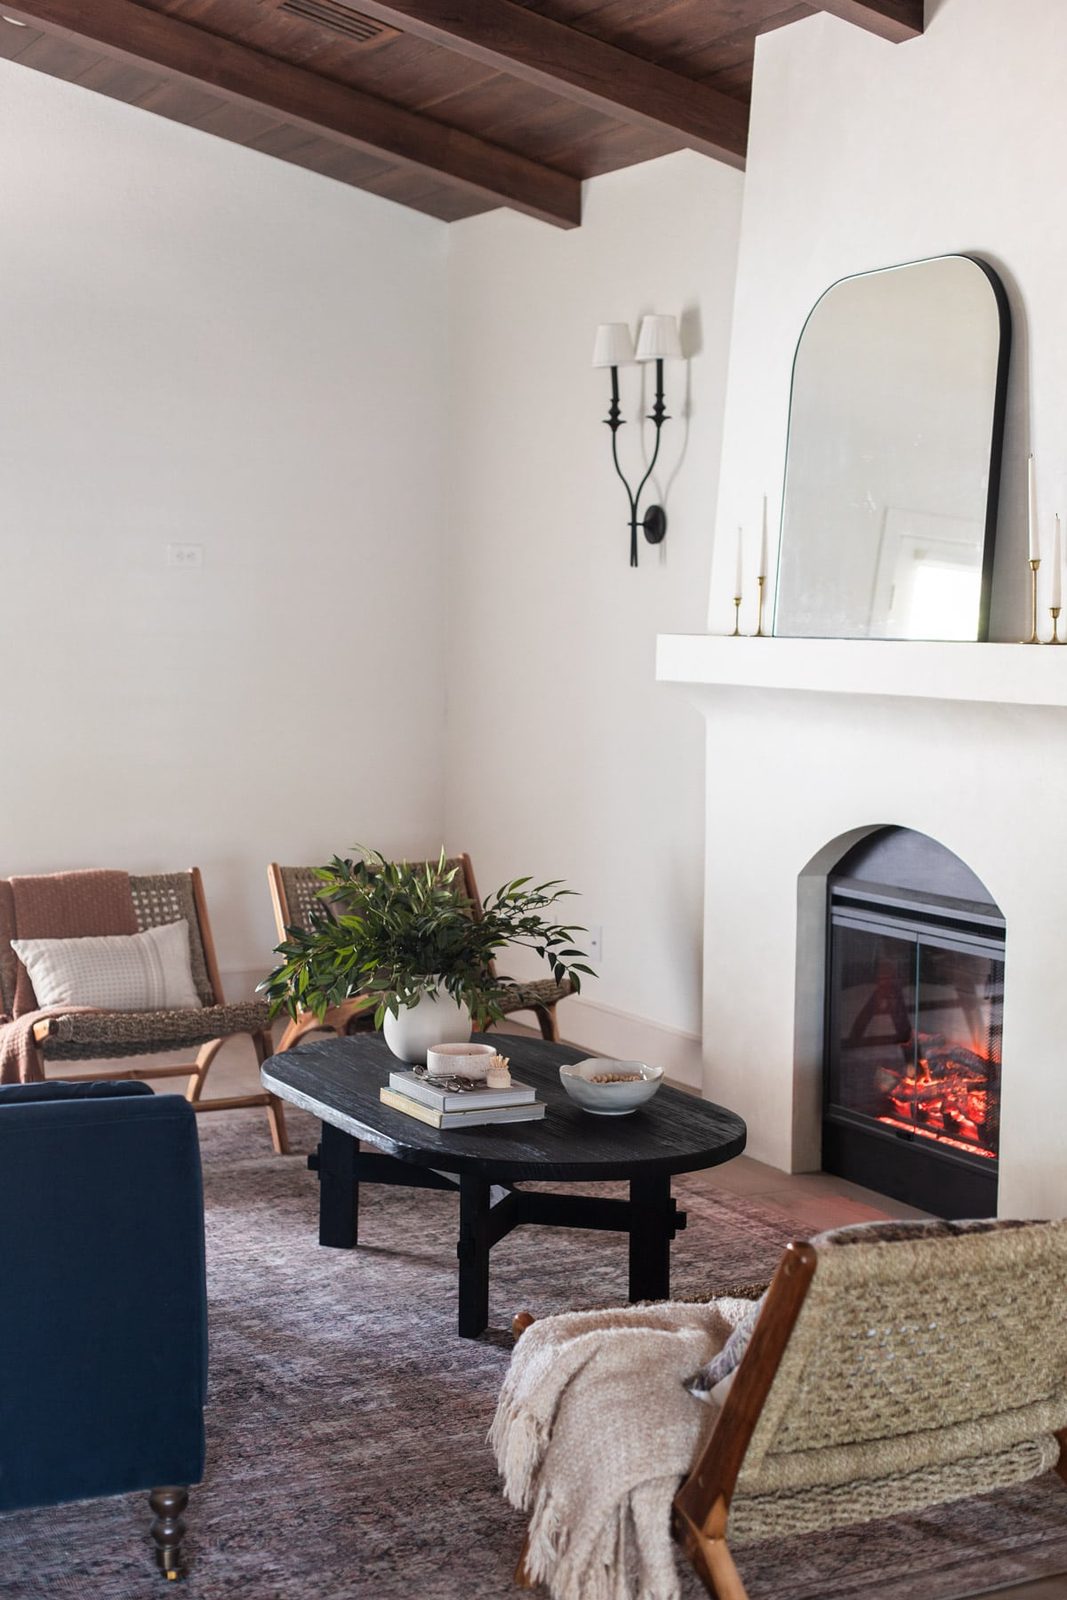
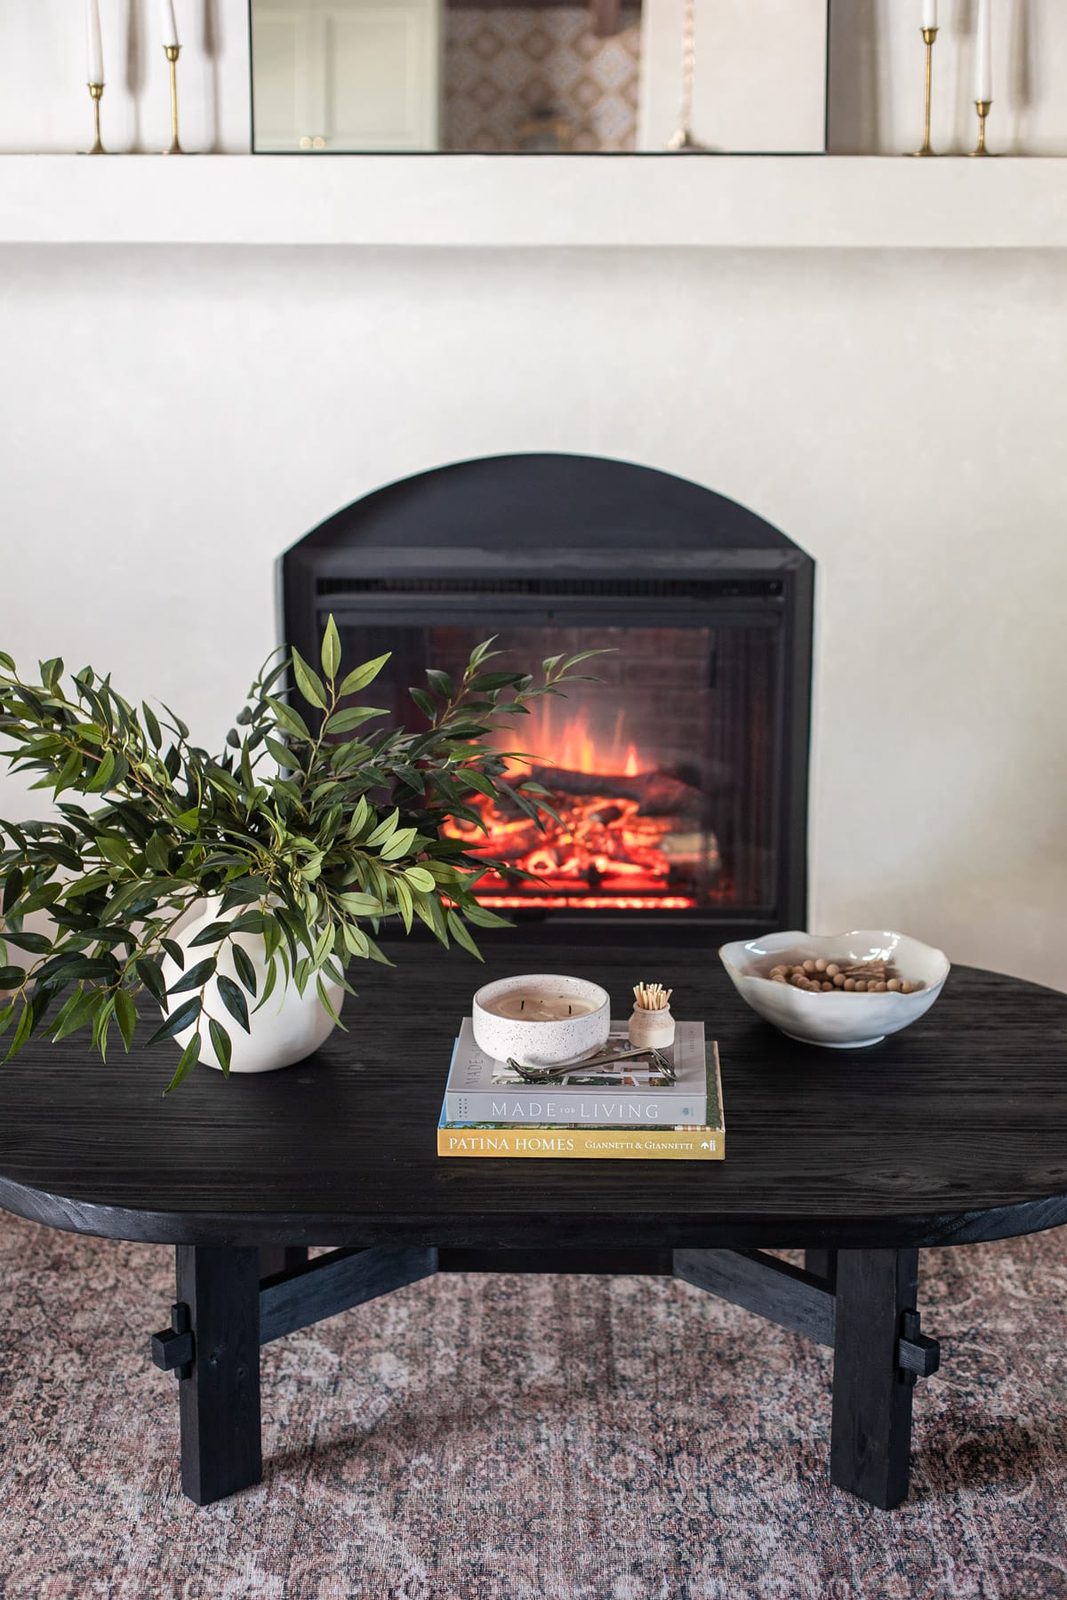
This is how it looks in the Hacienda Hideawayliving room!
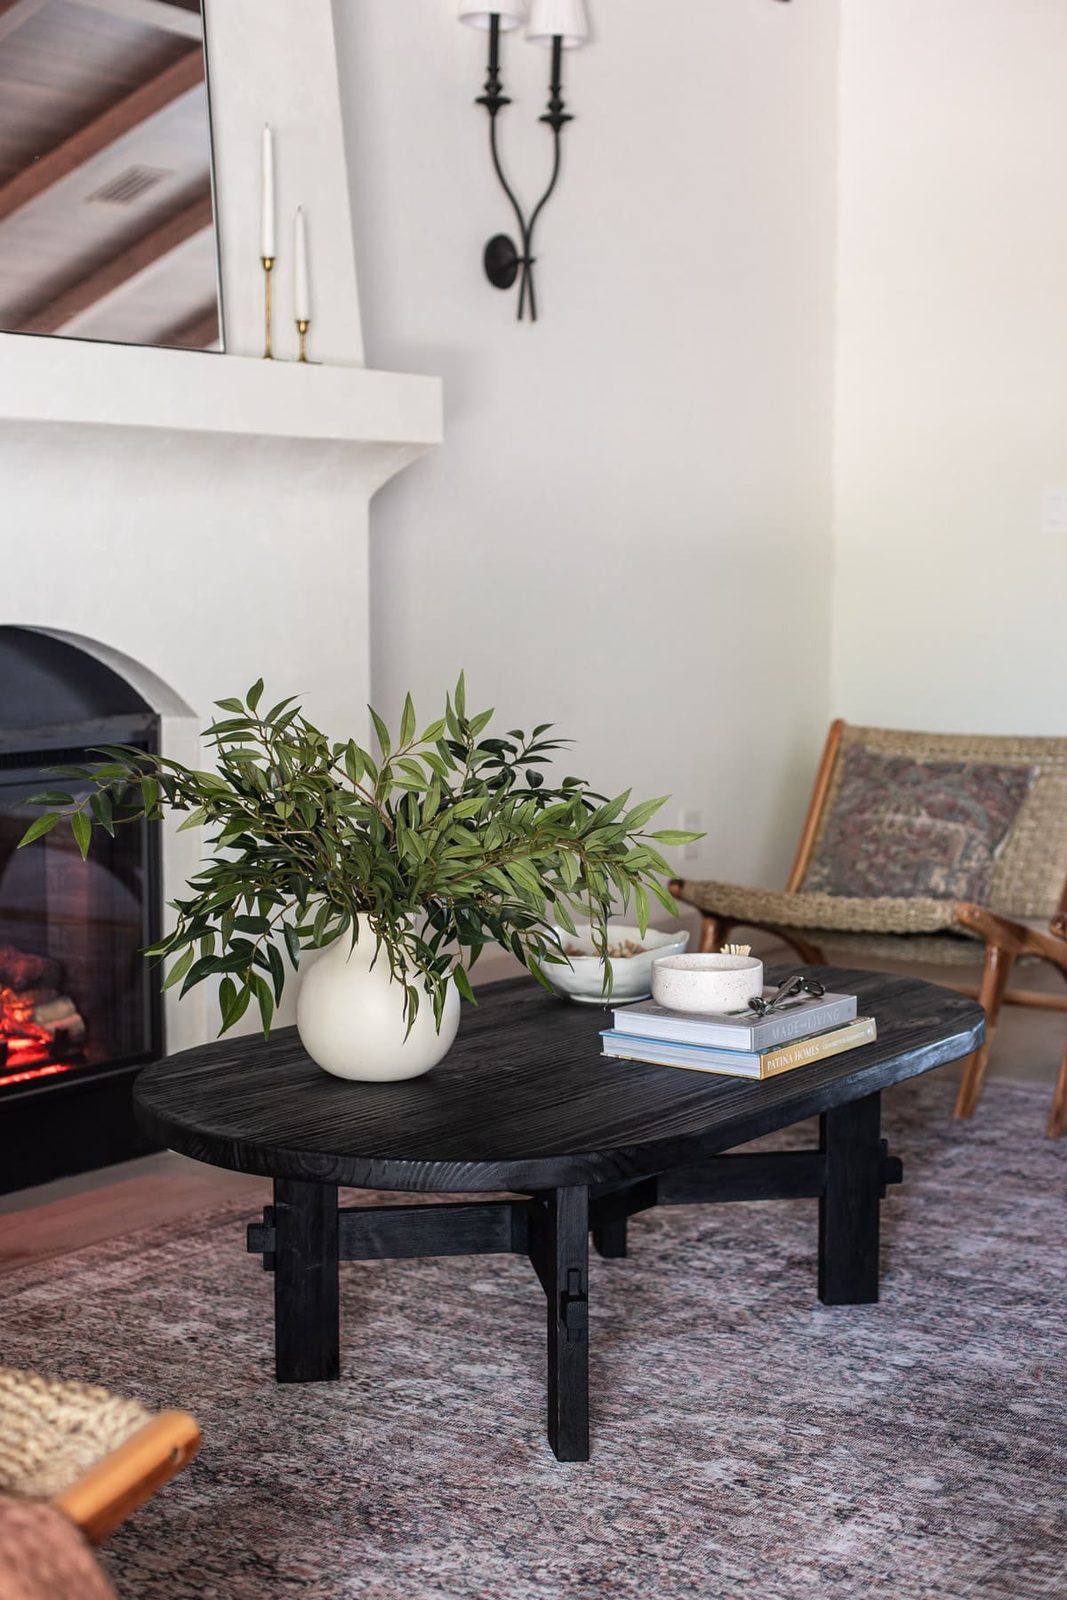
I cannot get over how much it looks like the inspiration table—and we got to make it the exact size we wanted, while saving over $1200 (after shipping/tax!)
The wire brush genuinely worked some magic here. You'd never suspect this was made from cheap yellow pine lumber.
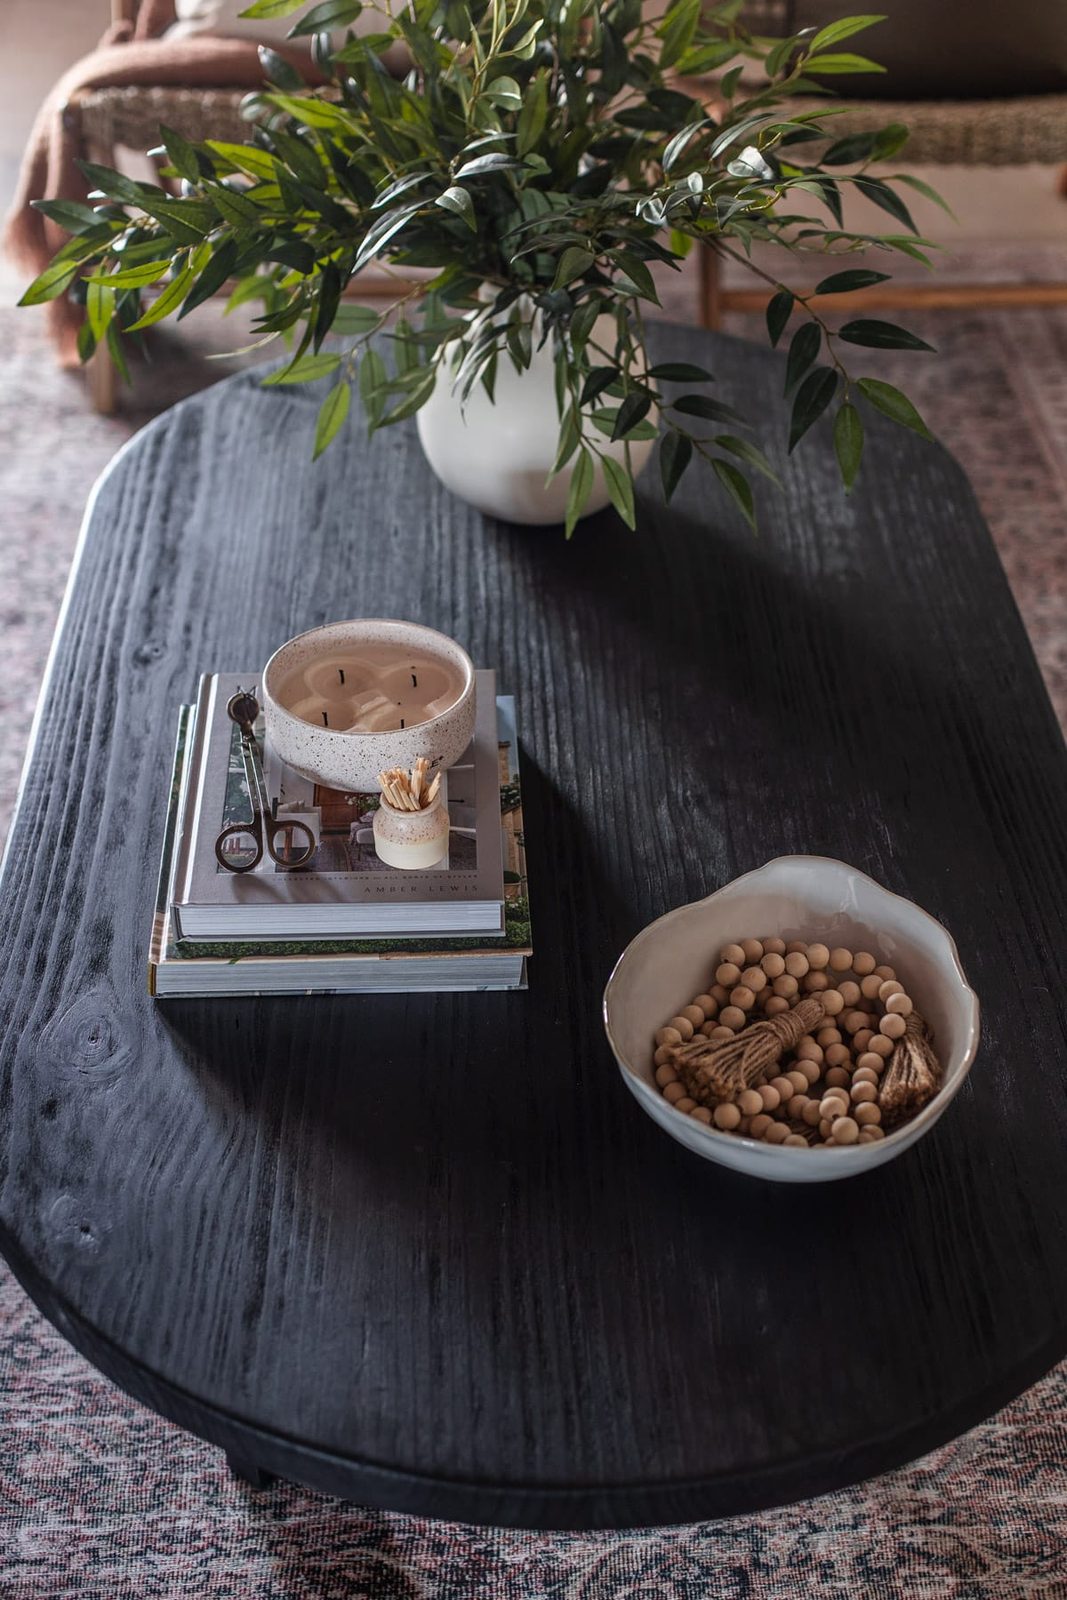
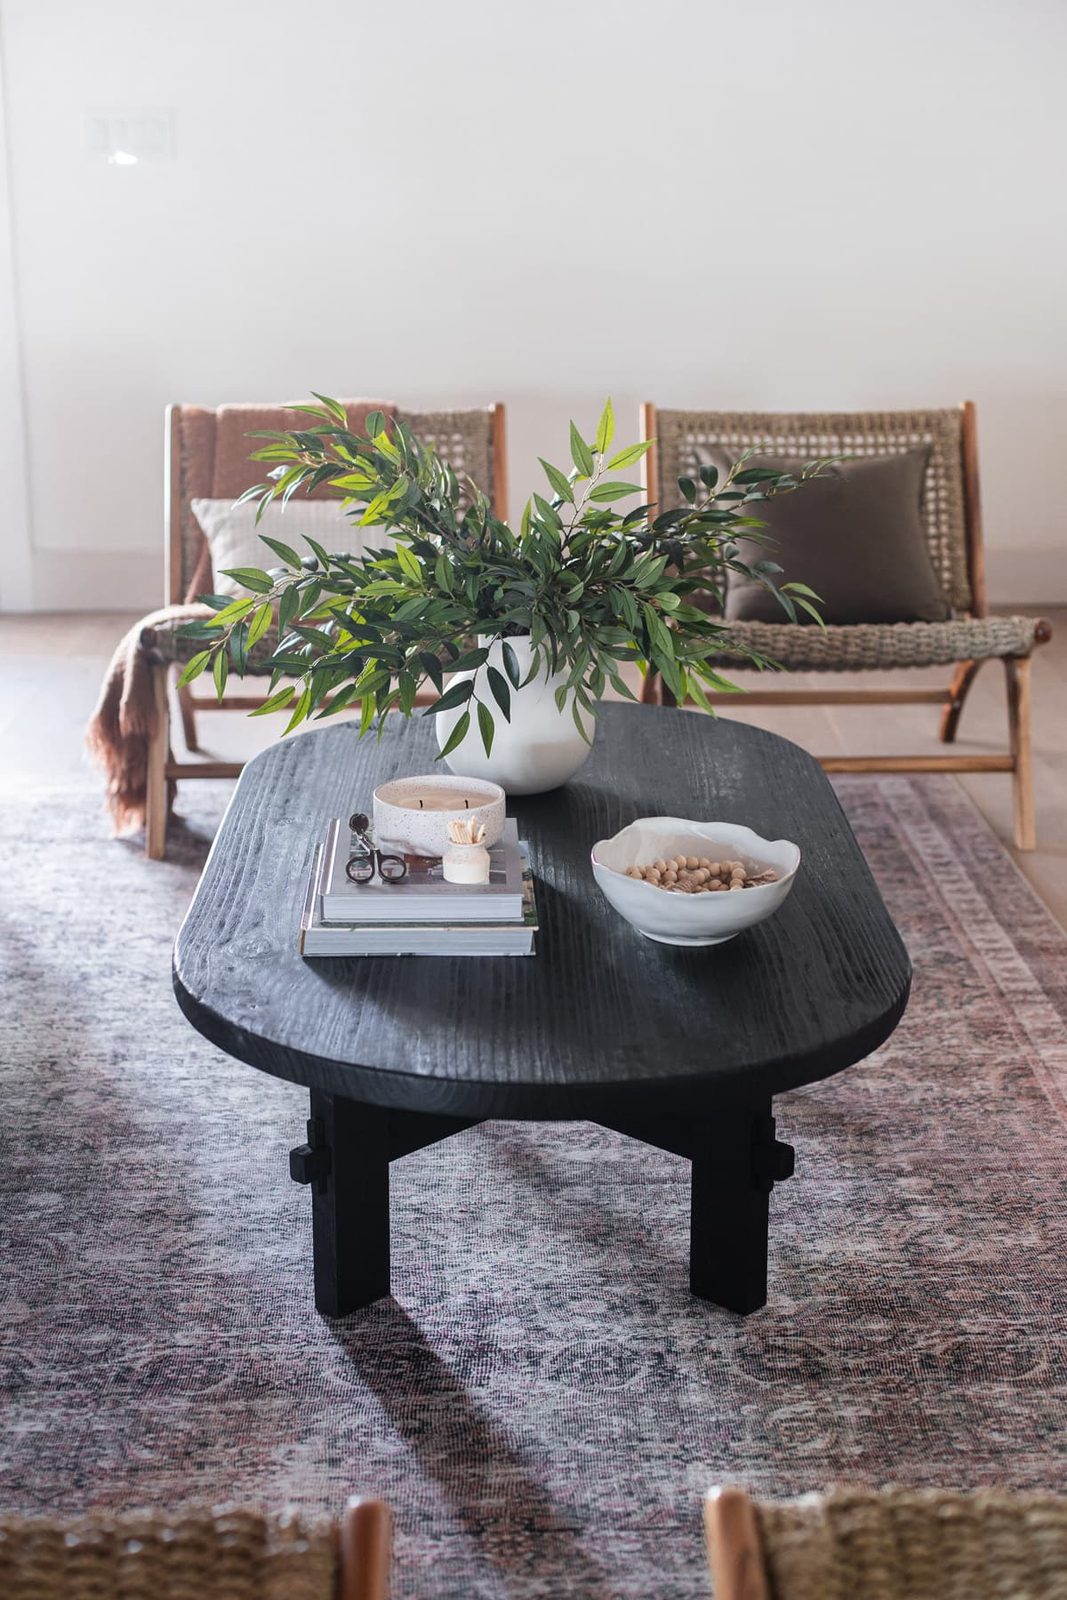
The living room is now almost complete—we still need to build a console table for the back wall, mount the TV (with a custom DIY TV frame), add a tree and planter. We are almost there!
I hope this write up was helpful if you are thinking of taking on this project. It is a bit time consuming if you cut the mortise and tenon joints by hand, but it is well worth the effort, I think! This is one of my favorite furniture builds.
You can also find a video tutorial of this build in my Instagram stories (saved under my Coffee Table highlight). Stay tuned for a handful of new DIY projects in the pipeline (right after we take a nap—this newborn sleep deprivation is no joke!)