DIY Boho Flush Mount Ceiling Light
How to make a DIY boho ceiling light with raffia! Use this technique on any woven pendant or flush mount ceiling light.
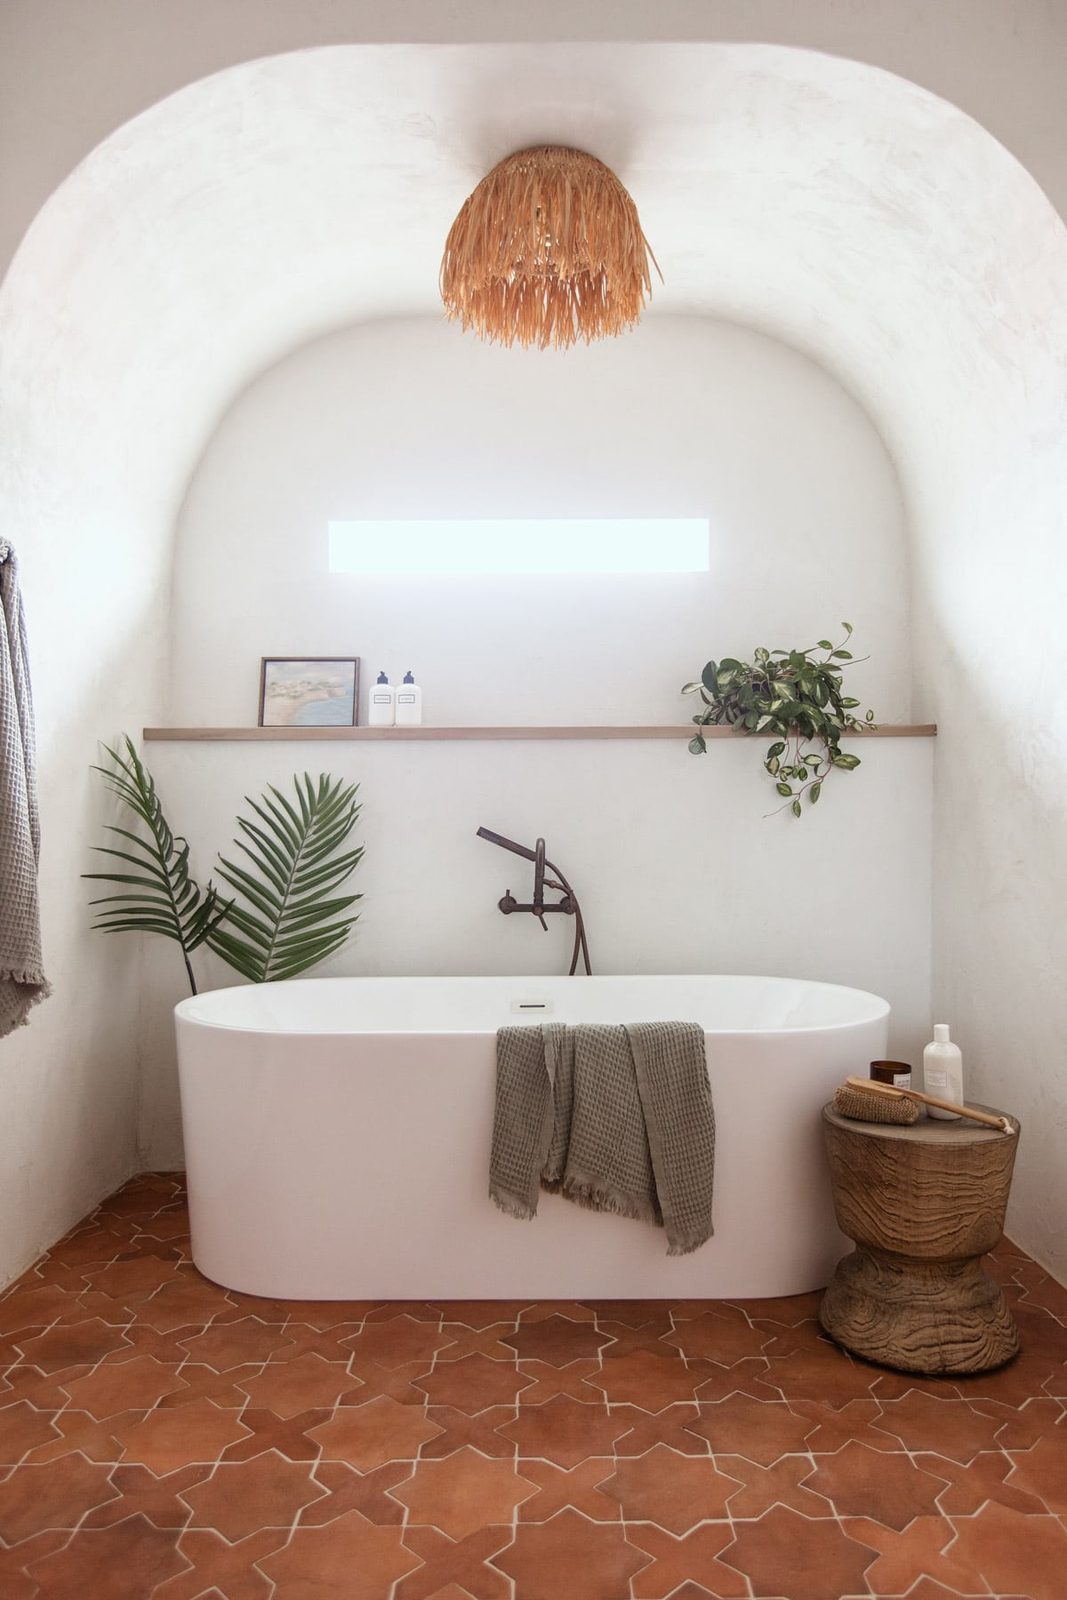
Channel the 'luxury Balinese resort' look with this unfussy DIY raffia light makeover. This tutorial works for any woven pendant, chandelier or flush mount ceiling light. A fun, easy and inexpensive project you can do in a day!
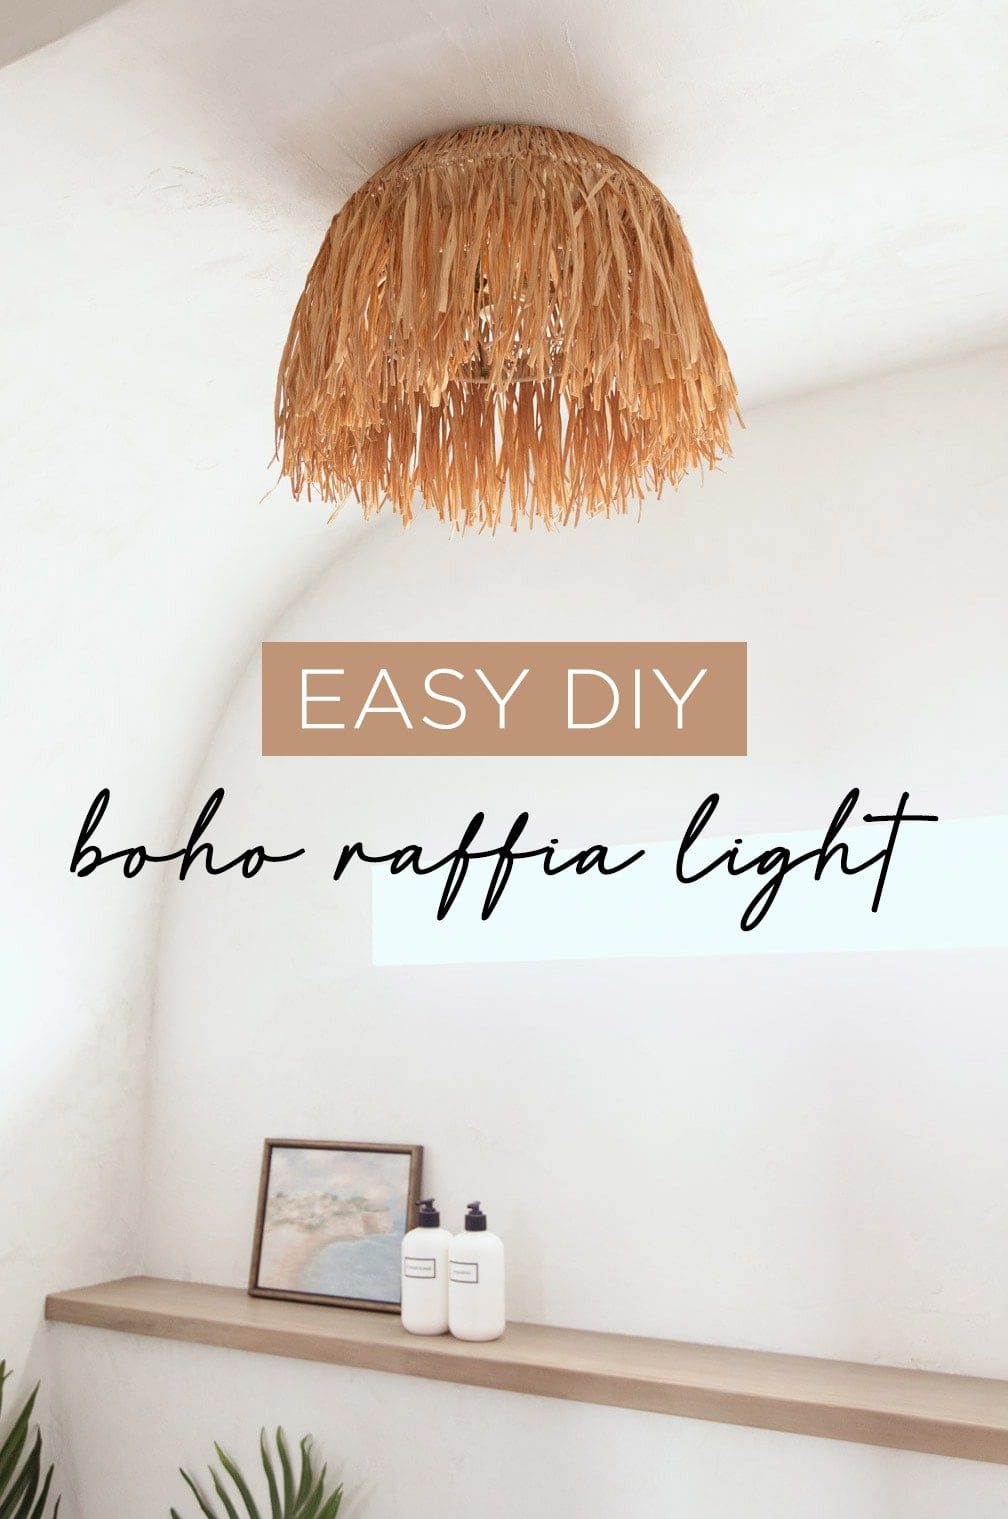
This DIY was the icing on the cake for our Modern Mediterranean bathroom makeover. From the beginning, I had a vision of a textured, organic pendant hanging above the bathtub. You know, like what you'd see at a luxury villa in Bali…

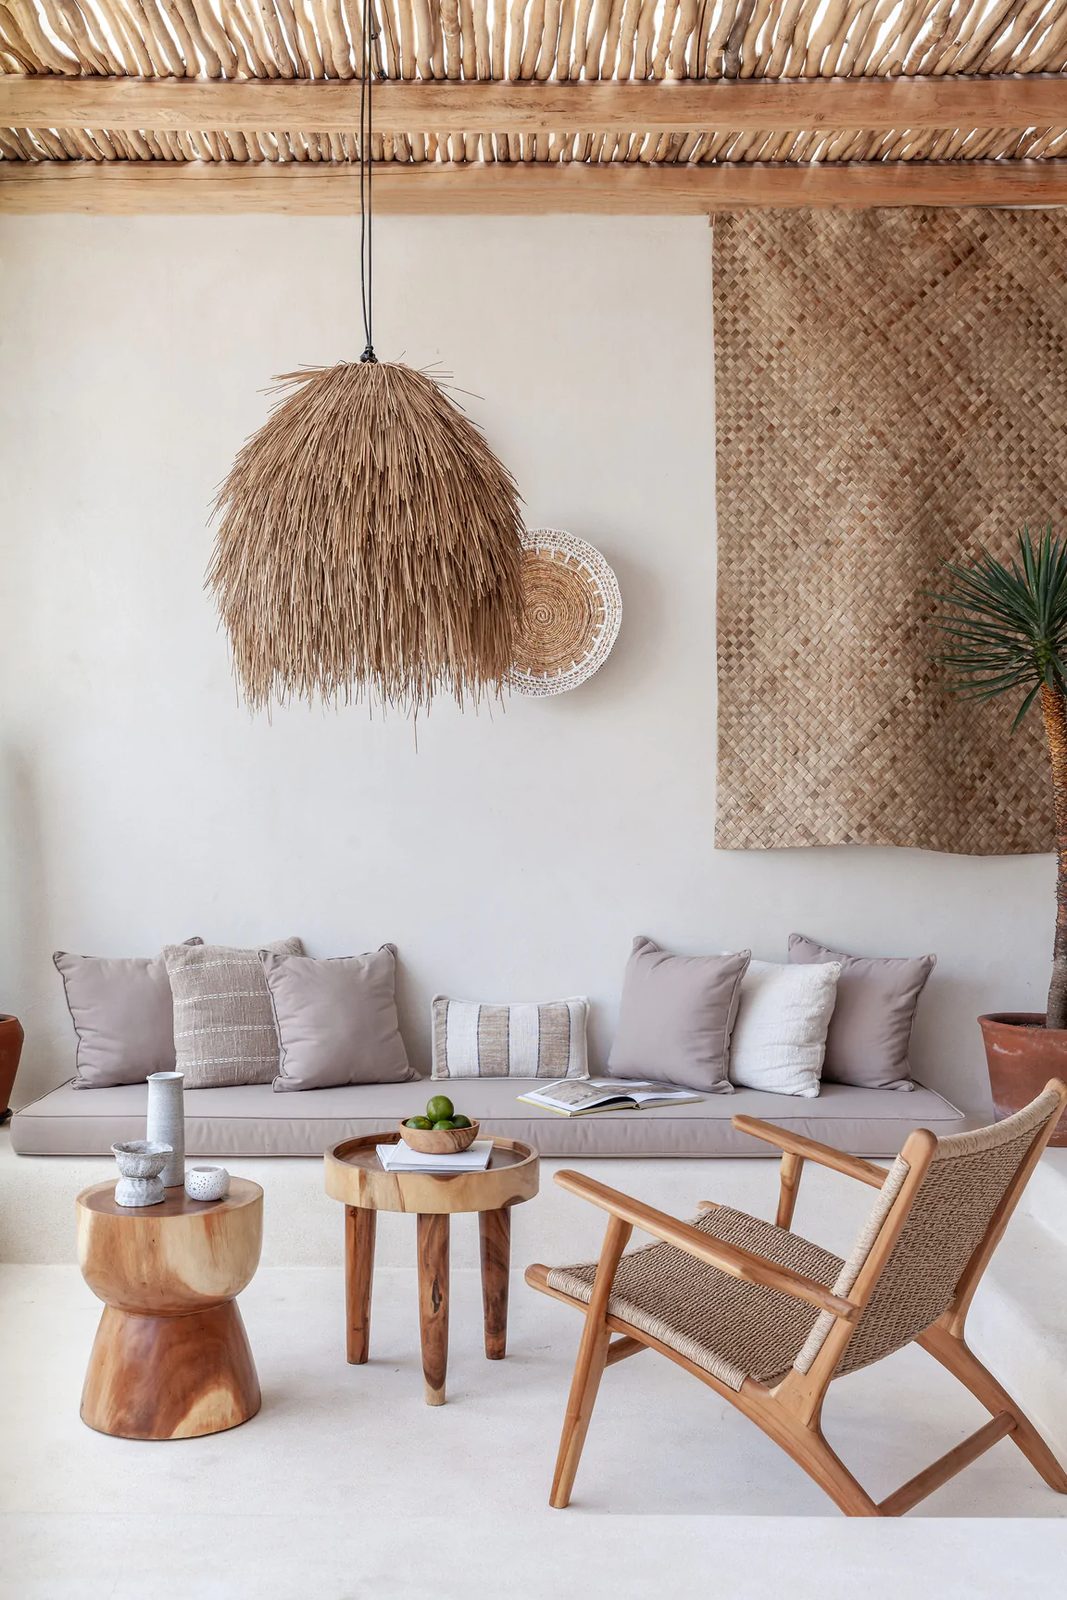
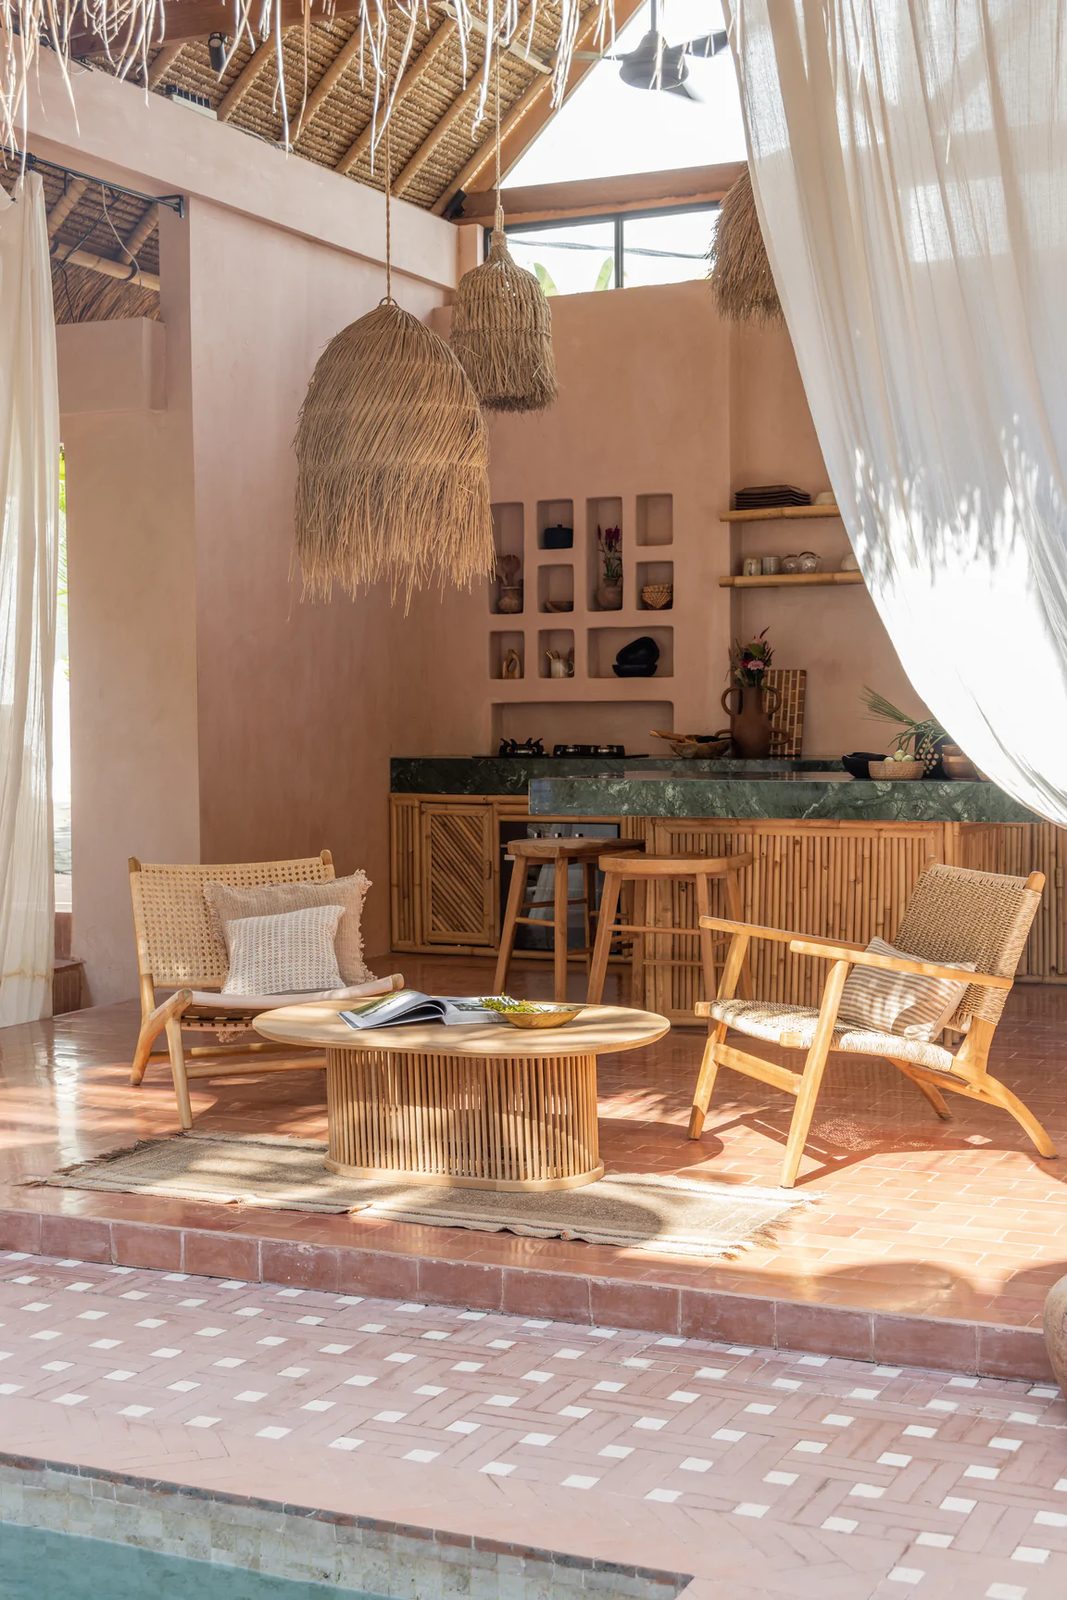

There are several (mostly pricey) options online that could have worked… but just one problem:
Hanging lights above bathtubs
Here is a not-so-fun fact: The US National Electric Codeprohibits hanging light fixtures within 8' from the top of a bathtub. Which means, unless you have at least 12' ceilings, it is off limits. For whatever reasons, people (including well-known designers) break the rule all the time. Not sure how they get around inspections, but this is a very common sight:
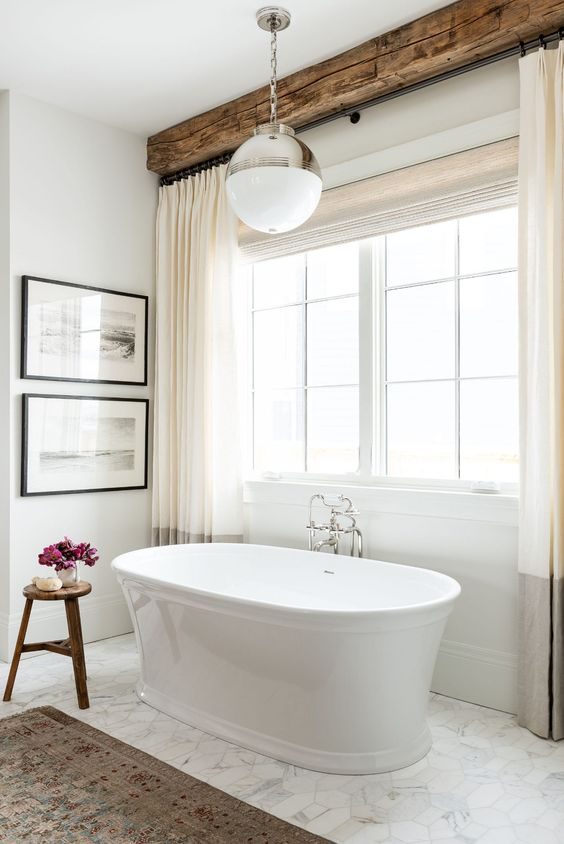
I thought about doing it anyway, but decided to play by the rules. Upon further research into the electric code, recessed and flush mount lights are permitted within the 8'. That meant I could use a flush mount ceiling light and add a little DIY magic to get the look I wanted. It helps to keep a good creative challenge!
How to make a boho ceiling light
This tutorial is real unfussy: all you need is a woven light, a spool of raffia ribbon and scissors:
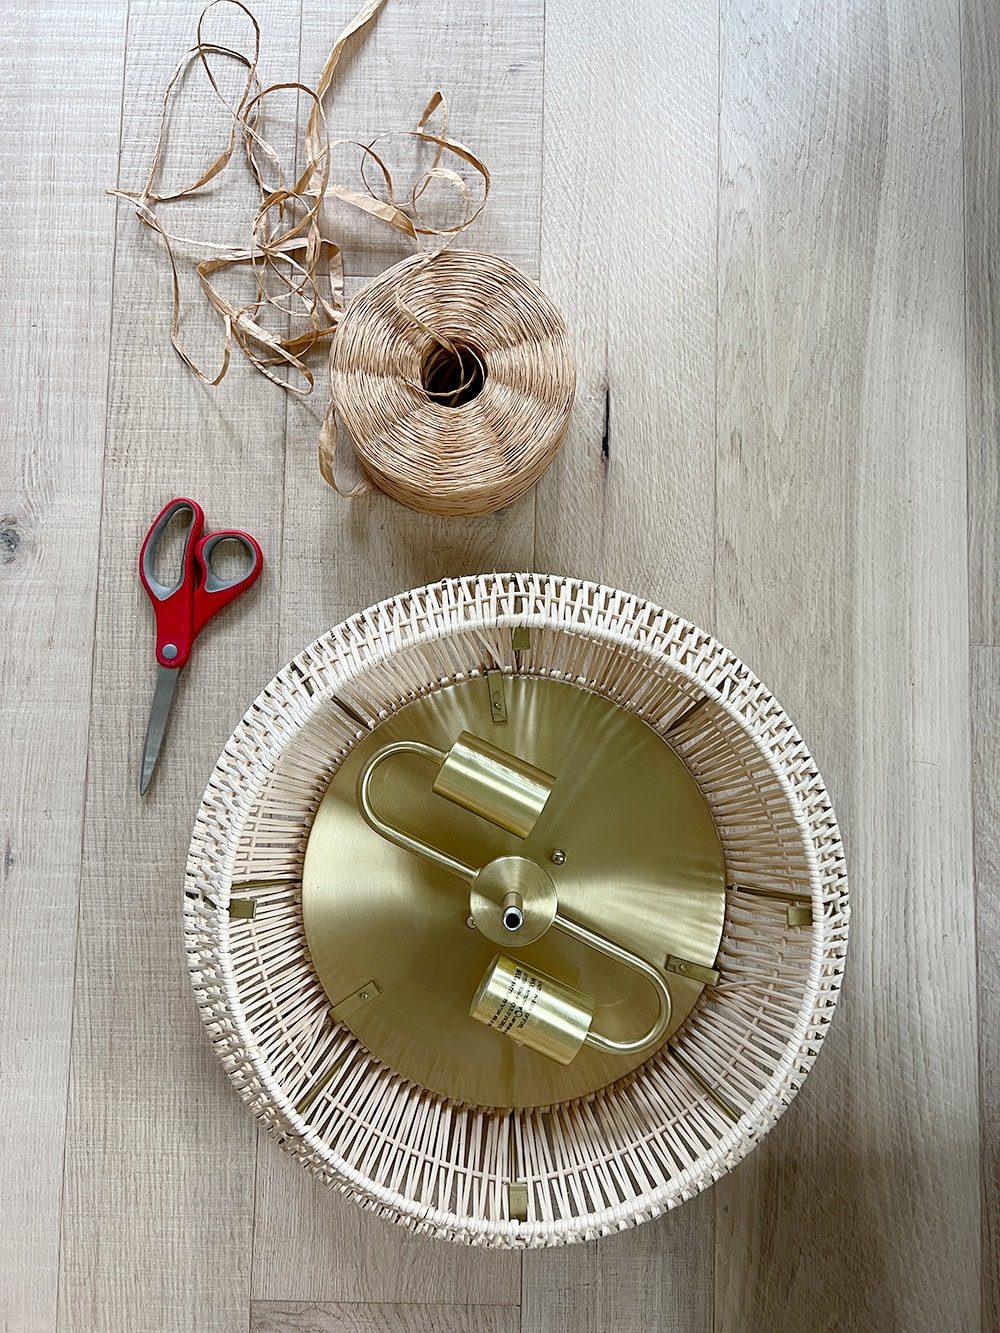
You can use any type of woven or basket light. I found this rattan light from Home Depot that was just the right size and price ($85 when I bought it). I also bought a large spool of raffia ribbon (way too much for this project)—this size is more than enough.
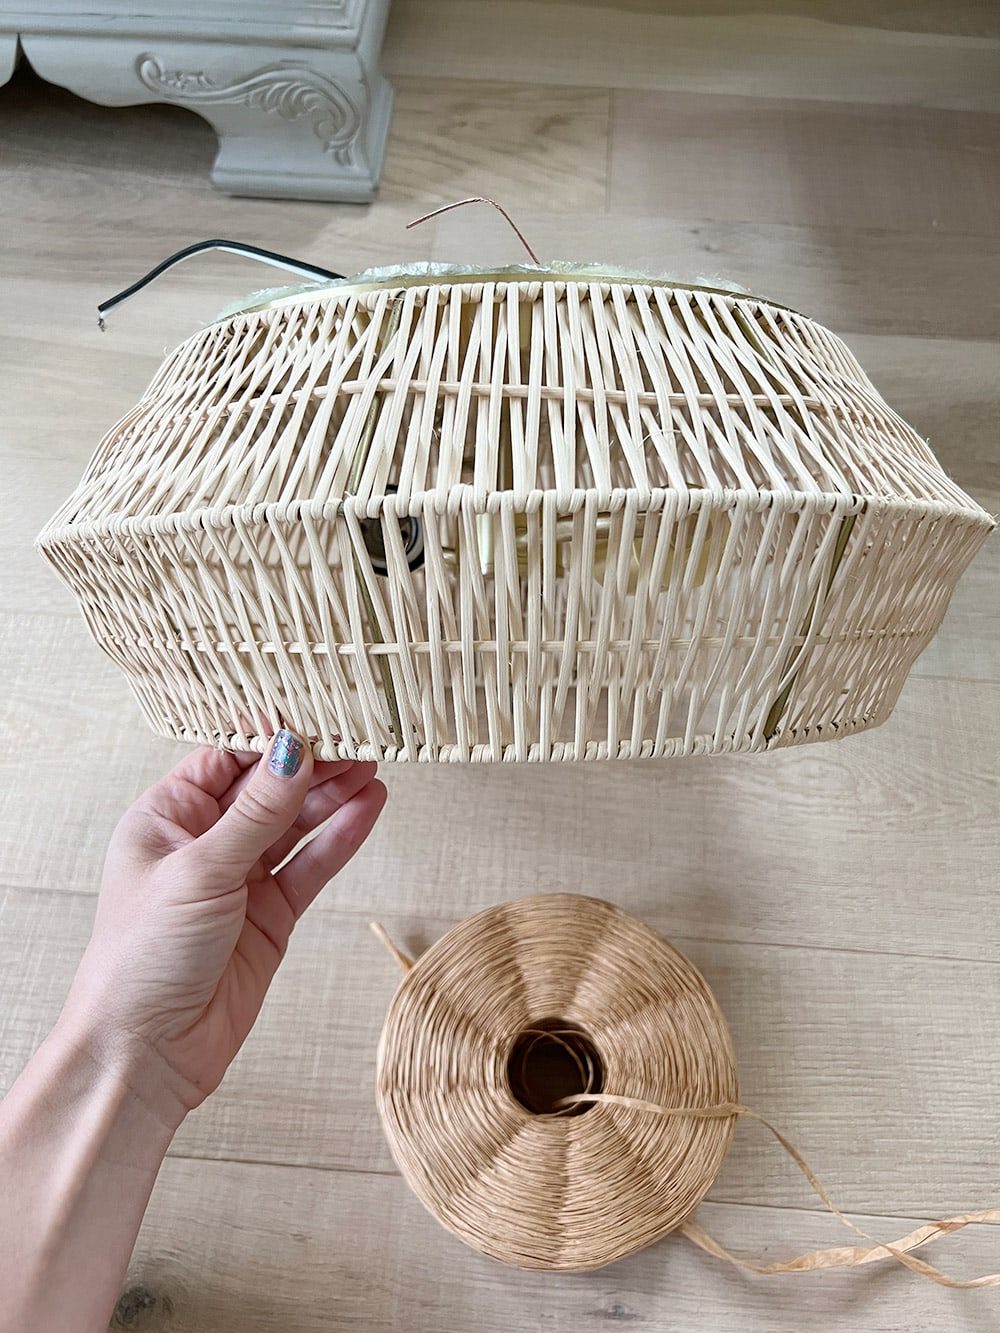
Step 1: Loop and knot top layer of raffia ribbon
I started by looping one side of the ribbon around the top, and making a knot at the center. This could be done in different ways depending on the structure of your light fixture. You just want to secure the ribbon to it, and have two ends hanging down.
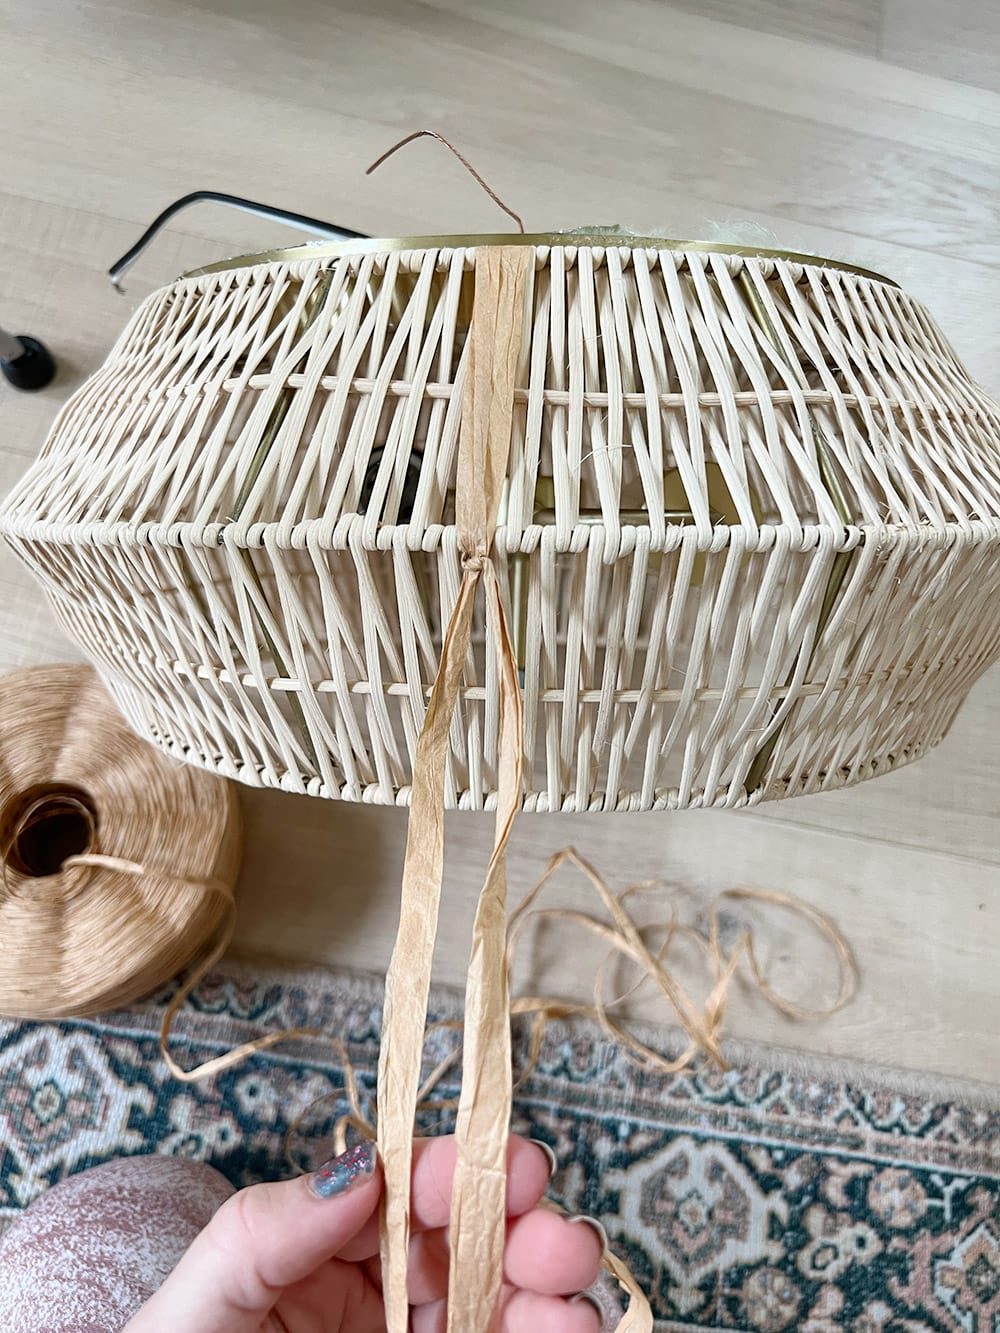
Cut to your desired length and continue to loop and tie the ribbon, working your way all around the light.
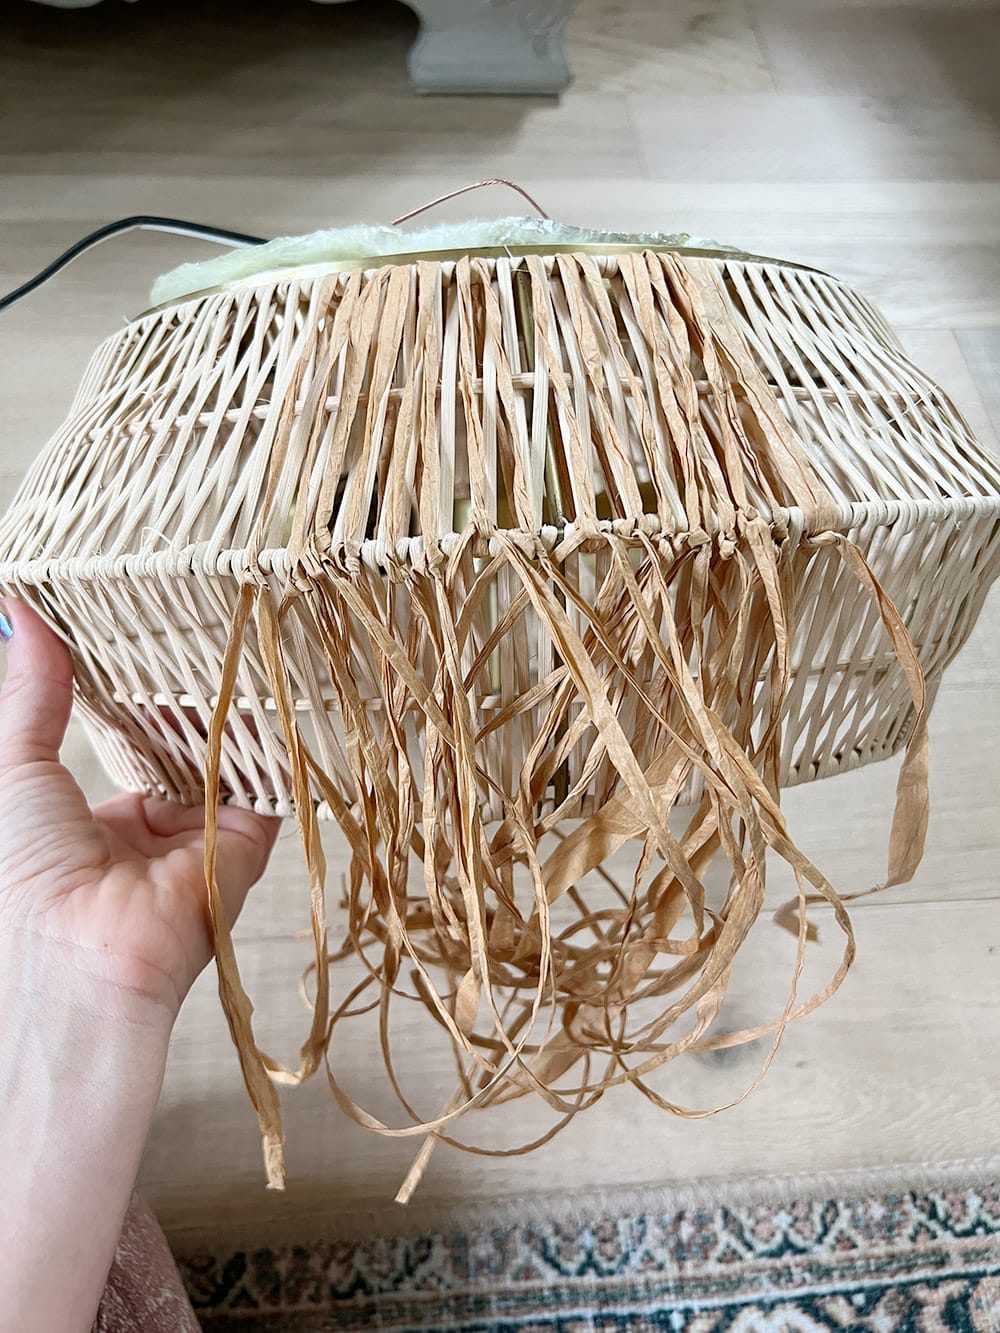
It took me a couple hours to finish, but once you get into a rhythm, it goes by faster. Put on a show or listen to a podcast

Step 2: Loop and knot second layer (if desired)
If you are happy with the way it looks, you can stop here. I wanted mine to be more full, so The choice was to add a second layer along the bottom.
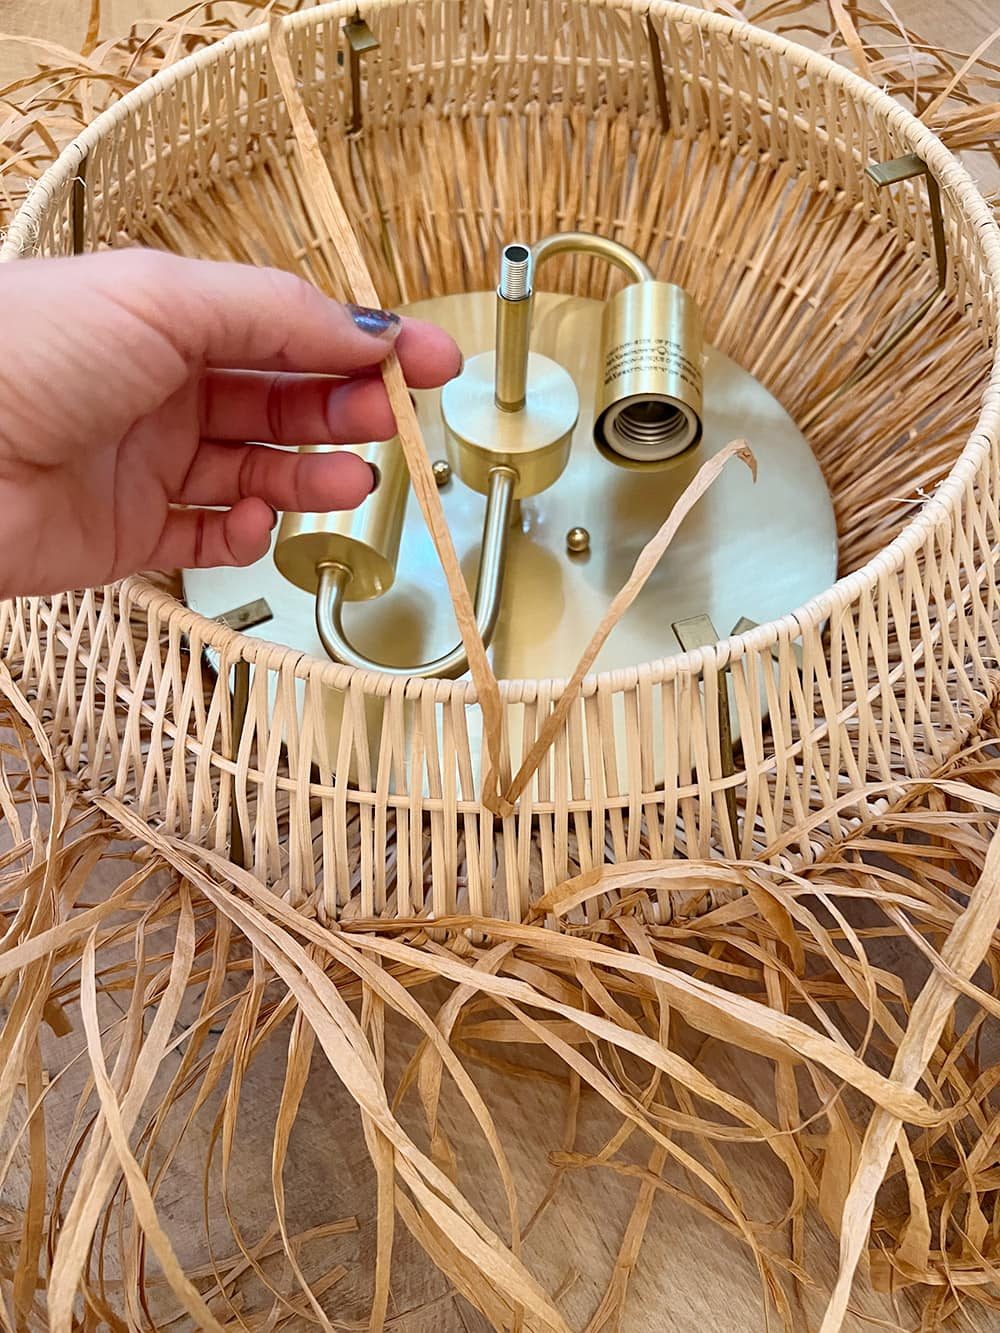
I tied this row to another piece of raffia running near the bottom of the light. I single knotted these instead of double knotting, and it went a lot faster.
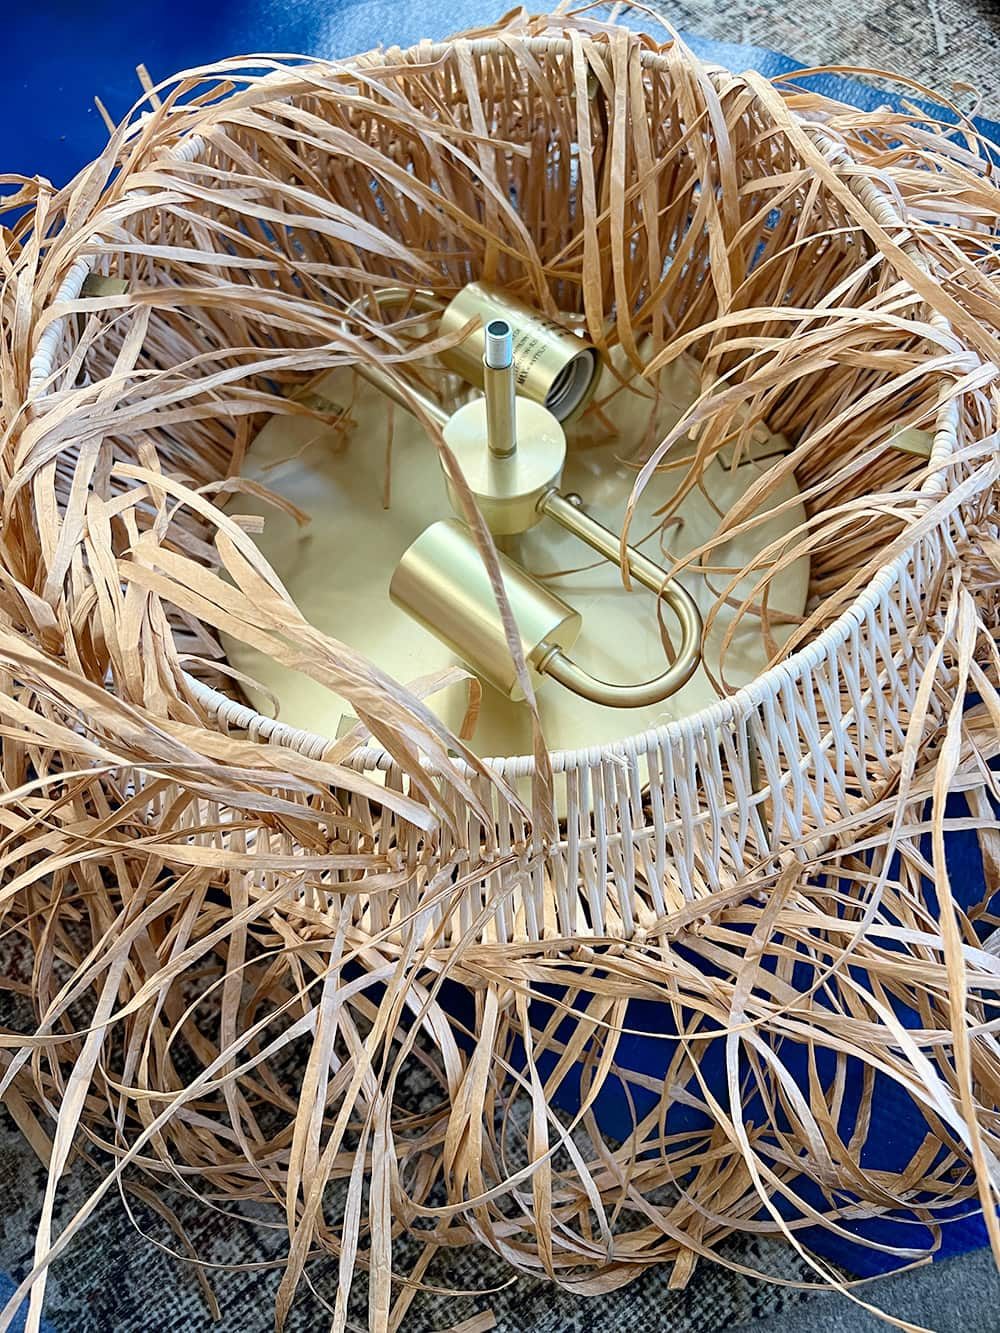
This is how both layers look—much better!
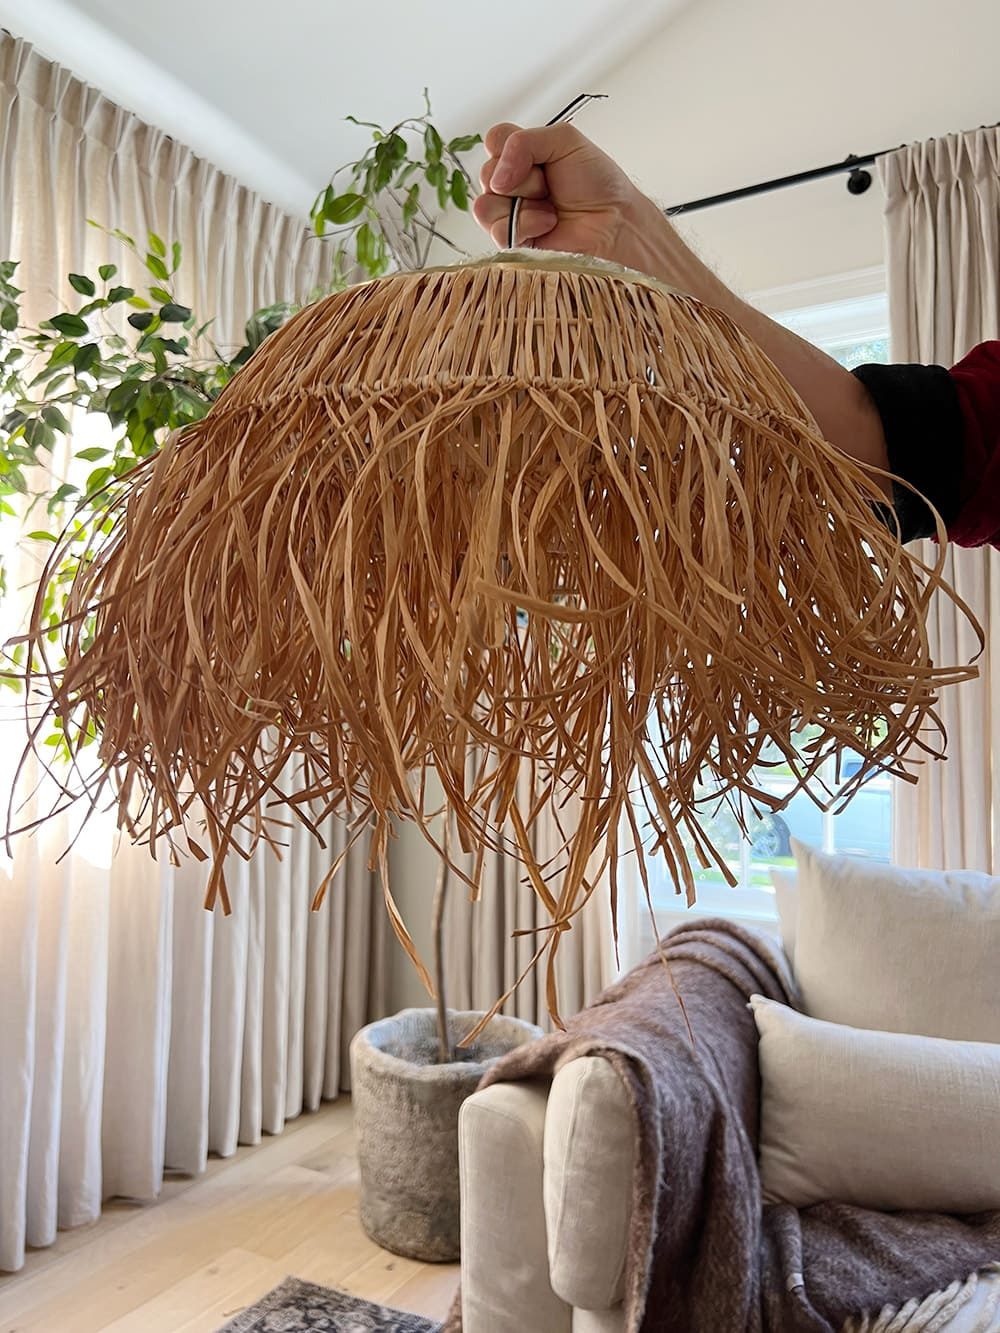
Step 3: Steam and separate ribbon (if desired)
This part is also optional, but the raffia paper was a bit too curly and thin for my liking. The choice was to use a steamer to try and relax the paper.
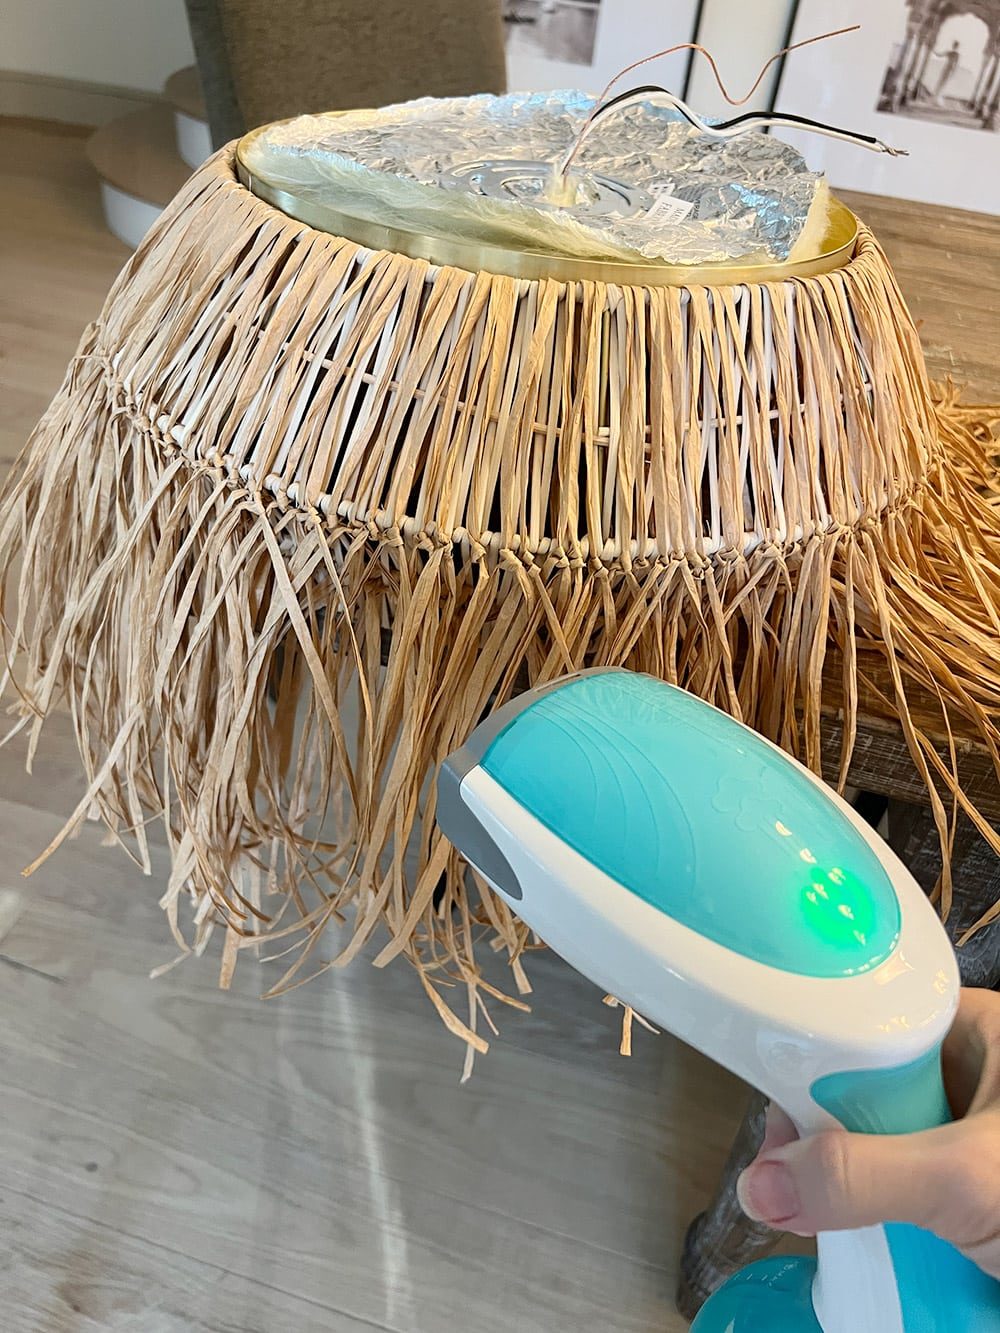
It worked! Once the paper straightened out, I carefully separated each strand to make them more full. This was the most time consuming and tedious part, but again, it is optional.
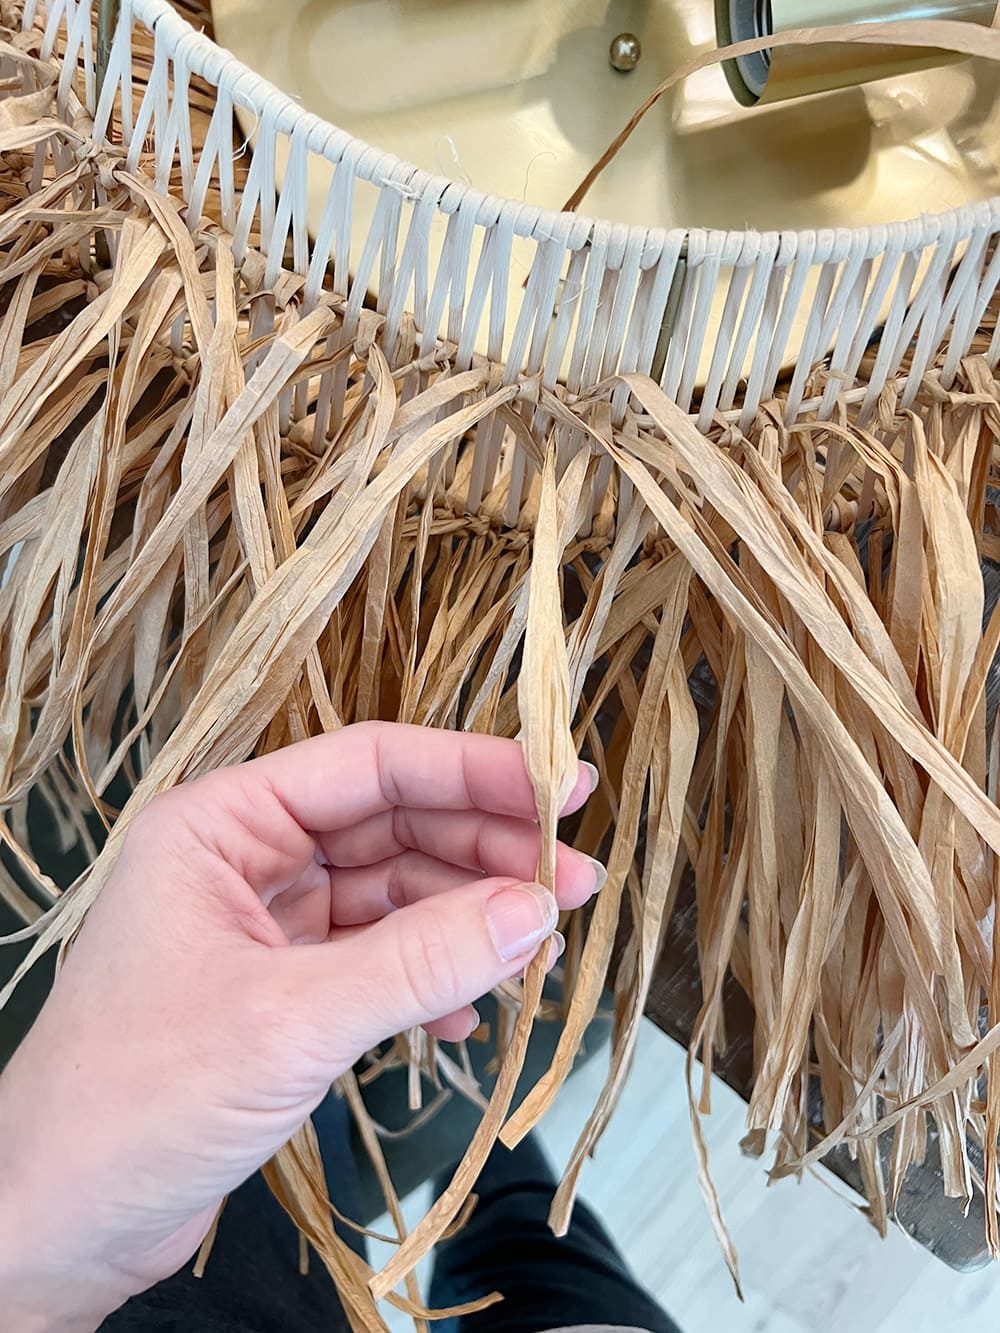
Step 4: Install fixture and trim excess raffia
Last step! Install the fixture and trim the excess raffia to your desired length. Make sure to use LED bulbs to avoid a fire hazard!

Easy, right? Here is the end result:


It casts a pretty neat shadow when illuminated. Such a vibe in this room…
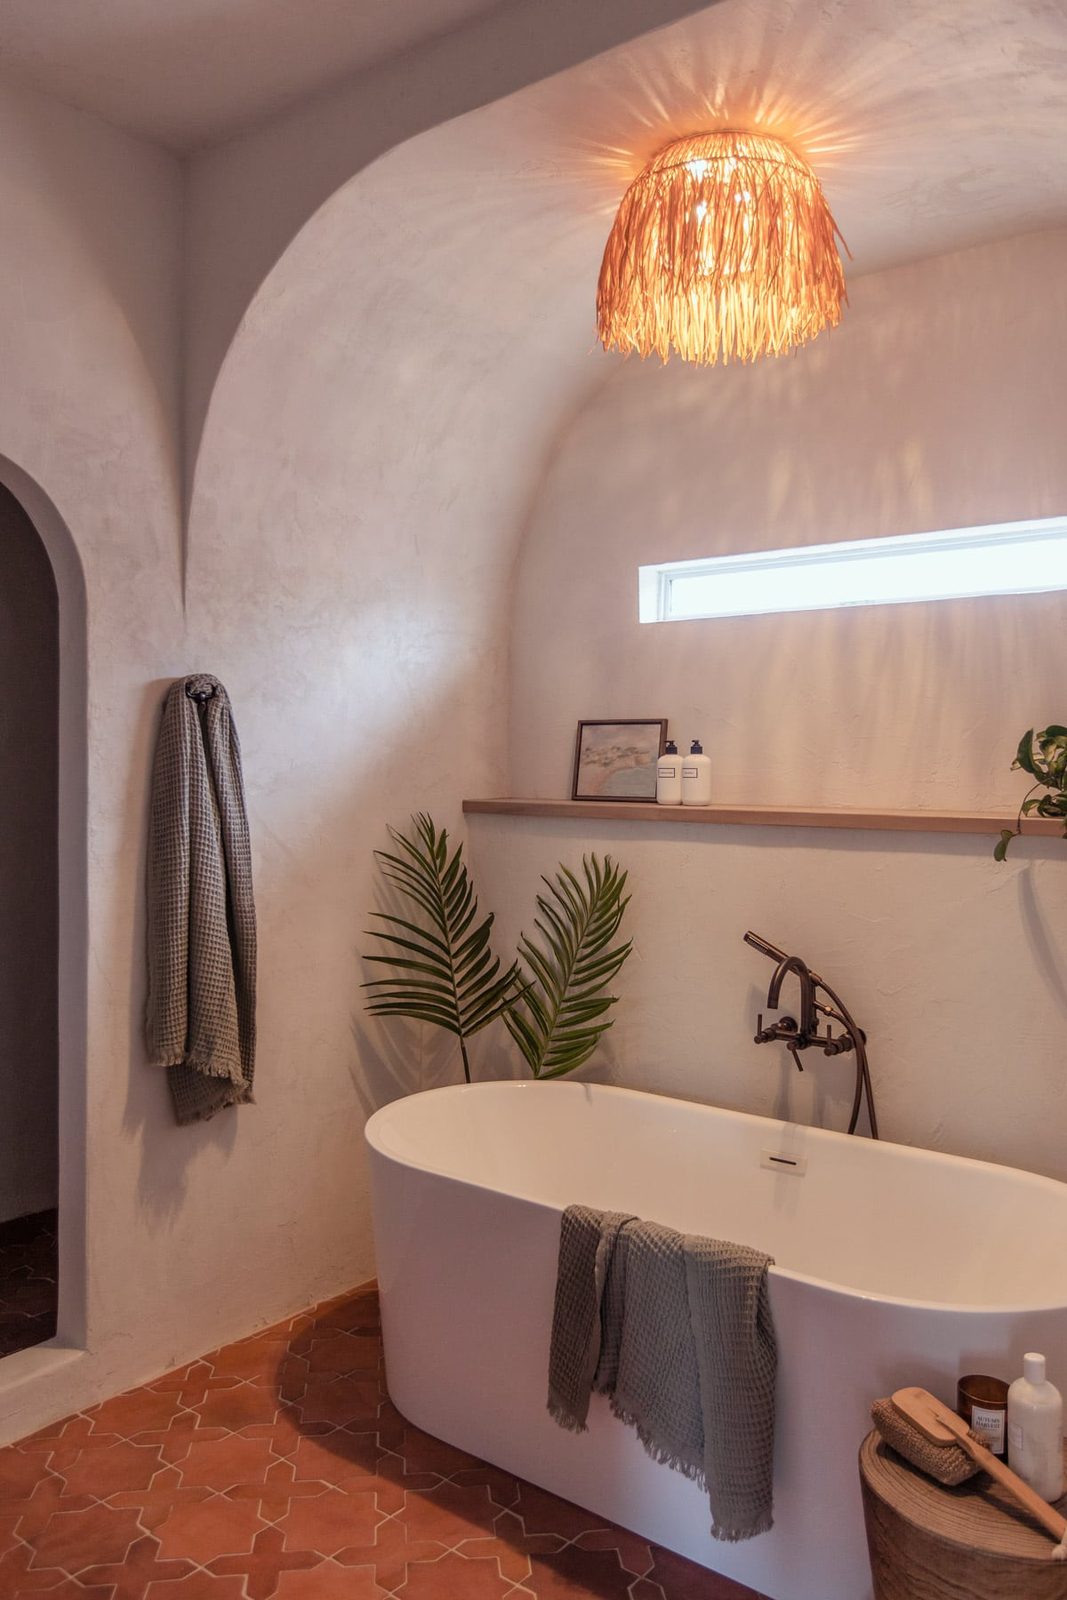
And that completes the content for our Modern Mediterranean bathroom makeover! Time to move on to more spaces in the Hacienda Hideaway. Next up: the living room!