Dining Room Table Makeover
You know how in grade school, you'd have arts and crafts time… and the teacher would play music in the background and just let you go crazy with your paint and glue and…
You know how in grade school, you'd have arts and crafts time… and the teacher would play music in the background and just let you go crazy with your paint and glue and scissors and paper? And it was the best thing ever and you never wanted it to end? That is what this weekend was like for me. A good arts & crafts session. I pretty much loved every minute of it. Maybe because it is something I have been waiting so long for.
I have been searching for the well suited pedestal dining table to fill our dining nook for as long as I can remember. And I am thrilled to announce that the day has finally come. Our nook now has a purpose.
Last weekend, I was fortunate enough for someone to not only discover my dream table on Craigslist, but she offered to deliver it too (thanks Sara!). And everything about it was well suited. It was $100, which is not a steal for Craigslist, but it had everything I was looking for (plus 2 extension leaves) so I could not pass it up.
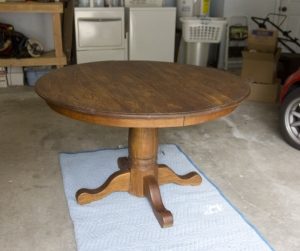
The first step was to decide what color to paint it. The obvious solution for me is usually white, but the table is going against a background of white wainscoting and that is just too much white on white. So my next thought was to bring a little color into the space with turquoise.
I still had some paint leftover from this chest:
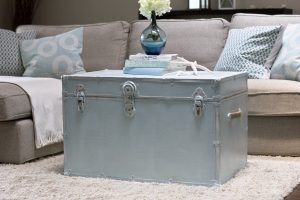
Since the dining table would only be a few yards away from it, I thought it would be a good way to tie everything together. I did not want it to match exactly, so I mixed in some white to give it a barely-there-blue shade.
Now for the transformation.
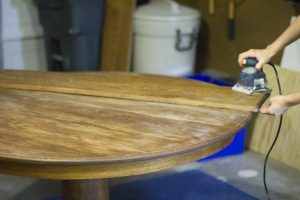
First, I lightly sanded to remove any surface dirt.
Then I applied a coat of oil based Zinsser primer.
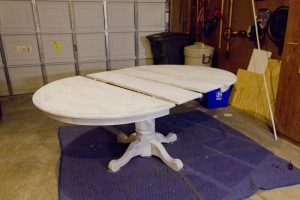
After drying, I applied another coat.
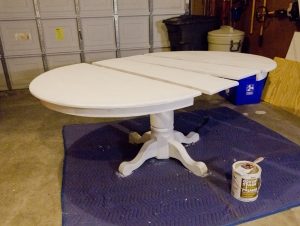
At this point, you could still see some of the wood showing through, but the primer layers were becoming quite thick and I was not convinced it was necessary to completely coat the surface before painting (I could have been wrong… but I think I was right). So I moved onto to the next step.
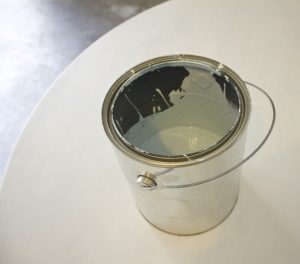
Here is my custom mixed pale blue shade, ready to go.
And here is after one coat…
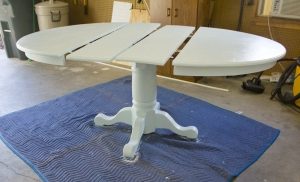
And after two…
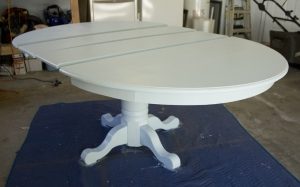
Two coats was all it took, and then it just had to dry.
I had debated on whether or not to distress this piece, but after seeing the quality and texture of it in person, I decided it would be a good fit. There were natural grooves and holes and crevices in the wood, so even if I tried to make it as smooth and polished as possible, it just would not ever have that well suited store-bought modern look. So I went with it.
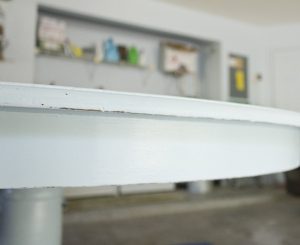
Finally, I applied a few coats of Minwax's Polycrylic to seal and protect the surface.
And here is the table in its new home:
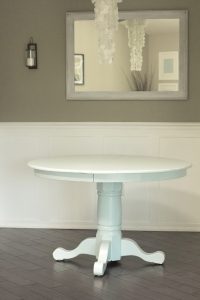
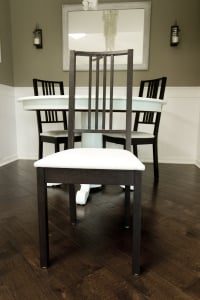
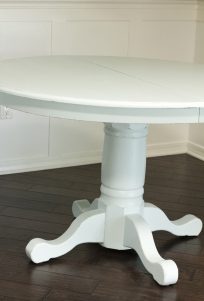 I just cannot get over this shade… I am in love! I would have completed the room this weekend with chairs and a table setting, but that is a project all on its own. I have got plans for the accessories that will take a whole weekend to complete, if everything goes right *fingers crossed* Here is a little preview of what I have to work with…. Yep… good old Ikea chairs. As you can see, they do not match the space at all. But that will change next weekend. See you then 🙂