Operation Pantry Remodel: Phase 3
We are breathing a sigh of relief today, because the hardest part is over! Last week I left off with a cleaned out, patched up and freshly painted pantry: In this…

We are breathing a sigh of relief today, because the hardest part is over!
Last week I left off with a cleaned out, patched up and freshly painted pantry:

In this episode: building shelves and installing the cabinet.
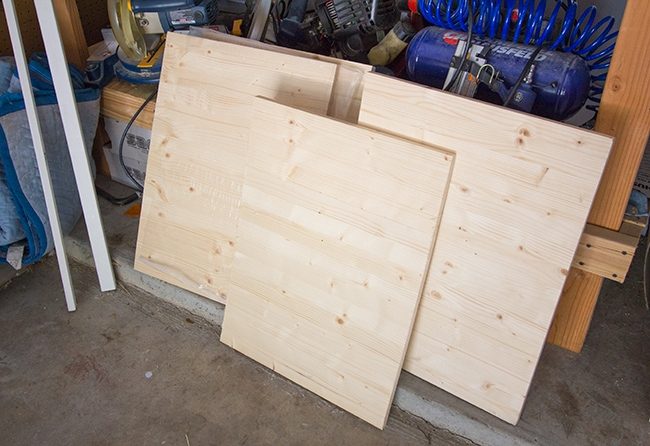
If you remember, I purchased a board from Lowe's and had it cut into 18×24″ pieces:
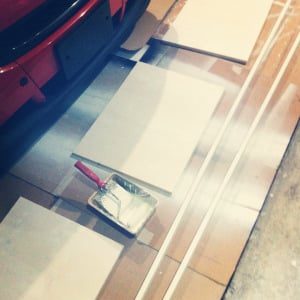
Friday evening I set up my paint station and got to work, applying 4 coats to both the bottom of the shelves and the 1×2″ MDF supports:
 |
| via Instagram |
The next day they were dried and ready to go, so the first step was to set up the supports.
The choice was to use approximately the same location as the old shelves because it worked for us, and the garbage cans fit perfectly under the bottom shelf.
After cutting the pieces to size (one 24″ and two 16″ long, x3 shelves), we decided to drill holes so we could counter sink the screws (so I could later patch/paint over them)
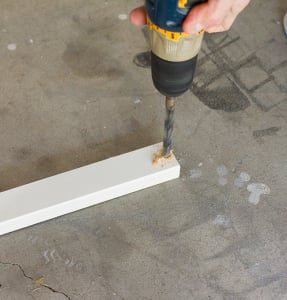
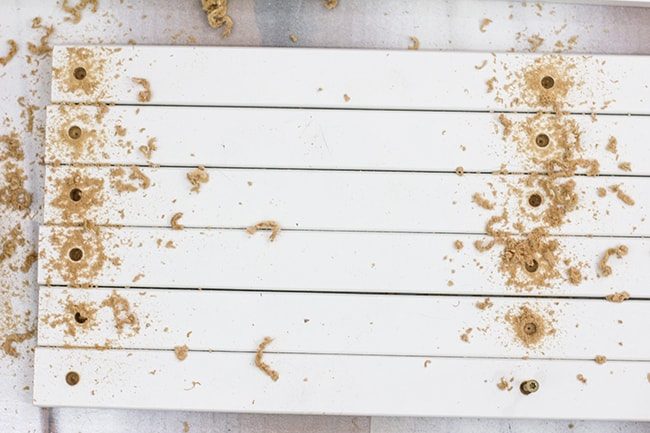
The counter sink was pretty deep so that the screws could grab onto the wall anchors. Speaking of anchors… this became an issue from the very beginning. We only had a random assortment on hand, in various sizes, and they were the cheap kind with no lip so they would just fall back into the wall when we tried to screw into them. Jerks.
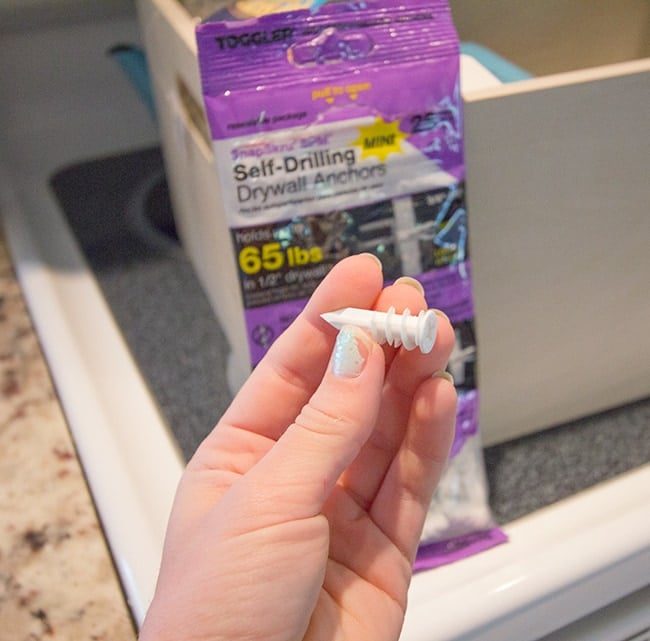
So I hopped in the car and took a trip down to Lowe's to pick up a package that was recommended to me by someone in the store:
 |
| Ignore the manicure, please. |
They are self drilling, which means you can just screw them into the wall (after a pilot hole to get things started) instead of trying to find the right drill bit to bore out the well suited sized hole to fit your anchor. And of course they had a lip so they would stay put.
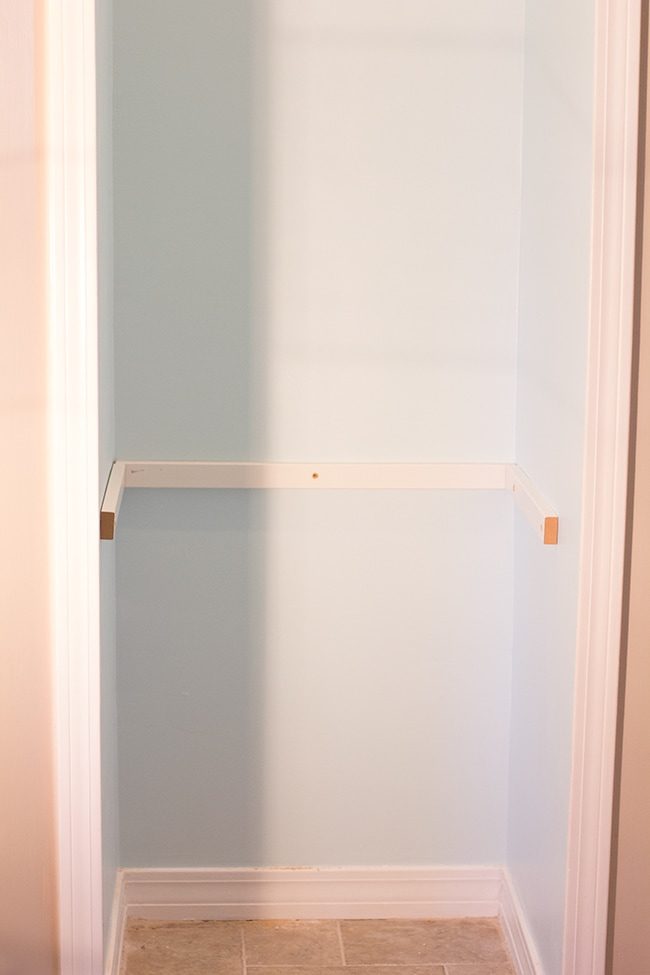
No miter needed on the edges, they just butted up against each other (they will be hidden by shelves anyway, so all that mattered is that they were level).
We used 3 screws on the back wall (the two corners made it into studs and the middle was secured by the anchor), and 2 screws on the side walls (both with the anchors). And of course, made sure to take a level to every board.
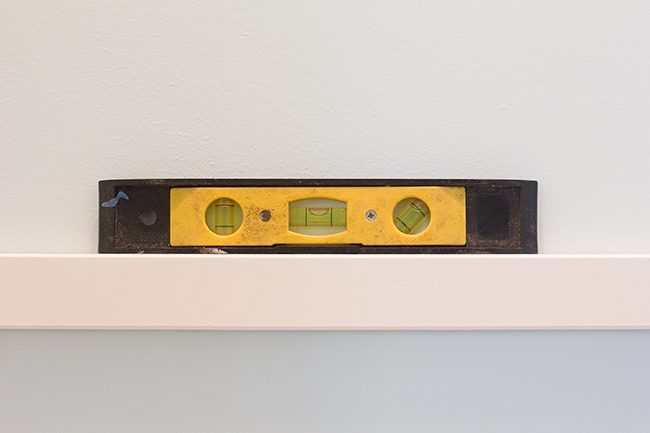
Well suited.
Once the new anchors arrived it was smooth sailing.
The shelves were spaced 12″ apart (from the top of the supports to the bottom of the next support above it).
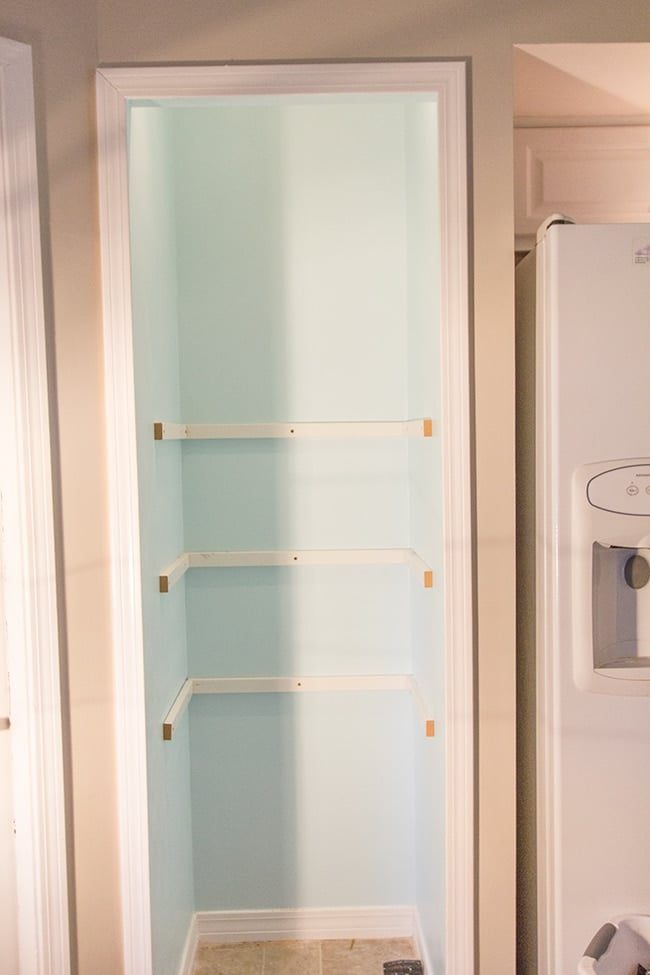
And that ends the biggest challenge of this whole makeover. Woo!
Next, it was time for the shelves.
Because our home was not held to the highest standard of craftsmanship when it was built 20 years ago, we have learned pretty quickly that our walls are not straight.
This pantry was no different. On the back wall, it was exactly 24″ across. Towards the front of the pantry, it was more like 24.5something”. They are not 90' angles either. I do not own a table saw so I could not calculate and cut these to fit exactly like a glove, so I had to work with what I would got.
Here is a test fit after the first supports went up, can you see the gaps?
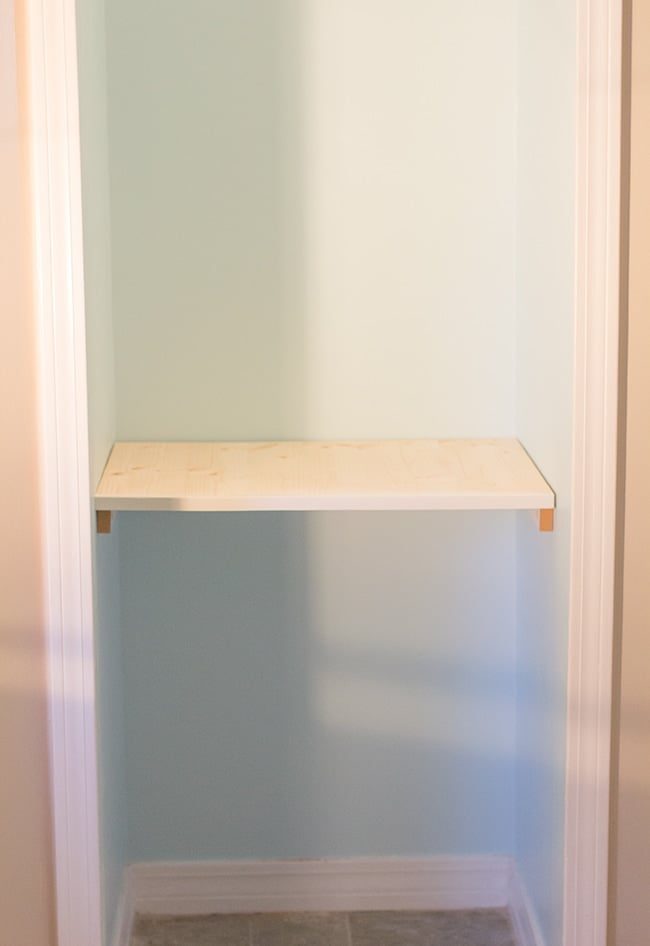
I thought about caulking the gaps to hide them, but figured I would wait until I had finished the shelves to see what it looked like once it came together.
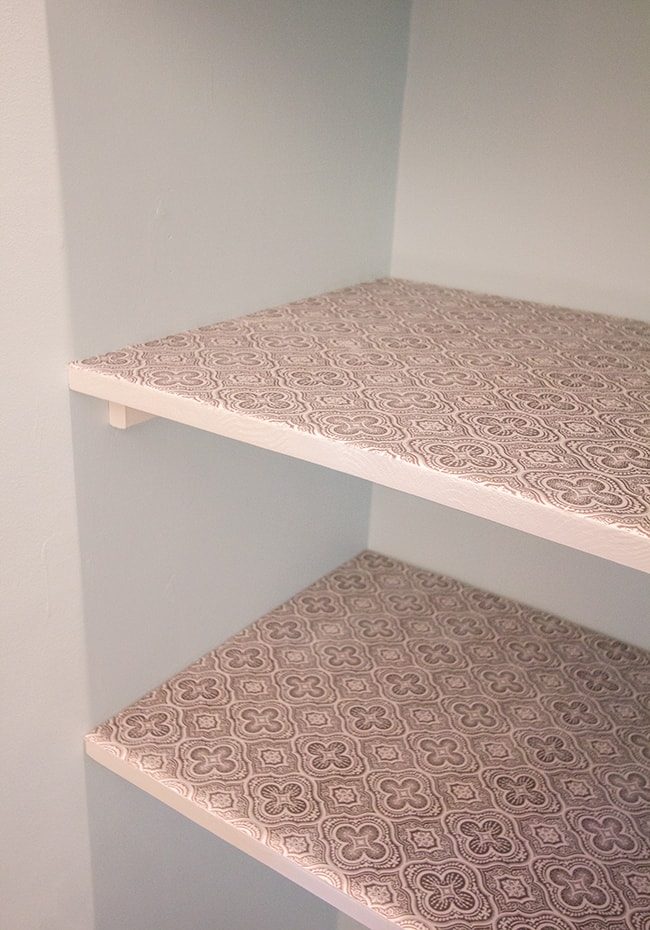
The choice was to try something new and line the top of the shelves with fabric. I would seen this somewhere on Pinterest and thought it looked strong, and also felt confident about using fabric with wood after making my peace sign.
At Hobby Lobby, I spotted this fabric weeks earlier and fell in love. 1.75 yards is what I needed for this project (only $5 after my 40% off coupon):
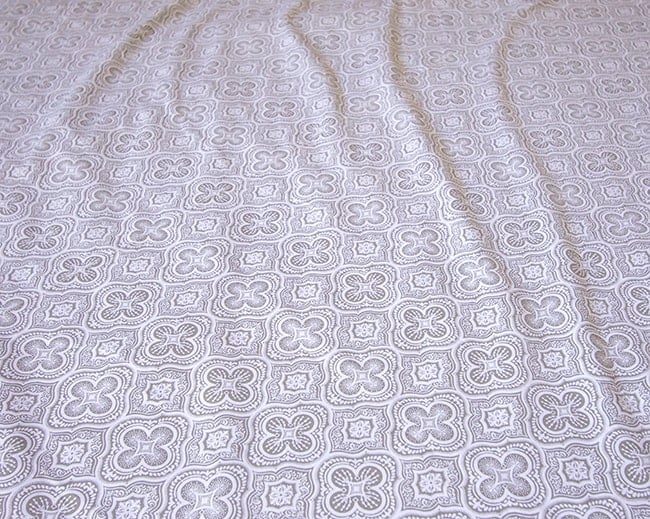
Pretty, right?
To do this, all you need is modge podge and an Xacto knife. After loading a fresh blade and ironing my fabric to smooth out any wrinkles, I laid everything out to begin:
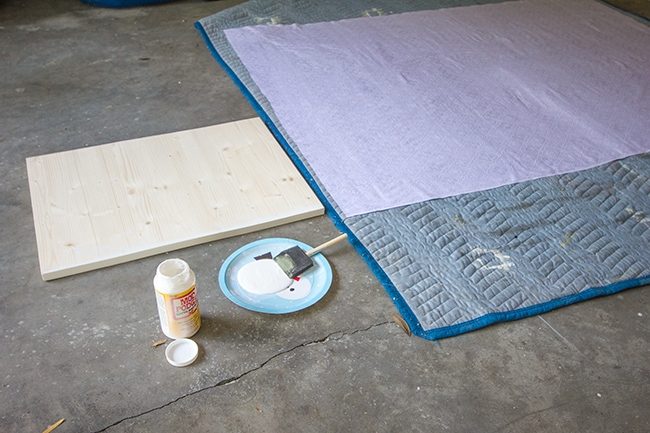
I applied a generous amount of modge podge to the wood surface (hard to see, but it is there):
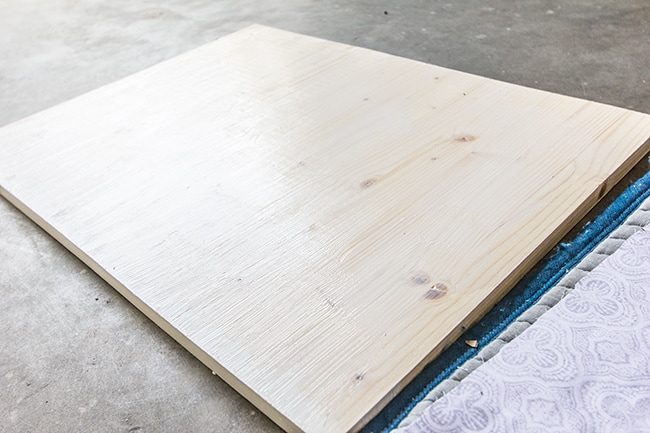
I then lined the wood up with my pattern and flipped it over onto the back side of the fabric.
While standing on the board to apply pressure, I ever so carefully ran my Xacto knife along the edge of the board (I had laid a few large pieces of cardboard underneath so the knife would have something to cut through)
Worked like a charm.
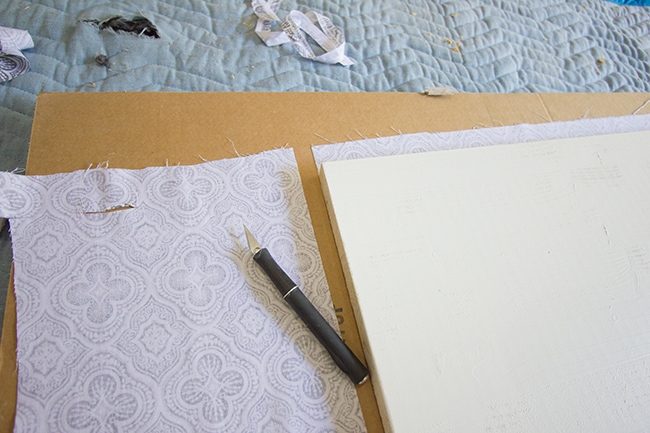
Here is the finished piece:

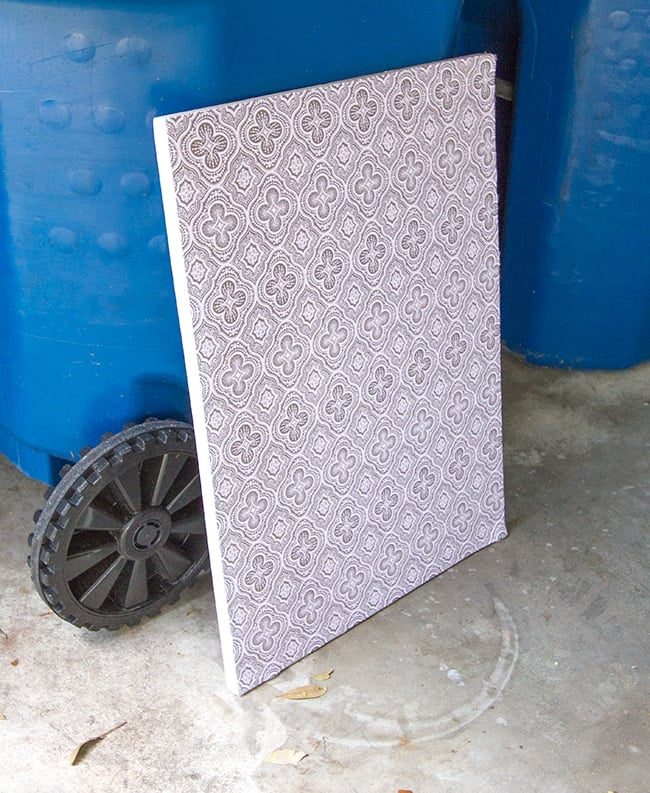
In no time at all, my shelves were done and ready to be secured.
But first, we went ahead and installed our medicine cabinet before the shelves were in the way.
There was no hardware that came with it so we had to use our own screws. We opted for two at the bottom, two towards the top, and two into the ceiling. Just to be safe. Brad did most of this part because it was a heavy mofo.
With that out of the way, it was back to the final piece: shelf installation. We debated using wood screws to secure them to the supports but were worried about the wood splitting. With the weight of the items on the shelf, we figured a nail gun would be all that was necessary.
At first I peeled back the fabric to hide the nail…
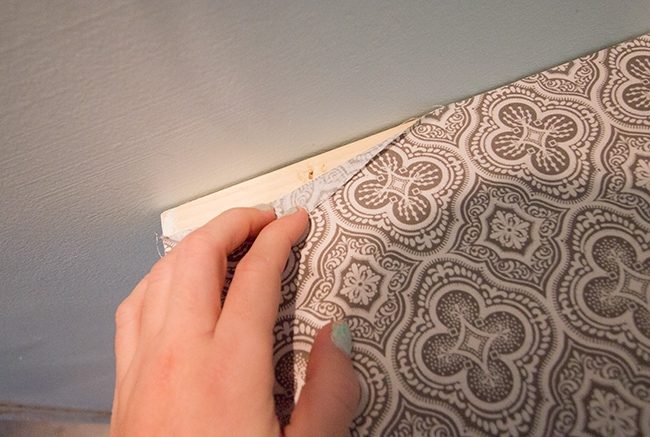
Then I realized that the hole is so small that you'd never see it even through the fabric.
Can you spot the nail in this photo?
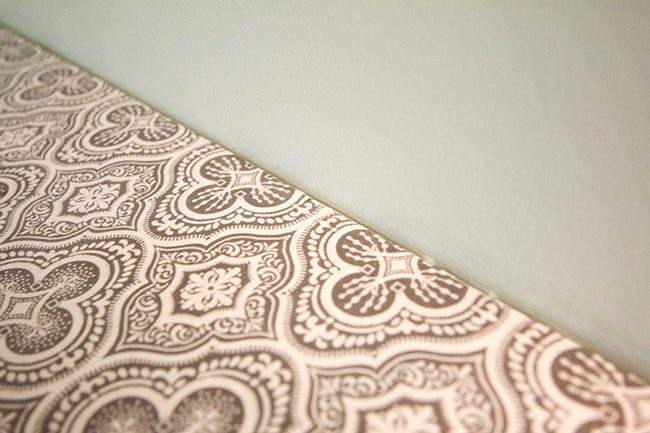
It is right in the center, and virtually invisible. The more you know.
Once the shelves were in, it was clear that the gap on the sides I was worried about would no longer be an issue. It is just not one of those things you notice… and if you do, it genuinely does not look bad at all.
To protect the fabric from stains and make it durable and wipeable, I gave them a coat of modge podge.
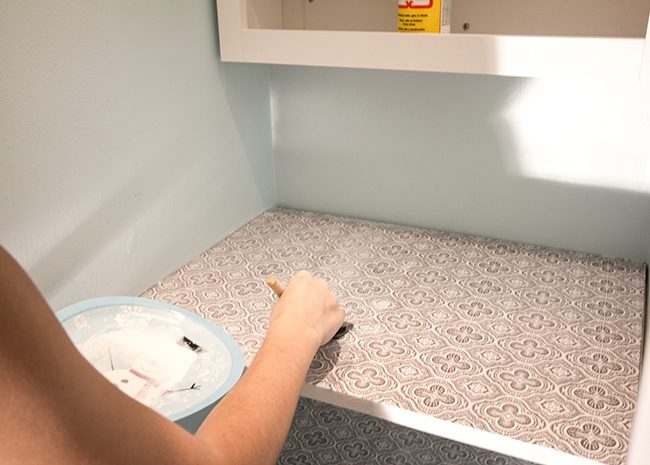
I was slightly skeptical about how it would look and feel after it was dry as I had never used modge podge as a sealant, but when I woke up this morning, everything was dry and looked great. The surface is hard as a rock now. Nothing's gettin through this fabric… it feels like it is part of the wood. Yay for modge podge.
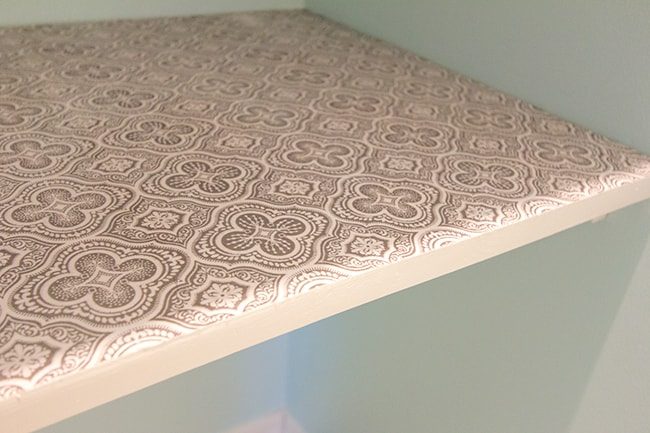
My last step this morning was to sand and touch up the supports:

And this is how everything came together:
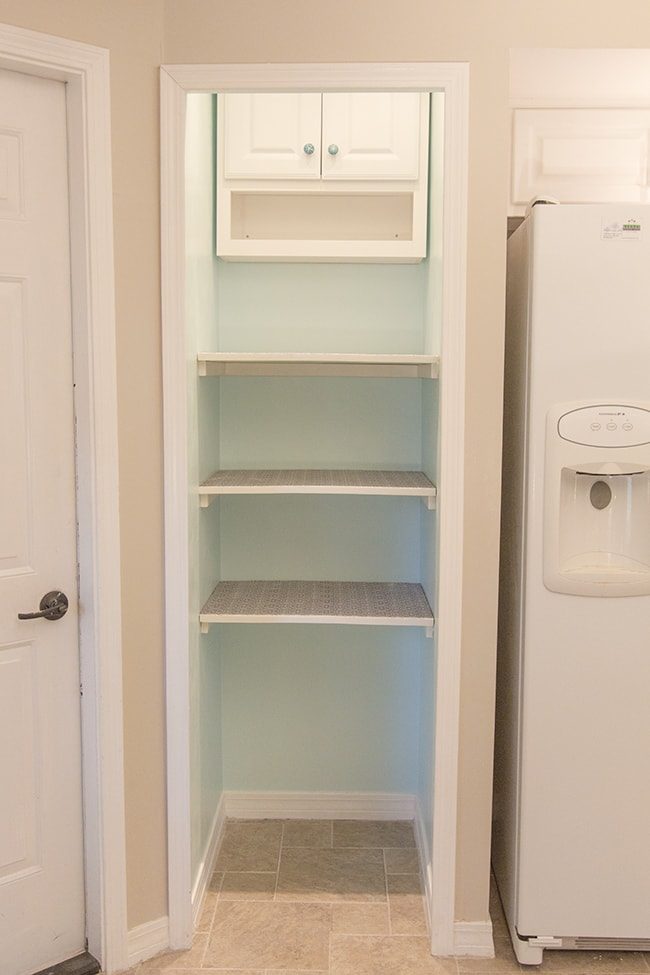
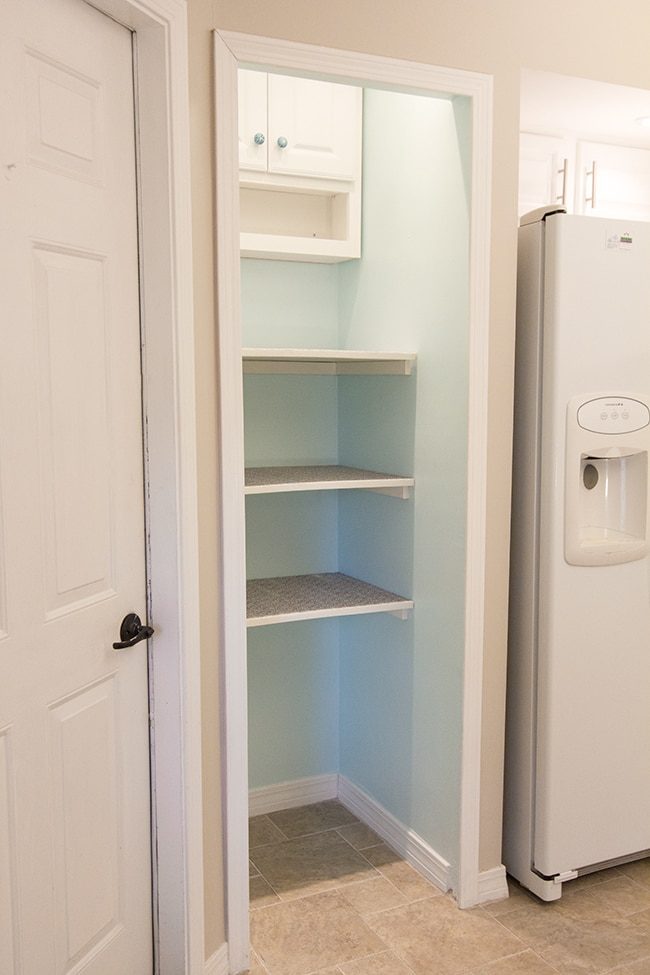
See the turquoise knobs on the cabinet? I forgot to take a close up photo but they will be covered in next week's post. Love them!
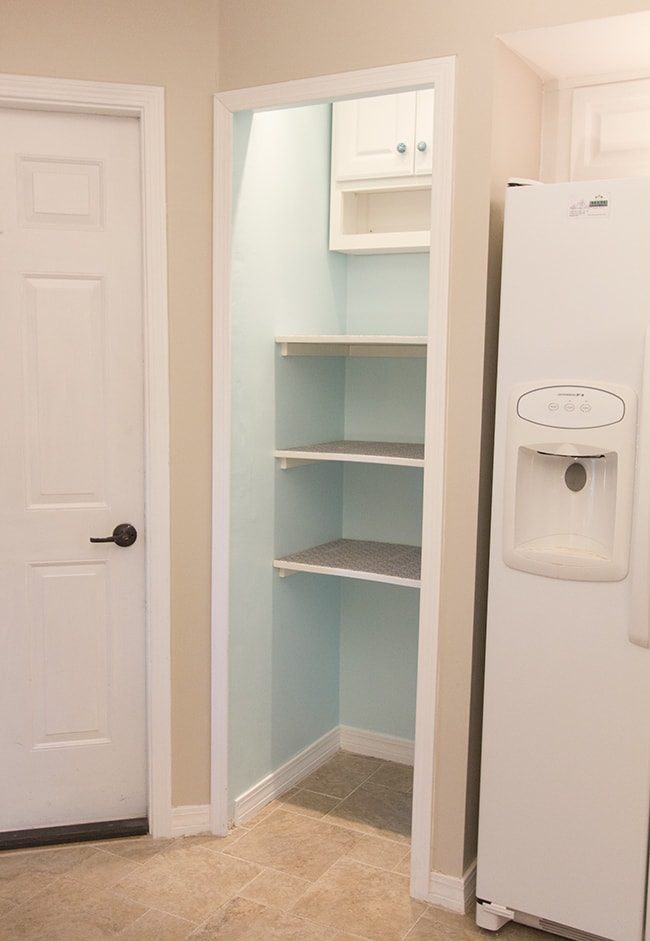
It helps to keep my pretty shelves. And It helps to keep the whole pantry. In fact, as soon as these photos were taken, I could not wait any longer and ended up arranging everything into their places.
And now, after months of being in limbo, we have our kitchen counters back—whew!
Oh, and if you are wondering how we are supposed to reach the stuff inside the medicine cabinet… I have plans. It will be my first time ever building something like this, so let us see if I can pull it off.
I am ex
cited to show you the final results and how everything comes together—and most importantly, how it simplifies our storage and makes our kitchen experience enjoyable, instead of the headache it was before.
One week until the grand finale!