Esmé's Big Girl Room Design Plan + Progress
Today we are kicking off another project—but this time it is at our own house, and it is one that all three of us have been looking forward to for months! Esmé's big…
Today we are kicking off another project—but this time it is at our own house, and it is one that all three of us have been looking forward to for months!
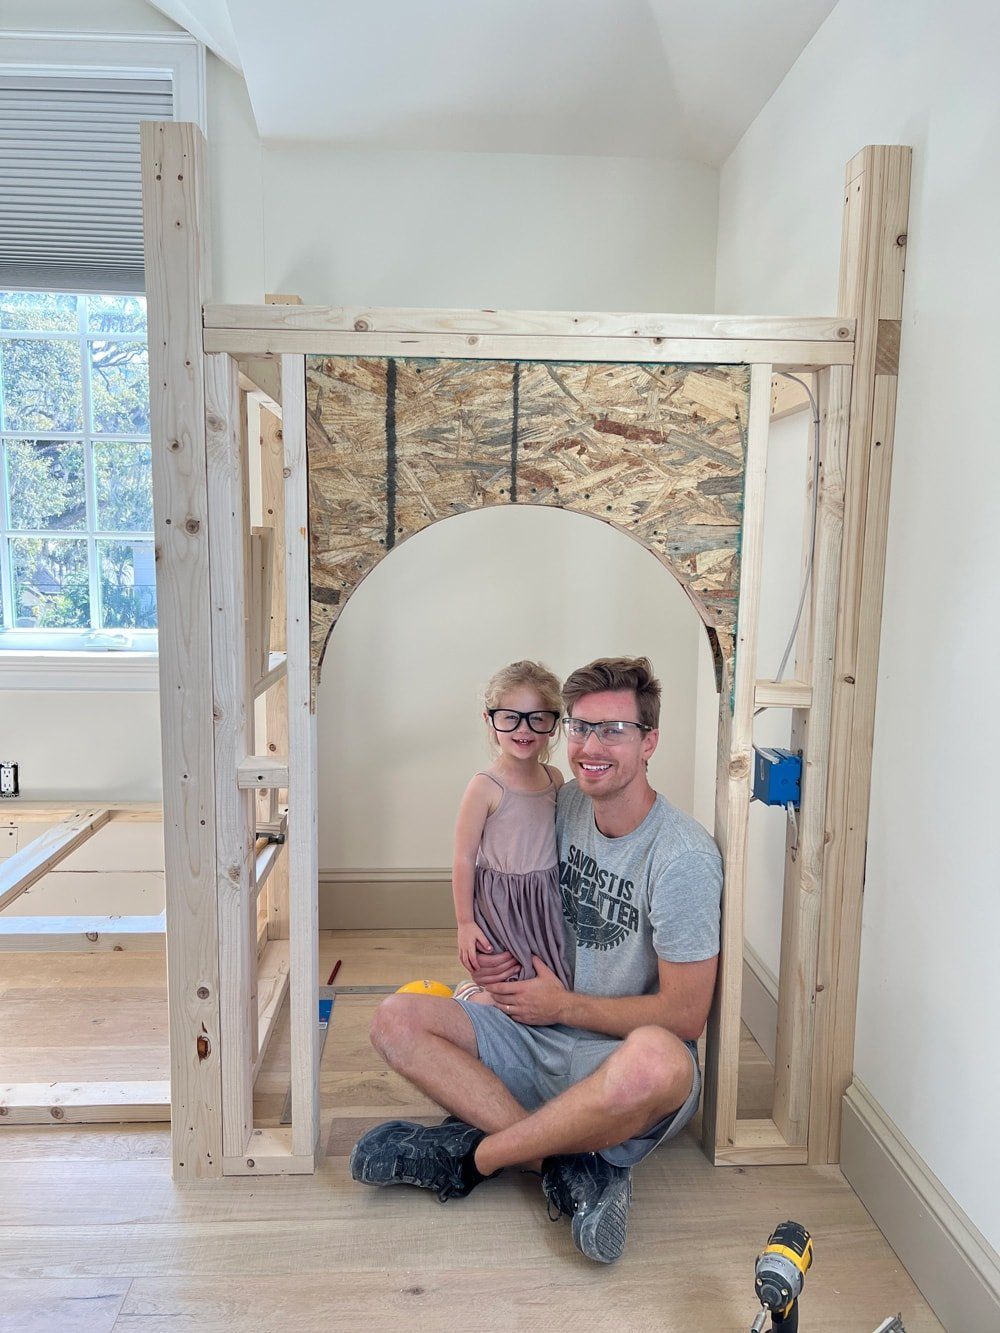
Esmé's big girl room!
With only six weeks to go before baby boy's arrival, we are going to have to spend most of it focusing on this room to get it done in time. We want to make it extra special for our girl, so this is not a quick and easy makeover, but I think it will be well worth it in the end.
Before
This is one of two bedrooms upstairs, and measures 10'6″ x 12'3″.


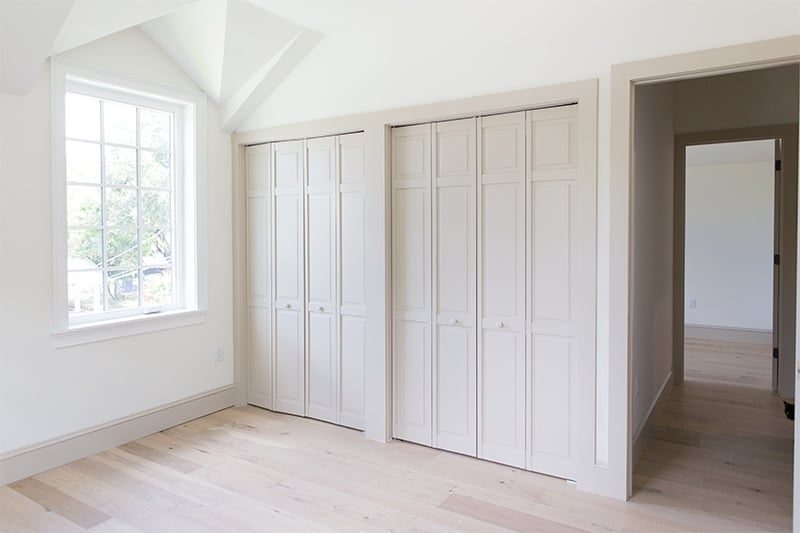
We have used it as a temporary office, spare guest room, and overflow storage.


The room has a modest footprint with an interesting(?) ceiling line, but it gets a ton of natural light from those nice large windows. And the best views in the house to watch summer thunderstorms! 🙂
Inspiration
If I could only design one kind of room forever, it would have to be kids rooms. Where else can you have this much fun bringing a creative vision to life?
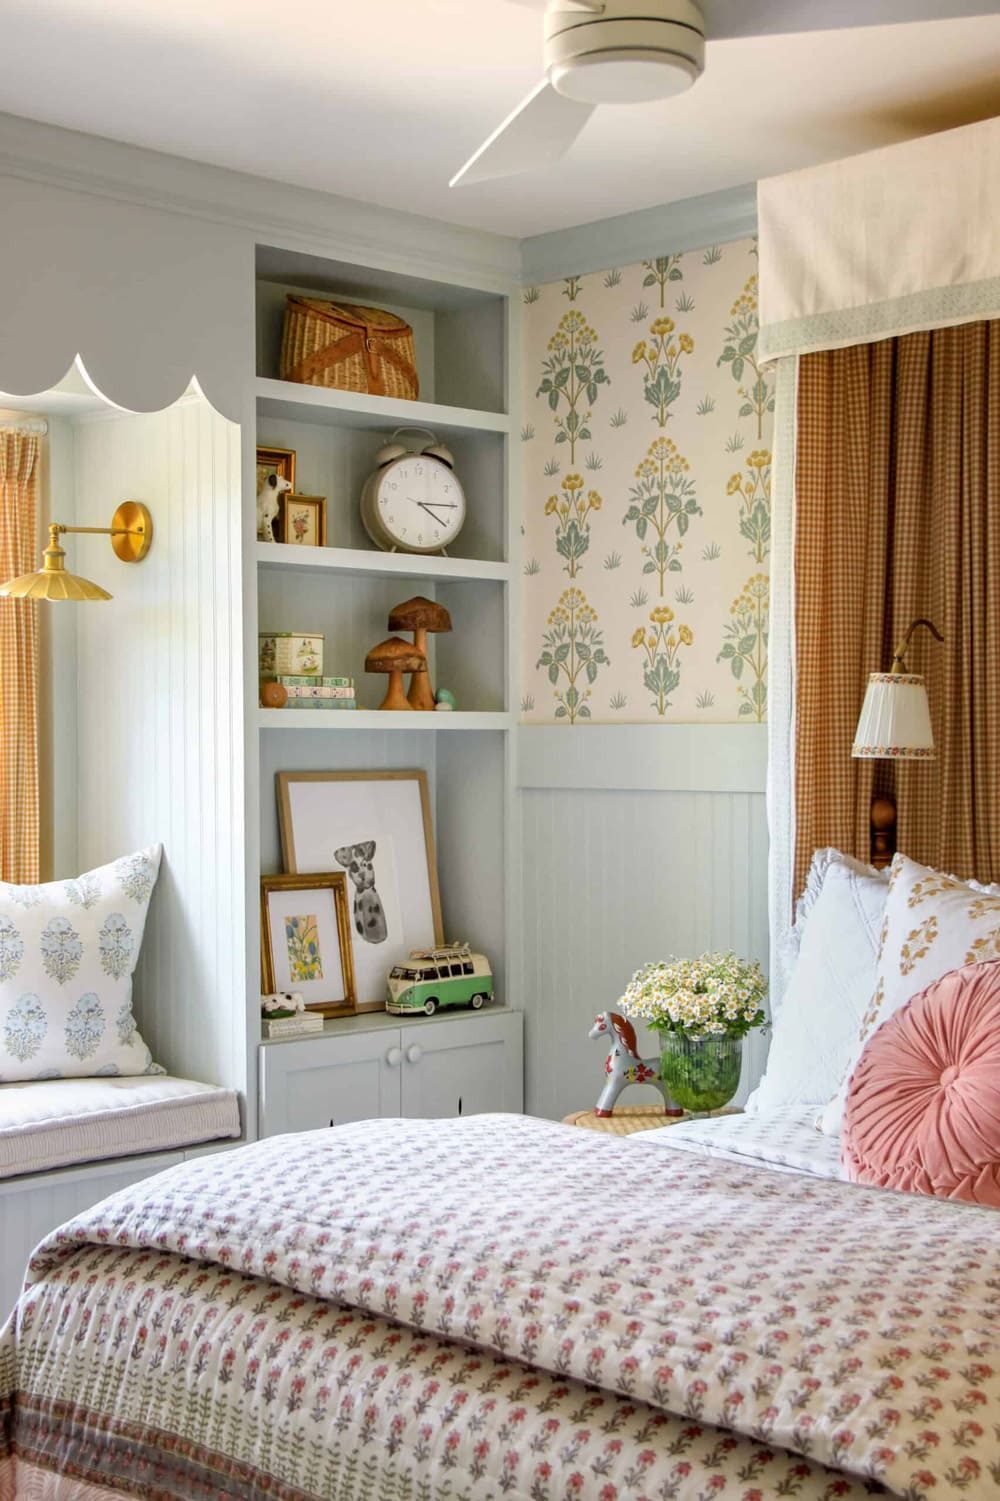
The vision for this room is collected cottage, with muted earthy pastels, subtle woodland motif and a Scandinavian feel. I came across a photo a while back that kicked off the inspiration…

I immediately fell in love with the built-in bed storage, play cave with arched entrance, and shiplap cladding. The built-in bed will look more like this example below, with two large drawers underneath, additional storage on the left with an open bookshelf up to the ceiling:

This example below captures the feeling of the overall design—whimsical woodland wallpaper, soft earth tones (love that sage green!), plenty of storage and pattern play.

With the unique layout of our room, I was not able to find any examples online of exactly what I had pictured, so you will have to use your imagination on this one!
Design Plan
The big feature of this room will be the custom built-in bed with storage and loft/play cave area. Here is the layout I landed on:
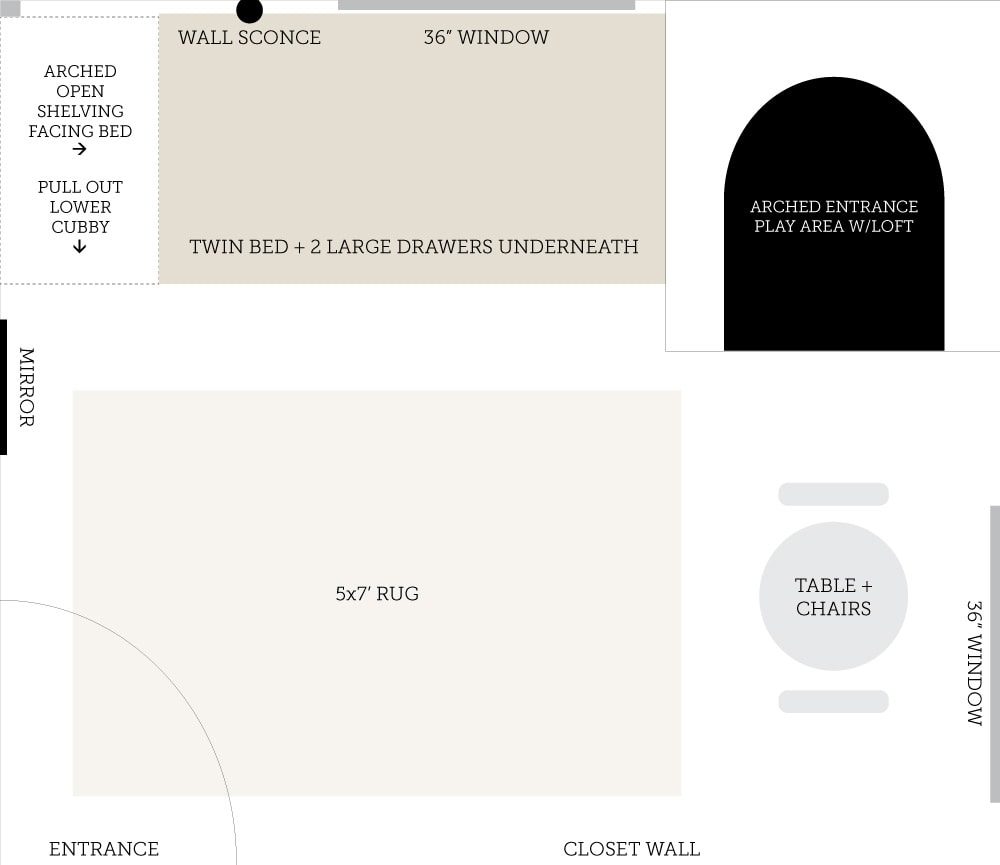
The main considerations for this design were maximizing the footprint with ample storage, configuring different zones/play areas, and a creating space that would grow with her over the years (all within a six week timeline and reasonable budget!)
Here is the design board:
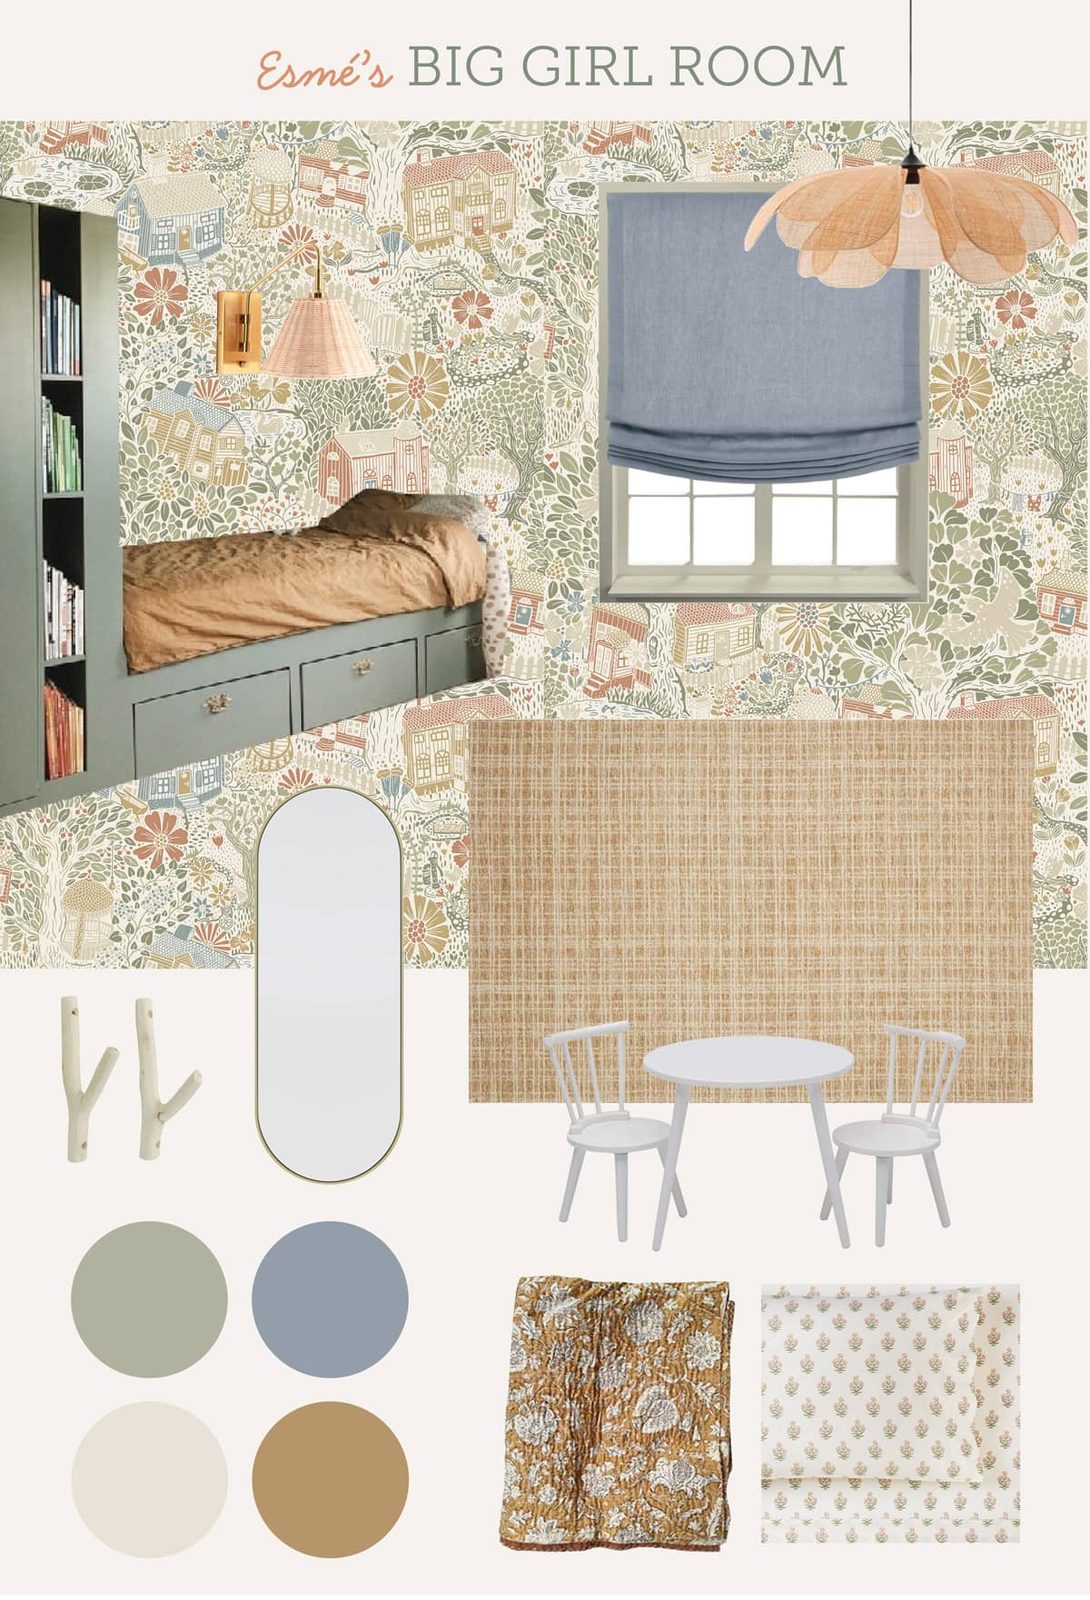
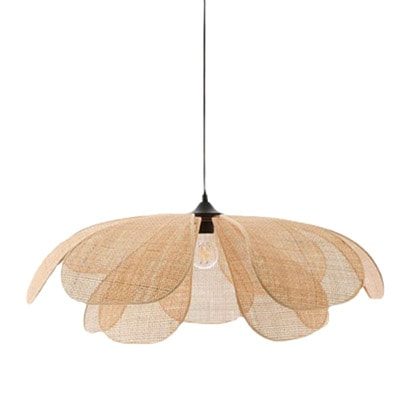
I have not finalized most of the shopping list, but these are the current front-runners. Tap to shop my finds:


There is actually only one thing we have decided on and ordered for the space, and arguably the most important—the wallpaper! After a long search, I narrowed it down to these options:

1 / 2 / 3 / 4 / 5 / 6 / 7 / 8
Option 1 was what caught my eye initially, but I kept searching and ended up with several more. The aim was to give Esmé plenty of choices! When I presented them to her, she immediately chose Option 2 (Bygga Bo)—without hesitation.
After seeing them in person, my personal favorites were 1, 2 and 4. Esmé and I placed them around the room just to be sure…

I would have been happy with any of these, but I am most drawn the color palette of the Bygga Bo. The woodland village motif is so charming and I think it is something that can grow with her throughout her childhood. Our girl is obsessed with storybooks and fairy tales so it genuinely suits her. She knows what she wants!

Progress
With a general idea of the built-ins sorted out, it was time to get to building! The night before, we taped out the footprint to get a visual…
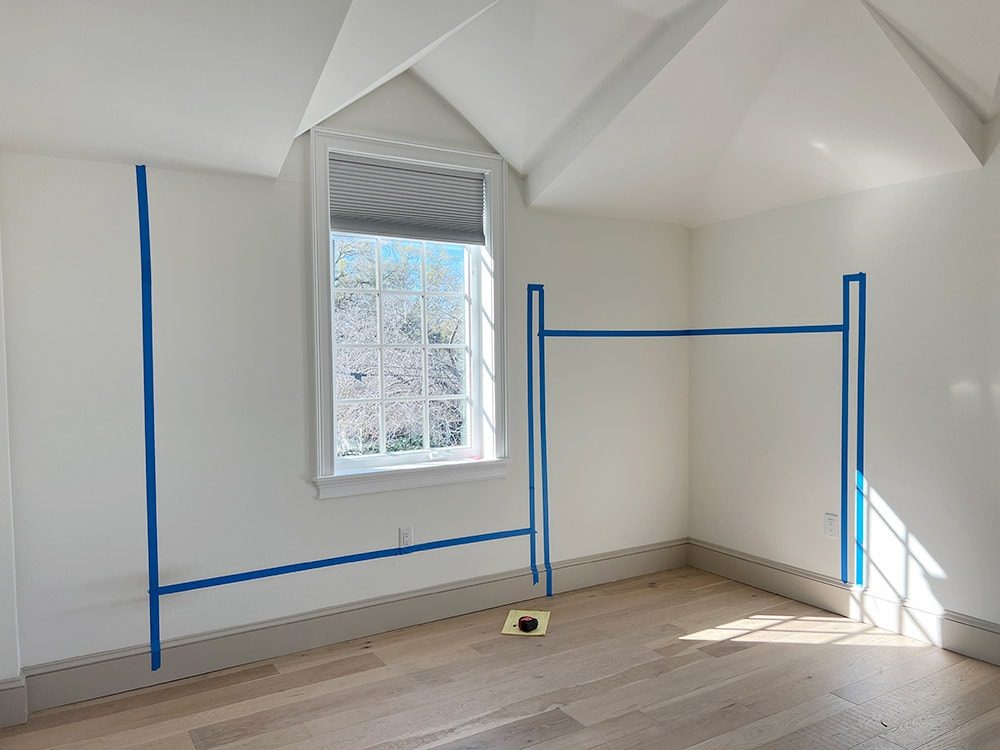

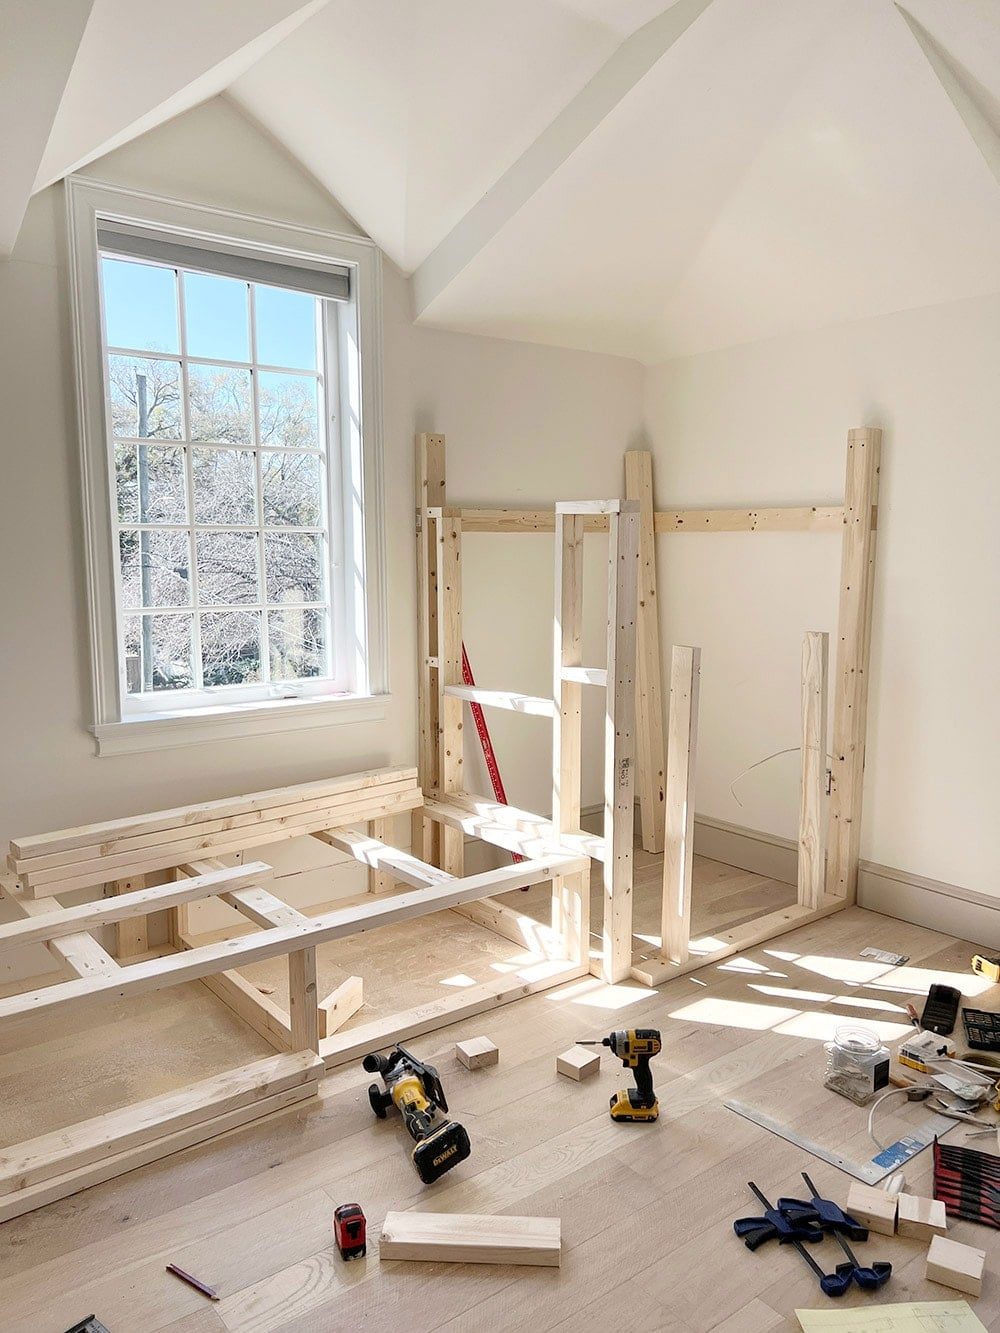
There will not be a dedicated tutorial for this build as it is completely customized to fit our room, and Lucas just made it up as he went. I'll share the general steps so far to give you an idea of the construction. First up: the bed platform:

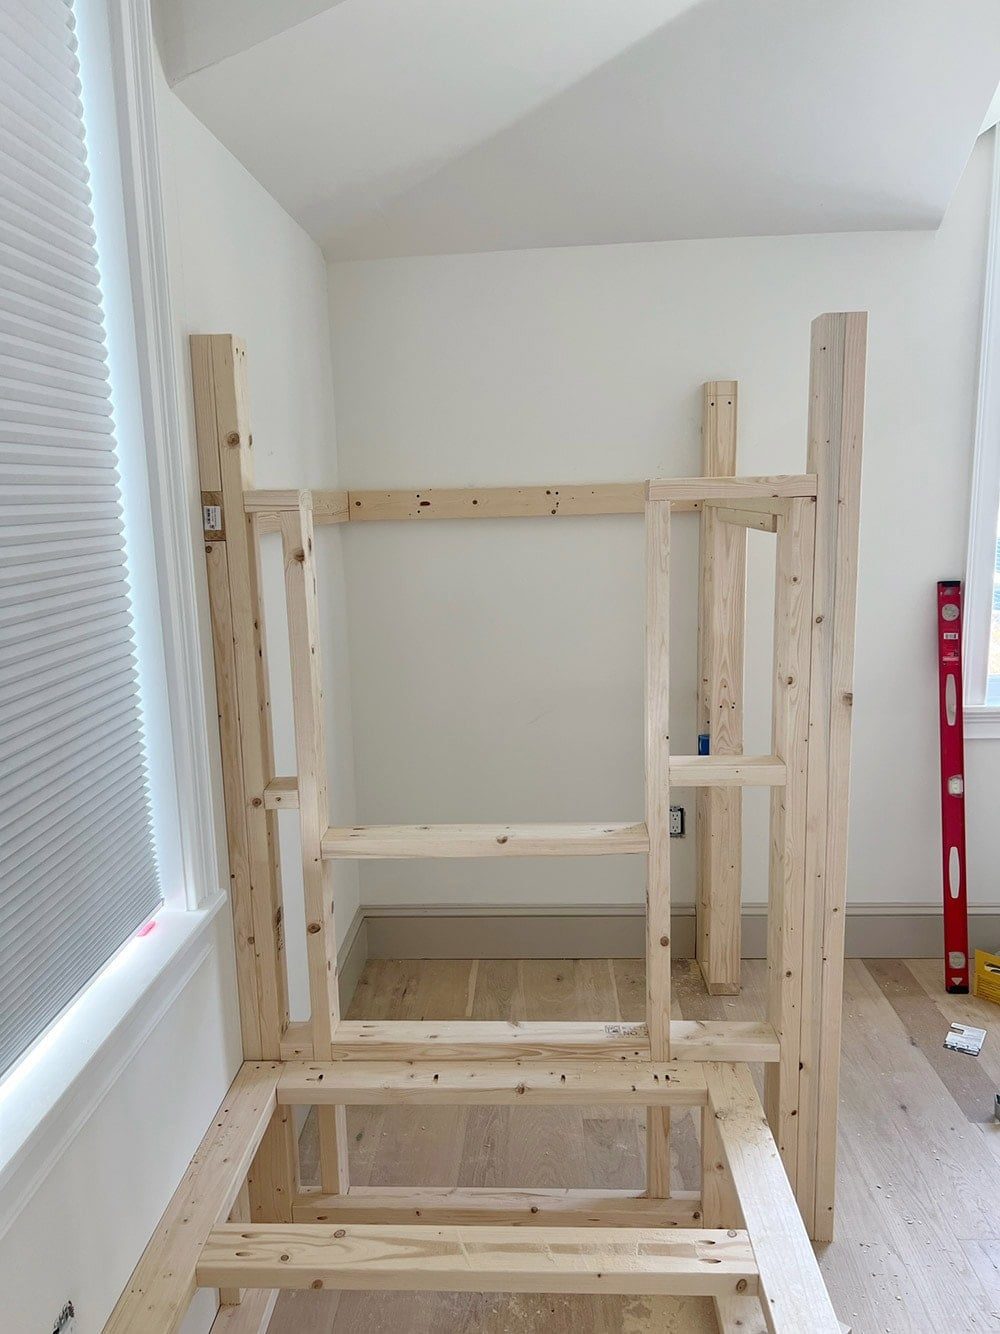
Next, framing the cave/loft area:
I have not quite decided what will go inside the cave area—any ideas?

Lucas built the arched openingand installed it with Esmé's help. She's a natural like her daddy!
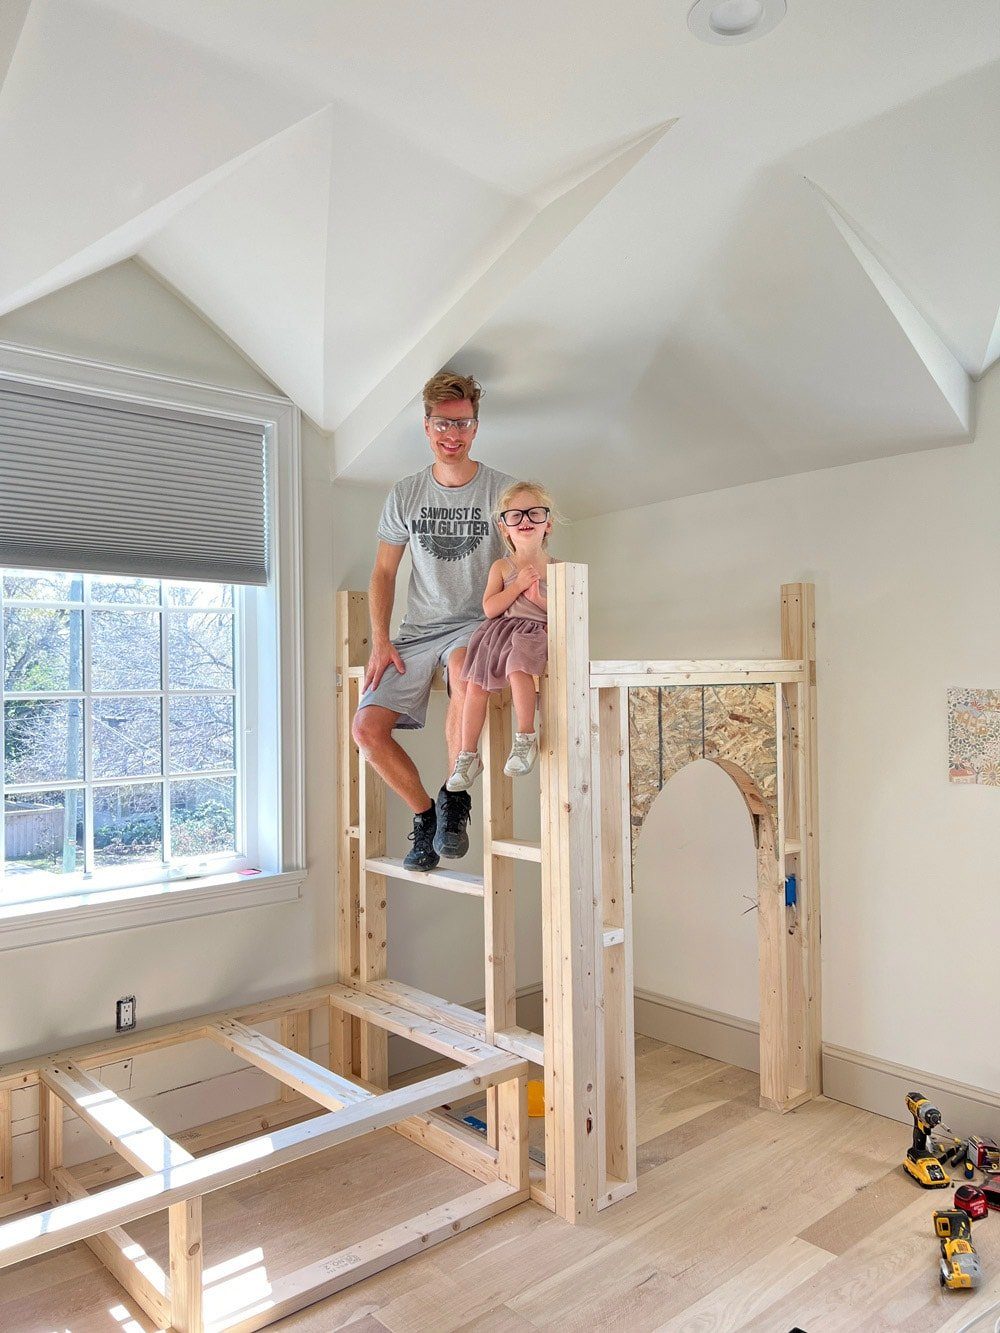
The bed and loft platforms were cut down (using 3/4″ MDF) and lower left cabinet added:
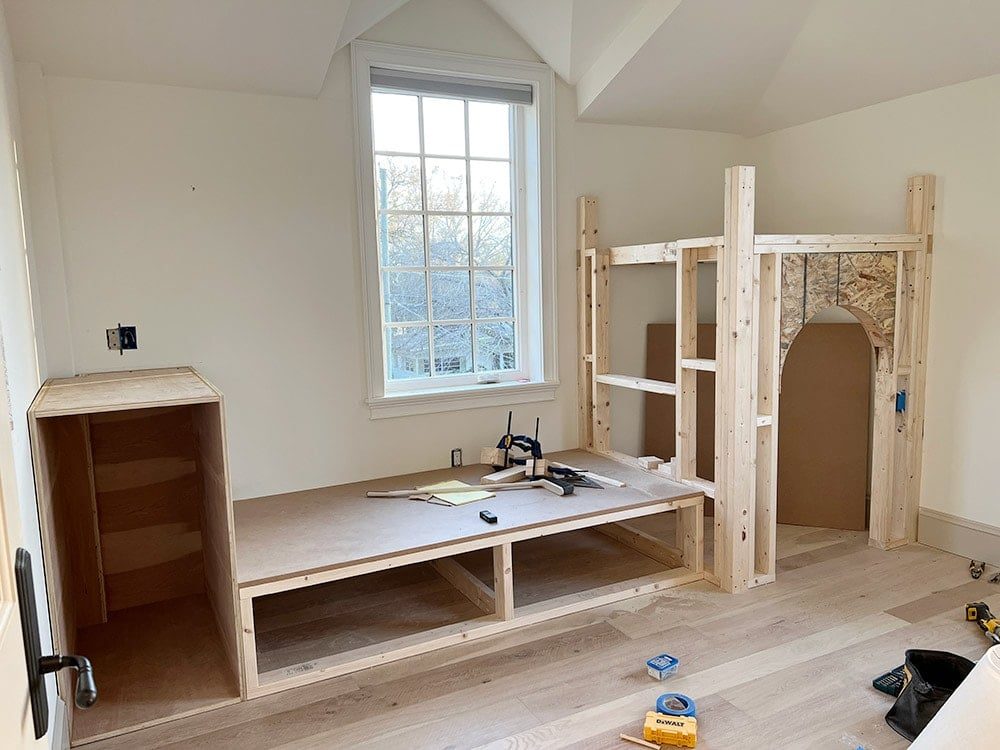
And that is how it looks as of now! Over the next few days, Lucas will build and install the bookshelf, drawers, and finish framing the loft. I have a long list of to-do's including choosing paint colors and sourcing/ordering everything. It is our full-time job right now, but worth every minute to see her light up.
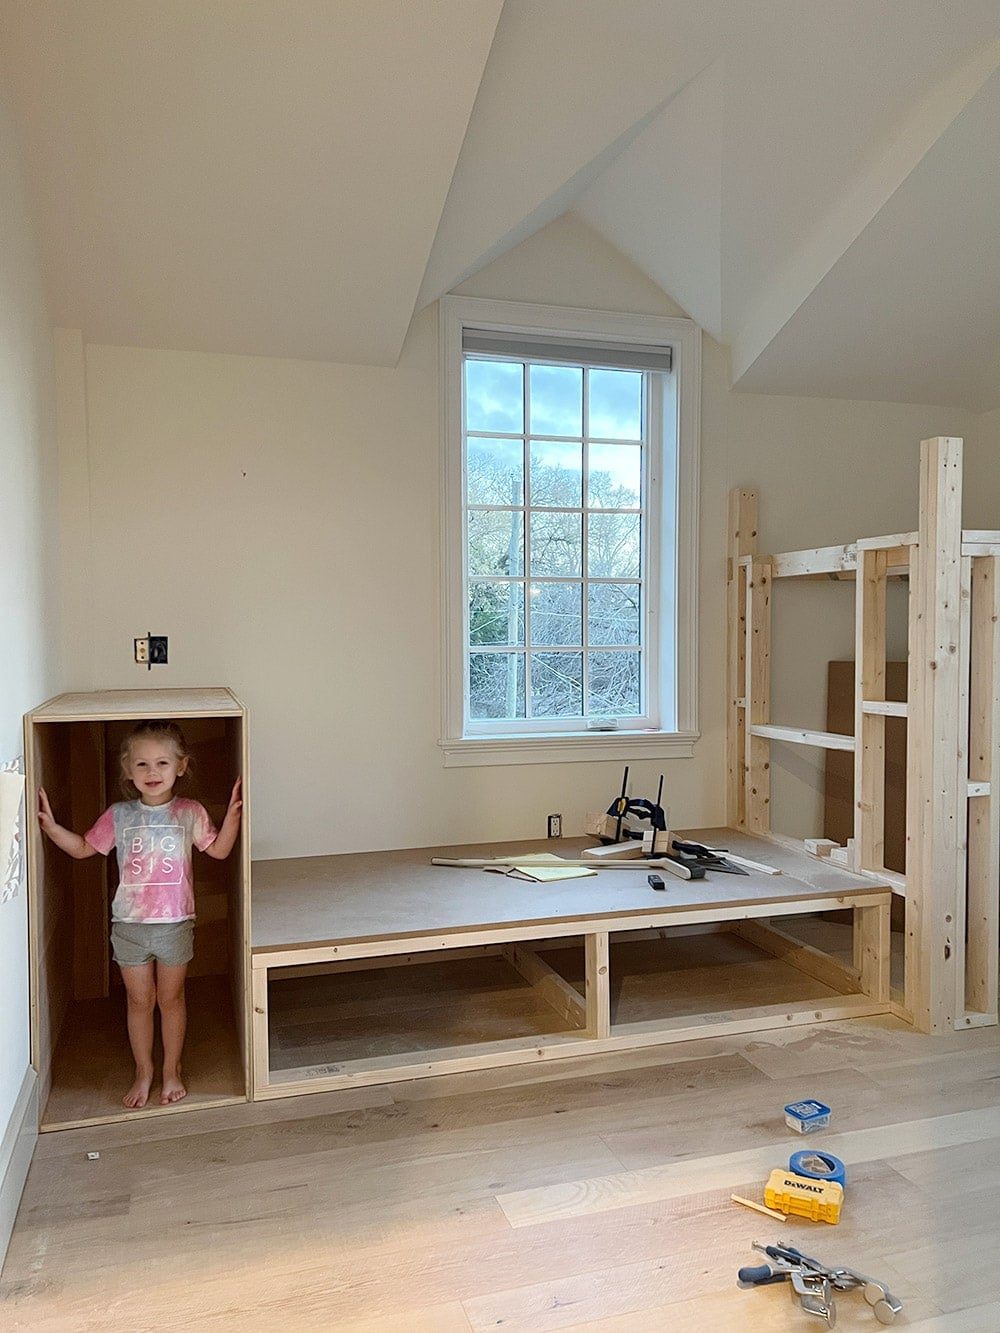
There will not be another blog post before the reveal, but you can look at our progress on my Instagram stories over the next several weeks!
In between our to-do list for this room, we still need to make time to finish the Hacienda Hideaway bathrooms. We are in the final stretch for both, and I am aiming to have back to back reveals on the blog in the next few weeks. Wish us luck (and lots of energy!)