How to layer bedding like a pro
How to layer bedding like a pro: Make your bed extra cozy with these designer tips and tricks! Plus, my favorite sources for bedding and pillow inserts.
If you've ever wondered how to layer your bedding so it looks extra full and cozy (but not overdone) this post is for you! I am sharing my go-to formula and best tips for a unfussy, yet luxurious and inviting look.
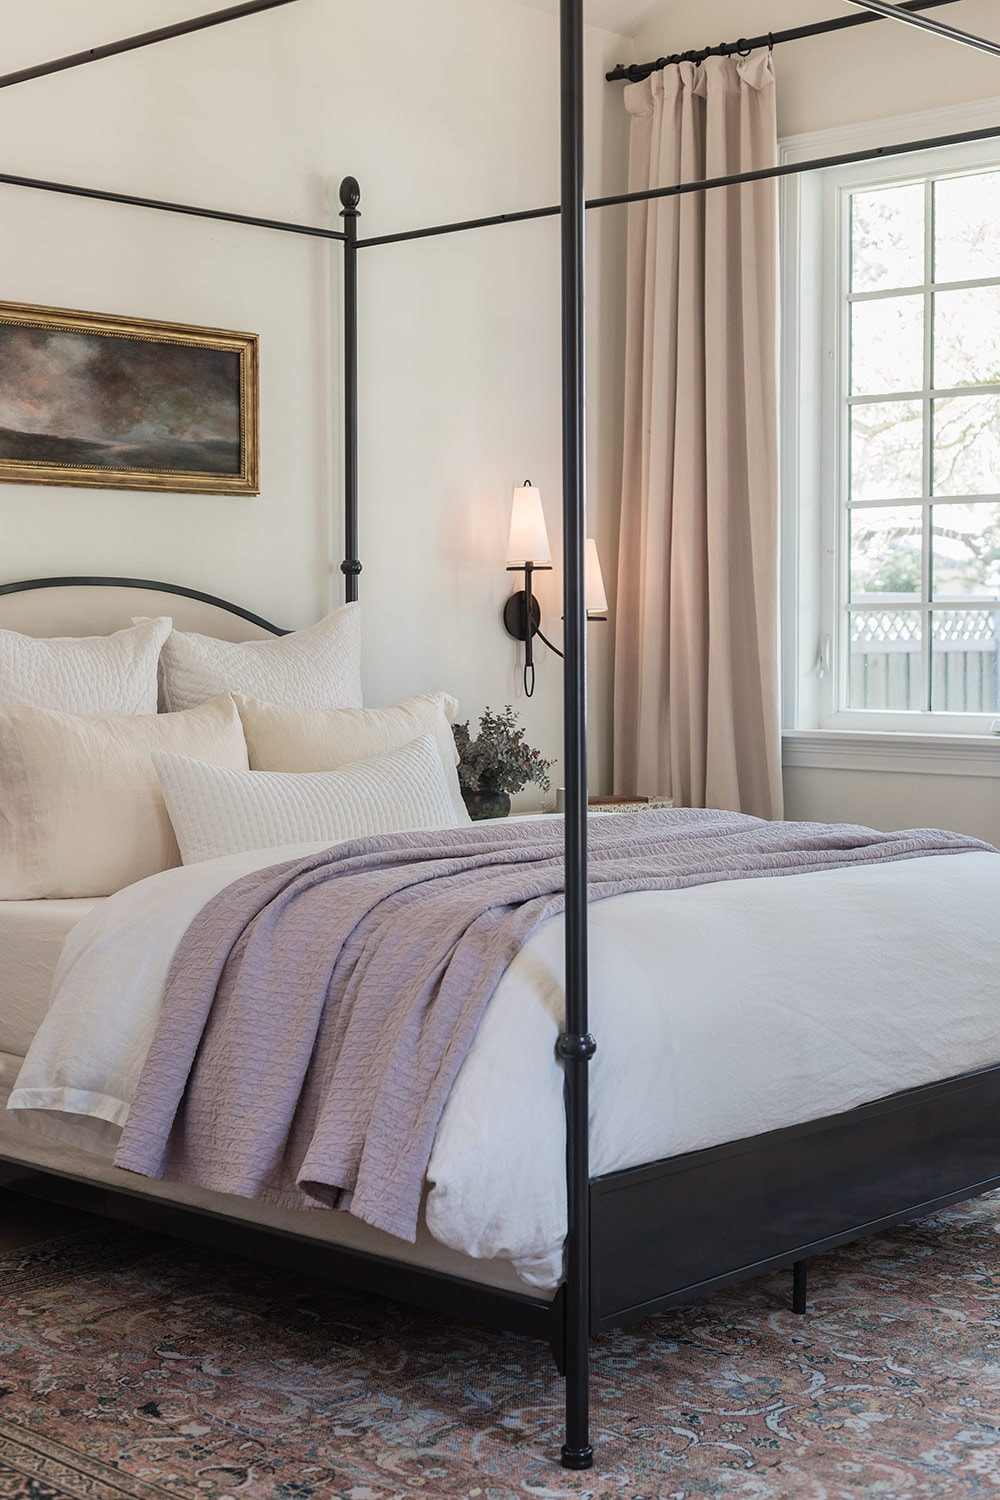
There are many different ways you can arrange your bedding, but this is how I have made our bed for the last few years, and my personal favorite method. I am not a fan of a ton of throw pillows (who wants to pick them up off the floor every day??) so for me, this arrangement has the right balance of comfort and practicality.
How to layer your bedding like a pro
Steps for making a cozy bed:
- Start with a plush mattress
- Cover with a fitted sheet
- Add a top sheet
- Tuck a duvet around the mattress
- Top with a fluffy duvet
- Layer a textured quilt or coverlet
- Two Euro shams in the back
- Two bed/sleeping pillows
- Finish with a lumbar
1. Start with a plush mattress
Your mattress is arguably the most important part of your bed, and should be chosen carefully based on your needs/preferences. Personally, I want to feel like I am sleeping on a cloud, so an extra plush and soft mattress is key.
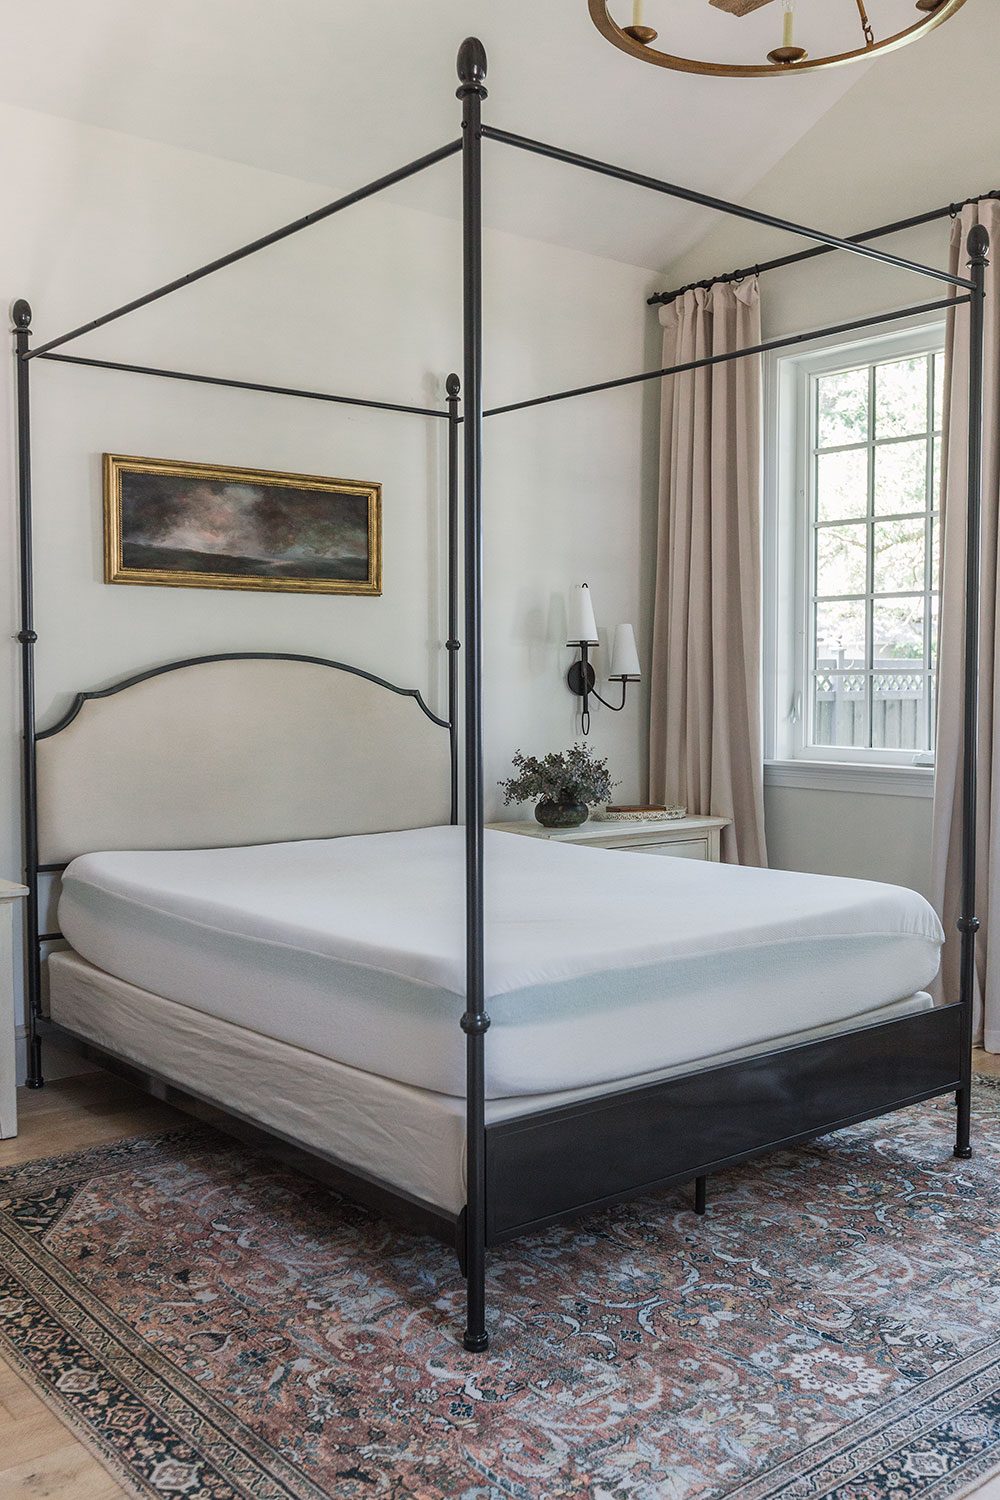
We have been sleeping on this 4″ gel memory foam mattress topperfor four years now, and it is pure heaven. You can place it on top of any mattress and it will completely transform your sleep experience. We also have a waterproof cover on top to protect it (this is a good idea to have on every mattress!)

We use budget-friendly Lucid and Zinus memory foam mattresses in our rentals and guests have loved those! Swipe and tap to shop my favorites:
2. Cover with a fitted sheet
The fabric you choose should also take into consideration your personal preferences, but I find that most guests love a high quality soft cotton or cotton blend sheets. Tip: do not forget to check the depth when ordering to make sure it will fit your mattress height!

I made the switch to purelinen sheets a couple years ago because I was tired of steaming wrinkled sheets, and it was the best decision. The fabric takes some getting used to if you are switching from a silky soft material like sateen, but now they feel quite luxurious, and you cannot beat the effortless lived-in look with no maintenance. Linen also gets softer with each wash, and will last many years if well taken care of.

I usually go with an ivory/natural color for our sheets because white shows everything (specifically with a toddler and black cat!). We do use white sheets in our rentals because it has a cleaner, crisp hotel-look and it can be bleached. Swipe and tap to shop my favorites:
3. Add a top sheet
I like to pull my top sheet all the way up to cover the fitted sheet when I make my bed. Our cat sleeps in the top corner, and the fitted sheet hides her black fur (and any wrinkles from sleeping on the bottom sheet) between washes.
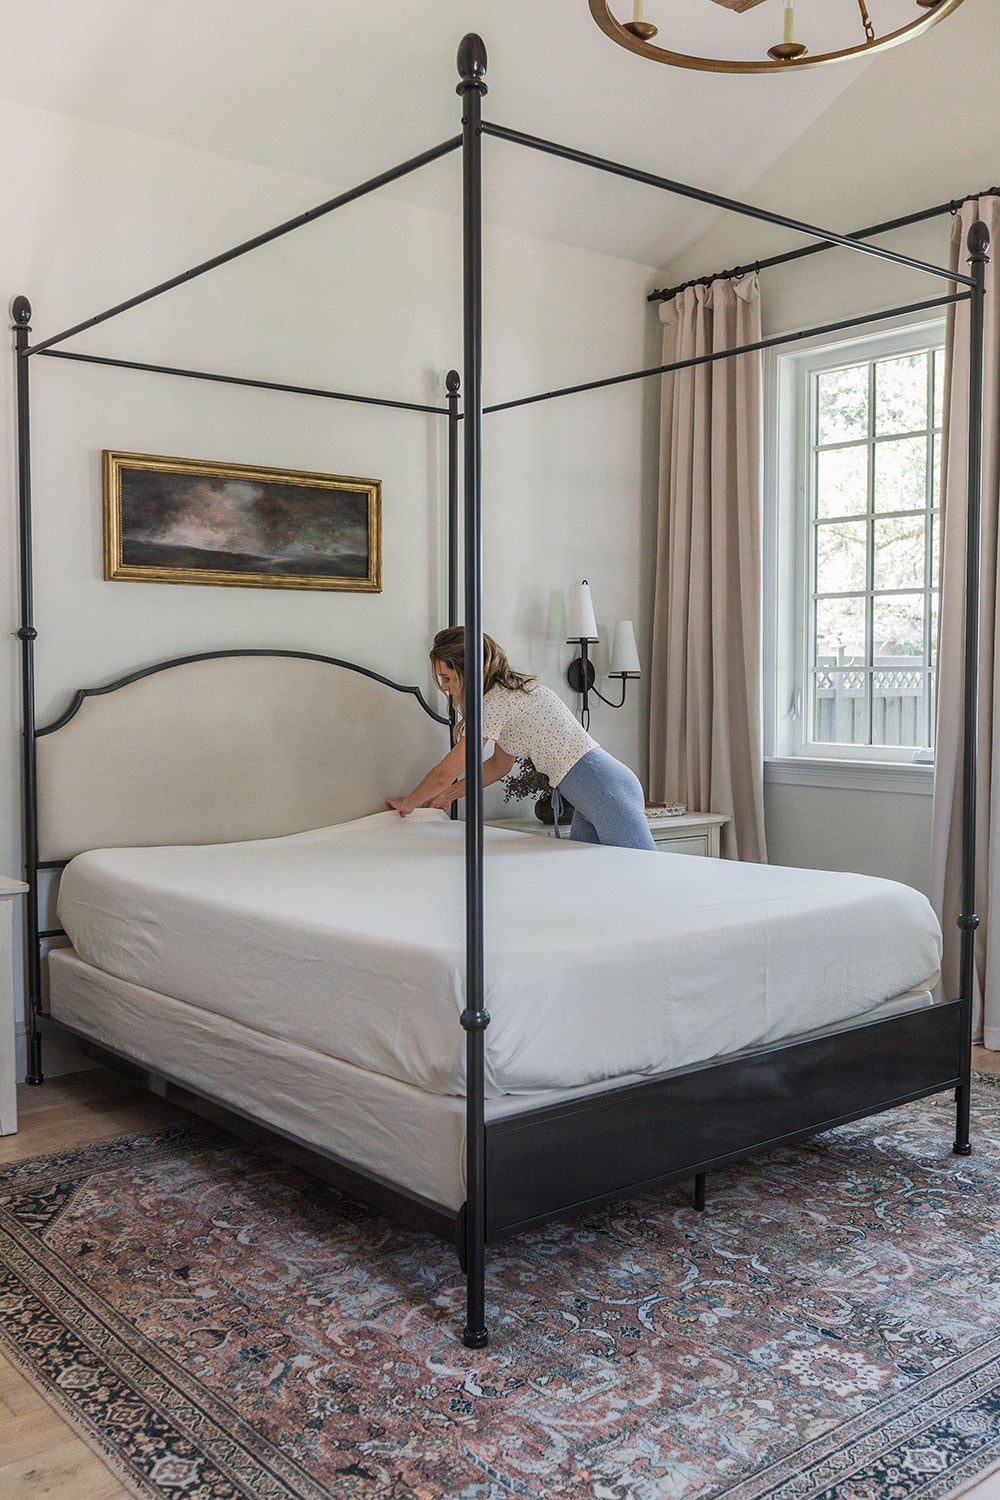
4. Tuck a duvet around the mattress
Here is the real secret to an extra fluffy bed: use two duvets! The bottom duvet is the one we sleep with at night, and it is alightweight down alternative (I am a very hot sleeper!)

I tuck it in under the mattress, so it is not visible underneath the top duvet. You can use a duvet cover, but I choose not to because the extra fabric is too hot for me. Swipe and tap to shop my favorites:
5. Top with a fluffy duvet
You can use a a heavier weight duvet as the top layer to switch out during the warmer months. Full and fluffy is best! We have this down comforter and this relaxed linen duvet cover in white. Tip: make sure your duvet insert matches your duvet cover size!

White linen is always my first choice for duvet covers—it is clean and timeless, requires no ironing, and always looks inviting. Bonus: since we do not sleep with it at night, it rarely needs washing. Super easy to throw on top of the bed each morning for a clean and put-together look! Swipe and tap to shop my favorites:
6. Layer a textured quilt or coverlet
Textured is key. Choose a quilt long enough to cover both sides of the mattress, in a contrasting color or pattern. I like to gather mine in the center for extra fullness.

You can use a quilt, coverlet, oversized blanket or even a lightweight comforter for this step. My current obsession is waffle weave linen. Swipe and tap to shop my favorites:
7. Two Euro shams in the back
For a King bed, you can use three shams. I have also used 24×24″ for our queen bed and that looks fine too. Use a textured solid color for a clean and crisp look, or add interest with a pattern.
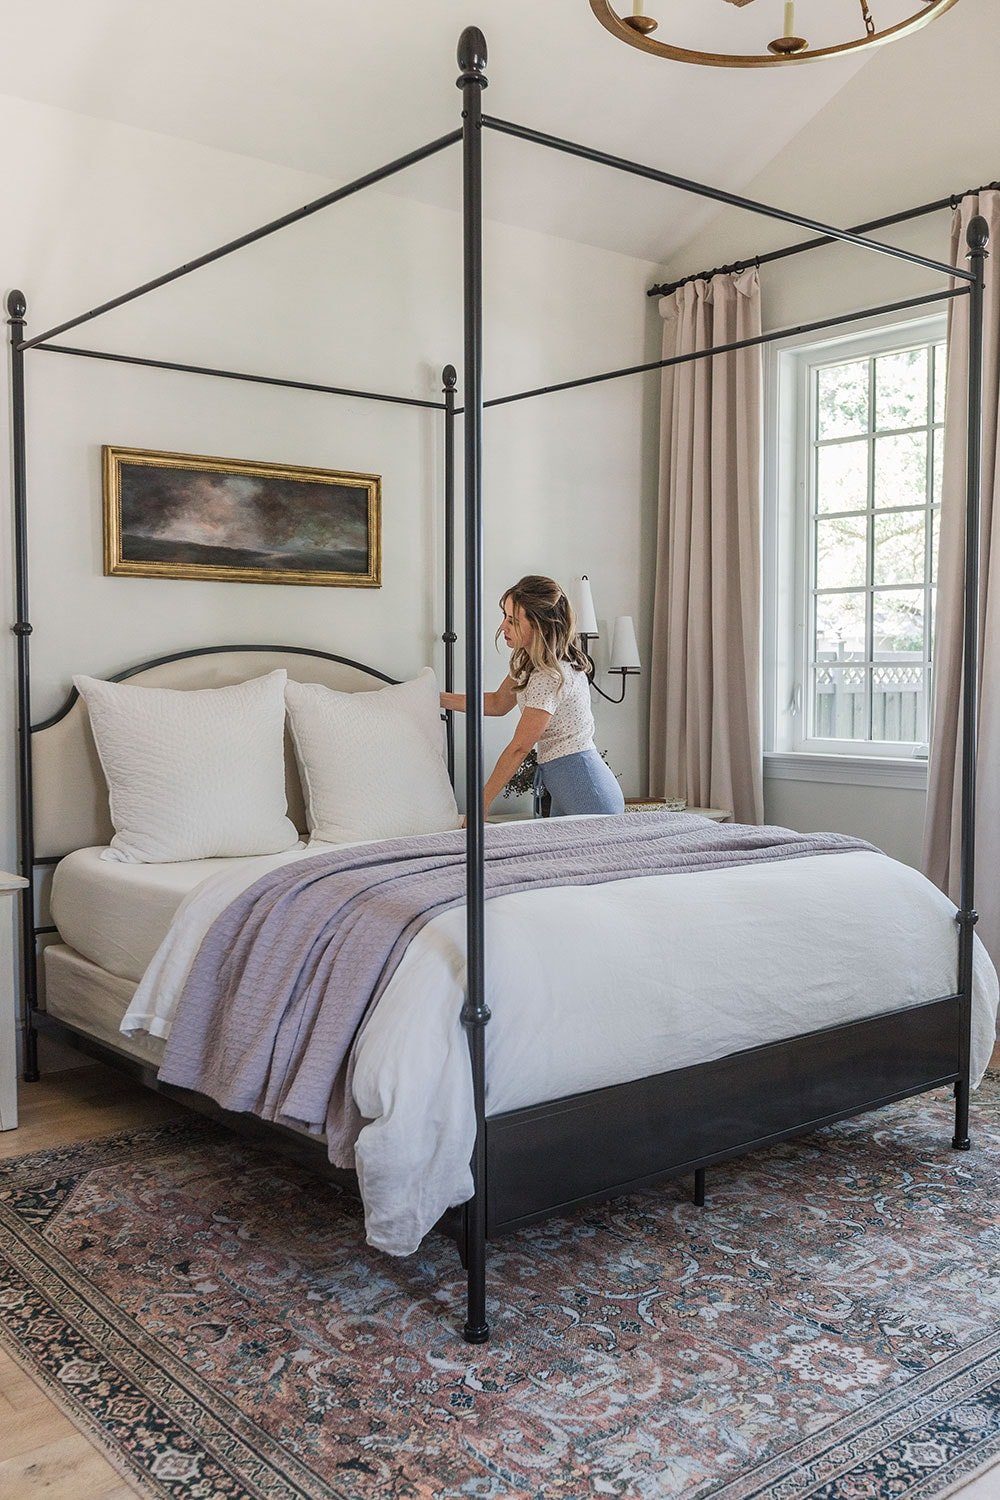
Make sure to use a high quality, down or down alternative insert(ideally two inches larger than your cover). Swipe and tap top shop my favorites:
8. Two sleeping pillows
Use king sizefor king beds, and standard/queen for queen beds. I prefer to stick with light neutral colored pillowcases—typically they'd match your sheets.
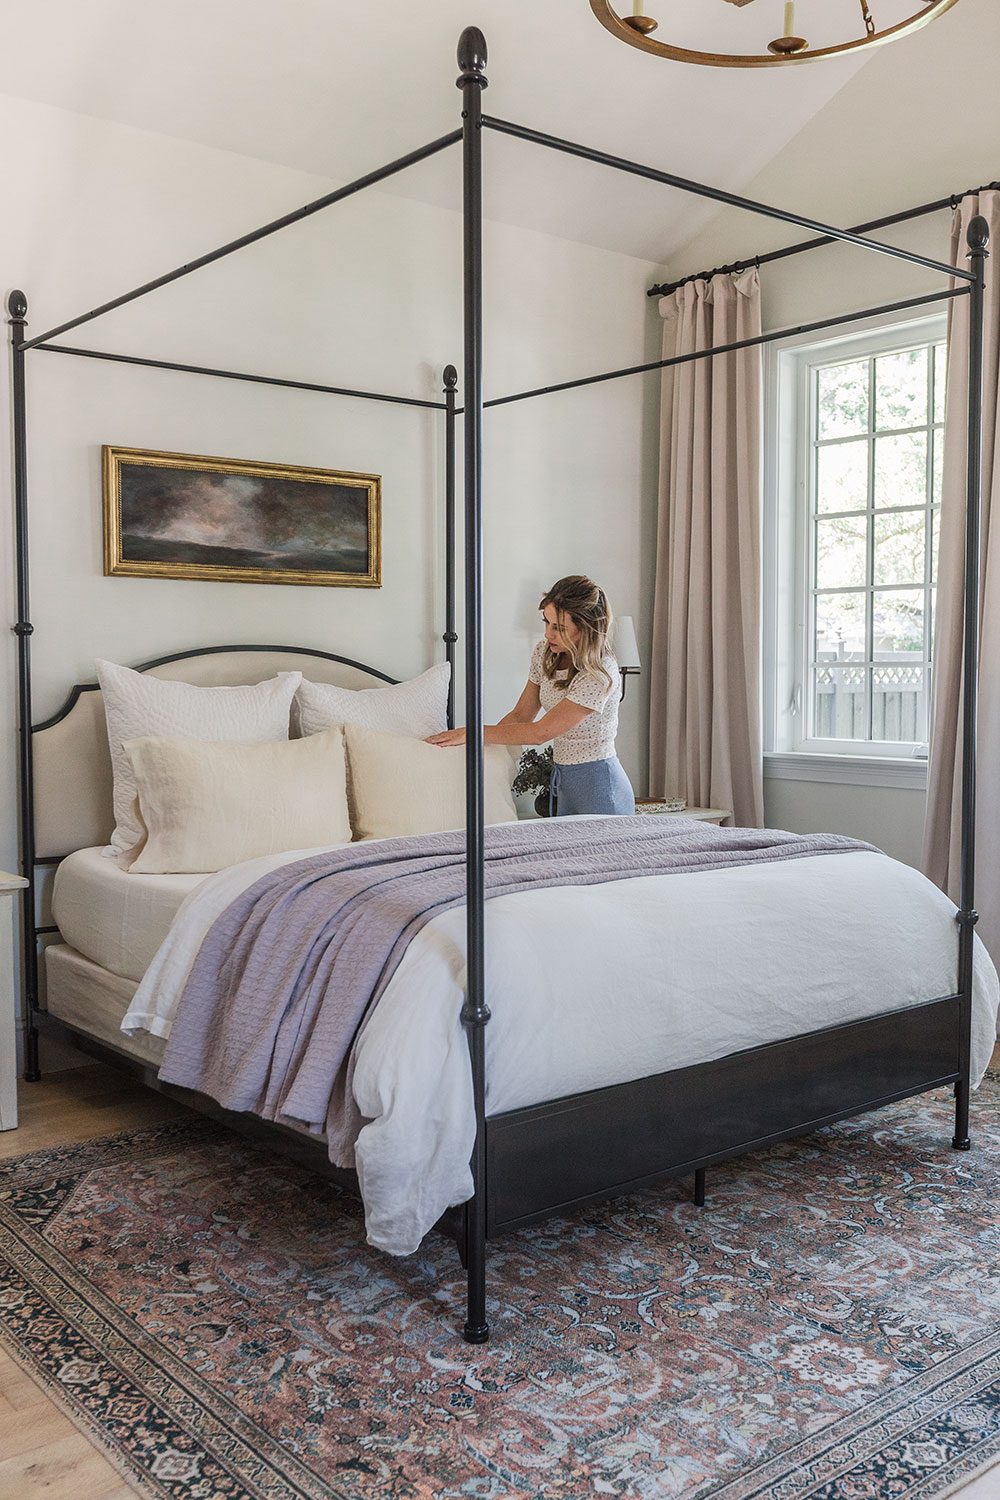
9. Finish with a lumbar
For a queen bed, I recommend a size between 14-16″ tall and 24-40″ long (there are a wide range of 'standard' sizes!). Thelumbar pillow shown below is 14×30″.

If you want to incorporate a pattern into your bedding, a lumbar pillow is a great place to do that. There are endless options, and they are easy to switch out! Swipe and tap to shop my favorites:
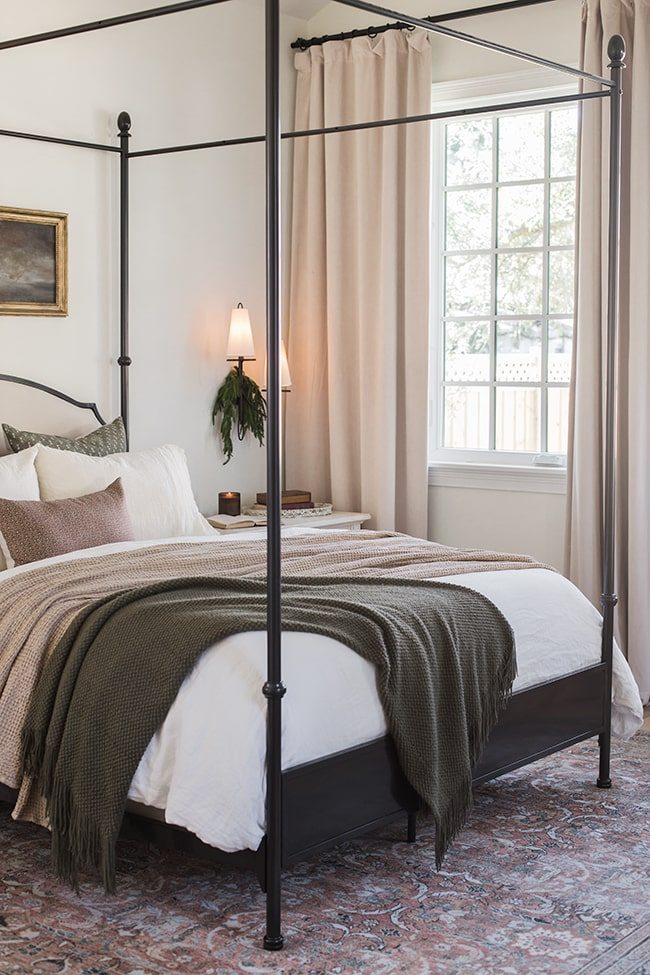
Optional step: Add a throw blanket
For one extra layer of cozy, drape a throw blanket at the bottom corner of the bed. This works well especially in the cool winter months.
My favorite pillow inserts
Choosing the high quality inserts with the right fill is key to comfort and longevity. I stay away from polyester fill, and opt for down alternative when possible. Down/down + feather will also produce a fluffy cushion that keeps its shape, but feathers can poke through the surface. Make sure to read the reviews carefully!
Here are my go-to's that you will find throughout our house:
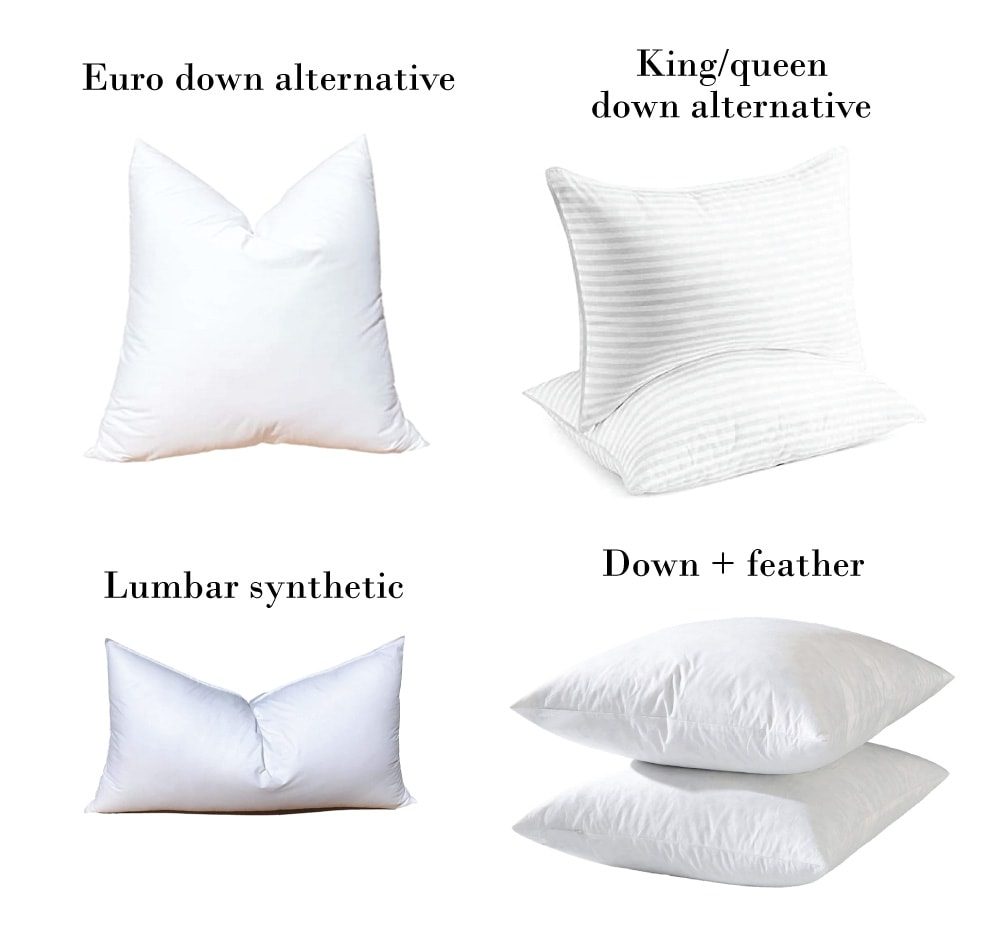
Euro down alternative // Order a 28×28″ insert for an extra full look
King/queen bed pillow // These are the highest rated pillows on Amazon with over 176k reviews!
Lumbar synthetic // Tons of different size options! I try to order 2″ larger on the length and/or width, if possible.
Down/feather// Available in many sizes. These are a more economical option than the down alternative and hold their shape very well.
Bed Layering and Styling Tips
- Use two duvets for extra fullness. Place the top duvet at the bottom of your bed at night for quick and easy bed-making in the morning!
- Use a variety of textures. My go-to bedding mix is linen, quilted cotton, and waffle weave.
- Consider low-maintenance linen. For an effortless “lived-in” look, pure linen is the way to go. It is naturally stain-resistant, softens with each wash, and lasts for years. Worth every penny, IMO!
- Cover exposed mattress box with fitted sheet. If you cannot or do not want to use a bed skirt, a fitted sheet is a quick and easy solution to hide your box spring!
- A flat sheet can double as a duvet cover in a pinch. A stylist taught me this trick years ago during a Country Living shoot. Just wrap and tuck the sheet under the duvet to hide the edges—you can see it in action below:


Here is two more examples of my bed styling method in practice. You can see the variety of styles you can achieve, while sticking to the same basic formula. It helps to keep that I do not have to think too much about it every time!

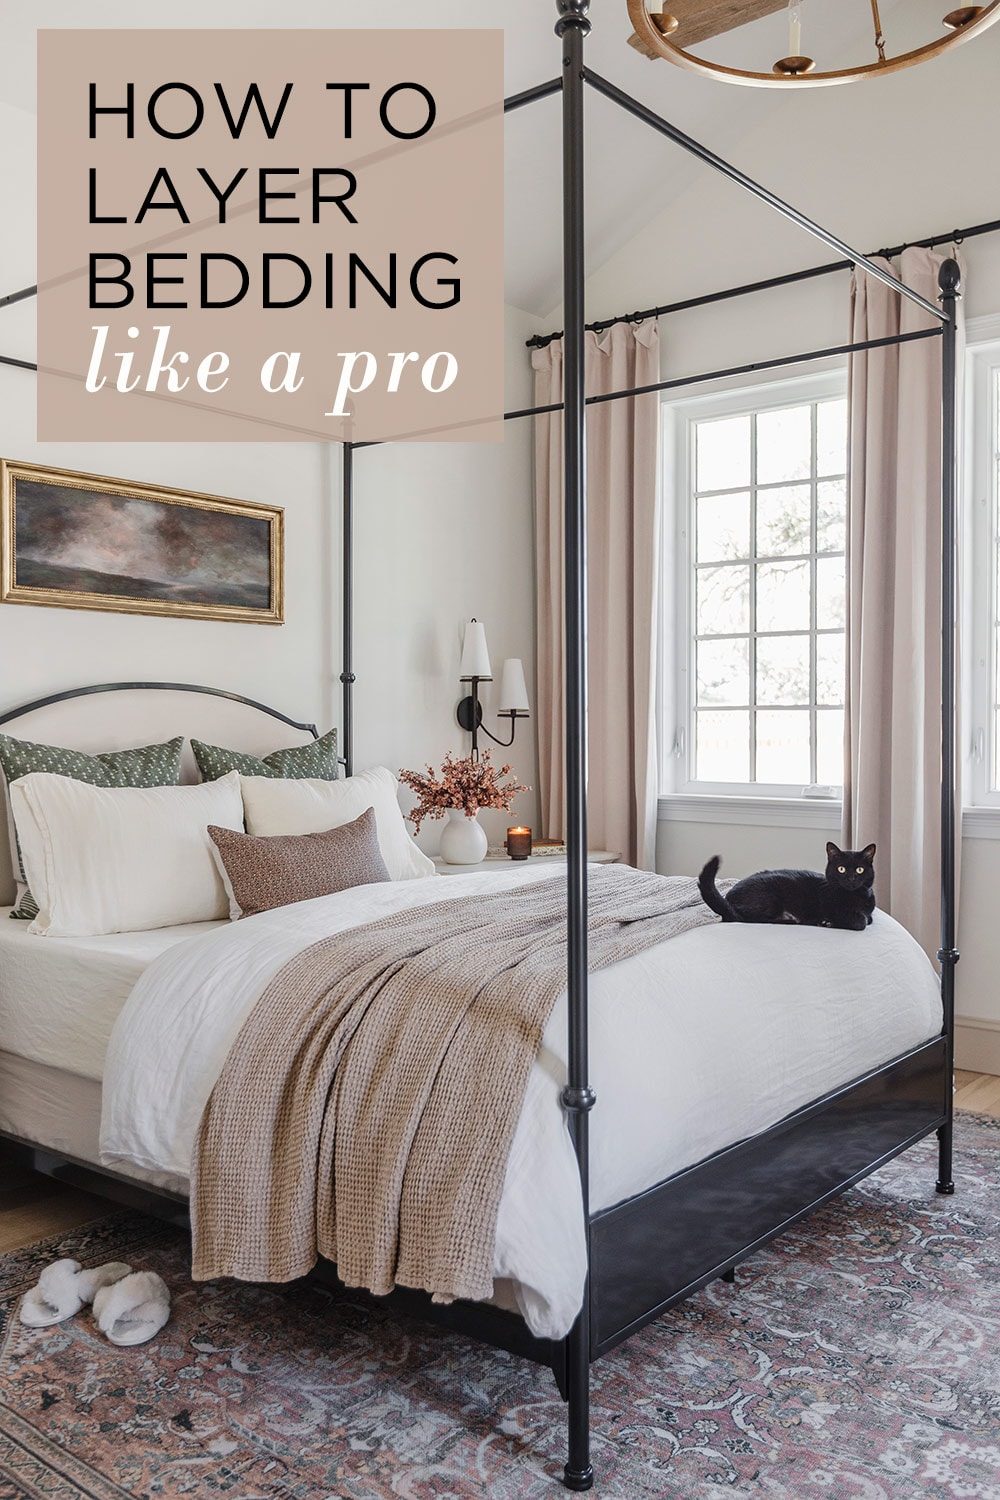
And there you have it: my bed layering formula, tips and sources. I hope you learned something new and interesting from this post! Let me know your thoughts in the comments, and if you have any other advice to share!