How to Make a Sink Drip Rail
Could your kitchen use a little something extra to make it feel more custom and elevated? Are you tired of water dripping onto your sink cabinet? Well, I have a quick…
Could your kitchen use a little something extra to make it feel more custom and elevated? Are you tired of water dripping onto your sink cabinet? Well, I have a quick and easy project that solves both of these problems and can be done for around $10 (or using scrap wood & stain in your garage!)
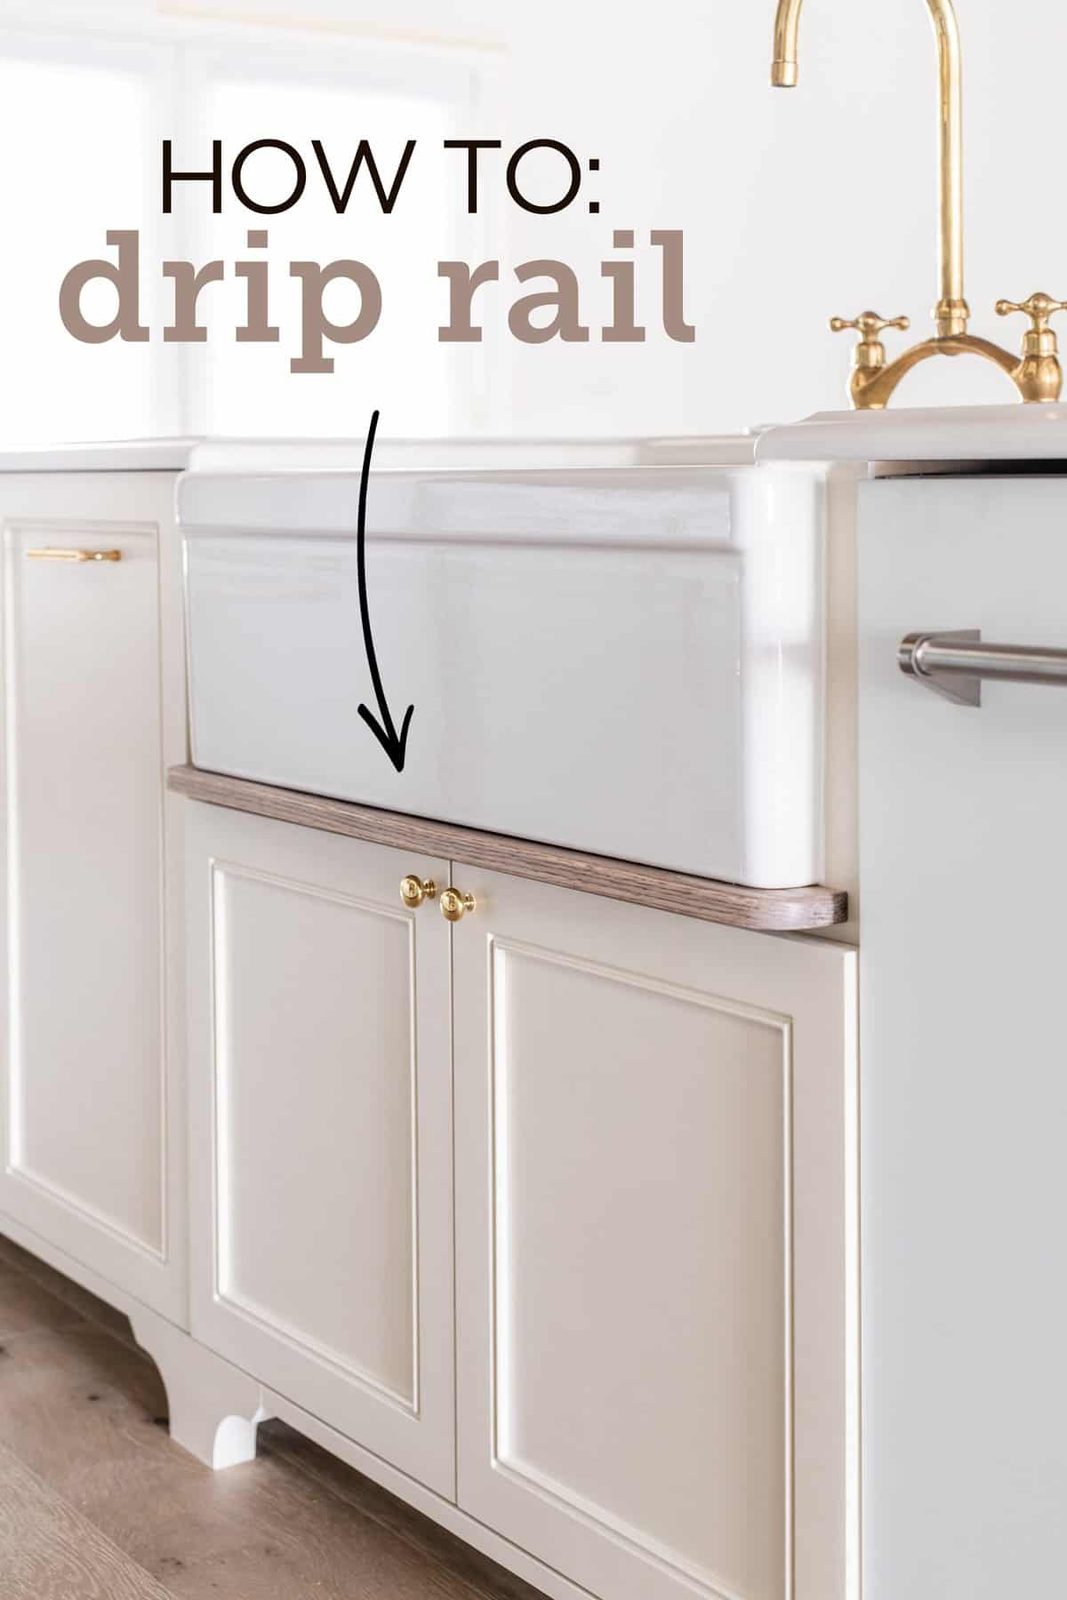
What is a drip rail?
Also called drip edge or ledge, drip rails are a strip of material (typically wood) mounted below sinks to protect the cabinet doors from dripping water. It is designed to divert water away from the face of the cabinetry via a channel routed along the underside.
Drip rails can also be used to hide a rough edge of a farmhouse sink cutout, or any uneven gaps. While they are not a common feature in most kitchens, you will spot them in the work of top designers like Jean Stoffer, Studio McGee and The Fox Group. Providing both form and function, this is one unfussy detail that is a no-brainer to try at home.

Supplies needed
- Wood board (we used 1x3x3' oak)
- Wood screws (we used 3″)
- Stain + sealer
- Drill
- Jigsaw (for a radius edge)
- Router or table saw (for the channel)
How to make a sink drip rail
Step 1: Measure and cut your wood
We used1×3” oaksold by the foot at Home Depot (total = around $10). You can choose any type of wood you'd like, but a a typical drip rail is between 3/4”–2” thick, and a 1×3” is the most cost effective option.
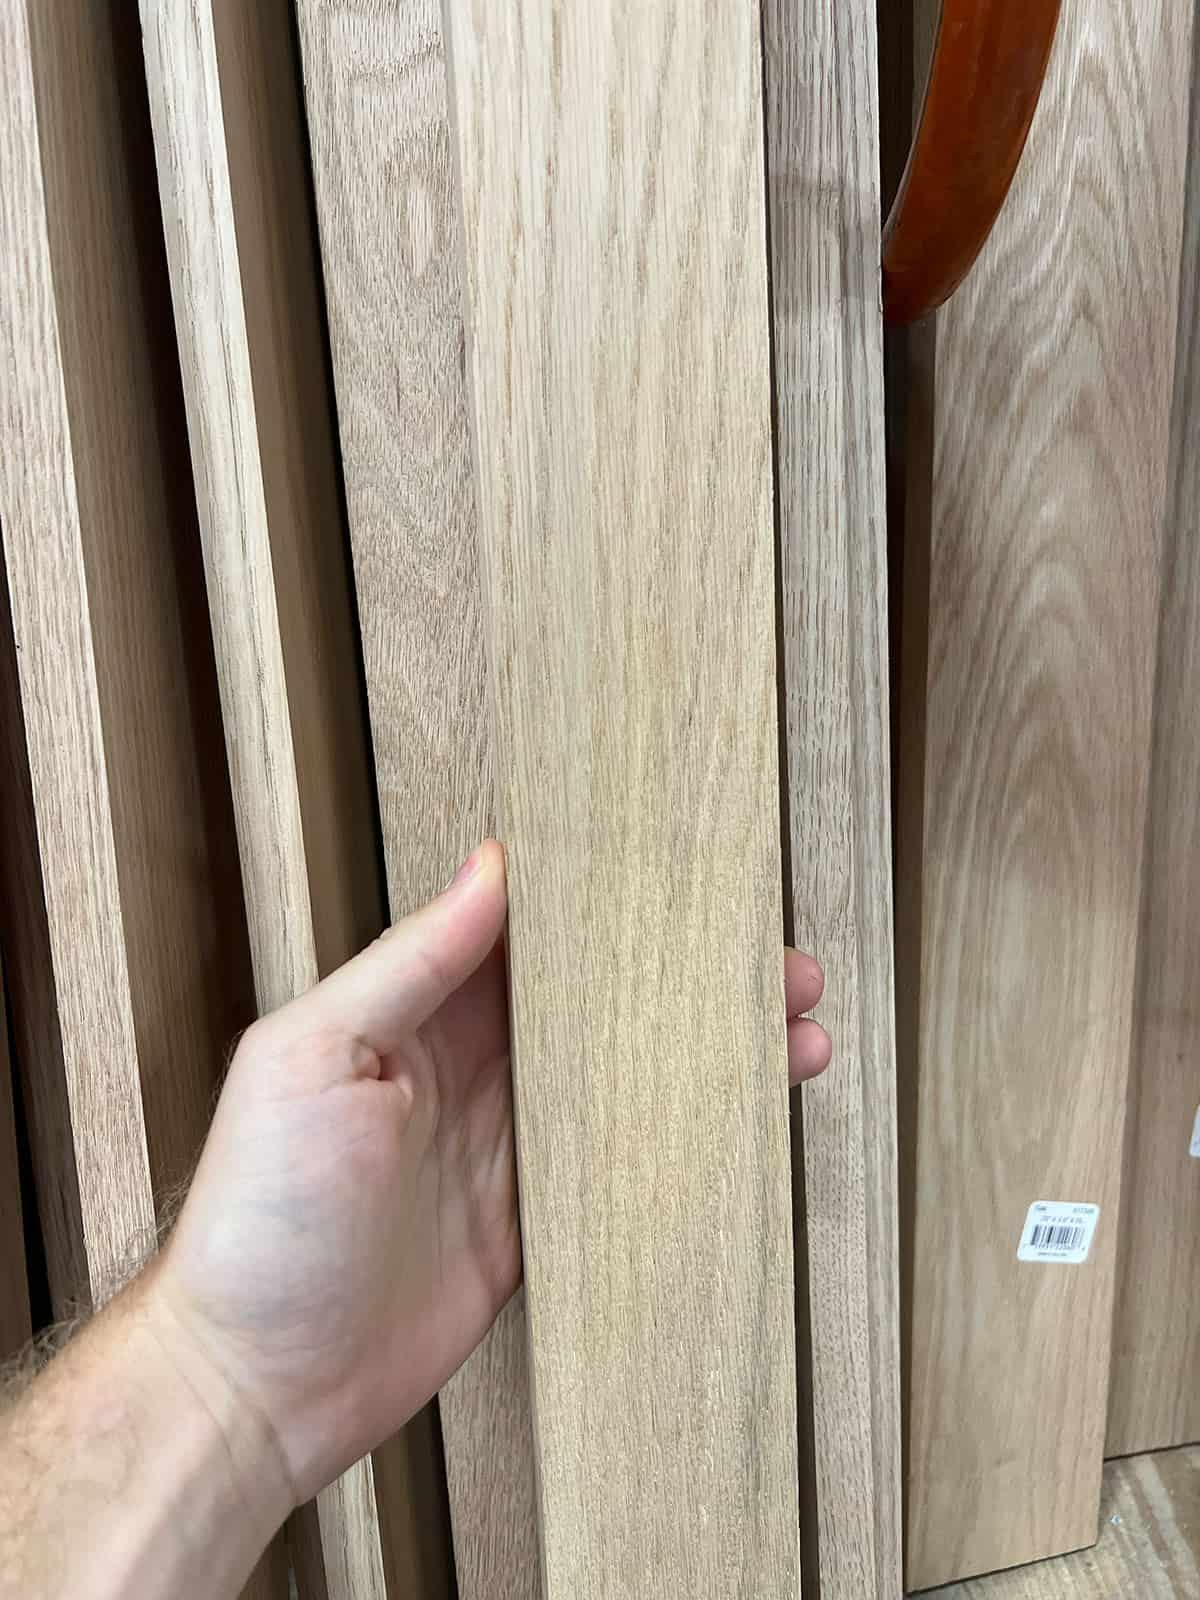
The drip rail width and depth is also entirely up to you. We chose to have ours stick out just under 1″ deeper than the sink, and extend ~1” past each side of the sink (our sink is 30”, sink cabinet is 33”).
Step 2: Route a channel on the underside
This step is optional if your drip rail is purely decorative, but it is important if you'd like the ledge to function properly. The groove will divert dripping water away from the face of the cabinets, preserving the finish on the doors. Lucas routed a groove by hand, near the front edge of the rail.

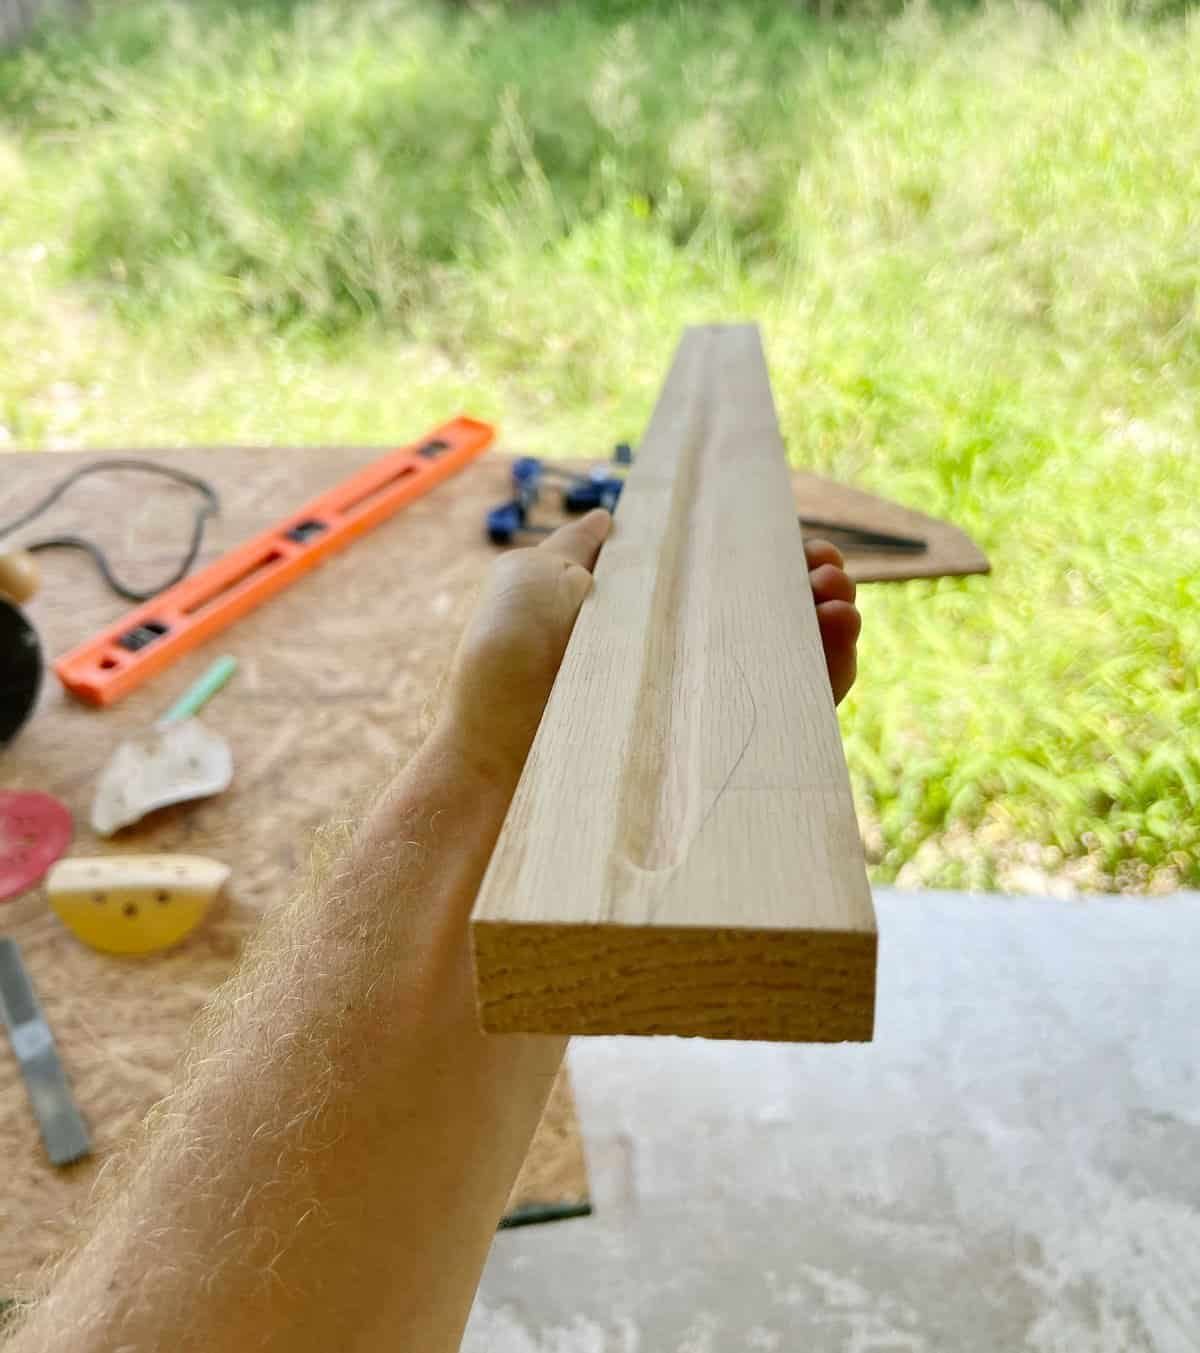
If you do not have a router, you could also make a few passes with a table saw set at the minimum blade height.
Step 3: Cut curved edges
This step is also optional, but the radius edge will eliminate the risk of bumping into sharp corners. Trace a round object onto each end and cut out with a jigsaw—easy peasy!


Step 4: Sand, stain and poly
Finally, use an orbital sander to round off the sharp edges until you are happy with the shape. I layered on a few different stains until I was happy with the color: Minwax Weathered Oak, Tinsmith Gray, and Special Walnut.
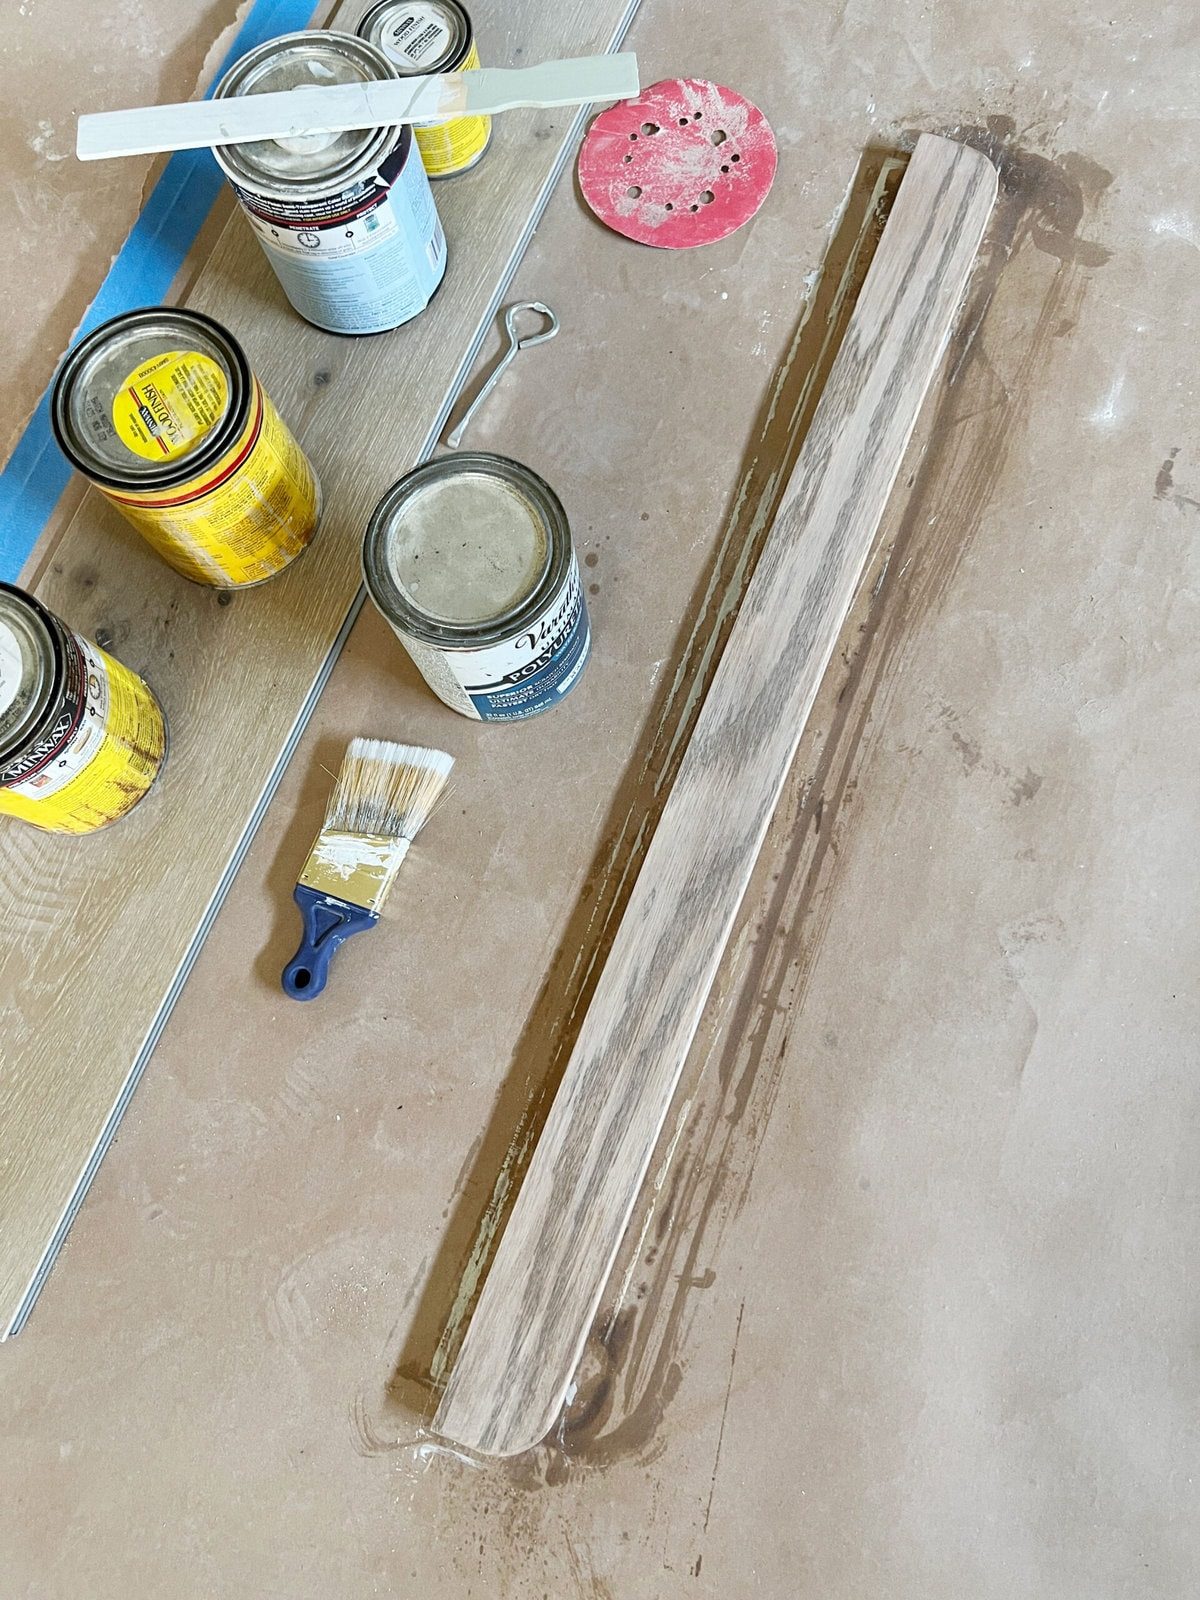
Because it will be exposed to water, make sure to seal it well with poly or varnish. I applied three layers of a clear matte varnish.
How to install a sink drip rail
Step 1: Pre-drill holes below the sink
Clamp your drip rail in place and mark the bottom edge on the cabinet. Remove the drip rail and measure half the distance between the sink and your mark—this should be the center of your drip rail height. Mark a dot at this distance in the center, and near both ends of the sink. Then, drill through using a bit slightly smaller than the screws you plan to use.

We have a 2×4” frame behind the cabinet, so we had a long flexible bit extender to push the bit all the way through to the other side without hitting the sink.
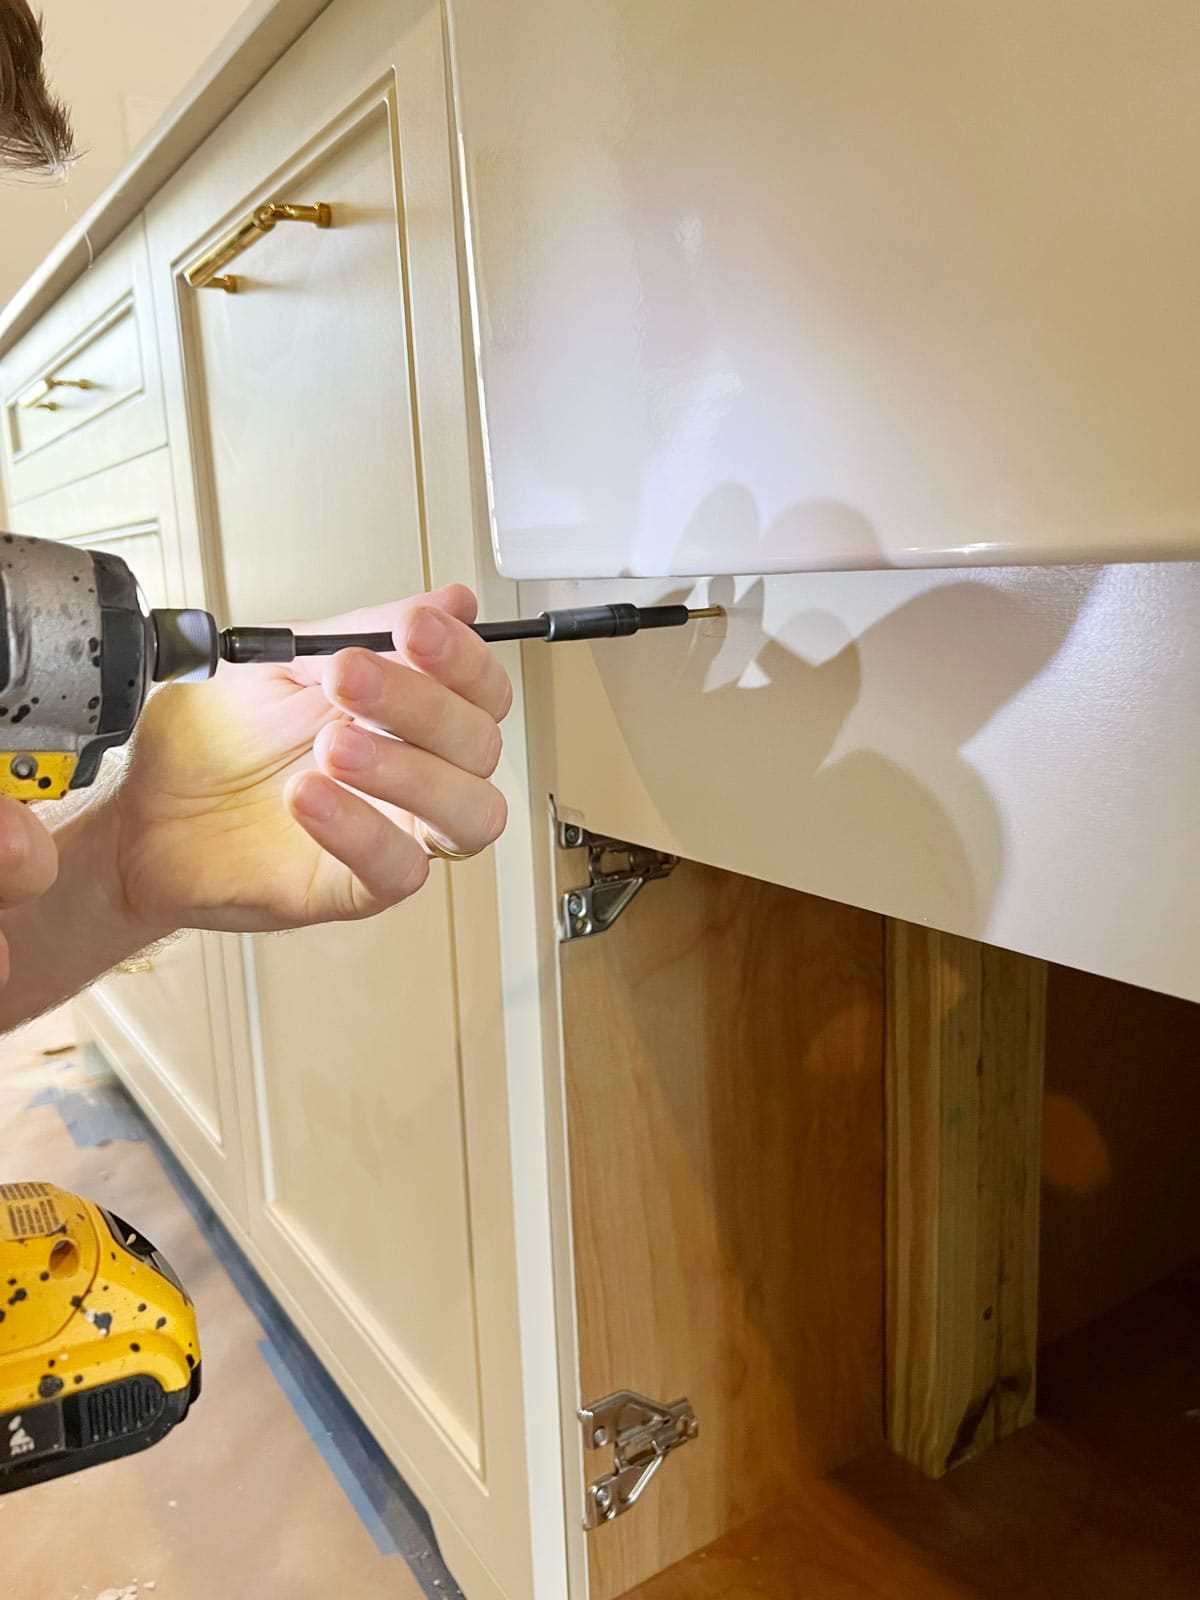
Step 2: Clamp drip rail in place and mark hole locations
Once your holes are drilled, re-clamp the drip rail in place. From the back side of the cabinet, insert the same small drill bit into each hole. Use a hammer with enough force to leave an indent in the back of the drip rail.

Step 3: Pre-drill holes into drip rail
Remove the drip rail, and locate the indentations made by the drill bit. Use the same bit to drill holes through each mark. This will ensure the screws are inserted in the correct location, and prevent the wood from splitting.
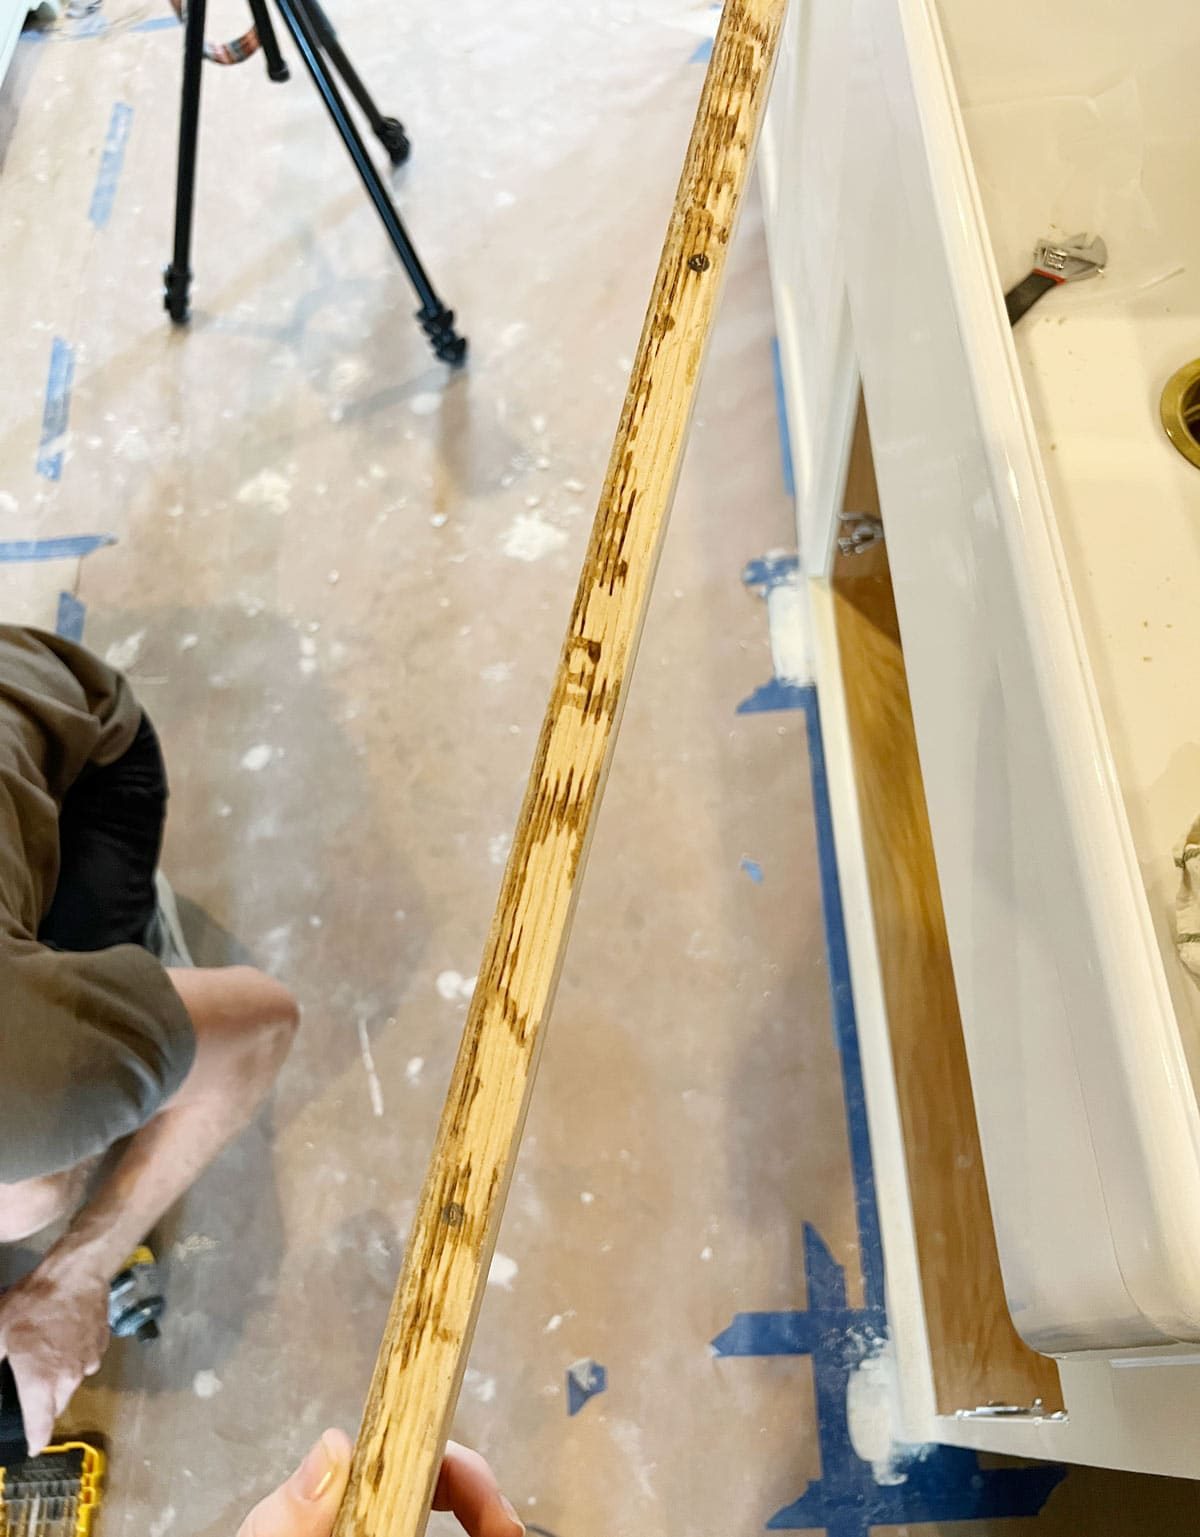

Step 4: Drill screws through back of sink cabinet
From the inside of the cabinet, drive screws into the holes until they start to peek through. The screws should be long enough to go at least 1” or so into the drip rail (we used 3” screws).
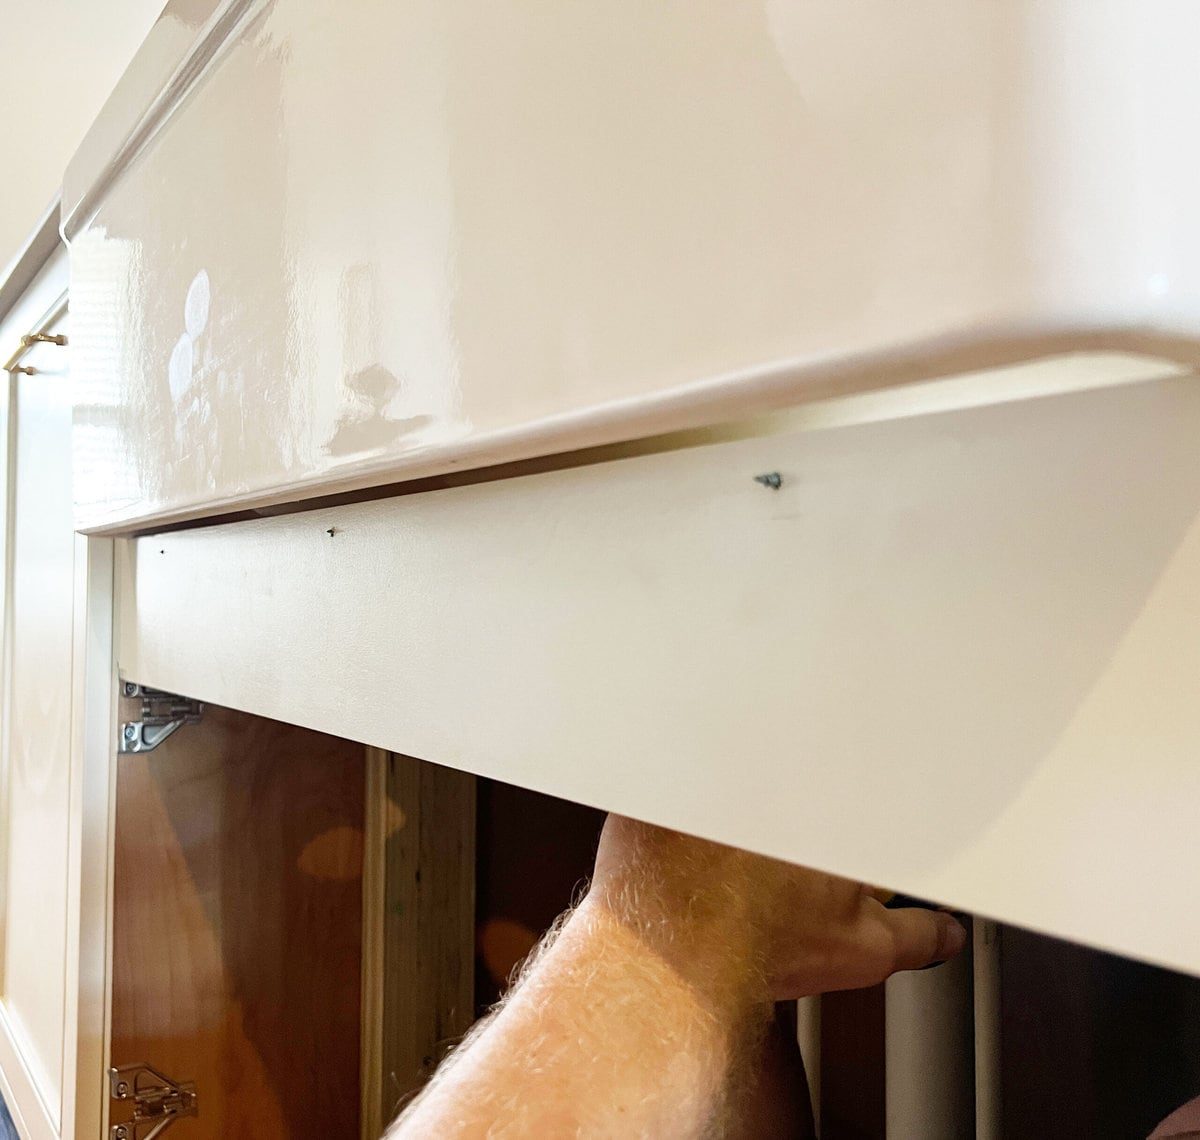
Step 5: Position rail under sink and drive screws through
Position your drip rail so that the screws line up with the holes, and clamp in place on last time. Finish driving each screw into the rail until tightened.

Unclamp, step back and admire your work!
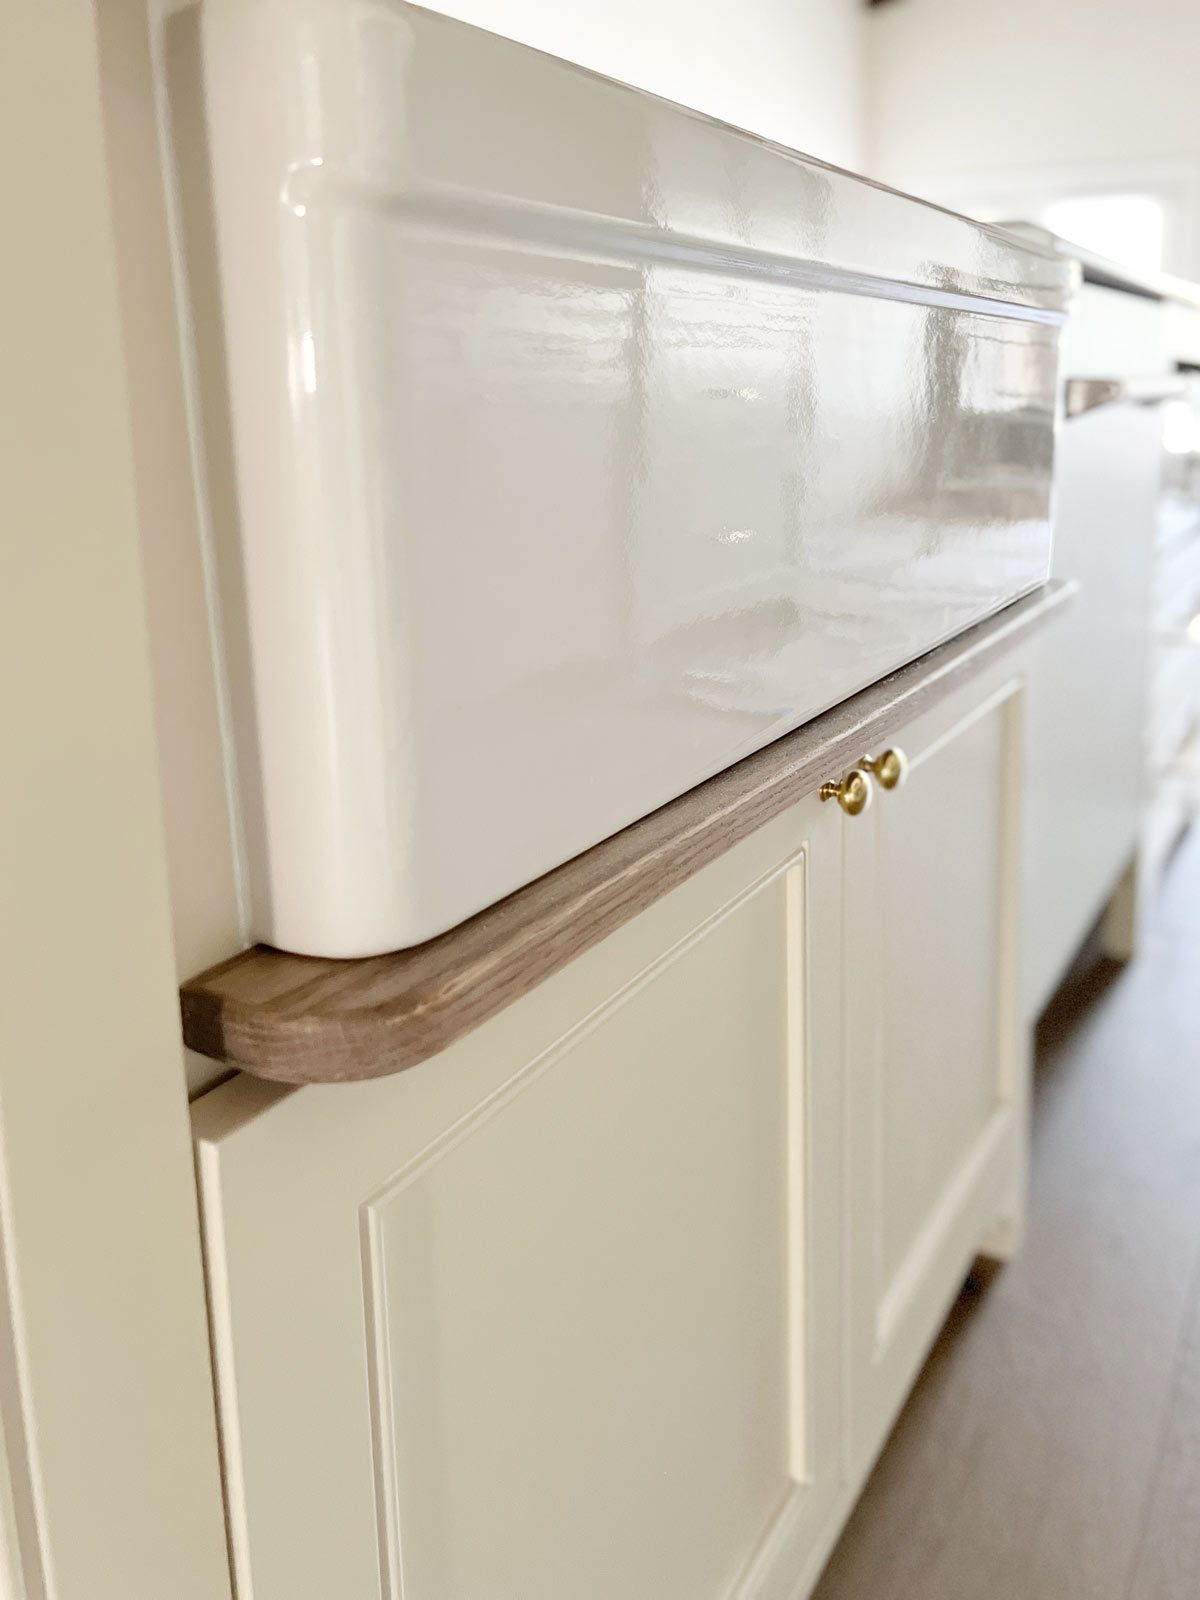
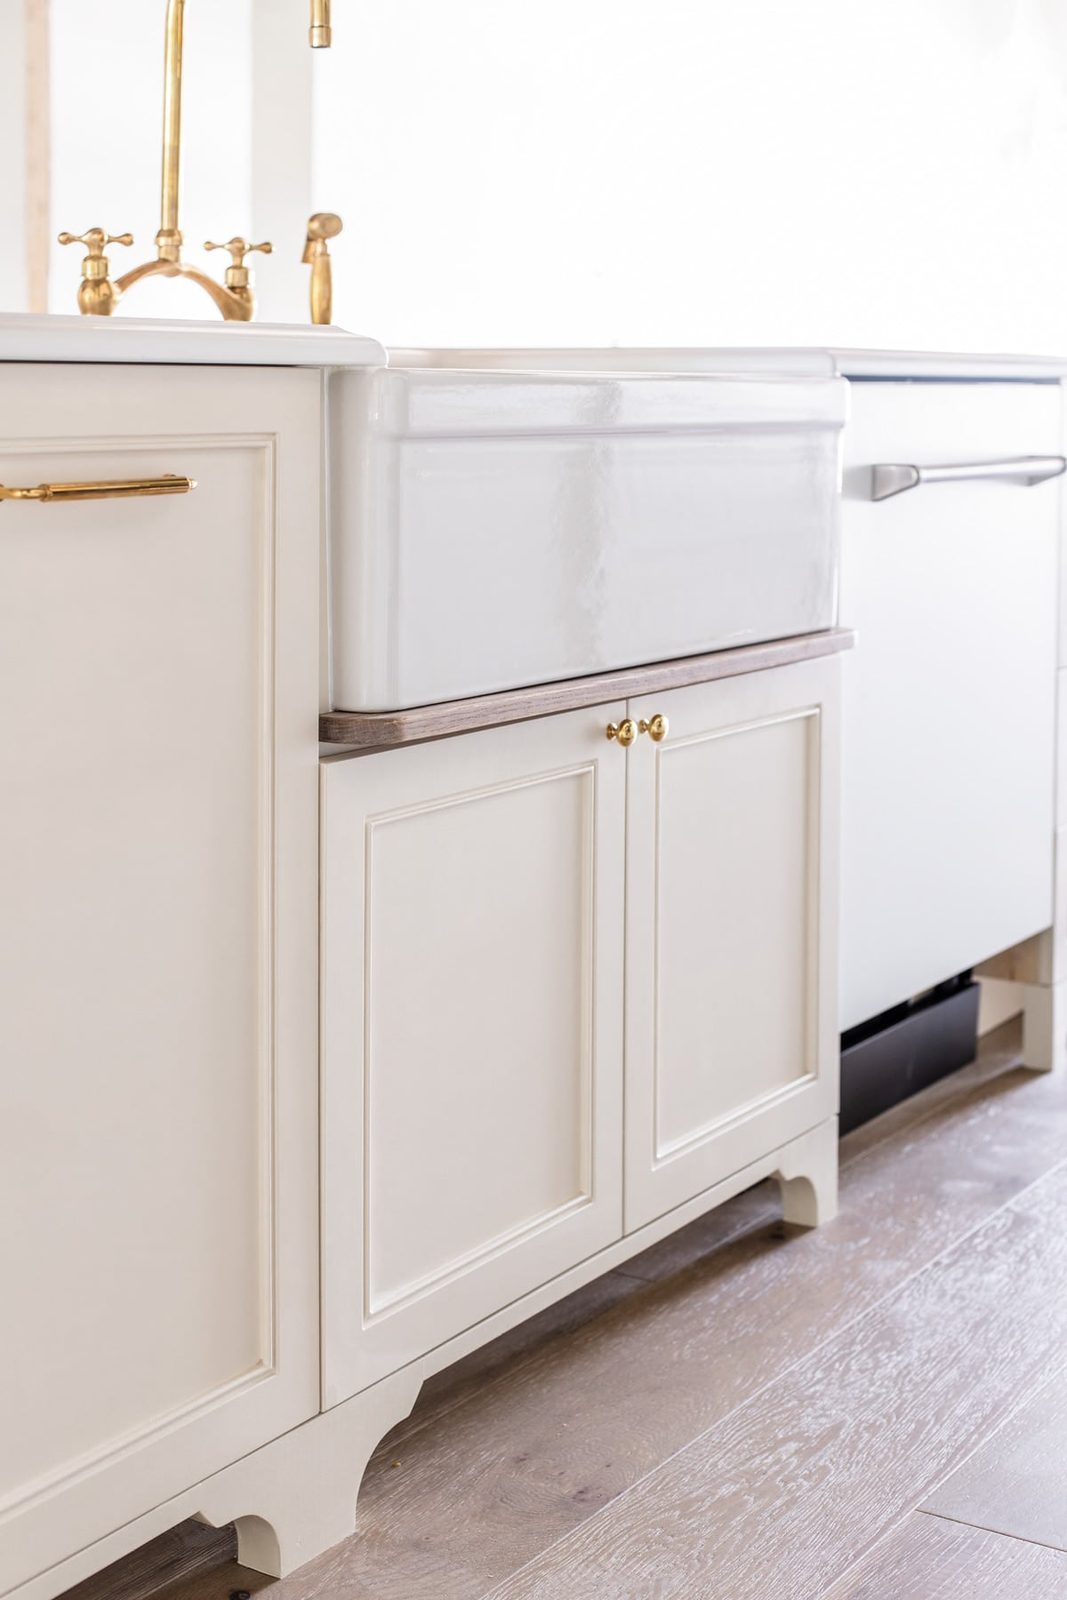
Not only does break up the cabinetry and tie in with the oak wood floors, it grounds the large farmhouse sink and makes everything feel balanced. You just cannot go wrong with a drip rail!
FAQ
Are drip rails necessary?
Not at all, but they are useful if water frequently drips onto your sink cabinets. Some farmhouse sinks have a built-in drip ledge (our Fireclay sink does!) so make sure to check first.
What can drip rails be made out of?
While wood is the most common (and cost effective) choice, some designers choose to use the same material as the countertops (marble, quartz, stone etc). For a more subtle look, consider painting the drip rail the same color as your cabinetry to blend in.
Can I buy a pre-made drip rail?
Because of the many variables (sink and cabinet size, material, etc) you'd be hard pressed to find “standard” drip rails for sale. They may be available as an add-on option with a fully custom cabinetry builder. Fortunately, they are very unfussy and inexpensive to DIY—or a quick job for any carpenter/woodworker for hire.

Tell me: are you on board with the drip rail trend? Let me know in the comments!
Next week: sharing my experience trying Venetian plaster for the first time—you can follow along in myInstagram stories before the reveal!