DIY Decoupage Ornaments
Learn how to make these easy DIY decoupage Christmas ornaments! A fun and inexpensive holiday craft using basic supplies.
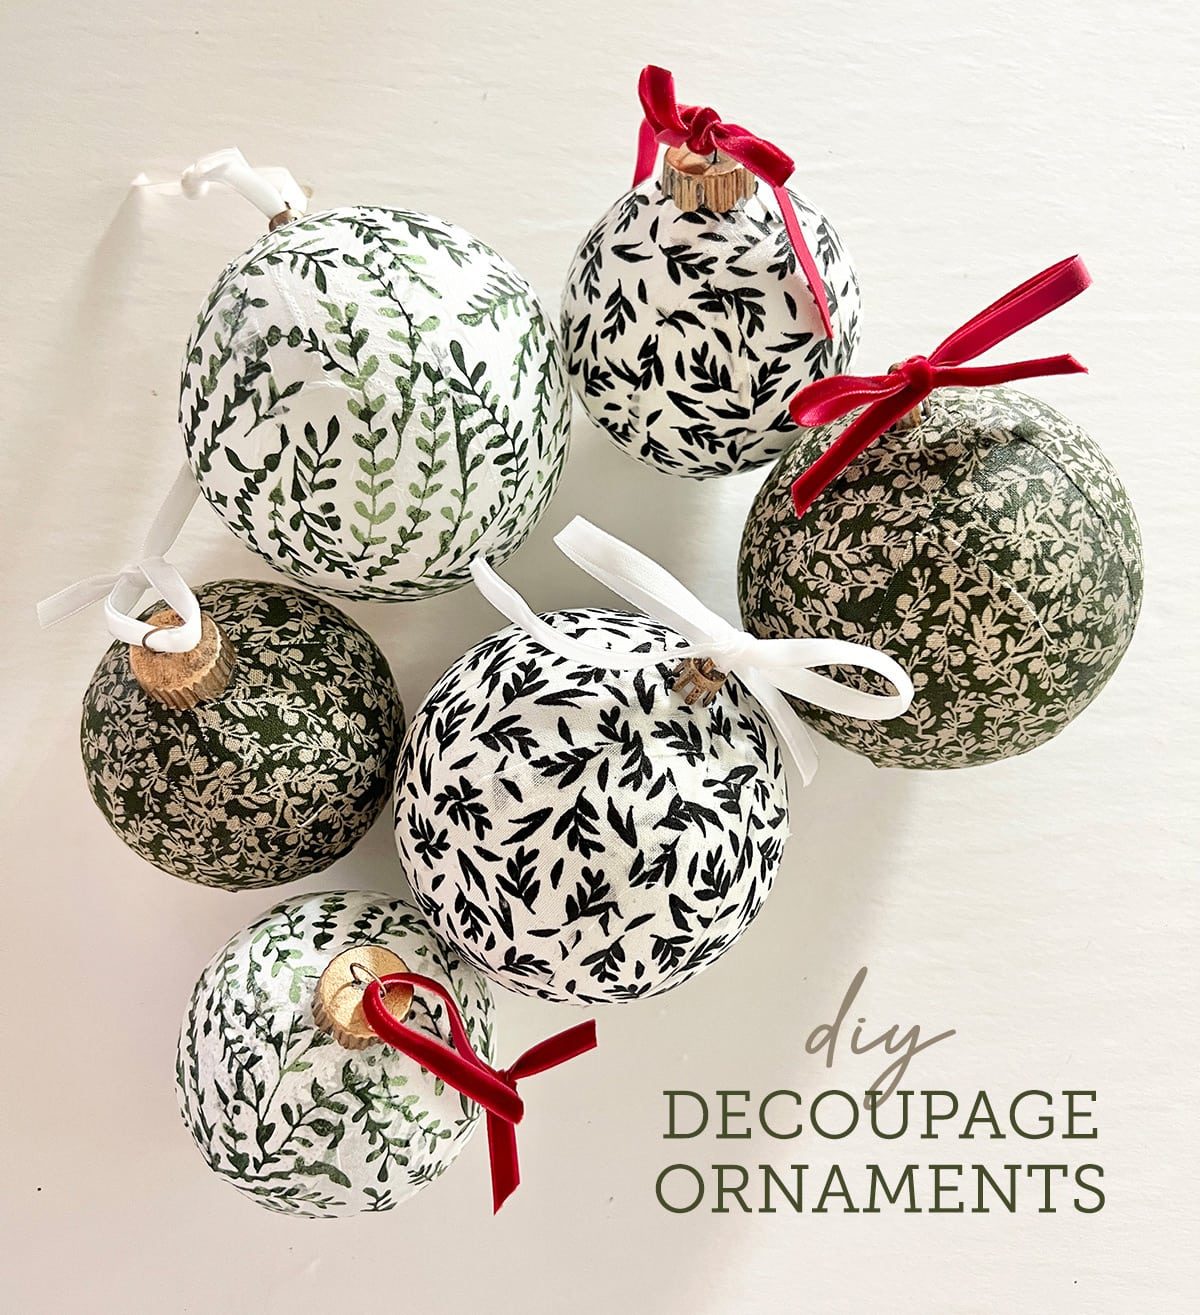
It is holiday craft season once again! This year I am back with two more easy and fun DIY ornaments that anyone can do. Let us kick it off with the first tutorial—DIY decoupage ornaments:
I was inspired to make these after spotting these striking McGee & Coornaments from last year (no longer sold):


I knew I could figure out a way to make something similar, and after some research, landed on a decoupage method. I headed to the fabric store to gather materials, and ordered some pretty paper napkins online as well. You will just need a few basic supplies for this craft!
How to make Decoupage Christmas Ornaments

Supplies List
- Clear or white ball ornaments
- Patterned fabric or napkins
- Matte Mod Podge
- Scissors
- Paint brush
- Optional: Rub 'n buffand velvet ribbon
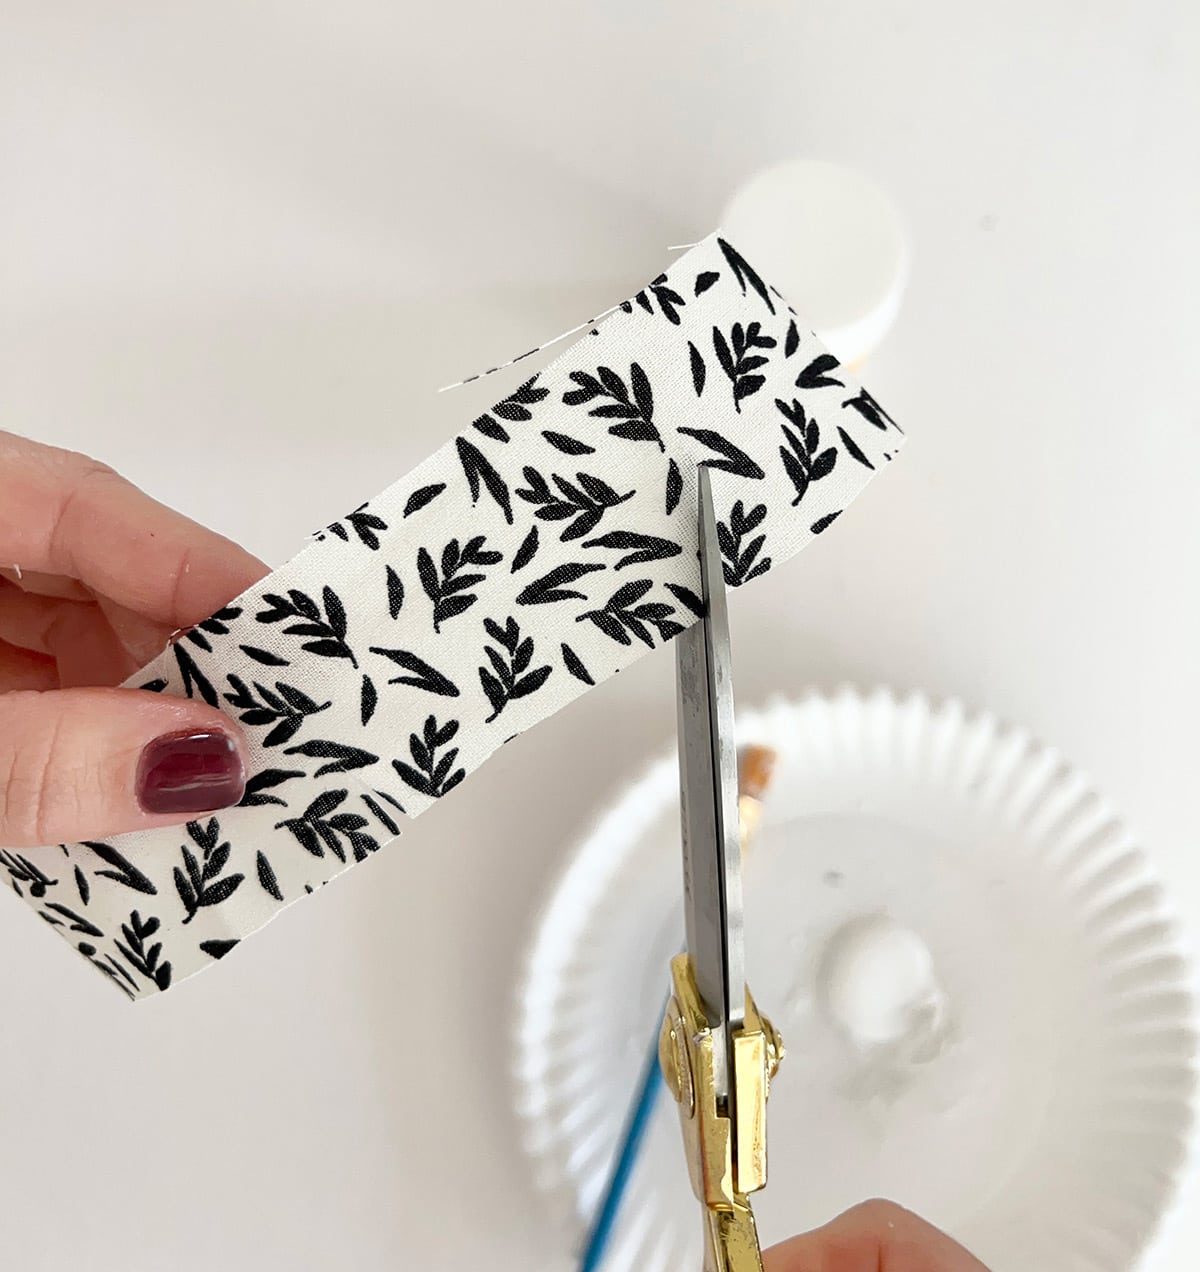
Step 1: Cut fabric into 1.5″ strips
There are many ways you can go about cutting the fabric to cover the ornament, but this is one method I found to be unfussy and efficient. I began by cutting a strip around 1.5″ wide, and long enough to wrap around the ornament.
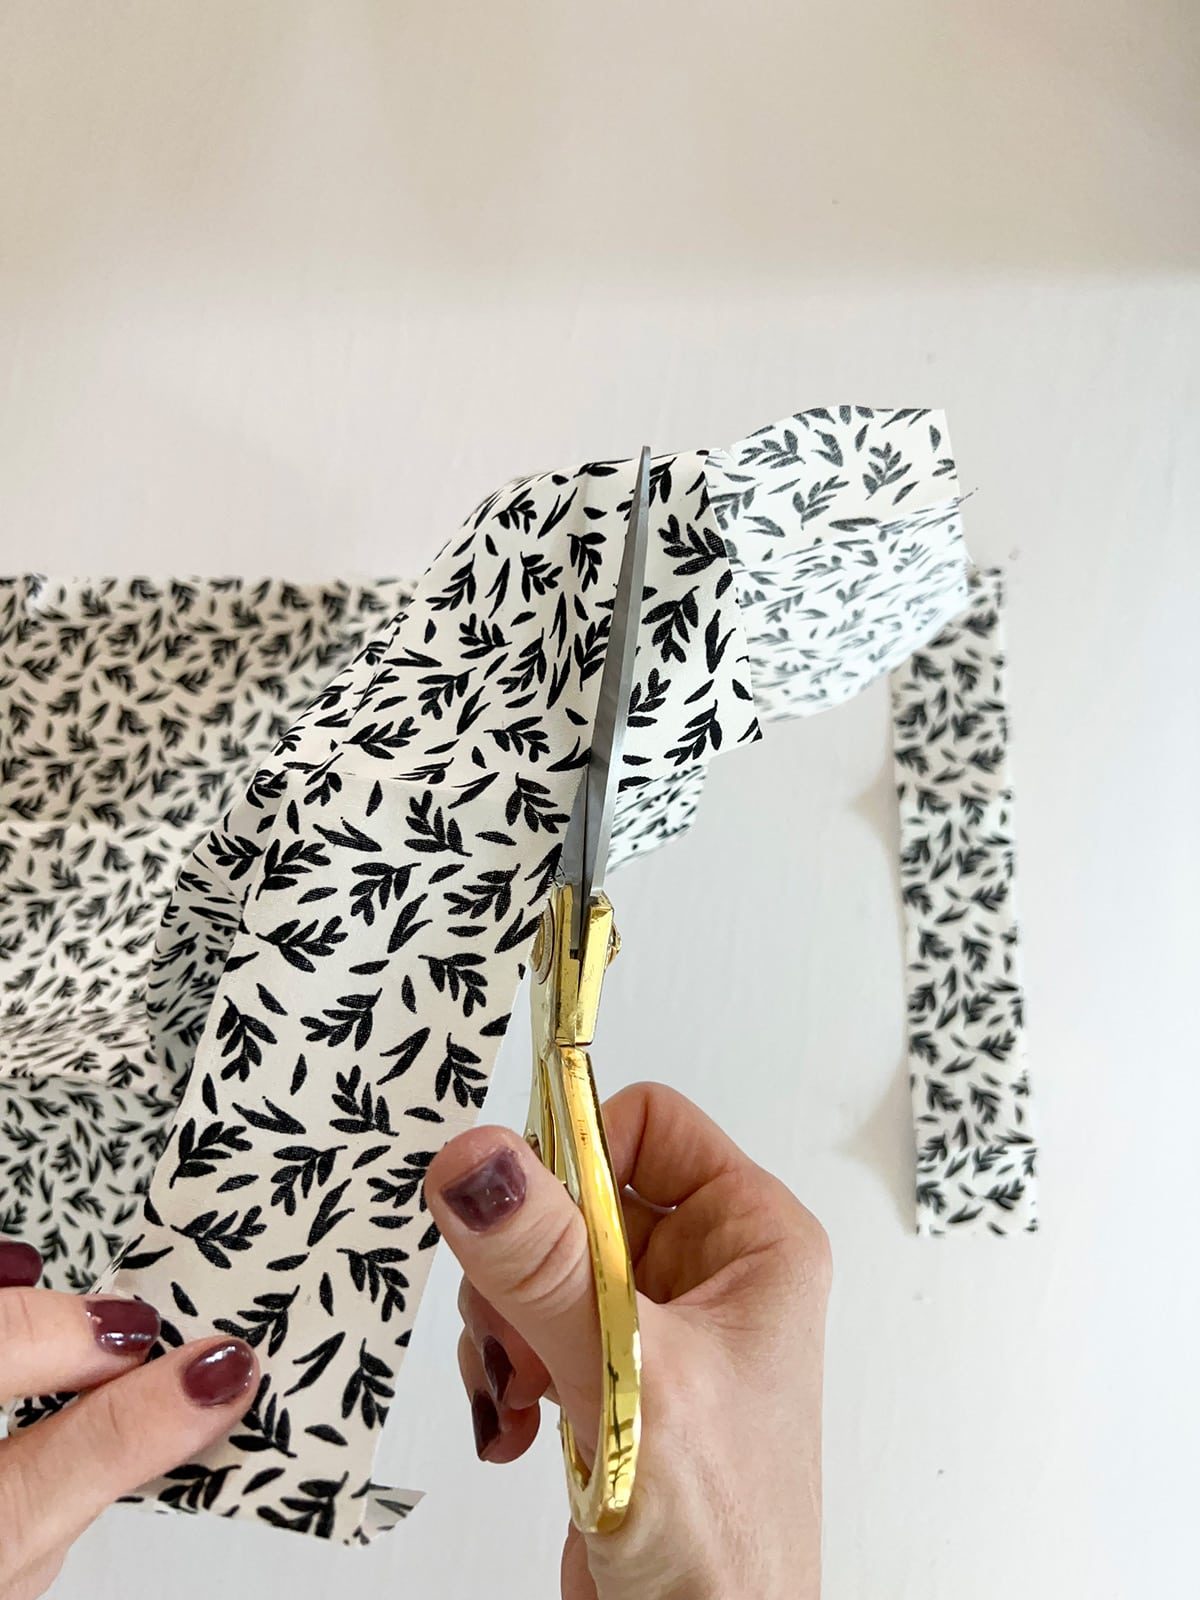
After wrapping it all the way around, trim the excess fabric around the opening.

Make a second strip exactly like the first, then cut small slices on both sides all the way down the strip. This will make it so that you can overlap the fabric and it will lay flat along the curved surface.
Step 2: Glue on fabric strips
Apply mod podge from one side of the opening to the other, down the center. Make sure the area is wide enough to extend past the edges of the strip.
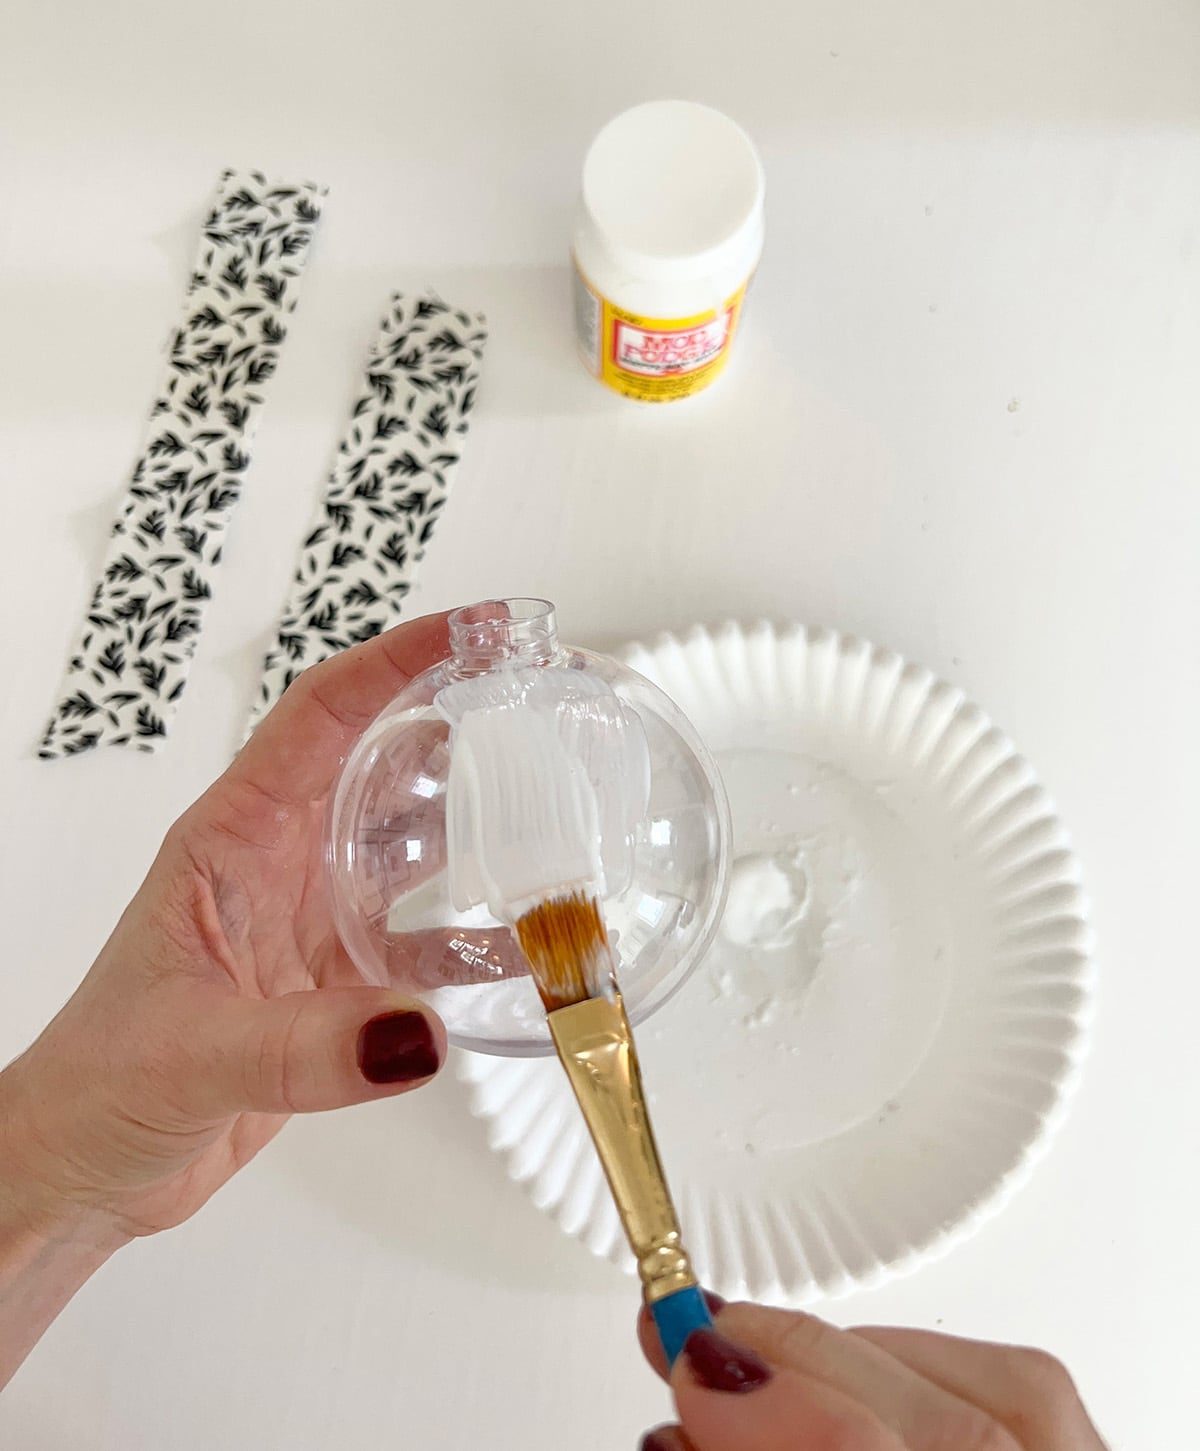
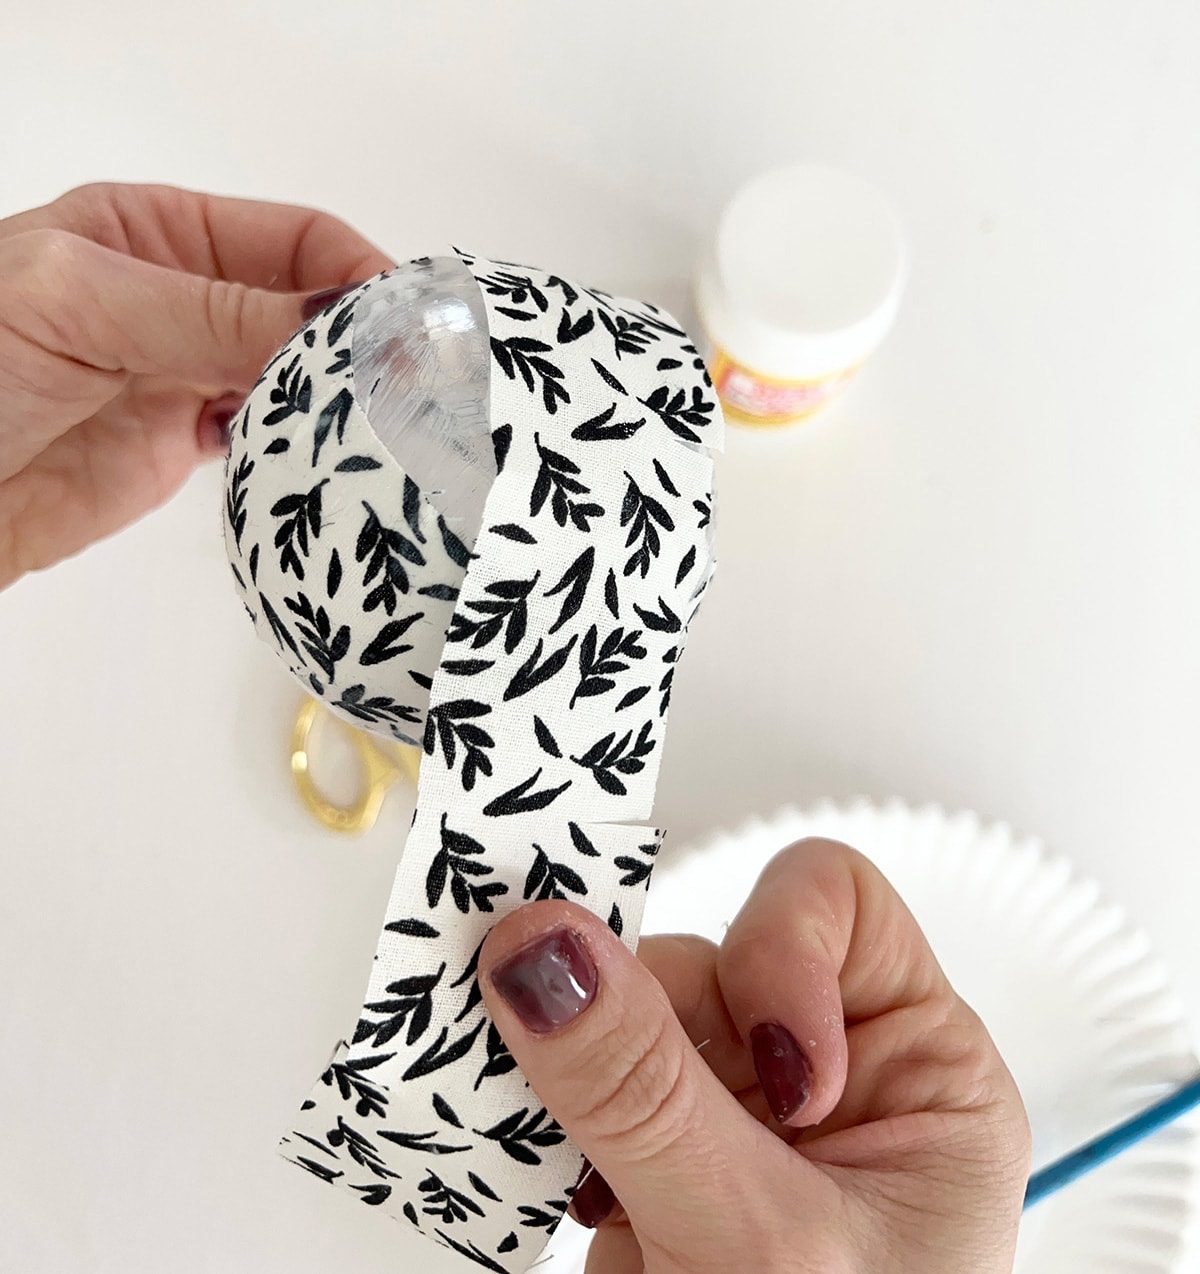
Line up the fabric strip at one side of the opening, and lay it down over the glue, smoothing down the edges as you go.
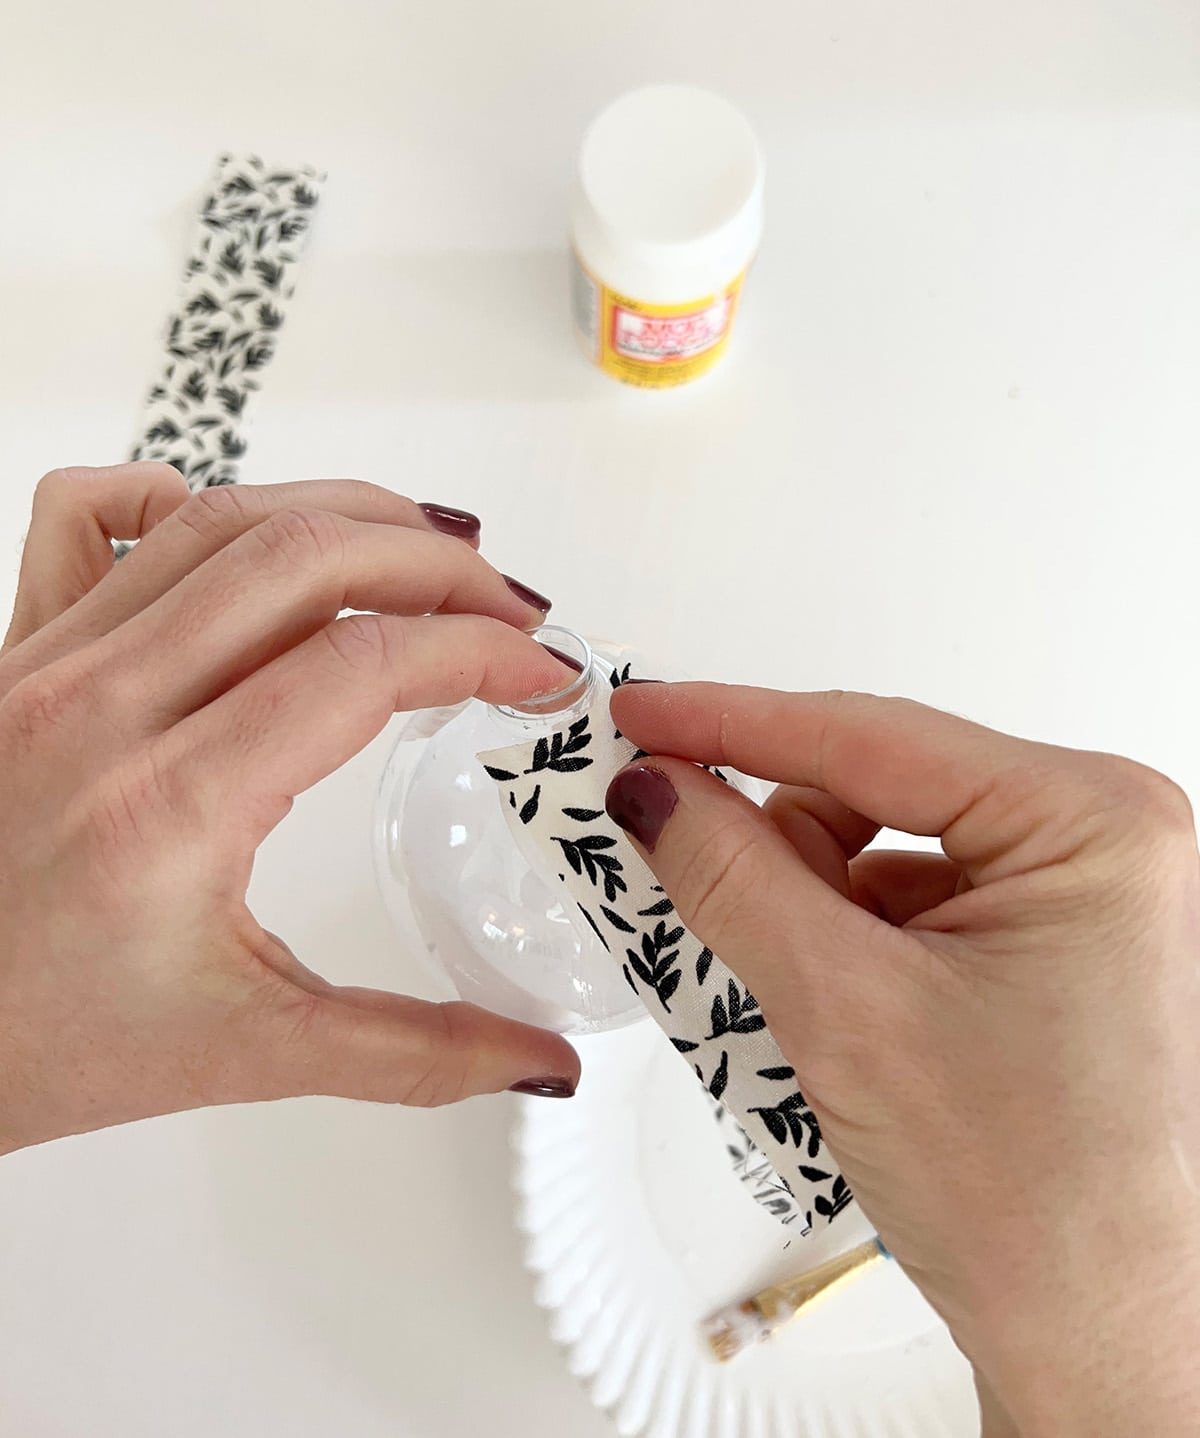
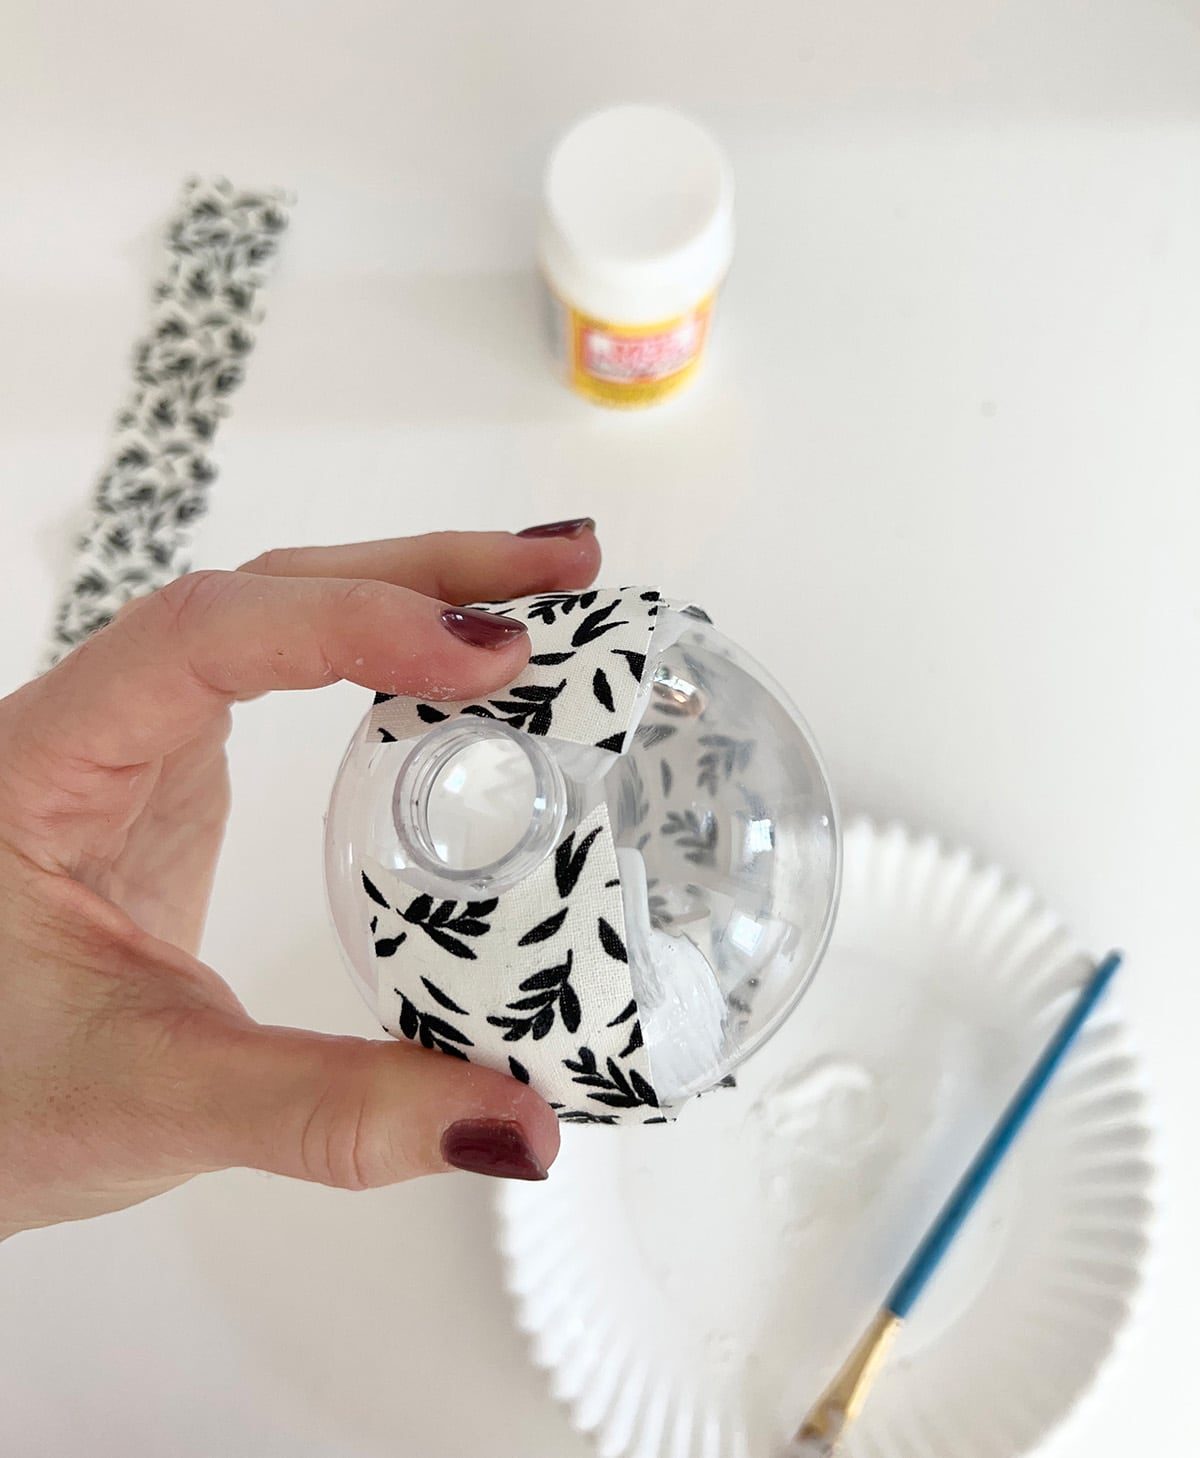
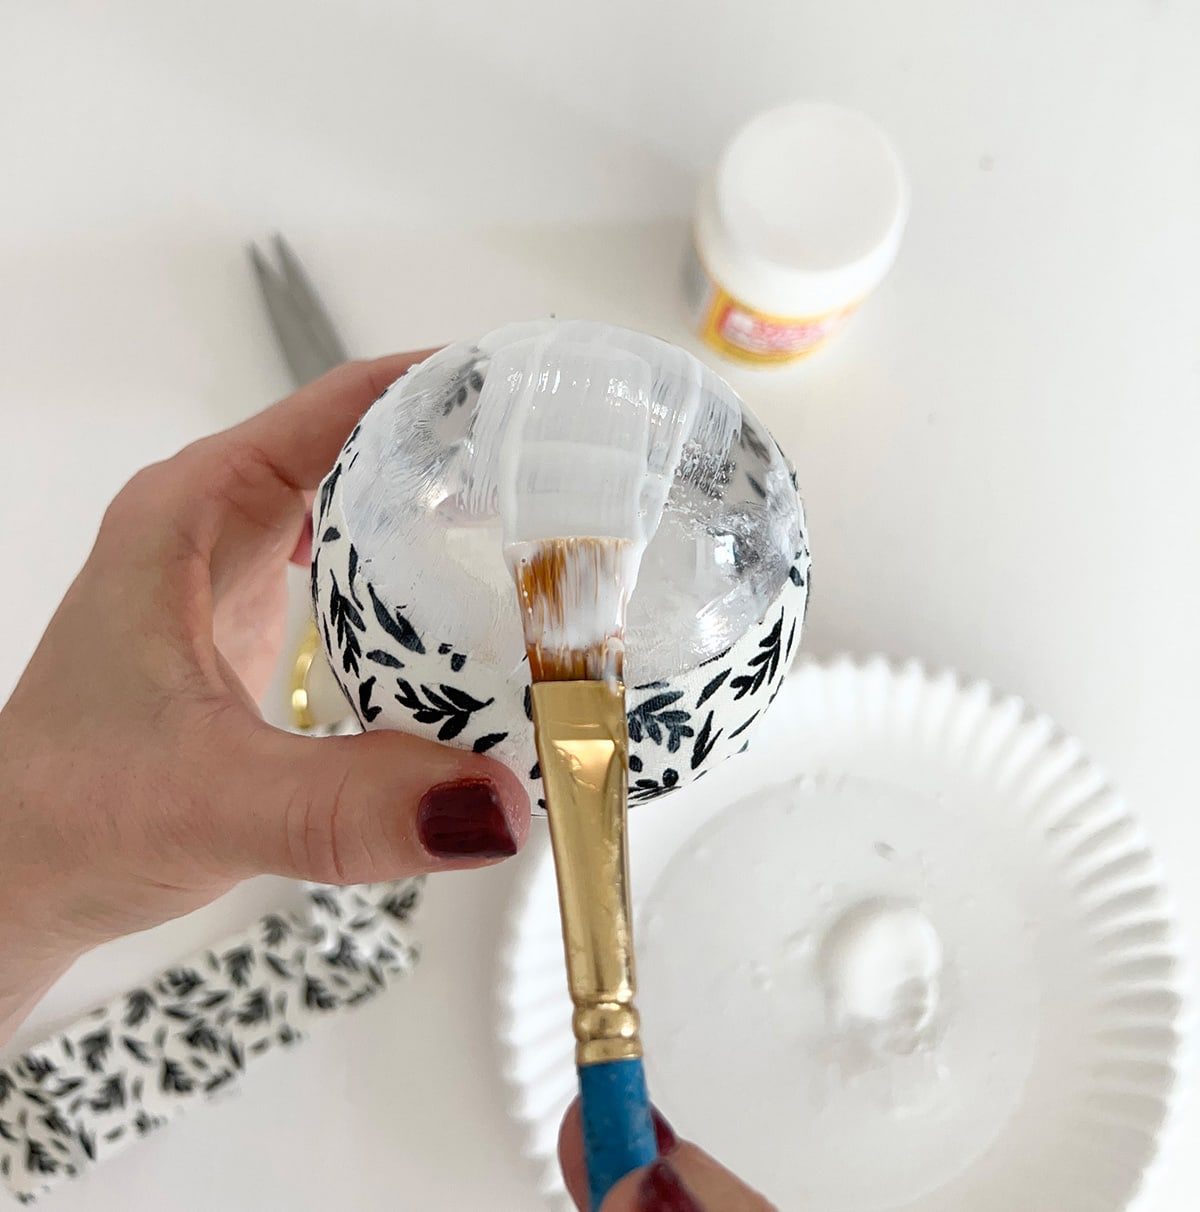
Take your paint brush and apply mod podge along the edges, making sure to cover completely.
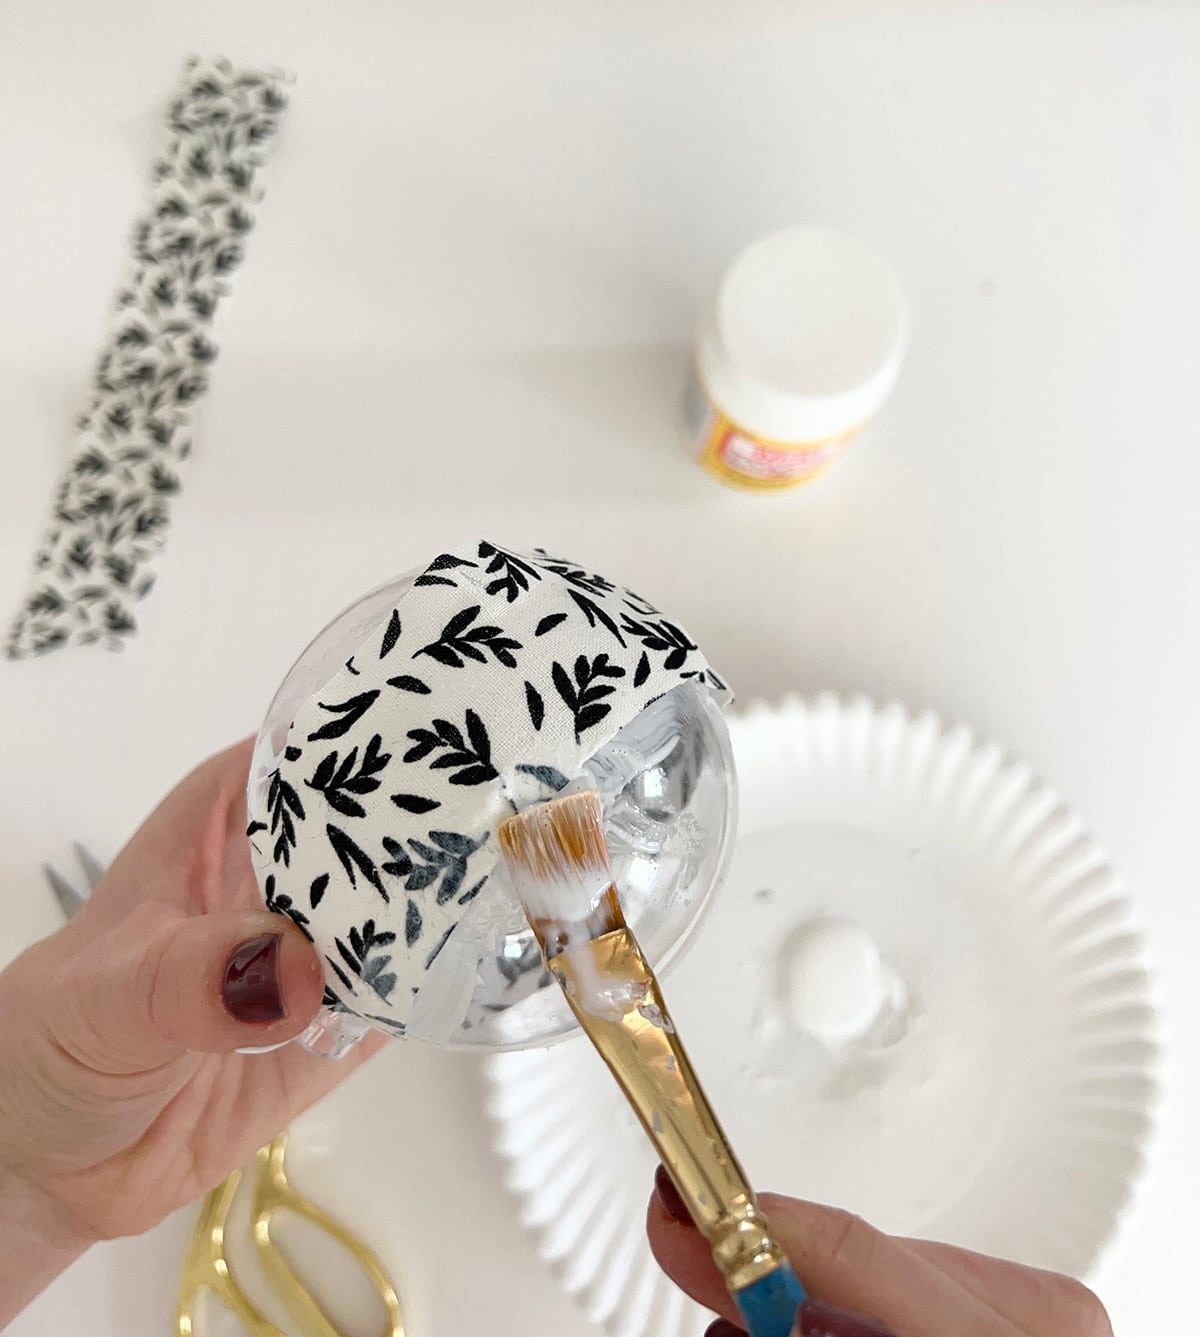
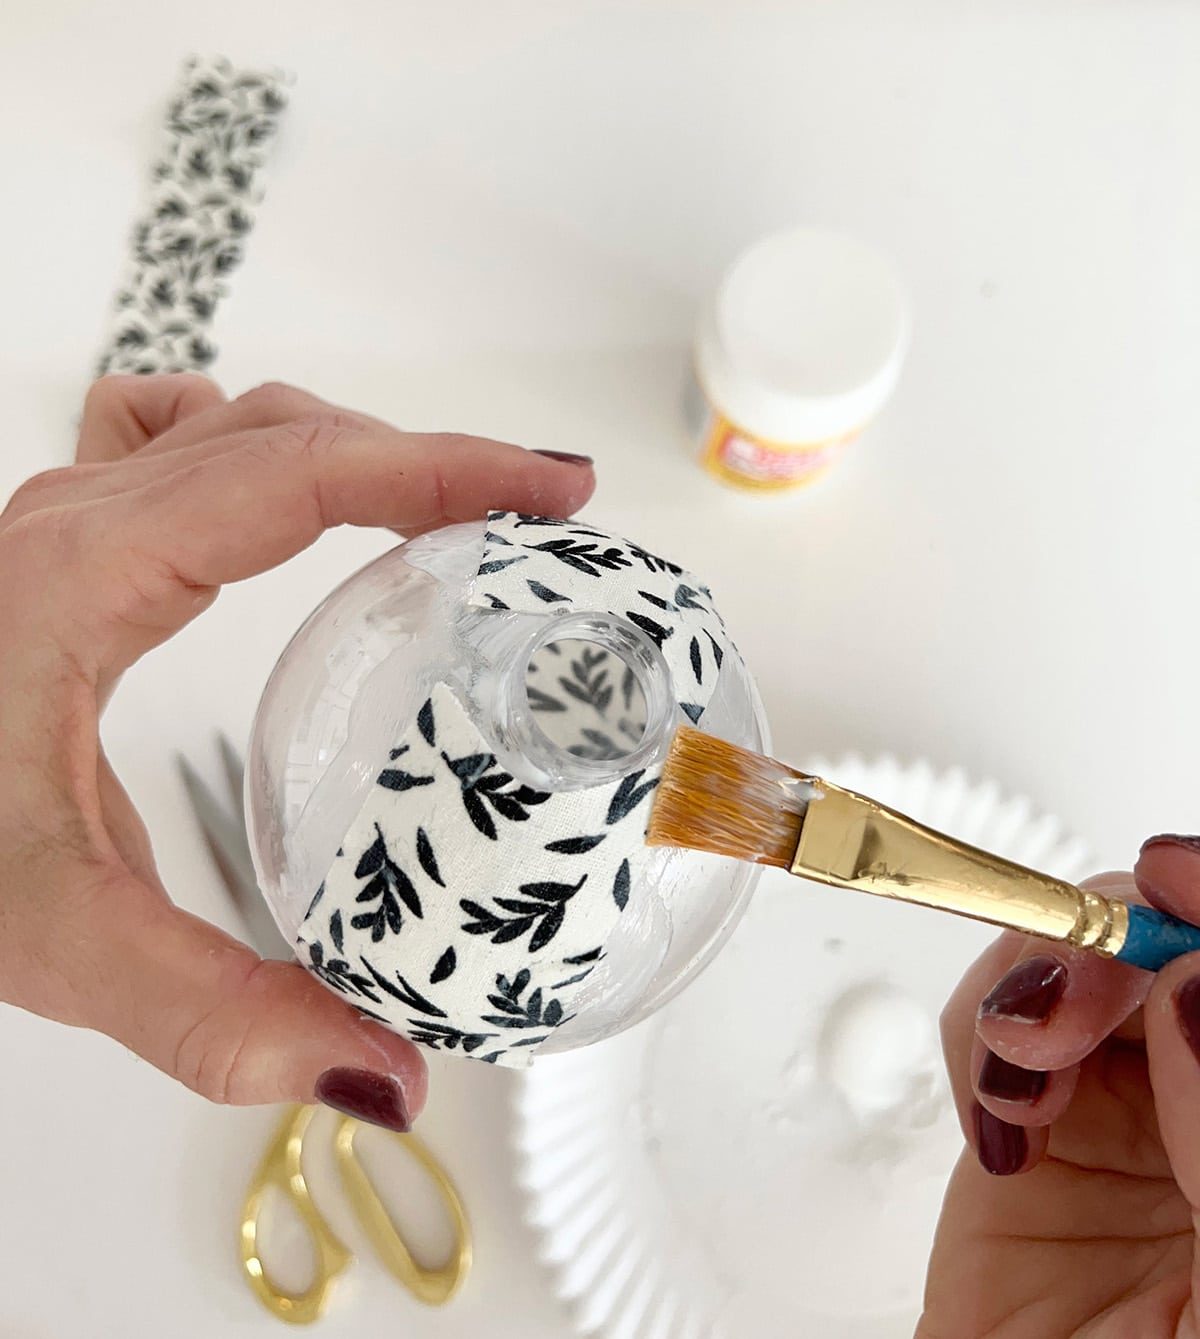
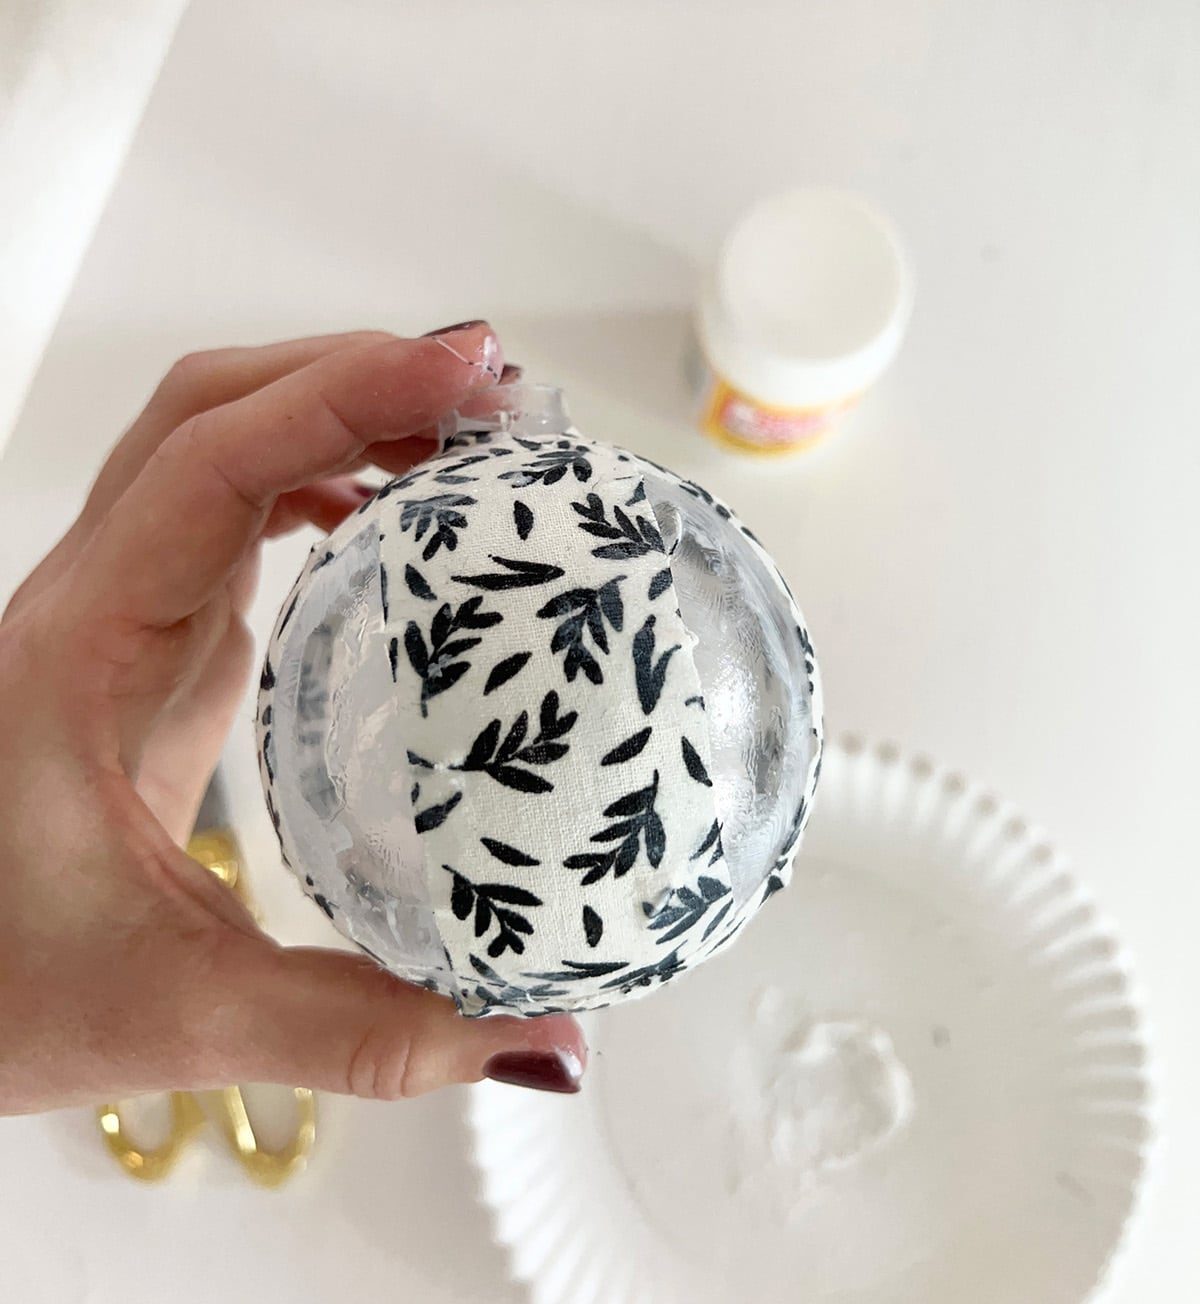
Repeat with the second strip, attaching it on the opposite side of the ornament.
Step 3: Cut and glue almond-shaped pieces
After the two strips are secured, you will be left with four almond shaped sections to fill. Cut these shapes from your fabric. I just eyeballed the size here—it does not have to be well suited and you want it to overlap a bit.

You will also want to cut a couple smaller slices on the sides of these to help them curve. Make sure there is enough mod podge underneath before gluing it down.
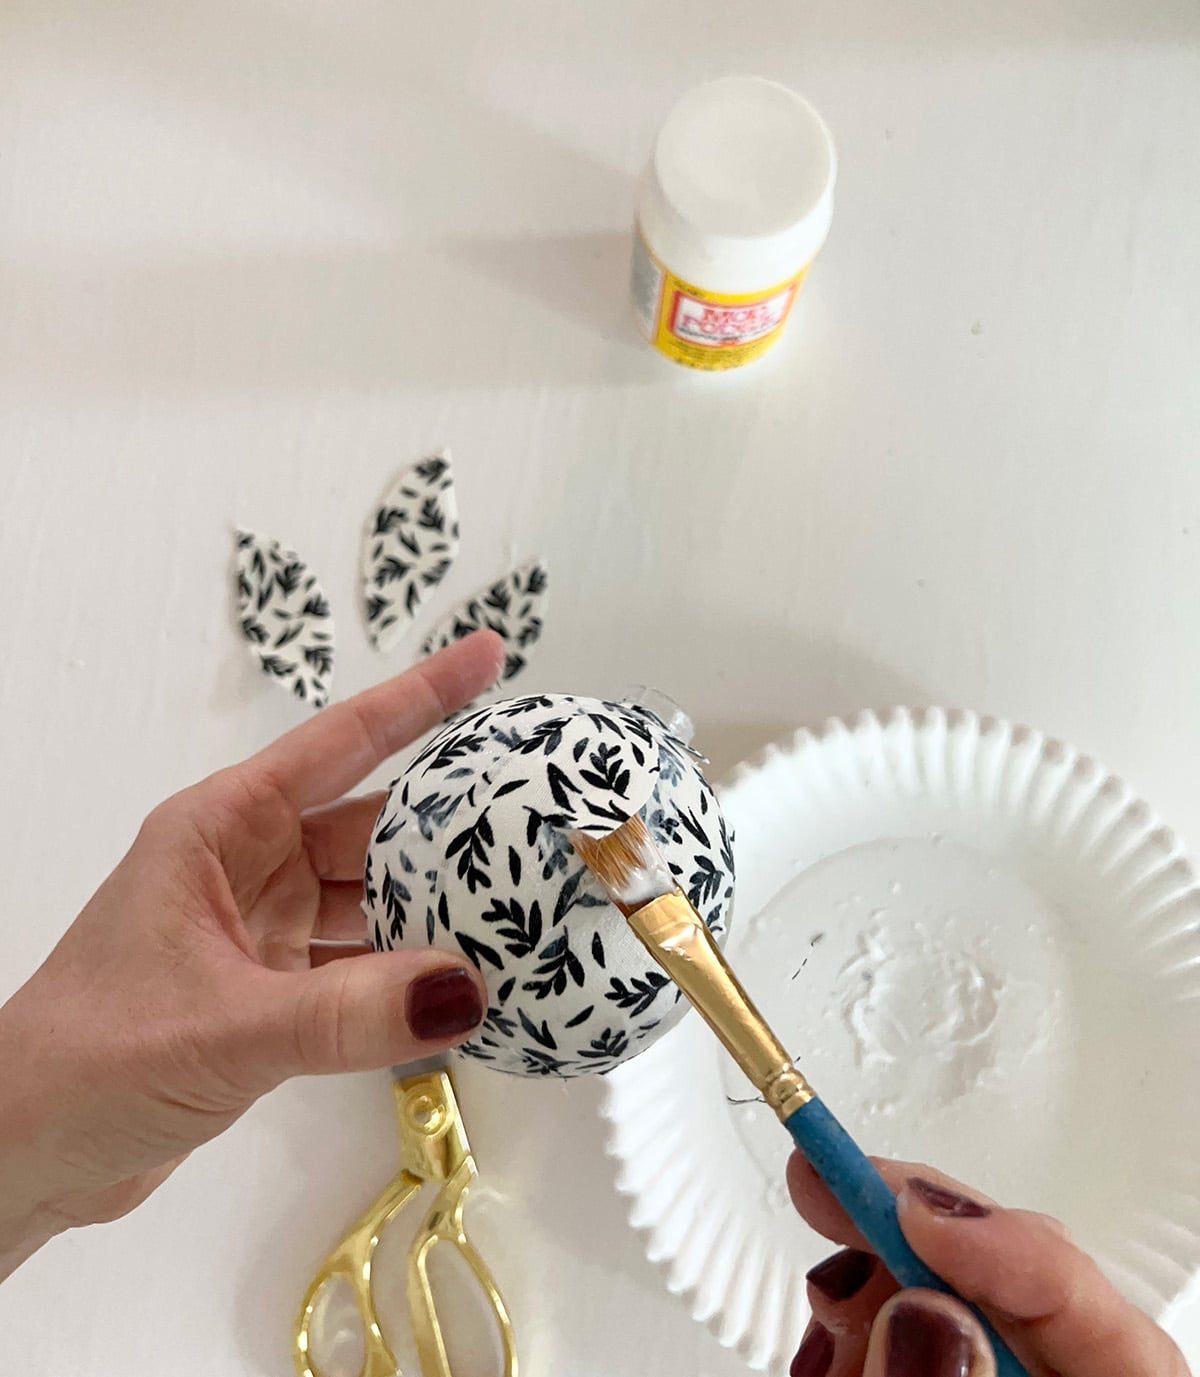
Repeat with all four remaining pieces of fabric, and brush a coat of mod podge over the entire ornament to seal it. The mod podge goes on white, but dries clear.
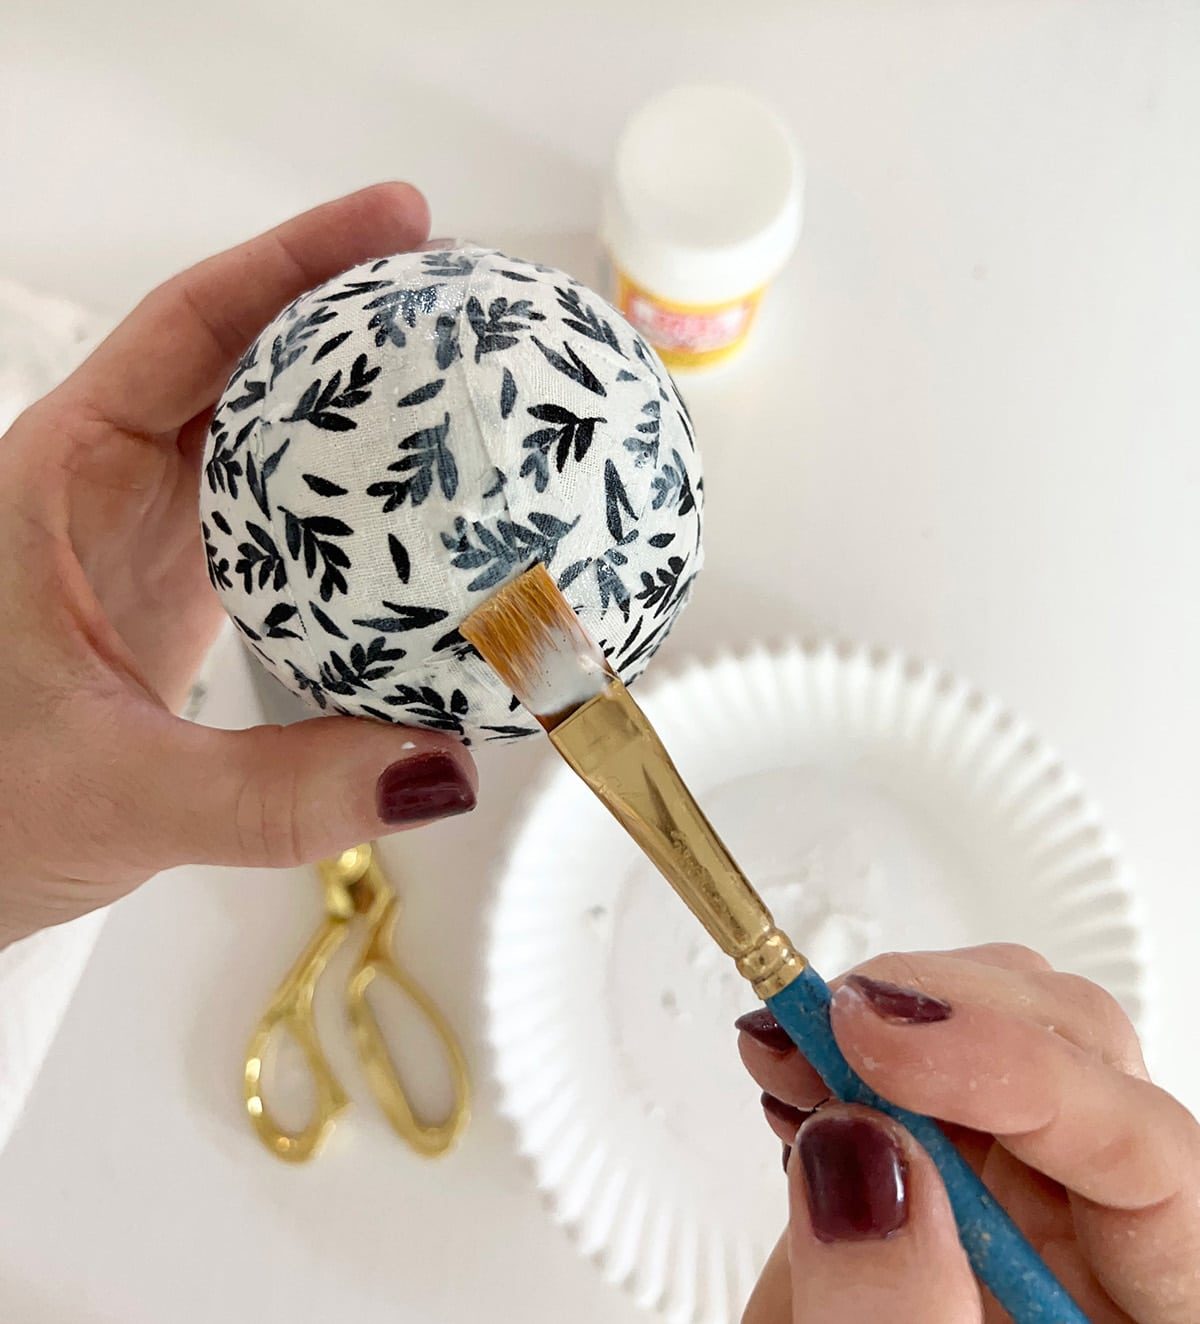
Step 4: Paint caps and tie ribbon (optional)
It helps to keep giving my ornaments a designer touch by painting the caps with gold Rub 'n Buff.
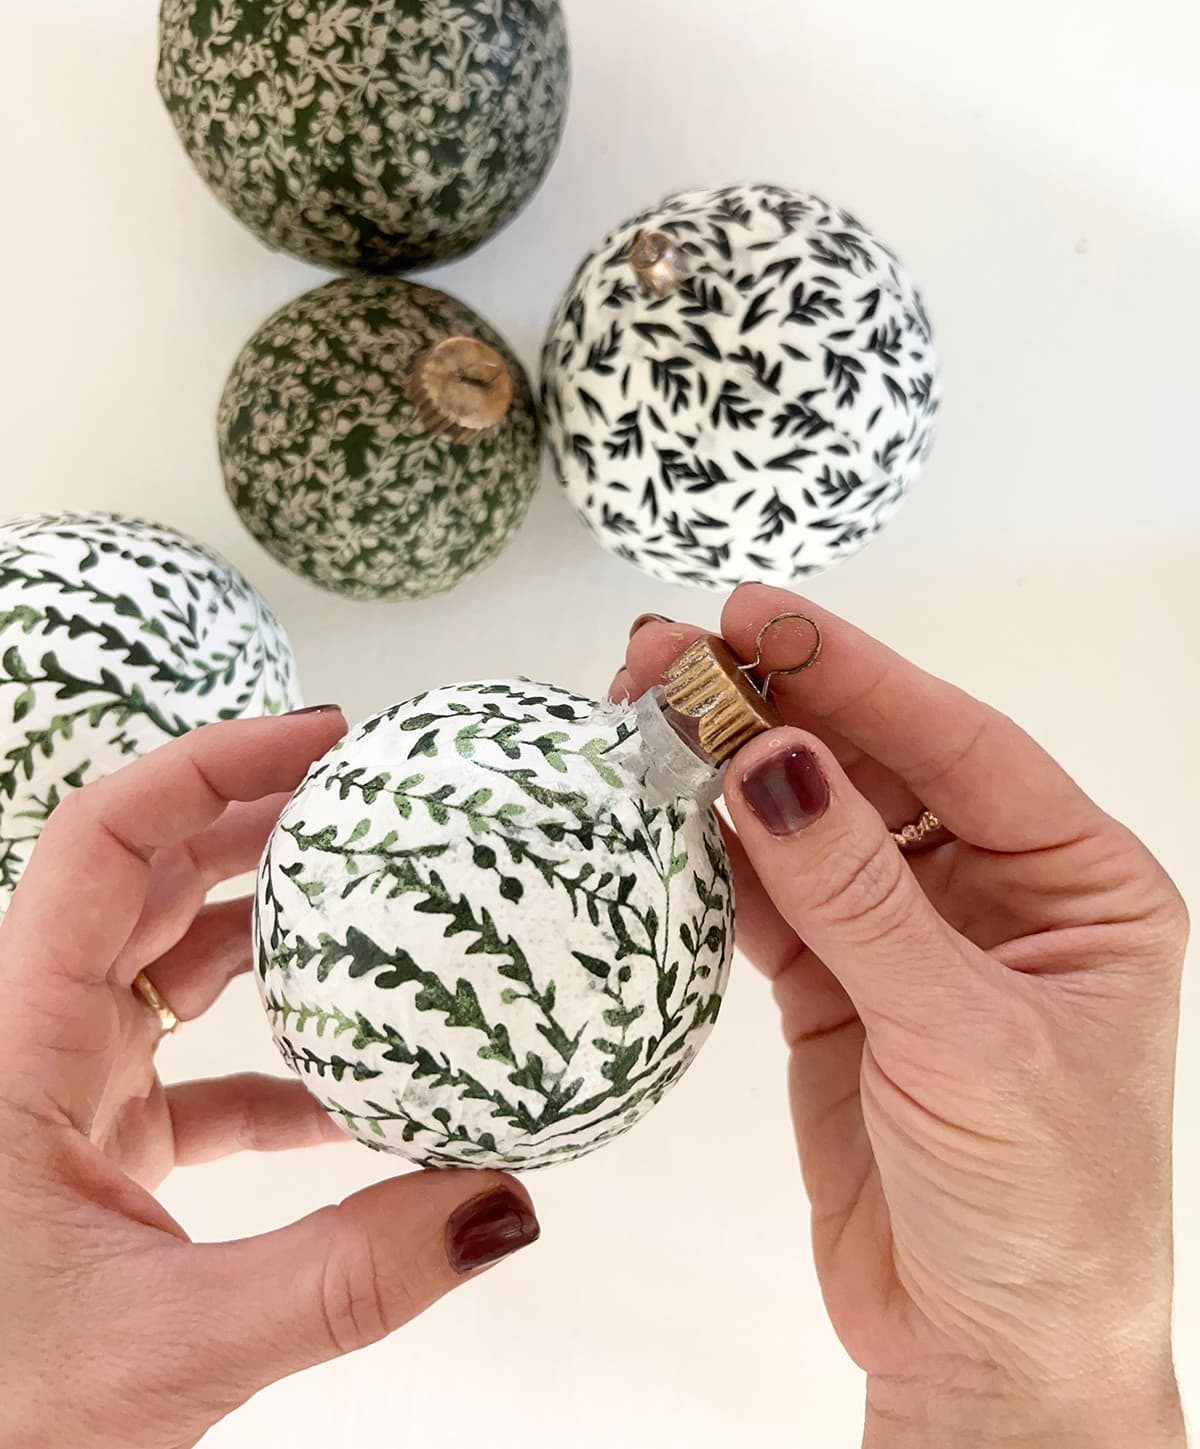
You could also tie a pretty velvet bow for extra credit.

Ta-da! Admire your striking custom holiday baubles:


Decoupage Ornament FAQ
What color ornaments should I use?
If your fabric is light or sheer, white ornaments would be an ideal choice. For all other fabric, clear or a solid color should work fine.
What size ornaments should I use?
Any size will work—I used 3″ and 4″ for this project (my preferred sizes for a 9' tree). Larger ornaments will be easier to wrap the fabric with, as the surface is not as curved.
Should I use glass or plastic ornaments?
Either works! I generally prefer to use shatterproof/plastic ornaments.
Do I have to use matte mod podge?
If you prefer a shinier ornament, you can use satin or gloss mod podge. Note that even matte does have a slight sheen—it genuinely appears more satin once it dries.
Which type of fabric is best?
Cotton is a safe bet. Avoid anything too thick as it may not stick to the ornament very well. Choose a busier pattern to help the edges of the fabric blend in.
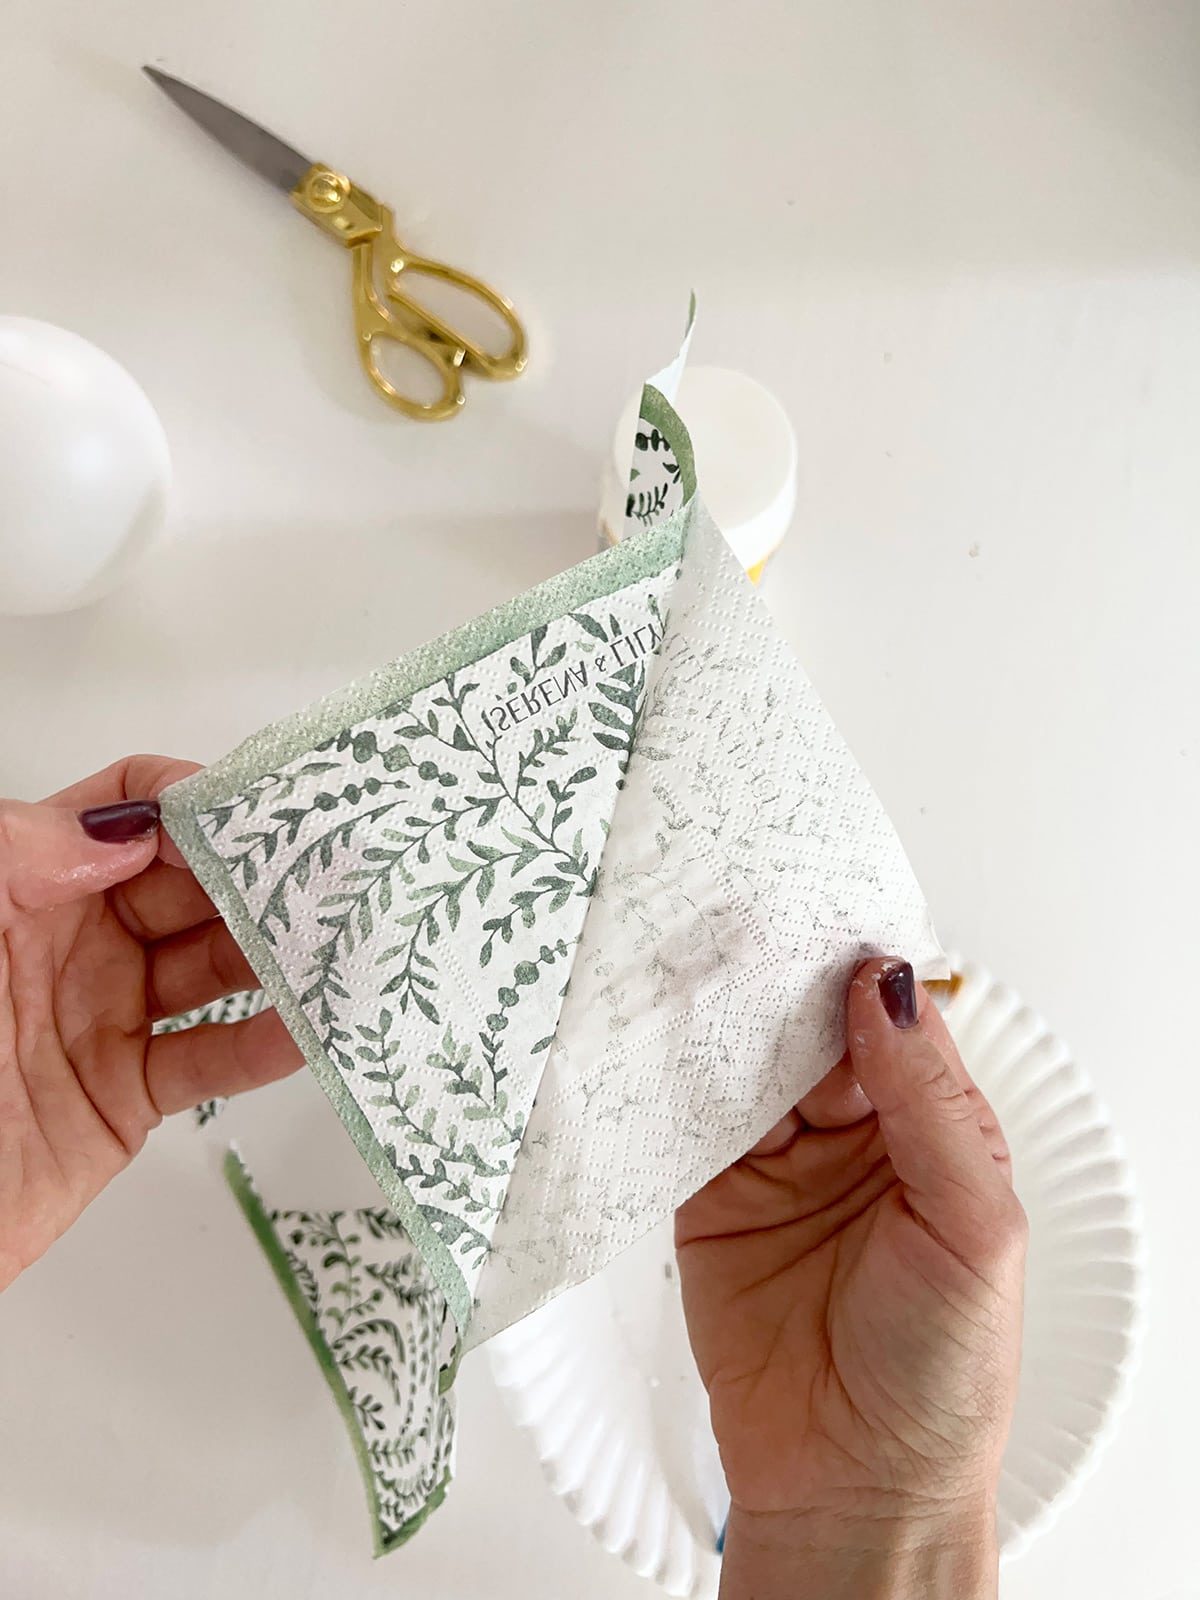
Can I use paper instead of fabric?
Yes! But you have to be more careful, as the paper is delicate and can easily tear. There will be some rippling texture and it is also more translucent, so you will see any overlapping pattern underneath. See below:

Stay tuned for another fun DIY ornament tutorial coming this week!