Master Makeover: DIY Wood Beams
Most of you remember our DIY kitchen ceiling beams, right? We loved the way those turned out so we just repeated the process here—which means I will not go into extreme…
Most of you remember our DIY kitchen ceiling beams, right?

We loved the way those turned out so we just repeated the process here—which means I will not go into extreme detail (you can look at the post above for more info).
With the layout of the master bedroom the way it is, I decided three beams would make most sense. One in the center and the other two up against each wardrobe. There was no wood long enough to make it across the whole room (~15 feet) so each beam had to have two parts, just like in the kitchen.
I ended up buying 24 pieces of wood—12 1x6x8's and 12 1x4x8's (enough for six beam sections, each one with 4 pieces of wood).
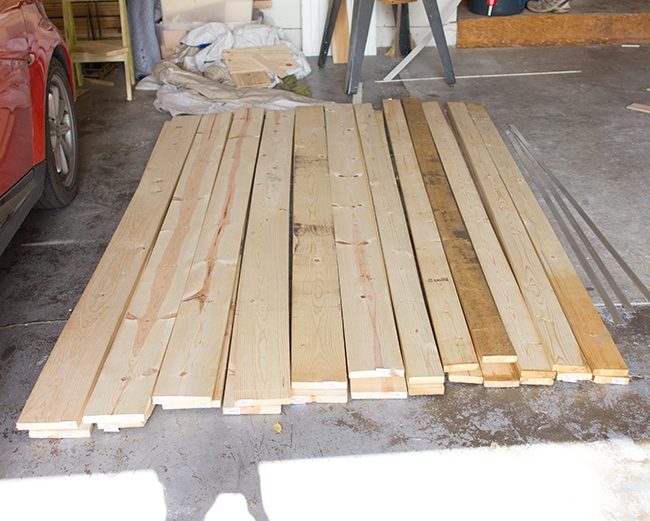
I used regular whitewood pine to save money and just picked the straightest ones I could (this part is crucial). I also grabbed a few thin strips of metal to make into straps, and the total came to around $140 (we only ended up using one metal strip so I'll get $20 of that back once I return the extra two).
Once all the boards were here, I cut them all to half the length of the room (78″) and set aside six of the 1×4's to use as the ceiling strips (they will be completely hidden).
For the visible boards, I used a hammer to distress them.

Pine is soft and distresses nice and easy.
Then I stained them using a dark walnut stain.
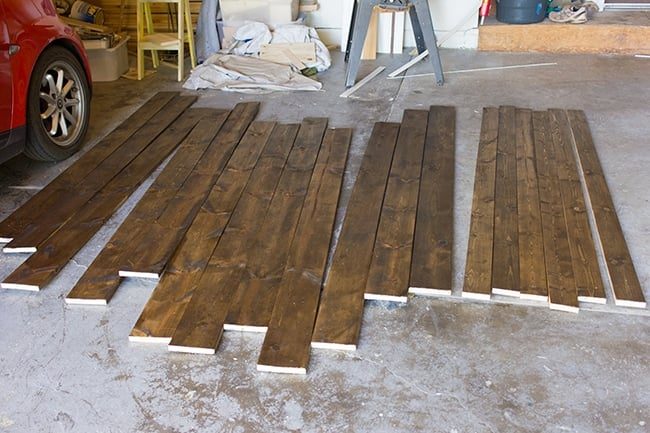
After letting them dry overnight, it was time to begin installation. I recruited my dad for this one.
First, we marked where the left beam would go against the wardrobe…
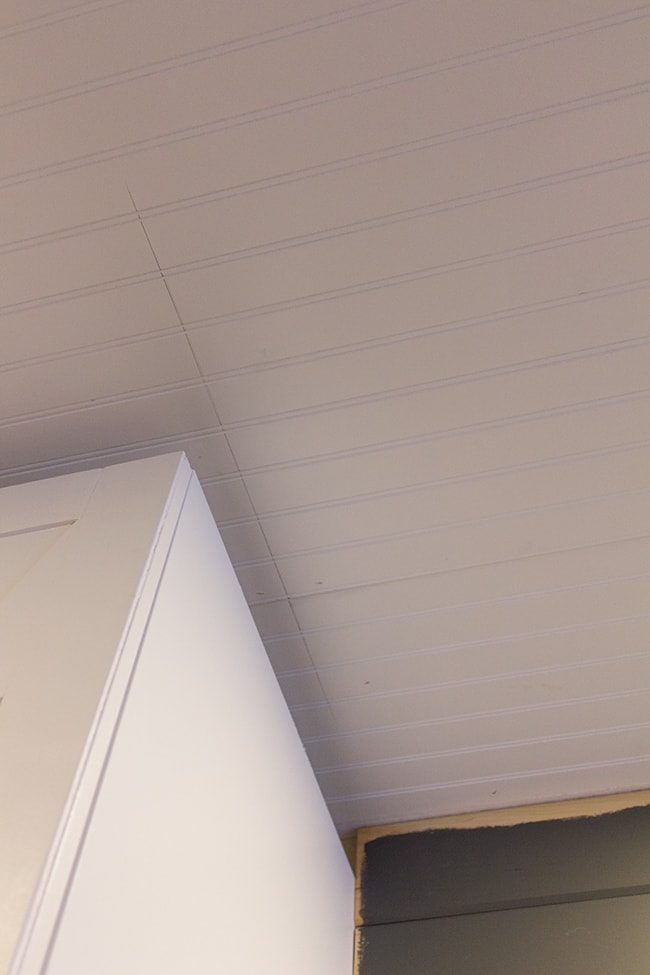 After making sure it was nice and straight all the way across, we screwed the ceiling board into the studs (luckily they run perpendicular to the beams!)
 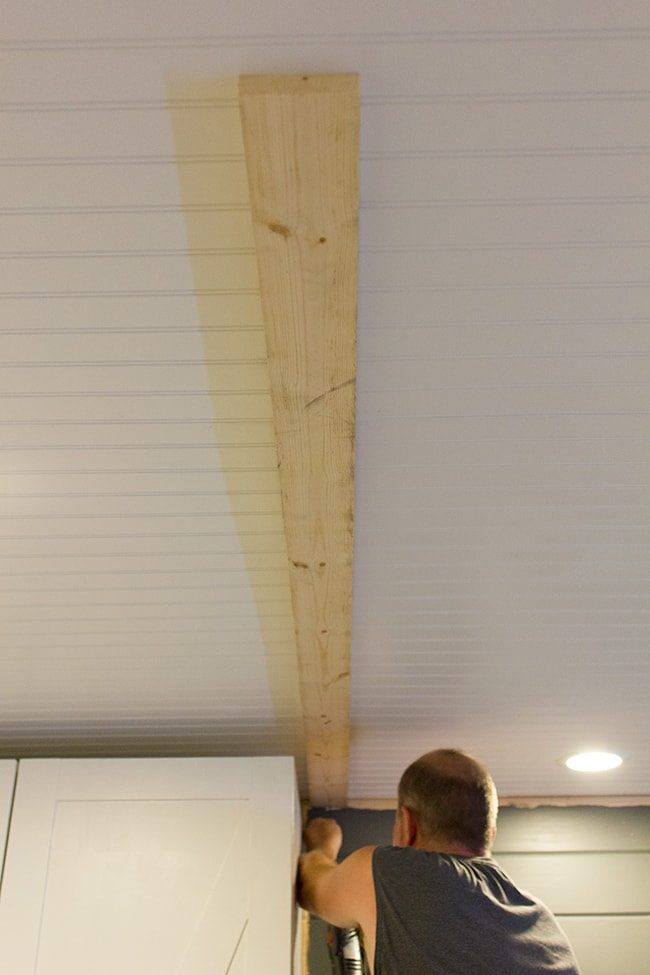 Then we added the second 1×4.
  We repeated the process for the other two beams, leaving a gap in the center for the light box.
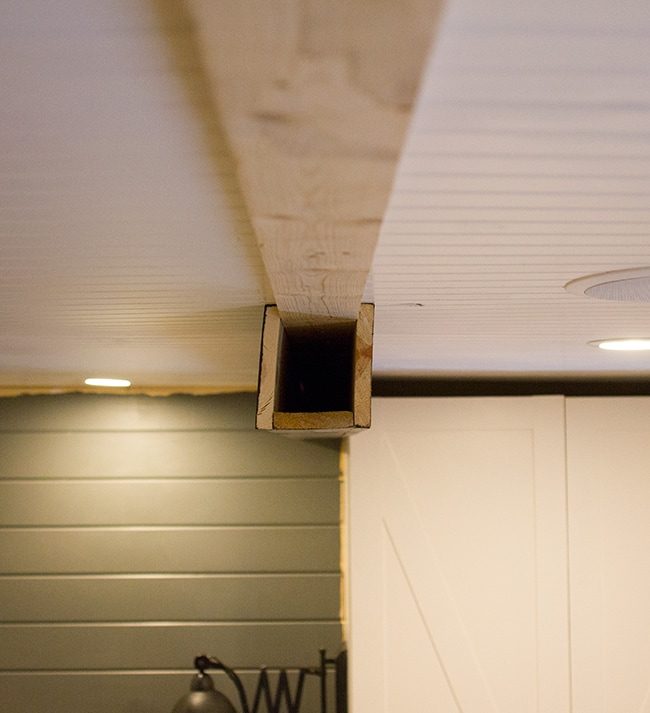
 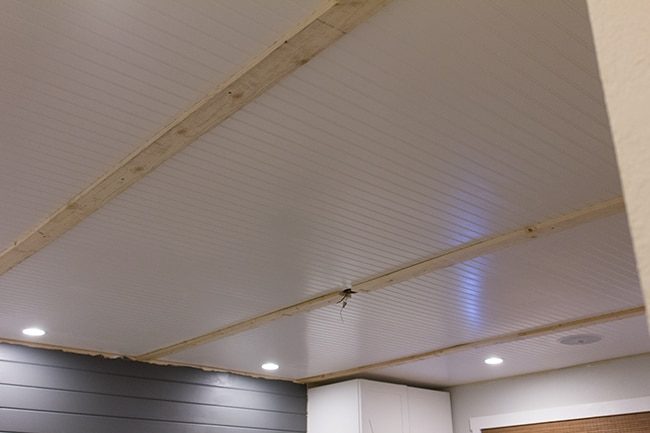 Ok, easy part out of the way. Then it was time to assemble our beams. This is definitely a two person job. We took our 1×4 and applied wood glue to the side, then grabbed the 1×6 and lined it up at one end, securing it with a nail gun (finish nails work surprisingly well to hold them together).
  Since the boards are not perfectly straight, you have to constantly adjust the two boards as you work your way down to make sure they stay lined up the whole way. Then you flip it over and add the other 1×6, and your beam is done.
 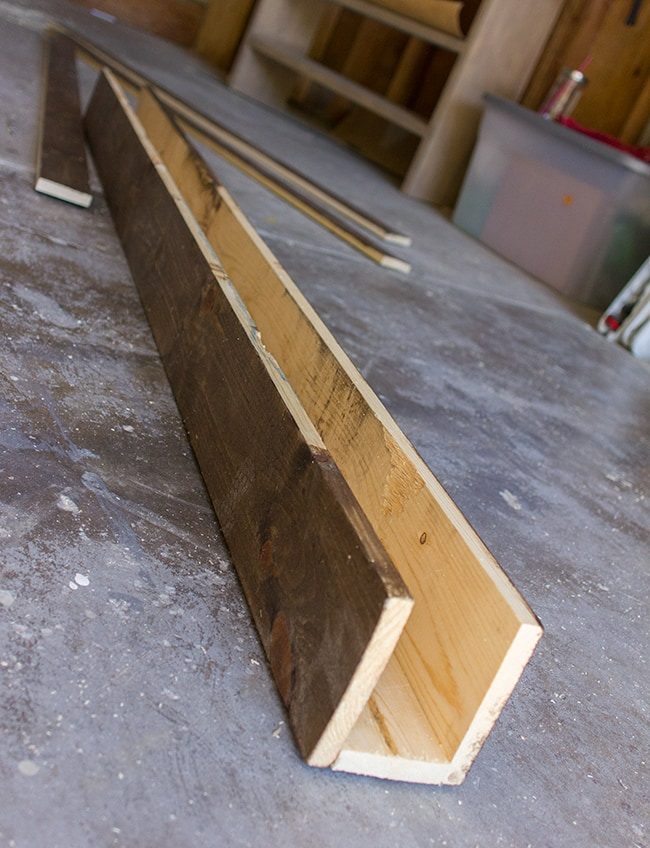 The most challenging part is getting these beams around the ceiling piece. Usually you have to pry the sides a bit so they'll slip over the 1×4, and it sometimes requires a third person to assist.
 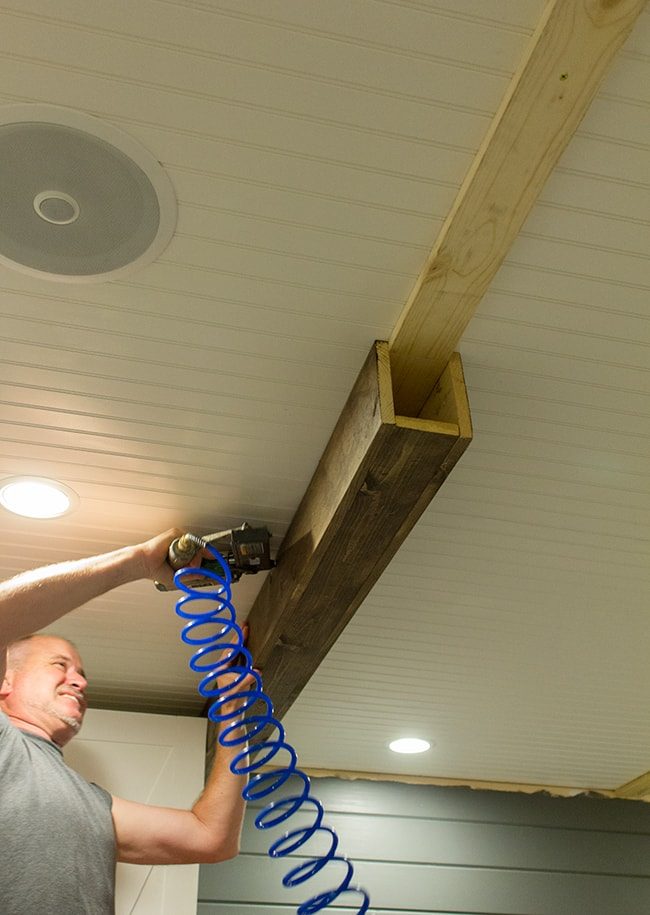 We had some real difficulties with that when we did the kitchen, so this time I shaved 1/8″ off all of the ceiling 1×4's and it seemed to help.
 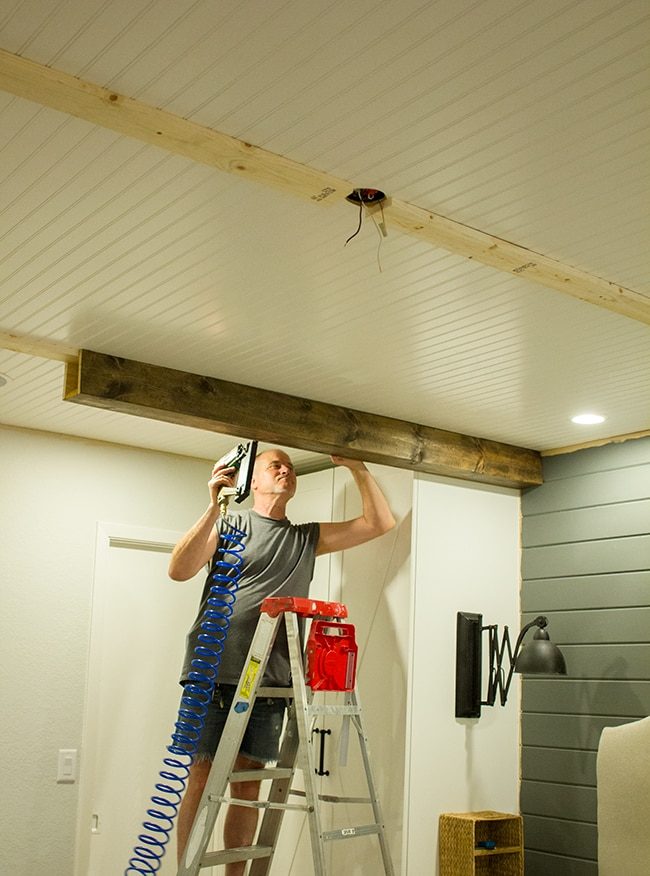 Once the beam was up, we drove some finish nails into the side along the 1×4 and they were in there good (we used 16 gauge nails this time, and 18 gauge in the kitchen—either one is fine). The first beams went up without issue, but then we got to the last beam and ran into a big problem…
  The ceiling was curved up which left a large, very visible gap above the end of the beam. There is no way to bend the 1×6 upwards to cover the gap—it would just make the opposite end too low where it met the other beam. Not only that but the wood was genuinely twisted.
  After trying to think of every possible remedy, I realized there was just no way it would ever look right… so down it went 🙁
 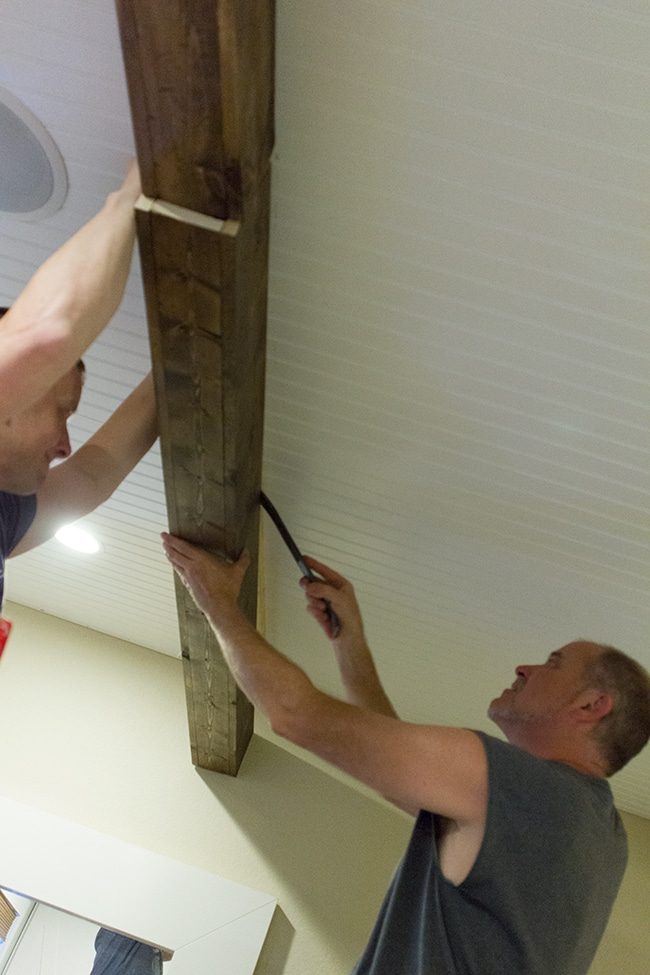 The next day I was back at Lowe's, trying to find two 1×6's that were bowed upwards at the end to match the shape of the ceiling. I got lucky and found them. No more gap.
  Looks a little funky here but it is genuinely not something you notice in person. We also had to deal with it bowing from side to side…
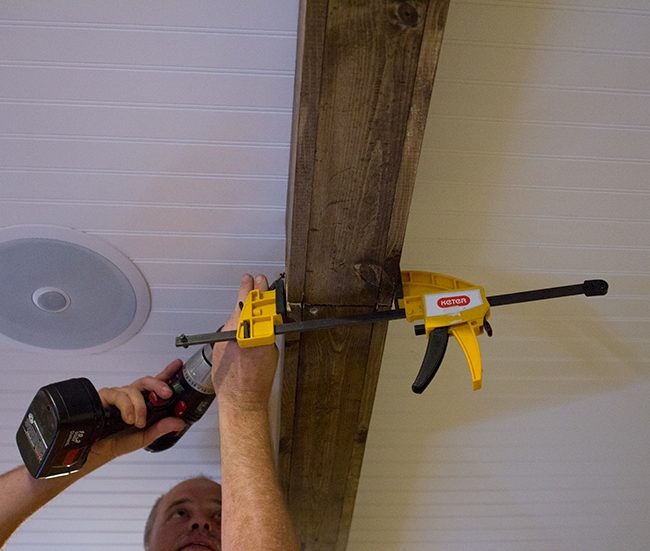
  To make sure it lined up with the other beam, my dad used a clamp and drove a few screws through both beams to keep them together.
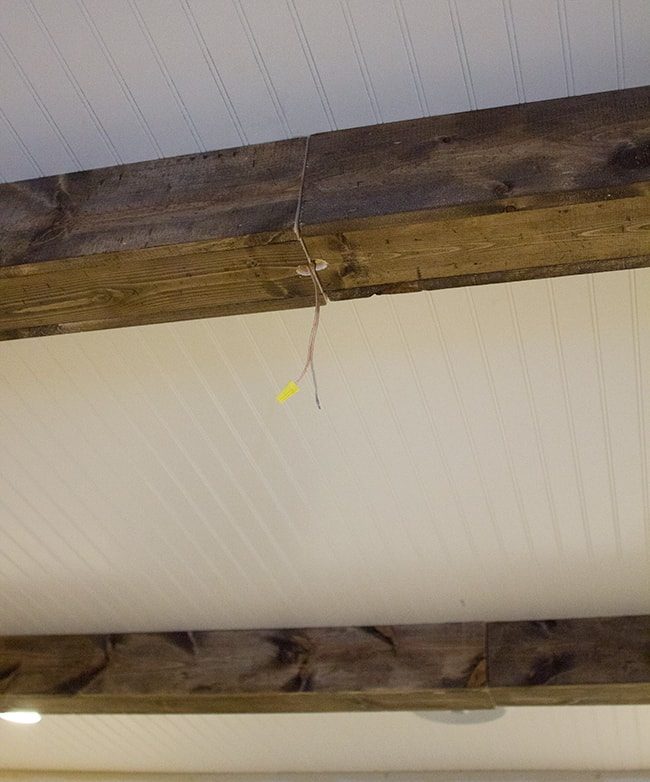
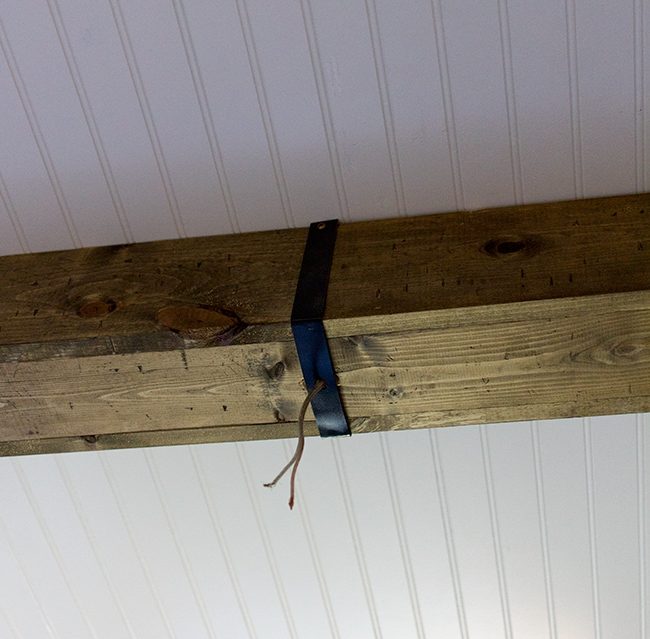
  It worked! For the center beam, Brad extended the wire and drilled a hole through the bottom so that we could hook up our chandelier (that is coming up in the next post).
  To conceal the seams, we used the same process as our other beams by making these DIY metal straps:
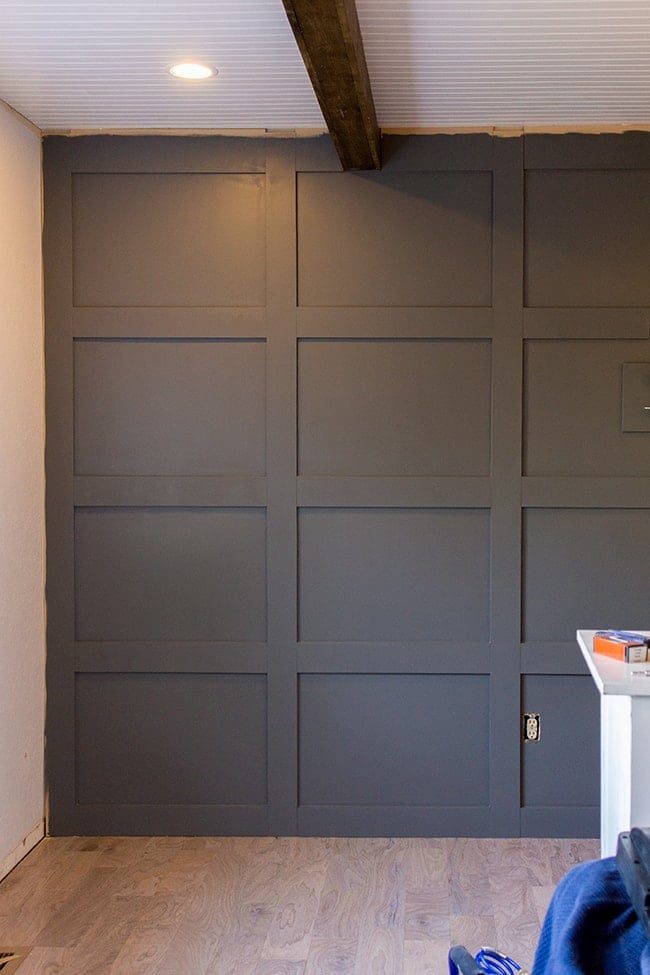
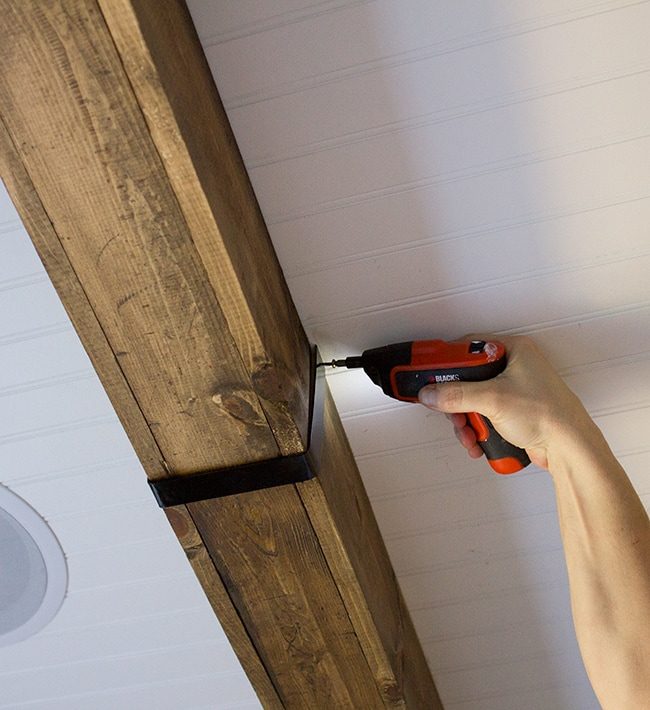
 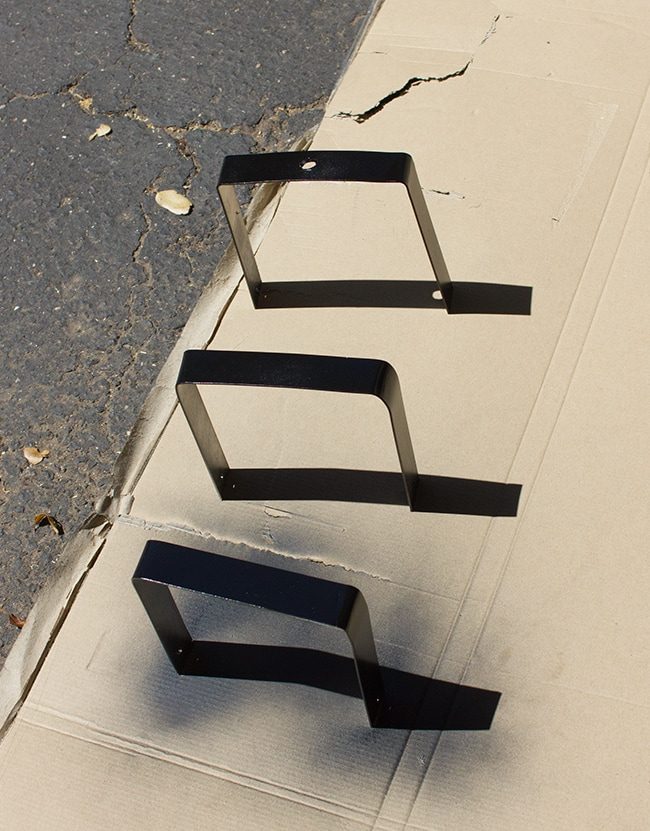 I decided not to add any on the ends because there is going to be a wall of paneling on one side and a lot going on on the other side, so they would probably be in the way. I may change my mind once those walls are finished but for now it is best to leave them off. This part was easy… just secure them with a small black screw at the top on each side.
  We drilled a hole in the center beam for the wires to pass through.
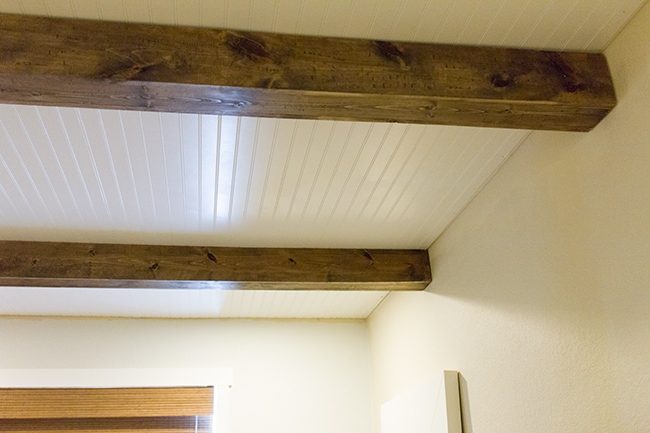
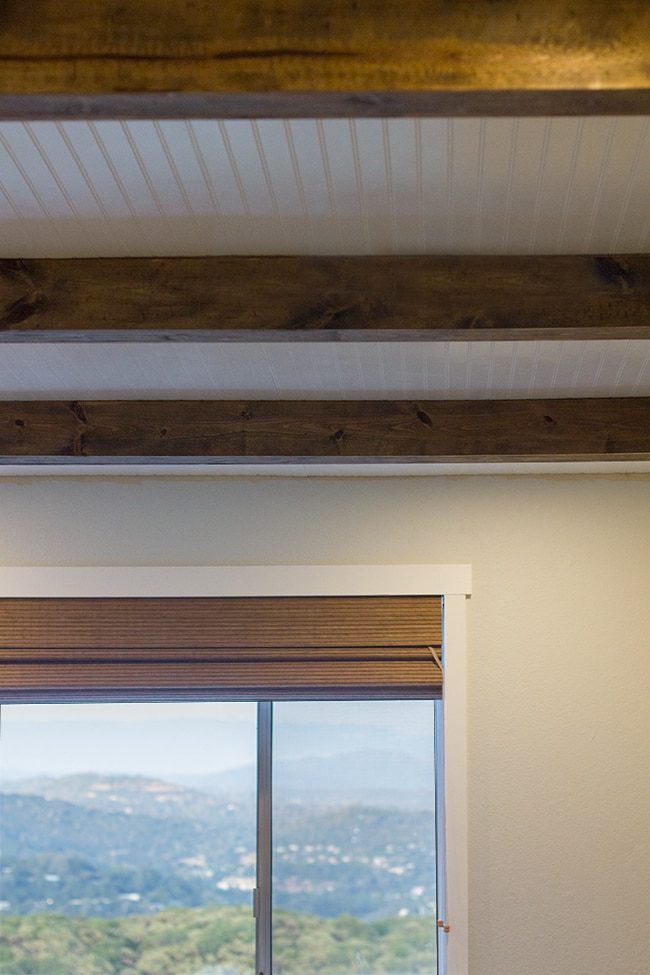
  And there you have it… three finished beams.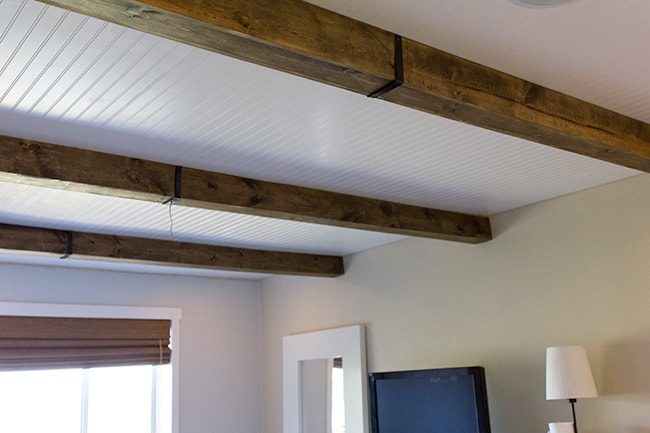
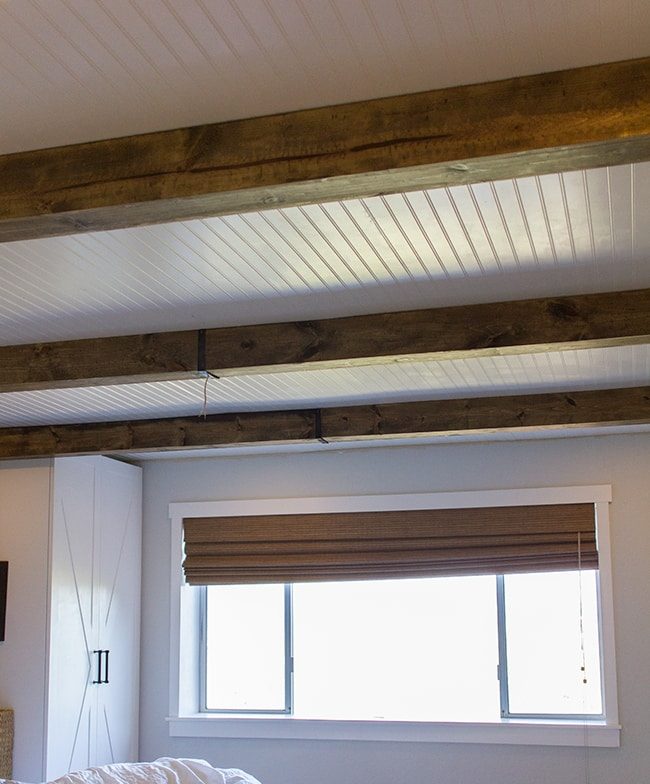 It increases the cozy factor by at least 200%.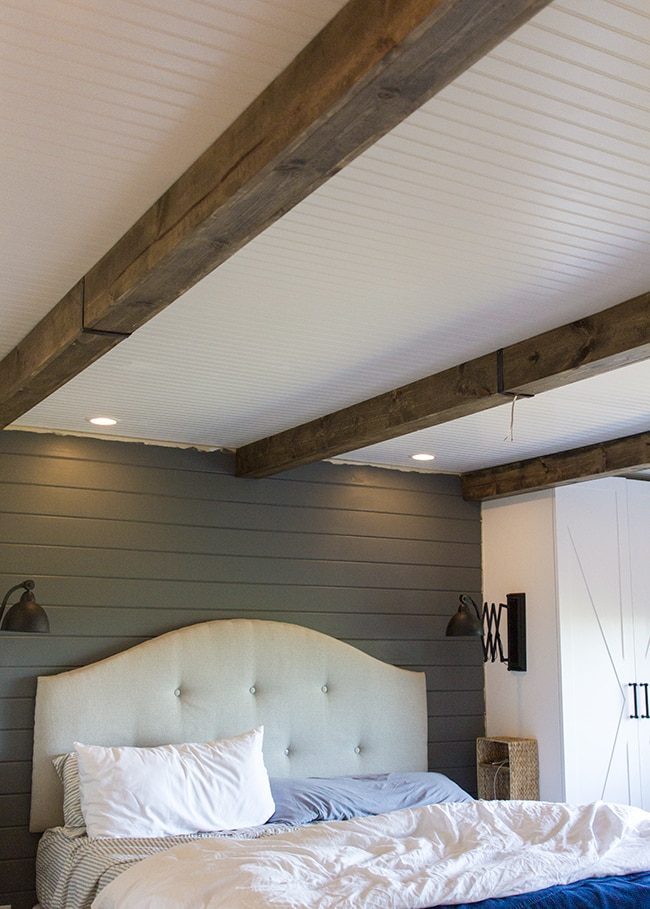
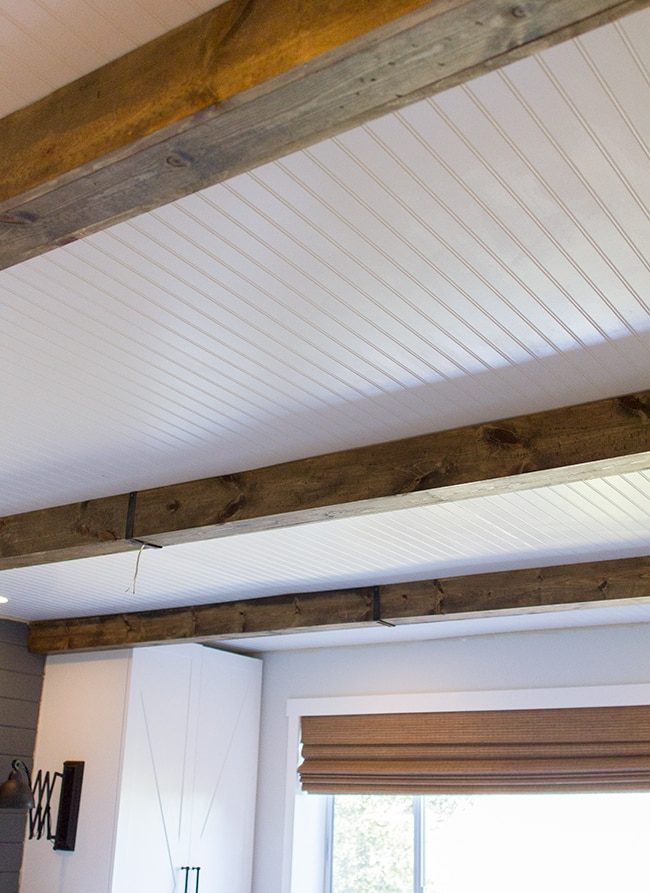 So glad we took the time to add these. They are now a major player in this room.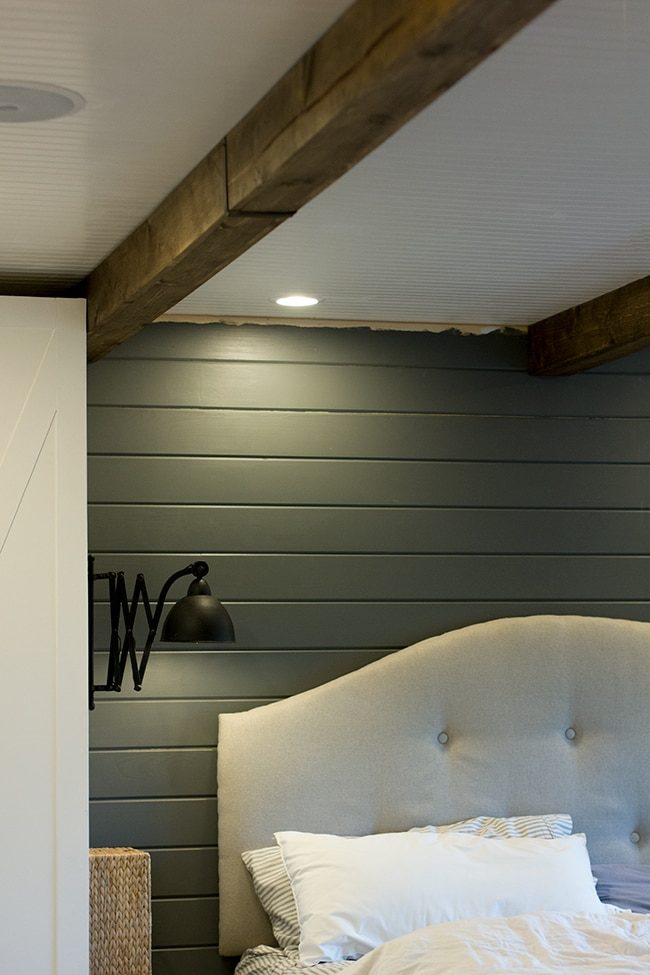
 In a few days I am adding a little romance & bling to this room in the form of a DIY crystal chandelier. Check back in a few days for that transformation… I am excited to see the results myself! Want to DIY your own beams? Here is what you will need:
 1x4x10'
1x6x10'
Wood glue - $4
Dark Walnut Stain - $8
Kobalt Miter Saw - $146
Porter Cable Compressor - $99
Hitachi Finish Nailer - $70