DIY Square Paneled Wall Molding
Transform your walls with this step-by-step- DIY square paneled wall molding tutorial. A great beginner level tutorial!
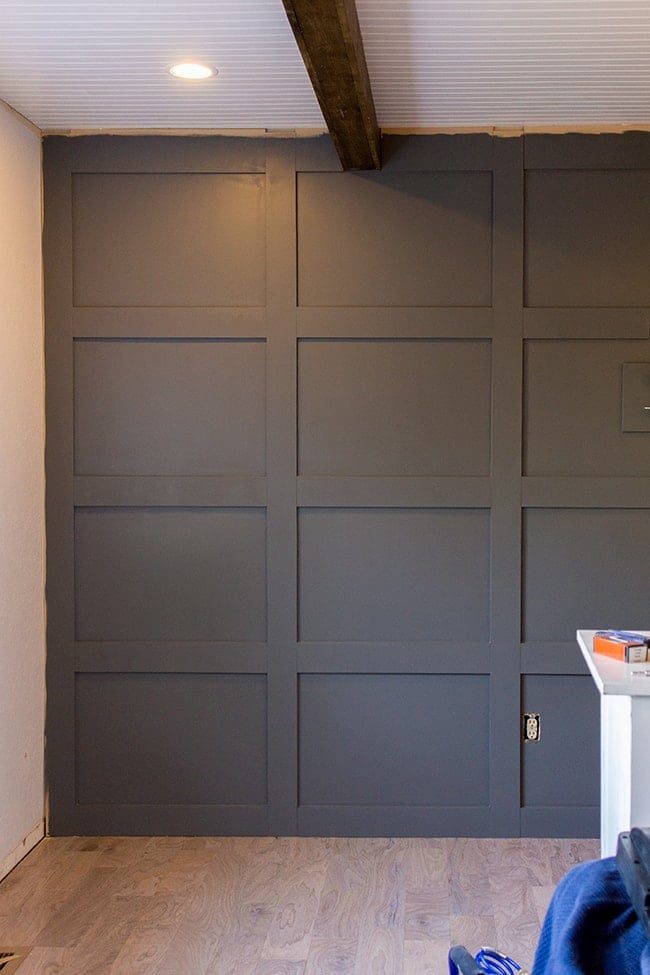
Today we have got a fun tutorial for a DIY paneled wall!

Materials
- 1/2″ or 3/4″ MDF (you can use finish trim boards, or cut 4×8' sheets into strips to save $)
- Smooth hardboard (if your walls are textured)
- Finish nails (16ga or 18ga is fine)
- Caulk
- Spackle
- Paint
Tools
- Miter saw
- Table saw (or circle saw, or jigsaw)
- Nail gun
- Level
Let us get to the details. Here was the wall before.
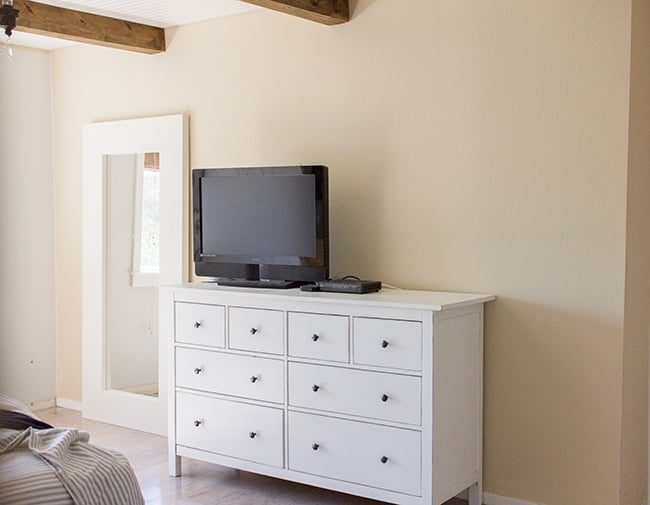
When you walk into the room it is on your right (across from the bed wall).
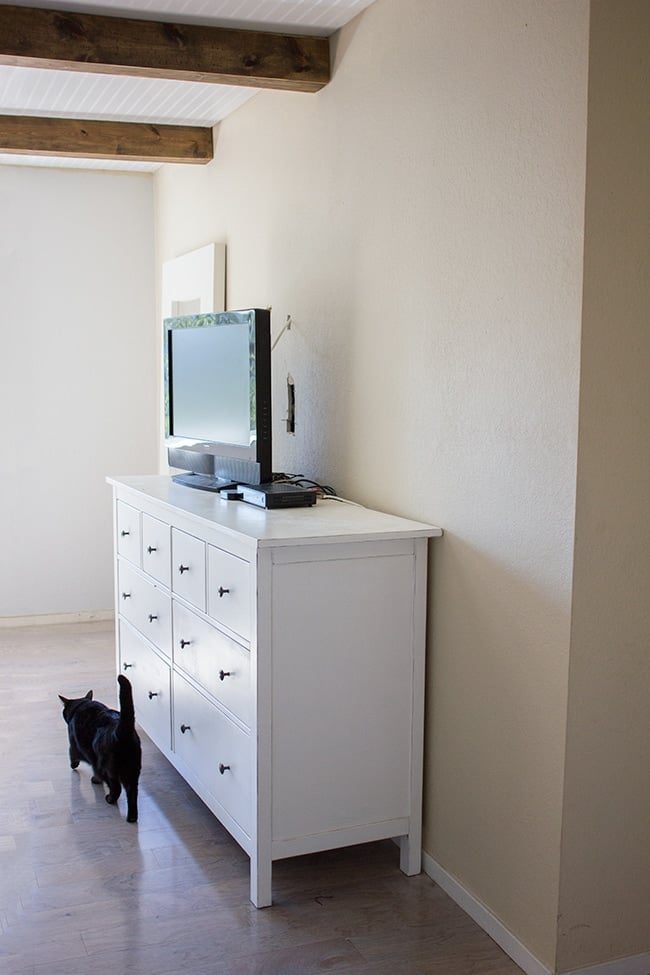
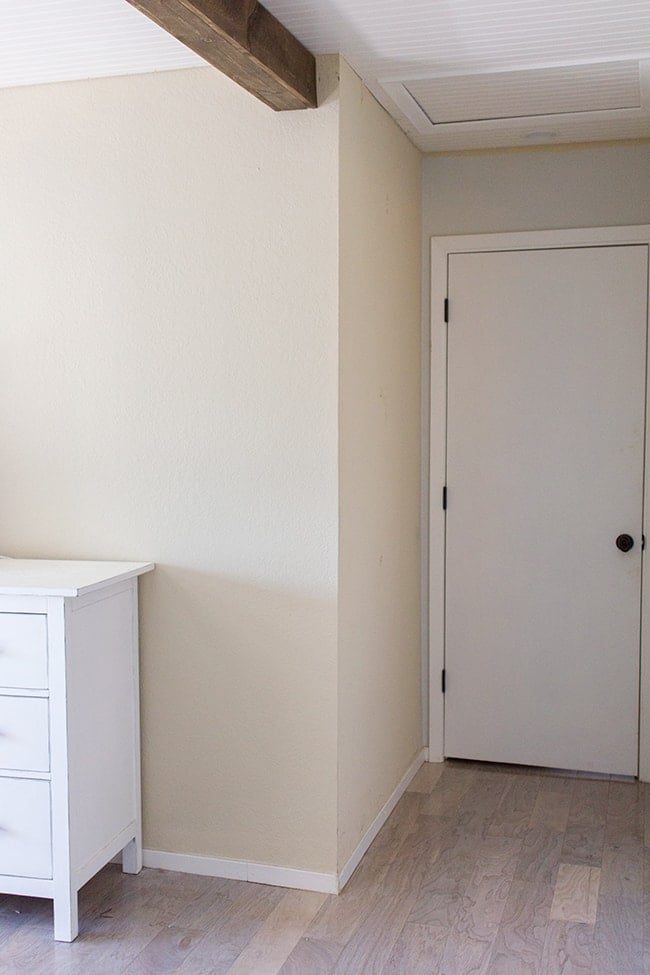
There is a little entryway that I included in this project…
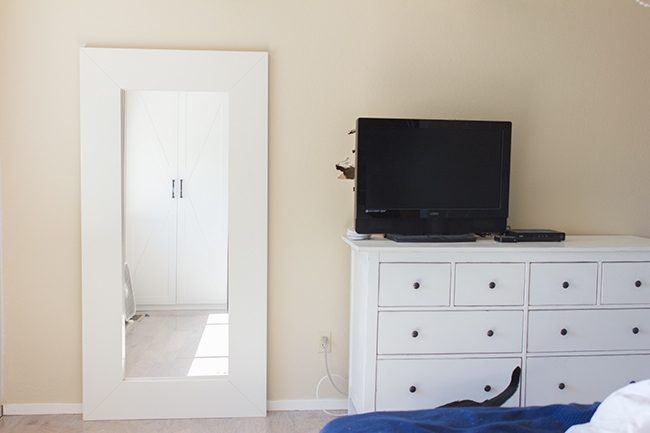
Here is the view from our bed.
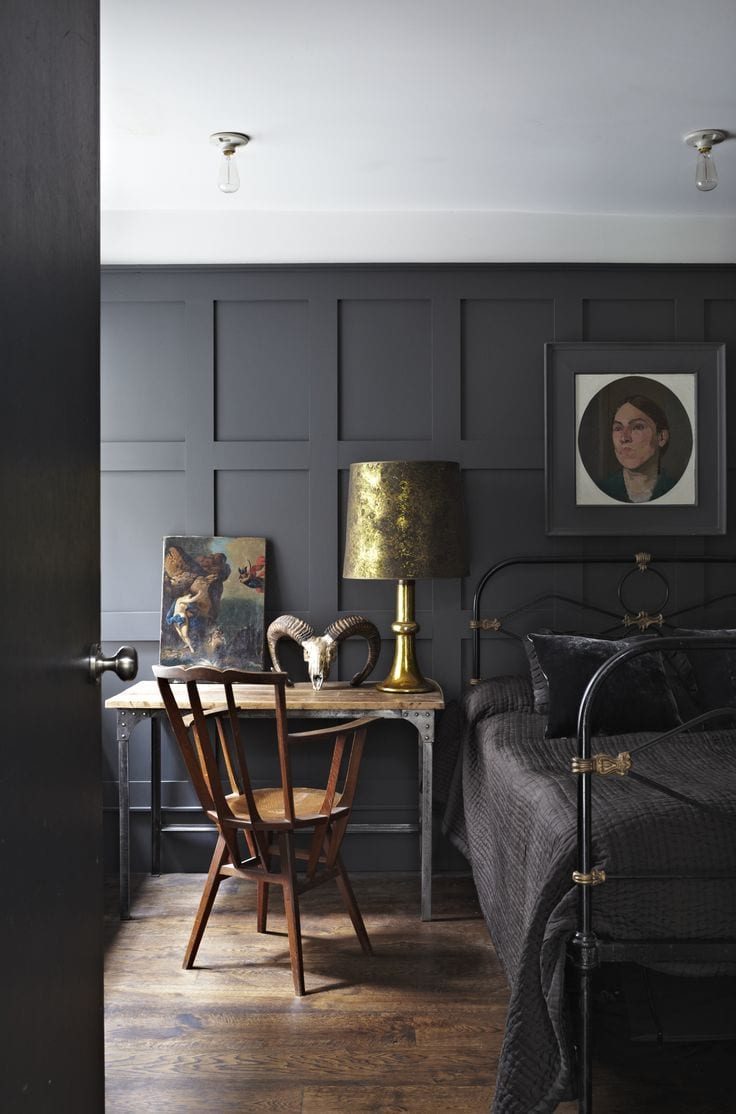
Here was my inspiration:
 |
| Source |
So rich and interesting and sophisticated. And seemed easy enough to pull off.
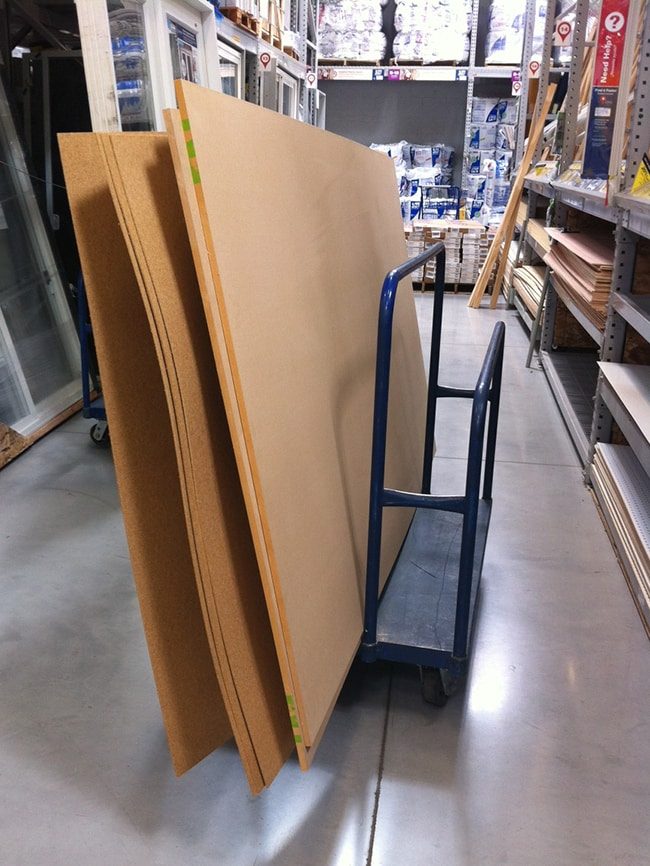
In order to achieve this look, I needed a completely smooth base so our very textured walls had to go. The easiest and most inexpensive way I have found to do this to cover them with thin sheets (0.11″ thick) of this hardboard. They are only $9 for a 4×8' sheet… so cheap!
I picked up four of those sheets, plus two 4×8' 1/2″ thick MDF panels to rip down for the strips. This saves money, but you can save plenty of time and ease by buying pre-primed MDF boardsinstead (looking back now, I would definitely recommend this!)
Step 1: Plan carefully
The most important part of this project is planning. Seriously—you have to be thorough and meticulous. Before I bought anything, I laid it all out on my computer to scale and this is what I came up with.
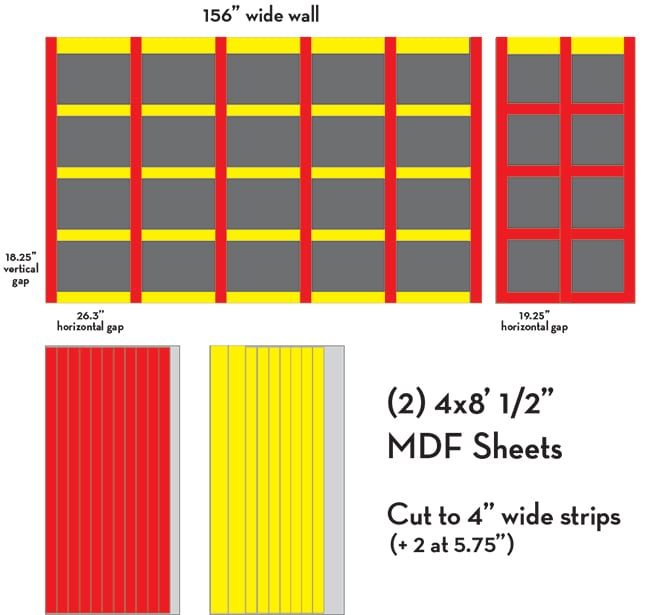
The second section on the top right is the smaller/entry wall. The two rectangles at the bottom are how I would cut my MDF sheets, and they are color coded to make sure there was enough to cover both walls. Everything fit nicely onto two sheets and I even had some leftover.
I made the top horizontal piece 1.75″ taller, because that is the height of the crown molding I'll be running along the top—that way all the visible strips will be the same thickness.
The vertical gaps were consistent all the way around, but since the entry wall is narrower, the horizontal gap was smaller—not a big deal at all.
I also planned out the particleboard sheets to make sure I had enough:
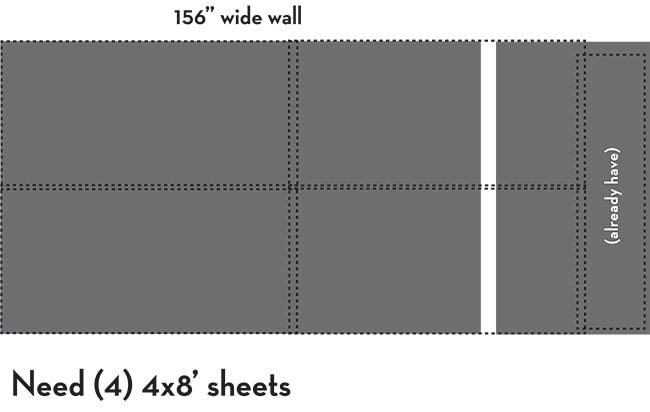
I already had piece of material leftover from our window trim project, so I just needed four more to fill the rest. Well suited.
The total came to just under $95 (after my 5% Lowe's credit card discount) which I think is pretty memorable. The only other items needed were caulk, spackle, and paint (and of course nails and a nail gun) which I had so this project is a huge bang for your buck.
Step 2: Cut and attach the hardboard panels
After clearing everything out, we first had to address our TV situation. A few weeks back we had an electrician relocate the cable, hence the holes in the wall (it was coming out of the window wall on the left from outside and ran across the floor… no bueno).
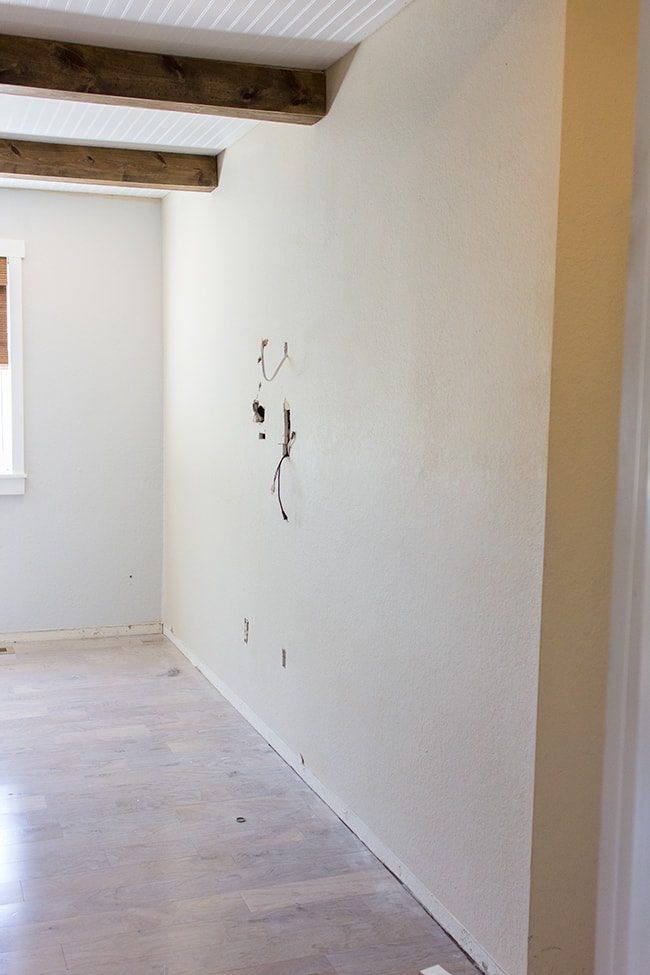
We had debated on keeping the TV on our dresser or wall mounting it, and decided to go ahead and wall mount it to get all the wires and cables out of sight, free up dresser space, and for an all around cleaner look.
We trimmed the first panel according to my diagram with a table saw (after measuring and cutting a hole for the outlet with my jigsaw) and nailed it into place with our brad nailer and 18ga nails (no liquid nails). Make sure to nail these boards to the studs.
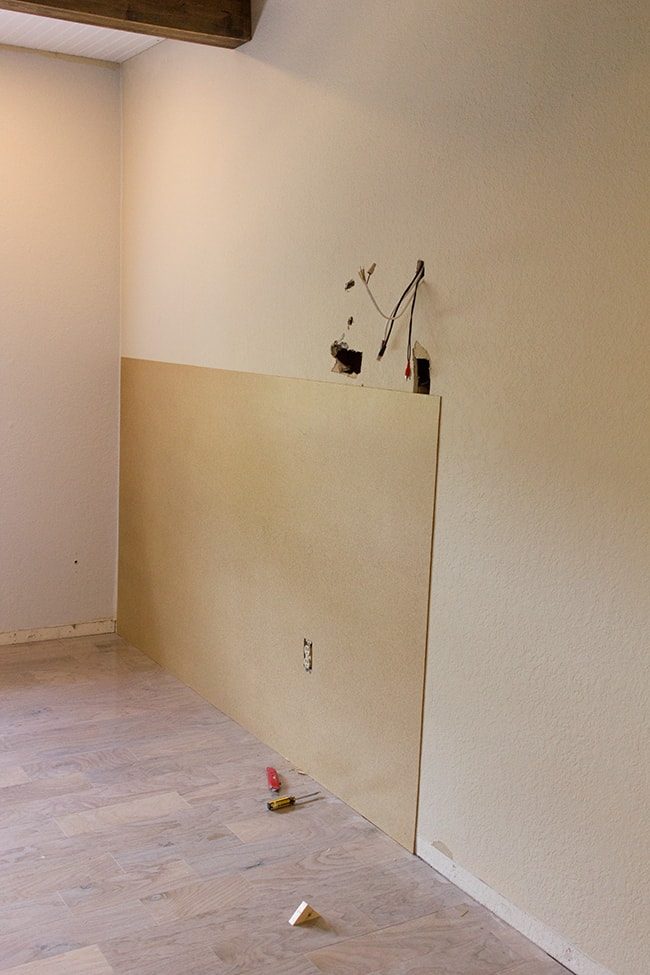
At some point I double checked my measurements and realized I made a critical error which left me with a large gap that would not be covered by the vertical board (this is the setback I talked about Monday).
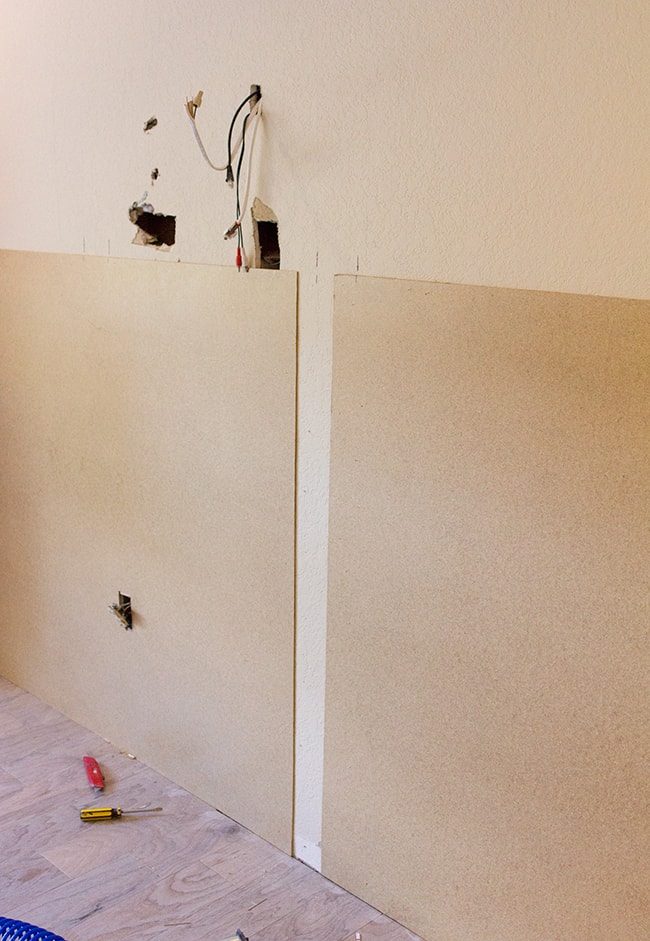
So, I had to scrap the board and run to Lowe's the next day for a replacement piece. But we forged on with the rest of the installation…
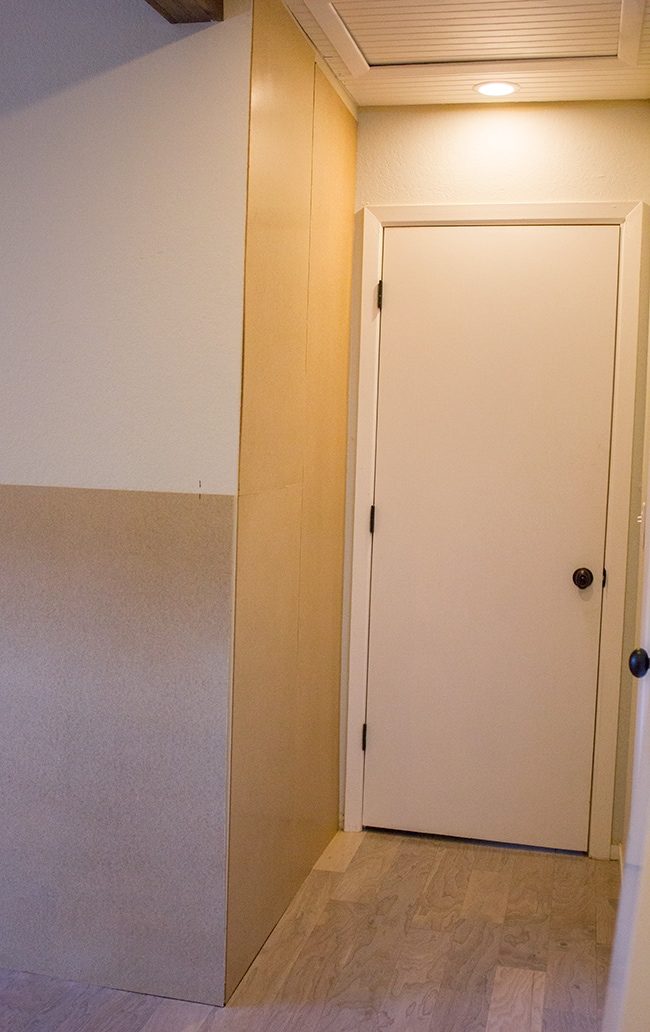
Installing the paenling was actually the biggest challenge in this entire project. Working with
4×8' sheets of anything is not fun (as learned in our ceiling beadboard attempt… aka the most miserable DIY project in history)
It is a challenge because you have to make sure it is completely flat up against the wall, and you secure it to the wall in a specific pattern so no air bubbles can get trapped… all while holding it steady up next to the other piece.
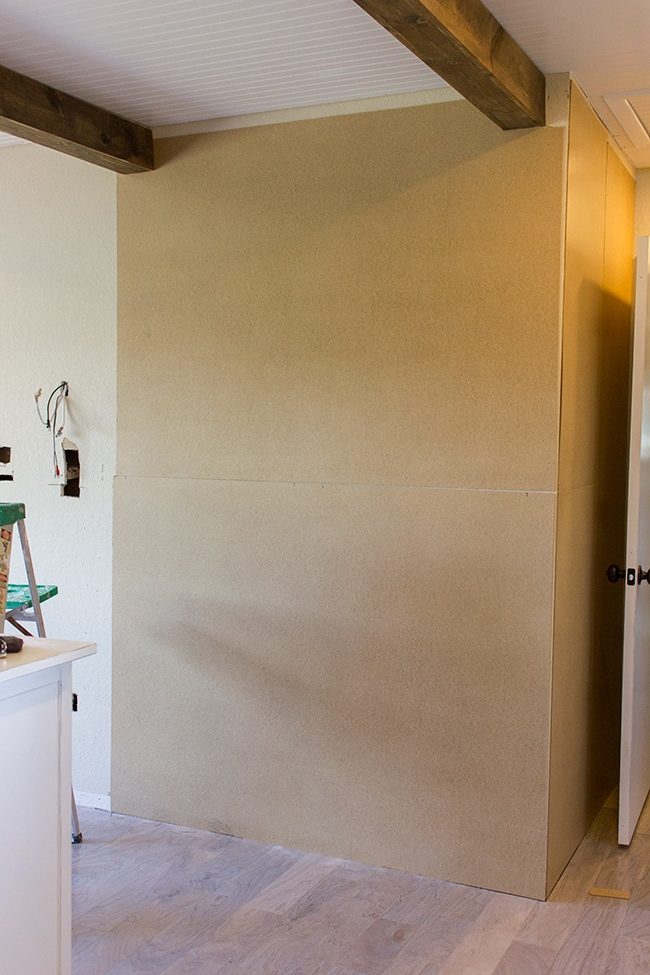
And because walls and floors are not straight, your panels will not line up exactly in some places but that did not matter at all since the seams would be hidden by the MDF boards.
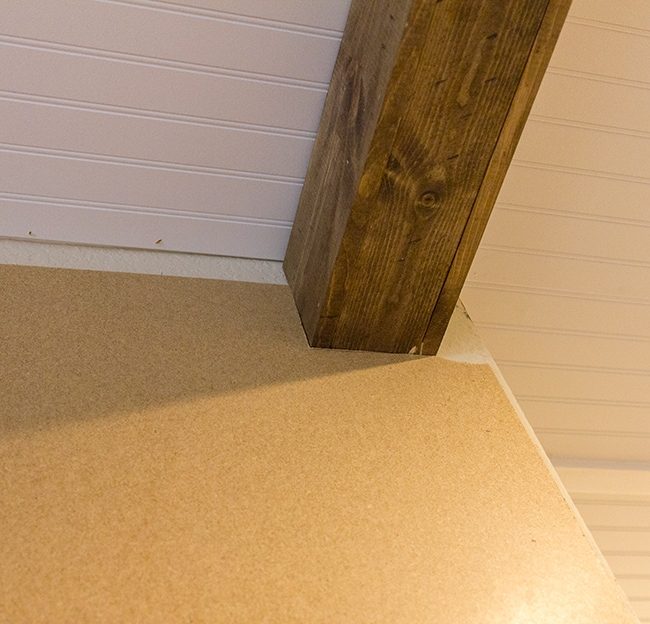
We also had to cut around the beams which got a little tricky at times, since they are not perfectly straight. But I got it close enough to where you cannot genuinely tell.
Before putting up the last board, we installed these outlet housings for behind the TV.

Then the fun part, trying to cut the panel so it lines up perfectly with both holes and the beam and other panels.
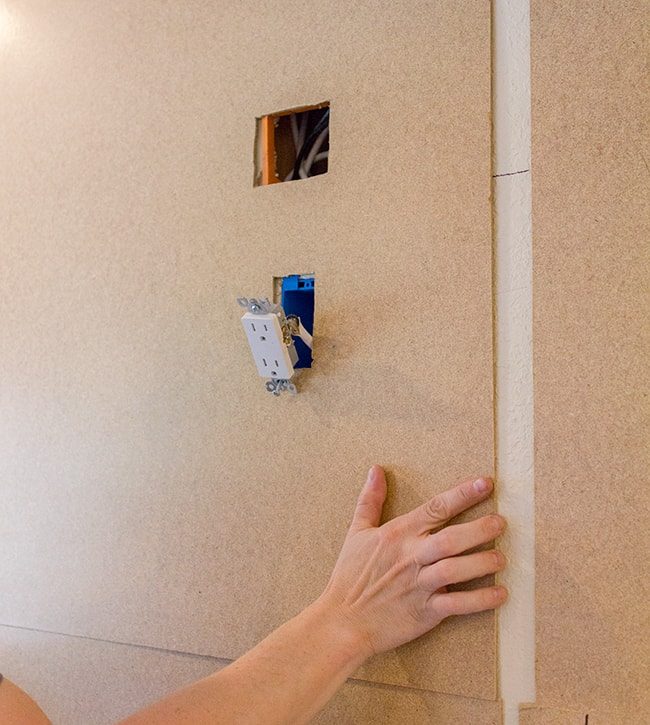
To make life easier, we cut that panel down into a narrower strip (which would be covered on both ends by MDF boards).
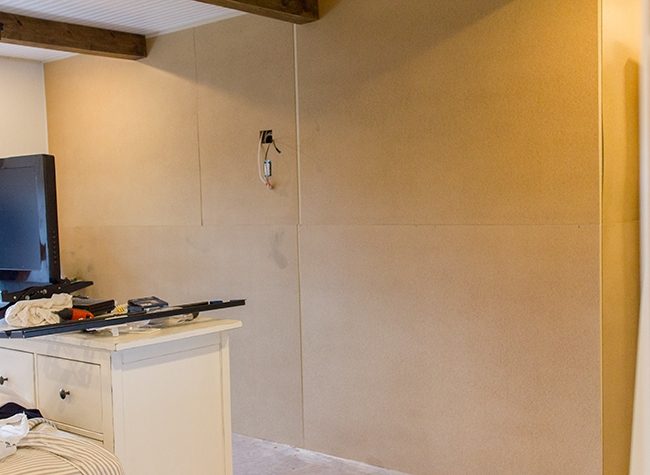
And finally, after 2 days, Phase 1 was complete.
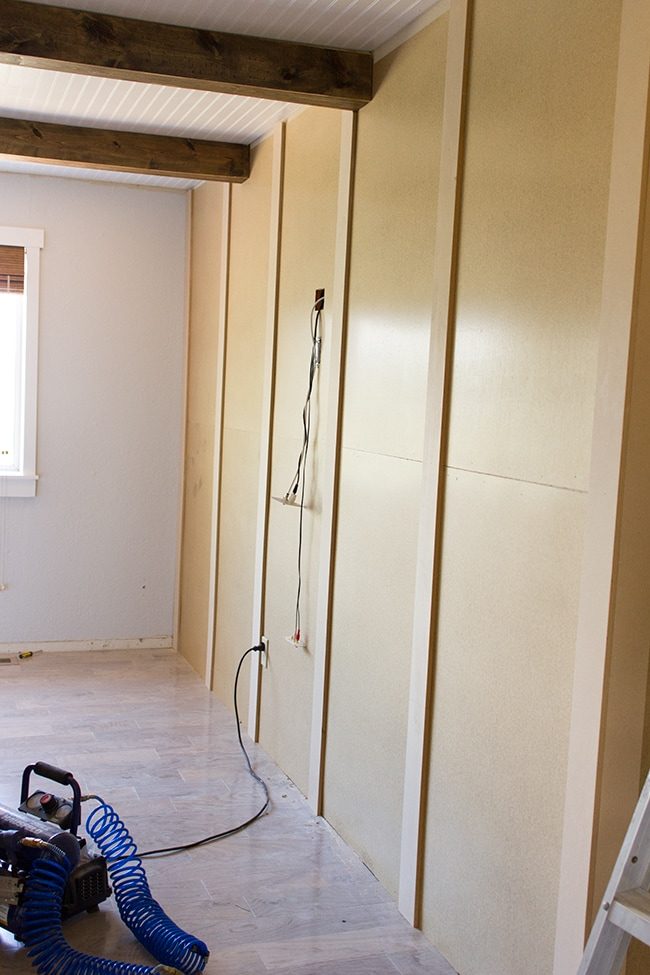
Step 3: Attach the vertical boards
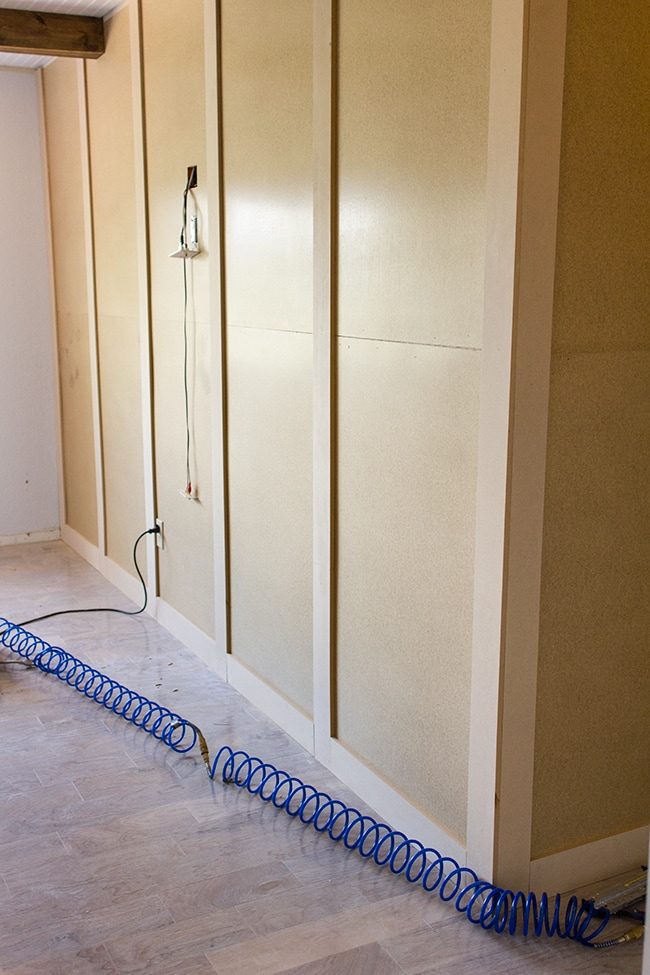
Fortunately it only got easier from there. After ripping down our boards into 4″ strips (and two into 5.75″ for along the ceiling), it was onto the next phase.
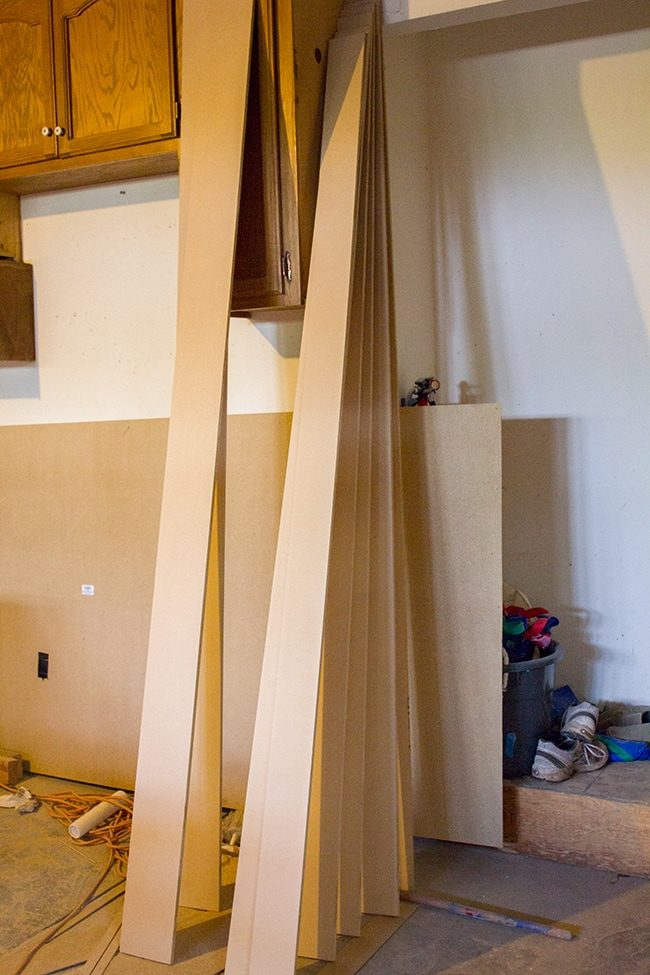
Before installation, I lightly sanded the edges to make sure everything was nice and smooth. Then I just nailed it up… particularly easy! You will want to make sure your nails are long enough to go through the MDF, hardboard and drywall underneath (and a stud, if you are lucky to hit one). I would recommend 1.75″-2″ nails.
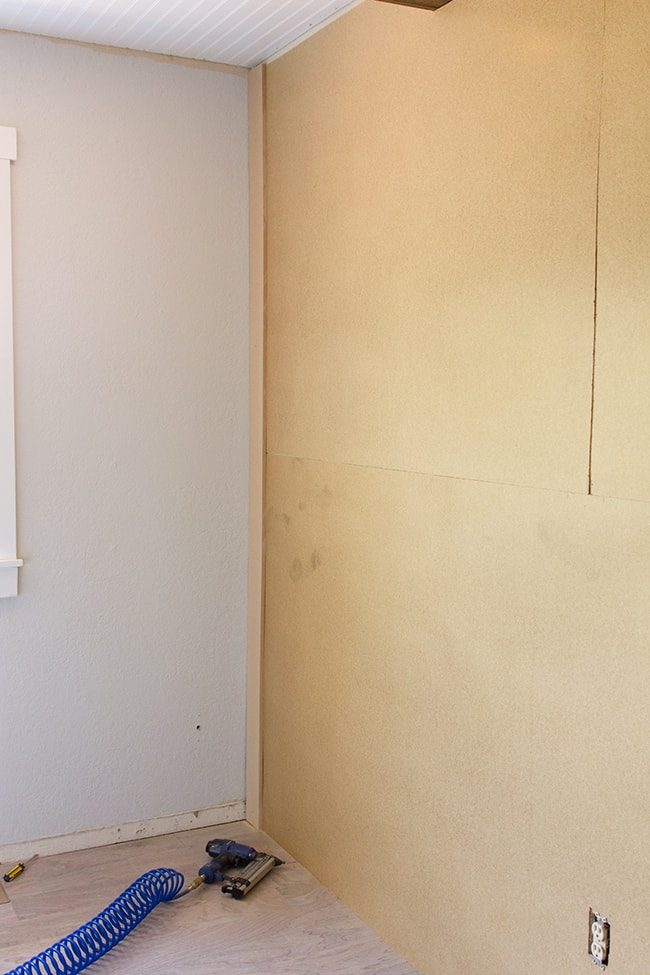
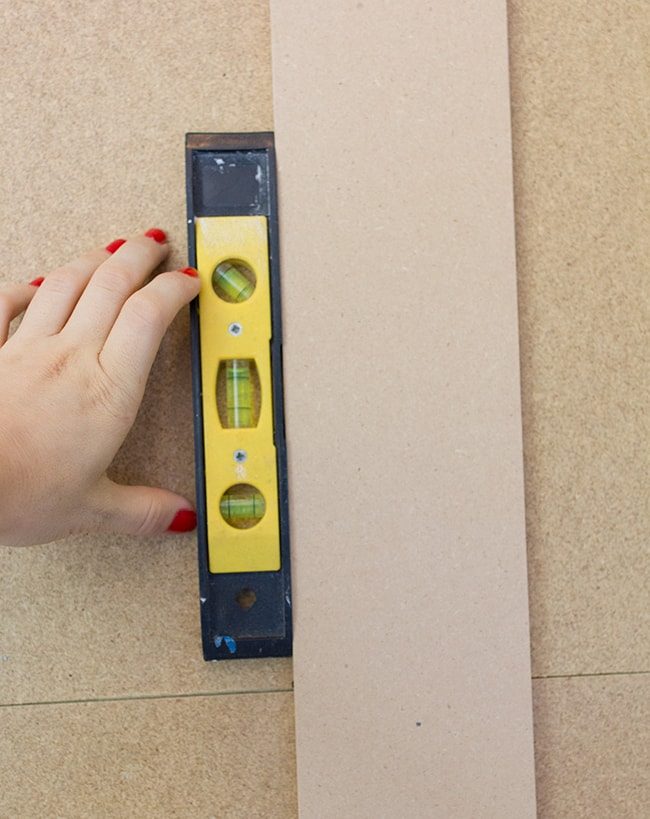
I measured and marked where my next board would go, and used a level to ensure it was straight.
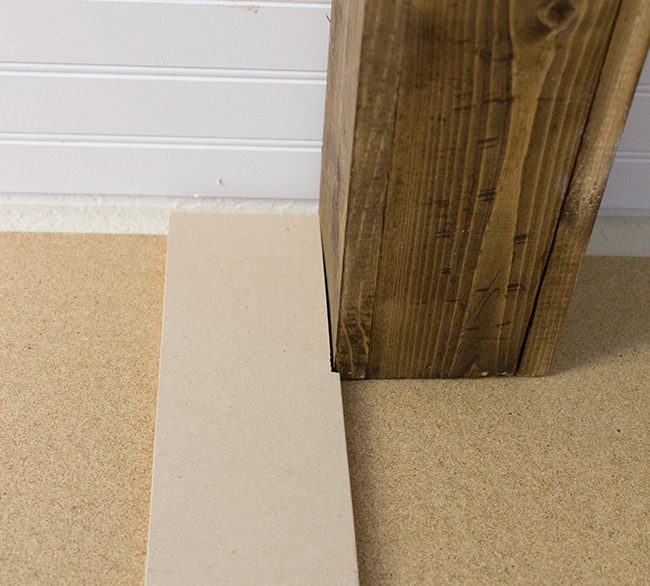
A couple of them ran into beams, which I notched out using a combination of a miter saw and jigsaw.
Since most of the boards likely will not hit studs, one trick I learned is to nail them in at alternating angles, which creates more leverage so they'll 'grab' onto the drywall better.
Step 4: Attach the horizontal pieces
After the vertical pieces were in, I started with the horizontals, making sure to measure for each gap as they all varied slightly.
This part was unfussy too. You just have to take your time and measure carefully. I found they stayed put just fine without hitting studs, but you could always add liquid nails to be extra safe.
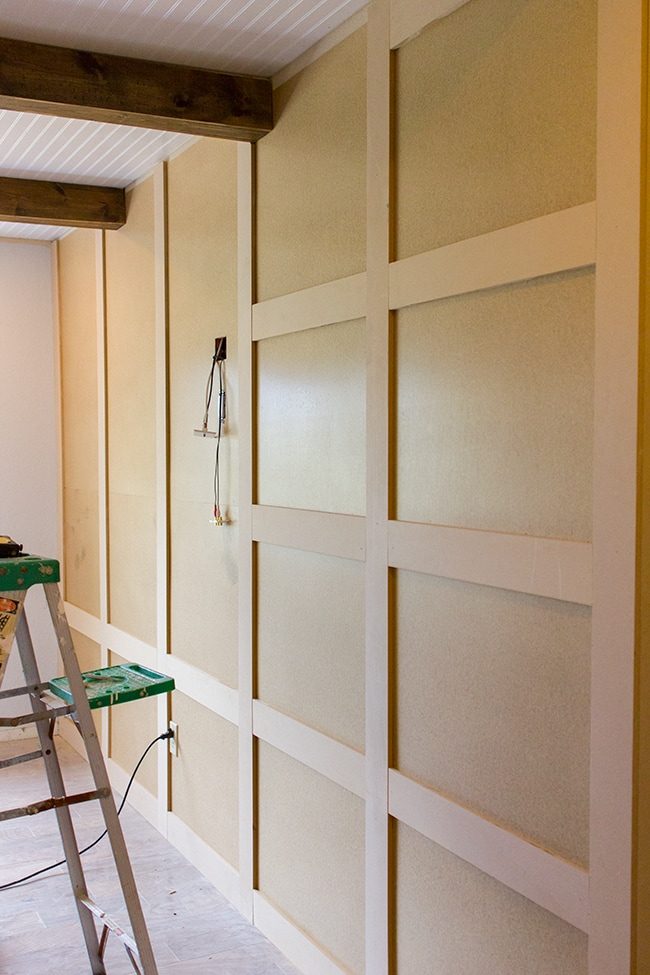
This is the fun part, when you start to see your vision come to life.
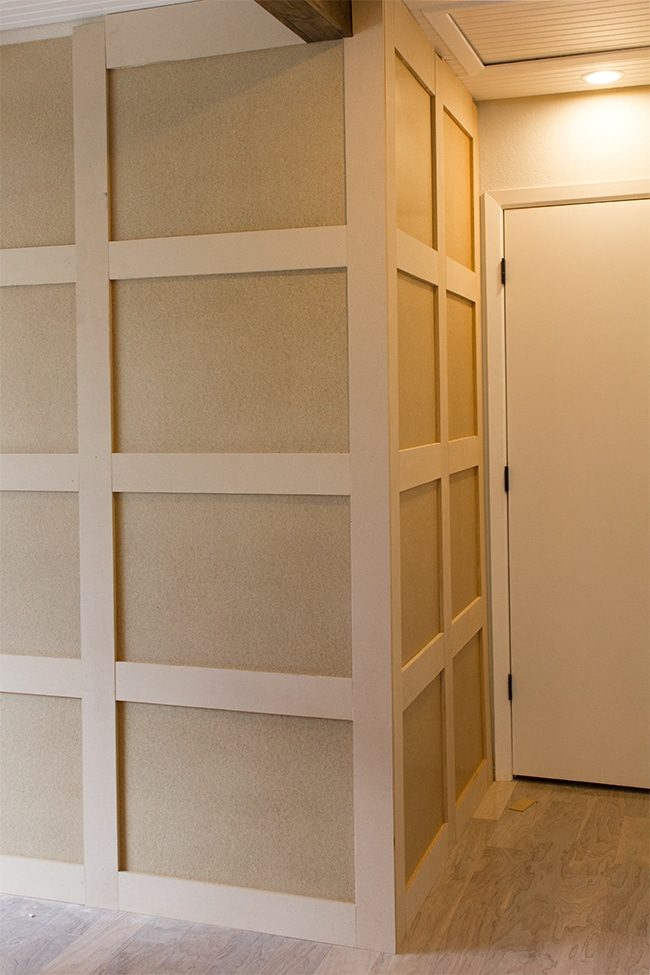
There was only one roadblock here… cutting around an outlet. I used myjigsaw—it would be completely hidden behind the TV so it did not genuinely matter.
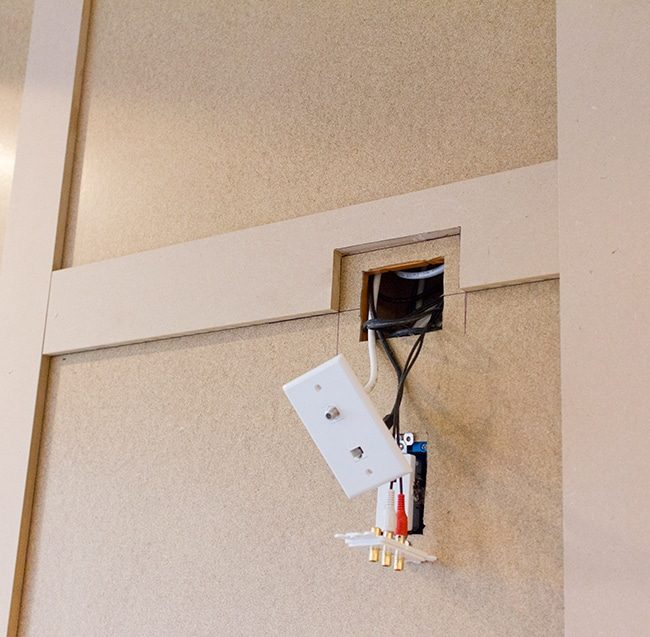
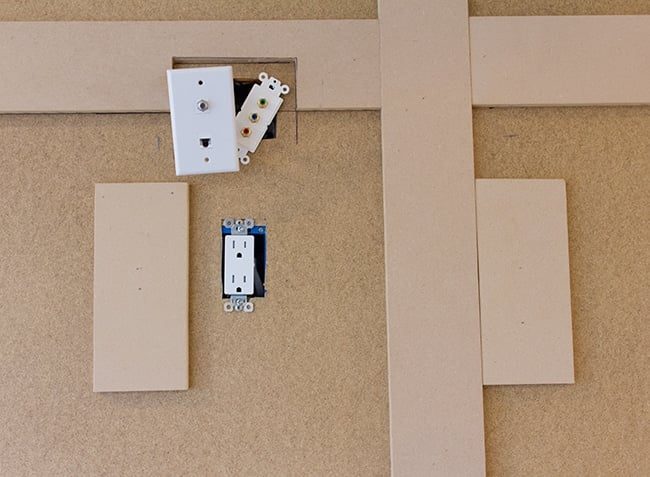
I later added a couple blocks over the studs where the TV mount would secure to (this will all be hidden, do not worry).
About four hours later, all the boards were up (this was just me, so with two people it could go a lot faster).
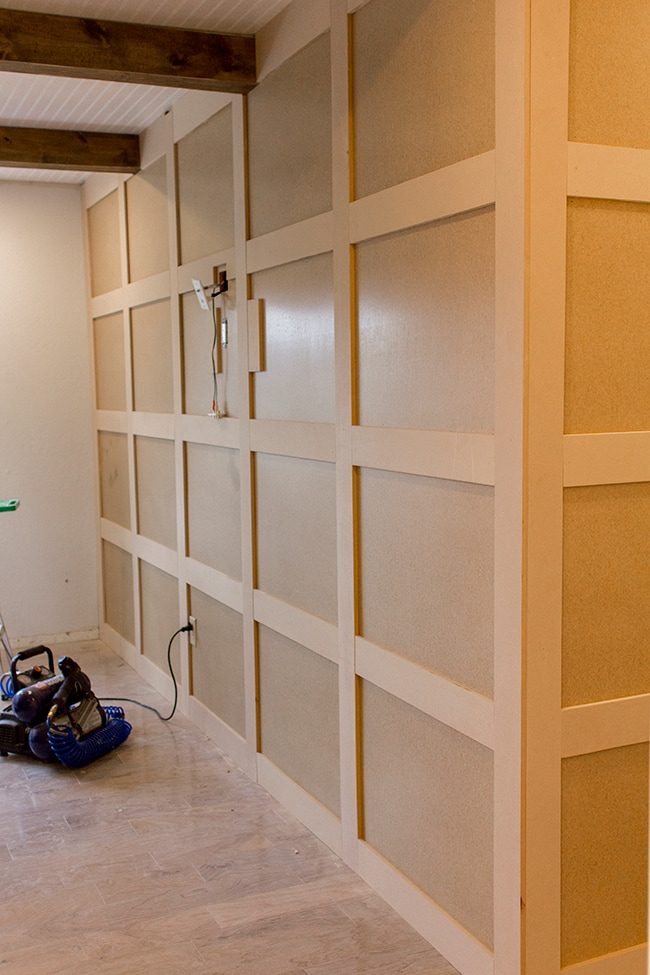
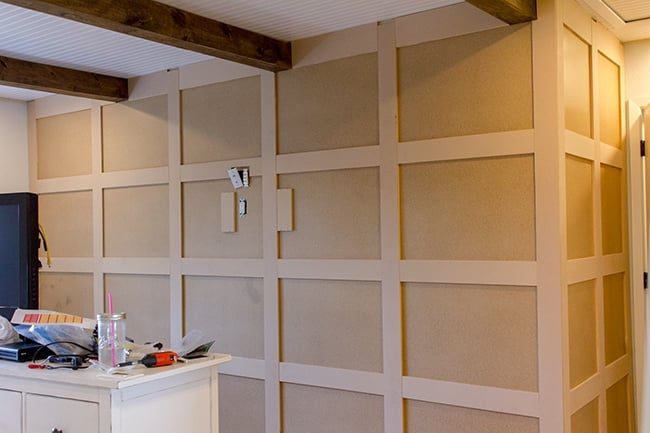
To finish the corners, I added a 90° edge piece to hide the seam (if you are a more advanced DIYer, you could bevel cut the boards with a table saw and miter the edges together).
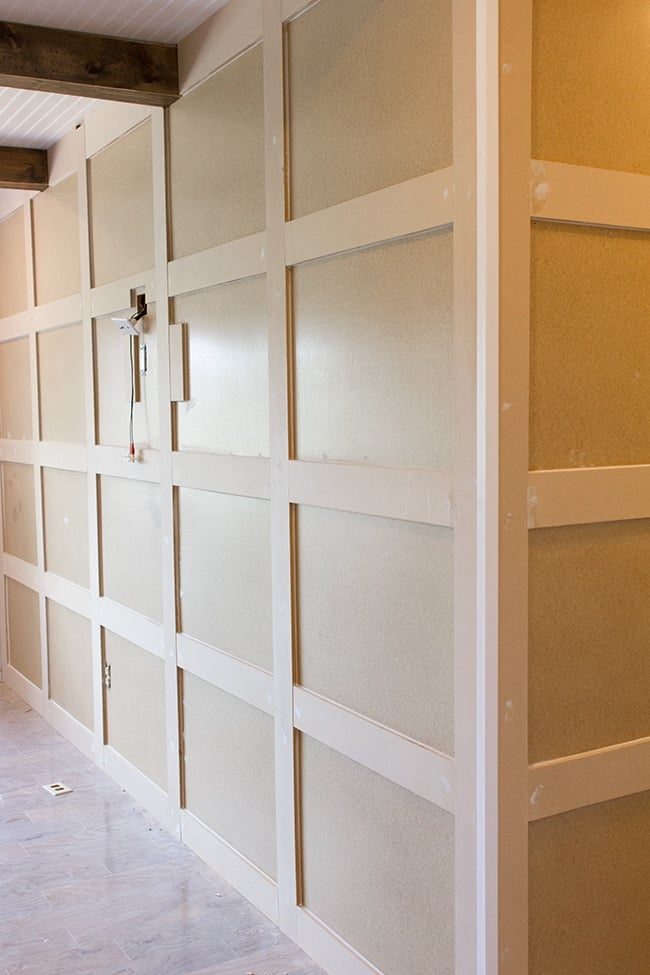
Step 5: Spackle, caulk and sand
This part was actually not nearly as time consuming as I anticipated.
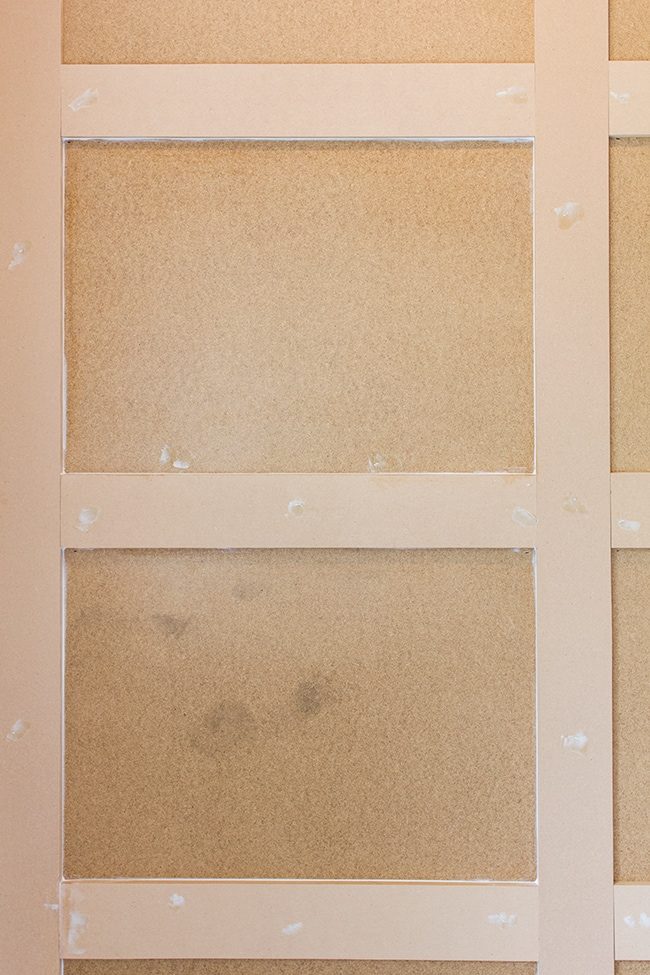
I used fast drying caulk so I could paint the same day, and used my Mouse hand sander with 240 grit sandpaper to smooth out the dried spackle.
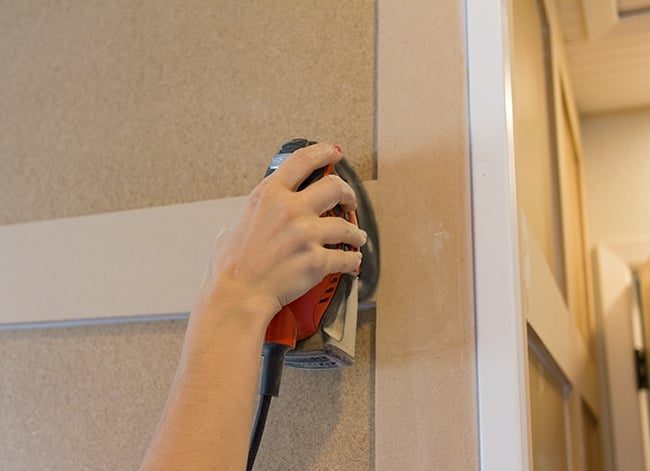
Step 6: Paint
Update several years later: In hindsight, I would strongly recommend using an oil-based primer first. The raw/cut edges of the MDF soak up water based paint and give it a noticeably rough texture (another reason why you should just buy MDF trim boards!)
Priming first is certainly more work, but will give you the most even finish and professional looking results.

Having an strong short handled angled brush is my best advice—so much easier and faster than using painters tape along the edges. I would also recommend using a velour roller brushfor the smoothest results possible.
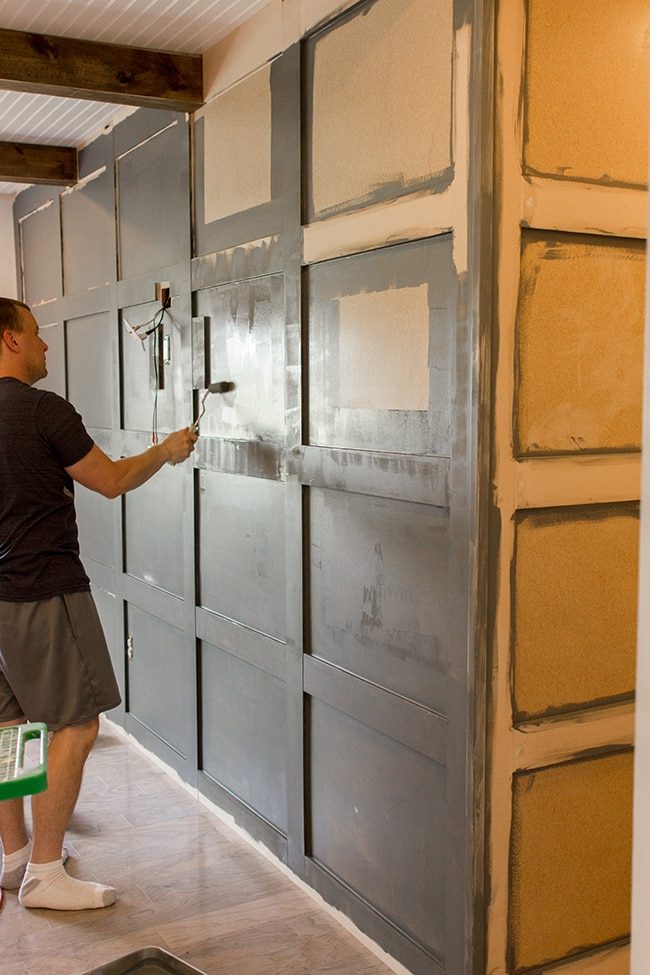
I used the same paint from the plank wallbehind the bed (and in the studio)—Valspar's Ocean Storm in an eggshell finish. A couple hours later, our wall was complete.
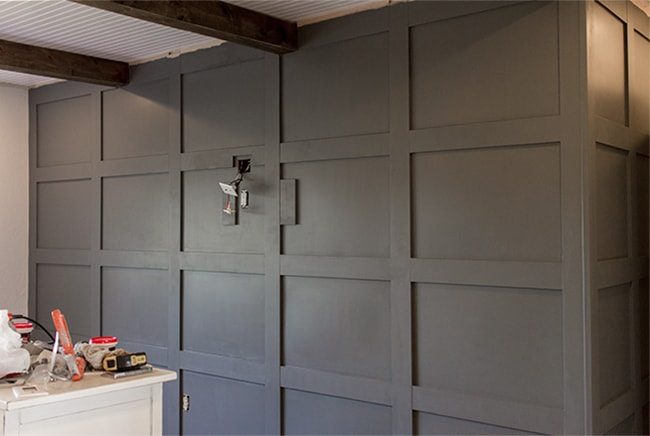
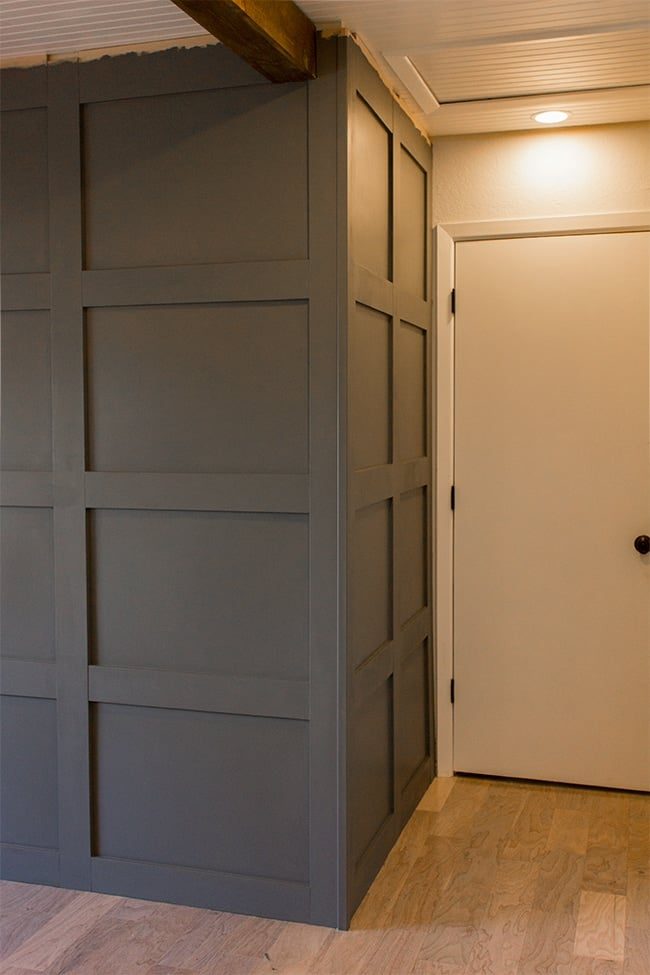
The visible roller marks do fade a bit over time, but if you are not spraying the wall, I would also avoid using a foam rollerlike we did (which shows roller marks) and get this one instead!
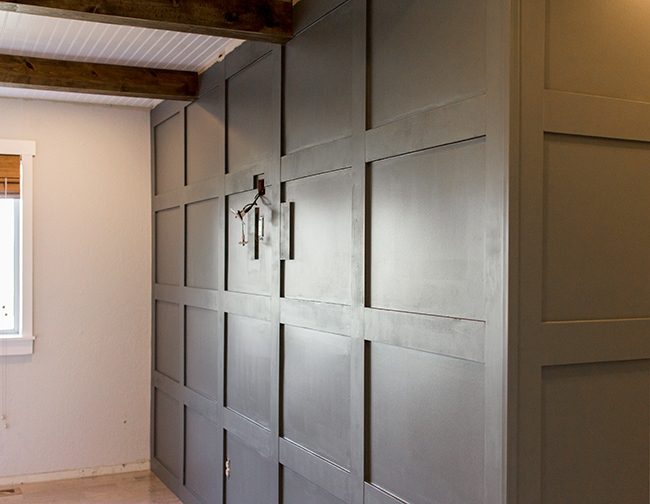
Now, all that is left to do is swap out that old outlet, add quarter round in the corner, and crown molding. This weekend I actually plan to trim out the entire room (finally), including baseboard, quarter round in a few places and crown molding. It is going to look so nice and finished… I cannot wait.
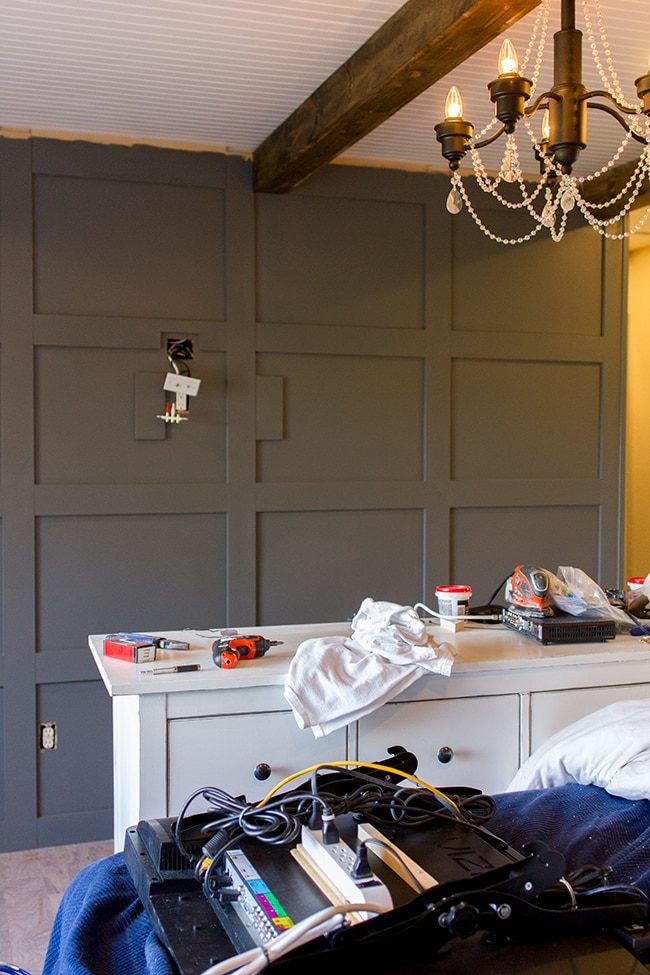
We have already mounted the TV and tonight we will bring in our new dresser and start setting up that wall. Our rug is also here so that will be set up this weekend as well. Lots to look forward to on Monday!
If you like this project, look at these other DIY Wall Molding tutorials from my Project Library:
- DIY Board and Batten
- Recessed (fancy) paneled wall molding
- Skinny lattice wall molding
- Easy plywood shiplap