DIY Faux Wood Beam Ceiling
Follow this unfussy tutorial to build your own DIY wood beams using inexpensive lumber from the hardware store.
Looking for a unfussy way to build your own DIY faux wood beams?
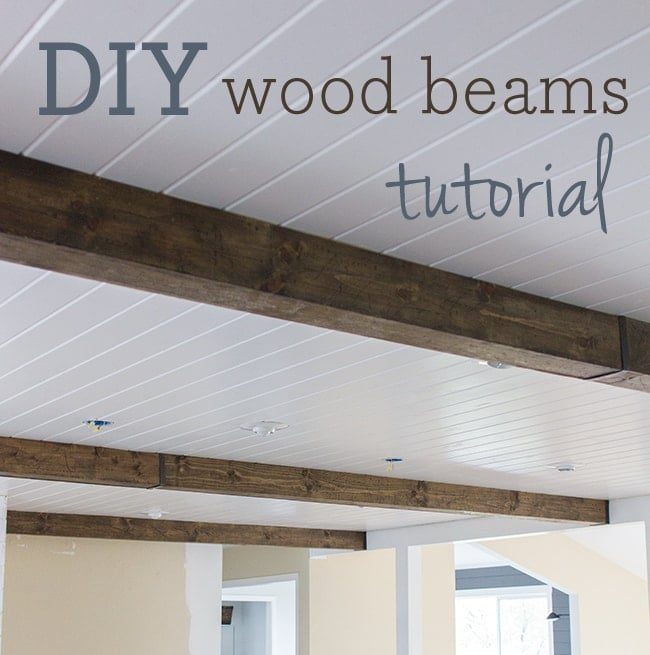
Wood beams were high on my wish list when we were house hunting. They are actually pretty common in this area, and I was able to look past the lack of them in this house knowing I could build my own. This is one of those huge bang for your buck projects.
When I searched for faux wood beams online, I found so many strong options and styles from all over, like this rustic “hand hewn” beam…
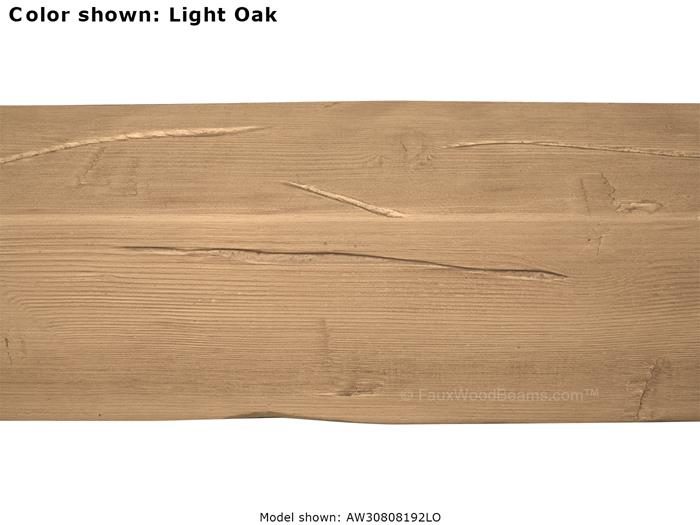
The only problem? They were over $400 each! The sizes I needed would have run me nearly $1200. And I would still have to install them myself and wait 6-8 weeks for delivery. Um, no thanks. Time to DIY.
Materials + tools needed
- Lumber (I used the cheap whitewood from Lowe's in 1x4x10s, 1x6x10s, and a 1×8 we had to rip down—but you will only need two sizes for the top/bottom and sides)
- Nail gun and nails (I used a Bostitch 16ga, but you can also use 18ga)
- Saw to cut your boards to length (love our Dewalt miter saw)
- Drill & long screws
- Wood stain of your choice
- Beam straps (if you have seams, or if you just like the look—read on for more info)
- Wood glue or liquid nails
- A clamp
The size can be whatever you'd like, but I went with 1×6″ boards for the sides and 1×4″s for the top and bottom. For reassurance, I checked online and found this tutorial which is exactly what I had expected.
Feeling confident and prepared, we headed to Lowe's to stock up on our lumber:
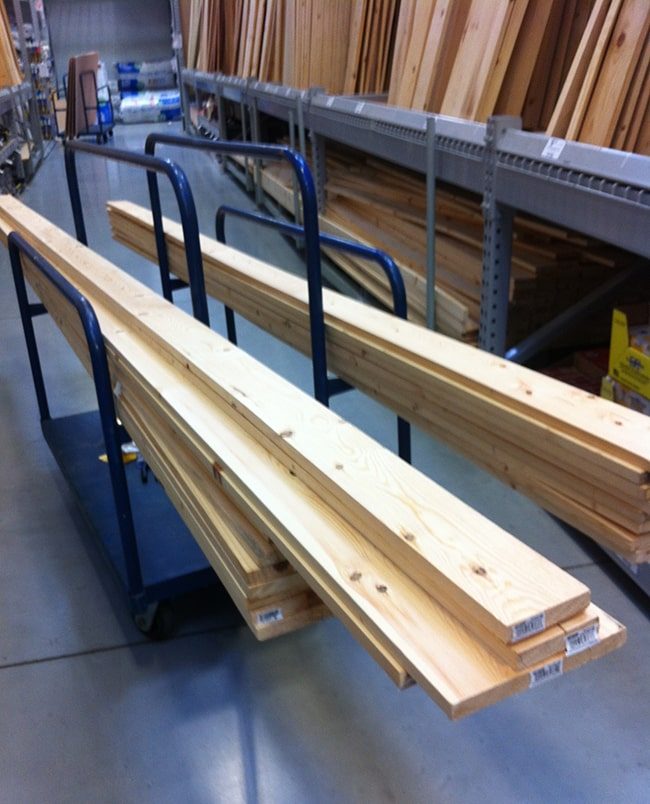
I chose three beams for the layout to cover the seams where the wood planks met—two were identical and 20' long, and one was 10' long because it ended at a shorter wall. The total ended up at around $200 including our stain and a box of screws.
How to install a faux wood beam ceiling
1. Attach 1×4's to the ceiling at your beam locations
The first step was to run the top 1×4″ along the ceiling, screwed into a stud every couple feet. This board had to be solid because it would be supporting the entire beam. We used extra long 4″ screws since it had to go through the 1×4, wood planks, drywall and the stud.
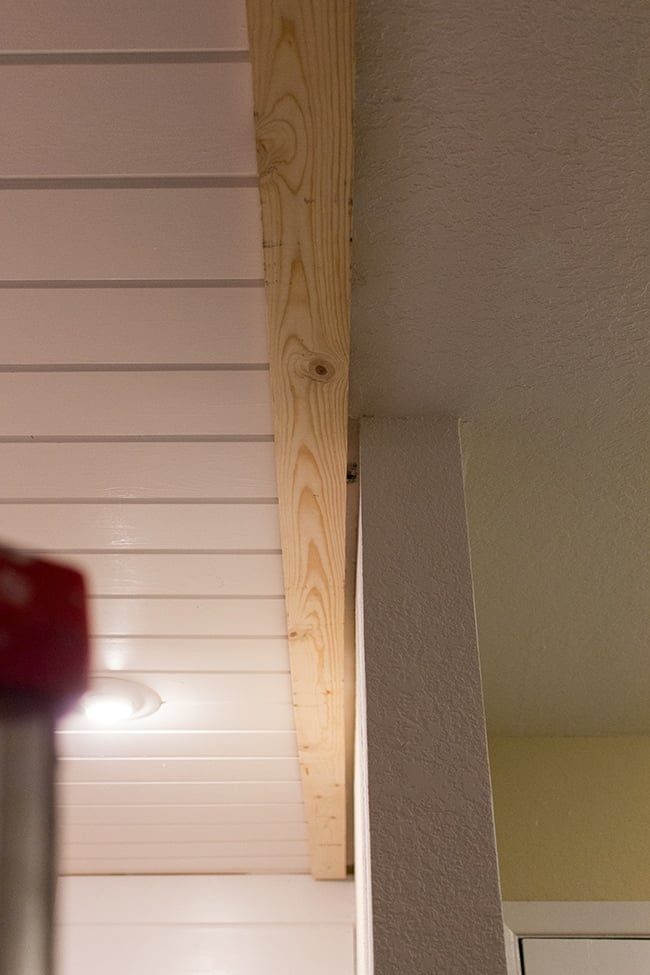
Half of this shorter beam ran along a wall, so we had to line it up with our wood planks and make sure there was enough space (3/4″) to squeeze in the right side board so it would hide the exposed edges you can see in this photo:
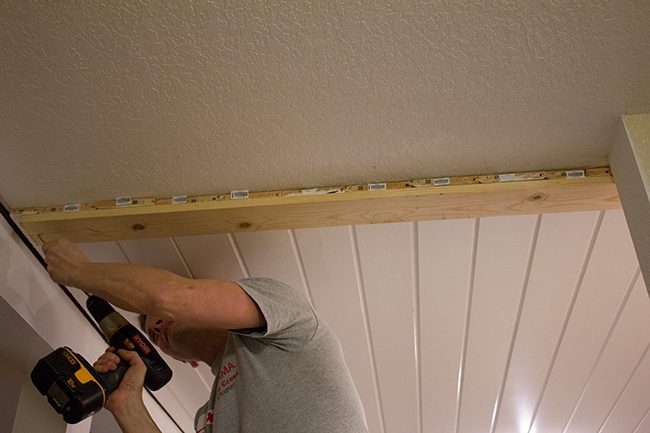
For the two longer beams, we had to use two 1x4x10's since they do not come in 20' lengths. We just butted them right up next to each other—this board would be hidden so it did not matter.
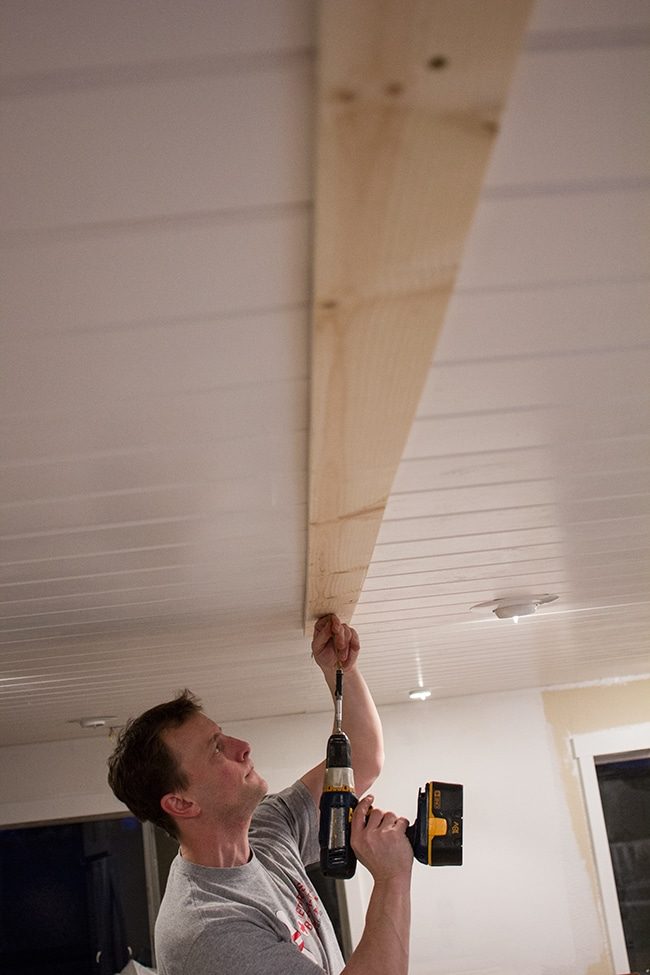
One board at a time…
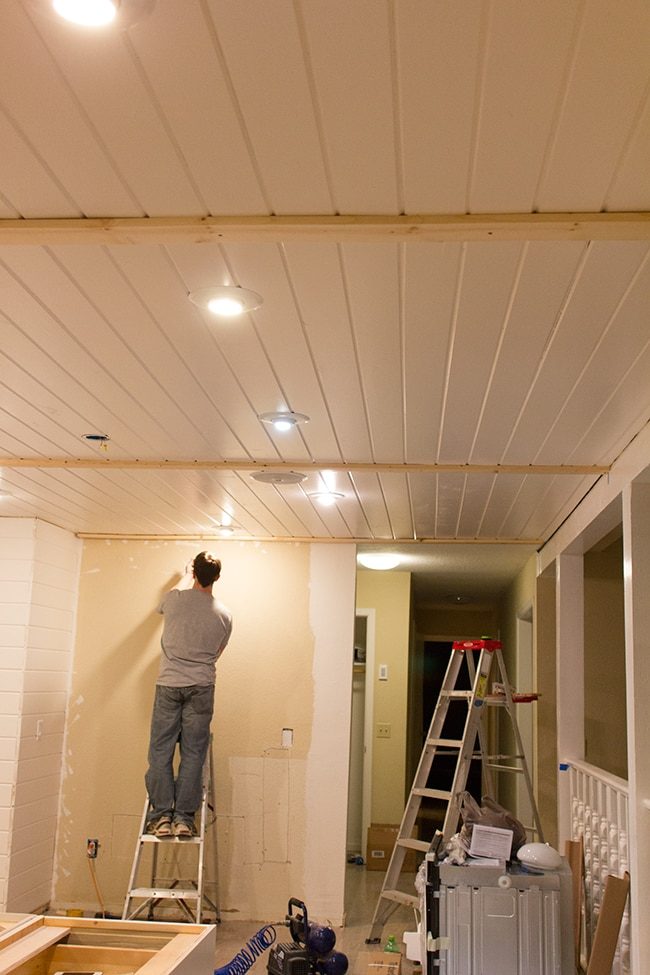
Done!
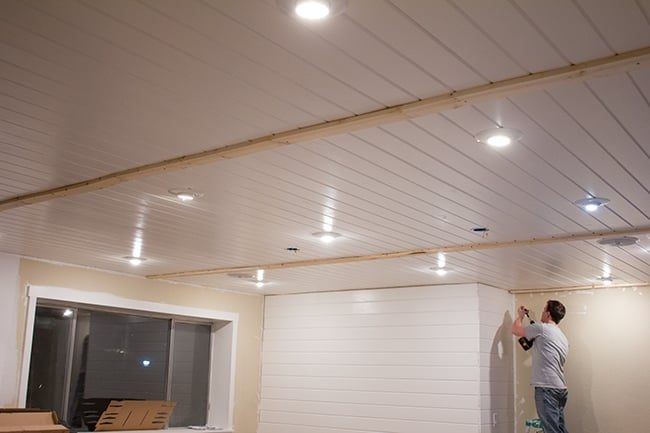
2. Roughen up the wood for a rustic look (optional)
After that was out of the way, it was time to have a little fun.
I wanted these beams to be distressed, so we pulled out a random assortment of tools and banged away.
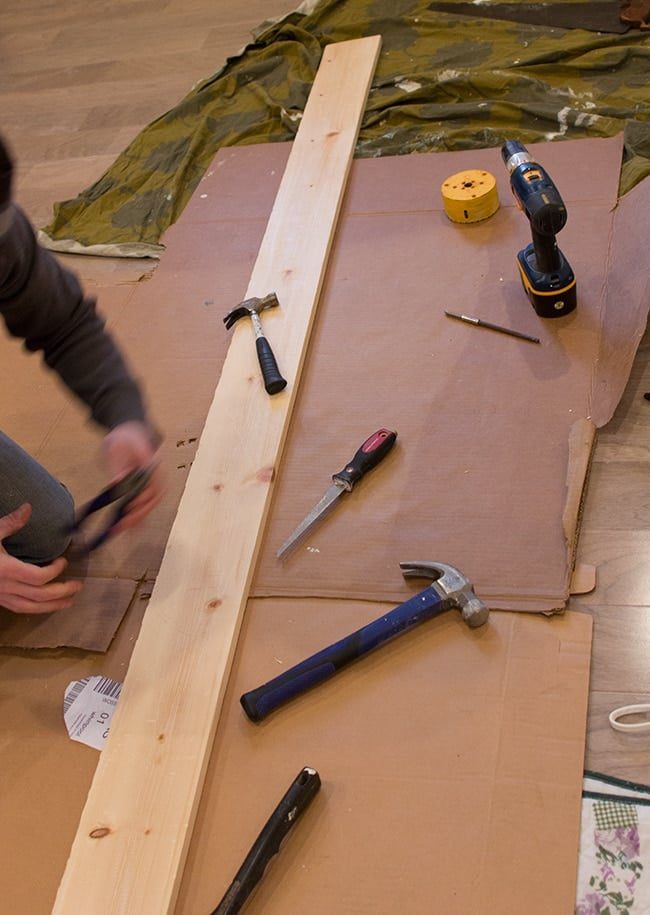
The stain genuinely picks up every dent & ding and makes them stand out (as you will see in just a sec….)
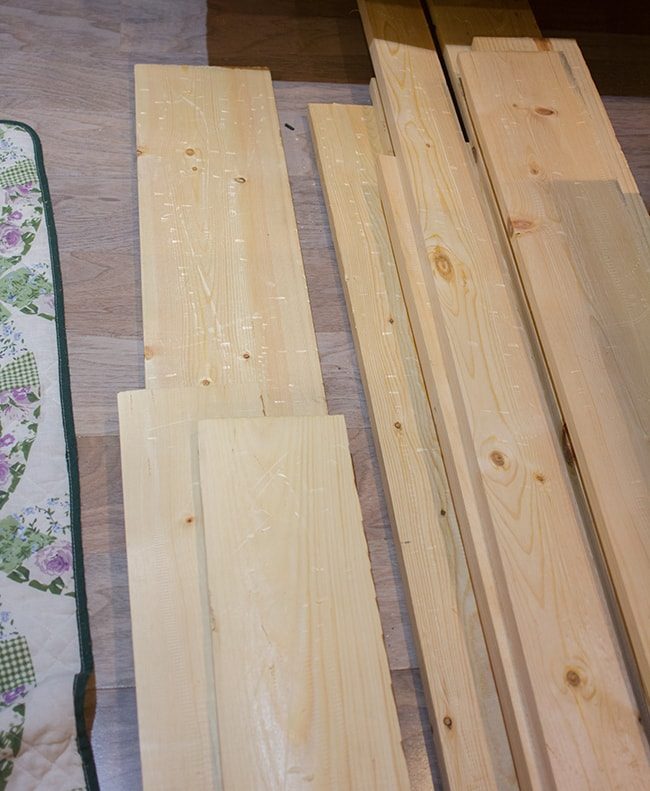
Tip: For a truly authentic look, try my DIY wood aging technique!
3. Assemble beams using 1×6″ and 1×4″ boards
Then came the toughest part: building these things. I enlisted my dad's help for this—it is definitely a two person job.
I tried to find the straightest boards I could (always double check them before you buy!) but they are never perfectly straight, so there was plenty of forcing/persuading to get them to line up.
Update: If I had to do it over, I would use a higher quality wood like oak, walnut or poplar for straighter boards and a more professional look.
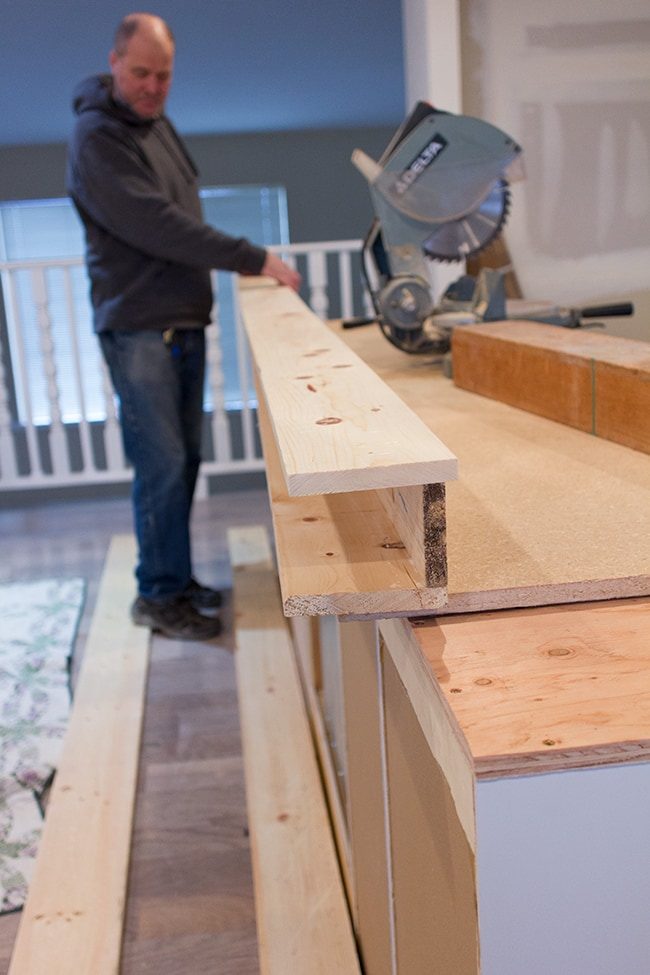
I ran out of wood glue so I ran a bead of liquid nails where the boards met. I held them in place so the edges lined up while my dad used the nail gun to secure them every several inches or as needed.
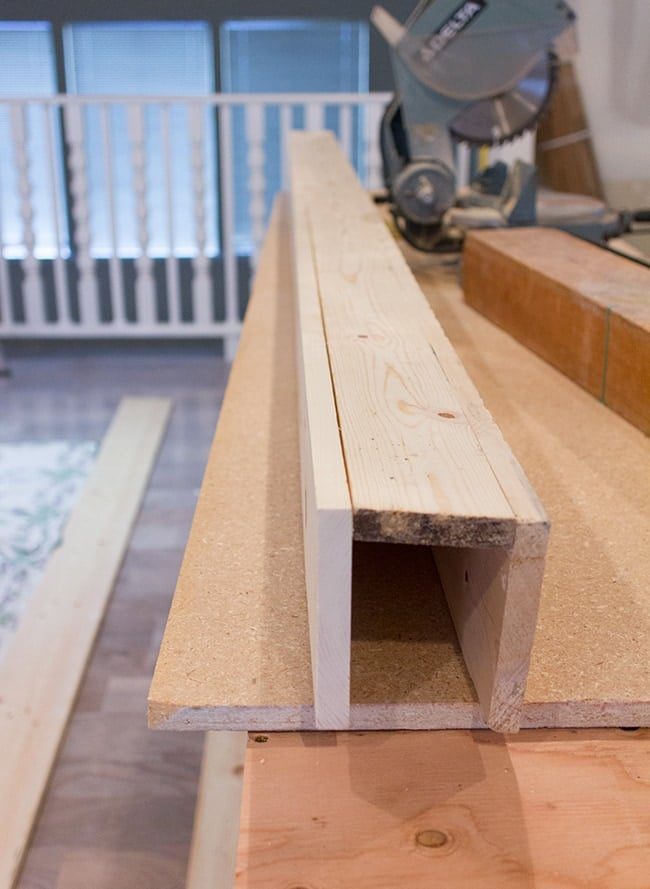
There were some gaps (a clamp would have been helpful) and it was not well suited, but that is why I am all about the rustic/farmhouse style—imperfection is a good thing!
3. Apply a wood stain
We ended up with five beams—(two 10's combined to make 20', and one 10').
Then the stain came out and things got real.
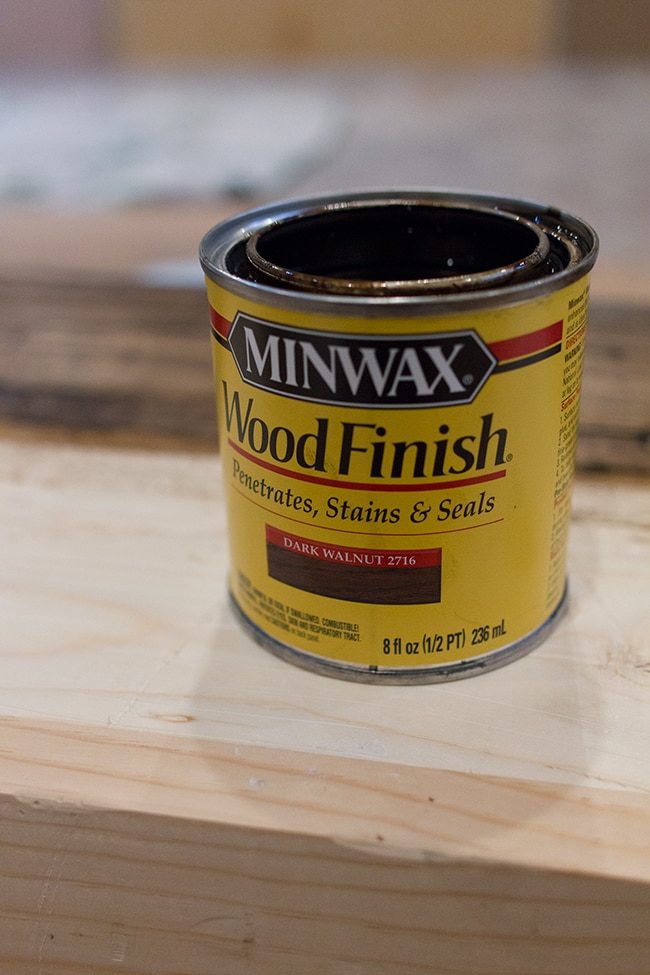
This was my favorite part… watching it come to life with depth and color.
Tip: for a more even finish, use a wood conditioner prior to staining.
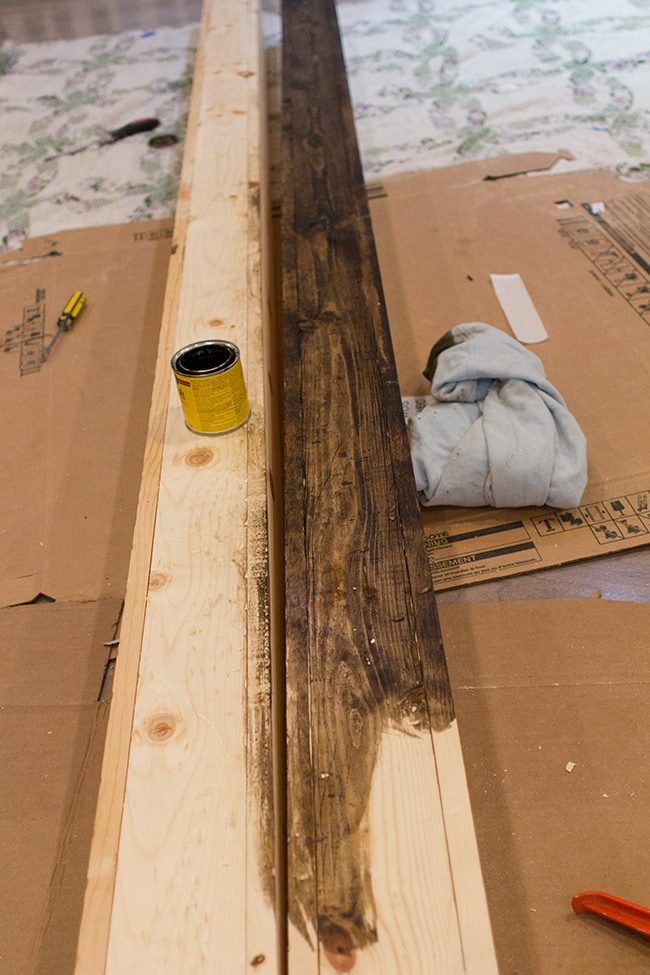
4. Install beams
After the first short beam was ready, the boys attempted to hoist it up and install it:
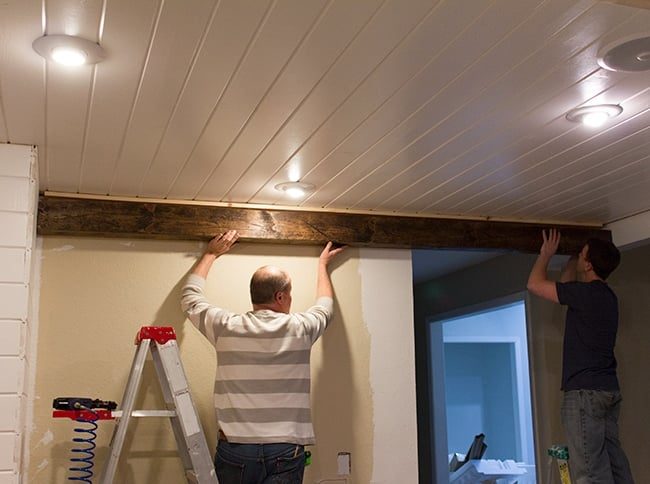
But the sucker would not budge. They hammered and pushed and shoved, but the gap we left for the right side to slide in was just too small.
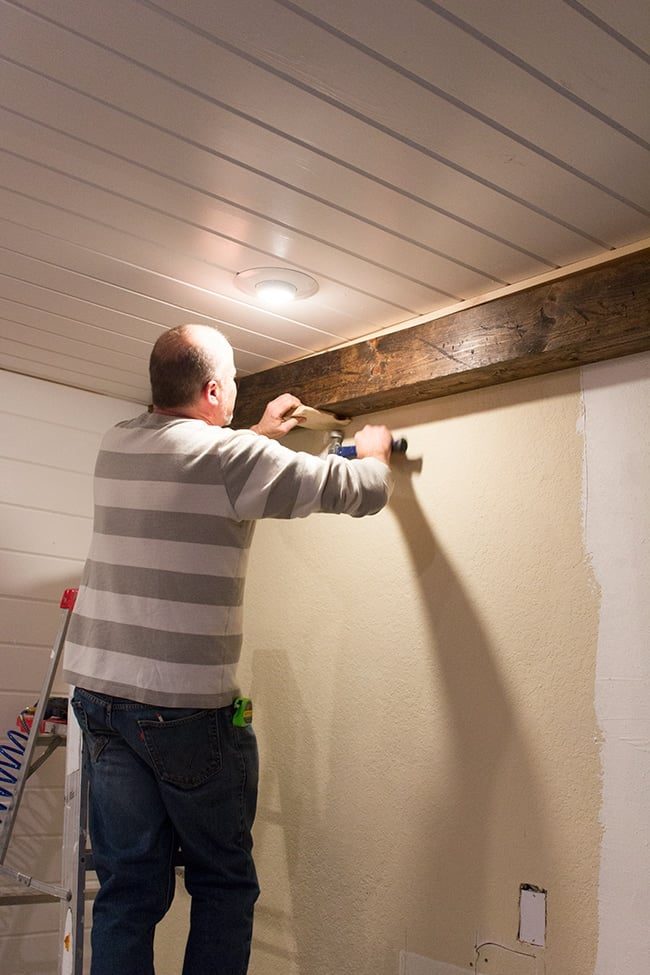
So Brad had to cut it away with the jigsaw. It would be completely hidden, so it was all good.
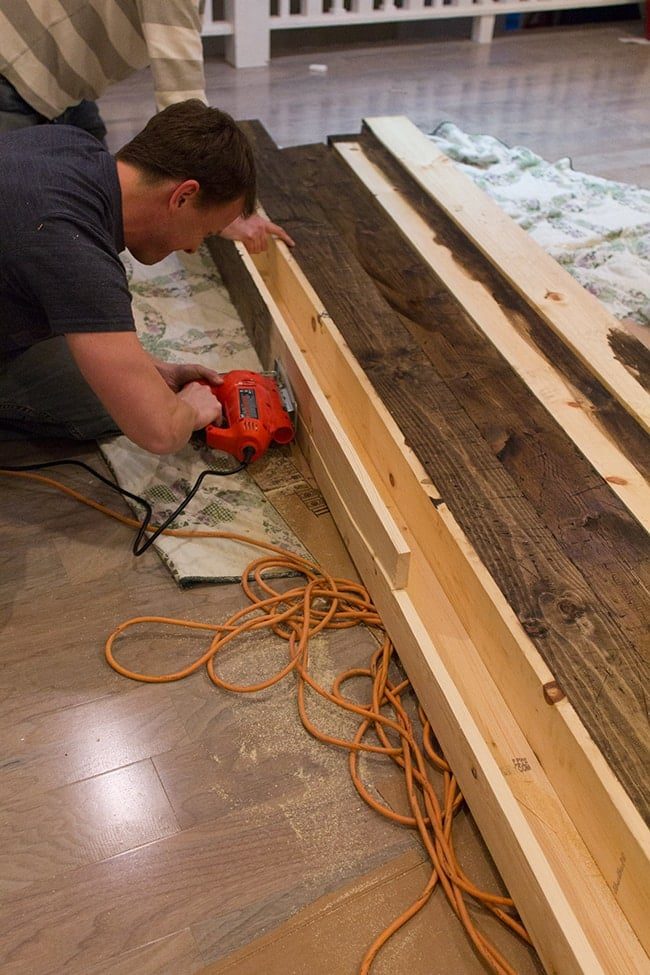
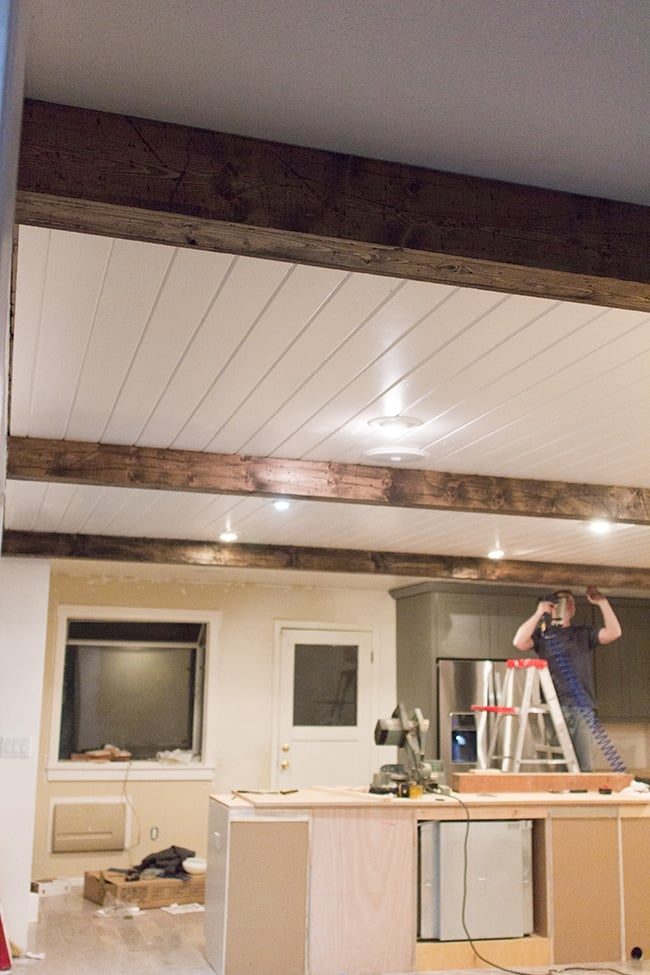
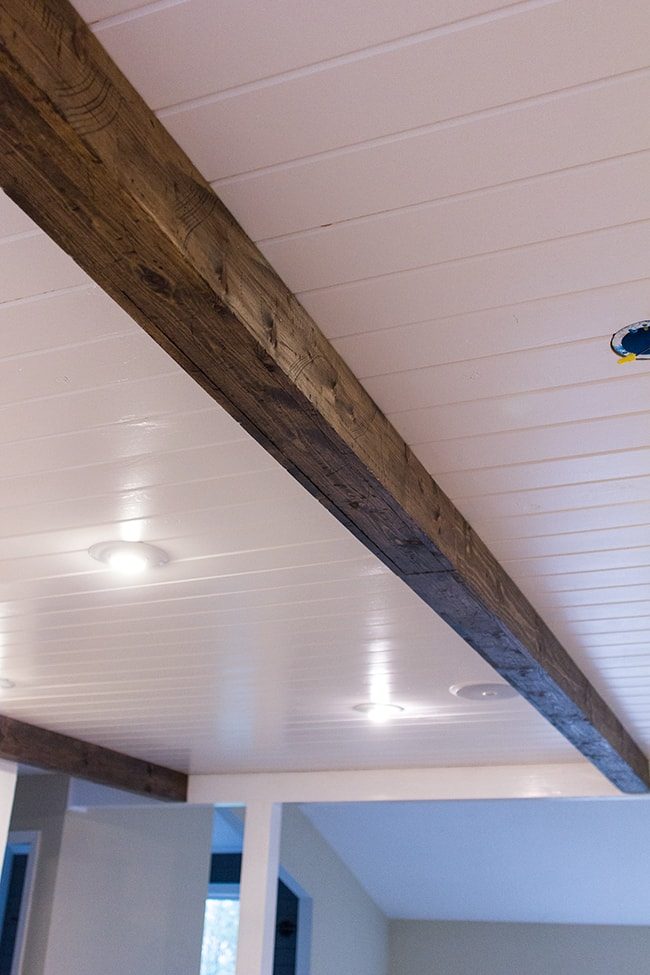
Finally it worked—first beam down! (or should I say up?)
The next four were easier. Luckily this wood is soft and easily pliable, so they could just wiggle the sides in place around the 1×4.
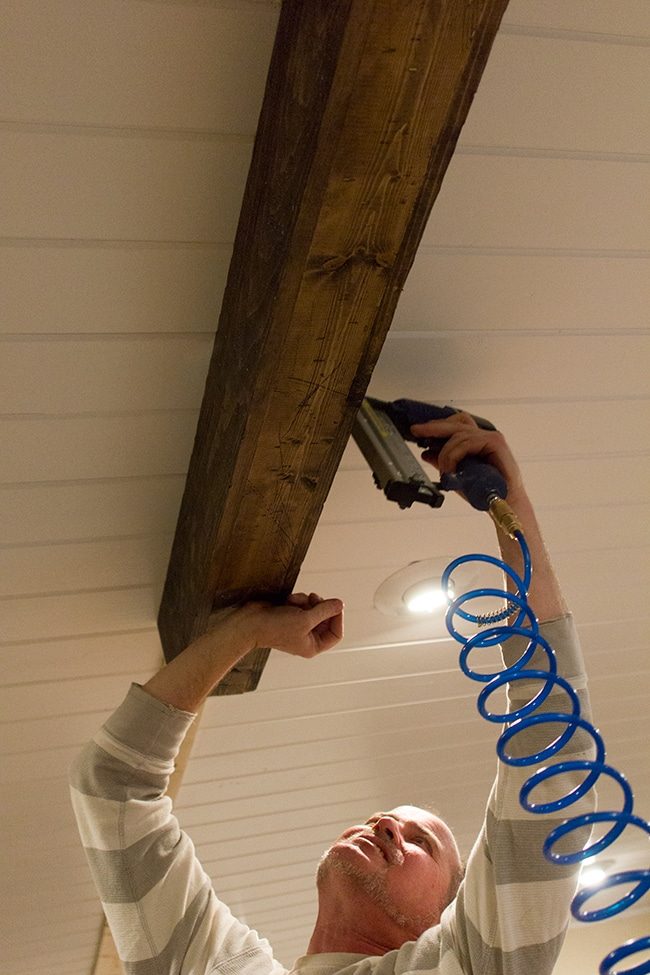
We skipped the liquid nails and used standard 18 gauge finishing nails along the edge.
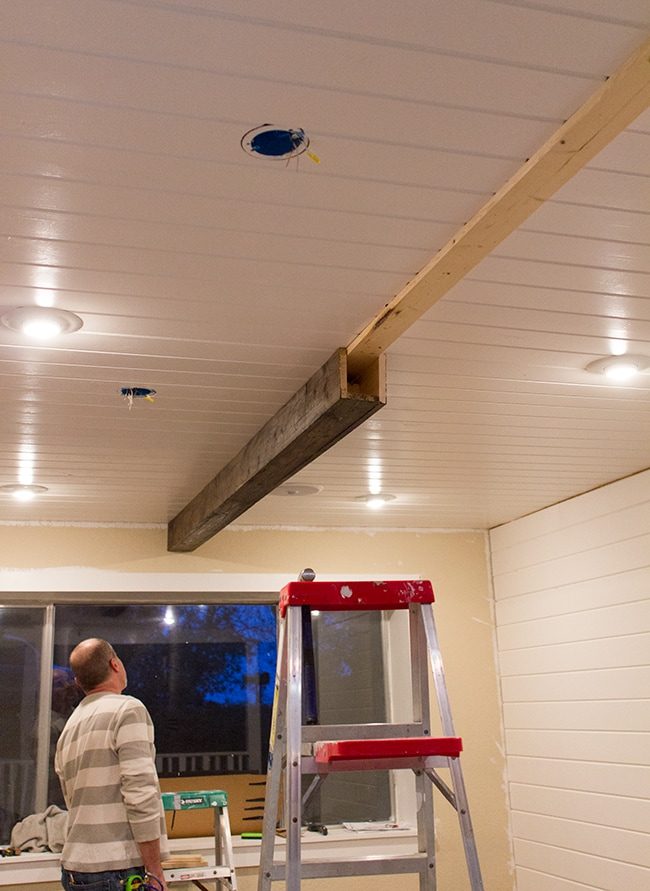
The beams are pretty light and they are not going anywhere.
Then we got to the middle…
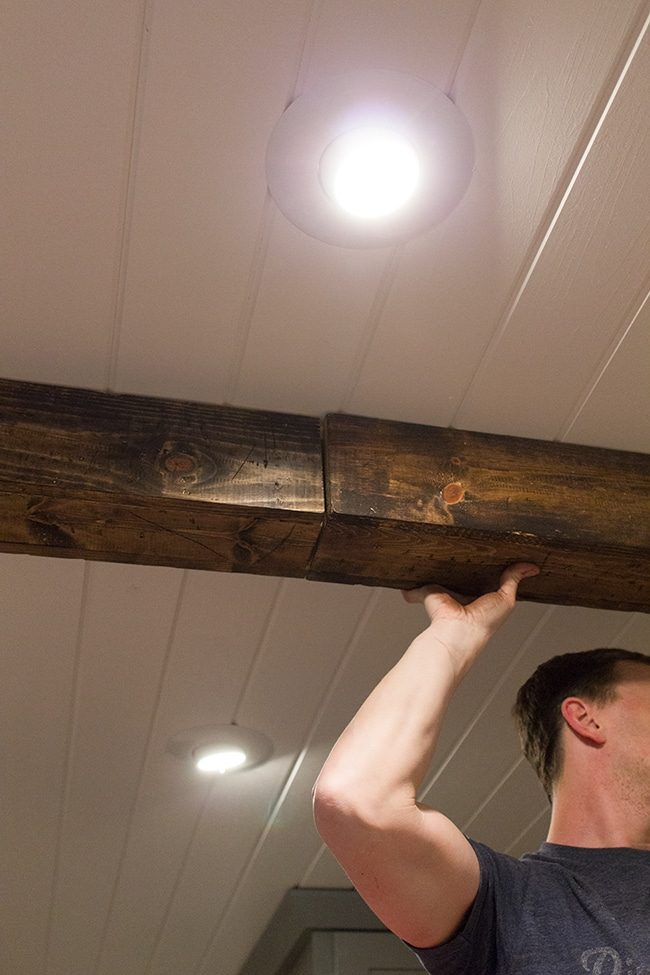
I was just going to wait and see how they looked at this point. If the seams fit tightly and everything lined up and it was not too noticeable, I figured I would just leave it like that.
But there were gaps. It looked fine from far away, but close up, not so much. I had a solution though… we will get to that in just a second.
Some boards were extra stubborn and left a gap at the ceiling, so we used a car jack to push it in place while we nailed them in.
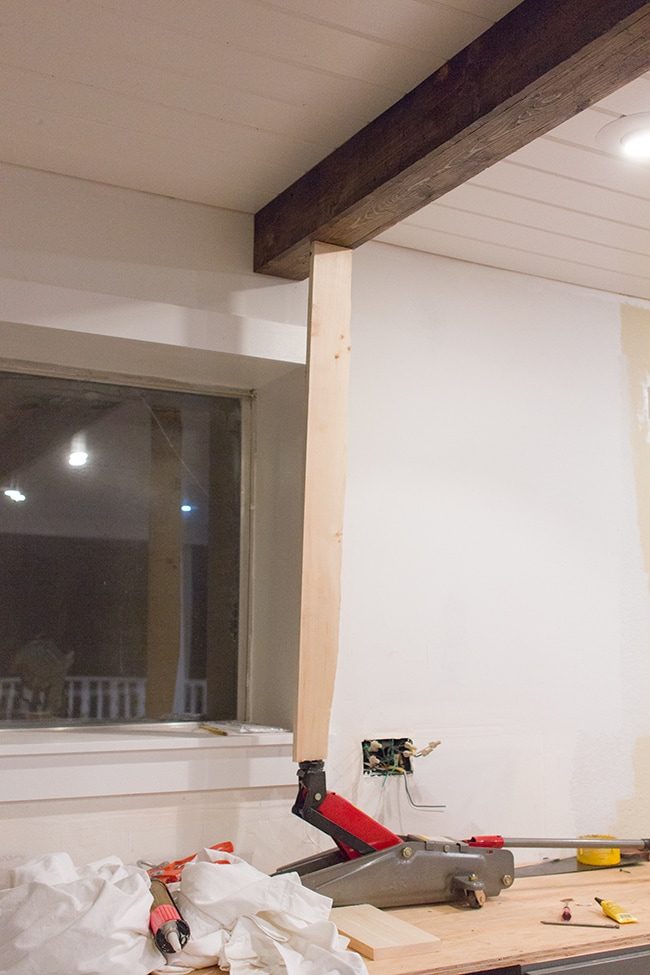
Totally worked.
5. Install beam straps to hide the seams (optional)
Now, back to those gaps.
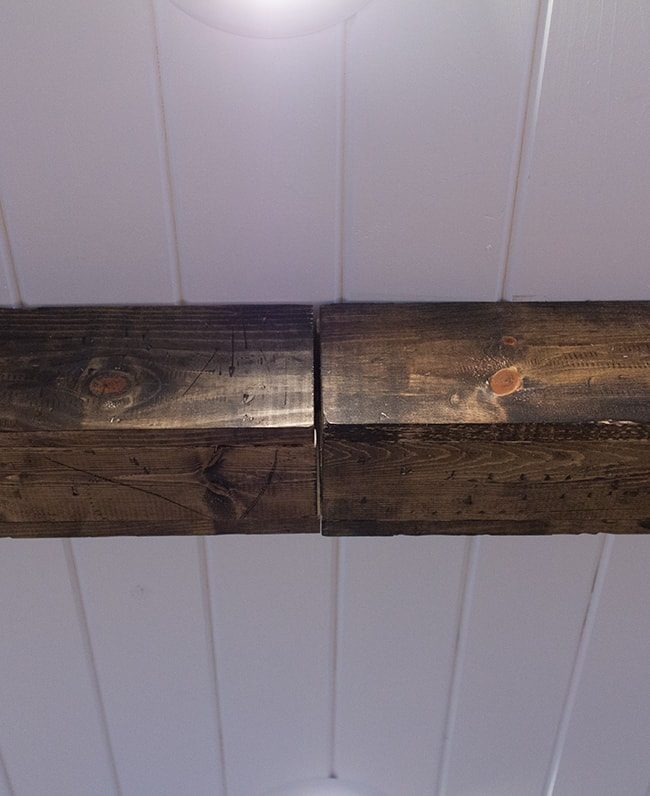
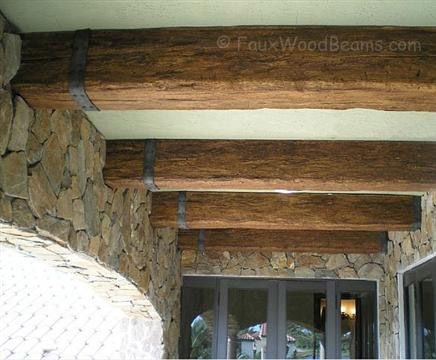
I figured it would happen, so the first thing that came to my mind were beam straps…
 |
| Source |
To complete the look, The choice was to go with a strap on each end along with the two in the center over the seams (so three on each long beam, and two on the short beam for a total of eight).
Most of those online faux beam places sell rubber straps made to look like metal, but I was impatient and cheap and figured I could make my own.
I spotted these metal strips at Lowe's for $10 a piece and grabbed two:
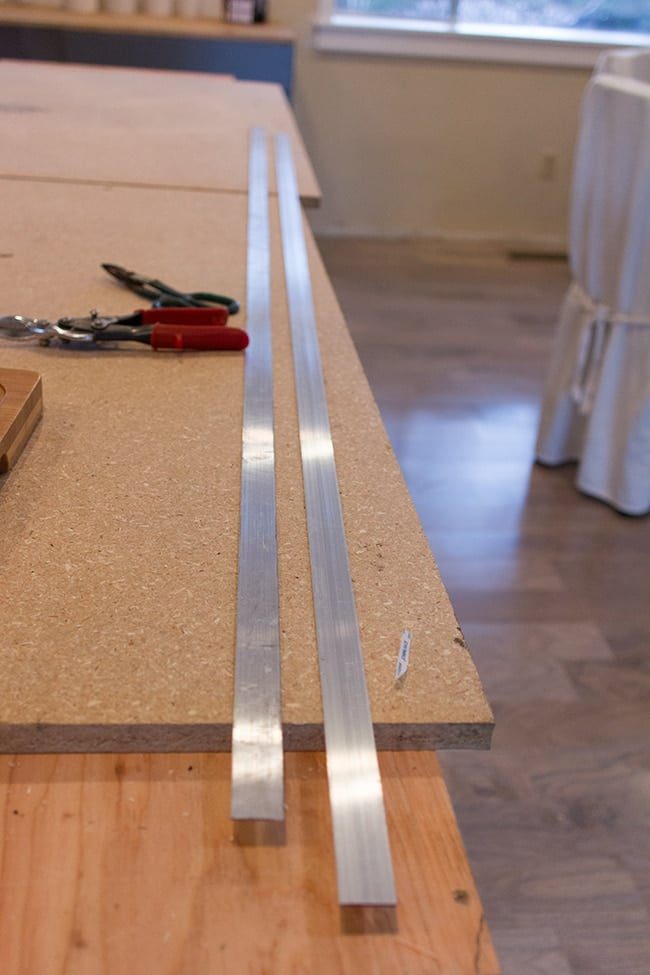
They were well suited.
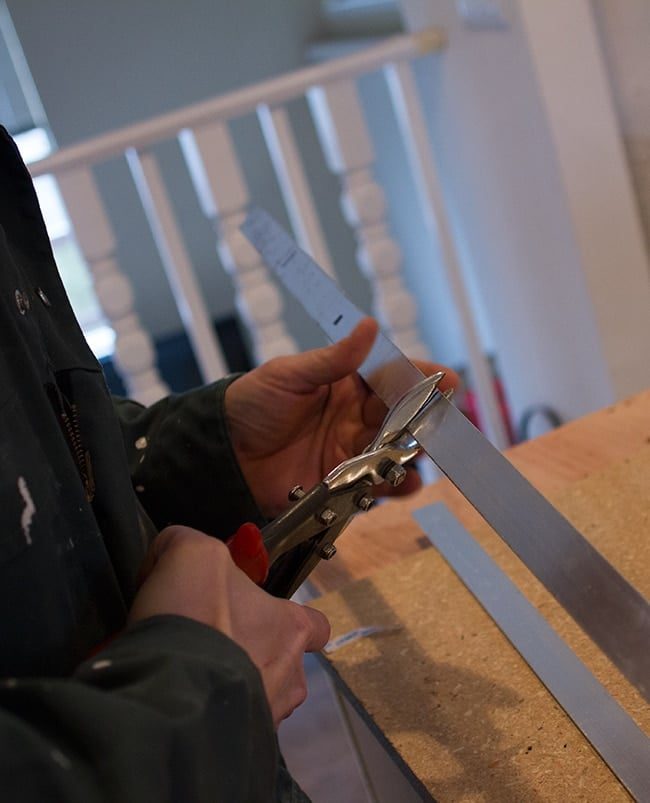
First we measured the dimensions of our beams (ours were 5 5/8″ tall and 5″ wide), made marks on the straps and used metal snips to cut them:
With our piece cut to size, we took it into the garage, lined the mark up with the edge of a hard 90º surface, and hammered it into place.
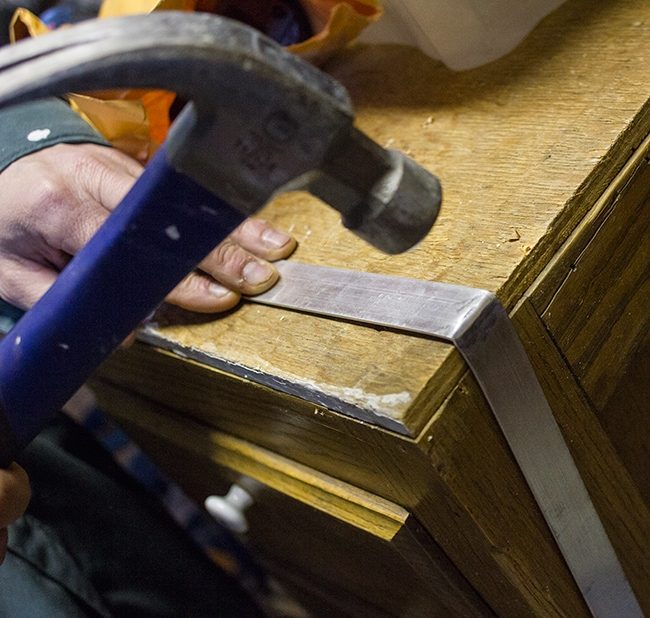
This metal is pretty thin so it bends relatively easy.
Once both bends had been shaped, we drilled a hole into each end using a drill bit so we could secure it to the beams.
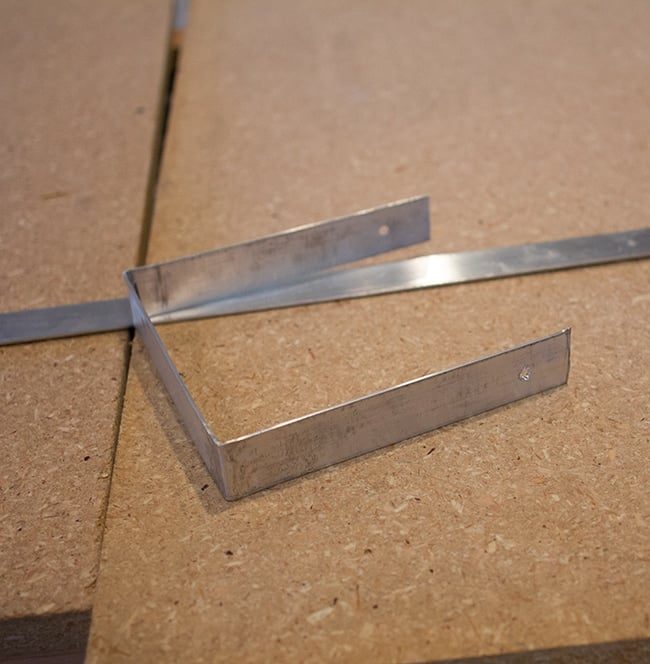
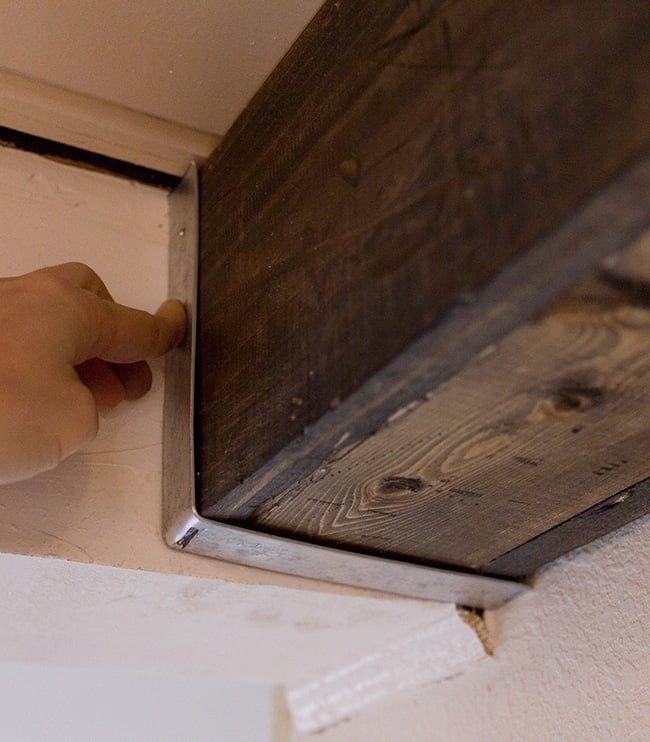
Fits like a glove!
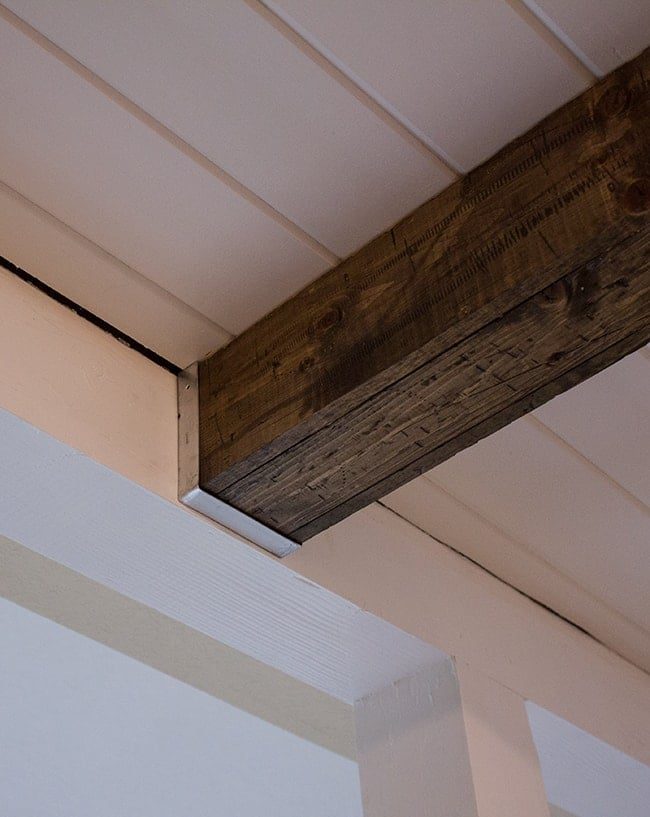
Two of the beams ended at a wall, so we only had to make a two sided strap for those:
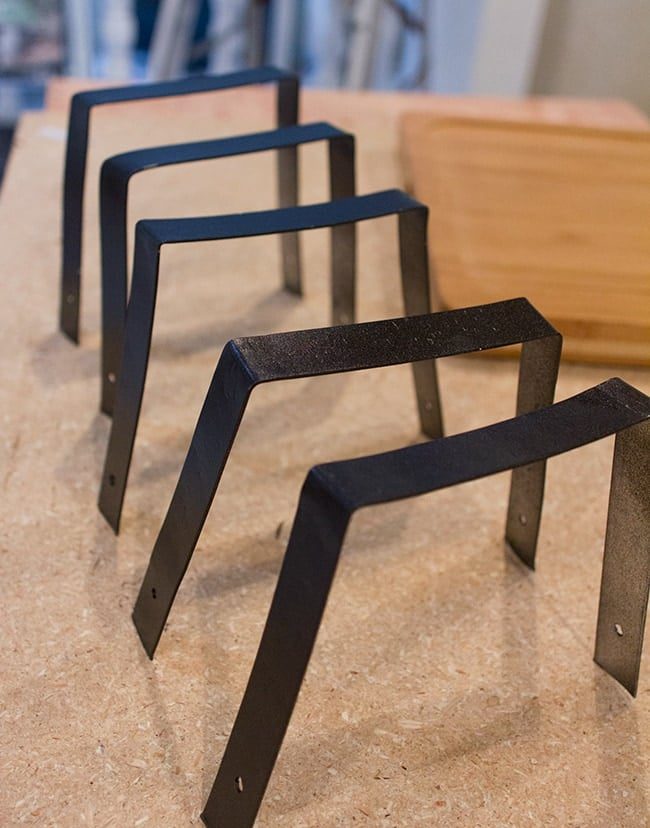
After all eight straps were prepared (this all took less than an hour), it was time for paint! I used an oil rubbed bronze spray paint.
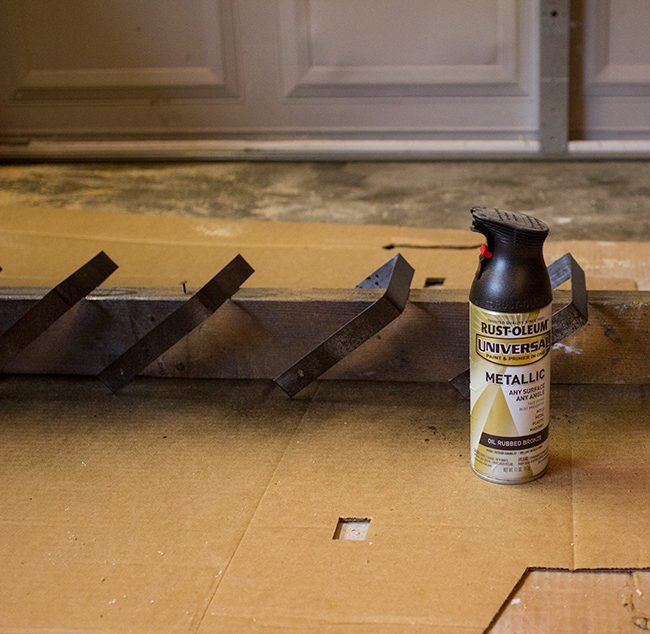
All dry and ready to mount…
Unfussy as screwing them into the wood…
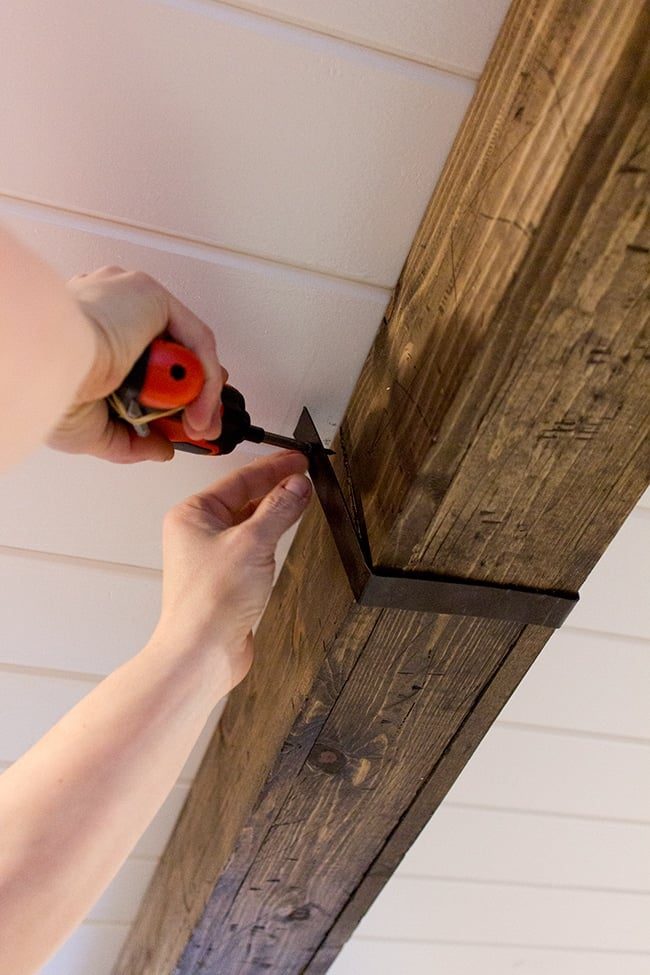
Done!
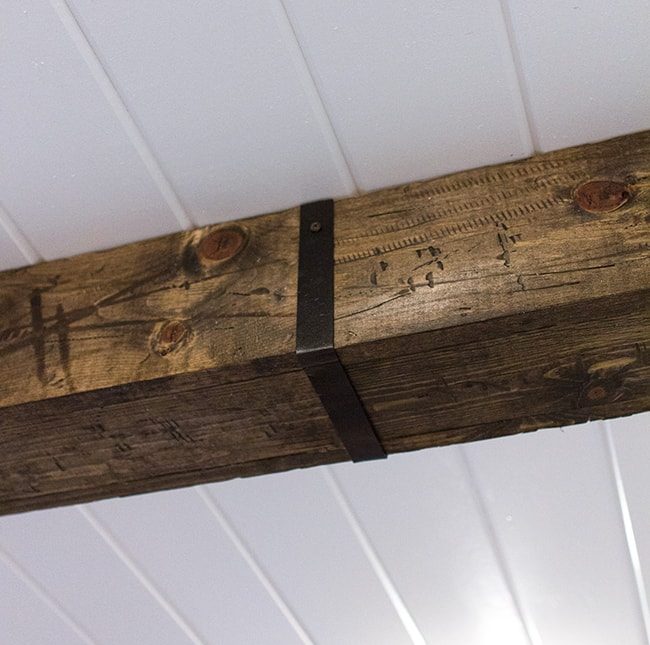
To be honest, I did not want to add the straps at first—I thought they would mess up the flow and simplicity of the beams.
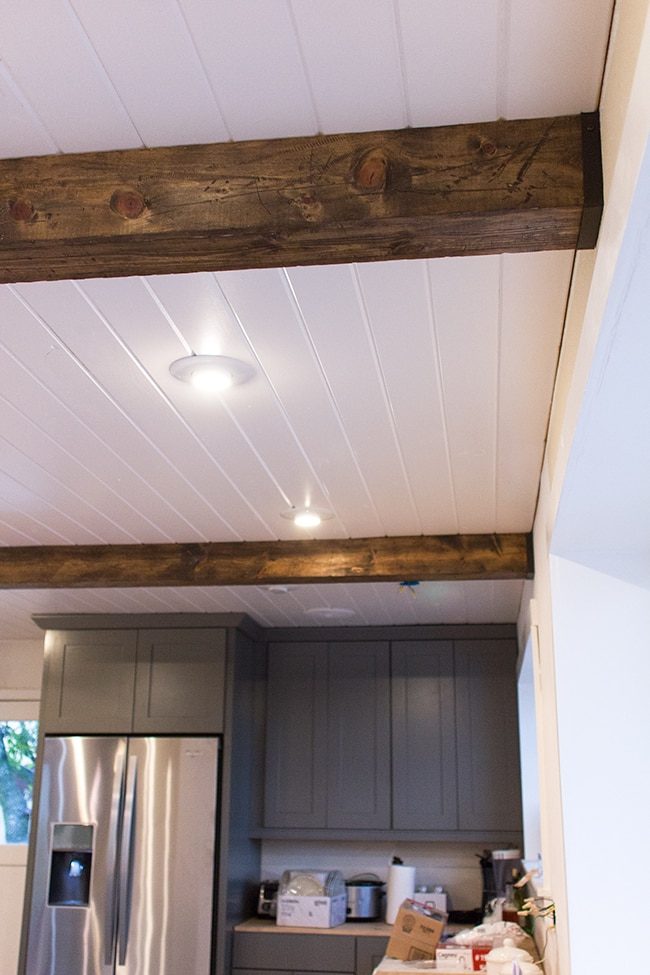
But I have changed my mind. It helps to keep the character it adds.
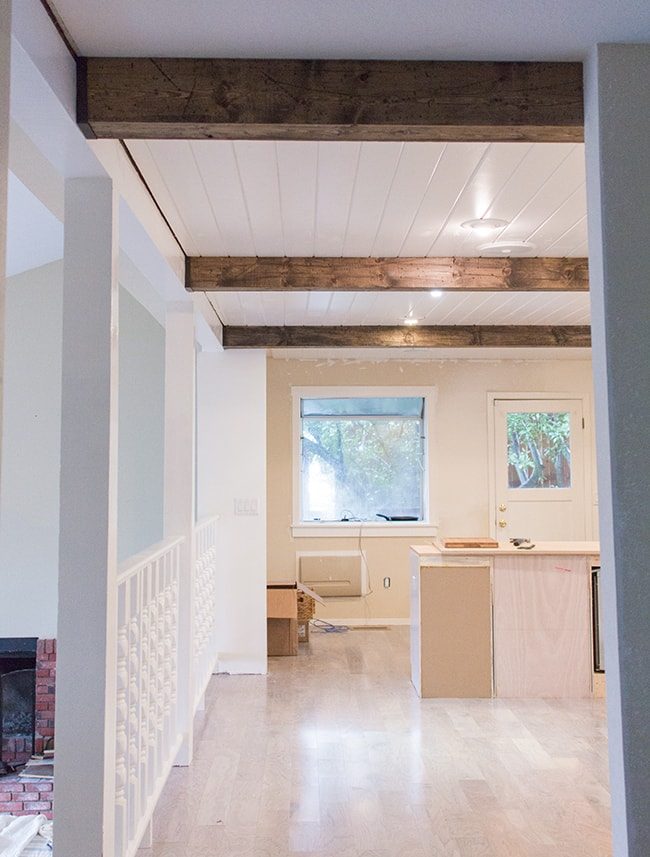
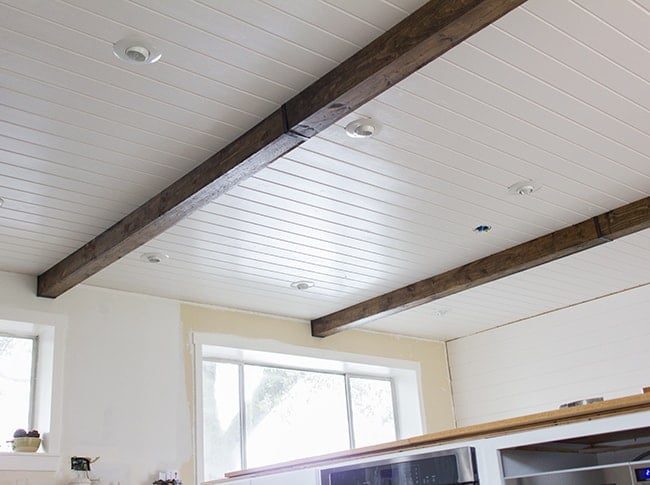
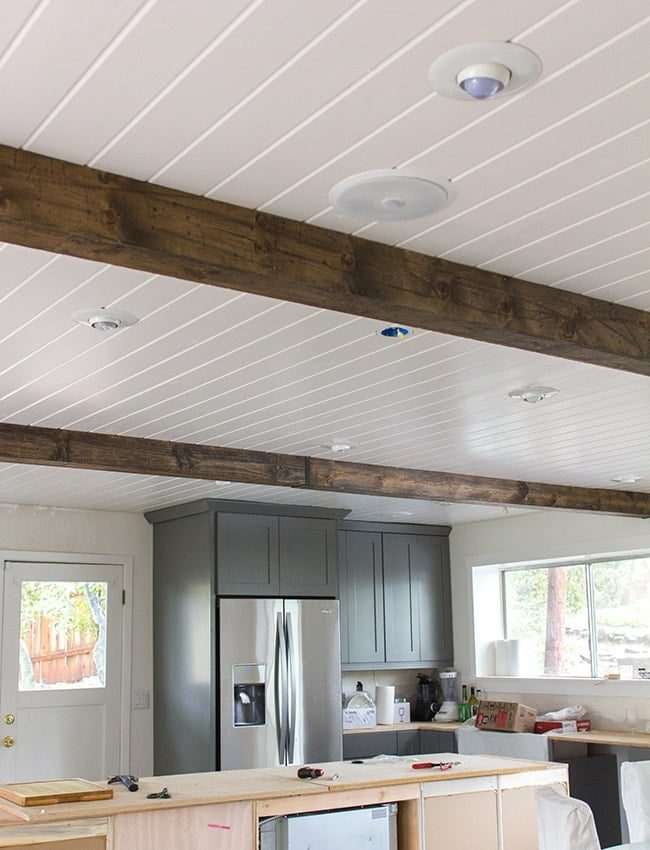
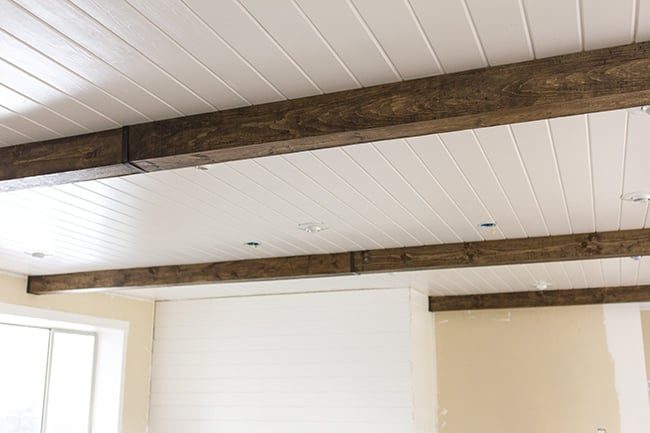
Would you agree?
How to install faux wood ceiling beams
- Attach 1×4's to the ceiling at your beam locations
Make sure they are secured to the joists wherever possible
- Roughen up the wood for a rustic look (optional)
Use a variety of tools to distress the surface for a rustic/aged look
- Build 3-sided beams using 1×6″ and 1×4″ boards
For best results, use a higher quality wood (such as oak, walnut or poplar)
- Apply a wood stain
For an even finish, consider using a wood conditioner first
- Install the beams
Nail the beams along the sides of the 1×4
- Install beam straps to hide the seams (optional)
You can DIY your own straps using metal strips from the hardware store
And there you have it—the first finished part of our kitchen! Looking for other ways to add ceiling beams? Look at these posts:
Hopefully this inspires you to get out there and tackle it yourself. It is one of those things that looks pretty intimidating before you do it, but then when it is done you will want to do your whole house (I am eyeing you next, living room…)