Master Makeover: Paint & Pax Wardrobes
Now that we have a plan for the master bedroom, I did not want to waste any time so this weekend we got right to it. Step #1: Paint. Well, paint the two walls that will…
Now that we have a plan for the master bedroom, I did not want to waste any time so this weekend we got right to it.
Step #1: Paint.
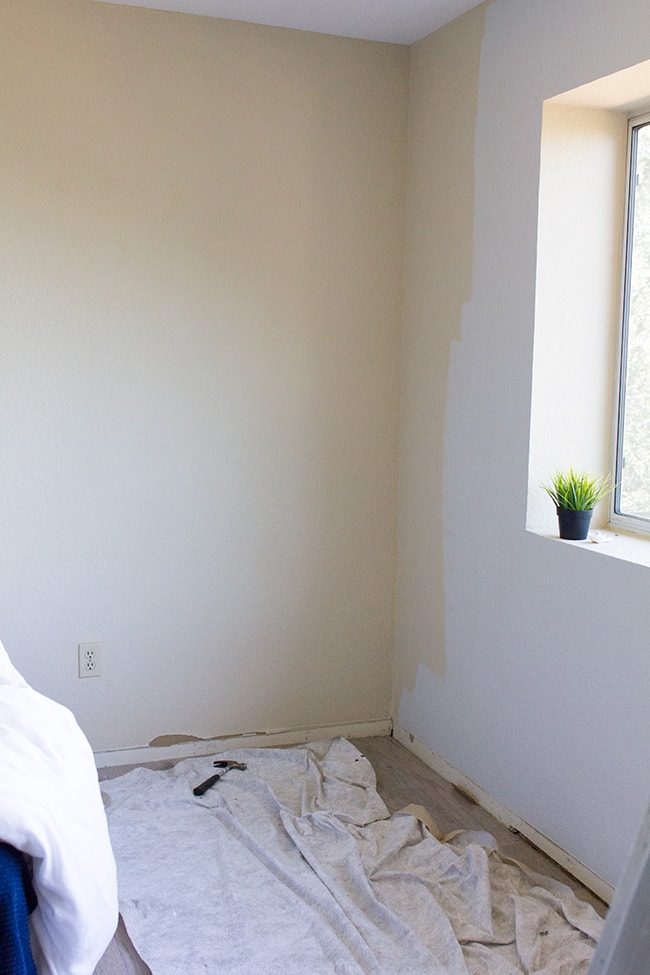
Well, paint the two walls that will not have any wood treatment, which left the window wall and the door wall.
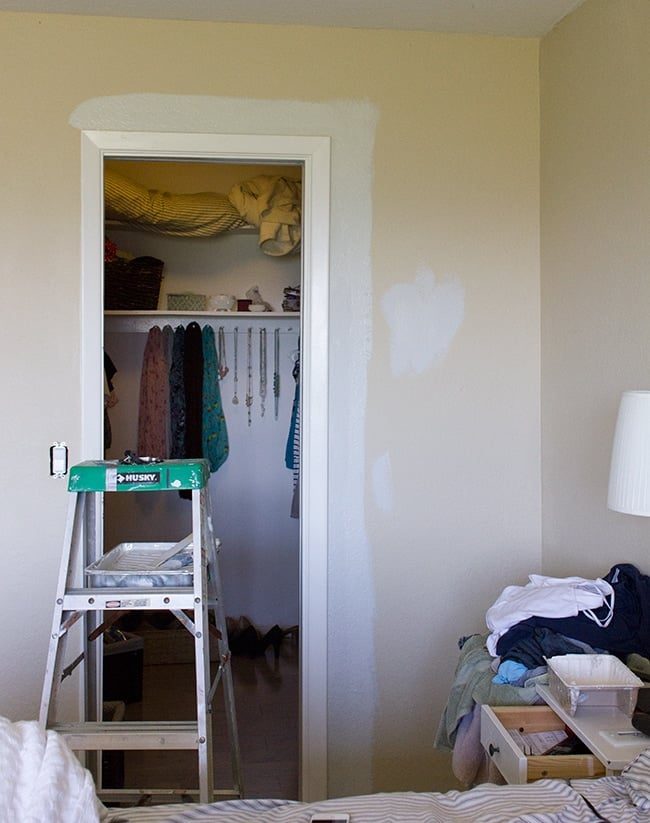
There is going to be a lot going on in this room, so The aim was to keep it unfussy and light with a barely-there gray (Valspar's Montpelier Madison White—the same shade we used in the living room, studio, and hallway—pretty much the base color for this house).
Brad used the roller while I cut in the edges and corners with a short handled brush and we knocked it out in under 30 minutes… so much easier than using tape!
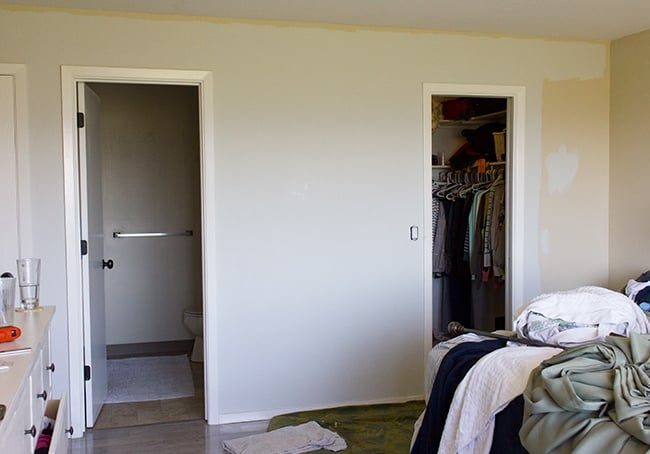
I did not bother to paint up to the back wall since that is where our built in wardrobes would go. And we are adding crown so we did not go up to the ceiling.
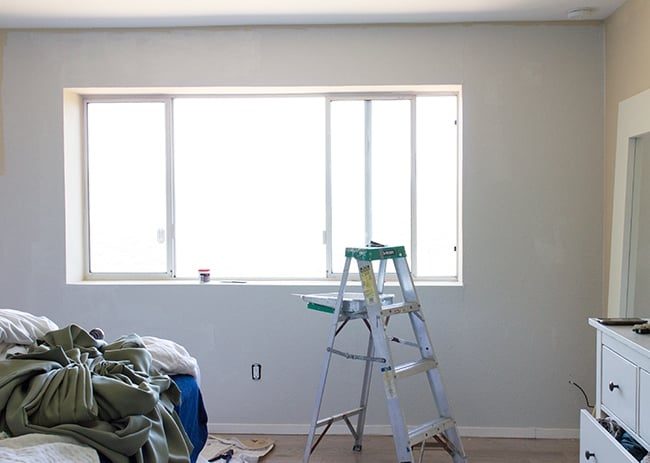
I also did not paint inside the window sill because we will be adding trim (just like we did in the kitchen & studio)
After that was done, we removed the trim to begin preparation for the wardrobes.
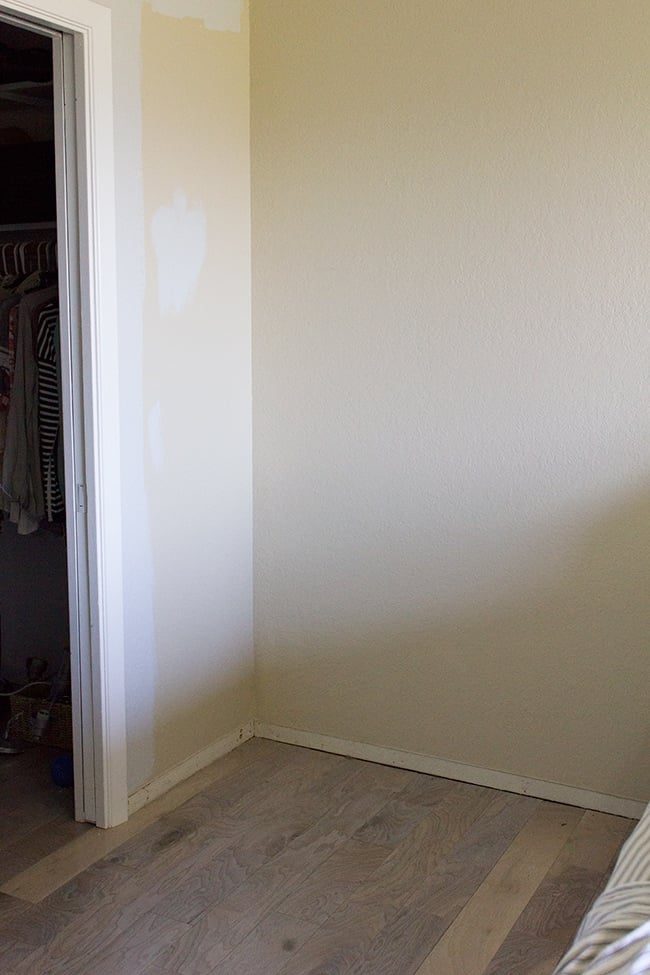
Then came the wardrobe assembly!
I purchased two Pax wardrobes that were just the right size for the room…

I had planned to purchase the Bergsbo style doors like the ones we used for our kitchen pantry…
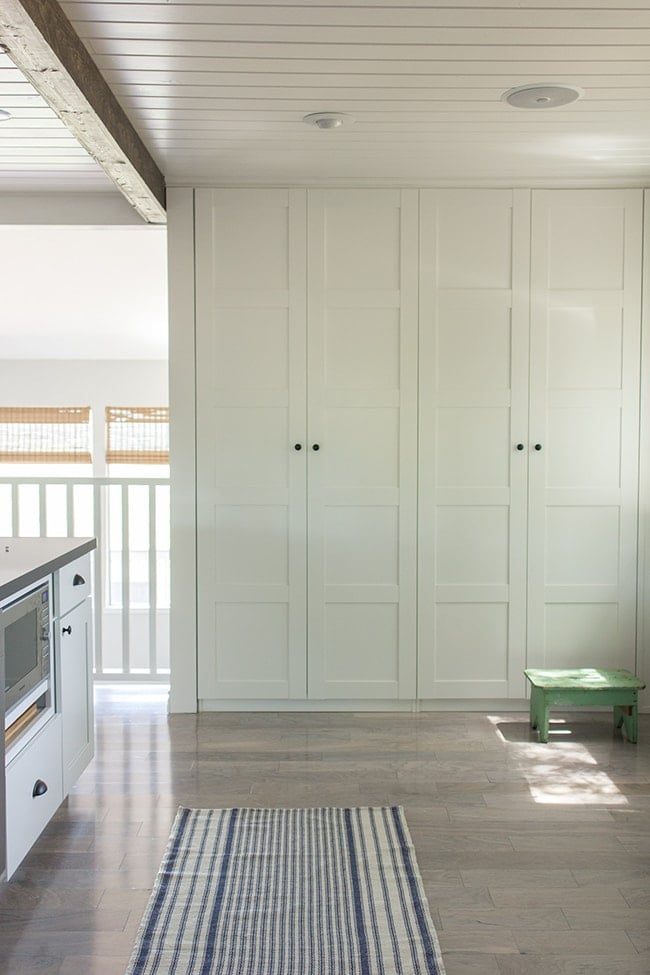
But sadly, they were out of stock. So I chose the plain flat doors. Do not worry, I have a plan to pretty them up starting tonight—hopefully they'll be done and ready to share with you guys in a few days!
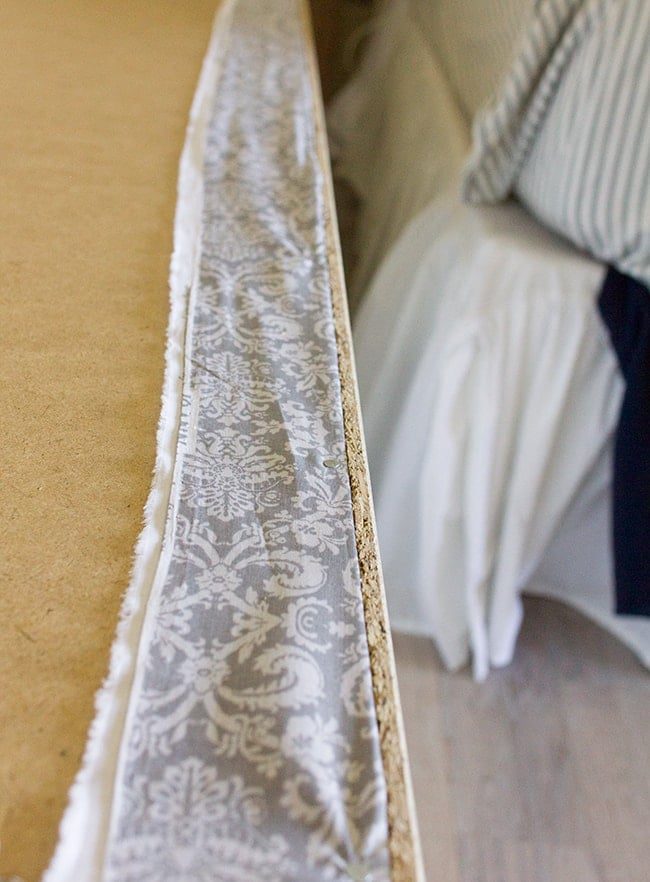
I did have something fun in mind for the inside though—fabric covered backs. I considered wallpaper at first but fabric is so much more readily available and cheaper, so I picked up 6 yards at Joann's for $20 along with some modge podge:
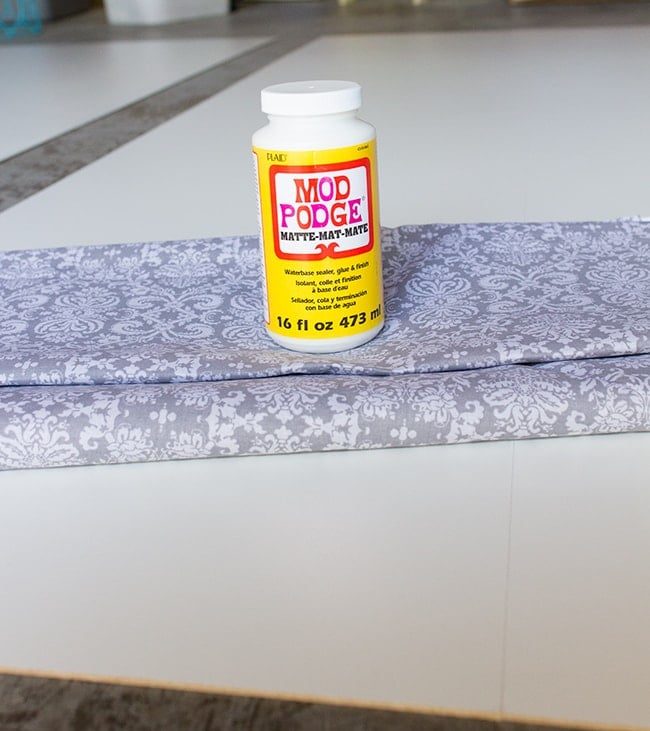
It helps to keep the feminine touch the damask brings without being too girly.
There is no photos of the application process because we both had our hands full, but we found the most efficient way to do it was coat one small section at a time with the modge podge, then pull the fabric and smooth it out, working your way down the panel. It was a lot easier to have two people so one could keep the fabric pulled back while the other smoothed it down.
The fabric was 43″ wide and the panels were 40″ so it was well suited! I just had to cut the length off at the bottom. It did not matter if it hung over the sides since it would all be hidden.
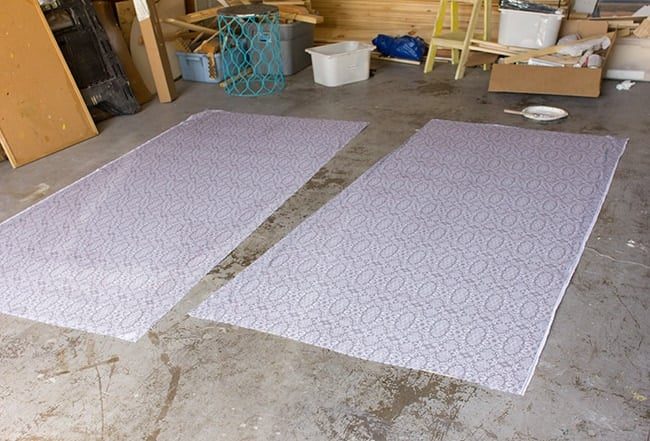
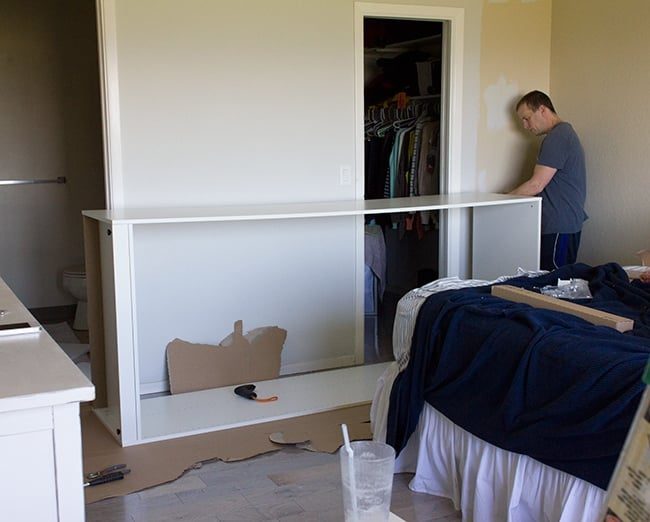
After the back panels were covered, it was assembly time. Pretty straightforward, easy stuff.
Here is our fabric panels, nailed right in to the back:
Once the first wardrobe was assembled we proceeded to stand it up and…. crash…. it hit the ceiling!
For whatever reason, the ceiling height in our bedroom is shorter than it is in our kitchen (95″ instead of 96″ like they are supposed to be), so we had to disassemble the wardrobe and reassemble it while standing up. Bummer. Always check first!
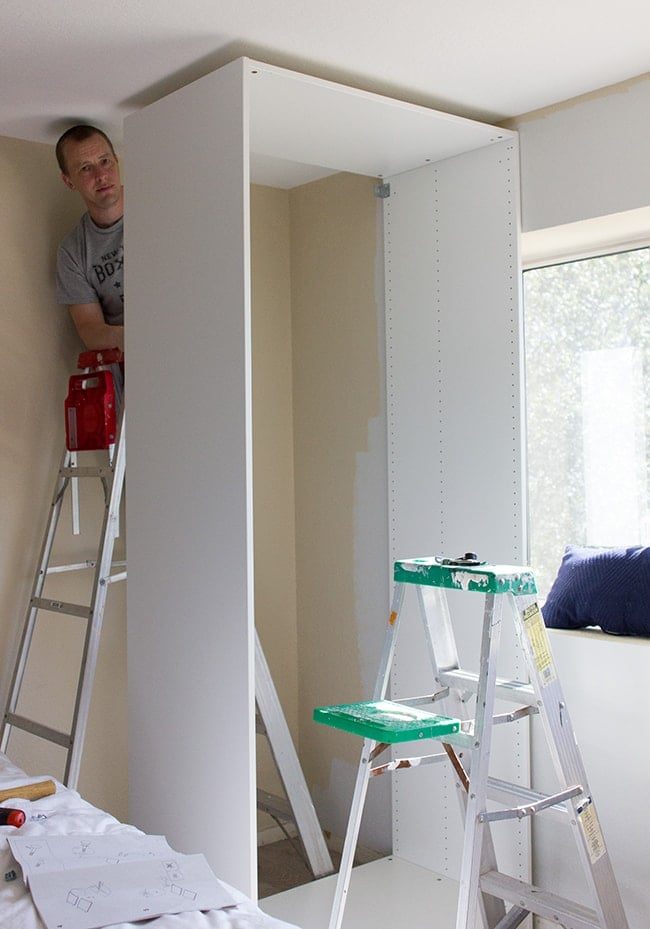 |
| Brad was not enthused about this part. |
All was well in the end…
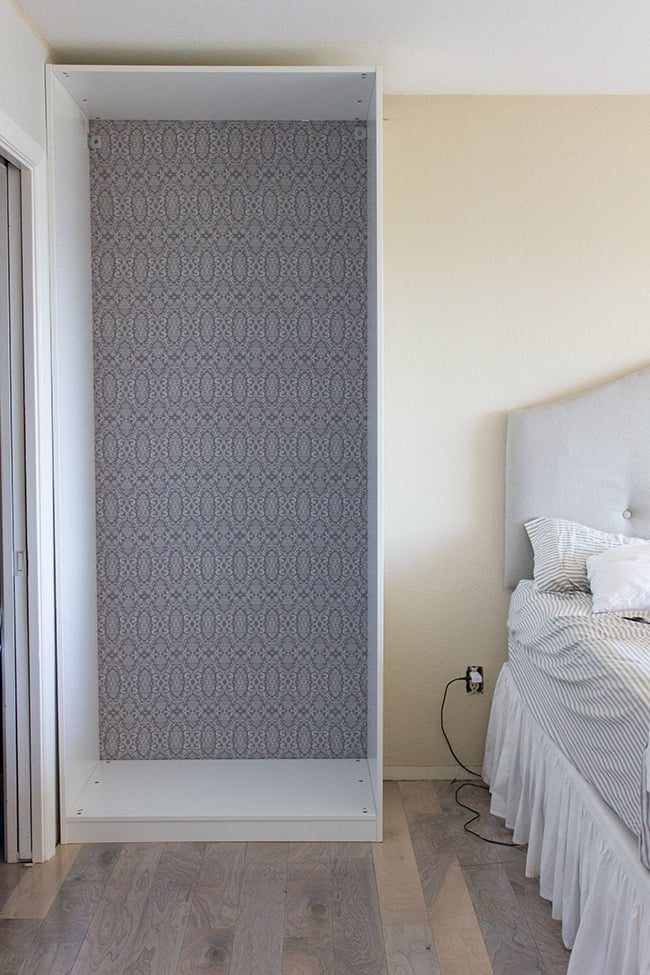
Ignore the bed, yesterday was laundry day.
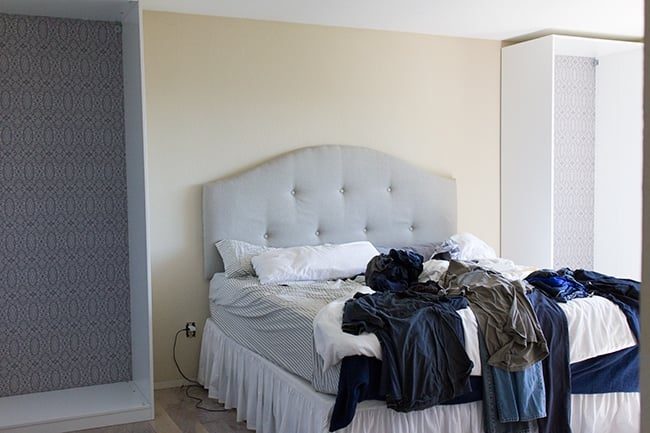
Then came my favorite part, setting up the pieces inside!
I do not need any more clothes storage so I decided mine would be a vanity area with all of my jewelry/accessories, so I picked up a couple shelves and some wire basket drawers.
Because the wardrobe is up against a wall, I had to be careful about
how far the door could open so this would not happen…
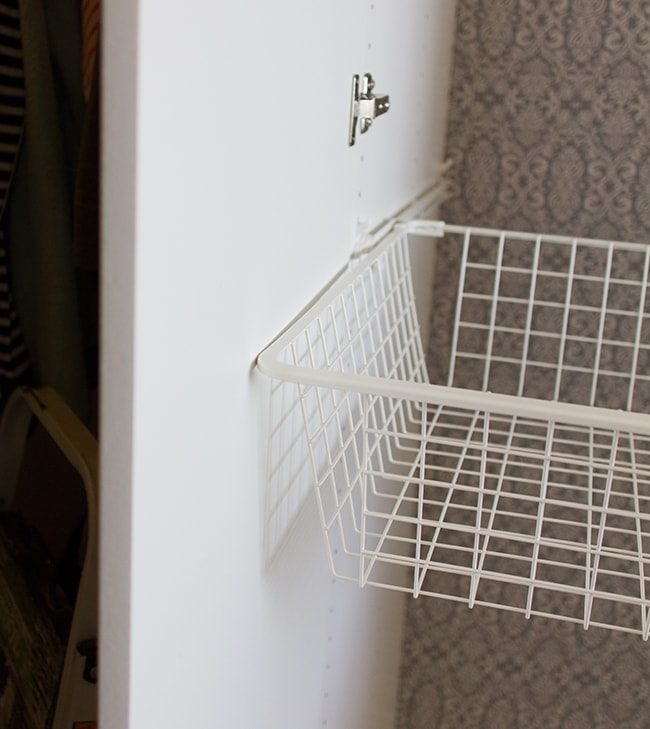
The door opens up just enough so the basket can slide out, but after I add my treatment to them tonight I am afraid it will be cutting it too close. This means I'll have to add some 1×8 boards between the wall and the wardrobe to push it out slightly (I'll do the same with the other wardrobe as well).
Here is the setup I decided on:

Brad's side will be mostly used for clothing:
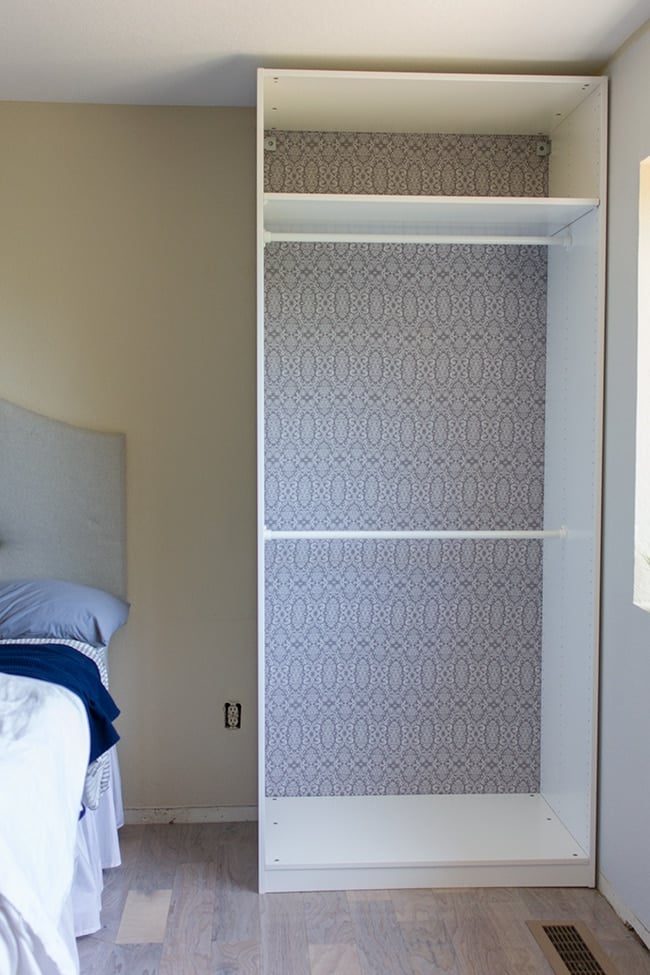
Looking forward to stocking these things up!
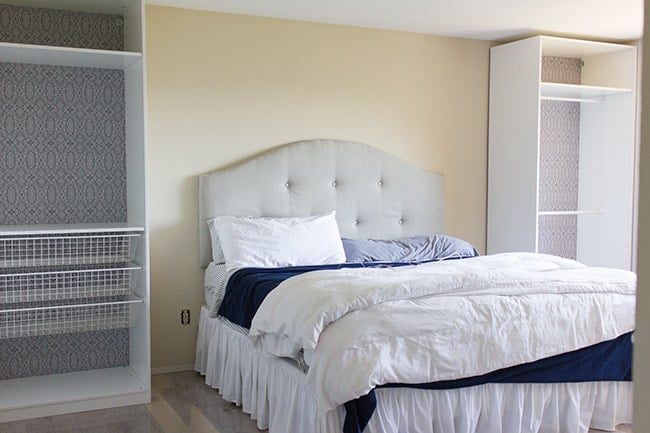
The wardrobes are not attached to anything right now—we still have to secure them to the wall, add crown molding, and then get those walls planked behind the bed for the finishing touch.
And that is it for now, folks. I have a lot to do over the next few days but I do not want to rush it (paint takes time to dry!) but I'll try my best to have the doors done by Thursday.
See you back here at the end of the week!