Kitchen Chronicles: Ikea Pax Pantry Reveal!
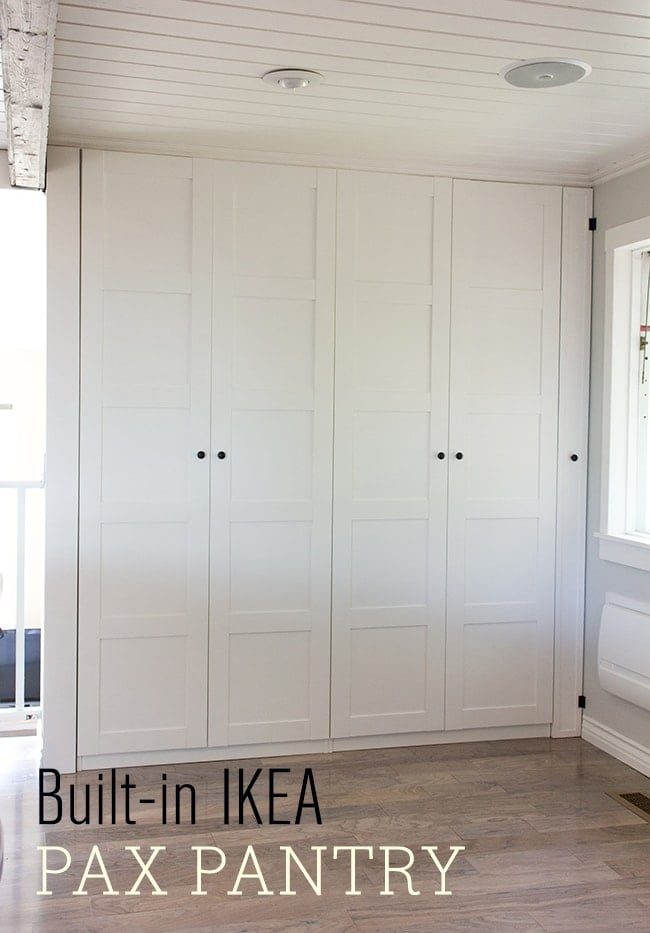
How to build a custom pantry using inexpensive Ikea Pax wardrobes. Follow these steps to make them look built-in!
Ladies and gents, I present to you our finished Ikea Pax Pantry:
First, make sure to read through Part 1 of our Ikea Pax Pantry build which explains how we installed the Pax wardrobes:
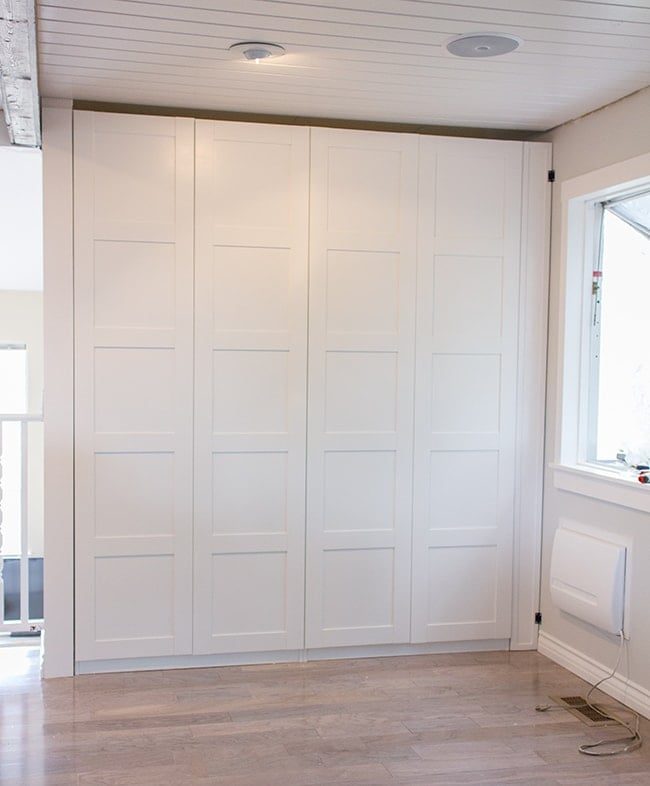
After completing part 1, the next step was adding crown molding. I had my dad come over to help, which was a good idea because this project came with more challenges than anticipated.
Obstacle #1: Cutting a special shape out of the molding where it met up with the cabinets above the door. My dad knocked this one out of the park—a well suited fit.
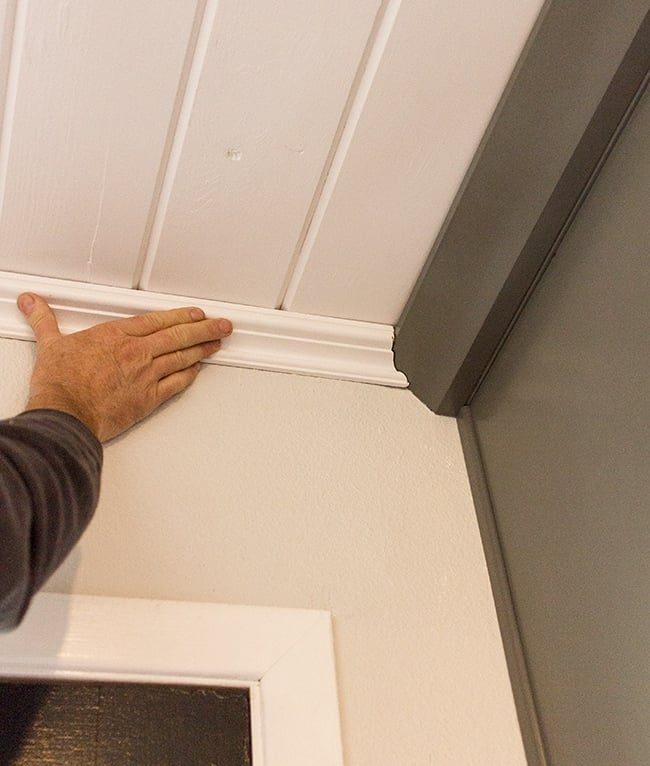
Obstacle #2: Getting the crown to squeeze in above and be level with both cabinets. The crown height and gap between the cabinets was the same, so we had to sand down part of the crown where the fitment was a bit too tight. Then, we discovered the left wall stuck just a tad more than the cabinets so we were left with this gap:
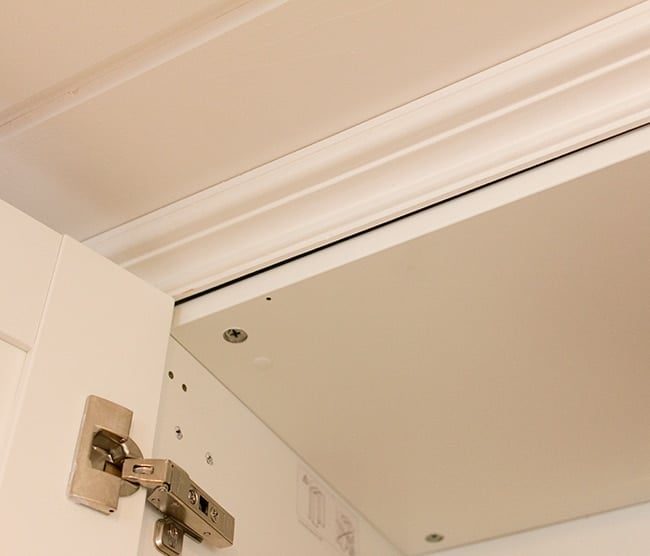
Not only that, but the gap was quite a bit worse on the right side (walls, ceilings and floors are rarely ever perfectly square, so this was bound to happen….)
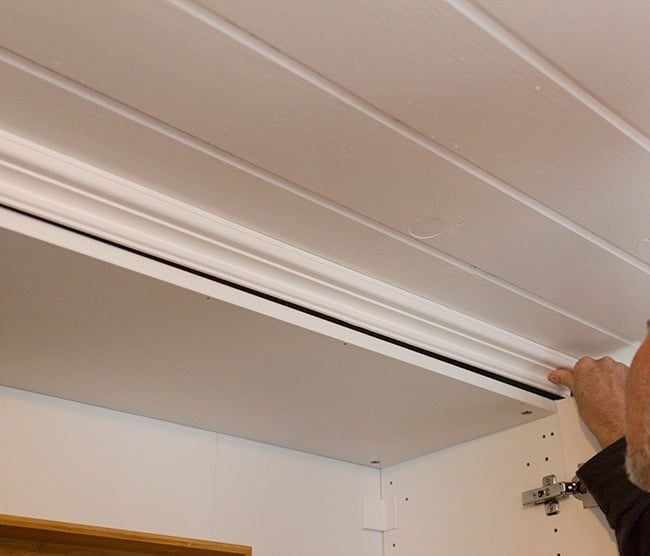
To help close the gap, we nailed up a small piece of wood (just on the right side where it was genuinely bad:
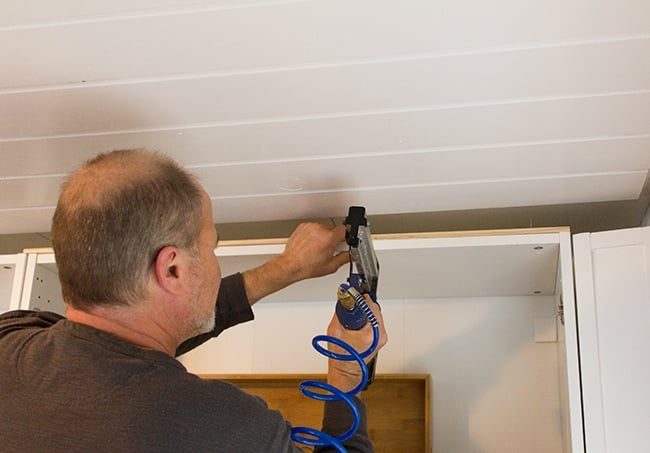
I was able to caulk everything in to completely hide the gaps. What would we do without caulk?!
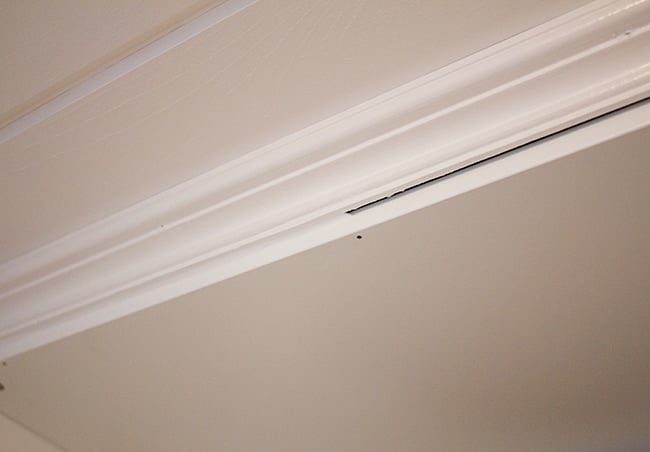
Obstacle #3: There was still a visible gap above the makeshift door on the right:
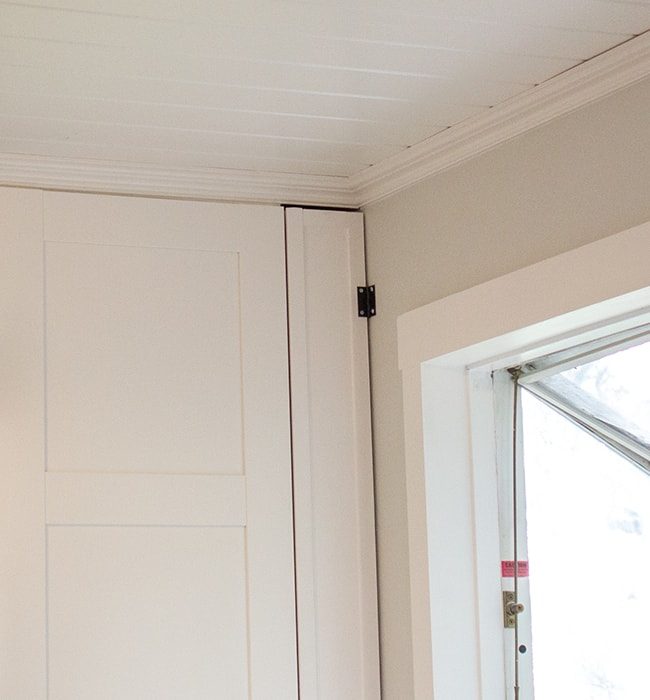
To fix this, I cut a scrap piece of wood and glued it on to the back of the crown.
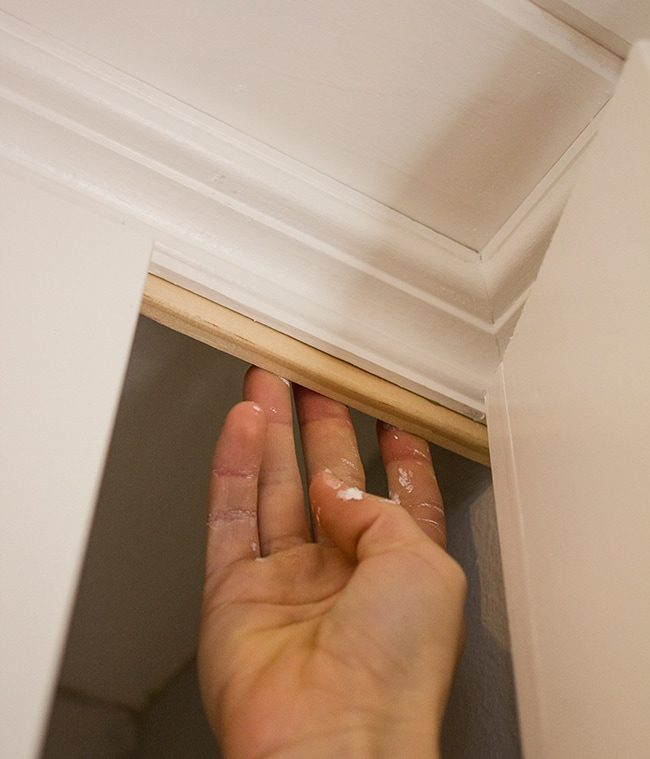
There would not be any pressure on it (the door magnet was keeping the door from swinging back), so the glue will hold just fine. I caulked & painted and now it looks like part of the crown.
Just in time, our knobs arrived in the mail and we got those on last night (these are the same ones on our cabinet to tie them all in):
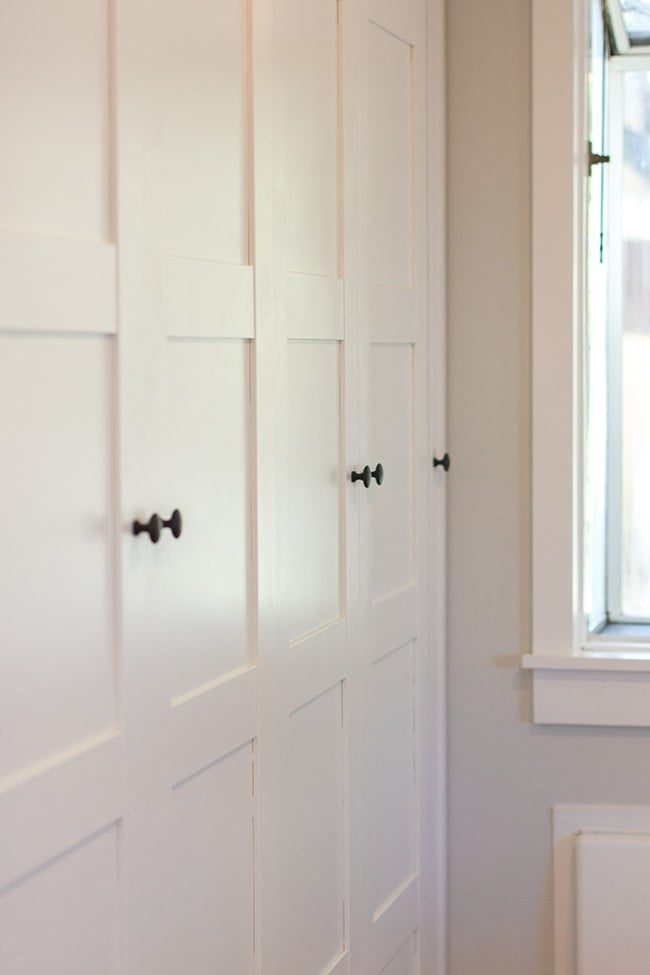
And now our pantry is finally complete and ready to enjoy!
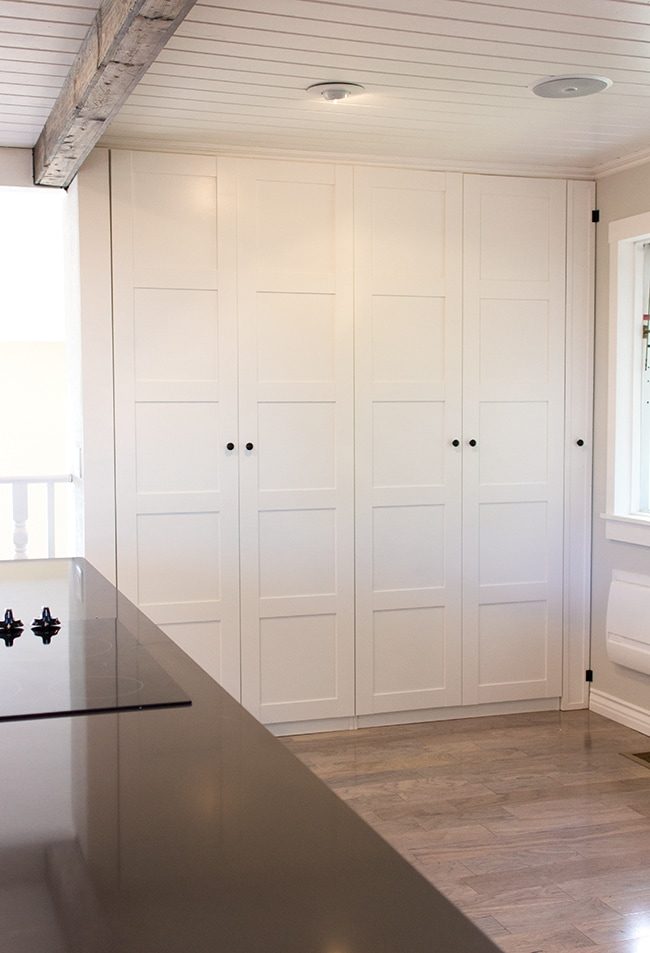
I am loving how built in and coordinated it looks next to the rest of the cabinets:

Ready to see the insides?
We went with affordable Pax shelves and Komplement wire baskets for organization:
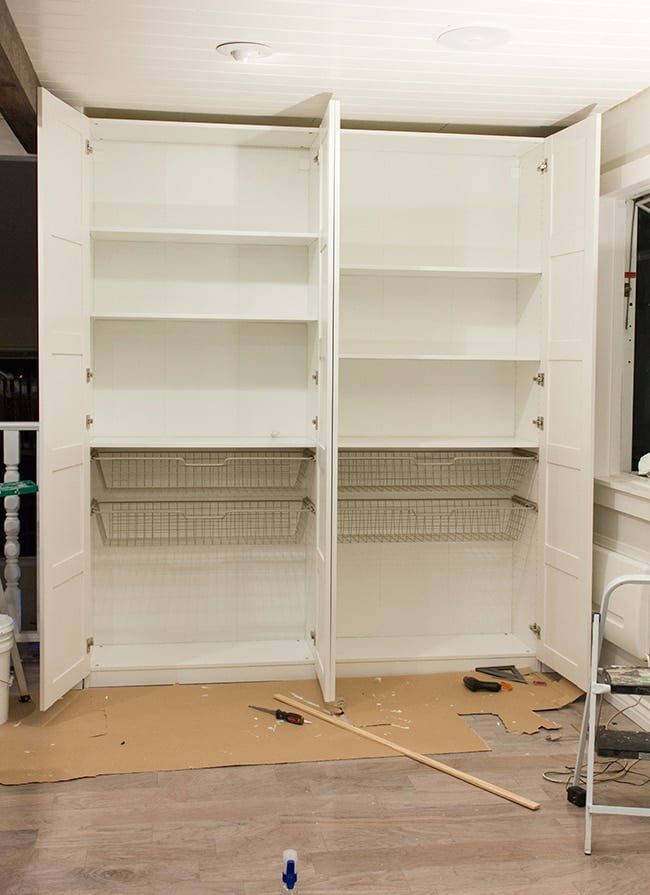
The arrangement may change as time goes on, but for now there is more than enough storage.
Let us see what's behind door #1, shall we?
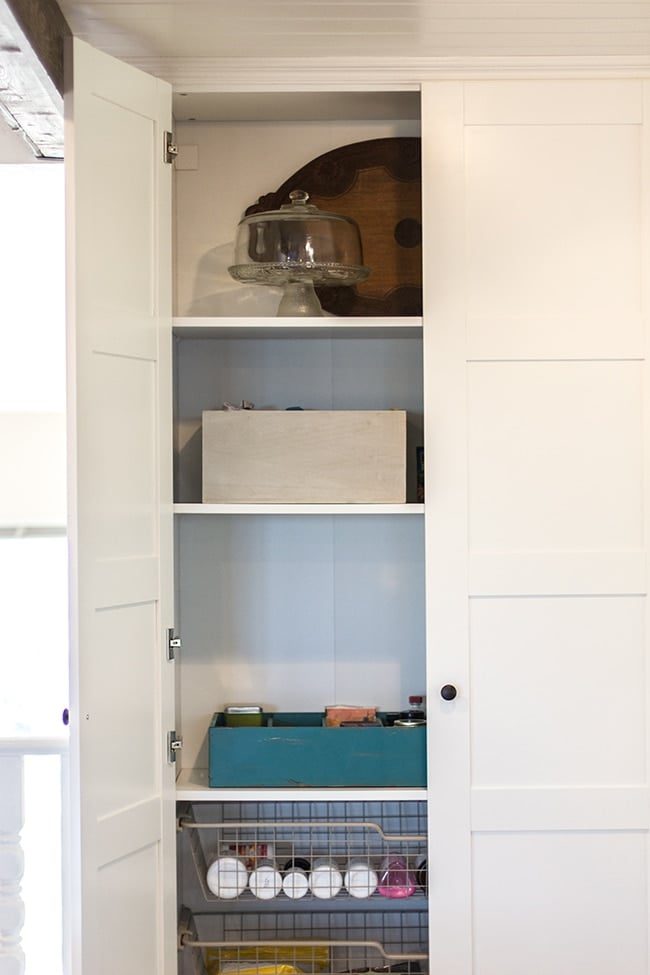
The top shelves house our less frequently used dishware, baking supplies and canned foods.
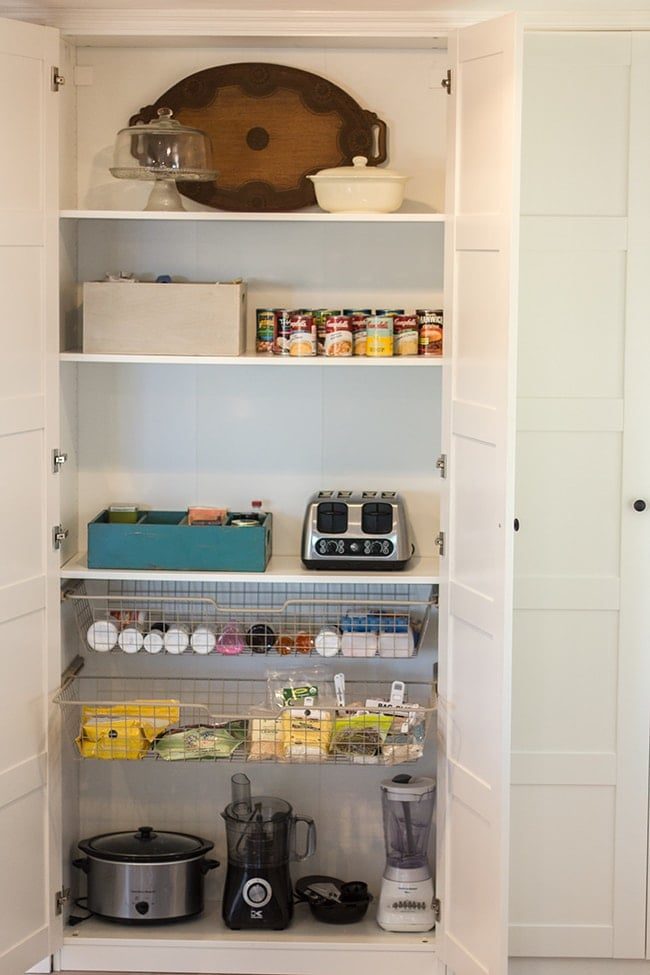
To free up counter space, we decided to store our toaster here. Before putting the pantry up, Brad drilled a hole through the back and connected an extension cord to the outlet so it is plugged in and fully functional:

We very rarely use it so this was the well suited place for us to keep it.
These pull out baskets are my favorite. So convenient, and just $15/ea! We use them to keep our vitamins/medications within easy reach, along with dry goods we use on a daily basis.
I arranged our small appliances on the bottom so they are within easy reach.
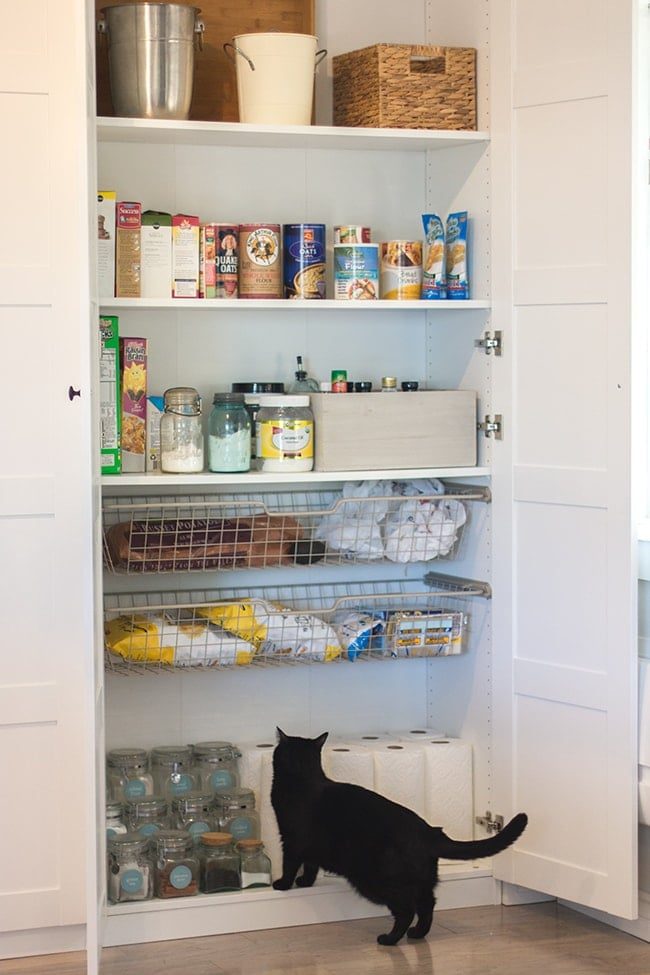
Let us see what's behind door #2…
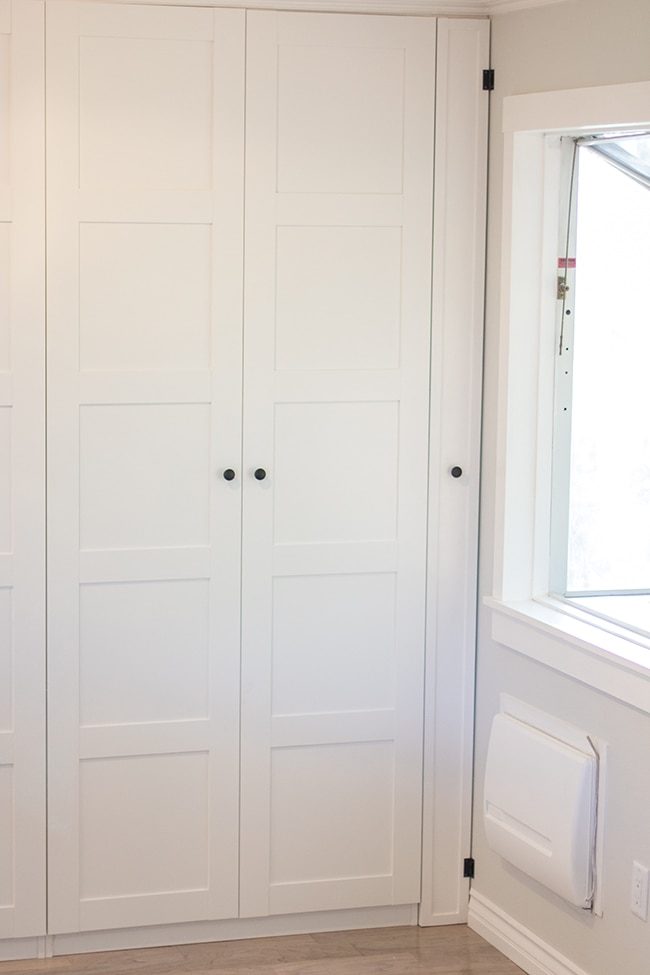
Here we have more rarely used entertaining items, pasta/oats/starches, then cereal/condiments. We keep larger dry food storage and chips/snacks in the baskets, then our glass jars with miscellaneous goods/spices and paper towel storage on the bottom.
And of course, our mop and broom storage behind the door on the far right:

I just love walking into the kitchen every day now with this view greeting me…
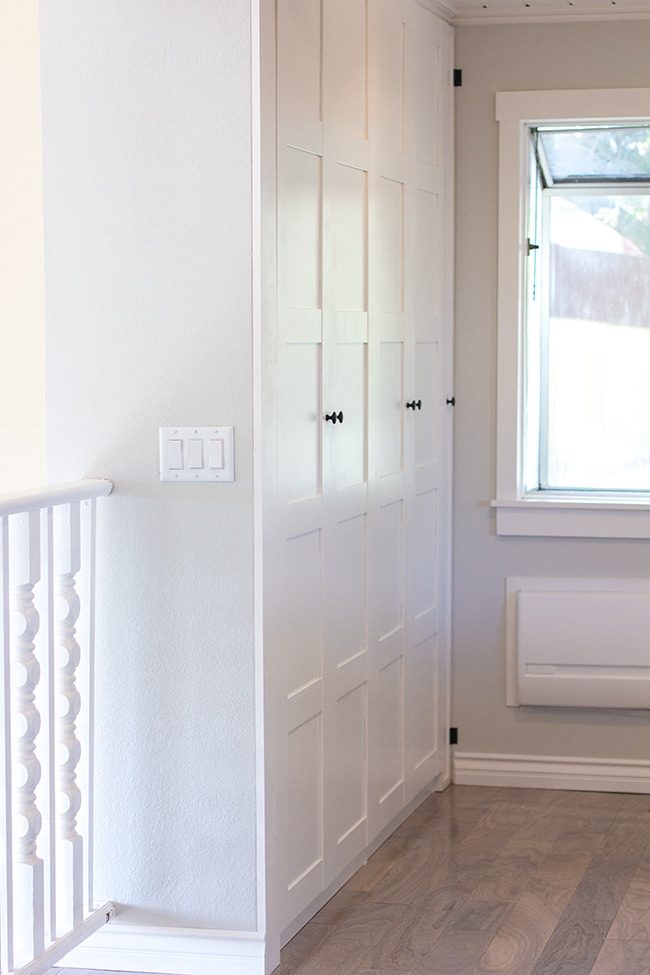
Quite an improvement from a few months ago, right?
Looking for more high end Ikea hacks? Try these DIY projects!