Kitchen Chronicles: Building a Fancy X Farmhouse Table
This weekend we took on the biggest piece of furniture I have ever built—the Fancy X Farmhouse table from Ana White: I enlisted the help of my former-furniture-maker-Dad…
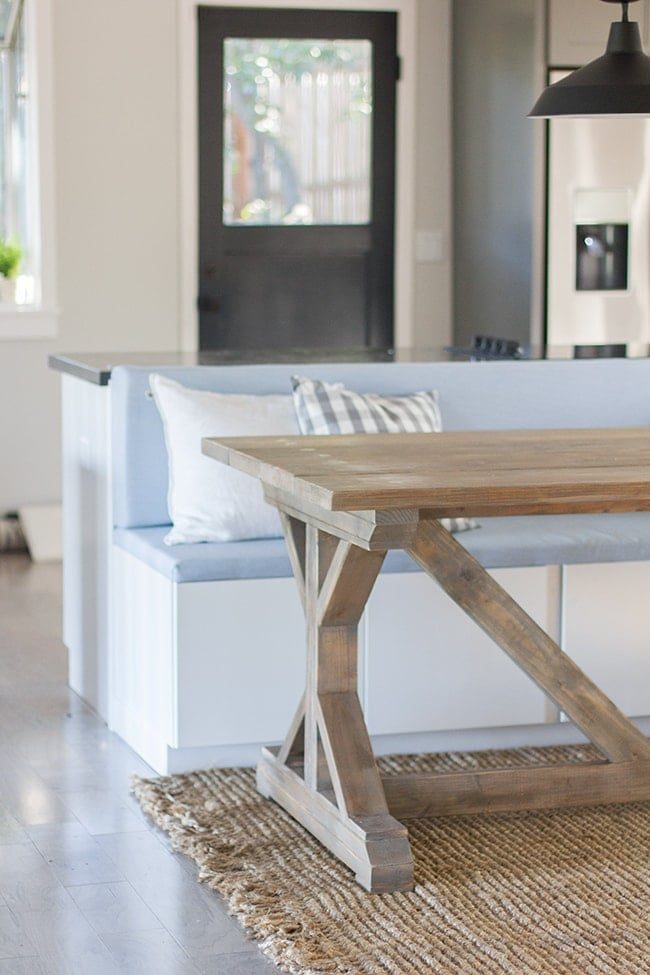
This weekend we took on the biggest piece of furniture I have ever built—the Fancy X Farmhouse table from Ana White:
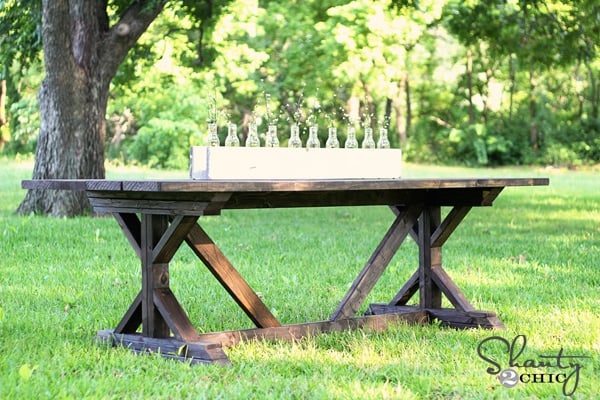
I enlisted the help of my former-furniture-maker-Dad and we were able to knock out the construction in a couple afternoons (probably 5-6 hours total?). If it was just Brad and I, I am sure it would have taken quite a bit longer.
I followed the plans with a couple modifications to better fit the kitchen. The original table is 96″ long, but I wanted mine to span the length of the island and comfortably seat eight, so it ended up being a whopping 112″ long. I also raised the height by a couple inches to accommodate the slightly taller bench seat.
For the lumber, I considered Lowe's but was wanted to get the best possible quality of wood (no warped boards) so instead I headed to a local lumber yard and spent a little more on Douglas Fir instead of pine.
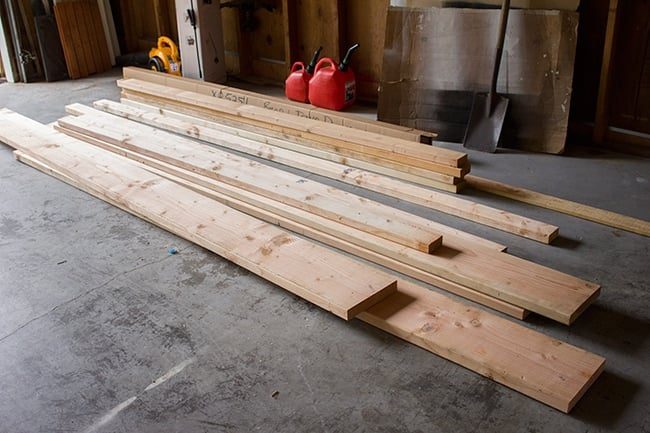
Here is a tip I did not know before: the lumber you see for sale (at Lowe's and HD too) is “green”, which means it is not fully dried out yet and has a tendency to warp over time. Apparently this does not matter for framing houses, but not ideal for furniture making. The fully dried options were literally 15x the cost of the green lumber. The local lumber yard said in the future I could place an order 2 months in advance and they'd reserve some wood for me to let it dry out first. Of course I did not have time for that this weekend, but they said they thought I would be fine if I used plenty of screws.
The total cost came to around $120 (I used four 2x10x10″ boards instead of 2x10x8″ boards for the top and grabbed two 2x4x10″s instead of 2x3x8″ for the center supports, plus Douglas Fir instead of pine, making it more expensive than the original $65 plans).
I also picked up a quart of stain and box of 3″ wood deck screws, which brought my overall total to just under $140 for everything.
Once we unloaded the wood, we did not waste any time in getting started. We went through the instructions and made all of our cuts using a miter saw:
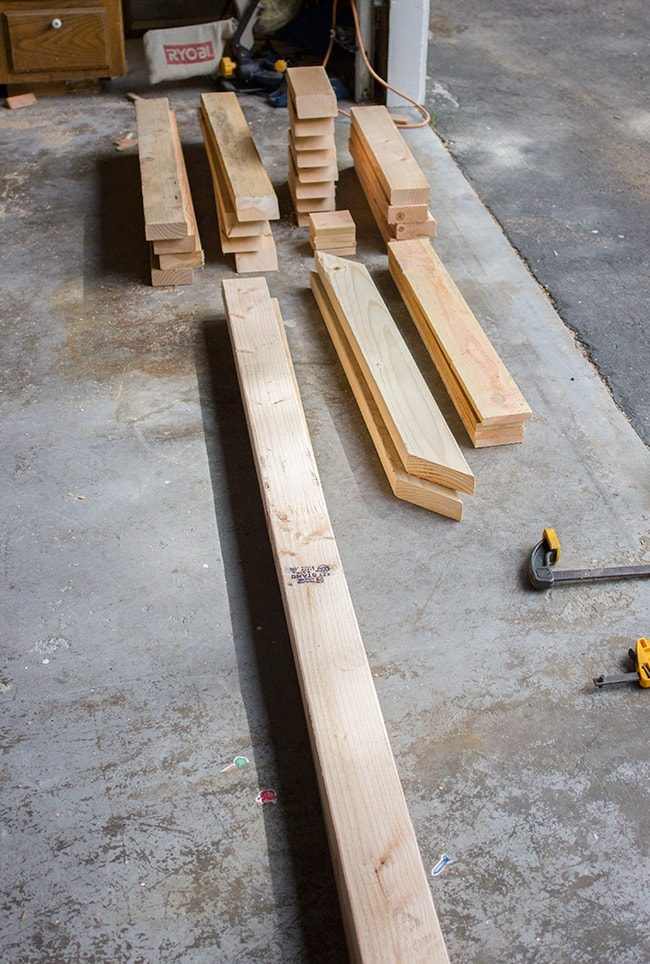
I will not go into the detailed step by steps here—it is all laid out in the plans and there are lots of comments on both Ana White, Shanty2Chic, and also the Brag Posts on Ana White's site, some of which link back to other blog posts. I spent a couple hours reading through as much as I could to make sure I was prepared.
I will do a quick recap though. Here is one of the first steps that you have to be genuinely careful with—building the table legs:
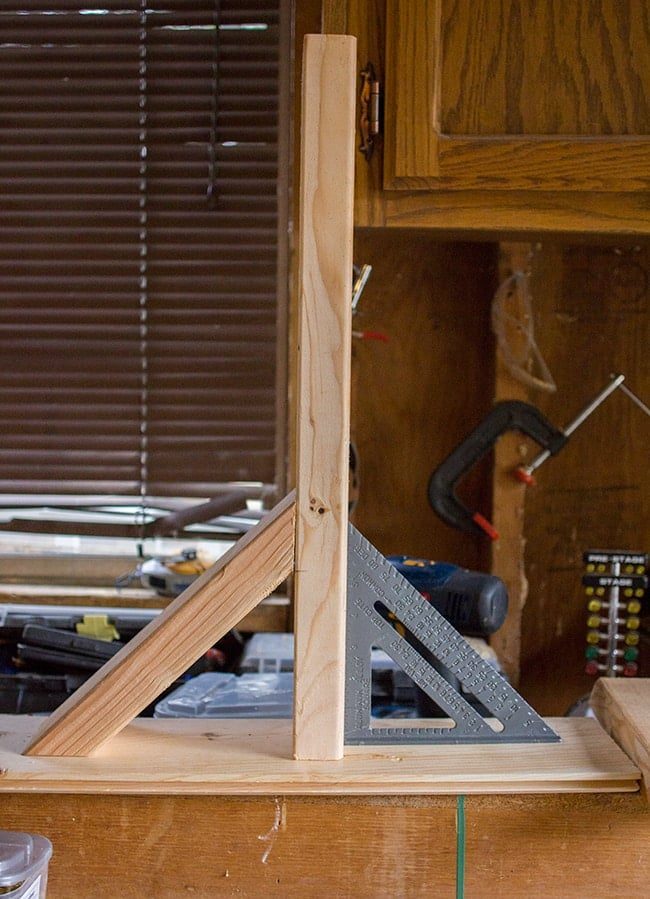
Our measurements did not exactly line up with what they had in the plans, but the most important thing was that they were squared and level so there would be no funky gaps. Definitely a two person process. The wood was so soft that we found we did not need to pre drill pilot holes plenty of the time and could just countersink the screws.
Here is the beginnings of the table legs… they look like little headless people excited because they are about to be holding up a table.
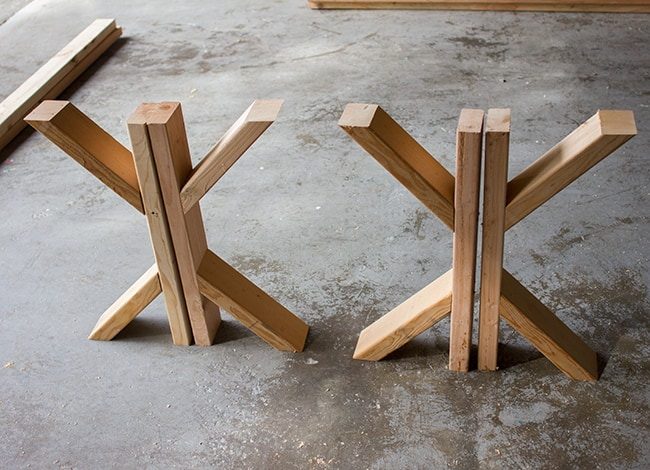
Here they are connected with 1×4's on top and bottom…
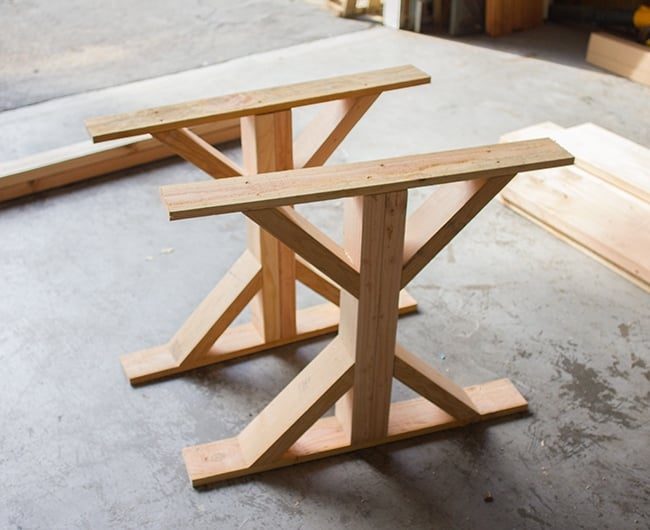
And finally, with two more layers of 2×4's and little feet:
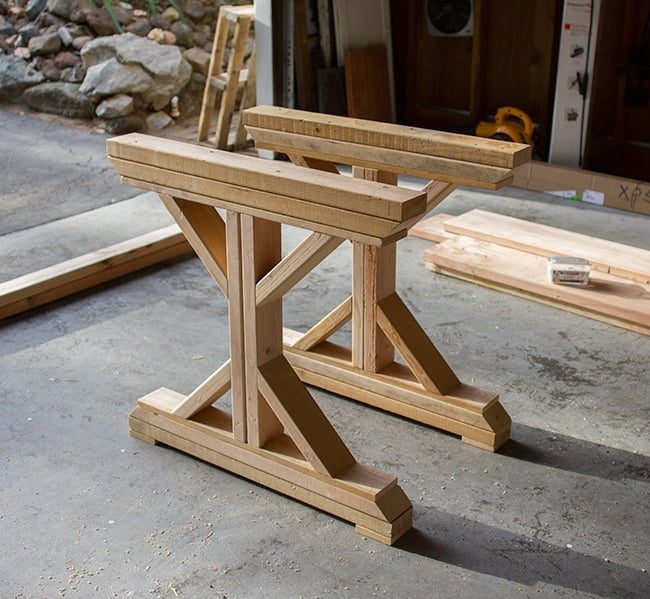
That is the bulk of the project right there. We completed that in a few hours the first afternoon and then my dad came over Saturday morning to help with the rest.
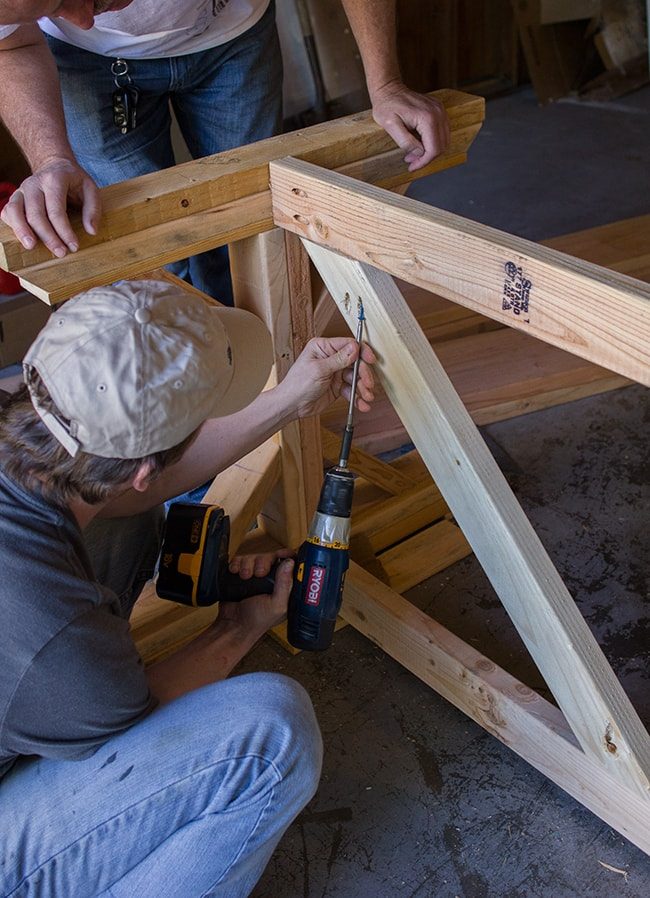
The next steps were connecting the two legs with two parallel 2×4's and adding the small cross beams. Brad joined in to help on this one (having three people was actually genuinely helpful here).
I used my Kreg Jig to make pocket holes for this part—two on each board, and we also used a nail gun on the angled parts. And do not forget the wood glue!
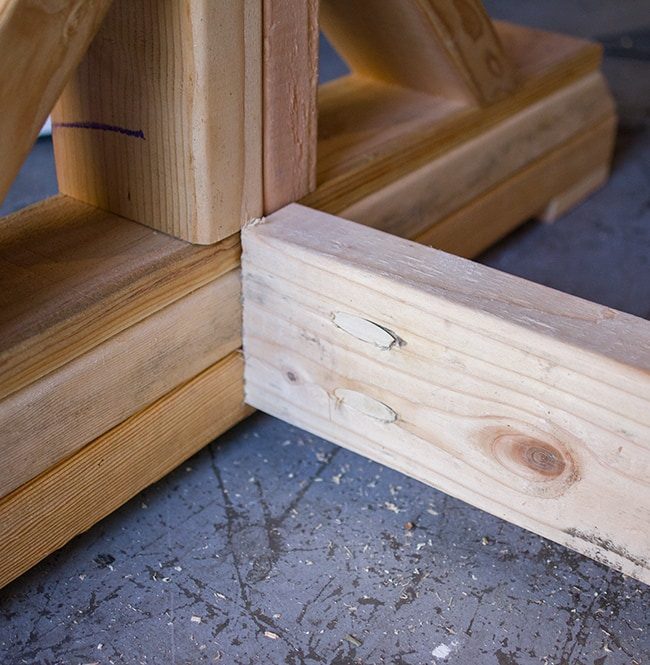
The Kreg Jig came with a handful of these wooden dowel plugs which were nice to fill the pocket holes:
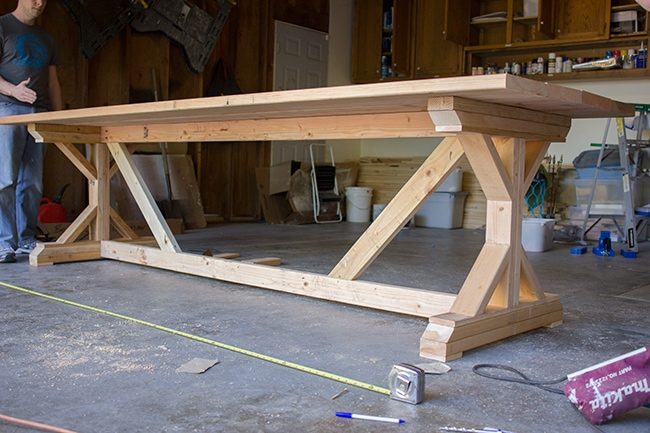
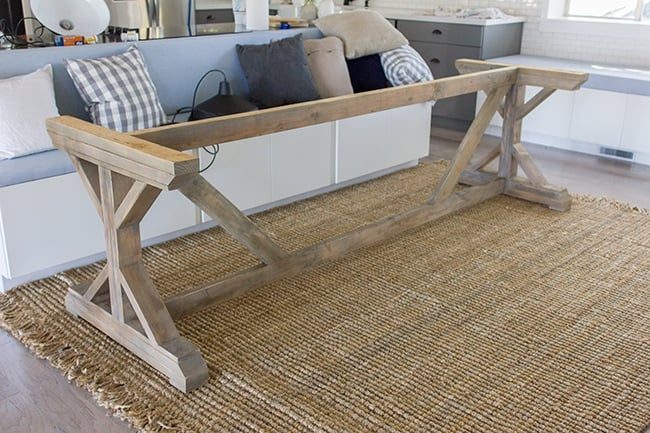
Pretty soon, our base was completely done! We did not secure the top boards until the very end—we just set them on top in this photo for a visual:
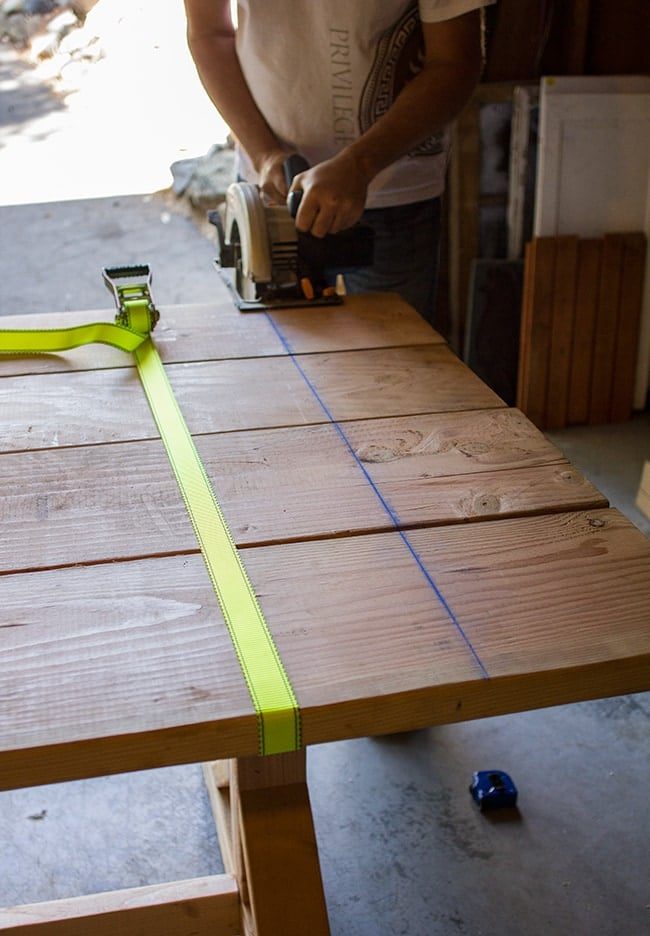
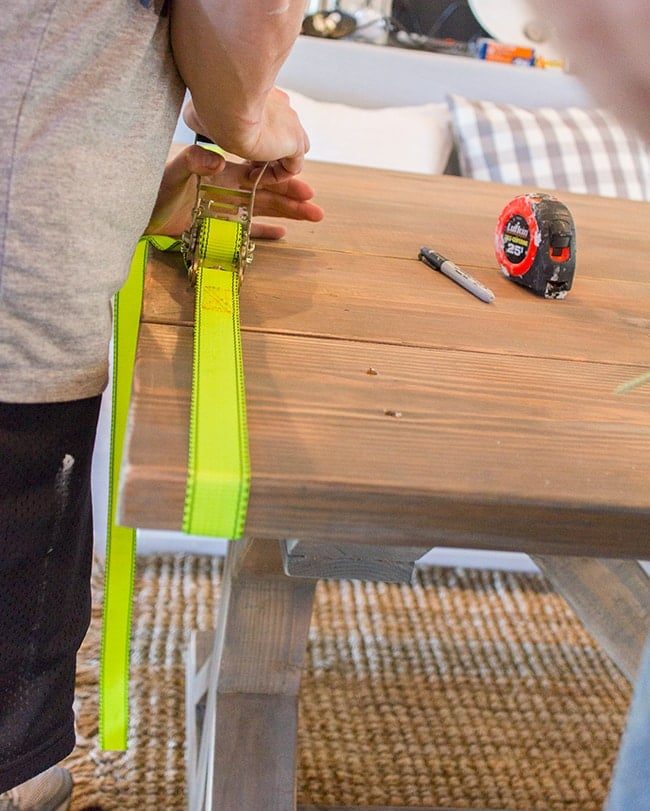
Next we had to trim a bit off of the length of the top boards. To keep them together and level (they were not perfectly straight) we strapped them down, measured out 8″ from each side, made a chalk line, and trimmed them off with a circular saw:
Then it was time for stain. I wanted a warm weathered distressed gray, so The choice was to use a mix of three different stains to achieve it:
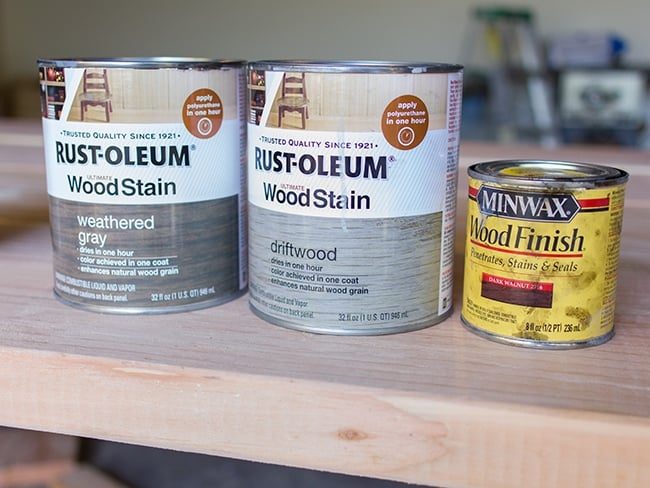
One thing I wish I would have paid more attention to is the selection of wood. This wood has some genuinely reddish/orange pieces, which I am not a fan of, but unfortunately I ended up with several of them. No amount of stain will hide that completely—you are still going to see that pinkish tone seeping through.
The base was not so bad—most of the boards were a yellow/white tone underneath.

It probably took me longer to stain than it did to build the table. Getting into all of those small spaces and edges is time consuming, and I would constantly stop and sand and restain to get the coloring I wanted.
The top pieces had the most red in them and were the biggest challenge. I found myself mostly using the lighter “driftwood” stain to try and combat the warmer tones.
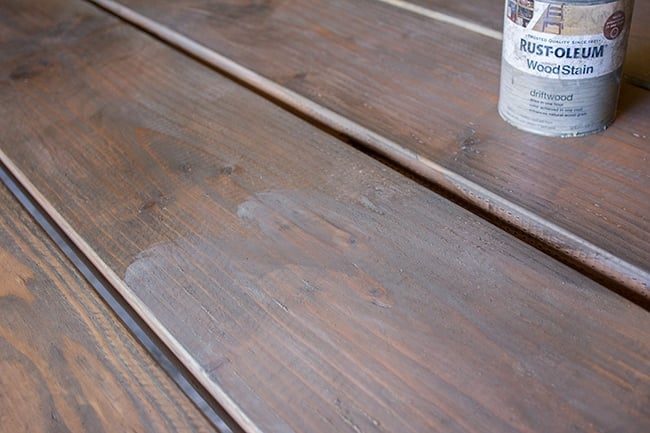
At some point I just had to call it quits and accept that it is what it is. I was hoping once I brought the table inside it would blend with its surroundings better and would not look so red.
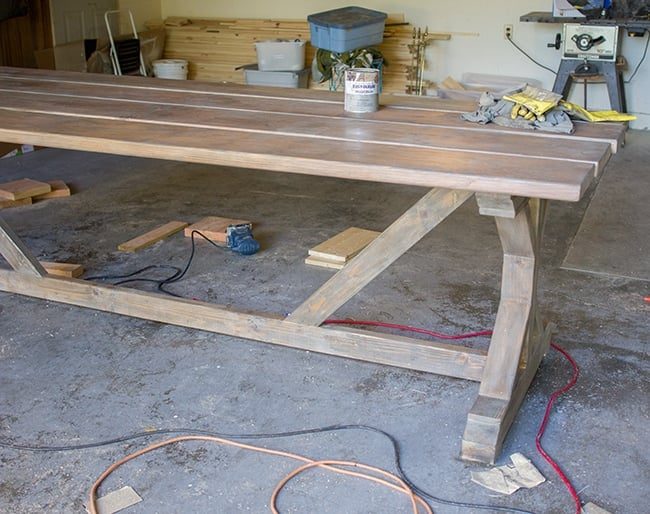
Back inside, I laid out my new jute rug (the same 8×10' I have in my office and my most favorite rug in the world)
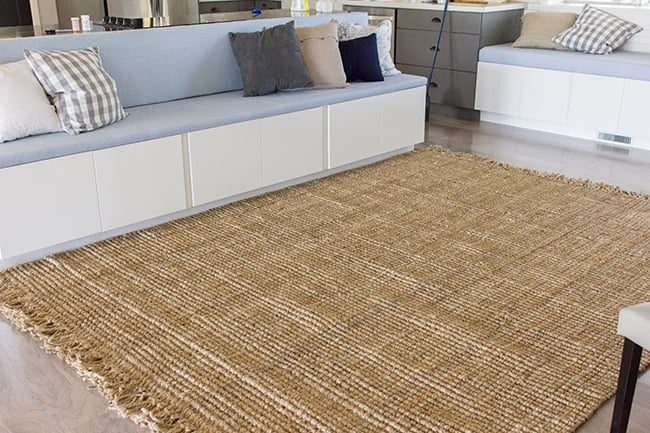
Then we brought the base in…
And arranged our boards on top. To attach them to the base, we simply screwed them in from above—two 3' screws per board.
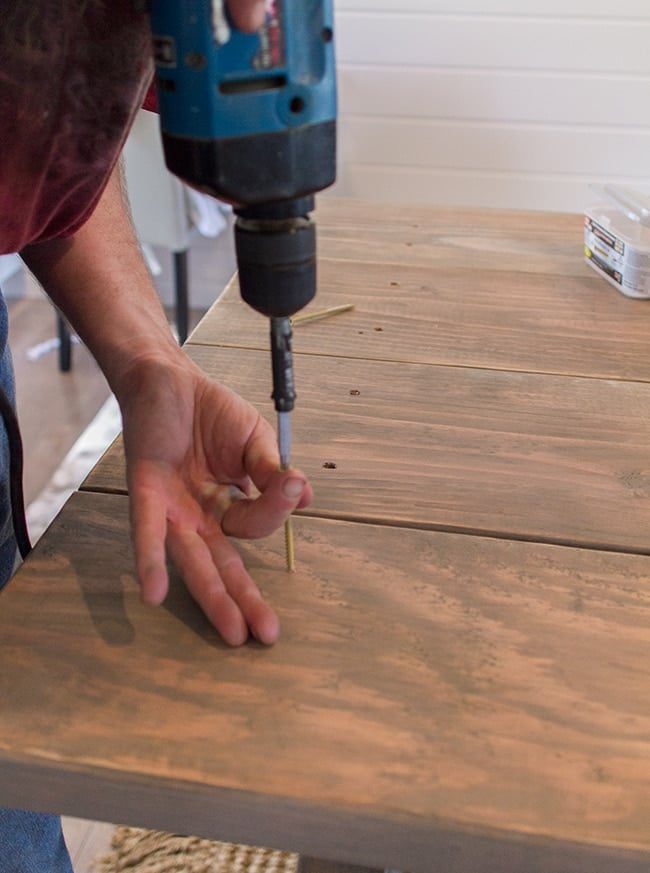
On the opposite side, the boards were not completely straight so we strapped them together and drove the screws in to keep them nice and secure (on an outdoor/picnic table you'd want to leave space between the boards for water to seep through, but not indoors).
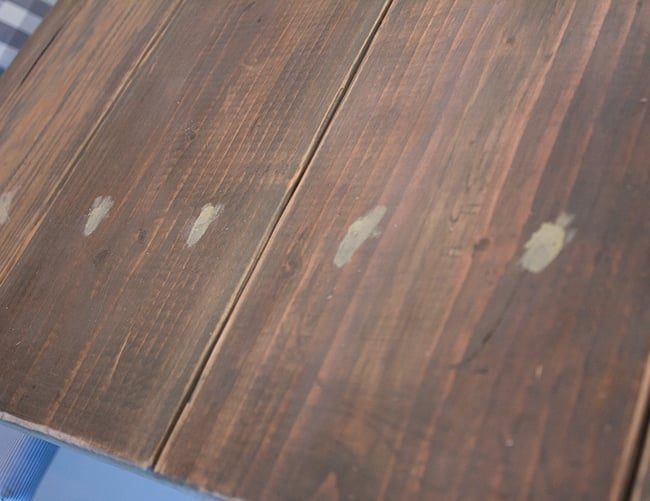
Then I filled the holes with putty. I have not had a chance to sand them down and add stain yet but it is on today's to-do list (we did this yesterday afternoon).
For extra security, we added two boards in the center and attached them with smaller screws from underneath. You cannot see them unless you are underneath the table.

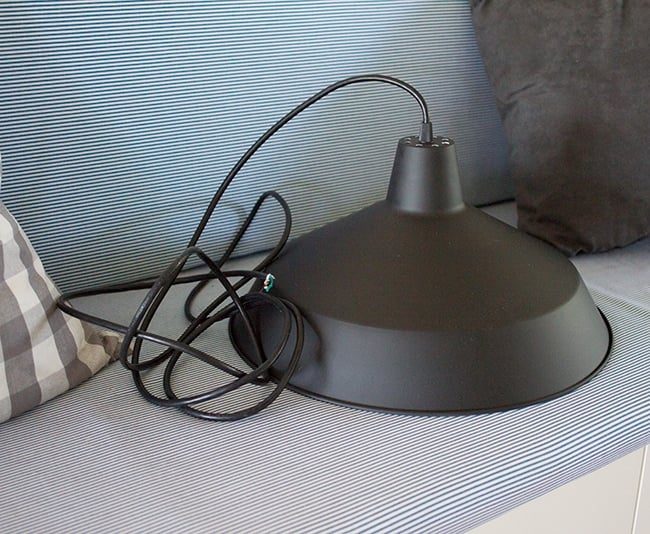
Then we were finally ready to hang our pendant lights! I picked these bad boys up in January for just $40/ea from lightingdirect.com—absolutely in love:
We hung the first one, but there was a problem. The ceiling boxes were not exactly in the correct position.
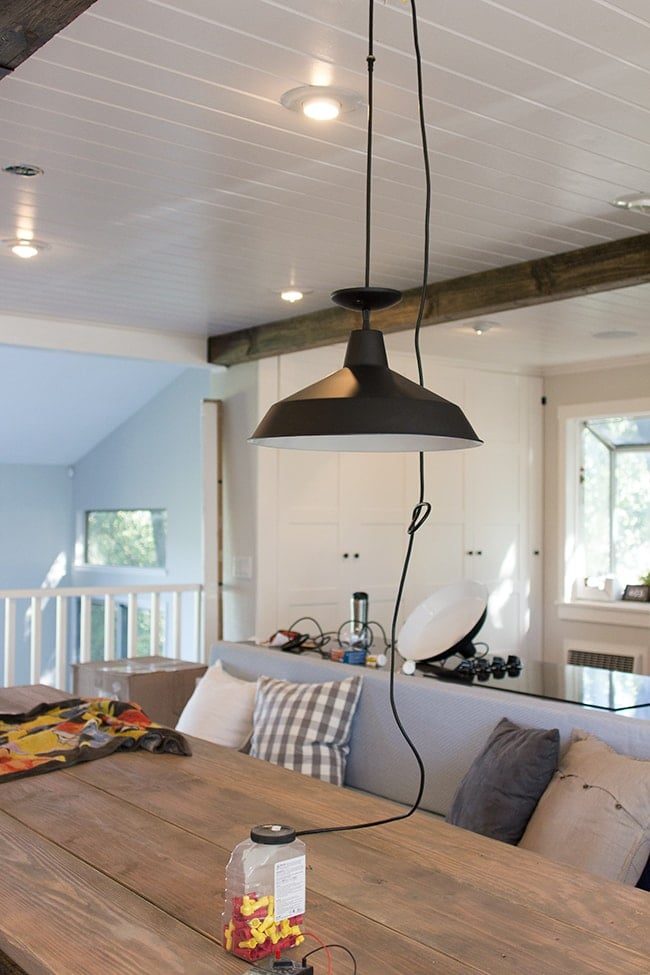
It looks ok from this angle…
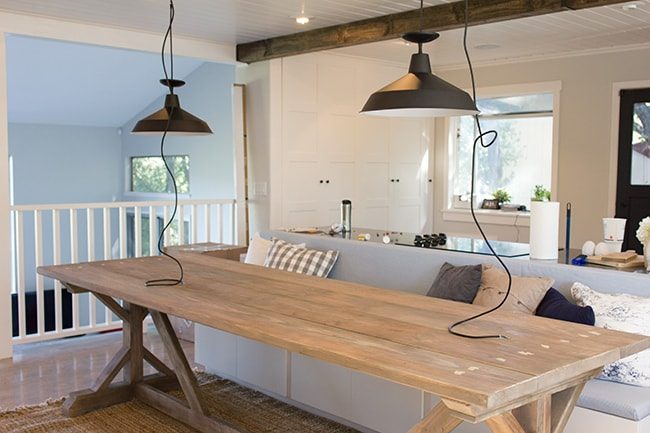
But not so much from here:
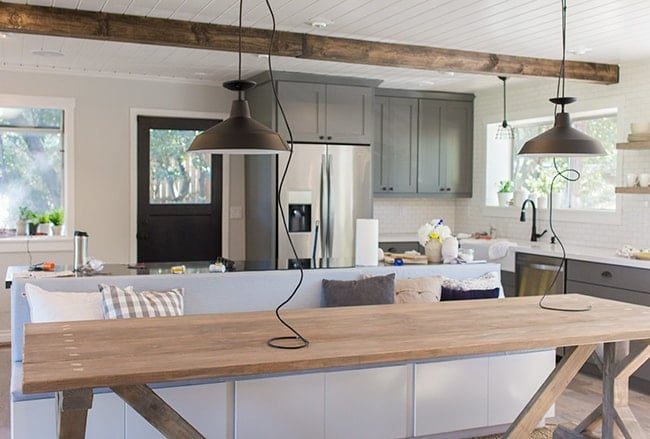
We had to wire the boxes last year, when the room was still an empty shell, so we literally just had to guesstimate exactly where the table would end up. It would have been a miracle if we landed on the correct spot, so I figured this would happen.
Fortunately, we have a solution—ceiling medallions!
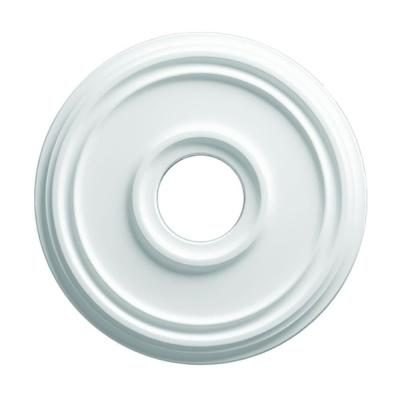
I am headed to Lowe's today to see if I can find a couple of these. The plan is to position them over the correct location and have the box and wire hidden underneath to one side. Since our ceiling is wood we can simply screw them in anywhere. Fingers crossed!
In the meantime, I am loving the way the room has been instantly transformed into a combined open kitchen/dining space…
I foresee lots of big dinner parties, holidays and family gatherings here. And this my friends, is the last glimpse you will see of the kitchen before the Big Reveal next Thursday (if all goes as planned!) I cannot believe we are almost at the finish line.
After we finish the pendant lights tonight, I'll be shifting my attention to the foyer which genuinely needs some extra lovin'. I predict more plank walls in the near future. Check back in a few days to see what I have been up to—or follow my progress along the way on instagram where I am always posting projects in real-time 🙂