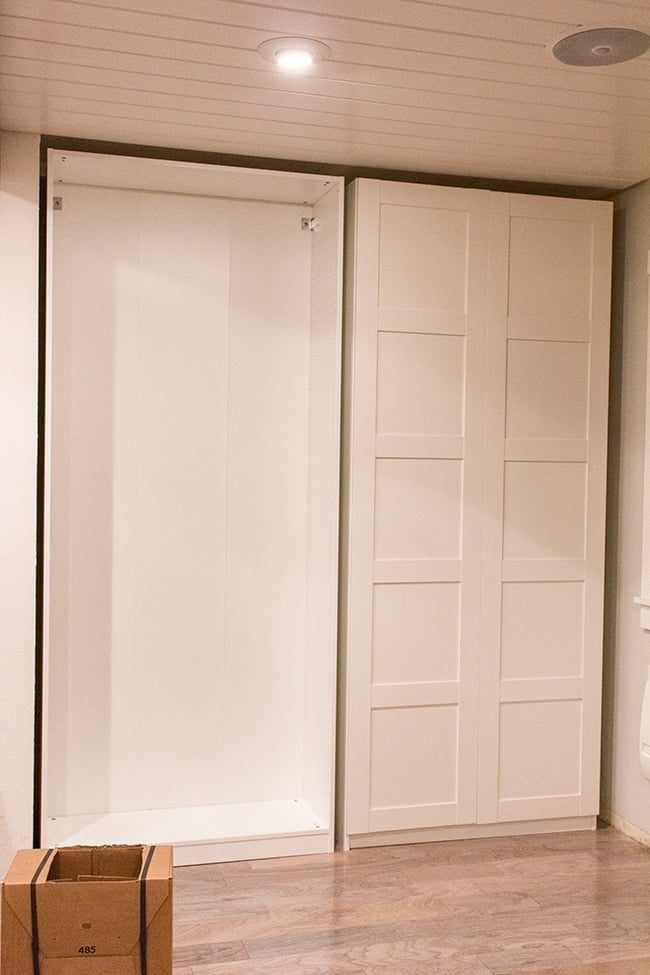
New Laundry Room: Floor tile, Part 1
Update: See Part 2 and the reveal of our new tile floors in this post! A few weeks ago after selecting our cabinet color at Lowe's, I walked over to the tile section and…
Update: See Part 2 and the reveal of our new tile floors in this post!
A few weeks ago after selecting our cabinet color at Lowe's, I walked over to the tile section and immediately spotted this Leonia Sand porcelain tile:
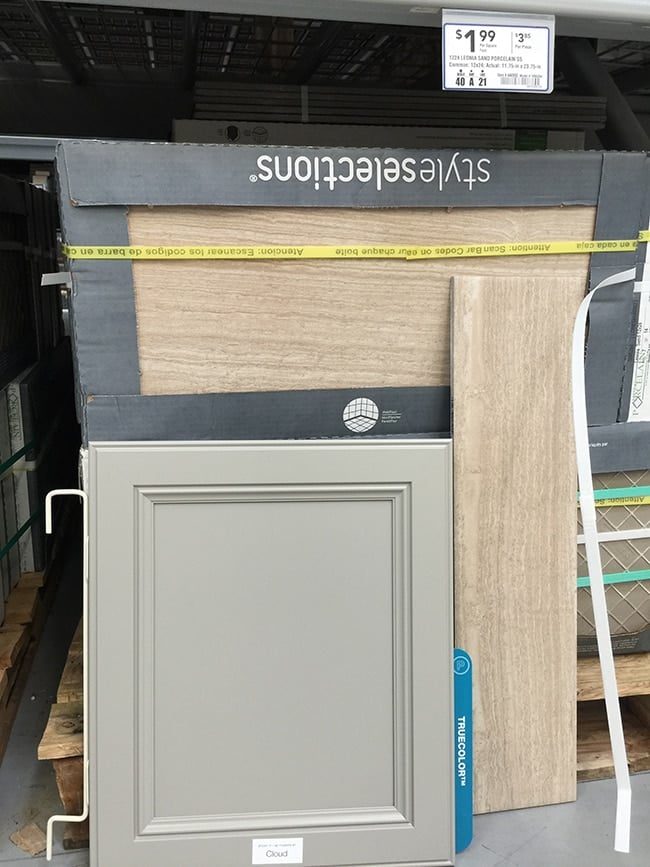
It came in two sizes—12×24″ and 6×24″. I preferred the wood plank look so I decided on the 6×24″ ($2.29/ea). The price was reasonable and I thought it looked lovely against the cabinet color, and that it would also be a nice way to add warmth to all the white, black and gray.
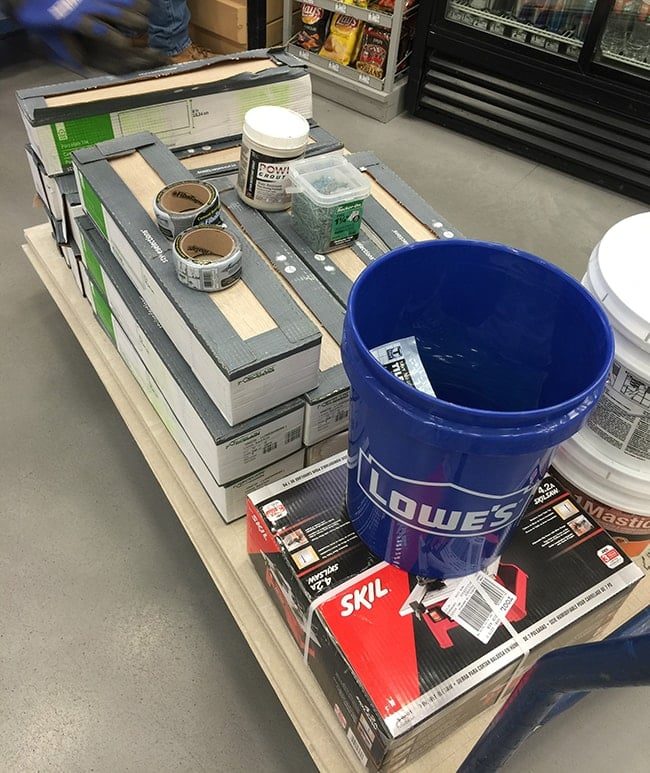
Saturday at 7am we were at Lowe's to buy all of the supplies, including a $90 wet saw (which ended up being too small for our tiles but we made it work anyway).
My dad has some experience in this arena so he was kind enough to offer to help for the day. We also did quite a bit of research along with consulting the staff at Lowe's to help us figure out the best plan of attack.
The first step was to prepare the surface. We went with HardiBoard cement board—it is a couple bucks more than the generic stuff but supposed to be much better.
I came up with this layout based on the room's floor plan (which were based on measurements from before the demolition began that ended up being larger than the actual size, so we used only 9 boards instead of 10):
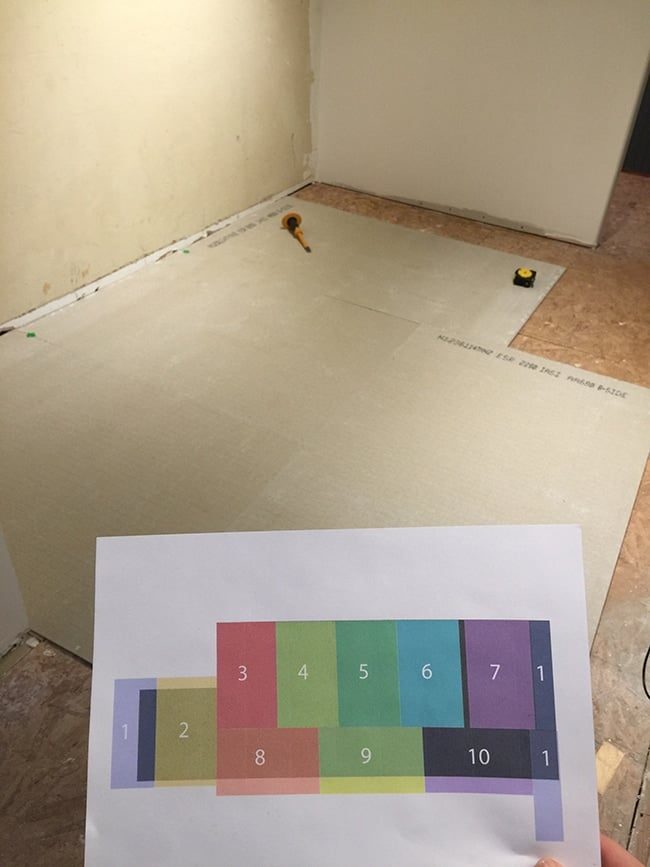
We had never worked with this stuff before so I did not know what I was in for, but it ended up being the easiest part. It breaks apart easily after scoring with a blade, so my job was to measure and score/cut the pieces to size…

while Brad and my dad screwed them into the plywood (using special cement board screws).
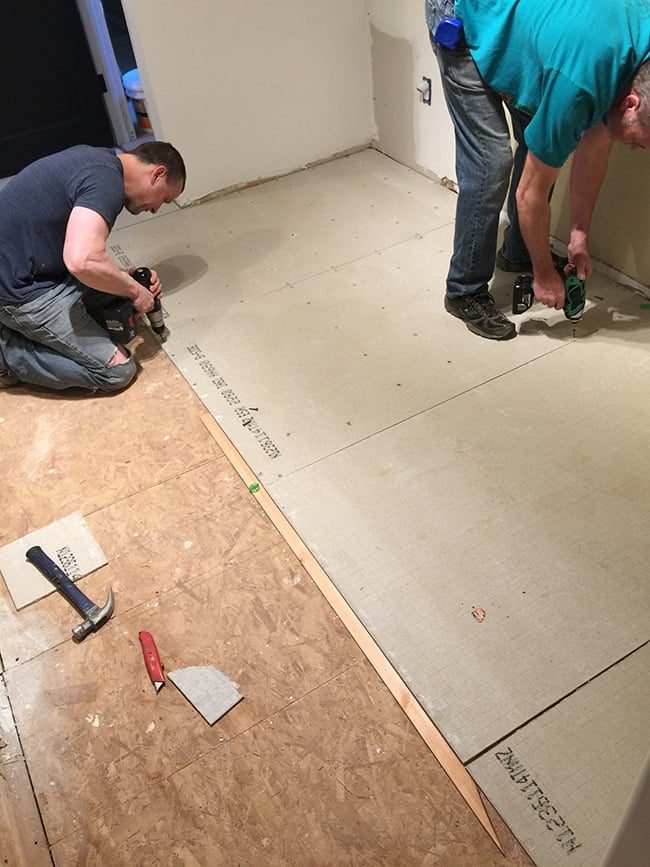
We were able to knock it out (problem free) in two hours. Teamwork!
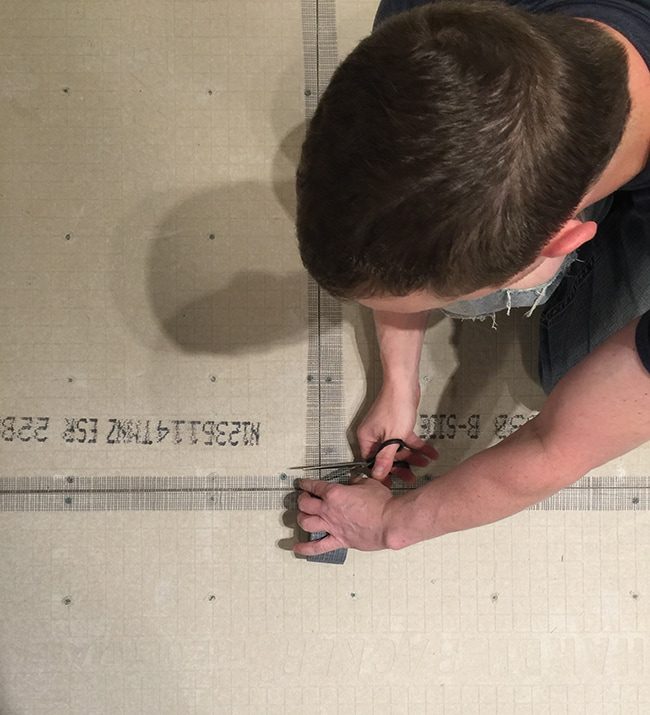
Before setting the tile, we had to cover the seams with special mesh tape.
We did a dry test fit in a few areas to see if there would be any fitment issues. Fortunately, they lined up just perfectly that we did not need to make any tricky cuts between the transition to the storage room:
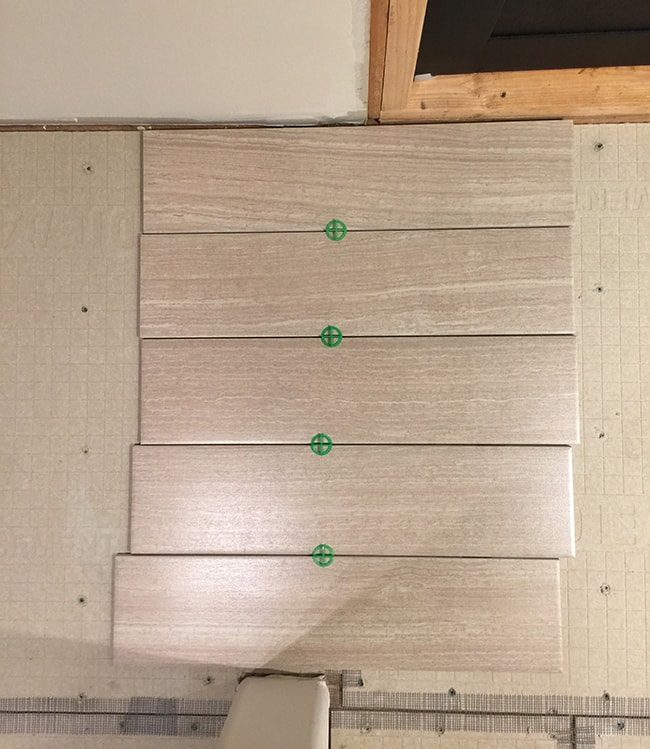
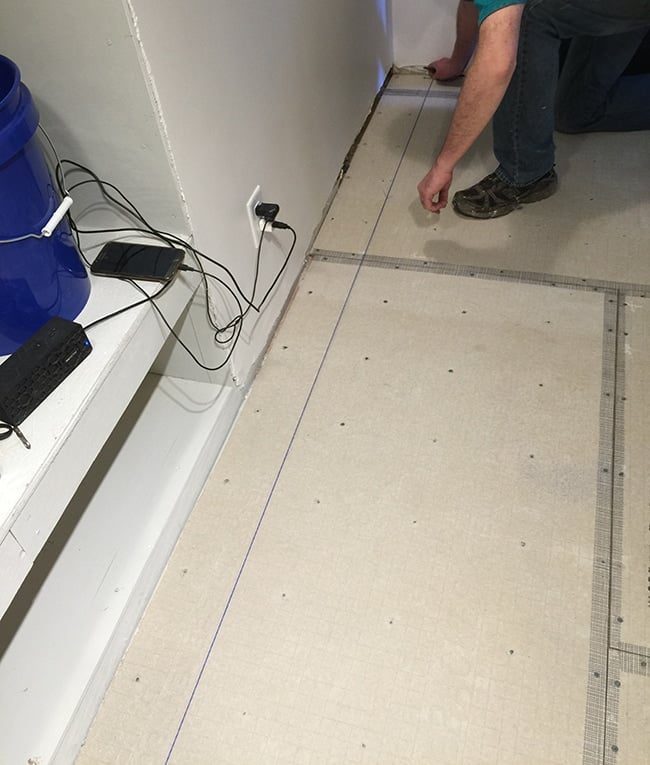
With our layout in place, we snapped a chalk line where the first row would be placed along the wall:
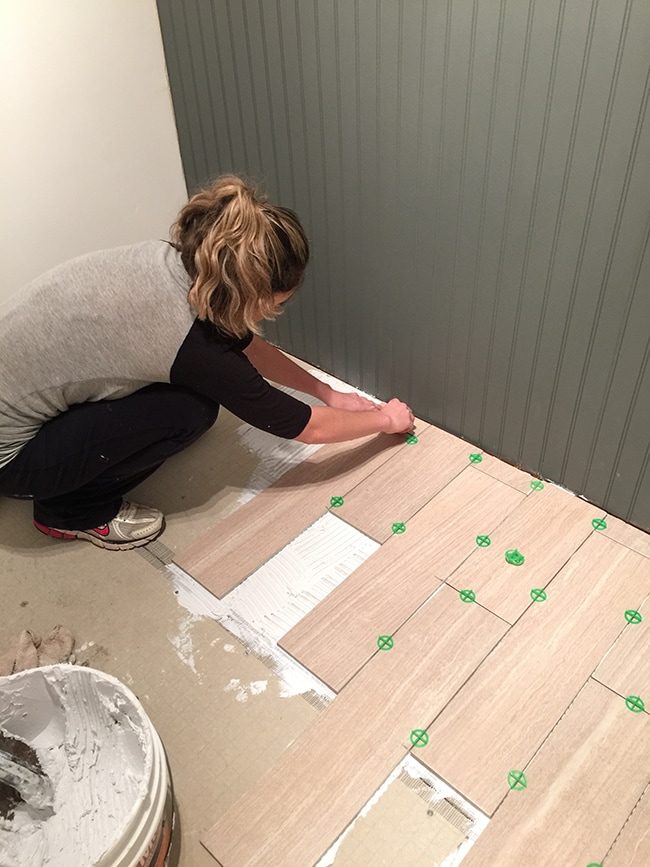
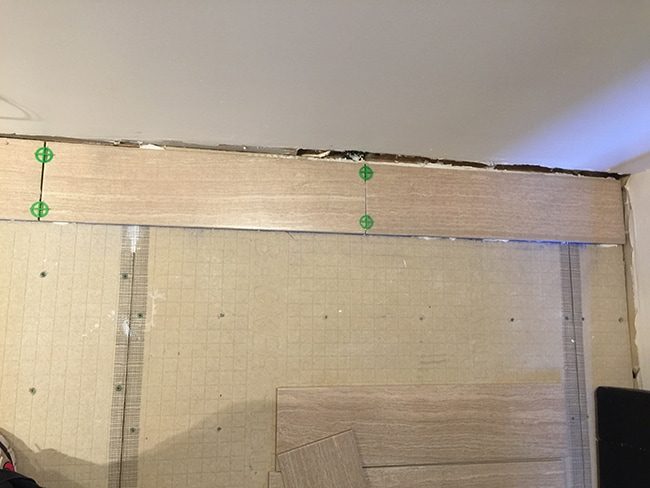
Then one by one, it was mastic + tile…
The troweling process immediately brought back memories from our kitchen wall tile installation.
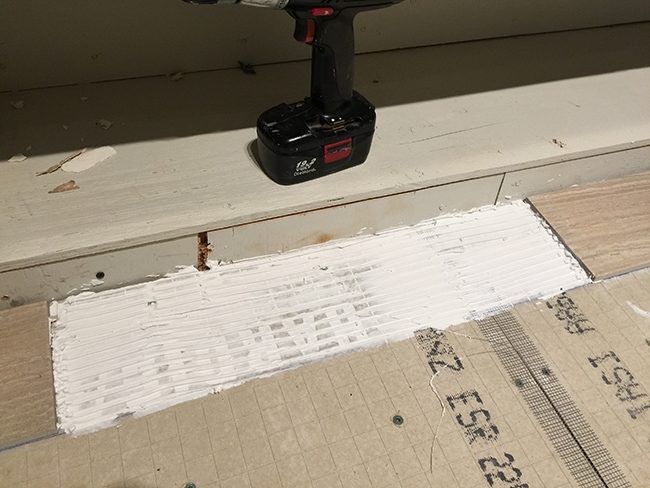
This floor tile was definitely easier since they are larger pieces and you do not have to fight gravity. We had these rows down in an hour:

Then things got a bit tricky. Since you cannot walk on freshly laid tile, we could not just tile the storage room as there was no way out. So I had to become a bit of a gymnast—working in a counter clockwise pattern, planning my tiles and stepping in between empty patches until I could contort myself out of there.
Luckily it worked, and we had an efficient system running where my dad would cut the tiles, Brad would deliver them and help me spread mastic when needed, and I would set the tiles. In 4.5 hours the room was done.
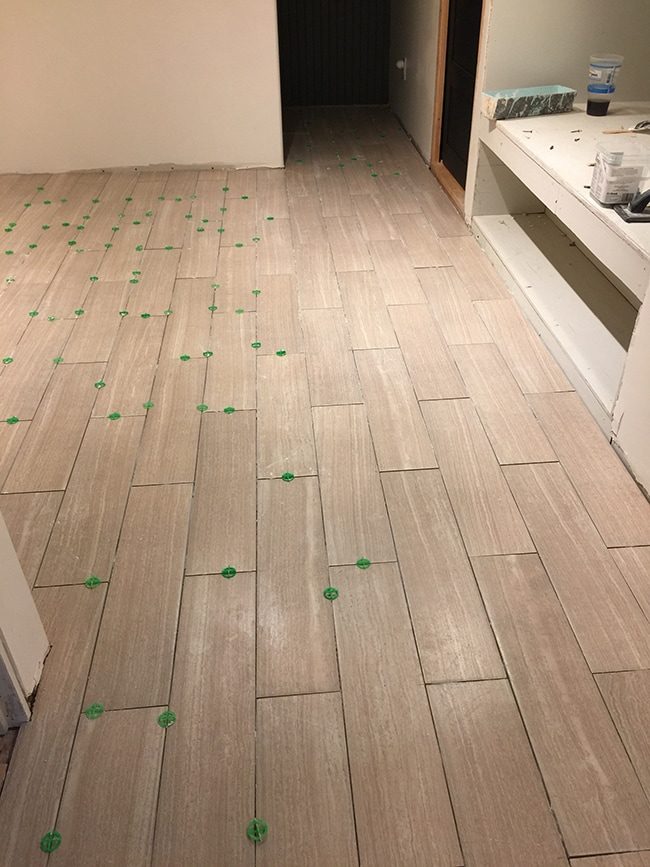
That is 4.5 hours straight of crouching for me which does not feel so great—but looking at our freshly tiled floor does!
They look quite a bit more gray in this room than in the store which I was not expecting but I guess I do not mind. They actually remind me plenty of our hardwood floors in the rest of the house.
Tomorrow we will finish them off with grout and then it is on to the next project!