How to Build a Backyard Gravel Fire Pit
How to build a fire pit in your backyard with pea gravel. Follow this unfussy step by step tutorial with detailed photos!
Here is a fun backyard project you can do in one weekend: build your own gravel fire pit!

You genuinely do not need any DIY experience to tackle this project in your own backyard!
Supplies
- Fire pit kit
- Pea gravel + base layer
- Retaining wall blocks (for border)
- Concrete adhesive
Tools
- Shovel
- Rake
- Tamper
Click on each step below to see it in detail!
How to make a backyard gravel fire pit:
- Mark the area of your desired fire pit
- Dig a small trench around your border
- Add a retaining wall along the border
- Assemble fire pit kit
- Add pea gravel
Here is what our backyard looked like before:

This concrete wall barricade is one of the many questionable choices that came with this house, and we could not figure out what to do with it.

We genuinely tried to come up with a solution that would not require tearing it all out and starting over. Cornhole? Shuffleboard? Mini bowling? Permanent Slip 'N Slide? Nope, it was too small for all the games.

And definitely too small to accommodate seating around a fire pit (was that pile of rubble ever actually functional?) But the fire pit idea was pretty appealing, and would certainly be a great feature in a vacation rental geared towards groups and gatherings. (If you are new here, we are renovating this house to turn into a vacation rental on a very tight budget and timeline. That means lots of DIY, getting creative and embracing imperfections).

Step 1: Mark the area of your desired fire pit
Before we could start, we spent two days prying up giraffe tile and demolishing concrete…
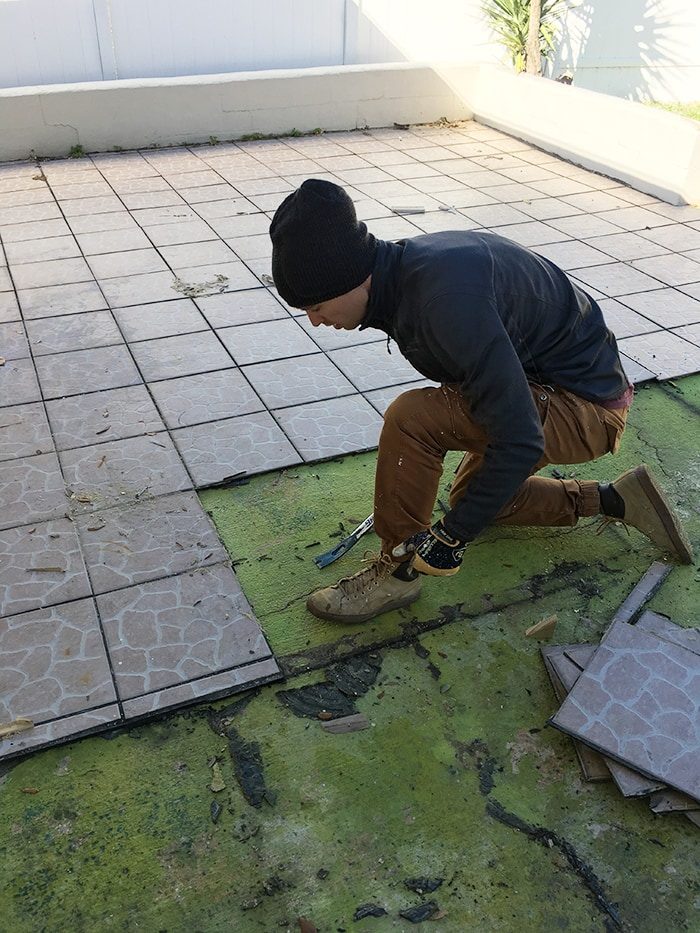
We were relieved at how easily these tiles popped right off (improper installation + years of Florida humidity and weather will do that for you…)

In no time, the patio was completely rid of the ceramic offenders and ready for Step 2.
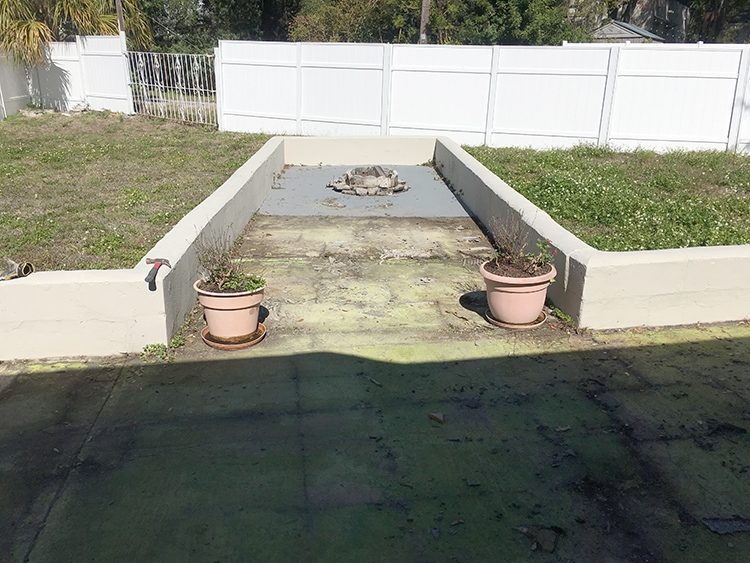
Goodbye wall!

A sledgehammer and brute force was enough to take down the wall, but the concrete pad was another story. It took the poor guy 6-7 hours to complete over the course of two days, but we were dealing with some very stubborn concrete.
The smaller debris was left behind, as we figured it would make a good base for our pea gravel.
Step 2: Dig a small trench around your border
Now things started to get a little more fun, as we mapped out the border for our fire pit zone.
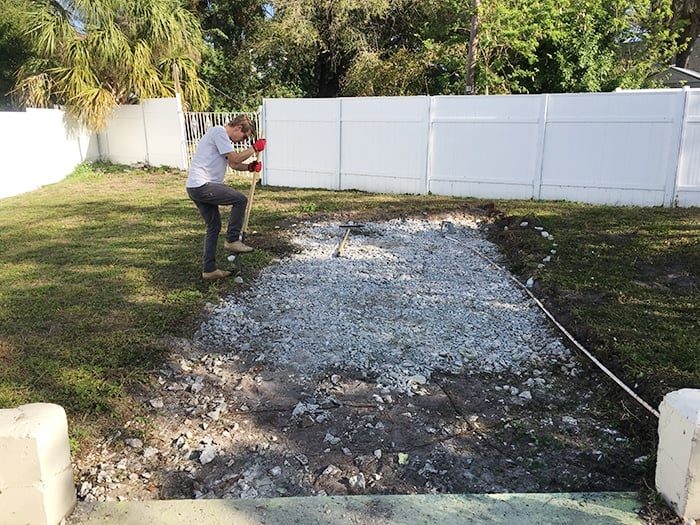
After (lots of) back and forth adjustments to the shape, Lucas dug out a small trench and removed the grass around the perimeter so we had a clean slate to work with.
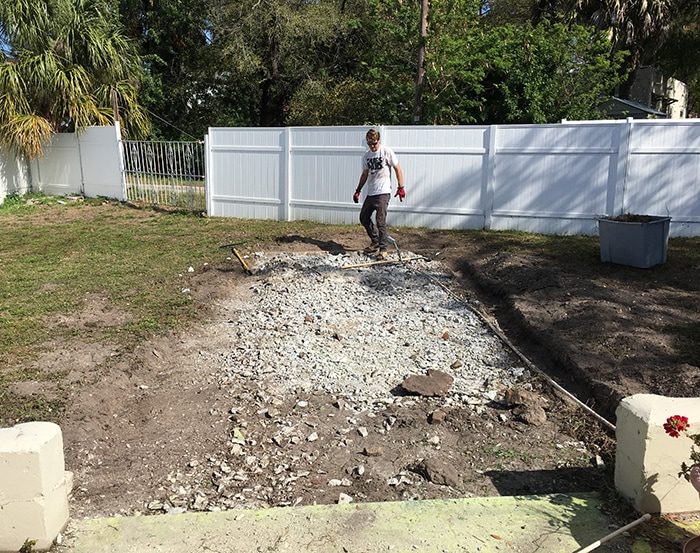

We ended up spending most of the weekend removing weeds/old roots and buried tree stumps, and leveling out the very uneven grade of the yard. Landscaping in the Florida heat (while pregnant) genuinely takes it out of you!

This is how the rest of the yard is looking at this point… this is one of those projects where it gets worse before it gets better.
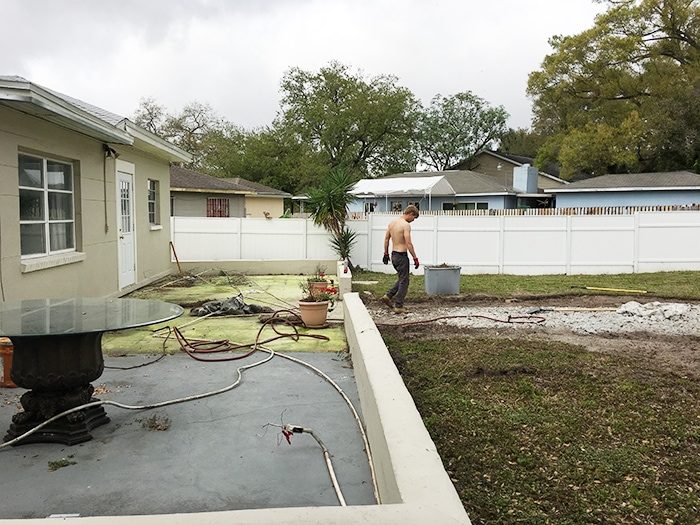
Step 3: Add a retaining wall along the border
After our fire pit area was leveled and ready, we loaded up our car with pavers (well, technically they are 'retaining wall blocks') but they fit our needs.

Before setting them in place, we wet down and compacted the dirt so the pavers would have a more solid ground to rest on.
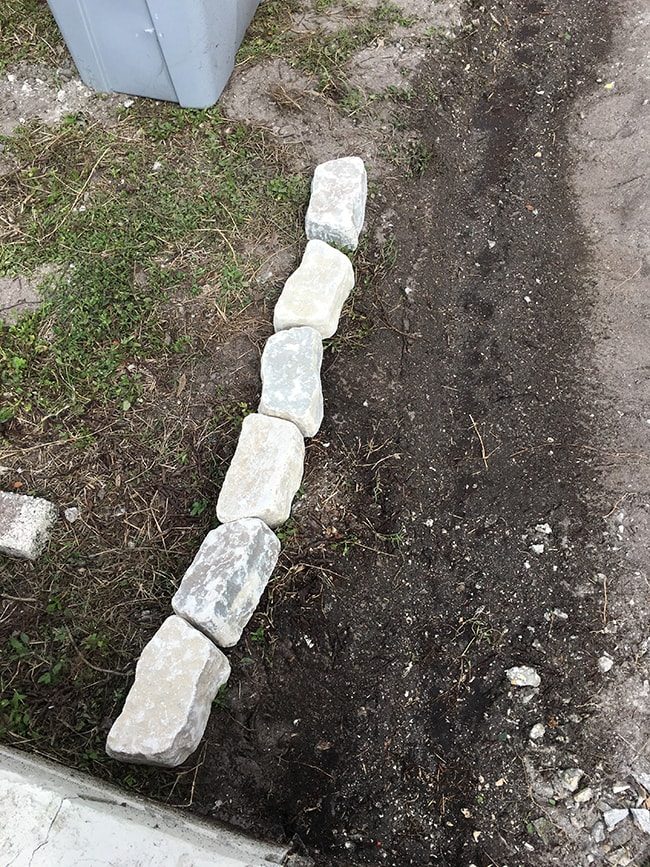
We opted not to use landscaping cloth, mostly because of the aforementioned reasons (lack of time/energy/budget) but I also learned it is not always necessary and can create its own set of problems (I found this article from Remodelista helpful).
The fact that we already had a concrete rock base and nothing had been growing underneath it made the decision easy for us, although we'd reconsider if we were building this from scratch and it was our own permanent home. We fully expect to have to deal with a few weeds popping up here and there, and will use a weed killer of some sort to keep those at bay.
Once the trench was prepared, we lined the perimeter with our pavers to make sure they fit…

Then spread a little of the concrete sand over the dirt (no idea if this actually does anything to be honest, but we figured it could not hurt!)
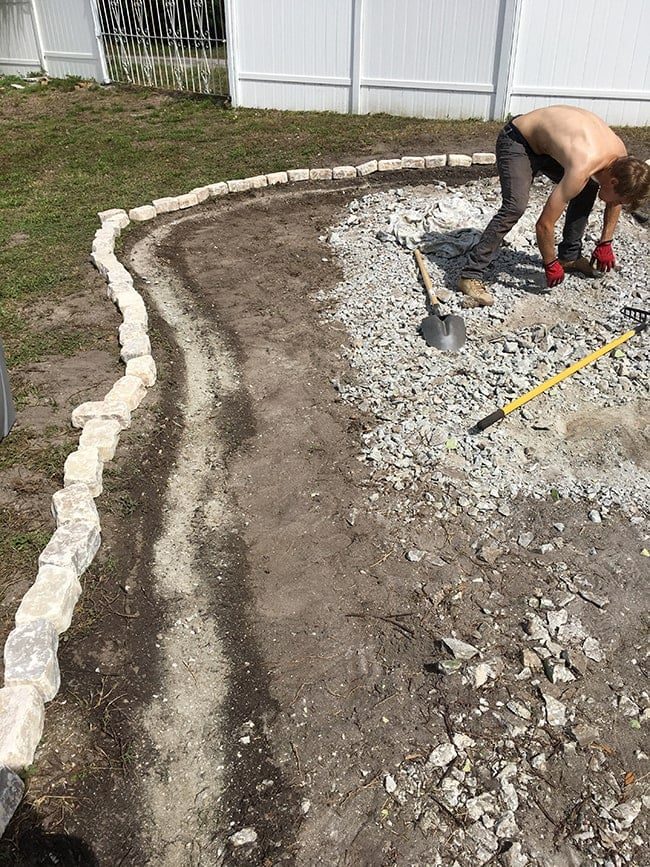
Then one by one, the pavers were set into place.

Then it was just a matter of filling in and leveling the dirt around the outside, and spreading out the concrete remnants on the inside.
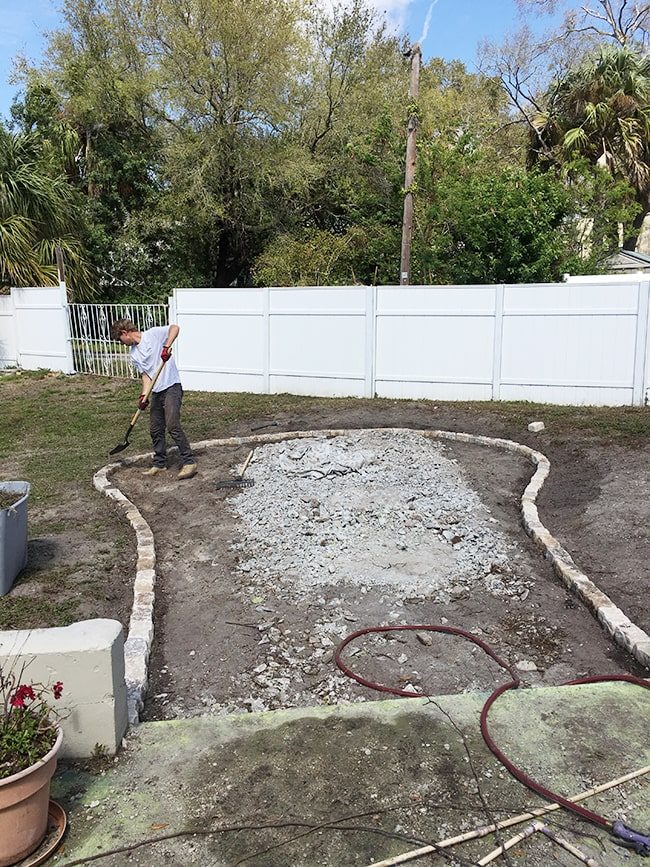
That sounds easy, but it was actually the most time consuming part of this project. Lots of small adjustments, standing back and re-evaluating, and moving dirt back and forth.
Step 4: Assemble fire pit kit
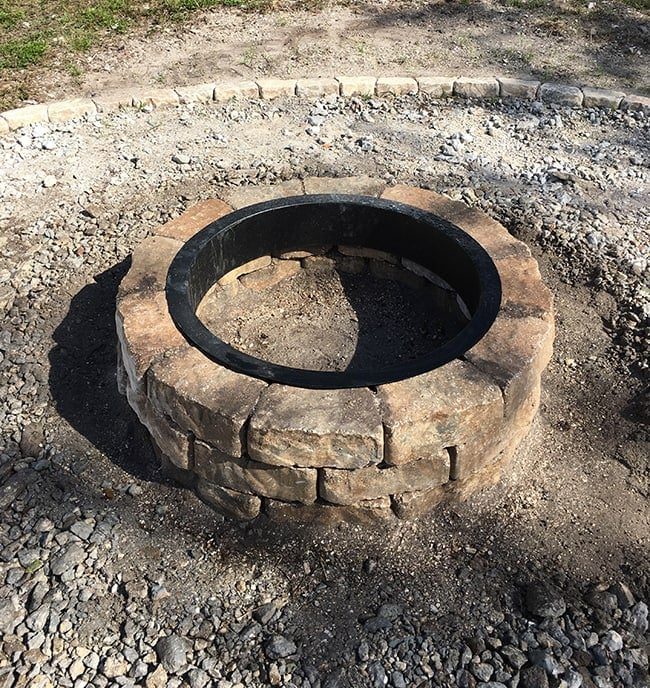
The next step was building a fire pit. We decided to keep things unfussy and buy a kit that had everything we needed, and we found this one at Lowe's for only $199:

Assembly was by far the easiest step of this whole project. There is no guesswork—you just decide where you want the fire pit, make sure the dirt is level and compacted, and start lining up the stones.
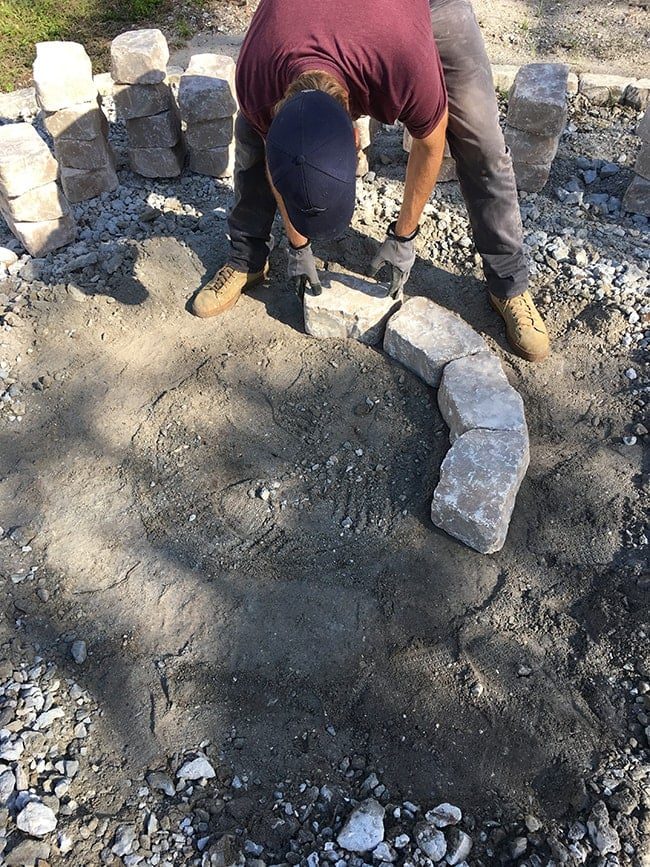
You can use concrete adhesive or polymer sand to bond them together, but we improvised and used leftover concrete dust and water.
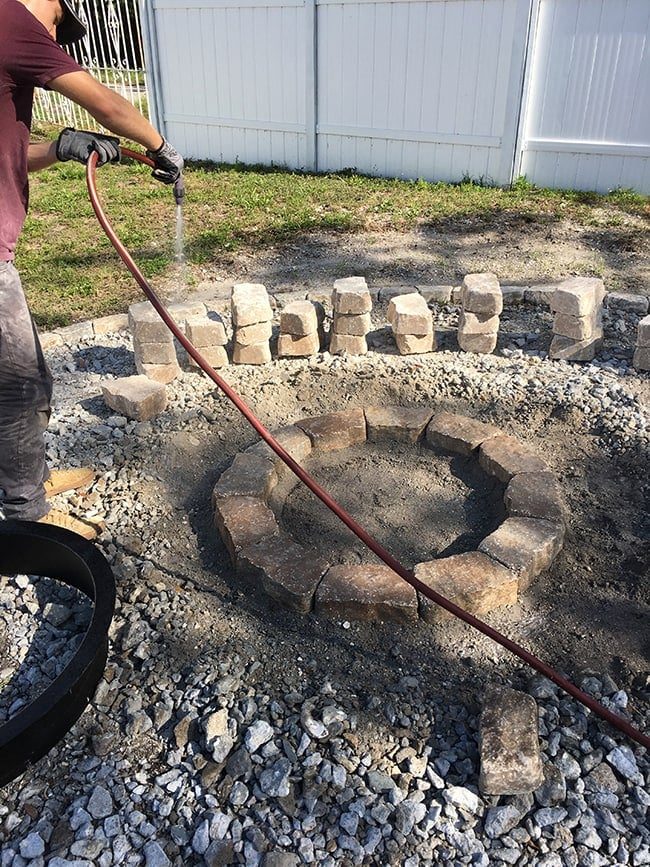
Again, not sure if that is useful, but it is better than nothing! These stones are so heavy they do not need anything to stay in place. Especially after the metal ring is inserted, you'd have to use some force to try and knock it down.
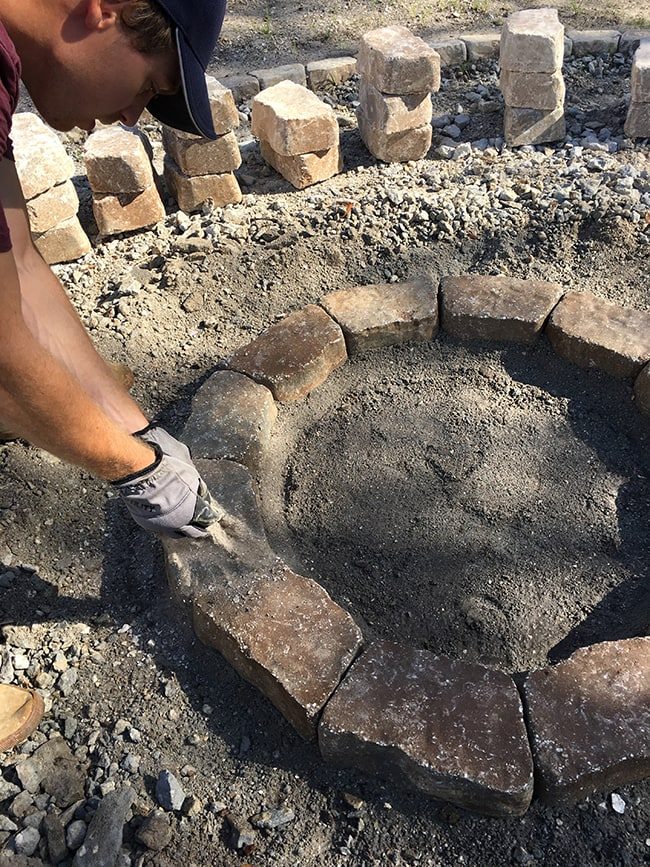
Rinse and repeat for the second and third rings.
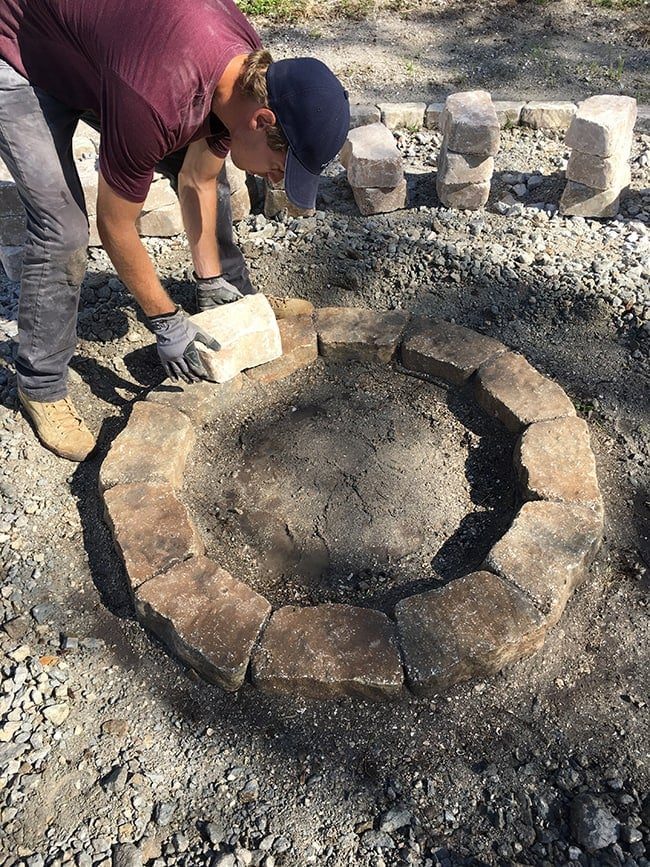
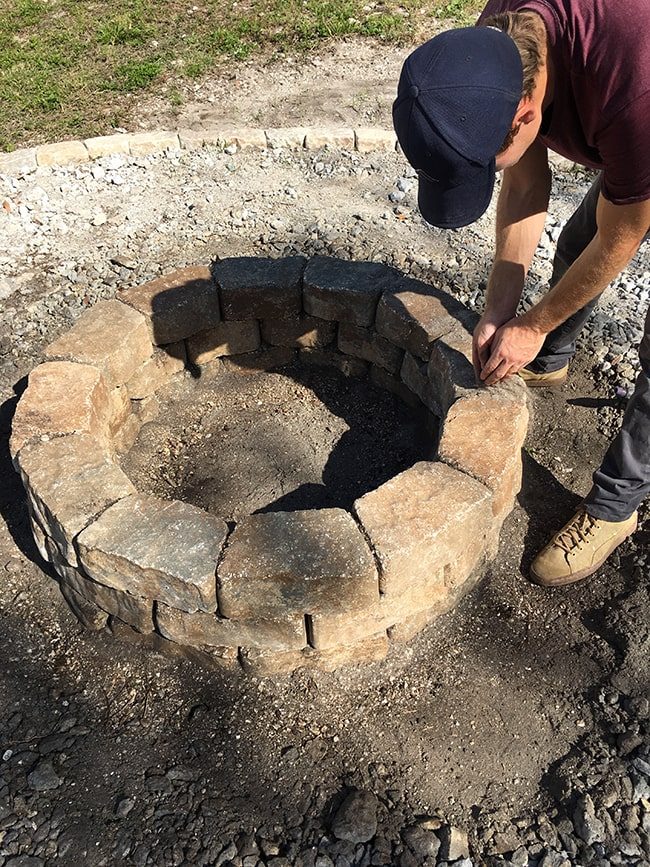
Less than an hour later, and we are done! If only they could all go this smoothly.
Step 5: Add pea gravel
The last and final step—pea gravel! I had my heart set on gray pea gravel, assuming it'd be readily available everywhere, but the big box stores only had rusty colored brown gravel (who knew that was a thing?) and they looked at me like I was crazy when I asked about gray gravel.
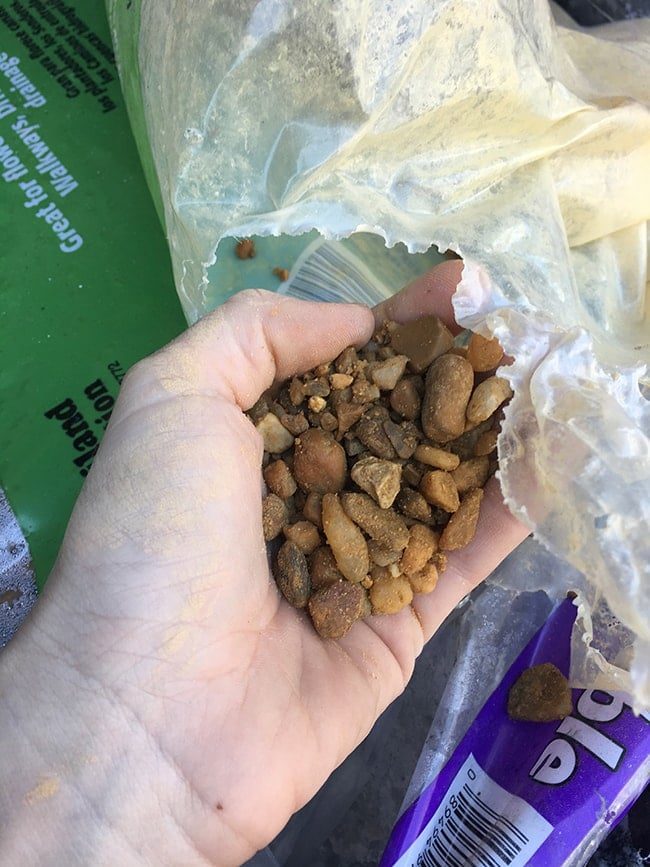
So I called around to every landscaping/gravel place within driving distance, and finally found ONE who offered white pea gravel (or 1/2″ river rock per their description). It was about the same cost as Lowe's—$127 per cubic yard. We needed less than 1.5 cubic yards, and they had a minimum order of 2 cubic yards plus a delivery fee, but this was the only place that offered white gravel so I sucked it up and paid the $350.
You can imagine my dismay (devastation would be a more appropriate term, thank you hormones) when the delivery truck dumped this in my driveway and sped off.

It sat there in our driveway for days as we debated what to do with it and made several ignored attempts to contact the owner/manager of the company. In the end, we decided it was not worth paying another several hundred dollars to track down an alternative, and clearly Florida has a ban on gray and white pea gravel for some reason, so I filed this incident under “learning to let go.”
We still have 0.5 cubic yard of leftover stupid brown gravel in our driveway, if anyone wants it.
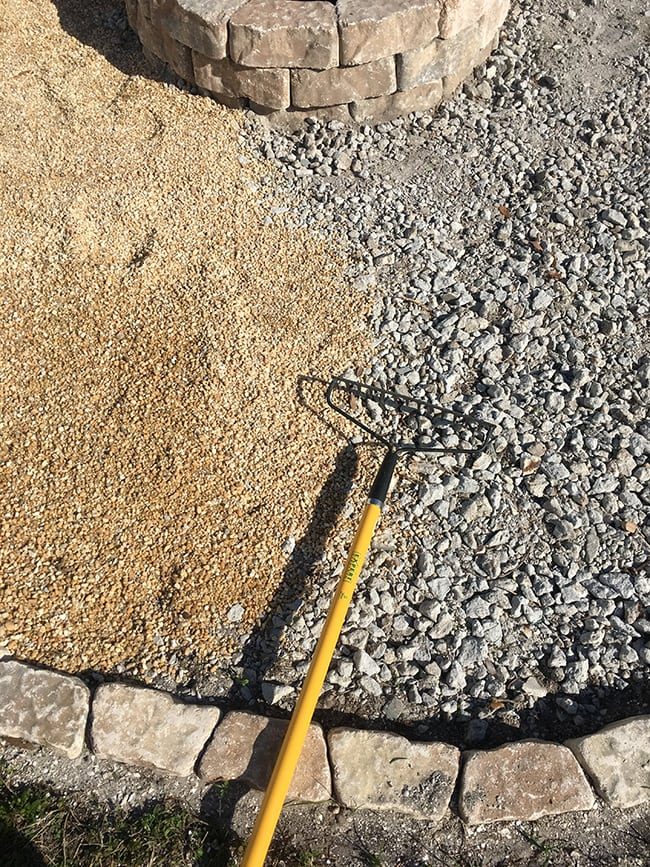
The good(ish) news is that the gravel does get lighter when it dries. Certainly not “white”, but less of an obnoxious orange. And raking it was quite cathartic… like my own life size Japanese zen garden.

Pea Gravel Fire Pit Reveal
This is how it looks after!
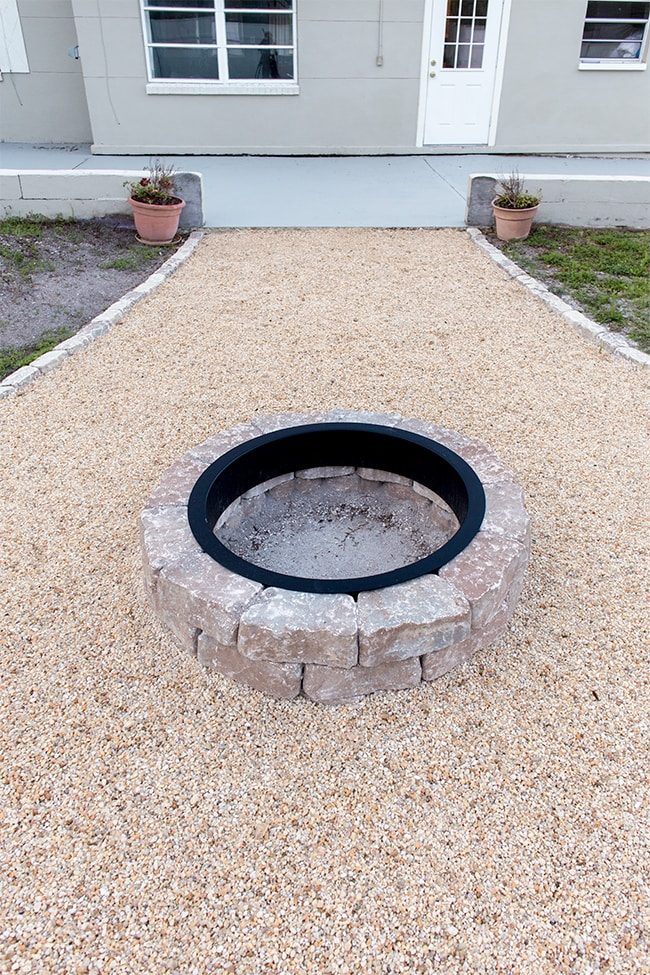
Update: and here is the finished backyard, two years later!

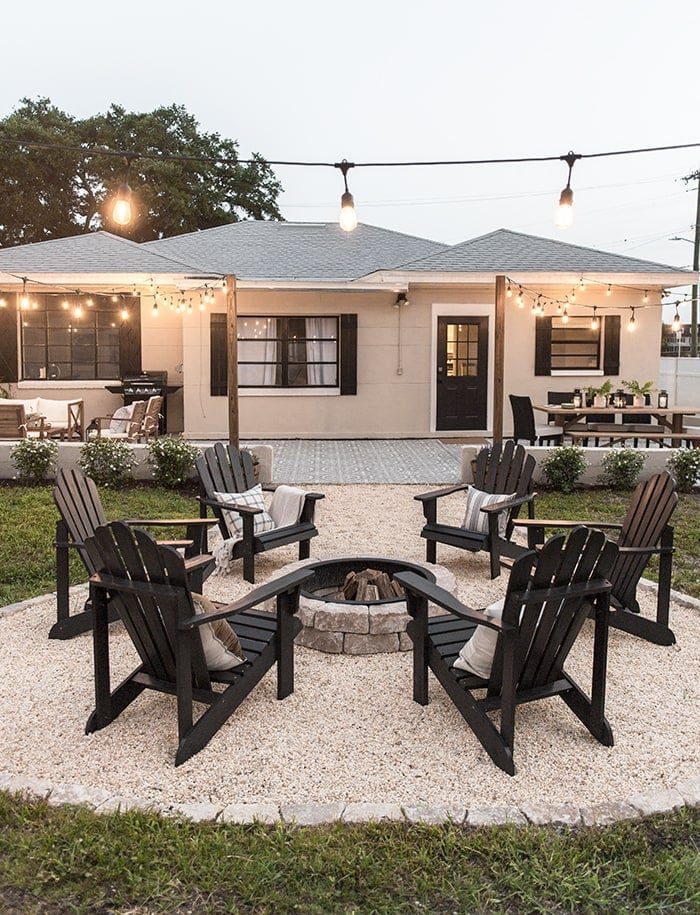
How about this Before and After?

Looking for more backyard DIY projects? Look at these reader favorites!