Pantry Details: No Sew Curtain, Tiered shelf, & Step Stool
I am back with some DIY details from the pantry project! DIY Project #1: No Sew Curtains As you may remember, I purchased 2.5 yards of this fabric on Etsy for $18. I did…
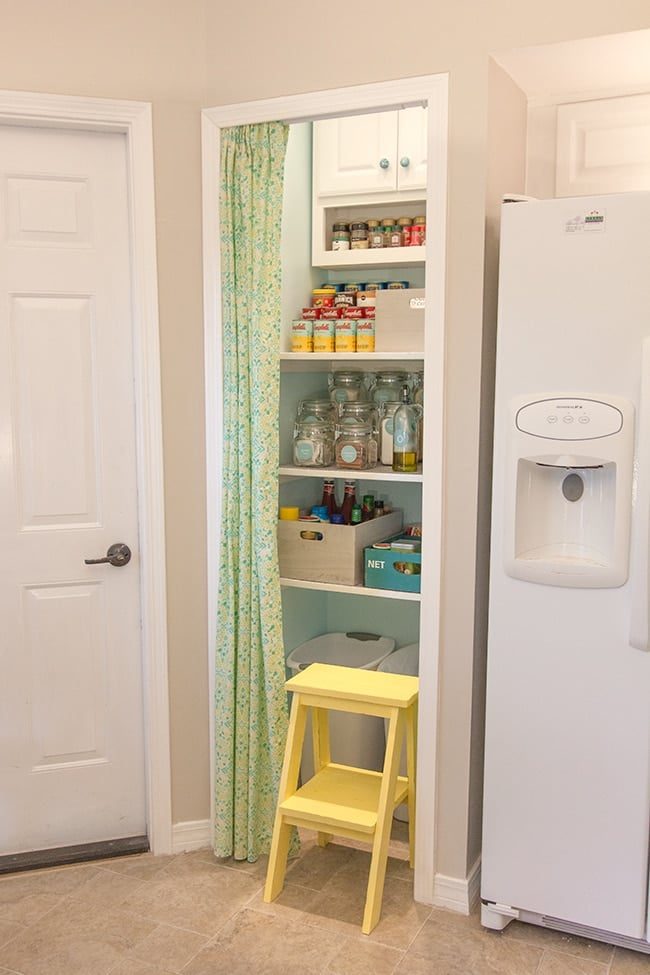
I am back with some DIY details from the pantry project!
DIY Project #1: No Sew Curtains
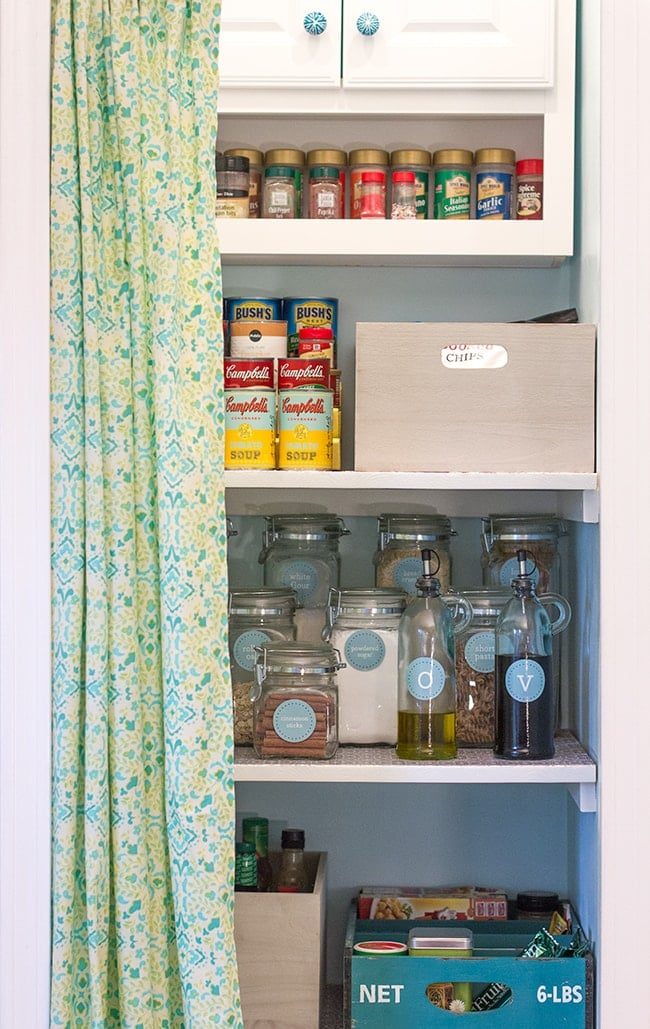
As you may remember, I purchased 2.5 yards of this fabric on Etsy for $18.
I did not bother trimming the width—it is a bit wider than the door opening but it genuinely does not matter since it will probably always be pulled open.
The first step was just to hem all of the edges, using Stitch Witchery:
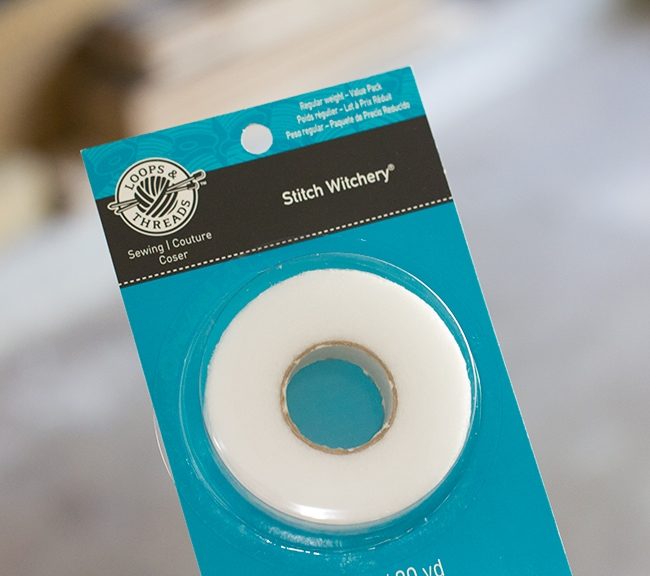
They have this stuff in pretty much any craft store, and different brands make it.
I had quite a bit leftover from old projects so I did not need to purchase any (yet).
(sorry, bad iPhone photos ahead)
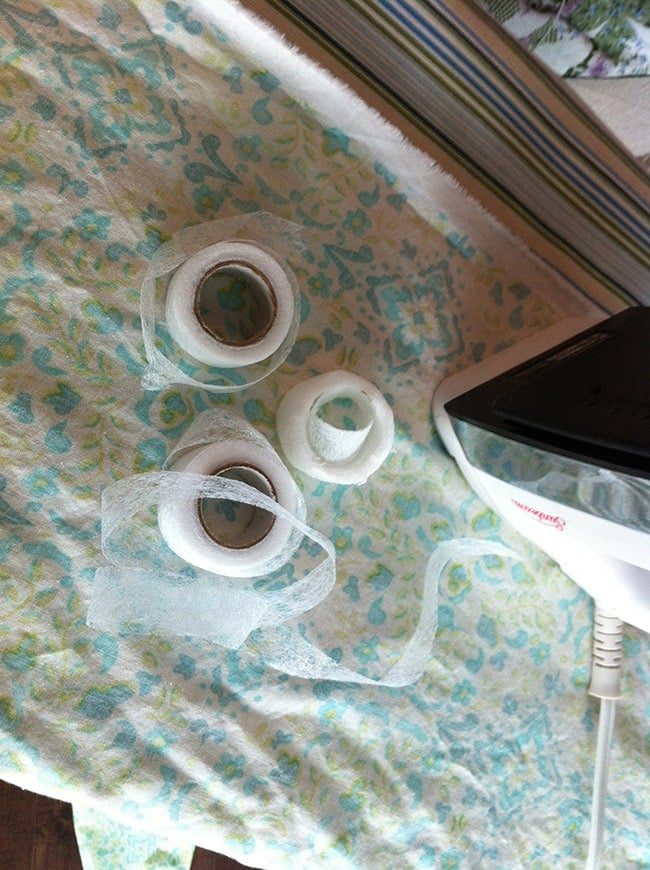
All you need is an ironing board, iron, damp rags and your stitch witchery. No photos of this part but you just lay a strip down, fold your fabric over, place a damp (thin) rag on top and hold your iron on the area for several seconds. I also use the steam setting to help keep it from sticking to the rag.

Once all the edges were hemmed, I measured the height I needed the curtain to be and folded it over to hem a pocket for the rod.
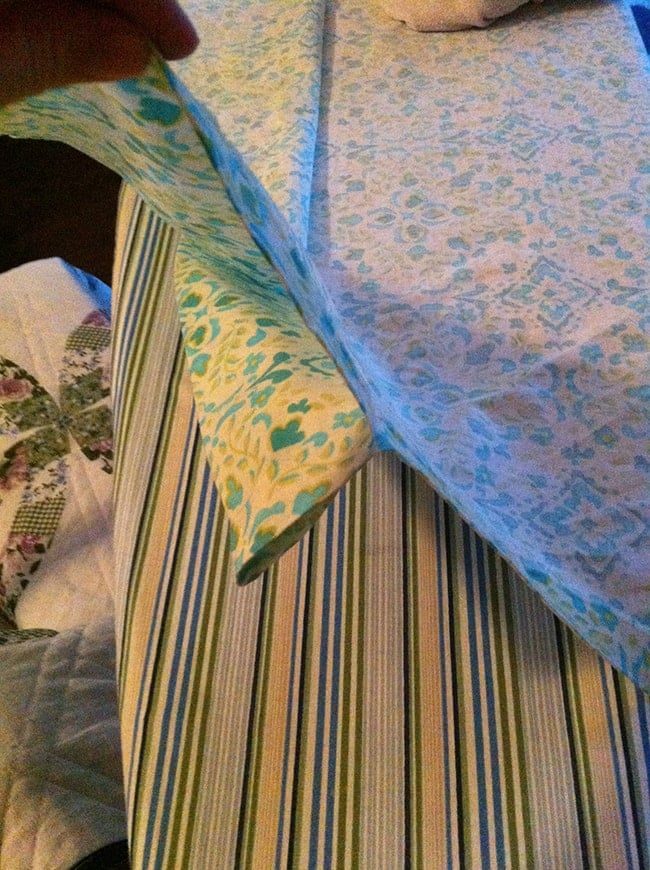
Except I completely did not think it through and made it just big enough for the rod to fit in…
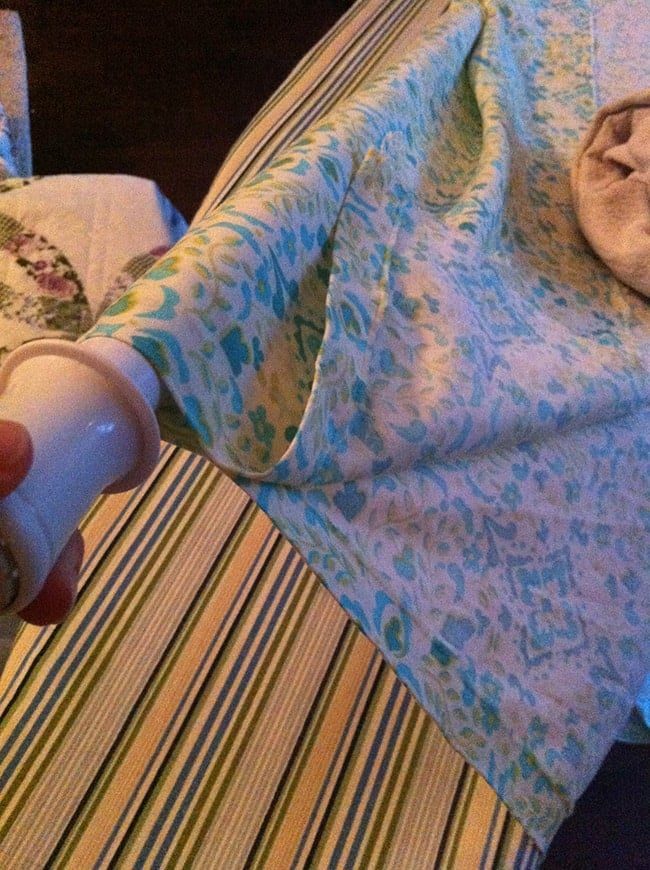
Which was a huge problem because a) the ends of the rod did not fit inside the fabric loop, b) it was so tight that the fabric would not freely move to one end of the rod, c) I had already cut the excess fabric after this photo was taken, and d) I ran out of stitch witchery.
DANGIT.
I was too flustered to take photos of the damage at this point so I ripped the stitch witchery out and decided to run to Michaels' in the morning to buy some more and try to salvage this project.
So Sunday morning I started fresh, and ended up having to hem the piece I cut off back together to get my length back…
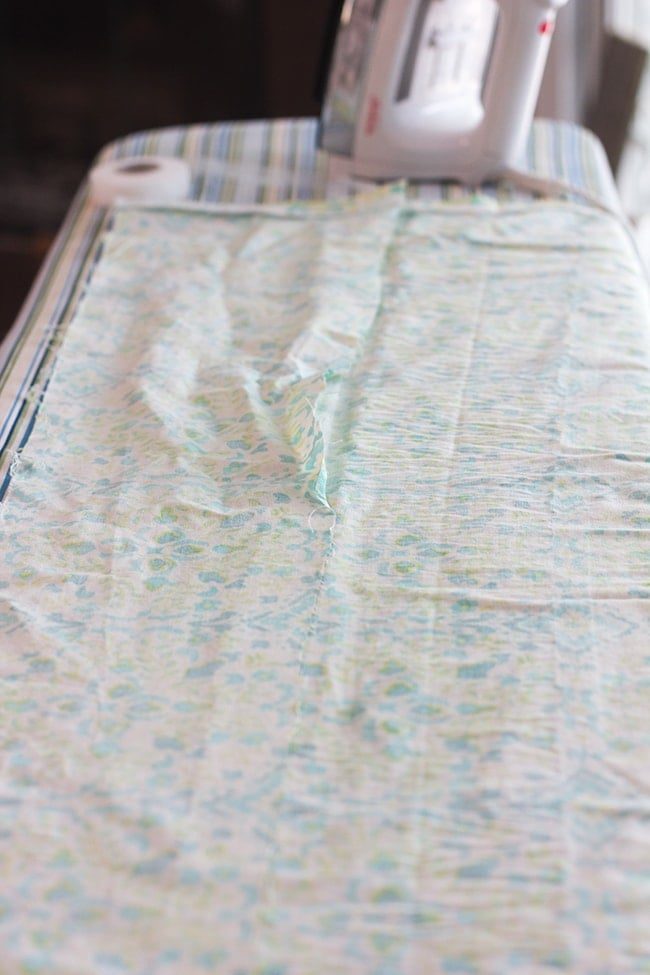
Then I hemmed a new rod pocket—this time leaving PLENTY of room.
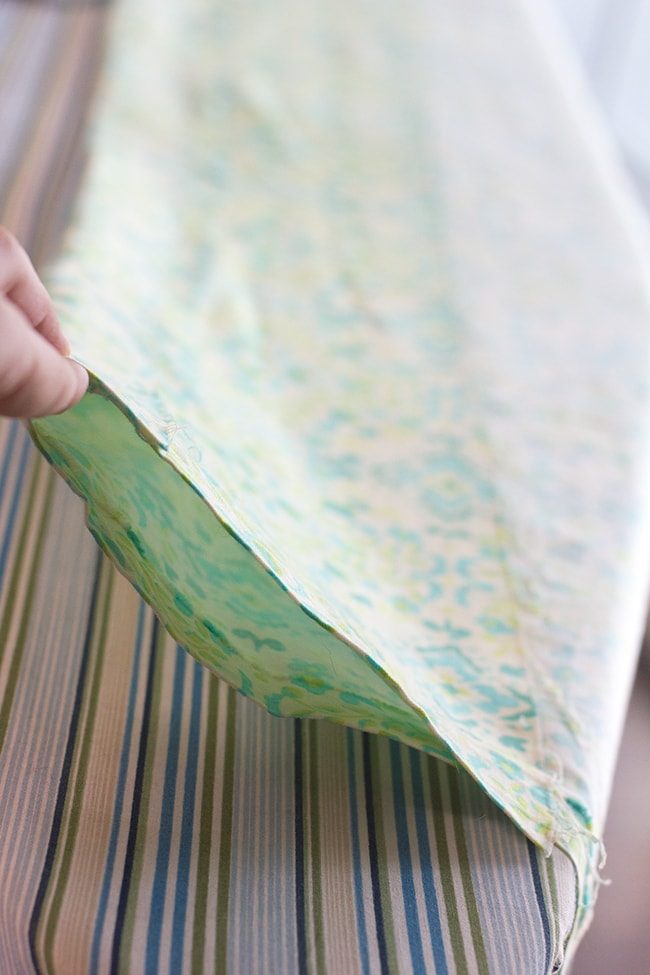
Luckily, it worked.
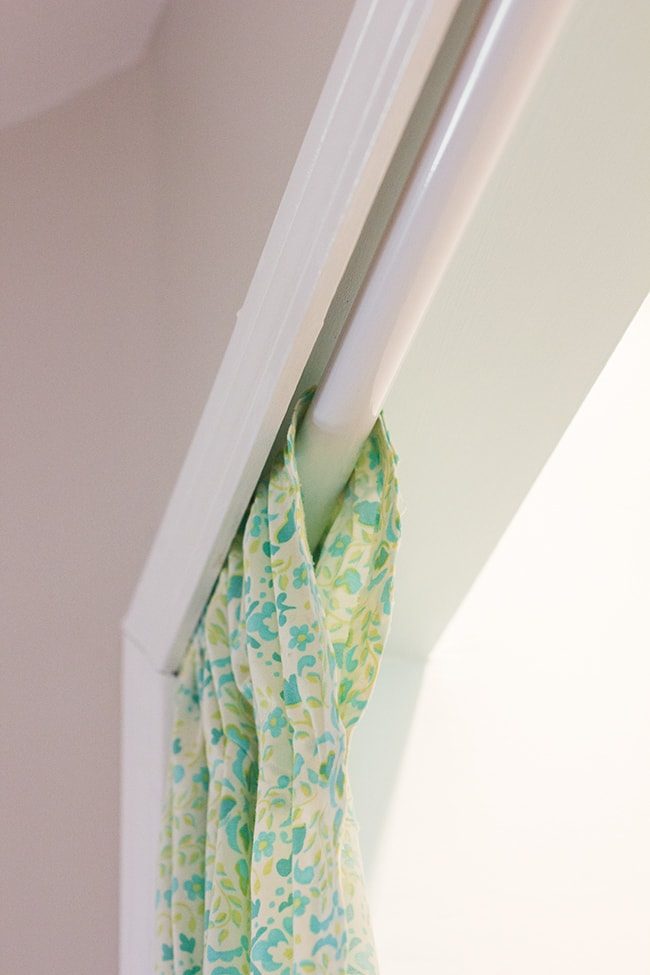
For the rod, I just picked up a cheap $5 shower rod at Walmart. It holds up just fine.
The trim also covers most of it which is nice. It is not too noticeable. Especially if you are taller than 5'2″.
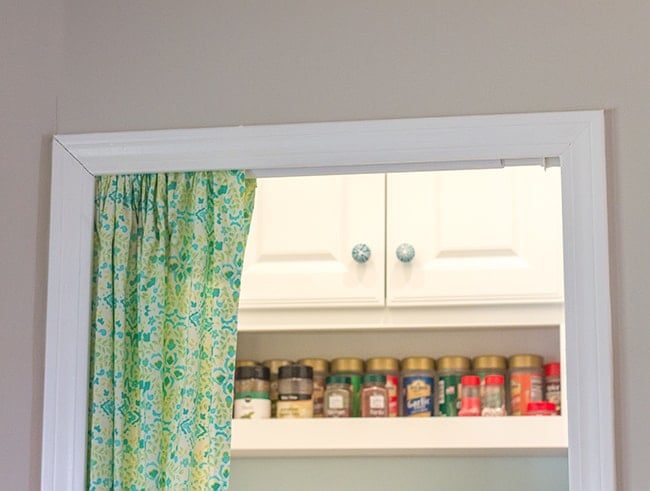
And there it is, my first attempt at curtain making! I see more of this in my future.
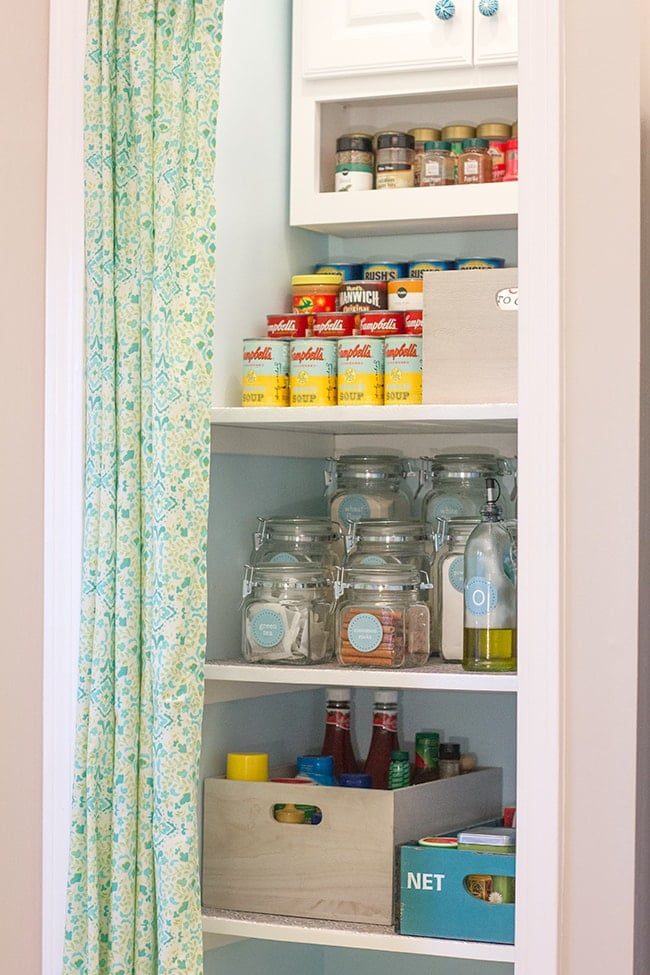
DIY Project #2: Tiered can shelf
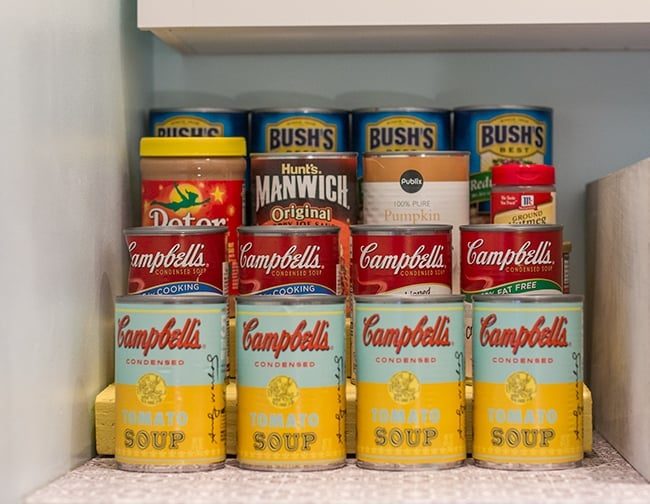
This project is more functional than anything, but I had to add the pop of yellow for the small glimpses of it between the cans, just for fun.
It started with materials I had lying around in the garage. We had some extra 2×4's leftover from a who knows what project, and I determined they were the well suited size for this pantry.

I searched the garage far and wide, and found that I literally had just enough wood on hand to do this. Actually, after measuring it, I realized the smallest piece of wood was about 0.5″ too short, but I figured I would just throw it in the back and you'd never see it (no, it was not worth driving to Lowe's to get a new one).
The first step was cutting them all to size.
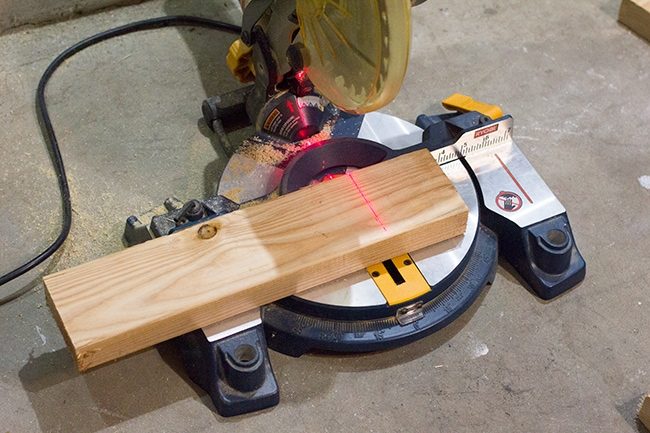
Then I did a quick mockup/test fit:
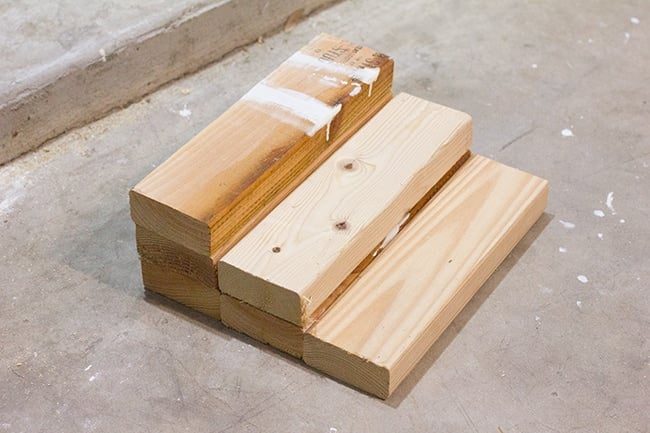
Works for me.
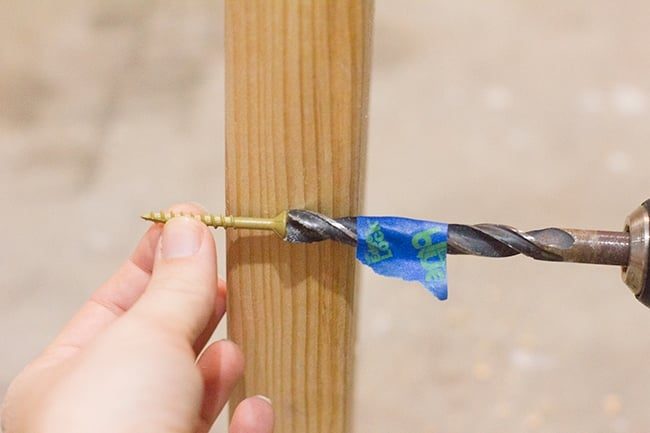
To secure the pieces together, I had to do them one at a time. I drilled deep countersink holes so that the screws would be deep enough into both pieces to hold them together. I marked my depth with blue tape to know when to stop drilling. Here is a little visual to show the screw placement (imagine the screw going into another 2×4″ on the left side)
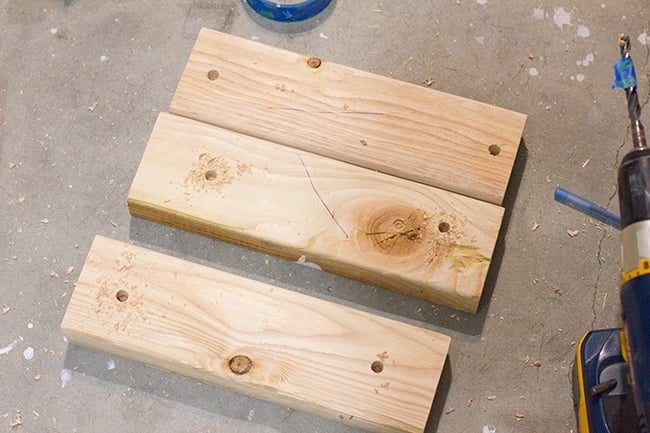
Here is all of the countersink holes (placement does not matter at all, as long as they do not run into each other)
Securing the last screw in the bottom piece for the back row:

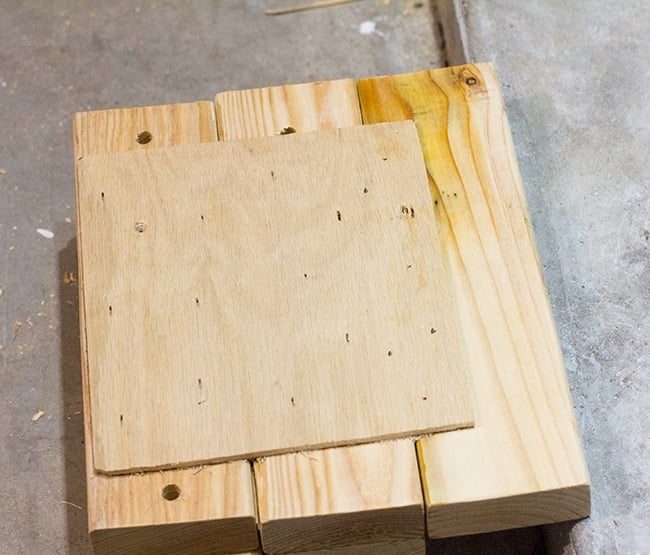
Once the rows were secured together, I needed a way to connect all three to each other. Technically, I could have left them separate but I did not want to deal with things shifting around in there by accident.
Since I do not have a Kreg Jig (still, ugh), I just used what I had… a flat piece of spare wood I found in the garage.
After cutting it to size, I went to work with a nail gun.
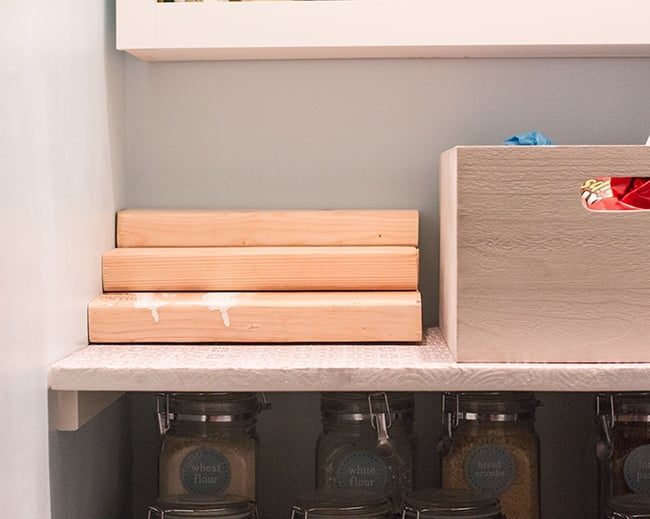
Test fitting in the pantry:
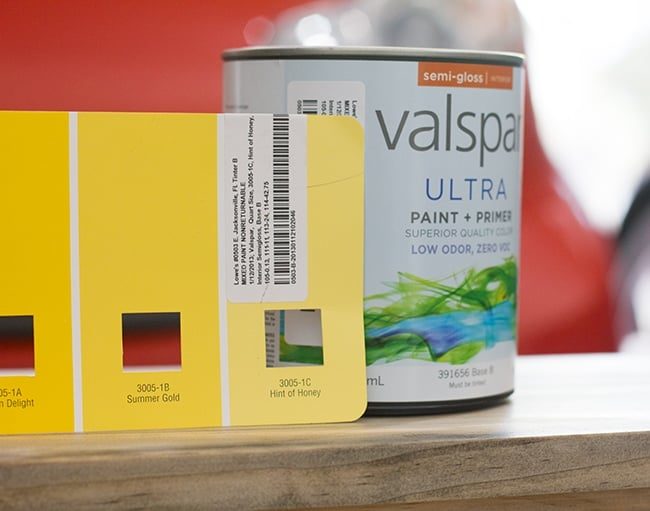
Finally, I sanded the heck out of it and applied a few coats of Valspar's Hint of Honey (same color as the step stool):
I actually considered wrapping the boards in fabric, but realized it would pretty much be a waste since it is mostly hidden. But if you had a larger open pantry where it was more visible, that could turn out nice.
It is worth noting that these boards are in no way perfectly flat and straight. I think that is just the nature of 2×4's.
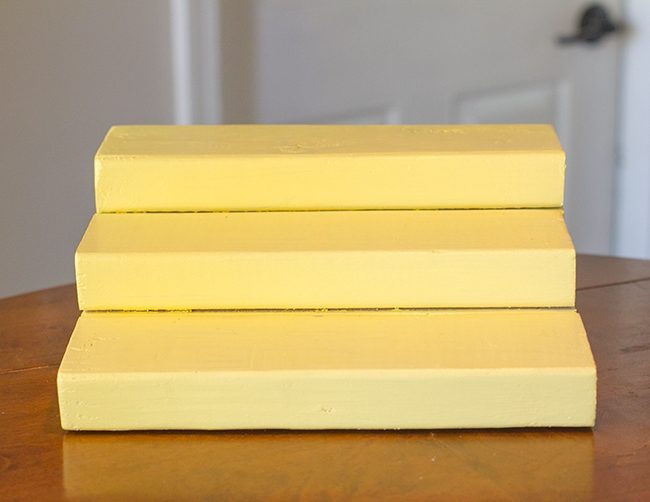
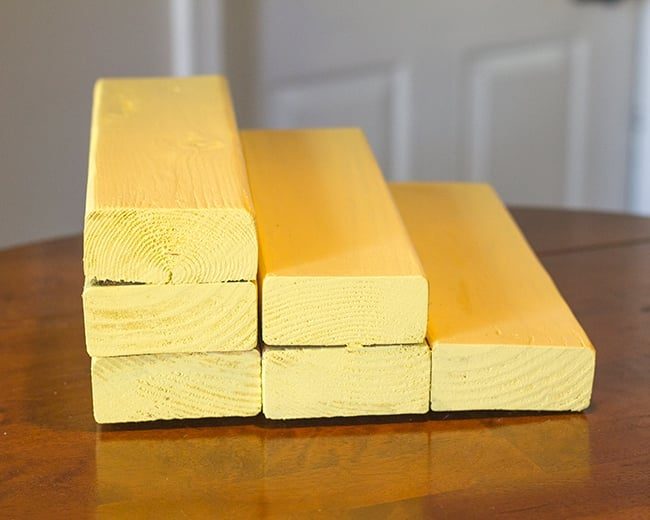
Luckily, it genuinely does not matter because you cannot tell when the cans are sitting on it.
Nothing beats a functional + free project!
DIY Project #3: Ana White's Painter's Ladder/Step Stool

When The choice was to mount a medicine cabinet up under the ceiling, I knew that meant I had to bring in a stool. I had been looking for *ever* for the well suited stool for this pantry. I found one I loved at Ikea, but it was just so wide—not what I had in mind.
I found a plan from Ana White, whose projects I have always loved and admired but had never felt confident enough to try on my own (nor had the tools for).
I should mention that her plans, though they look like a step stool, seemed to be designed for a table. I read through everyone else's comments and found that many people were in fact using them as a stool. To be safe, I purchased decent quality wood (no mdf) and good wood screws. The wood cost $18 and the screws were $12, but if I am gonna be standing on this thing, it needs to be done right.
Back at home, I printed out the instructions and cut everything down to size.
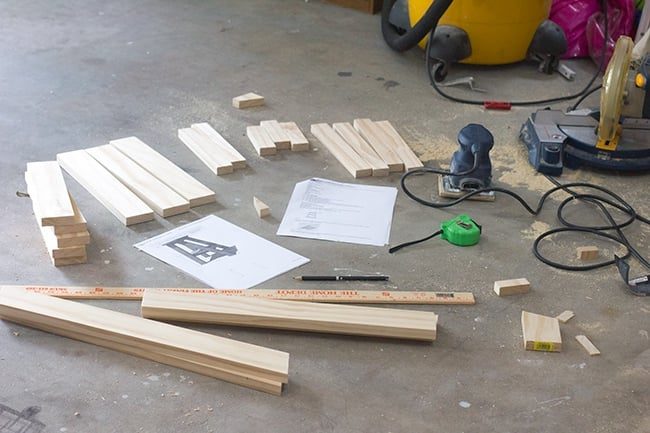
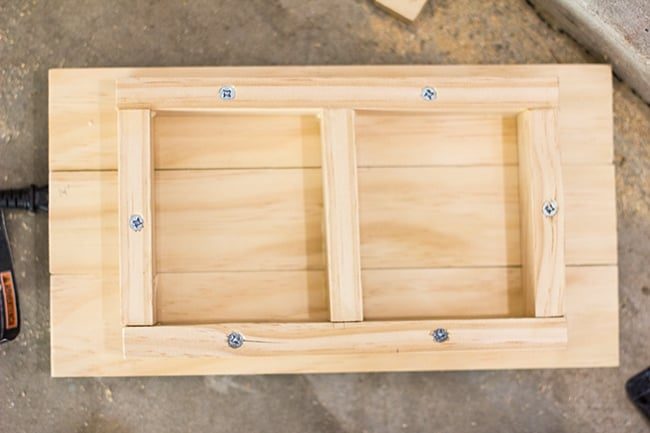
I do not have exact step by step photos here because the plans do a good job of laying all out, but here is some shots from our process:
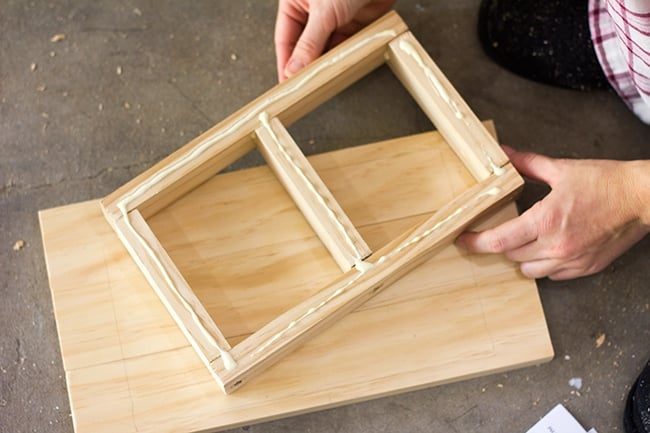
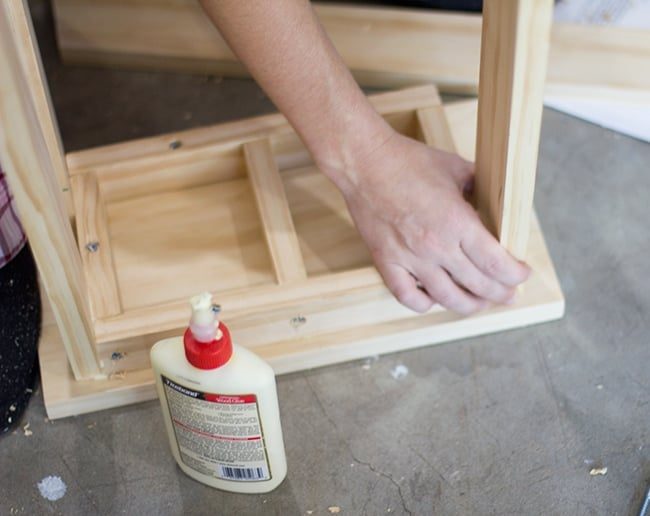
This was the top step of the ladder. We made the first piece, added some wood glue, and connected it to the top 3 boards:
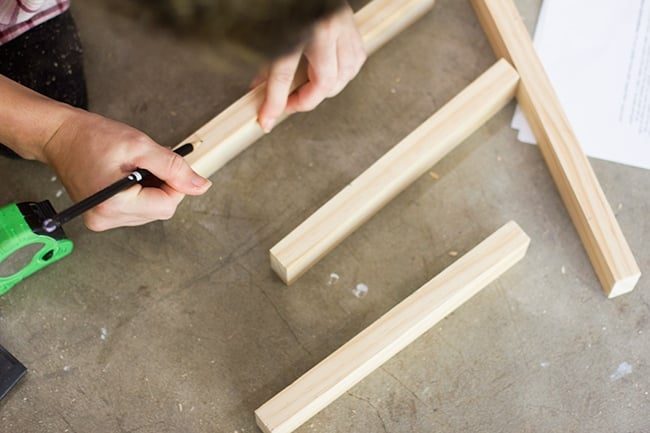
Here I am, marking something… (I do not even remember anymore)
Attaching the legs to the base:
Leveling the bottom step before we secure it to the legs:
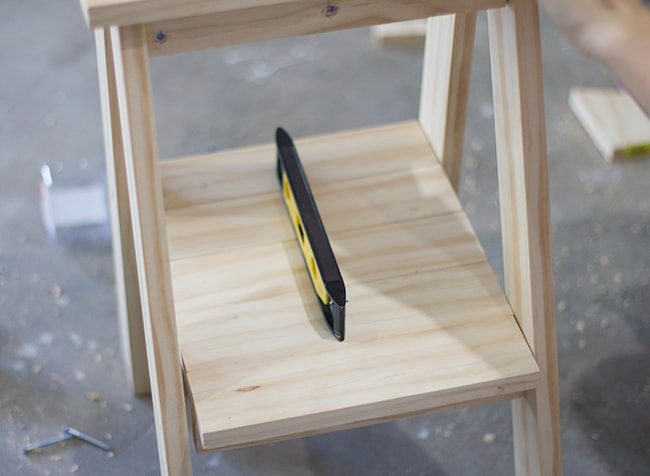
We put a few extra screws in, just in case.
Next it was time for beautification.
First I lightly sanded all the edges and rough spots.
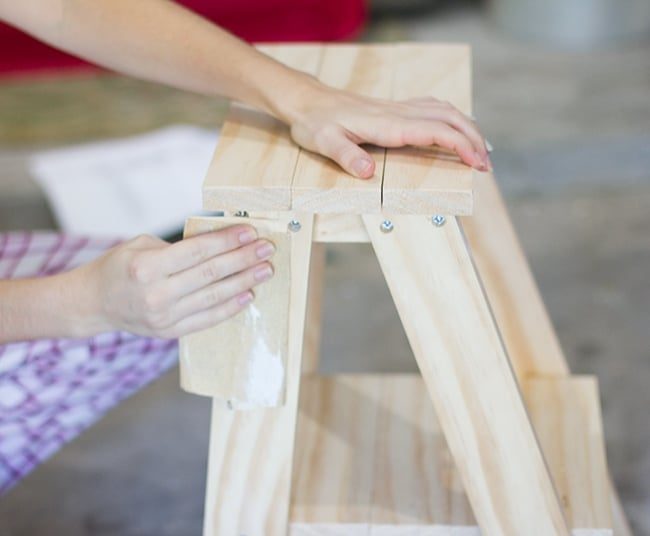
Then I used wood filler over all of the screws:
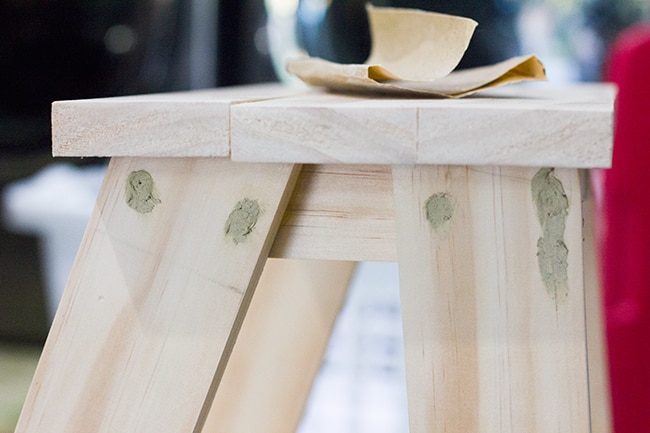
After drying for a few hours, I sanded those smooth:
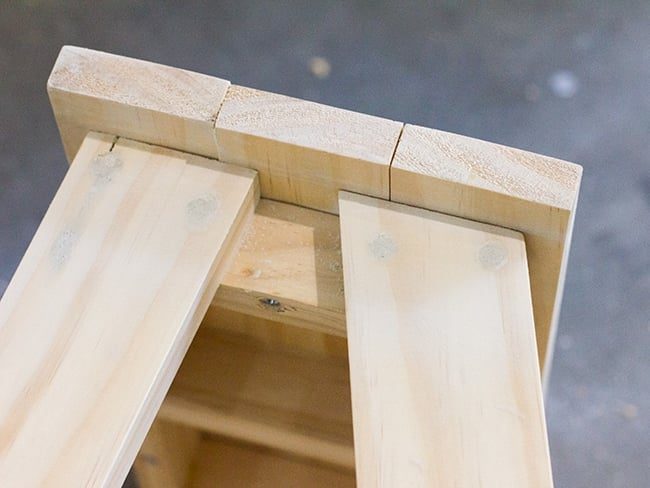
(I ignored the screws underneath that you'd never see).
Next it was time for stain. The choice was to stain before painting so that when I distressed it, the dark wood would show through.
I used my go-to stain, Minwax in Ebony (photo above). I focused on the edges of the wood since that was the only part that would show through.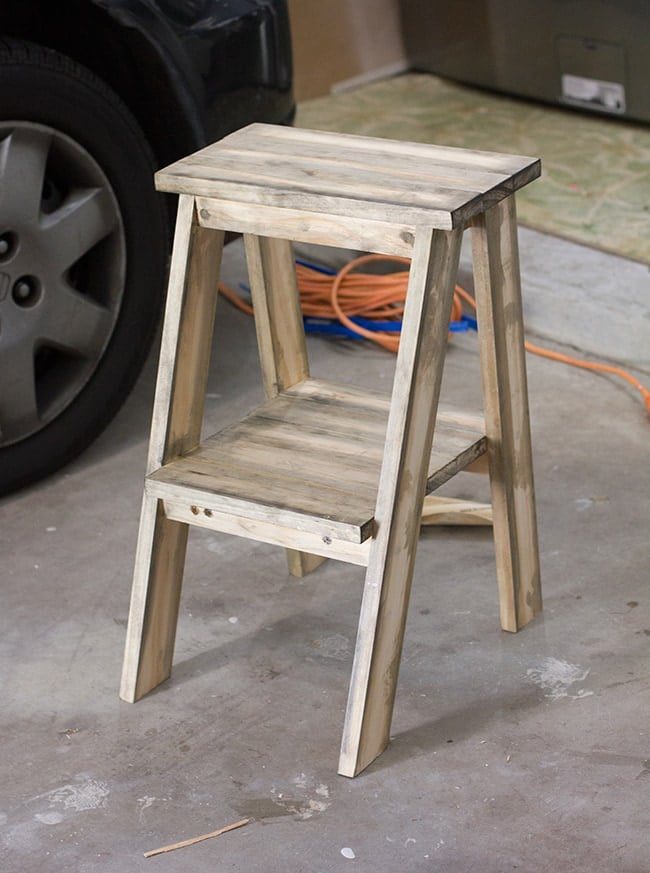 ….and then after taking this I realized I had forgot about a few screw holes. So I had to patch, wait, and sand again.
  But eventually it was dried and ready to paint.
 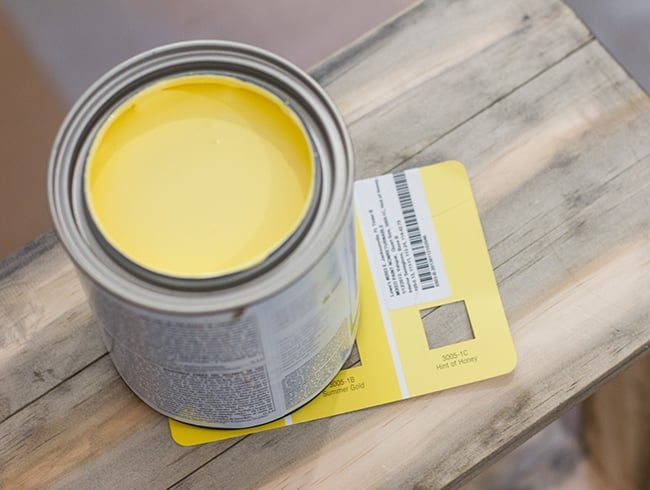 I wanted something soft and buttery without being too orange, too green, or too saturated. Valspar's Hint of Honey seemed to fit. But let me tell you… I got the “base model” paint. It sucked.
 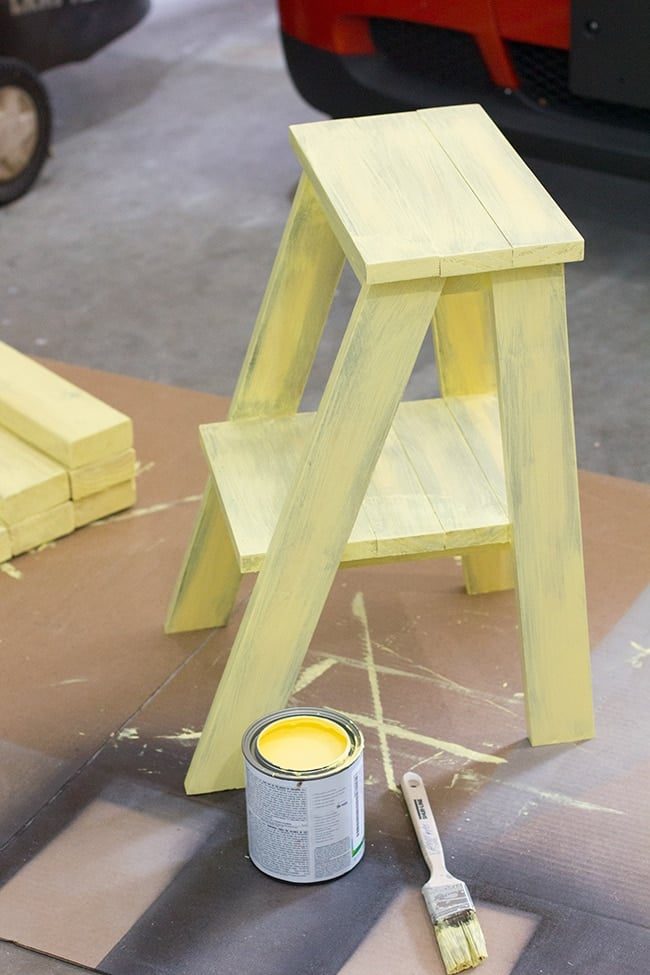 The paint is so thin… I had to apply sooo many coats. Lesson learned. Luckily, when you are going for the 'vintage' look, your paint job is supposed to be imperfect. After drying, I went back and sanded around the corners/edges/etc to give it that worn in look.
 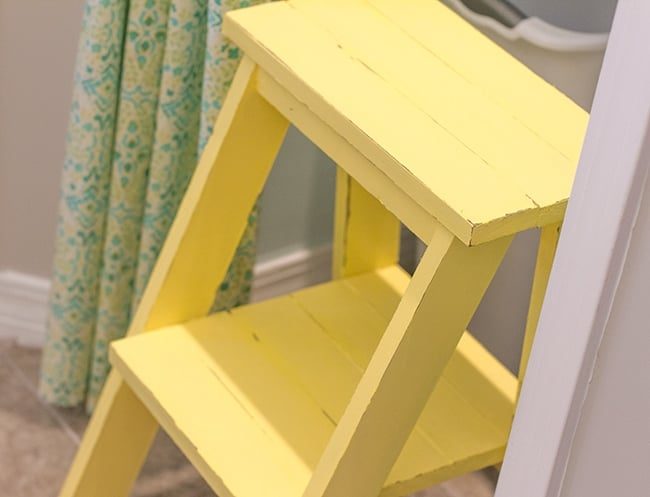 Now I can step on it and drag it around and not even worry about messing it up. Do you see why It helps to keep shabby chic so much?! It is so easy. No stress. I wish shabby chic walls were a thing… I would never have to worry about touch ups. Sigh.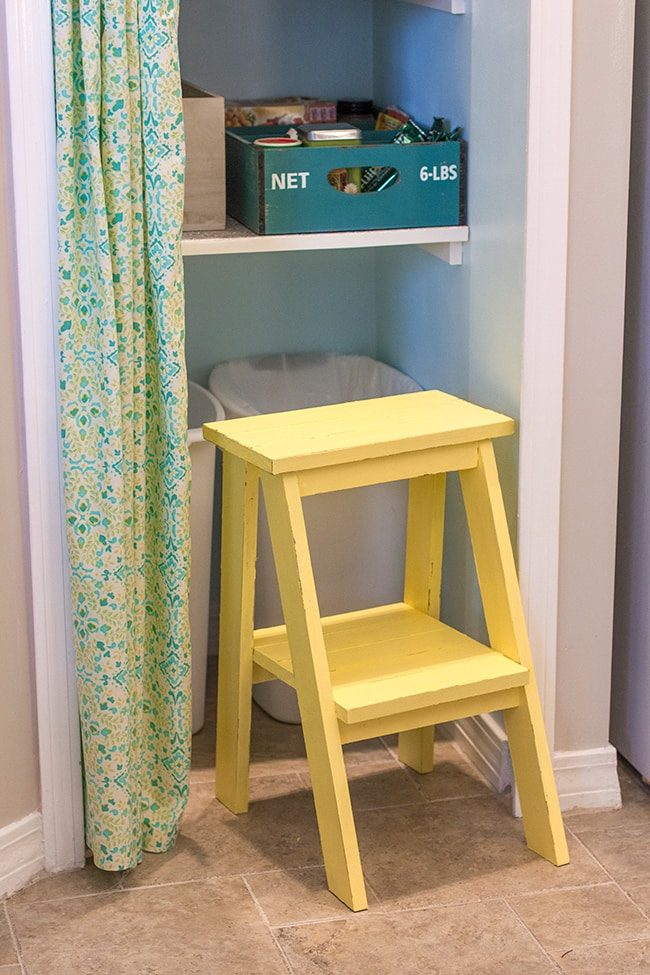
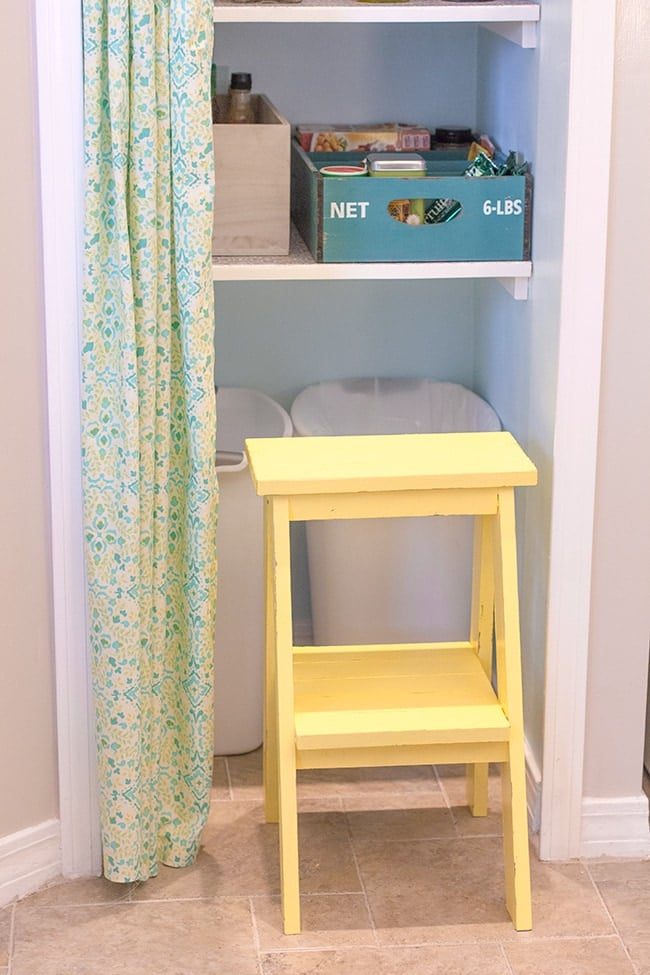 And that is the end of my Pantry Remodel! Did I cover everything? Still have questions? Look at Phase 1, Phase 2, Phase 3, and the Reveal. Or leave me a note in the comments and I'll get back to you 🙂 This project has inspired me to tackle something that is been neglected lately… our kitchen bar table and stools. Yep… I am not quite done with the kitchen yet. The yellow step stool needs a yellow table friend. And maybe some new lighting. I just need to formulate my plan, and I'll report back as soon as something happens. Until then….