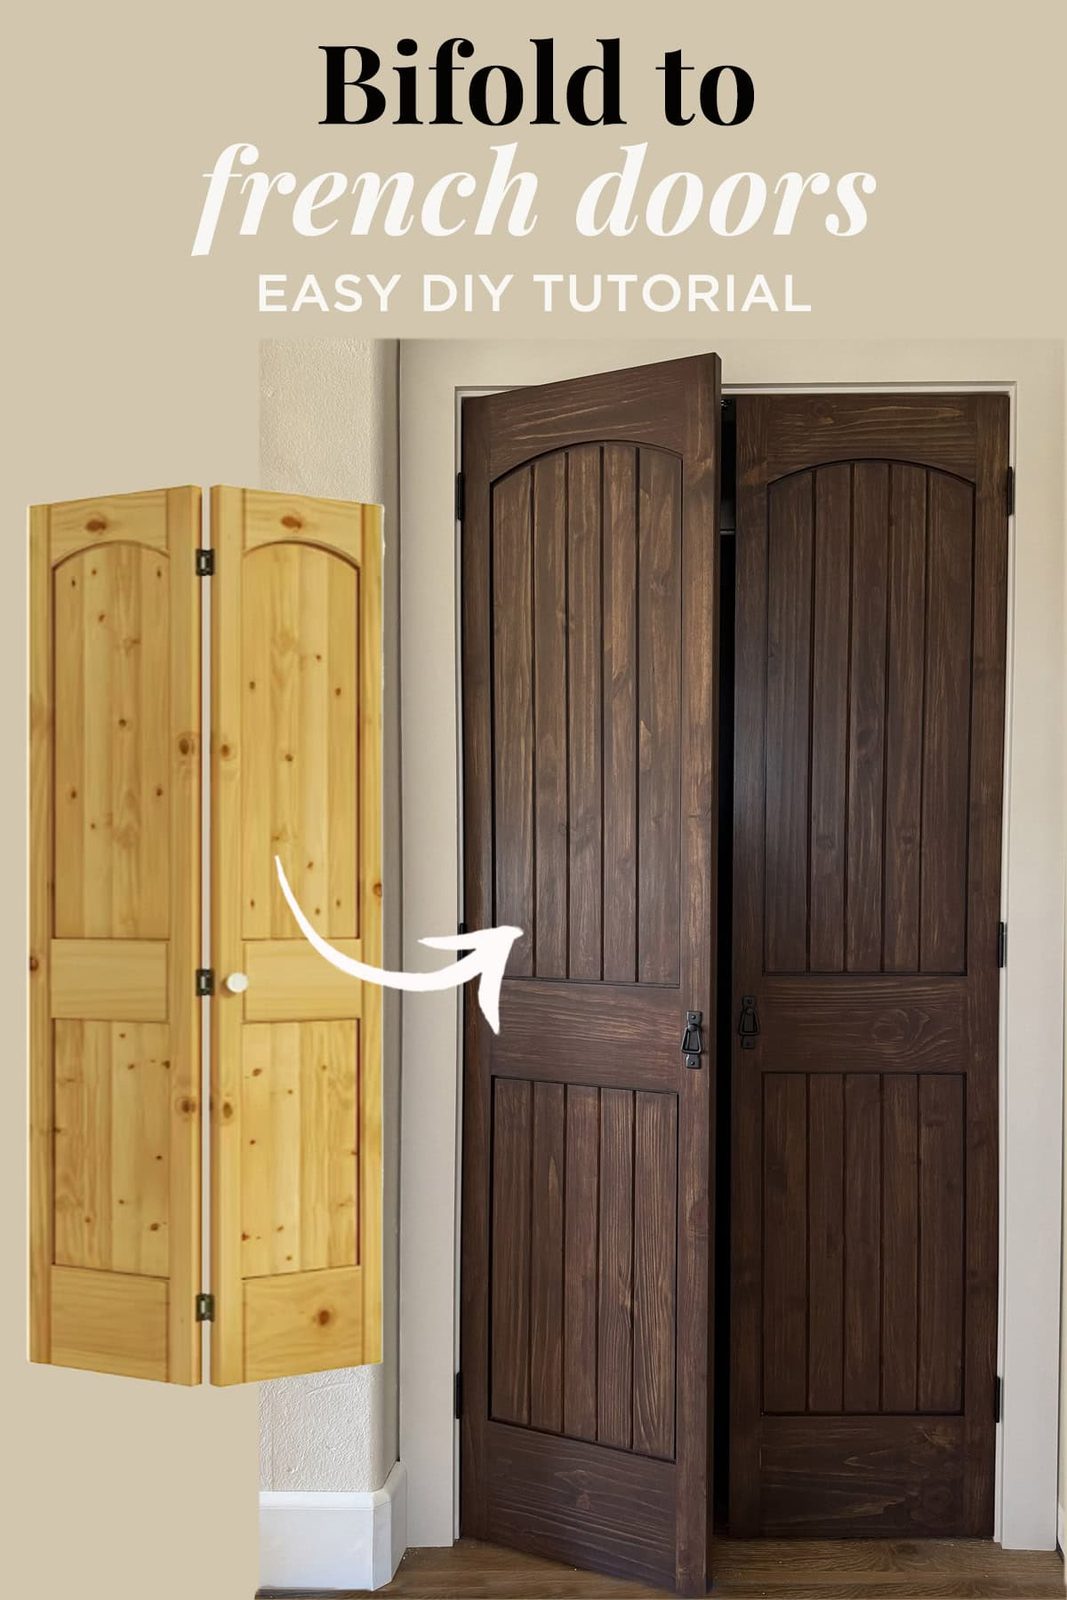
Kitchen Chronicles: Finished plank ceiling & wall
Oh man, it felt so good to cross this project off our checklist. Here is where I left off in my last post when we finished the ceiling planks and had the wiring ready…
Oh man, it felt so good to cross this project off our checklist.
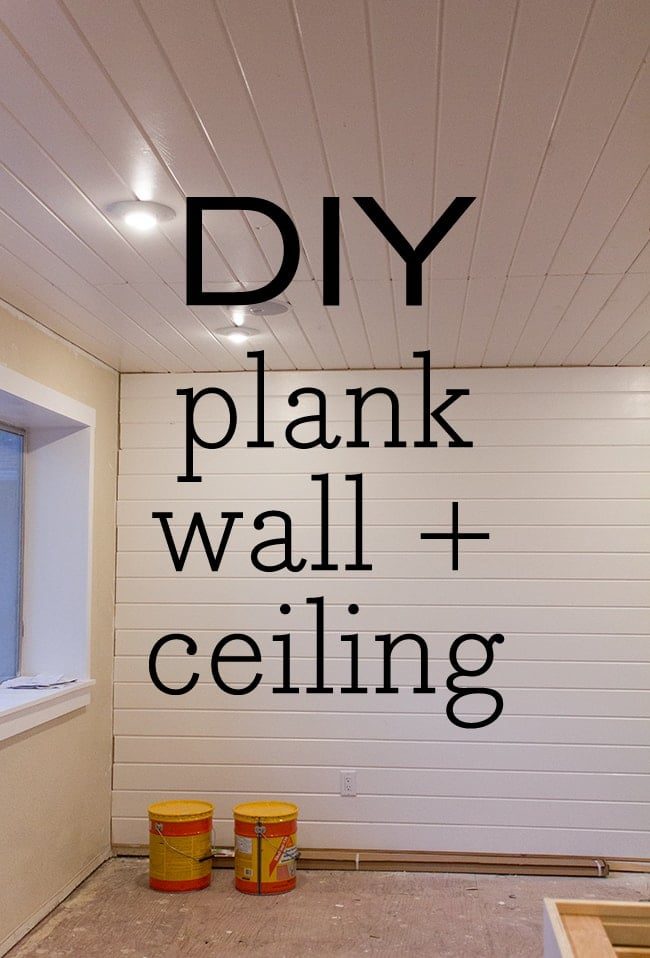
Here is where I left off in my last post when we finished the ceiling planks and had the wiring ready for lights and speakers:
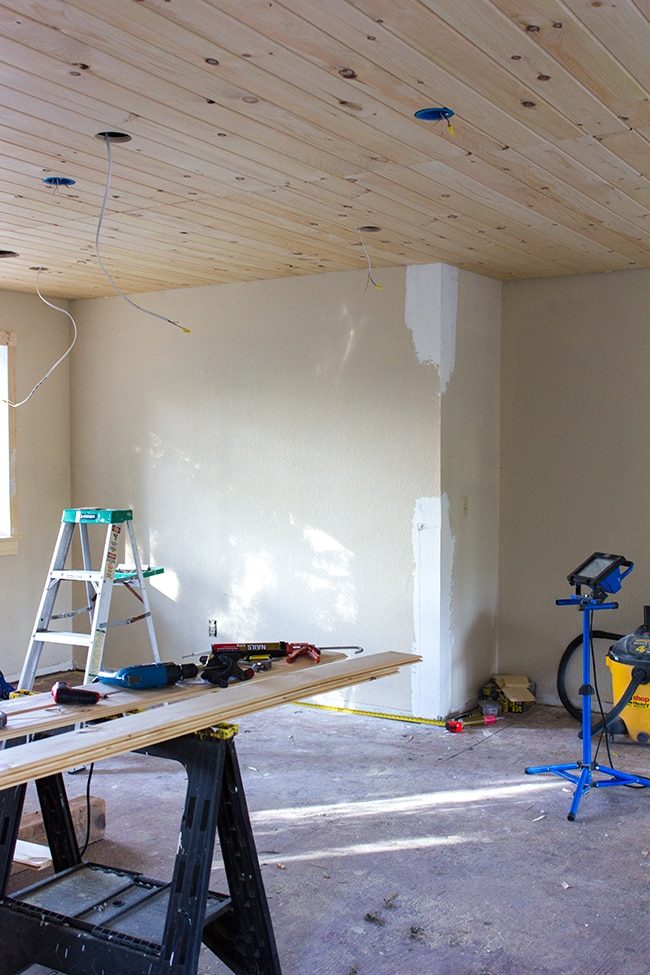
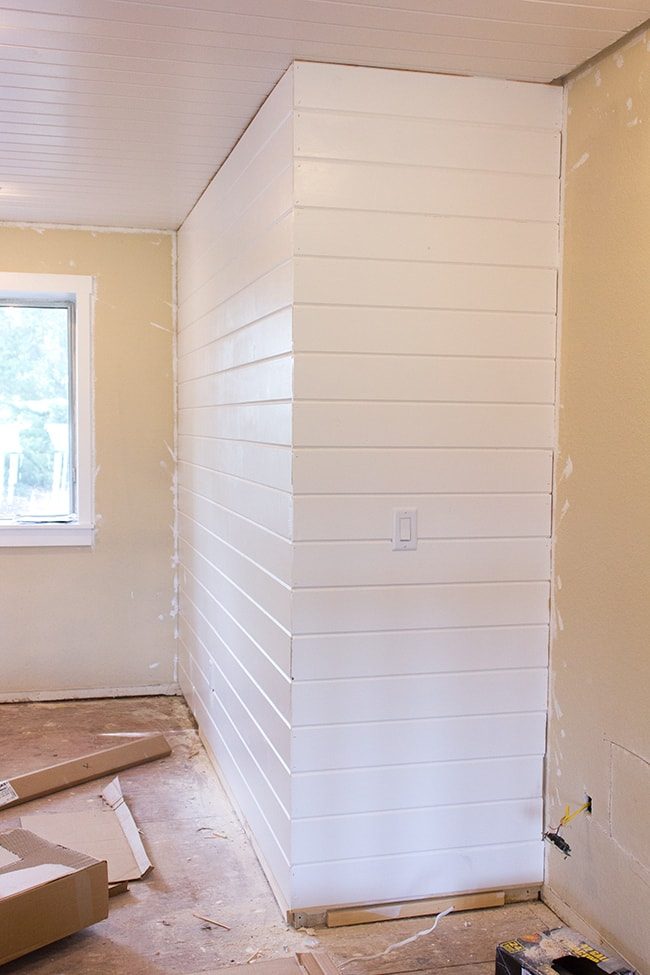
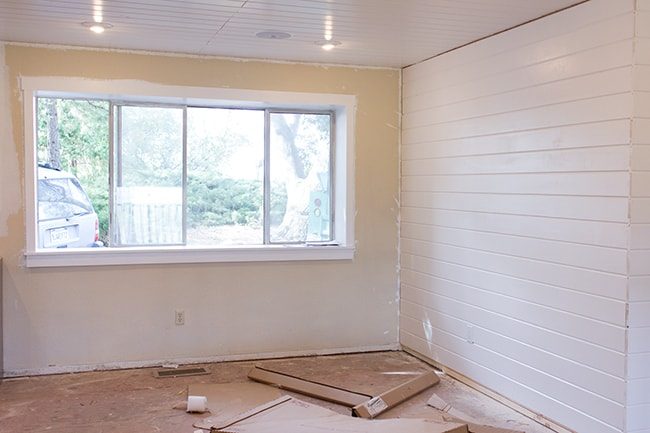
I cannot get enough planking, so I decided the back wall needed it as well.
The process was basically the same as planking the ceiling, so I'll spare you the details all over again and do a quick recap.
The only difference here was that the wall was longer than our boards (106″, to be exact) so we had to make random cuts to stagger the seams.
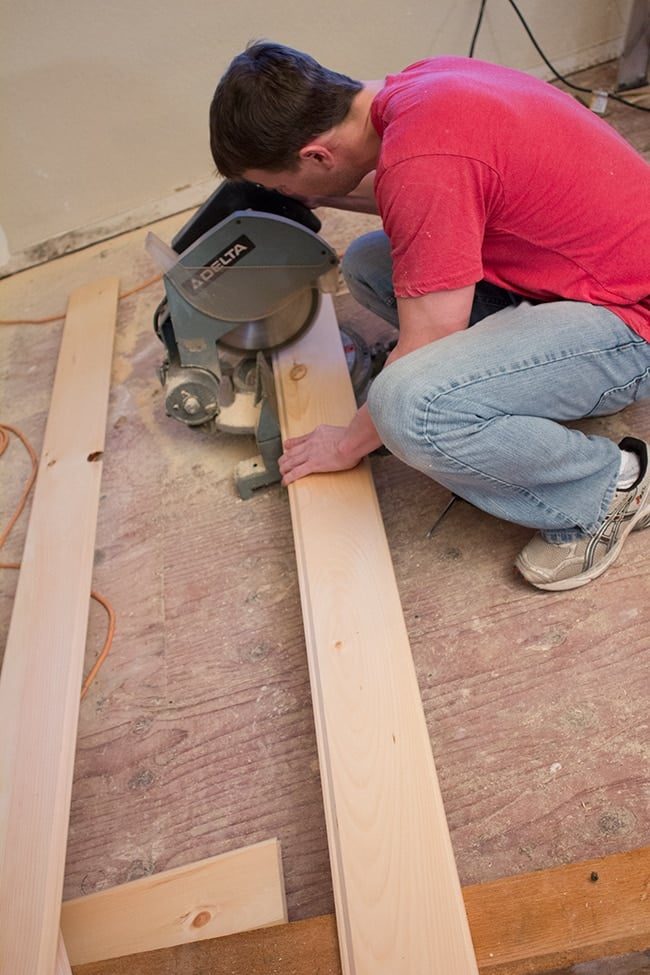
We started at the top because it is a more visible area, so we wanted the boards to be nice and even.
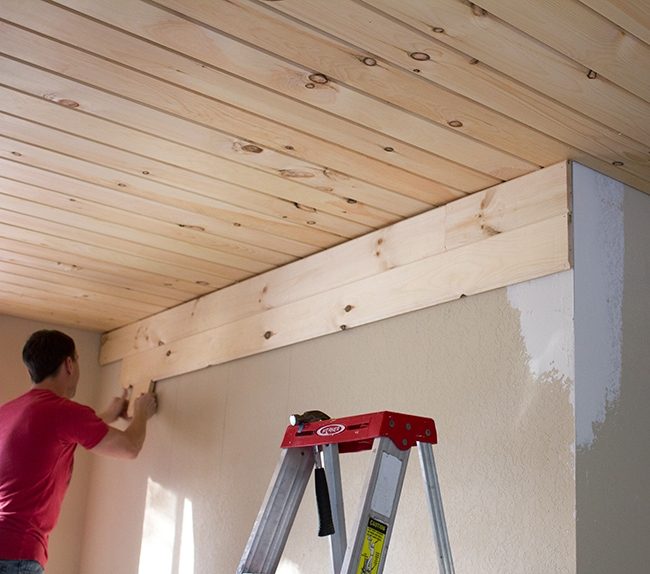
I used a laser level and straight edge to mark the studs, which genuinely came in handy when knowing where to nail the boards. Since they were more secure than the ceiling boards and not fighting gravity, no liquid nails were needed.
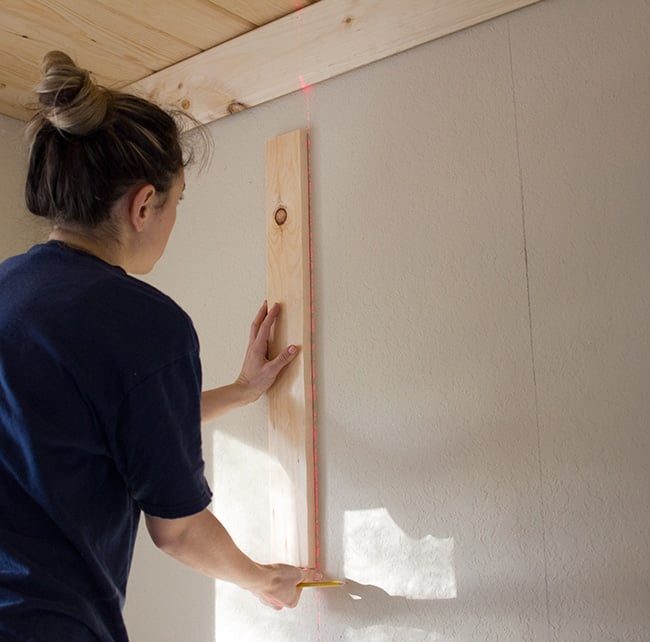
You can see here just how random the cuts were. I still wanted a seamless look so we made sure to pry them as close together as possible and try our best to get them level (not always possible because the boards are not all perfectly straight).
To genuinely help hide the seams, you could miter each cut, but we did not feel up to it so straight cuts it was.
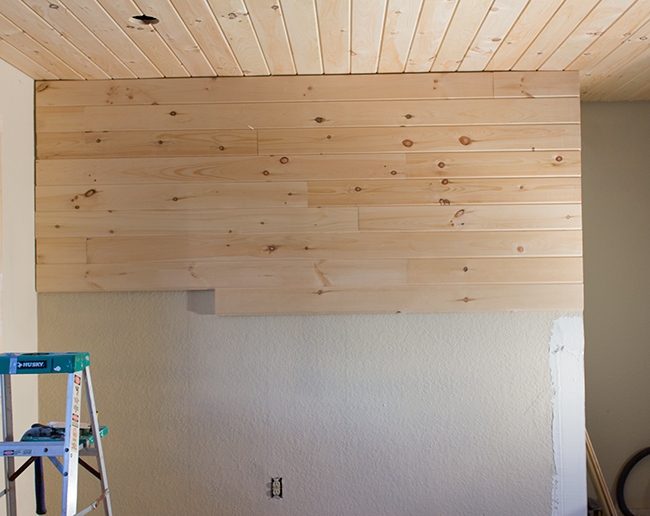
We also had to decide how to end the boards at the edge of the wall. I planned to plank the corner wall, so the boards needed to butt up next to each other. Mitering would have probably been the best solution, but I was worried about the cuts not lining up perfectly and wasting boards, so I just made straight cuts again.
We started on this edge each time to ensure they lined up perfectly.
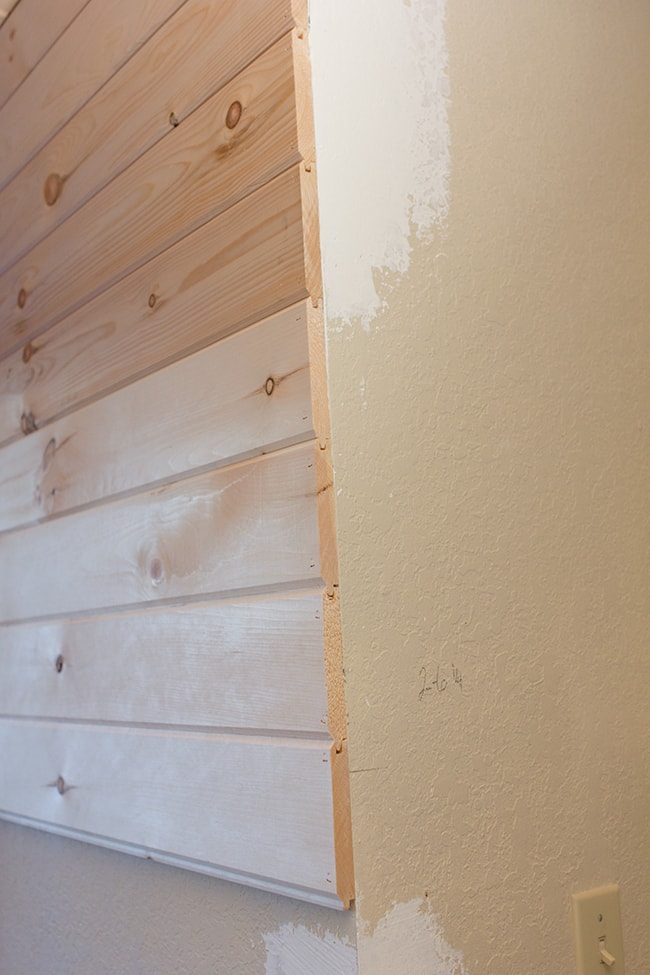
I plan to hide the edge with a 90º edging piece which I think will look just fine.
On the edge where it meets the window wall, the length did not genuinely matter since it will be hidden by a stone backsplash.
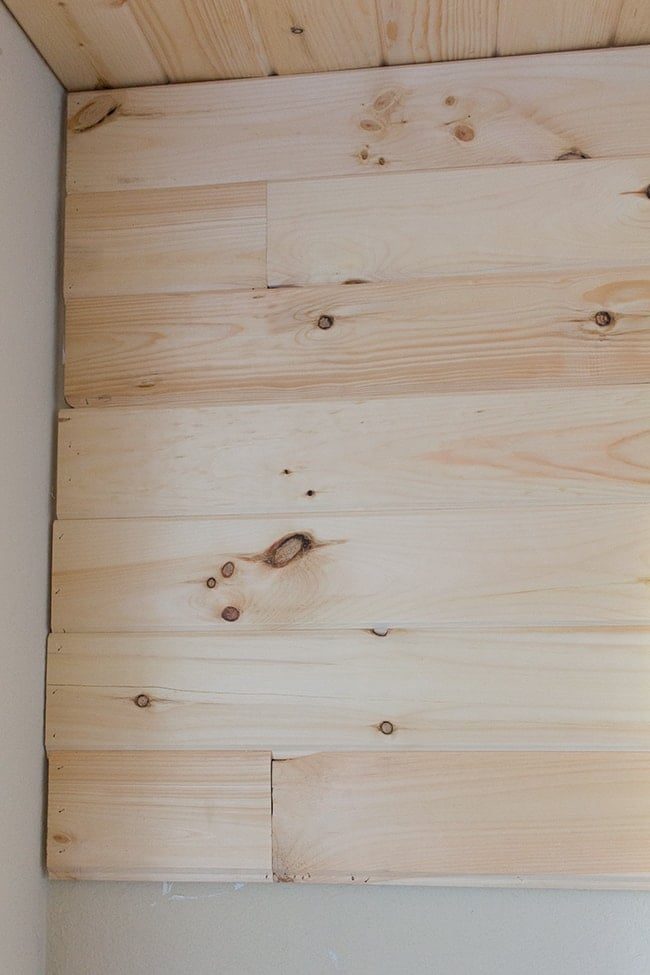
Finally—done!
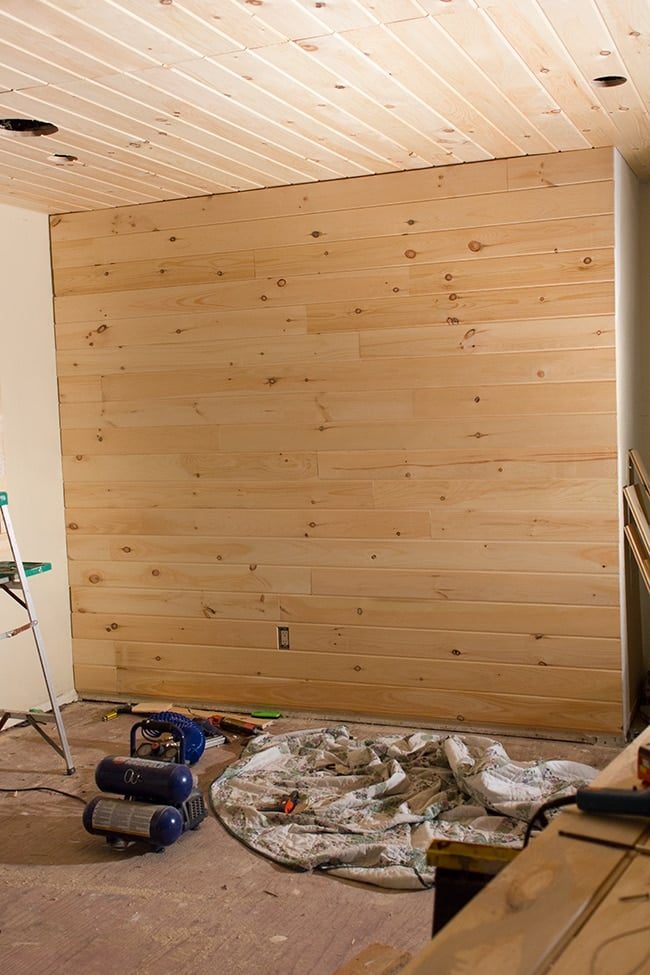
The next wall went by particularly fast…
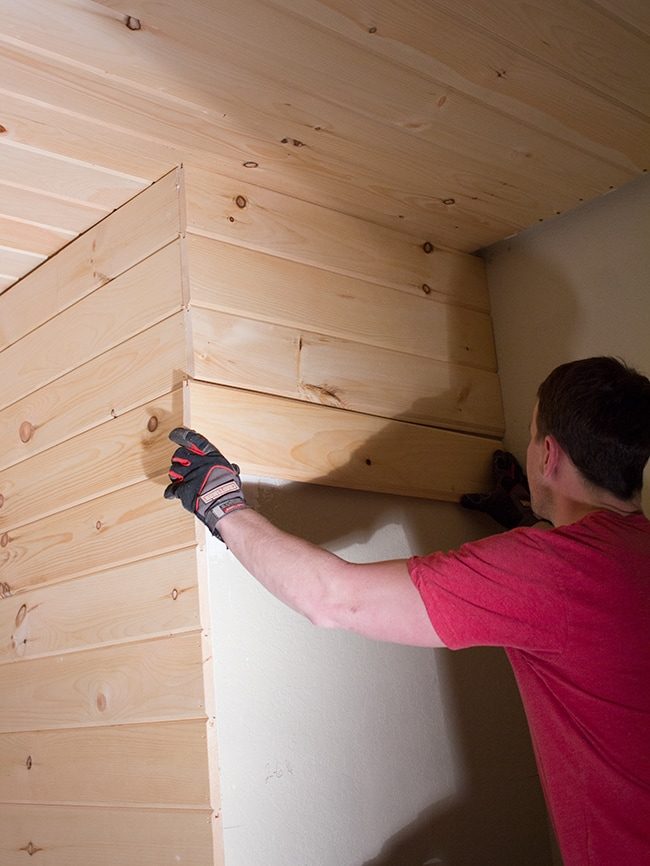
Until we met the light receptacle. But all it took was measuring, marking, and cutting with a jigsaw…
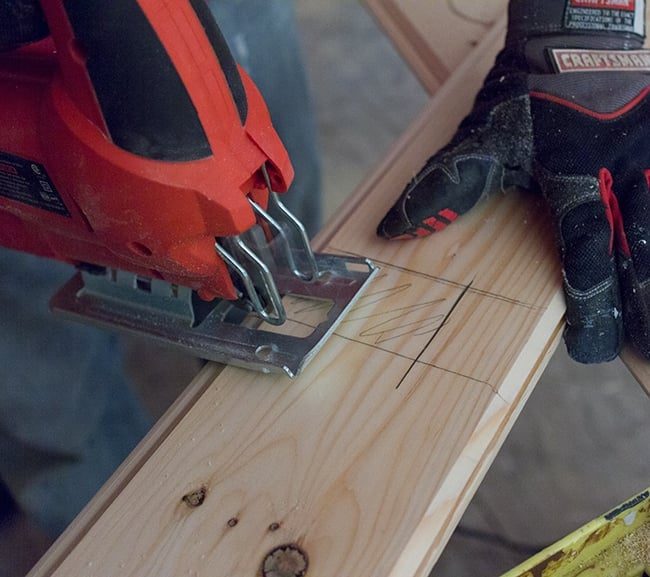
Because it will be hidden under the wall plate, the cuts do not need to be pretty. They just need to clear the screw holes in the outlet box so you can attach the receptacle and wall plate.
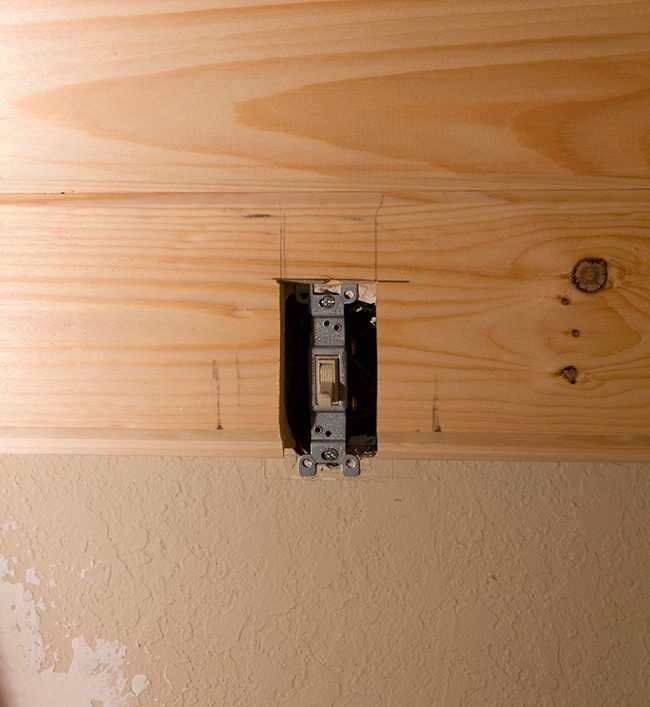
We took the opportunity to upgrade to a modern switch (we will be doing this to every outlet/switch in the house, one at a time). I bought a pack of spacers but it was completely unnecessary—we just needed longer screws.
Do not mind the crooked switch here—it was not secured yet. This is to show the notch we made on the second board and the overall size (and ignore the bent tabs, we were still trying to figure it out).
As long as the edges of the tabs hit the wood on both top and bottom, they'll stay in just fine with longer screws.
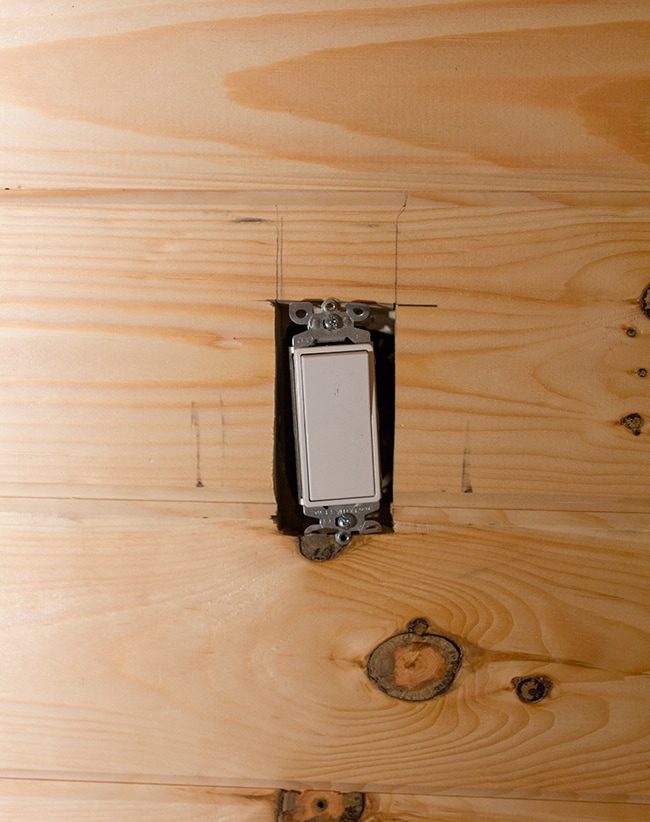
Here is the results:
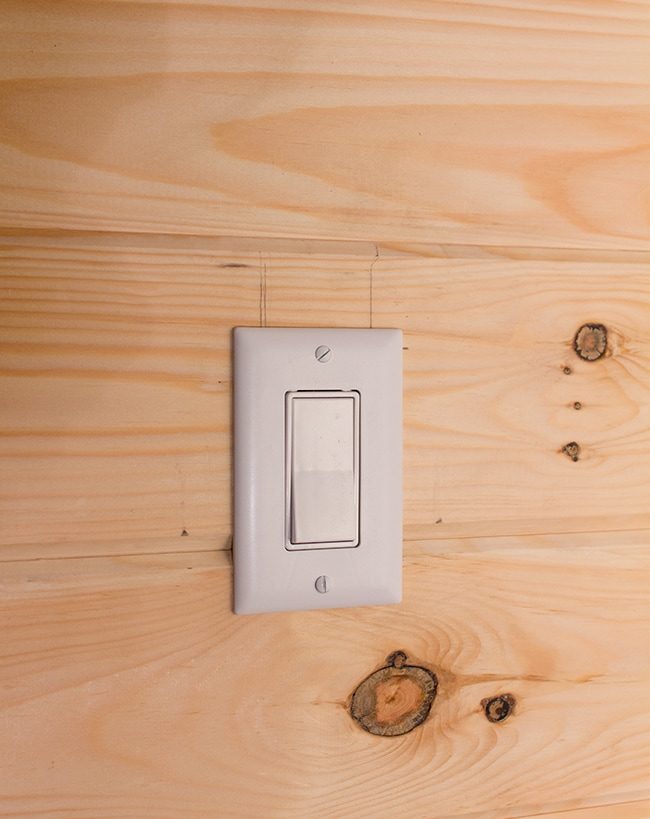
With that hurdle cleared, the wall was done! I got right into patching and sanding the seams.
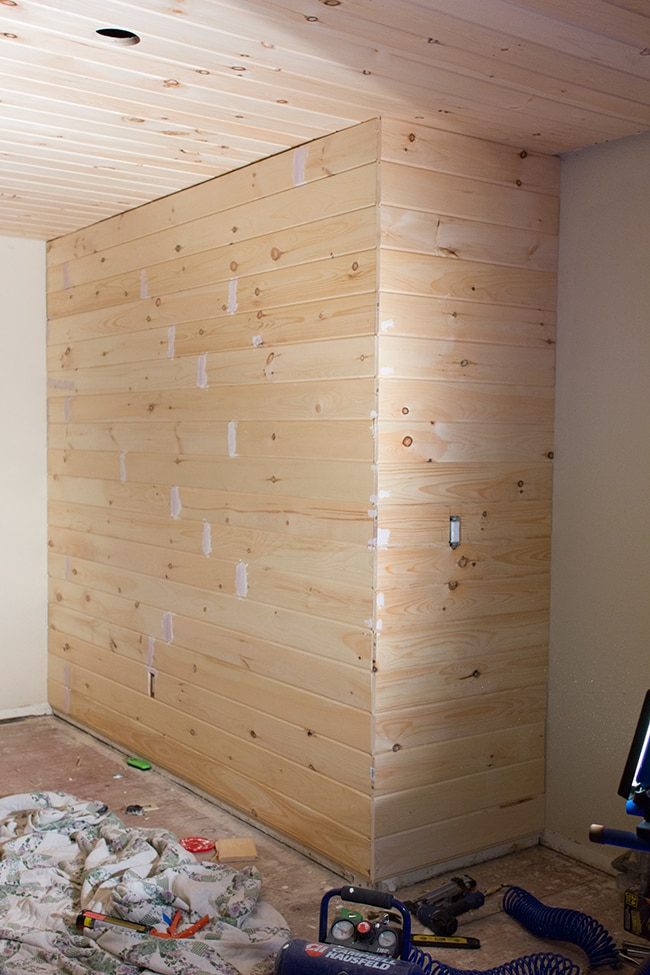
There were no seams to patch on the ceiling since there will be beams covering those (thank GOD… I would still be patching and sanding a week later)
Not wasting any time, we got straight to painting!
The paint we selected was what the previous owners had used for all of their white—Kelly Moore's “Swiss Coffee”. Kelly Moore is a popular brand in this area, and it is higher quality—comparable to Benjamin Moore or Sherwin Williams. That also means higher prices, so I got the paint color matched in Valspar's Signature (my favorite) when they were having a sale last week.
I realize it will not be an exact match, but it will not matter because I will not be doing any touch ups with the paint—it will just be next to the trim painted in Swiss Coffee.
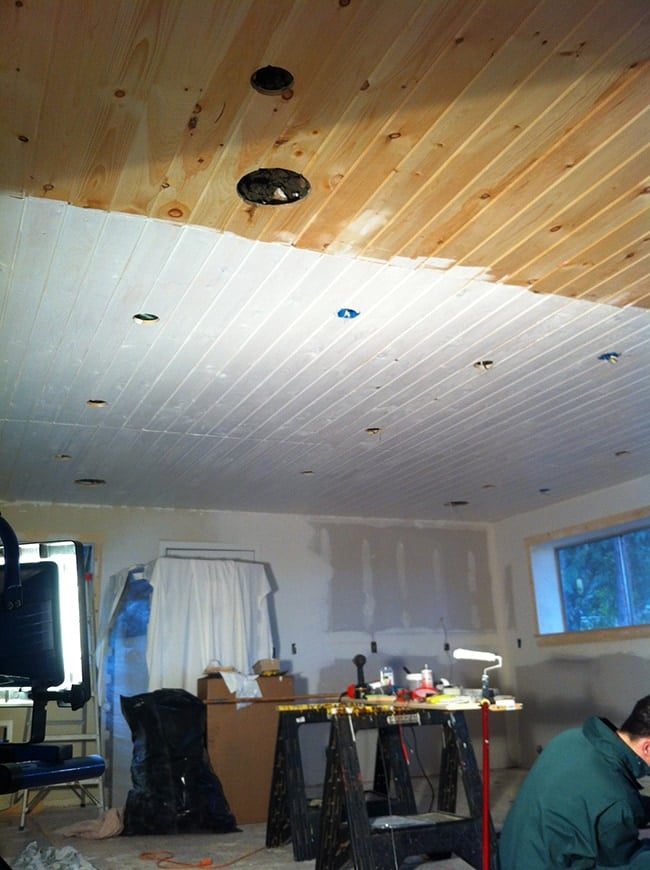
I am not a fan of glossy walls or ceilings, so I went with a satin finish just because I was painting over wood. I actually wish I would have used eggshell for a slightly more matte finish, but I still love the way it looks.
Here is a closeup after one thin coat:
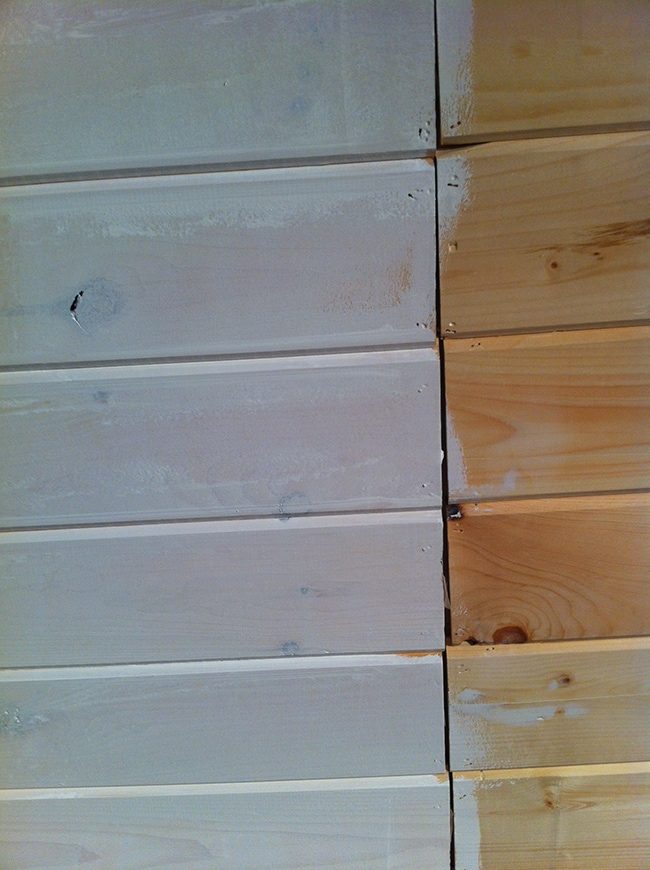
Keep in mind that wood soaks up paint unlike drywall, so you generally need more coats. Since we did not use a primer (though this paint is primer + paint in one), I was expecting several coats but all it took was 3 thin coats—even two where the coating was heavier. This paint never lets me down!
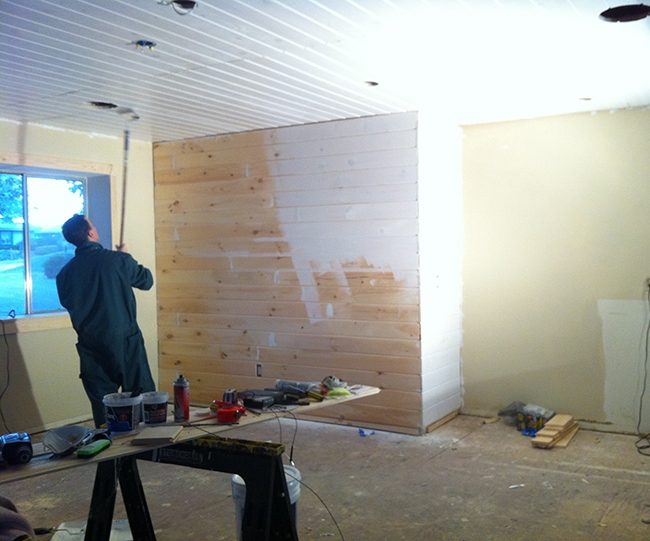
There one was issue, however—my patch job. I was not loving how noticeable they were after a coat of paint (it always seems so smooth and well suited until you put paint on…)
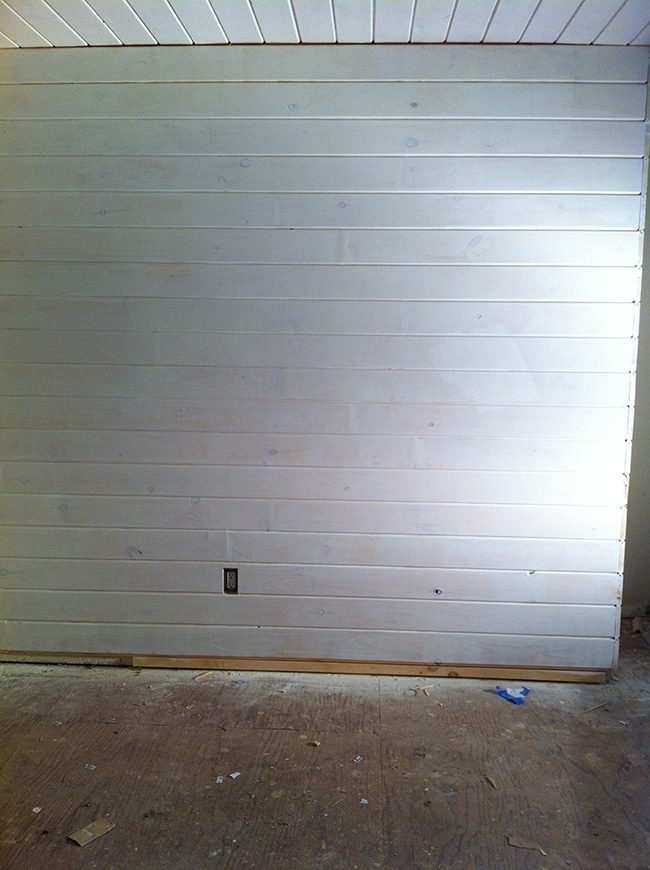
It is hard to capture in photos, but in direct/harsh lighting some of them were quite obvious. Like this one:
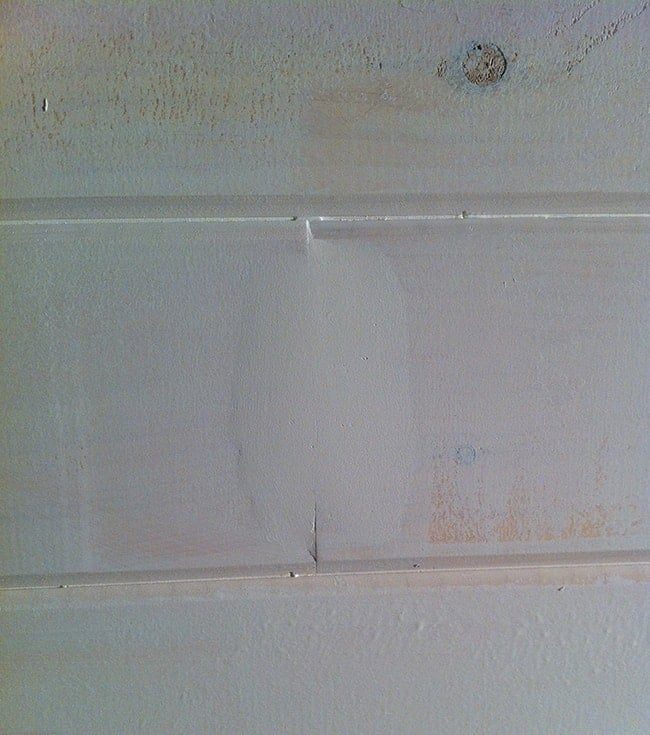
The issue was the boards not being flush. Since they are not all created equal, some will stick out farther than others.
I told my dad about it and he came to the rescue with his giant sanding belt.

It was powerful enough to grind down the boards so they were flush with each other.
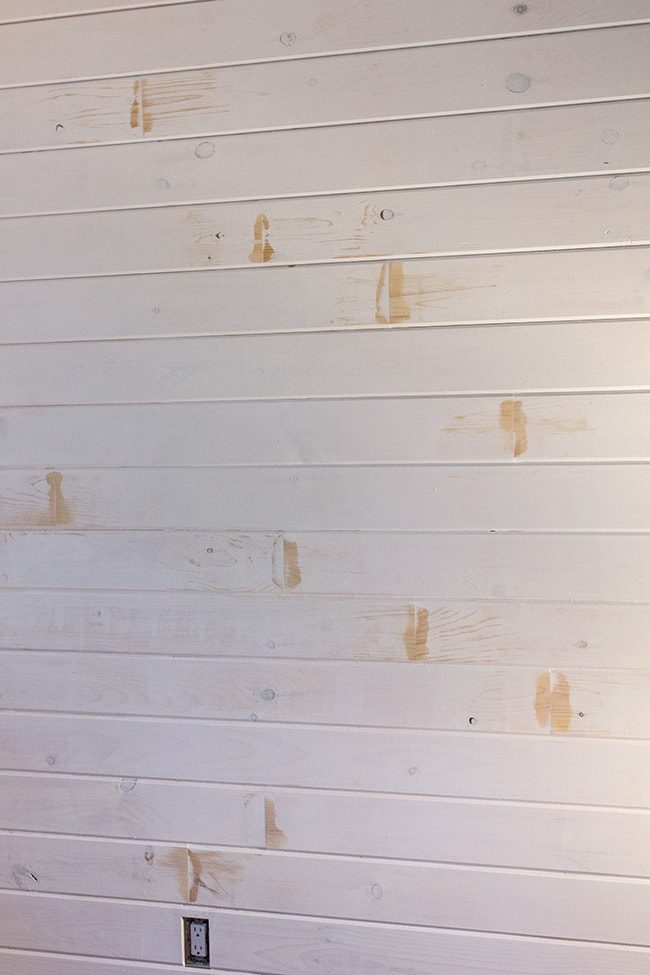
He said that there is no way to make the seam disappear completely and that I was being a perfectionist, so I let it go.
During normal daylight conditions, you genuinely do not notice them, so I am happy.
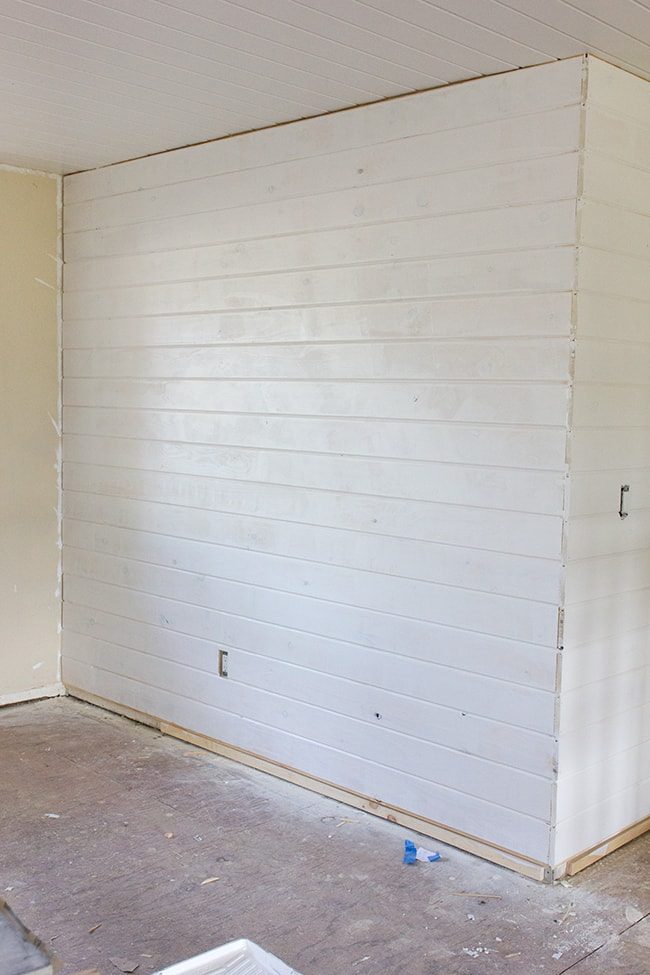
Here is a shot after I touched up the sanded down areas… so 1-2 coats:
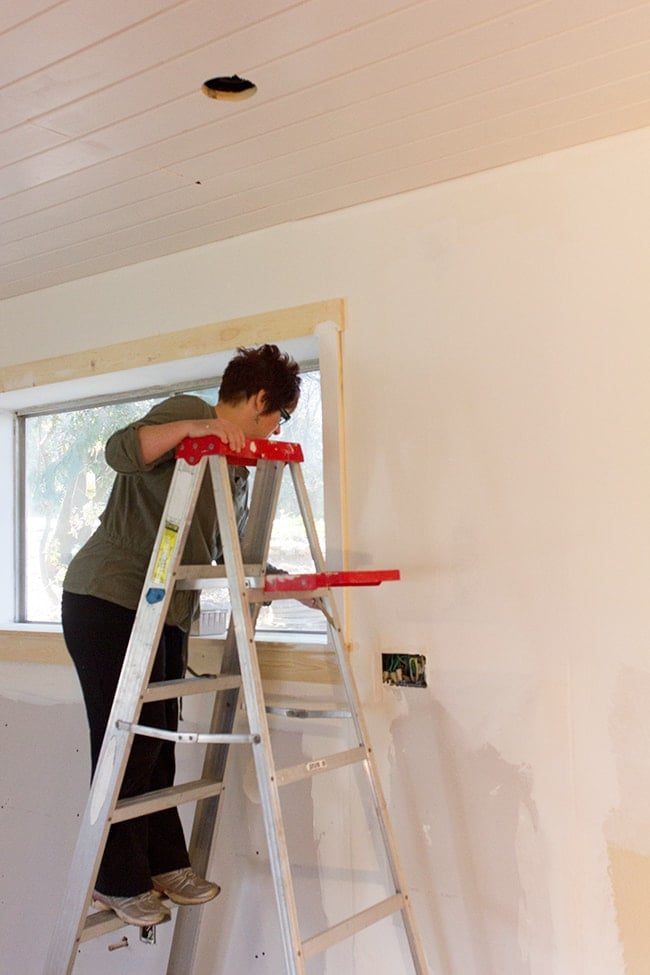
We had plenty of surface area to cover, so I enlisted my mom's help and had her paint the trim:
While she was on window duty, my dad was helping me with another problem.
The planks I ordered are rustic and have knots, which I was totally fine with and even appreciated. It all looked great after we installed them, but once the paint went on, these stood out like a sore thumb:
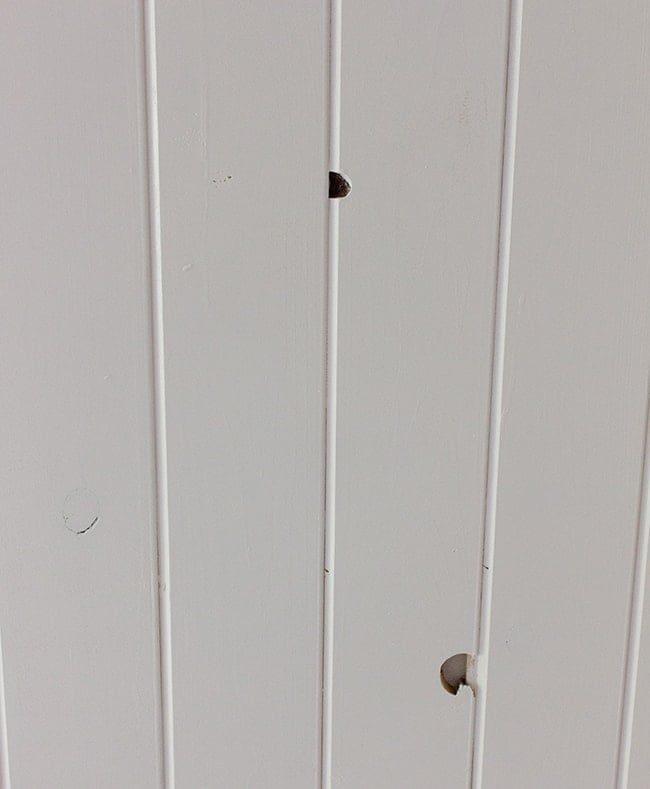
I was fine with the small knot on the left, but not the gaping holes on the right. I asked my dad if I should just use a bunch of drywall mud and he suggested this:
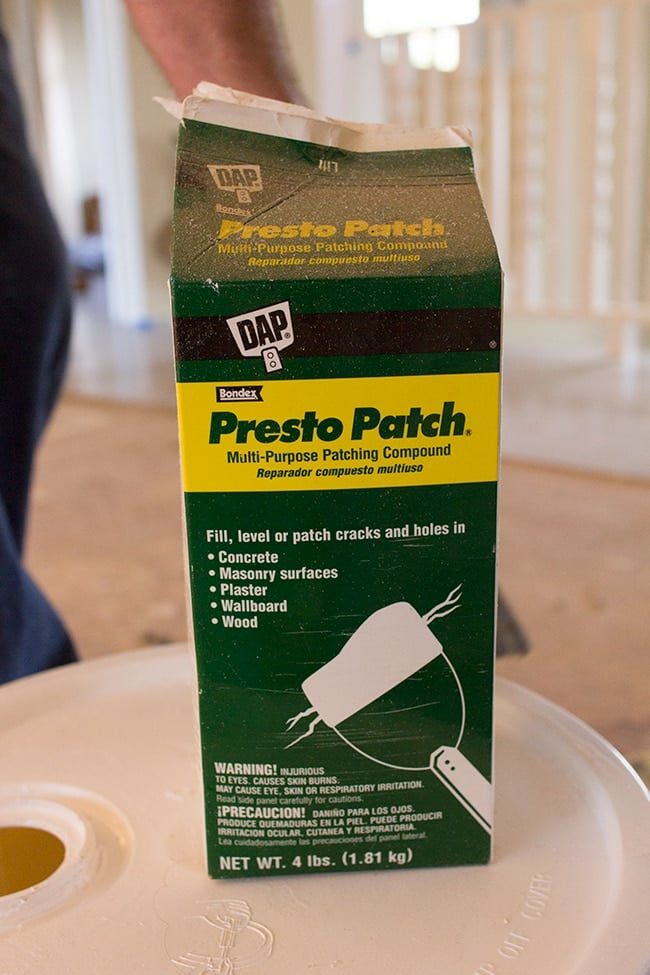
It is a powder you mix with water and it turns into a cement-like paste that dries in 15 minutes.
It was such a lifesaver.
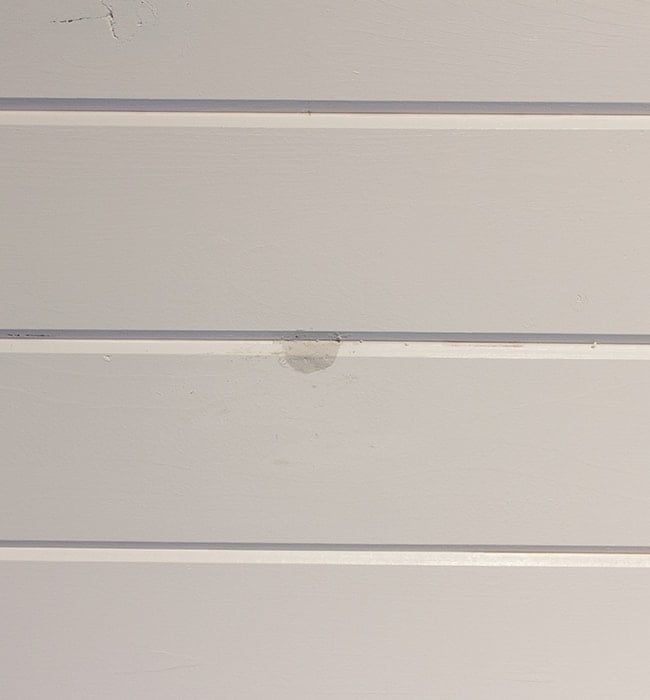
I painted over them and they blend right in. Whew.
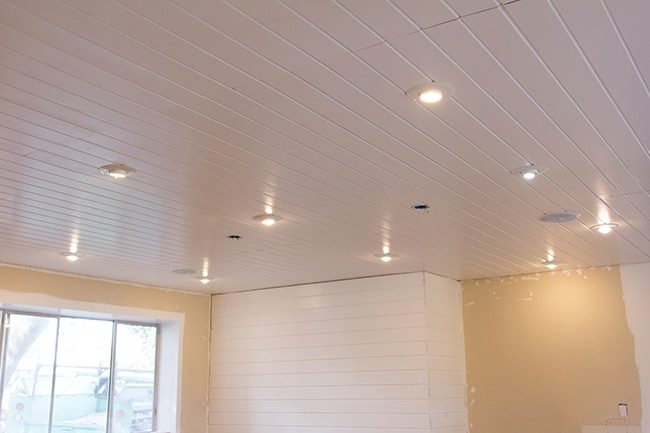
After two nights of marathon-neck-back-breaking painting, the lights and speakers were wired up and it was finished!
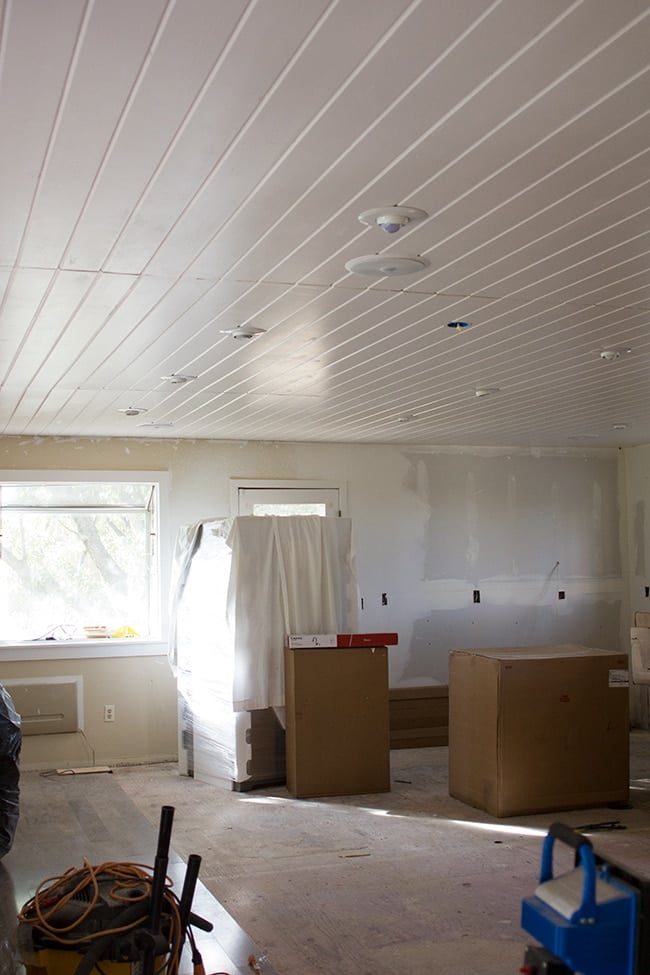
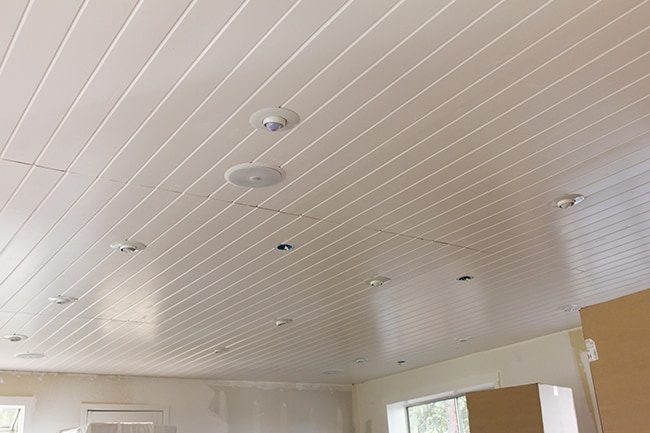
Ignore the multi-colored bulbs, we are using what we have on hand until we get them ordered…
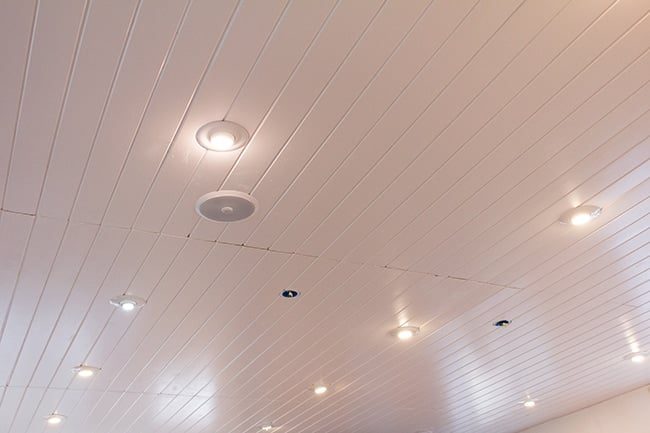
Beams over the seams to come soon!

We cannot install any trim on this wall until the bench seat, backsplash and bar counter are in, so it will look a little unfinished for a while.
Ready for a sneak peek at the cabinets? They were just installed today, but I am saving the reveal post until after we get some appliances in on Friday…
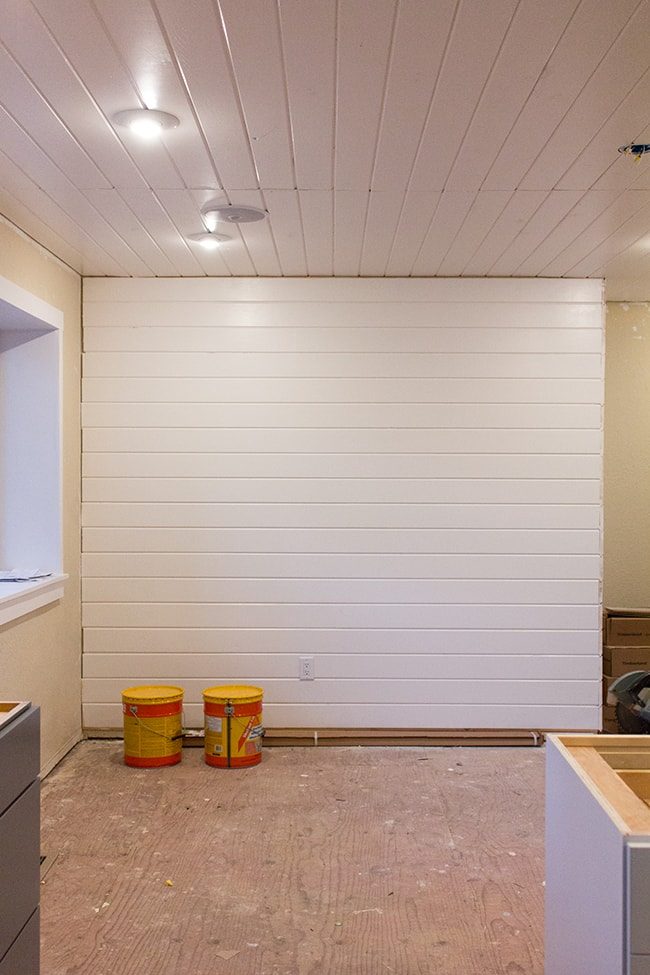
That is all you get for now 🙂
Oh, and this one shot I posted on instagram a few hours ago…
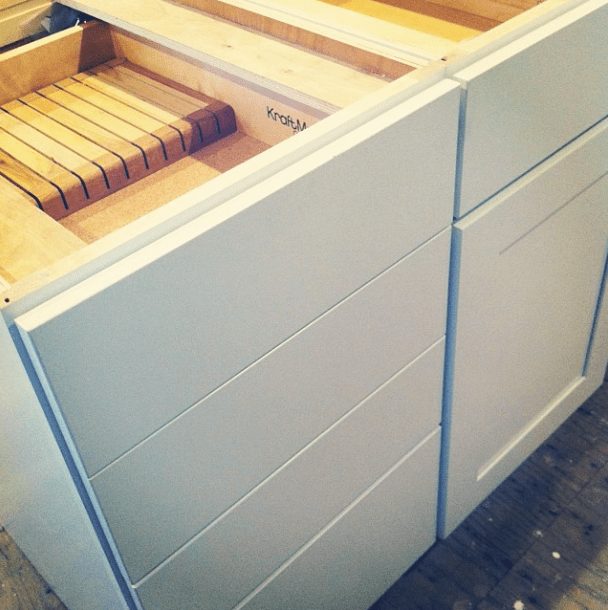
Oh wait, and this one from yesterday…
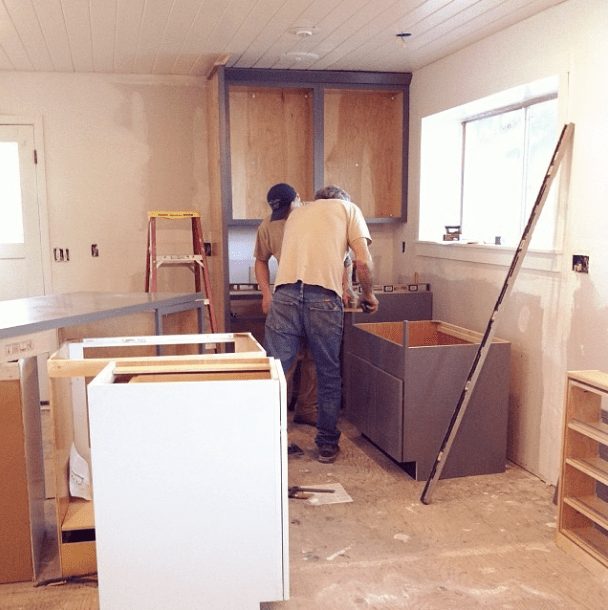
I am sure I'll add more this week so feel free to follow me for real time updates!
Here is the latest noteworthy news:
1. Lowe's is measuring for the countertops tomorrow and they should be installed in 7-10 business days (way faster than we thought!)
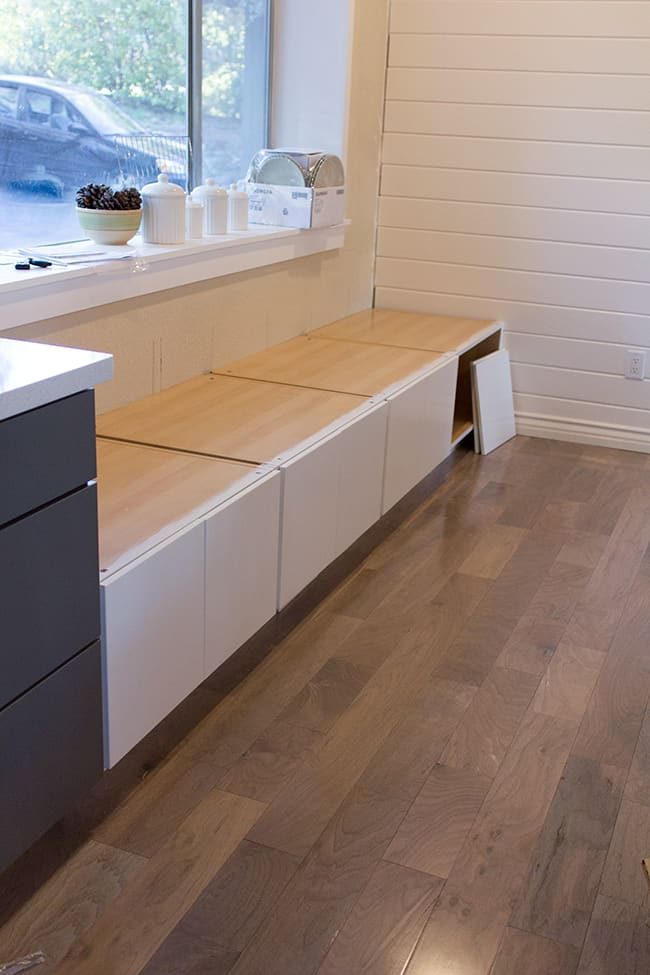
2. Ikea cannot deliver our pantry cabinet and bench seat for a whole month (ugh!) so that is going to delay our kitchen progress.
3. We decided to push back our move-in date to February 8th—hopefully the counters will be in by then so we will have a functioning sink, cooktop and dishwasher.
For the rest of this week, I am focusing on finishing my studio. The plank walls are up so all that is left to do is paint, which I'll be doing tomorrow and Thursday. I should have an update on Friday, and then another this weekend with our kitchen cabinets and flooring.
Our hard work is finally paying off now that we can see how everything is coming together. I am having so much fun sharing our progress with you guys and hope you are enjoying it too—more to come this week!