DIY Tongue and Groove Ceiling Wood Planks
How to install tongue and groove wood planks on a ceiling. A unfussy step by step DIY tutorial with tips and photos!
Today I am sharing how to install real tongue and groove planks on your ceiling. This weekend DIY will transform any room, and it is easier than you think!

Materials
- Tongue and groove boards (mine were 3/4″ thick, 5 1/8″ wide, and 8' long. I like pine because it is lightweight and easy to work with. Make sure to get extra for cut and damaged boards).
- Liquid Nails
Tools
- Finish nailer + nails
- Miter Saw
- Jigsaw or table saw (we ended up using both)
You can use a wide variety of materials (wood, mdf, composite) or even 8' sheets (such as beadboard) to achieve a similar look, depending on your preference. I found this cost-effective unfinished tongue and groove pine at Lumber Liquidators:
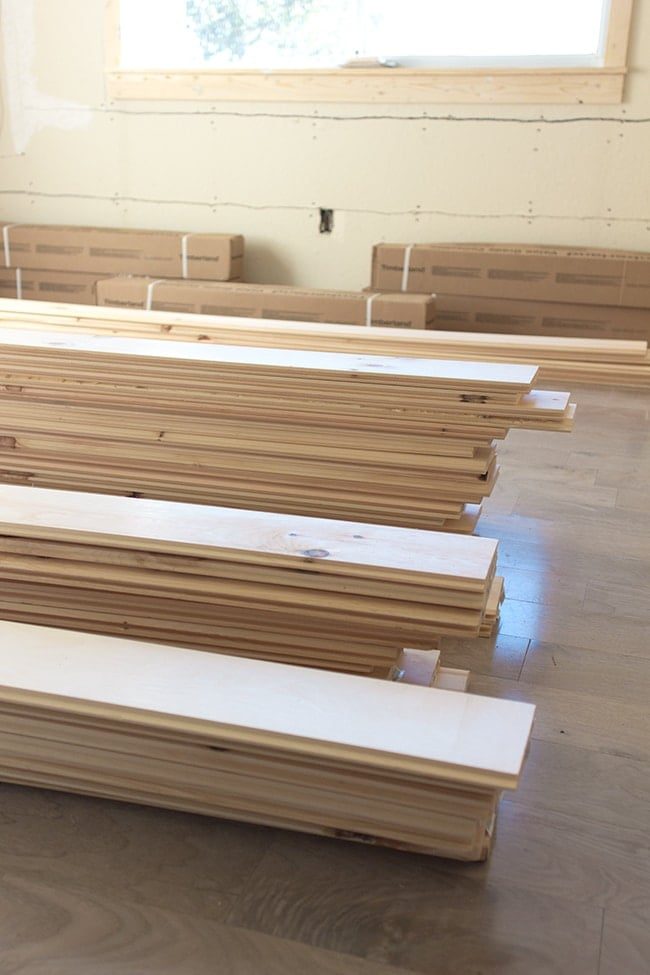
Tongue and groove is double sided so you can use one for hardwood floors, and the other is meant for paneling walls and ceilings. Here is the flat side for floor installs:
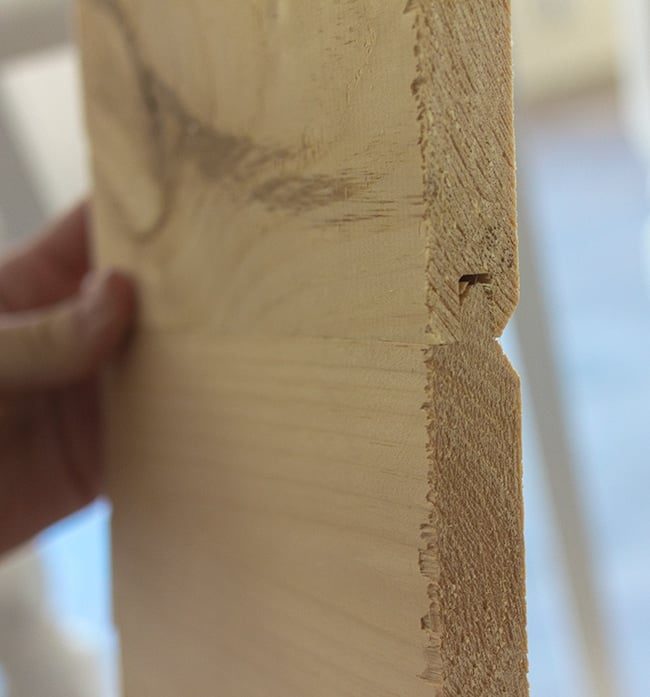
And here is the tongue and groove side (this is the side that will be exposed):

How to install tongue and groove boards on a ceiling
Step 1: Plan your layout
Our ceiling is just under 24 feet long at the widest point:
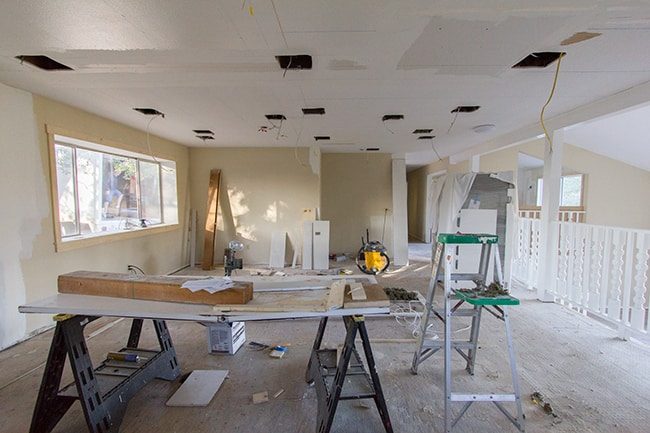
Since my boards were 8 feet long, The choice was to use three even rows and hide the seams with a beam running perpendicular (three beams total). If you are not going to add beams, you will want to cut your boards at various lengths to stagger the seams. I prefer the seams to blend in as much as possible, so I would caulk and sand afterwards (I'll be taking this approach with the back wall since it is slightly wider than 8 feet).
Step 2: Mark joist lines on the ceiling
Before you start, you will need to mark your joists. We bought a chalk line and had them all marked for drilling our light and speaker holes:
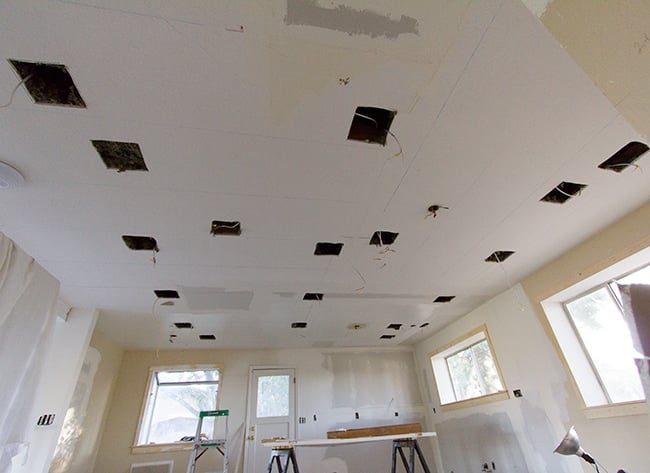
It is a little difficult to see, but there are light blue lines running throughout. Our ceiling was a little weird because the beams ran horizontal in the front and perpendicular in the back. This meant that most of the boards up front would not be nailed into a stud, which is where liquid nails comes in…
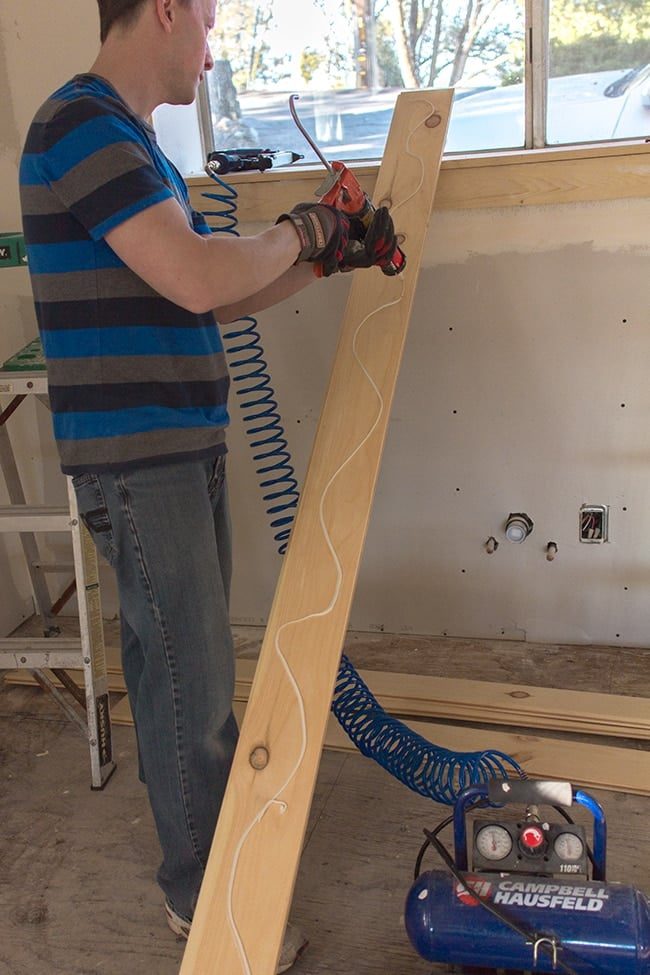
Step 3: Attach planks to ceiling
For our first board, we decided to start in the back corner of the room.
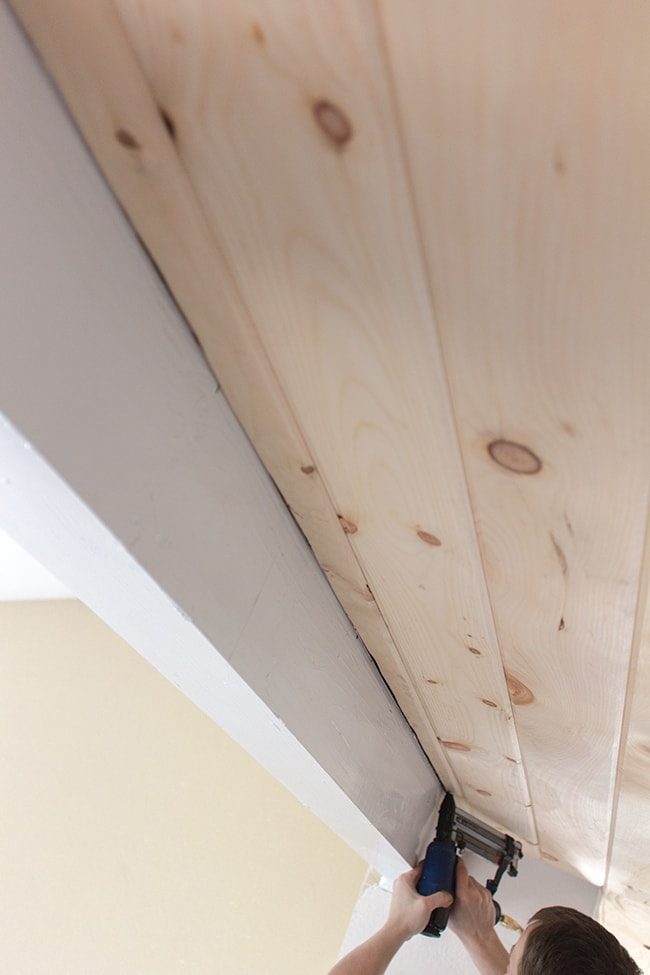
We lined up the groove/flat side to the edge of the wall so the tongue was exposed, and shot a couple nails through on each end and along the edges. Luckily, it did not fall!
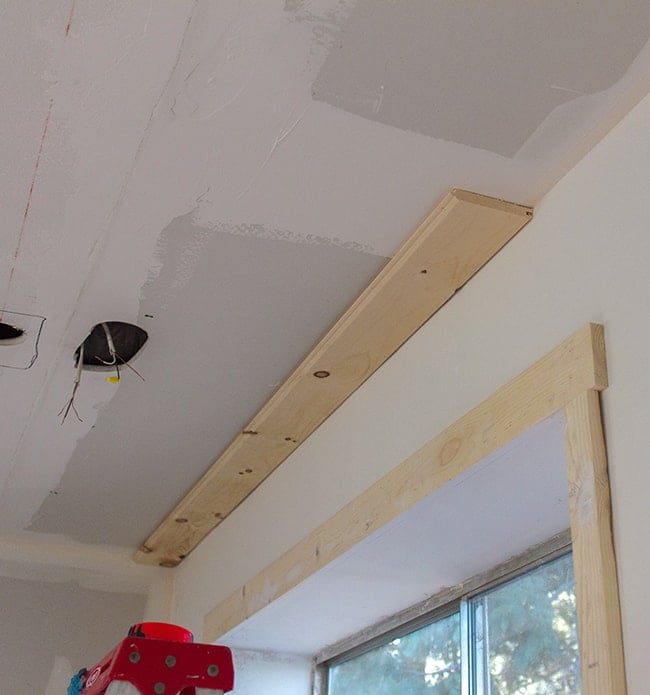
To allow room for expansion, you will want to leave around a half inch of space between the walls. Our wood did not sit indoors long enough to acclimate to the environment so this was especially important.
The next board locked in place quite easily. We shot a few more nails into the edges and several along the tongue. This part is important—to avoid having to fill a million tiny nail holes, you want to angle the gun inward at a 45 degree angle on the tongue:
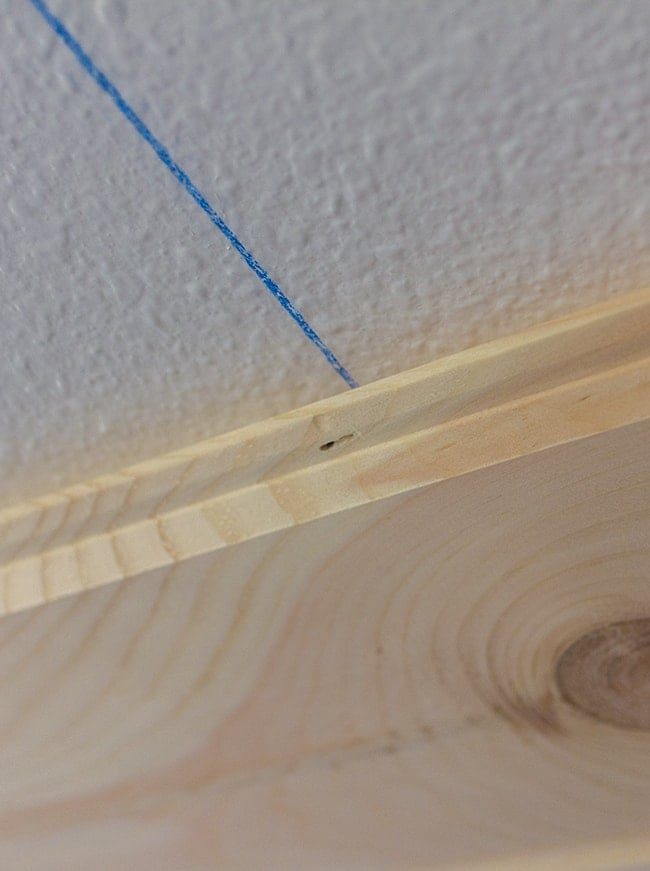
The blue chalk line represents a joist, which you will want to make sure to hit (unless there are not any that cross your board).
Since the tongue will be covered by the groove of the next board, this will ensure all of your nails are hidden. It takes some time to get the hang of it, but after about 100 boards I finally started to look like a pro!
Moving along…
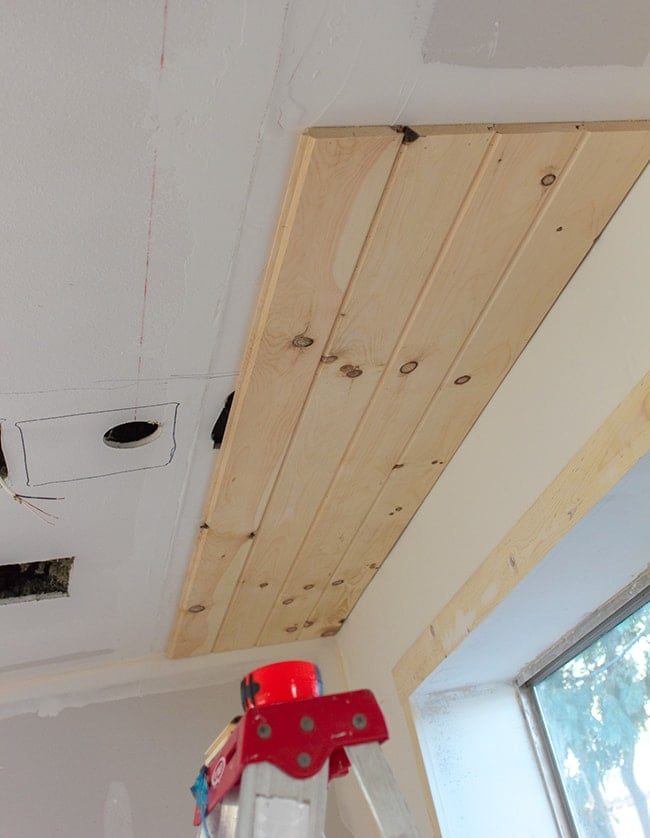
Step 4: Working around lights/speakers
Back to those holes we cut. Many of you will not do it this way because you will already have lights in your ceiling, but we had none and wanted to add recessed lights and speakers, so first we had to plan and cut out all of the locations.
When we came across a board that covered the holes, we stapled a tag to the top of it (labeled as “Speaker” or “Light”. Then we installed the board as normal:

The reason we could not just drill through the planks and drywall at the same time is because the tabs on the inside of the lights and speakers are made to grip onto 1/2″ thick drywall only. The planks and drywall together are too thick, so we had to cut the drywall away so the tabs would attach to just the planks. Make sense? I'll explain this more in Step 6 (with photos).
After you get the first board up, it is pretty much just rinse and repeat.
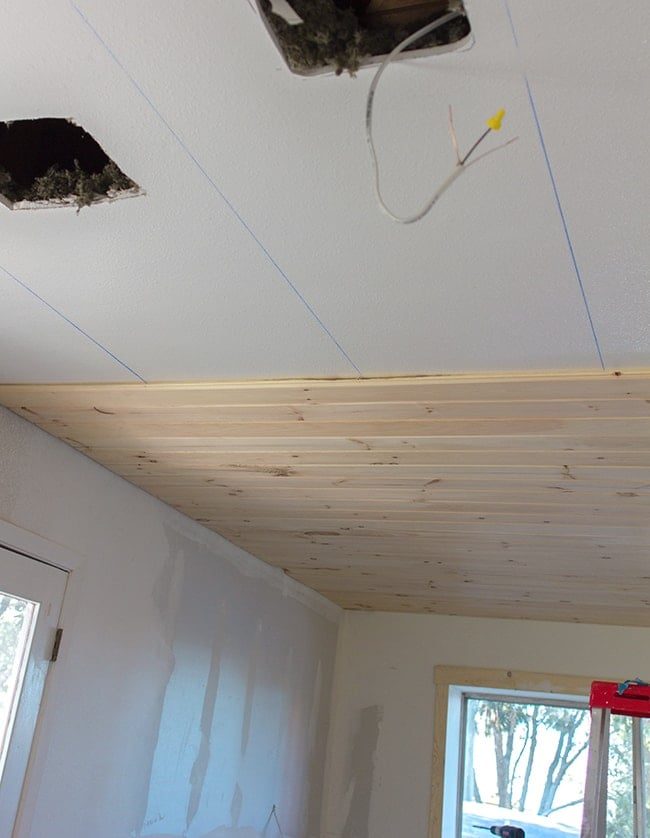
Once we got to the back of the room, the joists started running the other way so we were able to nail into them. We used two nails on the edges and one where the board met each stud (on the tongue).
Making progress, five inches at a time…
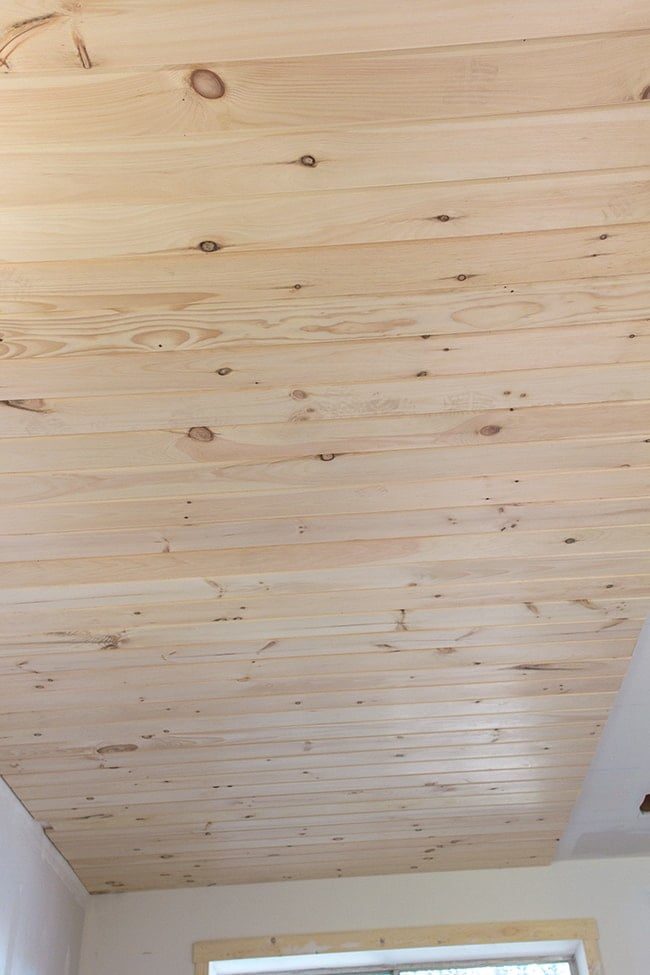
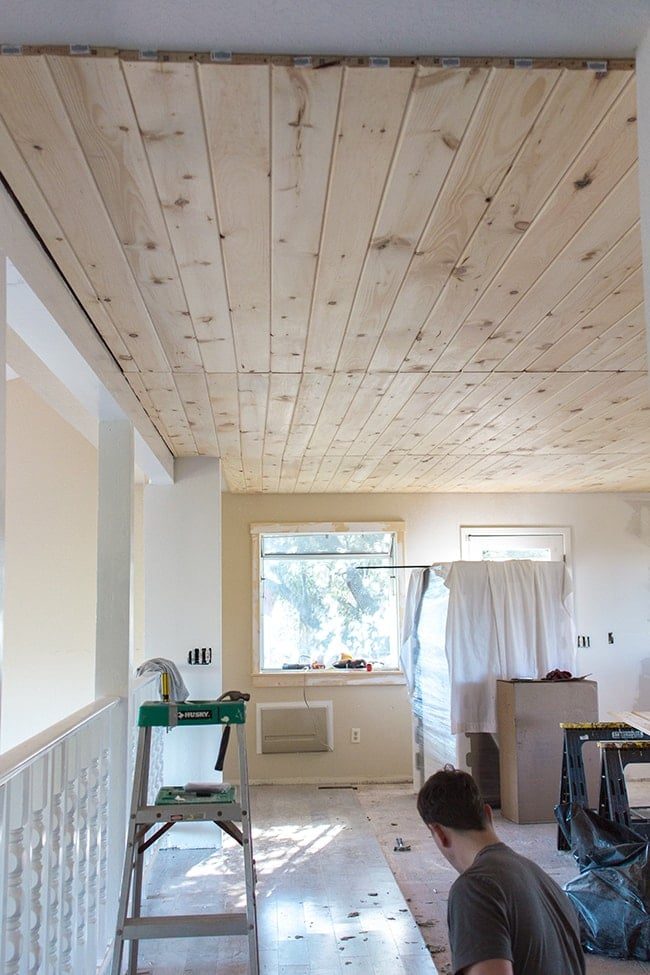
After a couple hours, we made it to the end of the first row!
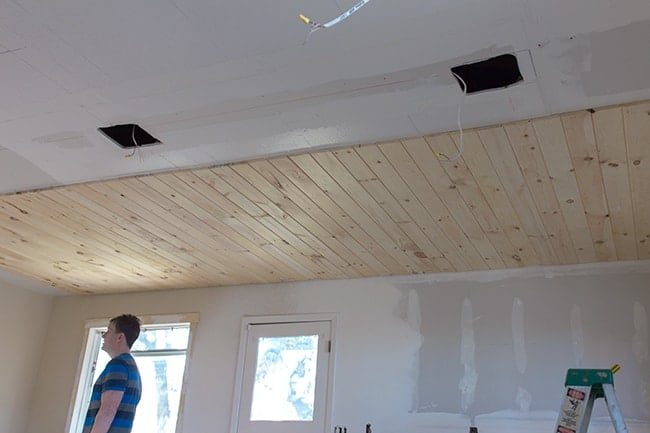
Somehow, it lined up almost exactly well suited to the back wall so we did not have to rip down any boards. We had to make a tiny notch where it met the pantry wall using a jigsaw, but we got lucky.
For the second row, we just made sure the edges were lined up with the first row.
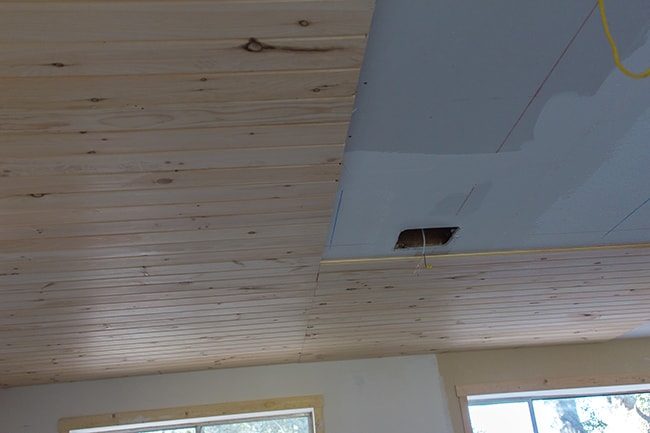
Warped and stubborn boards
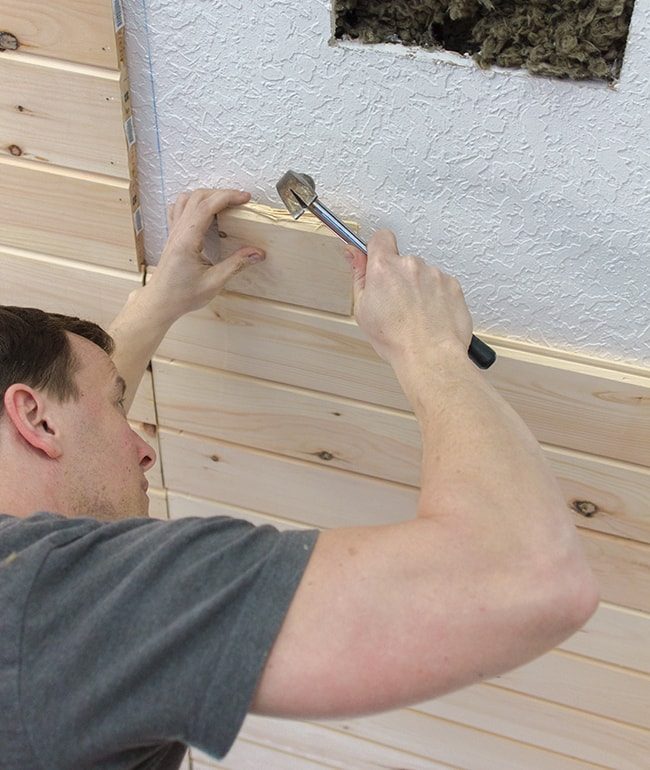
Sometimes the board slid right in effortlessly and lined up perfectly on both sides. Other times it was a little warped and needed some persuasion. To avoid damaging the groove, we used a scrap piece to attach to the end and hammer it in. Usually that was all it took to nudge right in.
For the most stubborn boards, a pry bar was used to wedge it in place while we nailed.
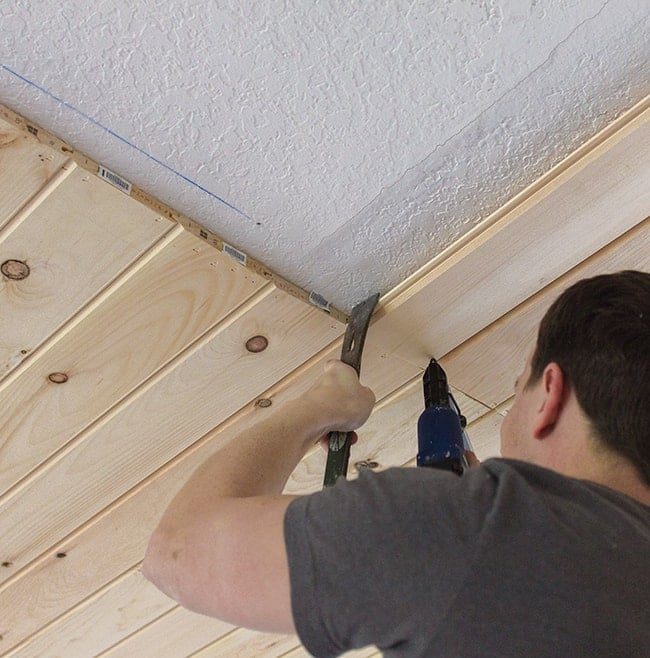
The great thing about this wood is that it is soft which means very forgiving. I cannot tell you how many nails we did not angle in correctly (aka straight up into the ceiling, in the way of the next board), but we were able to tap the board right in with a hammer. It also helped that the nails were thin and easily bendable, so if we did not line it up just right the first time, we could push it into place and nail it again.
Step 5: Rip down the last row
Eventually we reached the back wall. As you probably know, most walls and ceilings are not built completely level, so by the time you get to the back of the wall, you will be lucky if everything is aligned perfectly.
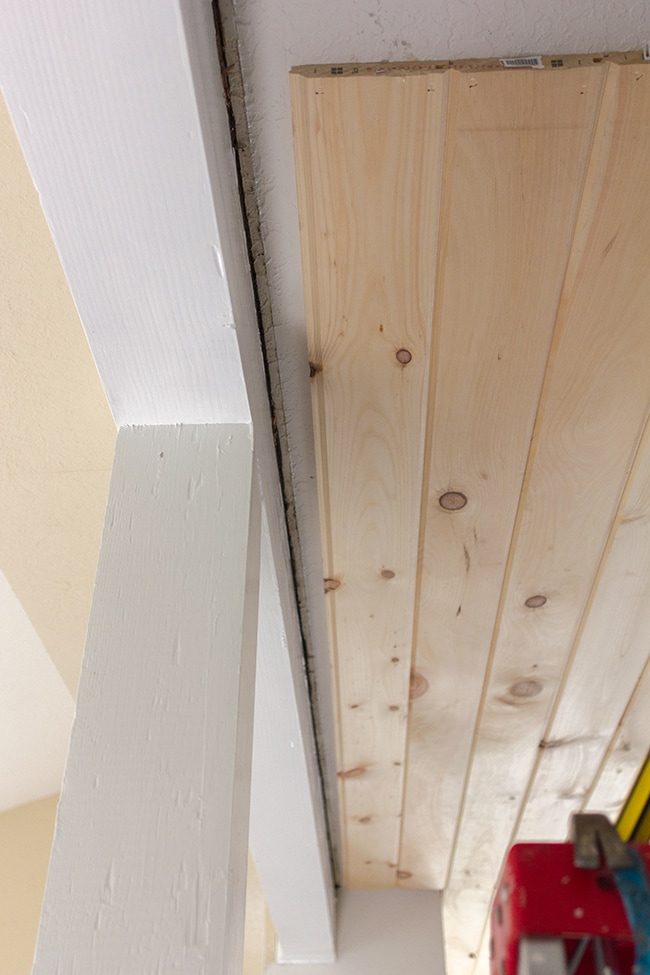
We kept this in mind and started measuring the distance to the back wall on each side about halfway through so we could make small adjustments on either side to stay parallel. Even still, we ended up with a 1″ gap on one end, and a 2″ gap on the other end.
For our last piece, we measured and marked our gap on a board and cut it out with a jigsaw:
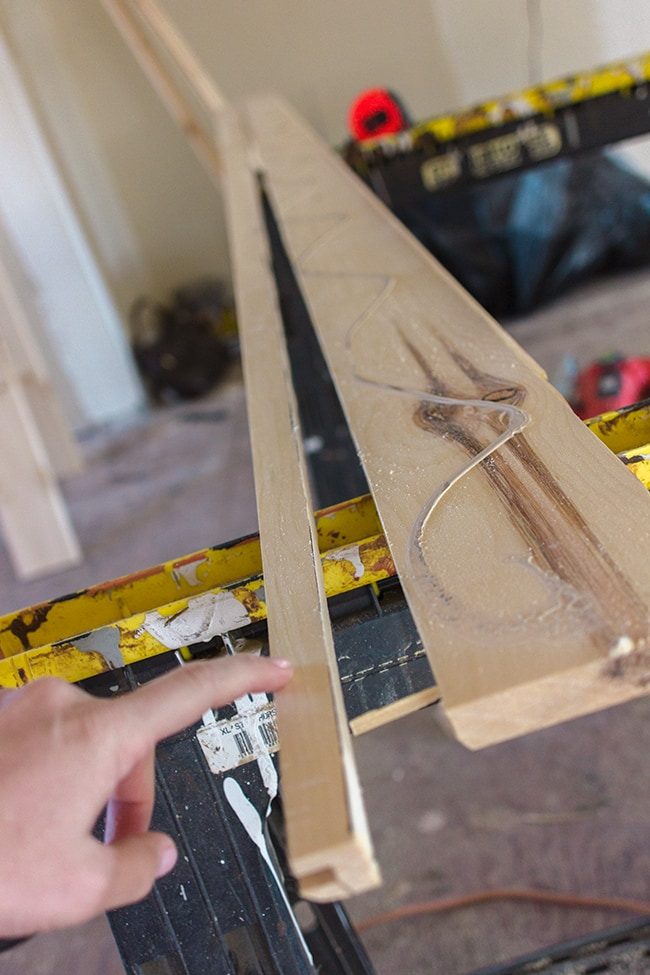
It did not matter at all if the line was cut straight since it would be covered with a piece of trim along the edge.
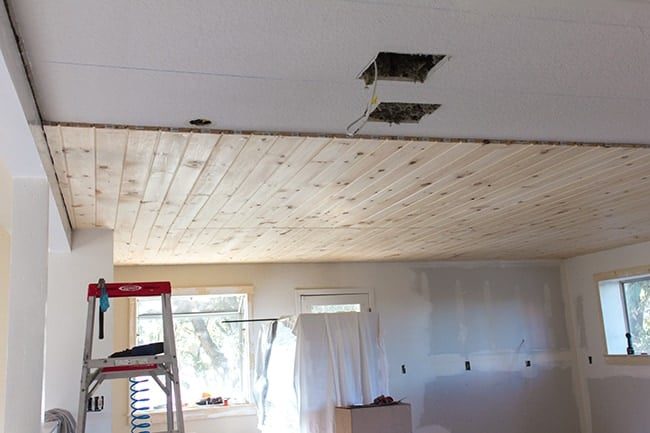
Two rows down, one to go!
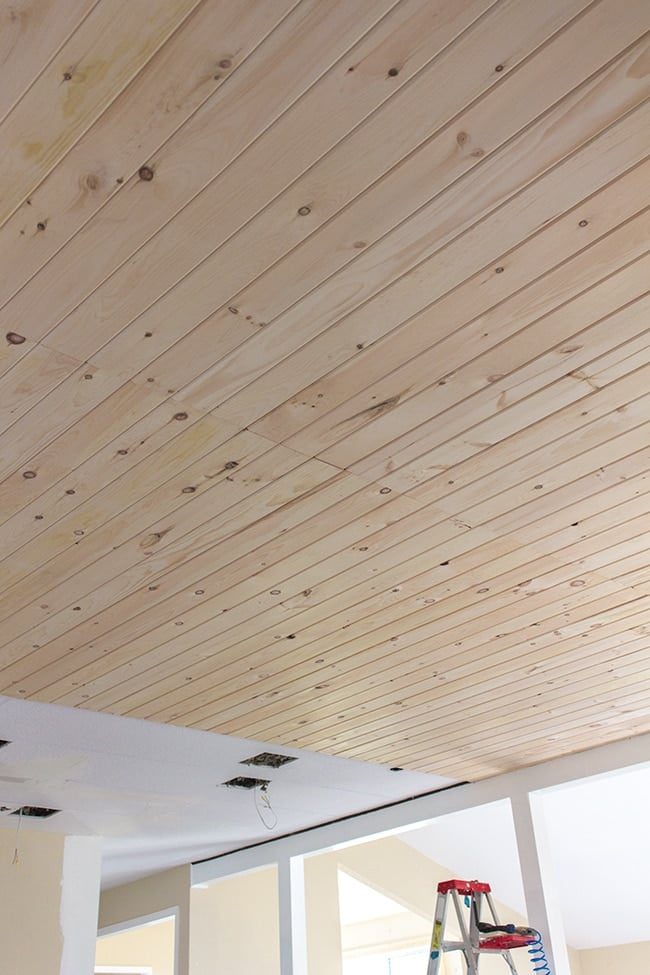
Same process here, except we had to trim down about 30″ off the length of the first section since the wall was shorter.
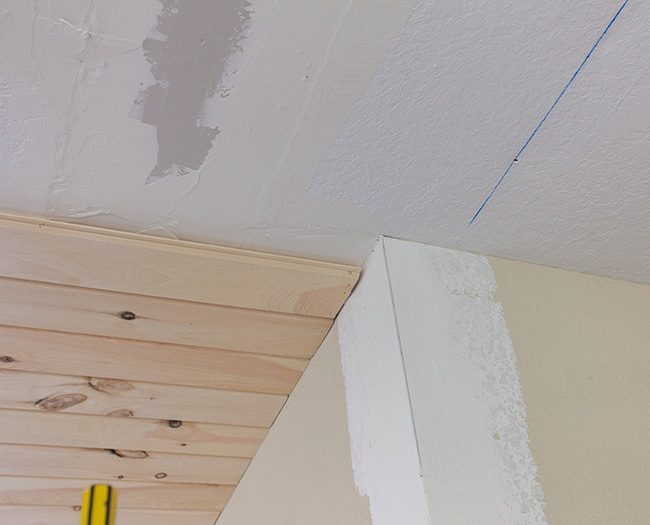
Then we came across an obstacle—we'd have to notch out a piece to wrap around this wall. It was unfussy, genuinely—we just measured where the wall came out, traced it onto our board, and cut (again with the jigsaw—though you could just as easily use a table saw):
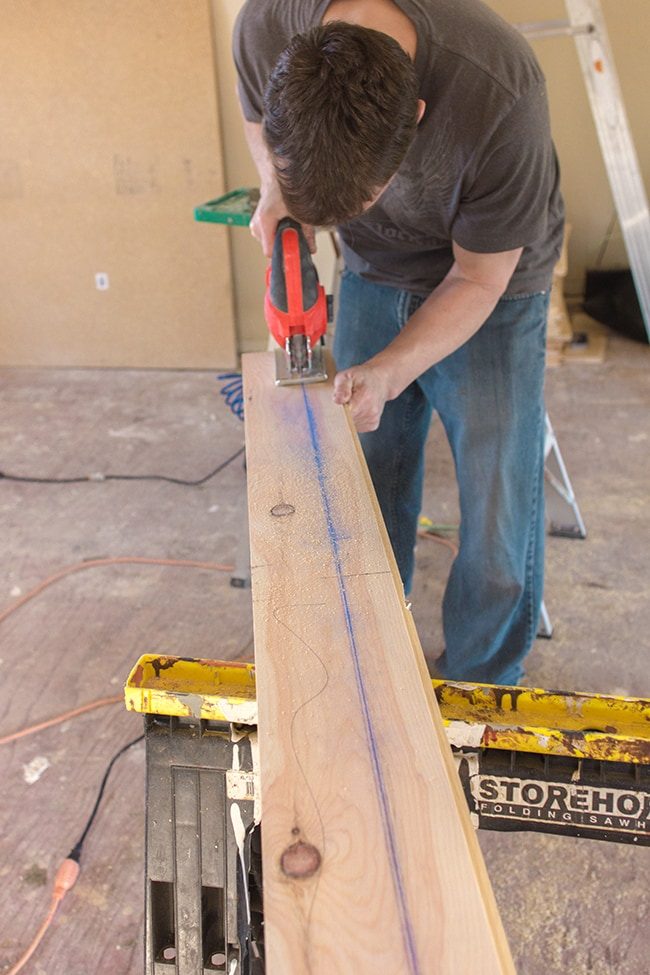
And again, since this will all be hidden, nothing has to be exact. It was pretty dang close anyway though:

As we were nearing the home stretch, I noticed the ceiling was off…
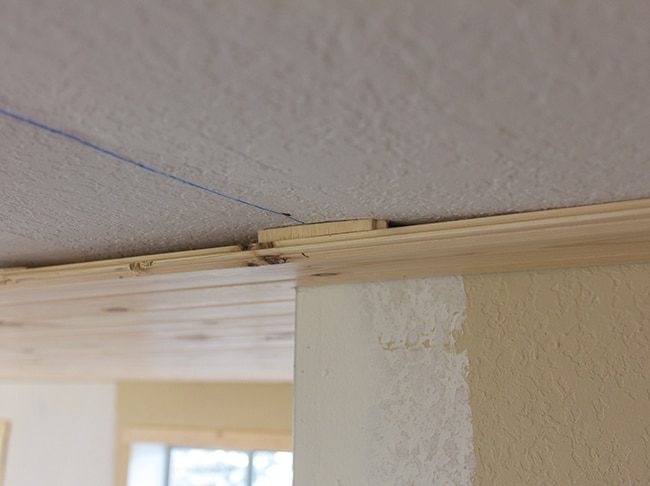
…like, way off. Not straight at all.
It became an issue when I saw how bad the ends of the boards were bowed down.
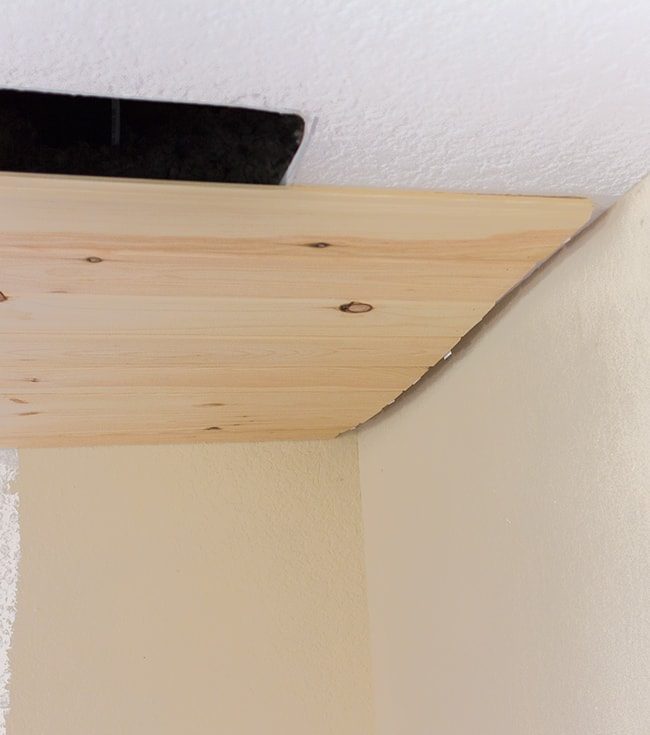
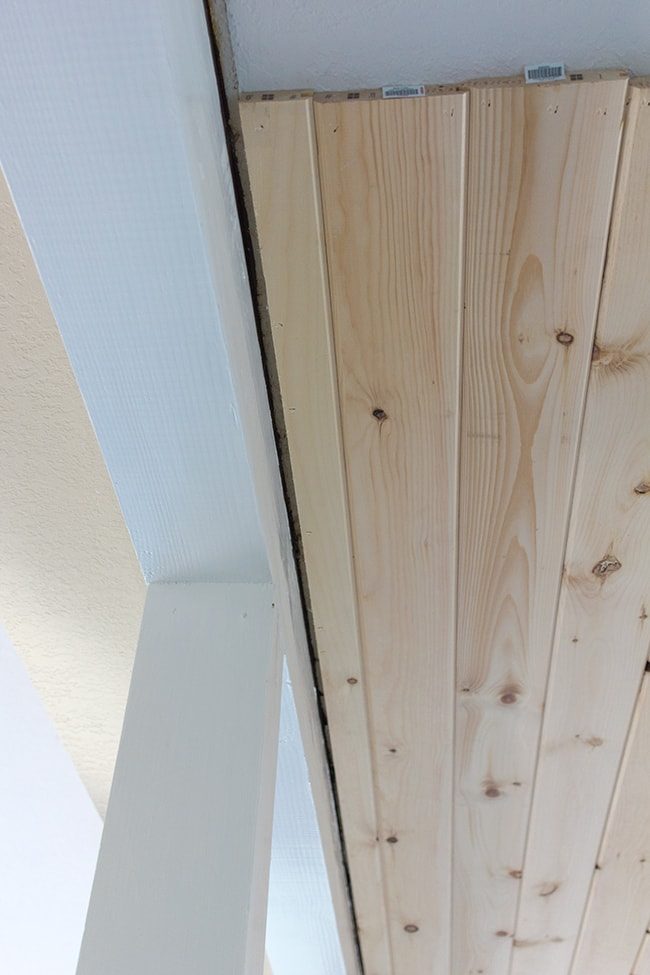
The main reason this is an issue is because I plan to install a beam there, and it will not sit flush up against the ceiling if it is wavy.
We grabbed some long screws and Brad tried to pull them back up as tight as he could.
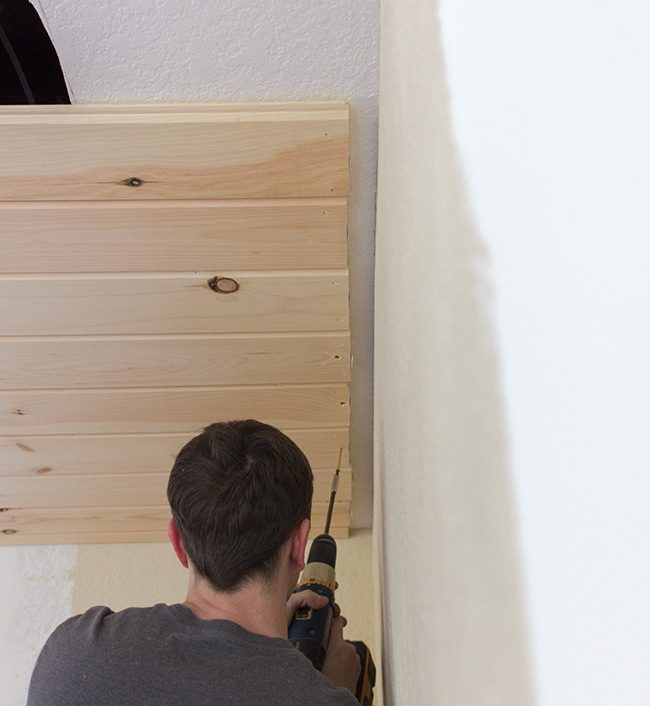 |
| That gap will be hidden by the beam, do not worry! |
We were not able to get them completely level, but the screws did help a lot. I plan to add a small piece of trim after the beams are up to hide any gaps.
After clearing that last hurdle, we made it to the very end—and this time we got the spacing right! We ripped down a 2.5″ piece using a table saw and nailed it into place for the final piece.
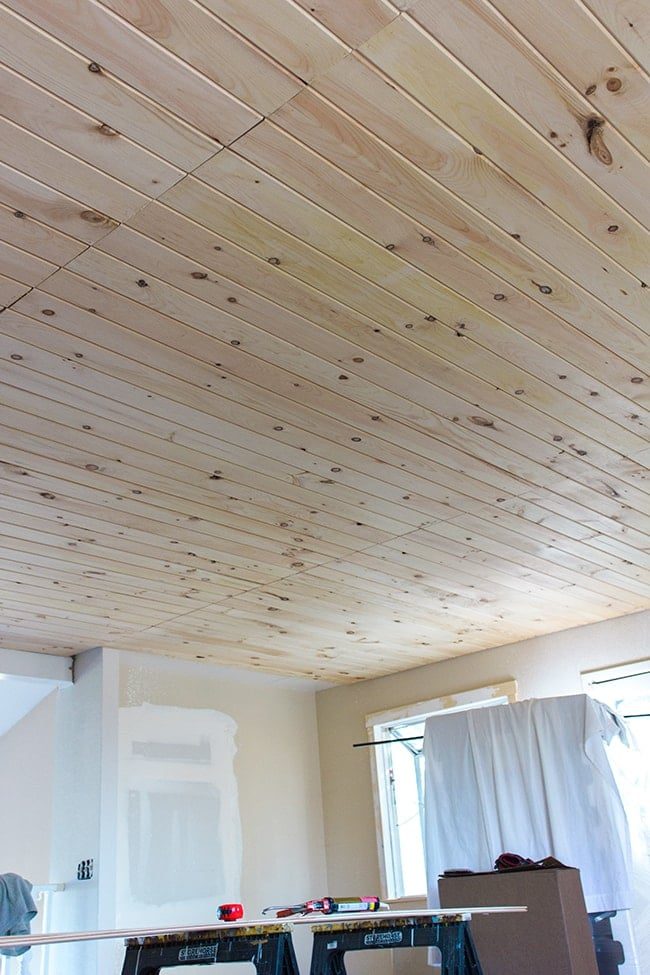
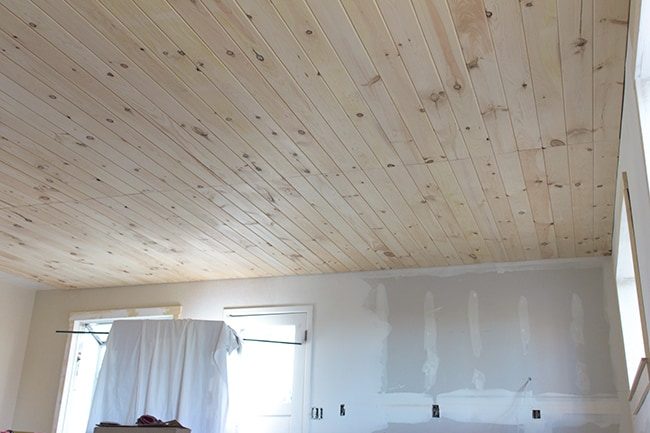
And then we were able to step back and admire our hard work…
Step 6: Install the lights
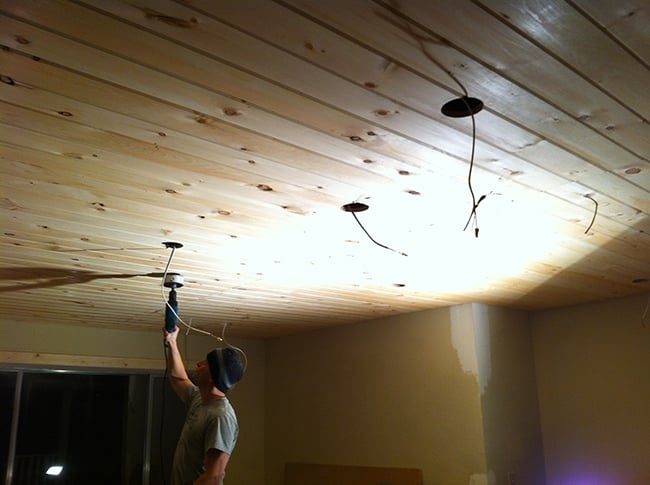
We had marked each light and speaker location with green tags when installing the boards. In the attic, the tags were identified, and a hole drilled down through the drywall opening. Then the wire was fed through.
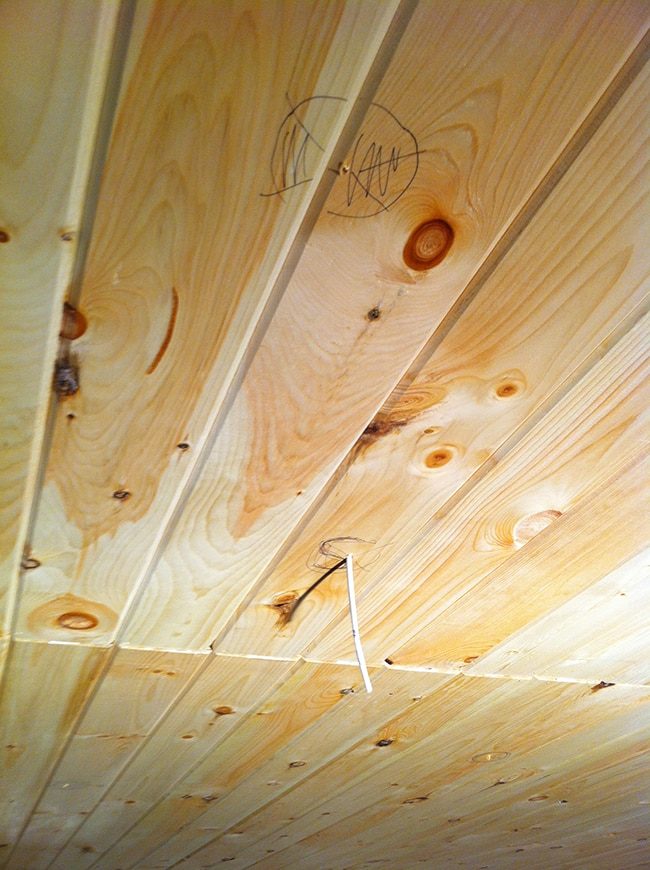
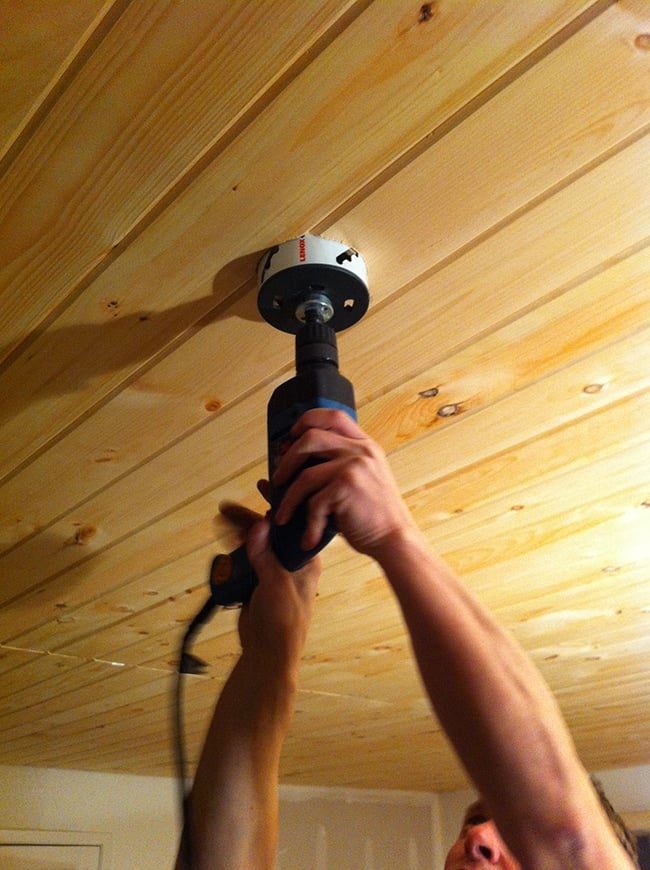
With the location marked, an arbor was used to drill a hole for the light.
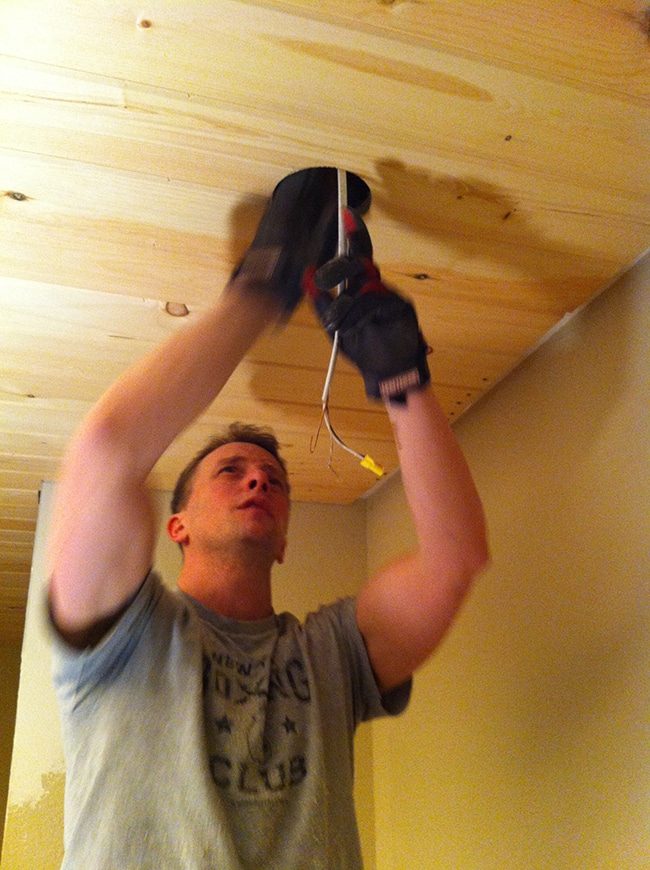
Test fit—success!
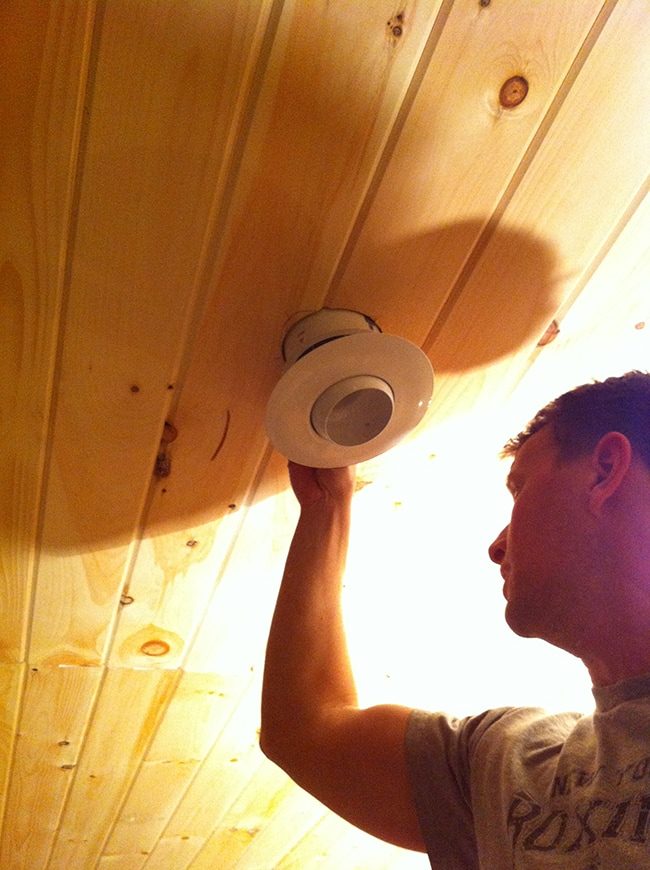
The speaker holes were much larger, so those were cut out by hand using a jigsaw (first I traced the opening onto the ceiling using the template that came with the speakers):
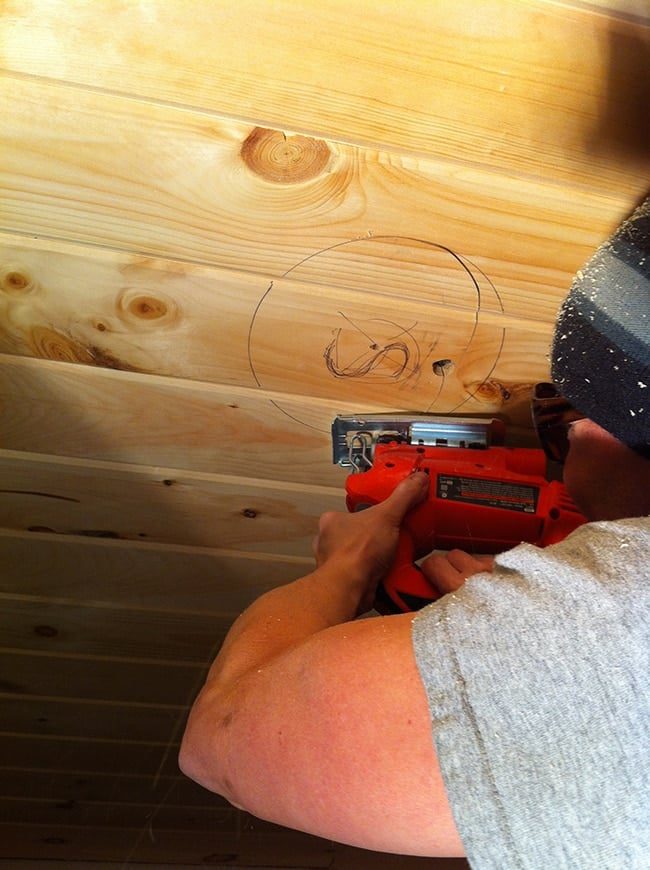
There is a lip that covers the opening, so perfectly smooth circles are not necessary.
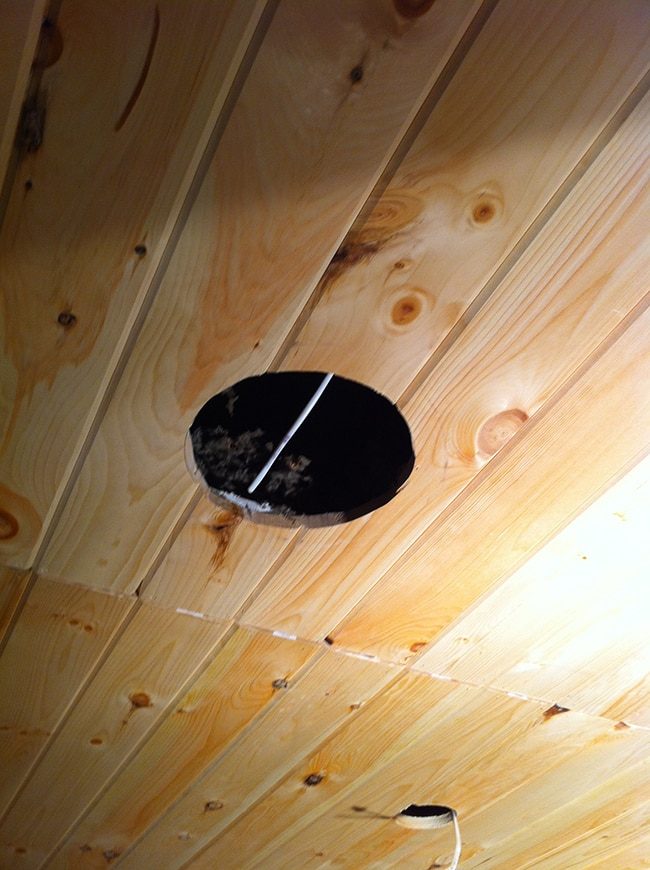
Worked again!
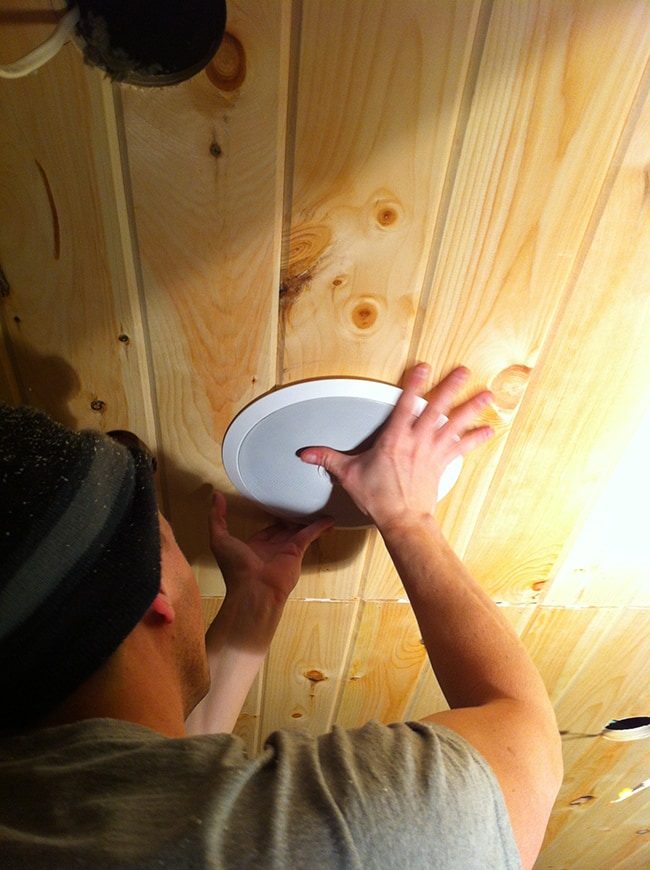
In total, we have 13 recessed lights, 3 pendant lights, and 4 speakers.
Step 7: Prime and paint
If your planks are real wood (especially with knots) it is imperative to use a good oil-based primer to stop the tannins from bleeding through over time.
We also had a few large holes/knots that I filled in with Presto Patch:
We painted the ceiling with two coats of Kelly Moore Swiss Coffee in satin:
What a difference!
Here is the finished result after installing unfussy DIY wood beams:
Looks like a million bucks, right? Fortunately, you do not need to be a professional to try this at home!
Installation Tips
- If you cannot nail into your ceiling joists, attach 1×2' battens to the ceiling to nail into
- If you are not hiding the seams under beams, stagger the boards for a random look
- Leave 1/2” of space between the planks and walls to allow for expansion
- Nail onto the tongue of the board where it will not be visible
- Nail the boards in at an angle for added strength
- Use a pry bar or scrap piece of wood to hammer stubborn boards into place
Helpful Resources
- Here is a video (old school but useful)
- This tutorial from Sawdust Girl
- Family Handyman tutorial
Related Tutorials