Updates: Riverside Retreat Progress + Motherhood
I have been meaning to share updates on our progress at the Riverside Retreat, but we have been a bit preoccupied with a newborn and trying to figure out our new normal…
I have been meaning to share updates on our progress at the Riverside Retreat, but we have been a bit preoccupied with a newborn and trying to figure out our new normal. We have hired out some help and have been DIYing the rest, but we are wayyy behind our original schedule to complete this house as priorities have shifted.
I had so much more time and energy when I was 9 months pregnant, ha! I am trying not to beat myself up about it as I know one day this will all be a distant memory, but it is always tough when you are in the thick of renovations with seemingly no end in sight.
Fortunately, things are wrapping up soon with our new master bathroom! Weeks ago I shared our Blue Lagoon Design Plan:
Quick recap—this is a tiny master bathroom we have created from scratch by adding walls in an adjacent bathroom and bedroom:
When I say tiny, I mean the smallest room I have ever worked with—33 square feet and just large enough for a pedestal sink, toilet and shower. But what it lacks in size, it certainly makes up for in personality!
Before bringing this bathroom to life, first thing was first: building a new closet from scratch:
Followed by a complete remodel of the main bathroom:
Over the summer we made (slow) progress on the new master bathroom, and I am happy to say we are nearing the finish line. There are no before photos to share since this room did not exist, but here is Day 1 of demo, opening up the wall in the old bathroom (you can see the master bedroom window on the left):
Here is the view from inside the bedroom, looking into the open space that would become both bathrooms:
A lot of work needed to be done, including repairing the foundation, replacing joists, running all new plumbing and electric. We basically had to start from scratch. Once all the not-so-fun demo stage was over, it was time to start adding walls! First up was the wall separating the bedroom (you can see the opening for the door on the left and new closet on the right).
Followed by the walls to separate this bathroom from the main bathroom…
We also opted to add a 2'x4' window to let in some much needed light and prevent this small room from feeling like a closet.
Next came the floors…
A shower curb was constructed and hardi-backer hung…
We ran into a situation with the plumbing for the sink, and our installer decided it would be best to construct a 2×4″ frame rather than break into the block wall to recess it. We opted to limit the bumpout to just behind the vanity, as we could not afford to lose 4″ of wall space in this already cramped bathroom.
Fortunately, it ended up working out quite nicely because it gave me the idea to run a shelf ledge all the way across the back wall for much needed storage.
Our Cloe blue tile covers the wall below the shelf ledge, and continues floor to ceiling on the back wall and around the shower.
Drywall/backer board install is always one of the most exciting parts, when you can finally get a sense of space!
While the size makes it difficult to capture much in one photo, we were pleasantly surprised to find the room did not feel as cramped as we'd imagined in person.
The next big milestone: tile! These pebble tiles require some artistic ability to install, as you have to constantly step back and rearrange individual stones to avoid seeing the seams.
Fortunately, grouting does help to minimize the lines and even things out. We used Mapei sanded grout in Alabaster.
Next came the statement-making Cloe tile…
We used the same Alabaster grout here to help blend the tiles a bit.
We also installed the shelf ledge across the vanity wall to provide some counter space. I plan to stain the wood in a light-medium tone (still deciding on the color).
The small pedestal sink ended up being the well suited size, and how bout those lovely swans?!
I am digging it.
We still need to finish the trim, paint, hang the mirror and light and artwork, install the shower faucet/drains, shower curtain, hooks and accessories.
This room is nearly impossible to photograph even with a wide angle, so you will just have to come see it in person 😉 The Cloe tile is absolutely striking in real life—perfectly imperfect with a lovely translucent quality.
I'll have to share a video tour in my Instagram stories so you can get a better sense of the space once it is finished. Watch for that in the coming weeks!
Next up is the kitchen…
It is not looking like much right now, but we are slowly getting there. I shared the design plans in this post and our progress in this post. Since then we installed the butcher block counters:
And tested out green paint swatches for the lower cabinets.
These were the Valspar test samples I used for the main bathroom since I already had them on hand, and I was most drawn to #3 (Valspar Alpine Top). However, cabinets require special paint and after much research, I opted to use Benjamin Moore's Advance paint which is made for cabinets. Valspar also has a cabinet enamel which I have heard good things about, and I would have gone that route, except they only offer it in a semi-gloss finish. Come on, Valspar! I prefer to use satin, so Benjamin Moore it is.
I went to my local Ben Moore and picked up a sample of their closest color match, Peale Green. It is the HC-121 swatch on the bottom right.
Here is Peale Greene painted on the front sample board, next to Valspar's Alpine Top (#3). It is a bit more olive and not quite as saturated as Alpine Top, but I do not mind. I am not trying to match a specific color exactly, so I would rather stick with an off-the-shelf color vs trying to custom color match, to keep things unfussy.
We purchased a paint gun and respiratory mask and have the cabinet doors in the garage, ready to go. There is plenty of prep work, priming and drying time involved, so it will not be a quick and easy process, but that is next on our DIY to-do list.
Last weekend, we ordered a range hood insert and Lucas built a custom vent hood surround (you can see it here, pre-installation):
I opted for a unfussy square design, but I have got something fun and very unique planned for the finishing touch. I have never seen it done before and it is a big experiment, so you will have to stay tuned to see what it is 🙂
The box was built out of cabinet grade 3/4″ plywood and 2×4's, and attached to the studs.
A hole was cut at the bottom for the vent, which was then attached to the plywood. Easiest DIY ever!
I looked everywhere and found this insert to be the most affordable with the best reviews. It can be vented to the outside or recirculated (with a charcoal kit)—we plan to run the vent up to the roof for maximum efficiency.
There is still a lot that needs to be done as you can see, but just like every messy stage of life… this too shall pass.
Switching gears to a more personal topic now—let us talk about motherhood and work/life balance. Our Esmé is almost six weeks old and I will say, no one can prepare you for the shift that happens once they place that baby in your arms. Shift does not even describe it—more like a magnitude 10 earthquake that shakes everything to the ground and forces you to rebuild a new life. I expected this, of course, but did not quite expect the massive hormone drop in those first weeks and the complete lack of productivity even though I am awake 20 hours a day.
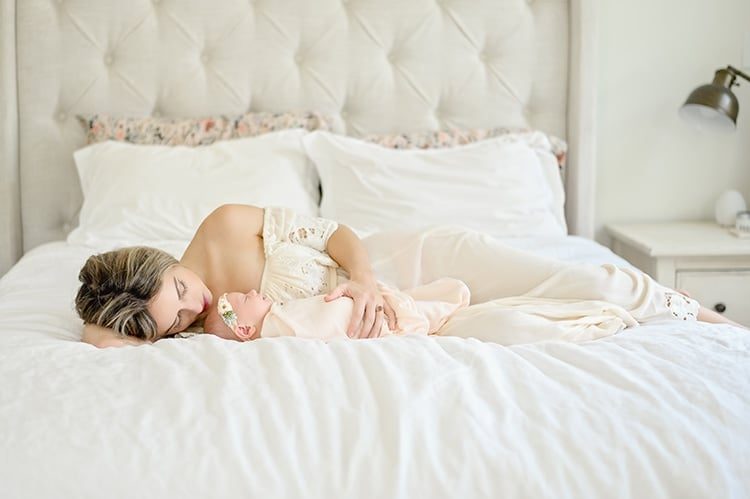
That second part is what gets to me most—those days, weeks and months on end of constant projects and progress, abruptly coming to an end. They have been traded for non-stop nursing, pumping, cuddling and calming. Quite the transition, and I do not take it for granted, but at the same time I feel disconnected from the world and my old self. It is tough to scroll through Instagram and see the memorable projects everyone else is working on while ours have been stalled for weeks. It is hard to stay inspired and motivated to keep going when you are so exhausted and limited, both physically and with your time.
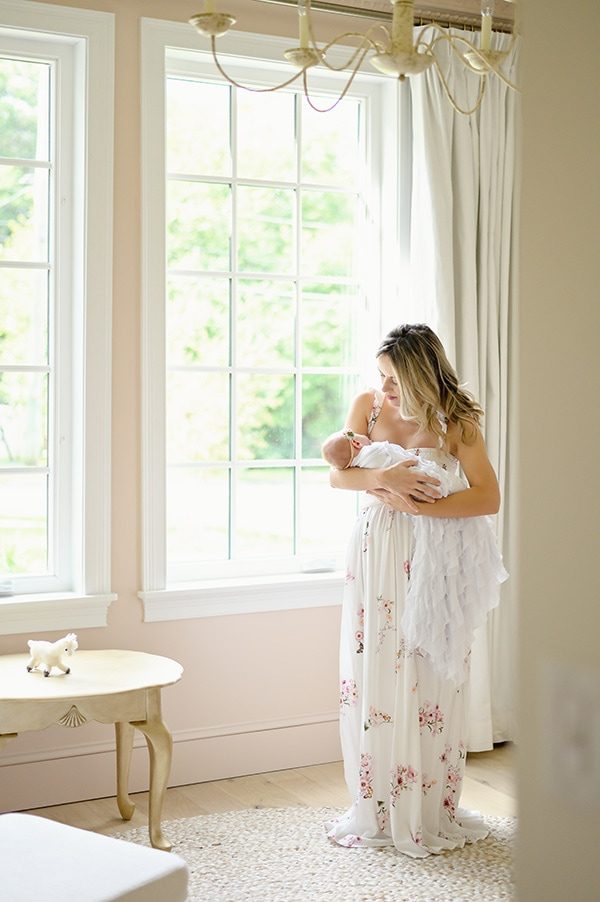
I get the most fulfillment when I am bringing my creative vision to life and accomplishing goals, and those are on the back burner right now. I worry I'll never be highly productive again… Esmé will always need my attention during the day, I can only be gone for so long (without paying for child care). I cannot imagine balancing more than one child—I do not know how you other mamas do it!
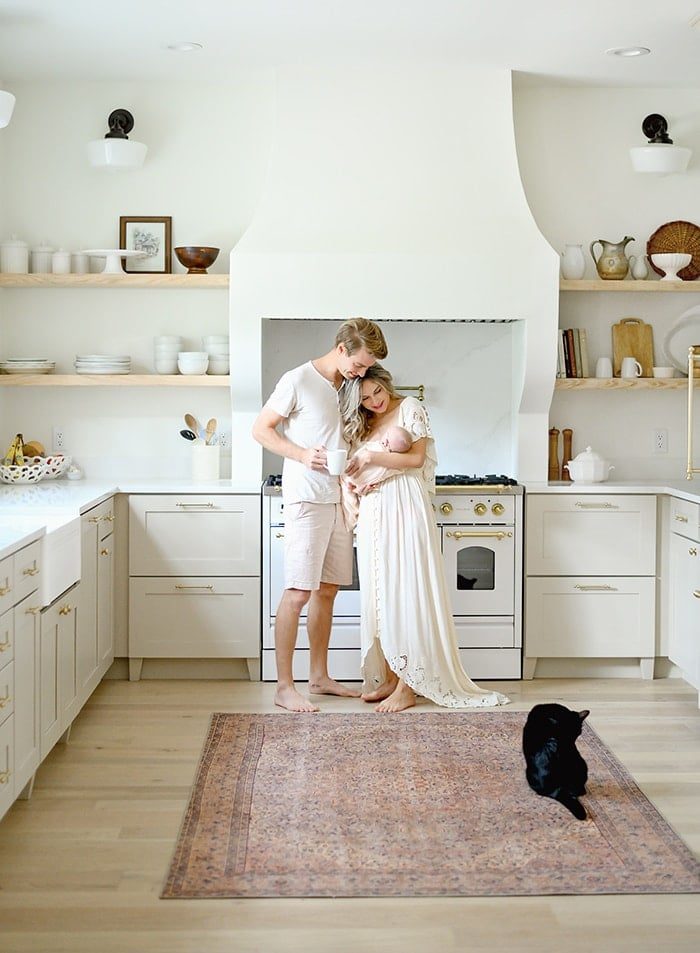
There are a few silver linings on the horizon, though. Tomorrow I have my six week checkup and hopefully I'll be cleared for exercise, which means I can finally get out of the house for mommy & me workouts. I am so looking forward to being active again, stepping outside and socializing with other new moms. I know it will be invaluable for my mental health and overall wellbeing.

The other hope I am holding onto is the fact that 6-8 weeks seem to generally be the most difficult peak for newborns (as far as crying, sleeping, digestive issues, etc) and that her sweet little personality will continue to develop. There is nothing better than newborn coos and ear to ear grins—they are what keep me going all day!

So that is where I am at, nearly six weeks into this motherhood journey. More difficult than I anticipated, but It helps to keep this baby more than life itself and I know we will eventually find our rhythm. And it helps to know I am not in this alone—I feel such a connection to all of you other mamas!
PS—our photographer captured the sweetest little video for our girl. You can watch it here 🙂
More to come…