DIY Framed Tapestry (in 7 Easy Steps!)
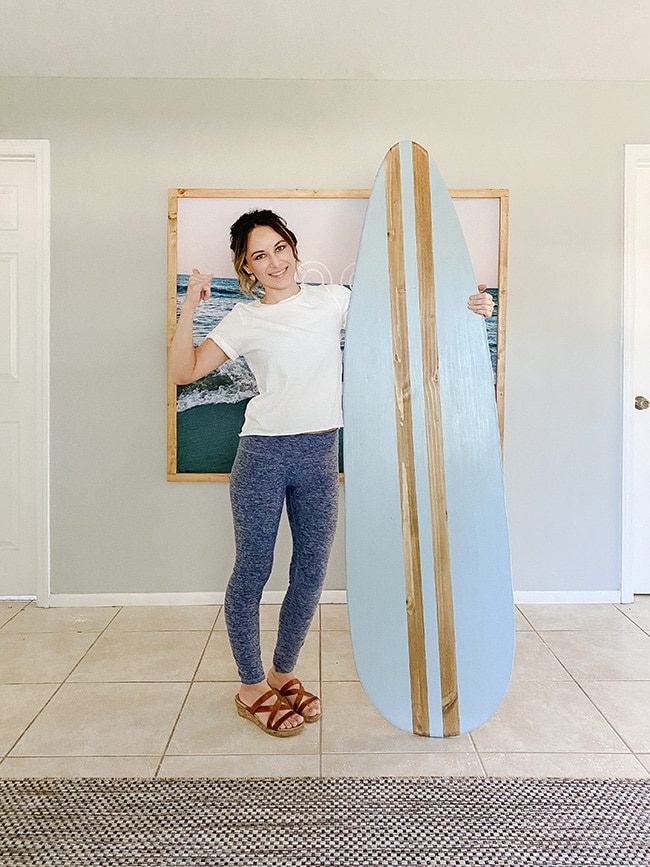
Back with another beach house DIY! As soon as I finished the surfboard last weekend, we jumped straight into our next project. This one was born out of necessity—trying…
Back with another beach house DIY! As soon as I finished the surfboard last weekend, we jumped straight into our next project. This one was born out of necessity—trying to hide a horrifically textured stucco wall and fill a large wall with something eye-catching for as little money as possible, as quickly as possible. Here is the offending wall in the sunroom, behind the TV (it used to be an exterior wall and you cannot see how bad the texture is in this photo, but keep reading…)
You know what's genuinely large and inexpensive? Tapestries. I came across this cool black + white palm tree print on Amazon and fell in love—it was the well suited size (80″ x 60″) and minimalist tropical style for our sunroom, and only $20!
The only issue was the shipping time—it was going to take three weeks to arrive and we needed something ASAP. So I put my internet-sleuthing skills to work and found this almost identical tapestry on sale:
It was more than double the cost but still quite inexpensive for the size, and TIME IS MONEY! While I was shopping, I also found this fun tapestry …
and thought it would be well suited for another large empty wall the kids bedroom (which is adjacent to the sunroom, far right door):
Once the tapestries arrived, we grabbed a handful of $3 1x2x8's and 1x2x6's to use as our frame and got to building.
Step 1: Measure and mark the wood
We started out with extra 1×2's because the original plan was to build our frames with cross-pieces attached for reinforcement, then wrap the canvas around the outside and staple it to the back (for those wondering, here is the link to our kitchen rug!)
But I quickly realized that the fabric was pretty thin and the frame would show through from the back. Oops!
We could have lined the back with a white sheet but we did not have a spare sheet and the project had to be finished and hung the next day. I am genuinely glad it worked out this way though, because the new plan was so much faster, easier, and better looking! The choice was to build a unfussy 4-sided frame and staple the canvas to the back instead.
After laying the tapestry on the ground, I arranged my 1×2's to overlap the edges approx 0.75″ (half the width of the 1.5″ board to allow for some wiggle room when attaching to the back). These measurements did not have to be precise here, since the fabric can stretch a bit and there was 1.5″ to work with on the back of the board. The unfussy way to do this is to add 1.5″ to both the width/height of your tapestry to get your final frame size.
The frame dimensions of the large 80 x 68″ (palm tree) tapestry ended up around 81.5″ x 69.5″, and the small 60 x 51″ (ocean) tapestry was approximately 61.5 x 52.5″.
Step 2: Cut the 1x2s
We decided to keep things unfussy with a straight 90º cut instead of a miter. Normally I like to miter for a more professional look, but we were going for 'rustic' with these so the straight edges work. They also make a stronger joint since there is more wood for the screws to grab onto. The edges will need to be a straight 90º, so cut on your marks using a miter sawor miter box.
Step 3: Sand/stain the 1x2s
After you've done a test fit to ensure the wood was cut to the right size, use a Mouse or orbital sander to smooth any splinters/sharp edges along the board. Stain (or paint) is optional, but I think it makes the wood look more finished, so I used one light coat of Minwax Special Walnut (the same stain I used on my surfboard).
4. Pre-drill the wood
After the stain has dried completely, set your 1x2s back down on the tapestry to confirm layout/positioning. Because the screws will be visible, we attached them from the top and bottom of the frame (instead of the sides) so you could not see them unless you were lying on the ground (or hanging from the ceiling, I suppose). For accuracy, we first marked the two screw locations with a pencil—they need to be as close to the middle of the board as possible since the wood is only 0.75″ thick.
Then we used a drill bit and held both 1×2's together securely in place by hand while we drilled into both boards. Pre-drilling creates small holes that act as a guide for the screws to go in straight, and also helps prevent the wood from splitting.
You can use a corner clamp to make sure they are 100% square, but our method worked fine (we also have plenty of practice at winging it without the right tools ?)
5. Screw it
With both boards pre-drilled, it is time to attach them together. But first, wood glue!
Holding the 1x2s in position once again, we attached them using 3″ long screws. Note that this size and type of wood cracks very easily (especially near the edges) so we were not able to countersink the screws without the wood splitting. But it did not genuinely matter since you cannot see them anyway.
Two screws in each corner (eight total) and our frame was built! (A bunch of you asked about the rug on IG, here is the link <-it is on closeout so get it while it is hot!)
Step 6: Attach the tapestry
Flip your frame so the back is facing up, and lay out the tapestry once more. Before attaching, I made sure to steam all the wrinkles out (using my go-to steamer).
Flip the tapestry so the front is facing down, and make sure it is centered on the frame (it does not have to be well suited, as long as the edges overlap the frame).
We started in one corner and worked our way down one side, using a handheld staple gun.
The staples were placed every 6-8″ or so—that was maybe slightly overkill, but better than too little.
The fabric was pulled taut, but not overly tight to create ripples.
I let Lucas do the heavy lifting on this one—it was his first time using a staple gun and he did great!
7. Hang it on the wall
The final step! To hang it on the wall, I added one small picture frame hook on each side, making sure they were the same distance from the top of the frame.
Then we held the tapestry in place on the wall while I figured out the height.
Once the screws were in the right location in the wall, it was as unfussy as hooking the frame onto them and we were done! These are as light as a feather and particularly easy to hang.
One thing to note—because they are so large and there are no reinforcements in the center, you do have to be careful about handling them. We do not plan to move these anytime soon so they can safely live on the wall forever.
We have to put a TV on that stand which will cover part of it (boo) but I cannot think of anything else I would rather have on that wall. It looks so good, you almost forget that this is hiding underneath it… ?
And the tapestry in the kids room just makes me so happy.
The not-so-subliminal messaging genuinely works. I was annoyed at something while we were working there last weekend and Lucas just looked at me and pointed to the sign. I snapped out of it right away because there is GOOD VIBES ONLY at the beach house, obviously.
Really though, there is just something so cheerful and mood-lifting about walking through the door and seeing this sign, especially next to the surfboard. We joke about moving into this house and turning our Heights House into a vacation rental instead. Hey, anything could happen…
It helps to keep that Plan B turned out even better than Plan A would have—and it only cost $12 per frame, plus a few hours of work! Such a win. PS, you can easily do this with a cheap shower curtain, sheet, or fabric of any kind and make this project SUPER low budget.
I am genuinely pleased with the way this house is coming together, more than I thought I would be with our limited time and limited budget. We will be spending several more hours there over the next couple days working our booties off. On Saturday we are aiming to complete the three upstairs bedrooms and I'll be sharing as much as I can of it on Instagram, so make sure you are following along there for live updates!
 Print
Print DIY Framed Tapestry
Make this unfussy wood frame for any size tapestry with inexpensive 1x2's Active Time3 hours hrsTotal Time3 hours hrs Yield: 1 framed tapestry Cost: $12Equipment
- Saw
- Sander (Mouse, orbital, or by hand)
- Staple gun
- Drill and drill bits
Materials
- 1 tapestry - any size
- 4 1x2x8's or 1x2x6's - depending on your tapestry size
- wood stain or paint - optional
- 8 2-3" wood screws
Instructions
- Arrange your 4 1x2's around your tapestry and mark the length (approx ¾" overlap on all sides)
- Cut all 4 1x2's on your mark (straight cuts, there should be two of each size)
- Sand and stain (or paint) the wood
- Arrange the 1x2's once more around your tapestry, and pre-drill two holes at each joint (we screwed in from the top and bottom)
- Insert the wood screws into your pre-drilled holes (8 total)
- Staple the canvas onto the back of the frame and pull taut as you work your way around
- Attach two hooks to the back and hang on screws or nails into the wall
Notes
Look at the other budget DIY I made for this room!