How to Antique a Mirror Tutorial
Learn how to antique a mirror using this unfussy step by step technique with bleach and water. Plus, my secrets for a realistic aged look!
Today I am sharing a detailed tutorial on how to antique a mirror:
Now that I have done a few of these and have a good process down, I am finally ready to share it step by step! Watch the video tutorial below to see how it is done:
And keep reading for a step-by-step tutorial:
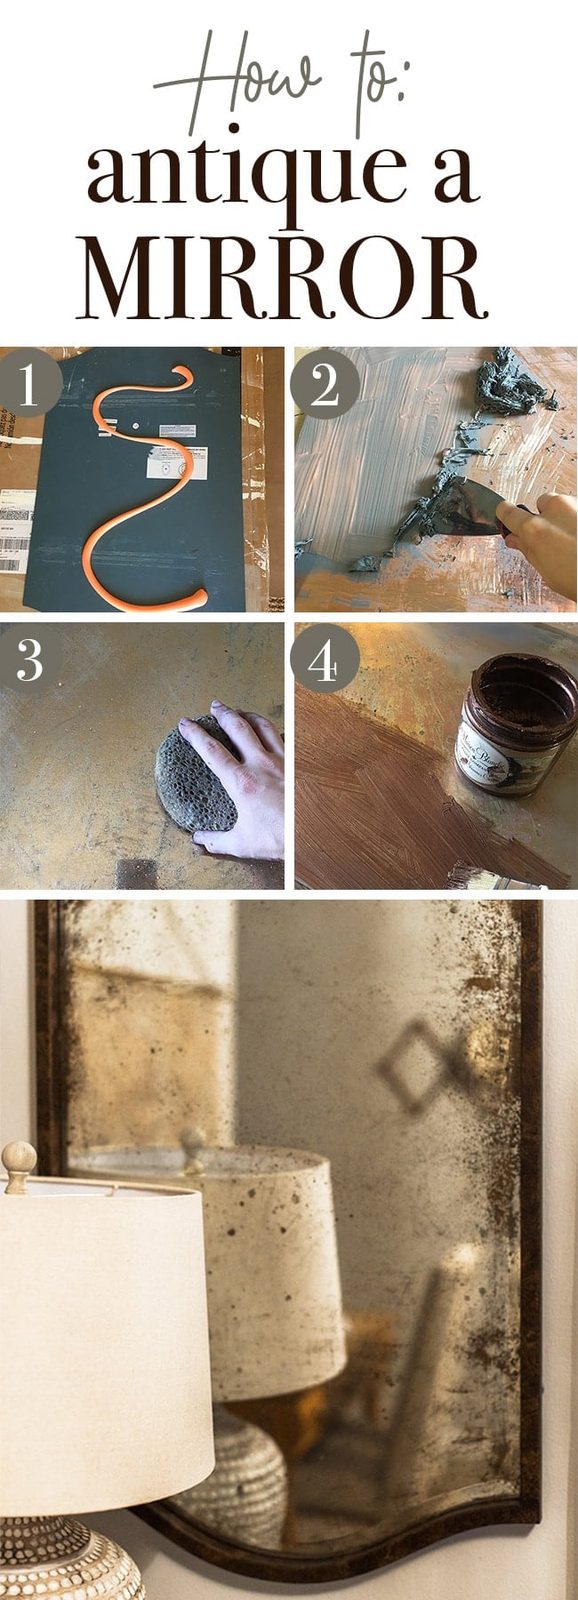

Supplies needed to Antique a Mirror
- Bleach
- Spray bottle
- Paper towels
- Paint stripper (CitriStrip orange gel is safe for indoor use and it is the only one I recommend!)
- Black or dark gray paint (spray paint is best)
- Gold/bronze paint (optional but highly recommended)
- Paint brush (if not using spray paint)
- Putty knife (plastic is preferred)
- Sponge
- Respirator mask
I highly recommend trying this out on a spare mirror first. It takes some practice to get the technique down!
Step 1: Prep your work area and remove the mirror frame
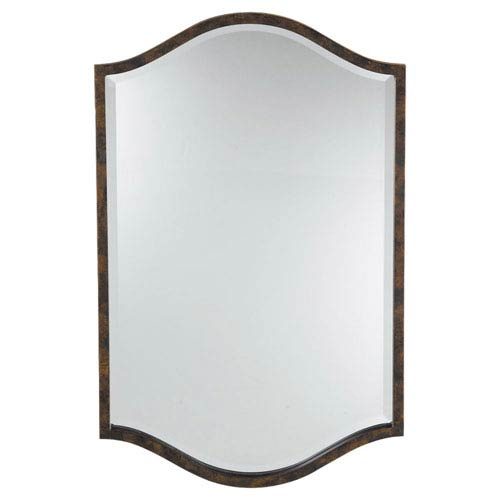
I started with two of these new mirrors (no longer sold). I removed my mirrors from their frames, but you do not necessarily have to do that if it makes more sense to leave them in. You do need access to the entire back of the mirror though, which is where you will be doing all the work.
On the back of the mirror you will see a painted layer, which is usually gray in color. Underneath that is the reflective surface, and finally your glass. Note: some older mirrors do not have this layer.
Step 2: Apply paint stripper to the back of the mirror
You will need to remove the back layer of paint to get to the reflective surface, and gel stripper is the way to go:

Brush it on as thick and evenly as possible—you want the paint to come up nice and easy.

I left my CitriStrip on for nearly an hour, but all mirrors are different. These ones had a particularly thick painted layer that needed extra time.
Step 3: Scrape the coating layer off
Next comes the trickiest and most important part of the entire process—removing that top layer. You want to scrape it off completely without breaking through the thin reflective surface below. It is a very delicate balance.
On my first mirror, I did not press too hard with the putty knife in fear of leaving scratch marks. I ended up having to apply a second coat of Citristrip which is dangerous, because it can start to eat away at the reflective surface.

On my second mirror, I got it all up on the first attempt but scraped too hard, leaving scratch marks. I used a metal putty knife which is more likely to leave scratches—I would recommend a plastic knife:

I'll be honest, this part is not fun and it is quite messy. But if you get it right, it is smooth sailing from here.
Fine steel wool can help remove some of the stubborn paint, but again be careful not to rub too hard. Here you can see the back of the first mirror with some of the gray paint still there.

The bleach will not penetrate through this surface, so if you want yours very lightly aged then you can leave some of the gray paint. I like having a blank canvas to work with though so I can control where all of the age spots are. There are plenty of different ways to do it!
Step 4: Spray on a bleach/water mixture
First, wipe down the mirror to clean off any residue. I mixed 1/4 parts bleach with 3/4 parts water in a spray bottle, and began misting the back of the mirror.

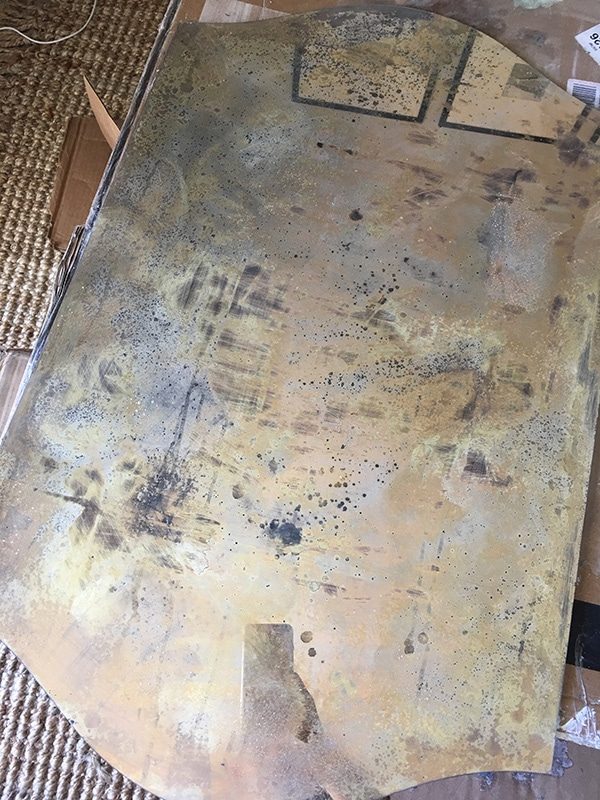
This is the fun part, where you get to watch it magically transform before your eyes! Within minutes the spots will begin to darken (this is still the back of the mirror).
Tips for a more realistic look:
- Focus more on the edges which is where mirrors will naturally age.
- Use a finer mist for an even appearance, and throw in some larger droplets for random spots of heavier aging.
- Use a sponge to blot some of the areas for a more natural look. You can experiment here to find the technique you like.

The longer you leave the bleach water on, the more it will eat away at the reflective coating and the darker your age spots will be. Do a little bit at a time, flipping the mirror over frequently to monitor your progress. Keep in mind that you can always add more, but you can never bring the reflective part back!
Step 5: Add a little more at a time, checking as you go
Hold your mirror up to a light source to get a closer look:

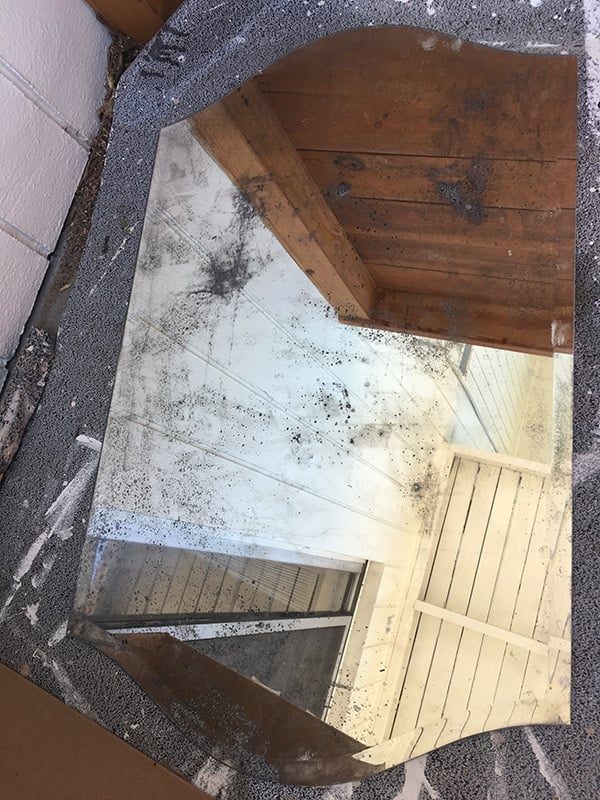
You can see where the bleach has dissolved the mirror down to the clear glass, and those are where the aged areas will be.
Important: Make sure to pat down the back before flipping it over so the bleach does not drip and create run lines —not a good look! That happened to the mirror above and I had to remove larger sections of mirror to get rid of it. It ended up more distressed than I wanted.
This is how that same mirror looked against a background (the dark spots are the clear glass):
If you remove too much mirror by accident, you can minimize the damage by applying a “mirror effect” spray paint to the back. There is no paint out there that can mimic the reflective qualities of a real mirror, but you can at least get to a nickel color. That is what I did on my first attempt after removing almost all of the mirror finish by accident:

I still think it turned out pretty nice—and FYI, that spray paint is what you would use for doing this technique on a piece of glass instead of a mirror. It is just a different look!
Experiment with different techniques
After realizing I had removed a bit too much from the first mirror, I took my time with the second and focused on the edges, using a lighter mist towards the center:
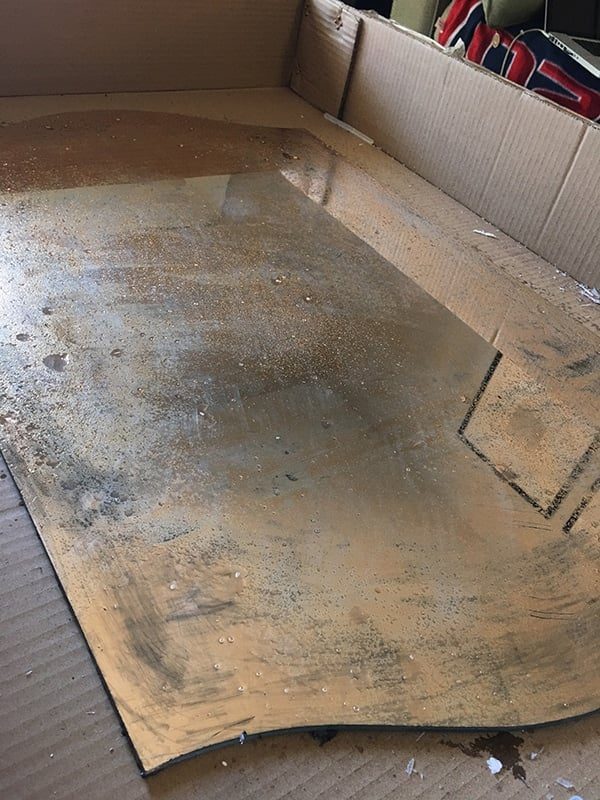
The gold surface on the back of the mirror is so pretty, you could even just use this as the front side if you wanted!
This is how it looked after a few minutes. Try spraying the bleach water and leaving some areas as alone while dabbing other parts up with a sponge right away for different effects.

Step 6: Paint the back
Once you are happy with the level of distressing, wipe down the mirror once again and gather your paint.
You can use gray or black paint here, but It helps to keep the way gold/brown tones look. I covered the back in Maison Blanche's Organza in Old Penny, which is a shimmery wax coat that gives it a realistic rusty look (any golden-rust colored spray paint would work even better!)

If you are not using spray paint, you want to make sure to avoid brush strokes so I dabbed on the paint:

You can apply lighter coverage in some areas and come back with a second coat of black or another color for added dimension and depth. Or even just leave it as is and let some of the clear glass show through—it all depends on the look you are going for!
I was genuinely pleased with the results of the second mirror:

Step 7: Place your mirror back in the frame
This is how they turned out!


I especially love the way the brown/rusty tones look—much more realistic than black paint, I think.

Here is another thrifted mirror makeover I did:

And a couple more, using inexpensive mirrors found on Facebook Marketplace:
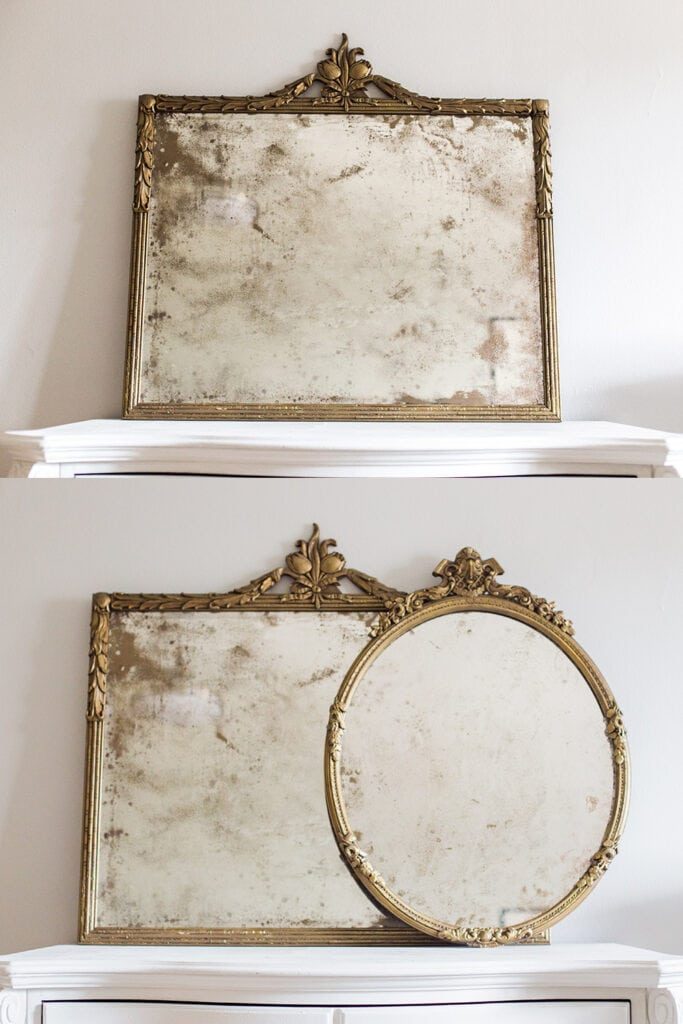
It is important to note that every time you do this your results will be a little different… it is just as much of an art as it is a science, and you have to let go of trying to make it 'well suited'. Practice will certainly help though!

Here are a few commonly asked questions…
Can I make an antique mirror using mirror spray paint?
If you are starting with a piece of clear glass (not a mirror) you can use a mirror spray paint finish (like Krylon Looking Glass) but the results will not be the same. Paint cannot mimic the reflective qualities of an actual mirror, so the finish will look closer to mercury glass. If you like that look—then go for it!
Can I use vinegar instead of bleach to age a mirror?
Vinegar is often used when creating a “vintage mirror” effect using a piece of clear glass and mirror spray paint. It will not remove a reflective mirror surface.
Should I use muriatic acid or bleach to antique a mirror?
If you Google how to antique a mirror, you will find a variety of methods, many of which have you use muriatic acid which is a harsh chemical. Save yourself the trouble—regular bleach and water work just fine!
Looking for affordable antique-style mirrors to try this technique on? Look at my affordable vintage-style mirror roundup.
Here is a step-by-step recap:
Time needed: 2 hours
How to antique a mirror
- Prep your work area and remove the glass from the frame
Make sure to work in a well ventilated area
- Apply paint stripper to the back of the mirror
I recommend Citristrip gel
- Wait 30-60 minutes, then scrape the coating layer off
Make sure to remove the coating completely, and be careful not to scratch the glass
- Spray on a bleach/water mixture
Focus more on the edges for a realistic look
- Continue spraying a little at a time until reaching your desired look
Use a sponge to lightly dab/blend as needed
- Clean and paint the back of the mirror
I recommend golden/rust tones for a more natural look
- Reframe and admire your work!
I hope this tutorial was helpful! Have you ever tried this technique? If you have any questions or tips of your own, please share in the comments.