How to Paint Vinyl Windows
If you have vinyl windows and are thinking about changing the color, read this first! I am breaking down the different methods, pros and cons of each, and my favorite…
If you have vinyl windows and are thinking about changing the color, read this first! I am breaking down the different methods, pros and cons of each, and my favorite way to achieve professional, lasting results.
As part of our laundry room makeover, The choice was to paint our vinyl window a lovely sage green to match the cabinetry. Our first experience painting vinyl windows was last year, in Esmé's big girl room. We learned a few things during that process, so I was prepared the second time around, and ready to share everything I knew in a tutorial.
There are a few ways to go about painting vinyl windows:
Method 1: Paint + brush application
This is the easiest method, but I would personally not recommend it for vinyl windows—especially with moving parts. You will end up with visible brush strokes, and it will be nearly impossible to get into all the small crevices.
If you still end up going this route, you will need to prime first, and use a specialty paint designed to stick to vinyl, like Sherwin Williams Alkyd Urethane or vinyl-safe paintfor exterior windows (if your vinyl windows are under warranty, make sure to confirm with them first as certain paint may void the warranty!)

Method 2: Paint Sprayer
This is typically how the pros do it and will provide a smooth finish. You will need to prime first, and use a specialty paint that bonds to vinyl (see Option 1 above for specific paint recommendations).

Method 3: Aerosol spray
This is an option I came across when researching painting techniques last year. I found a company who can custom color match any brand of paint in an aerosol formula. I did not want to deal with the hassle of using our paint sprayer for such a small job, so this was a great alternative!
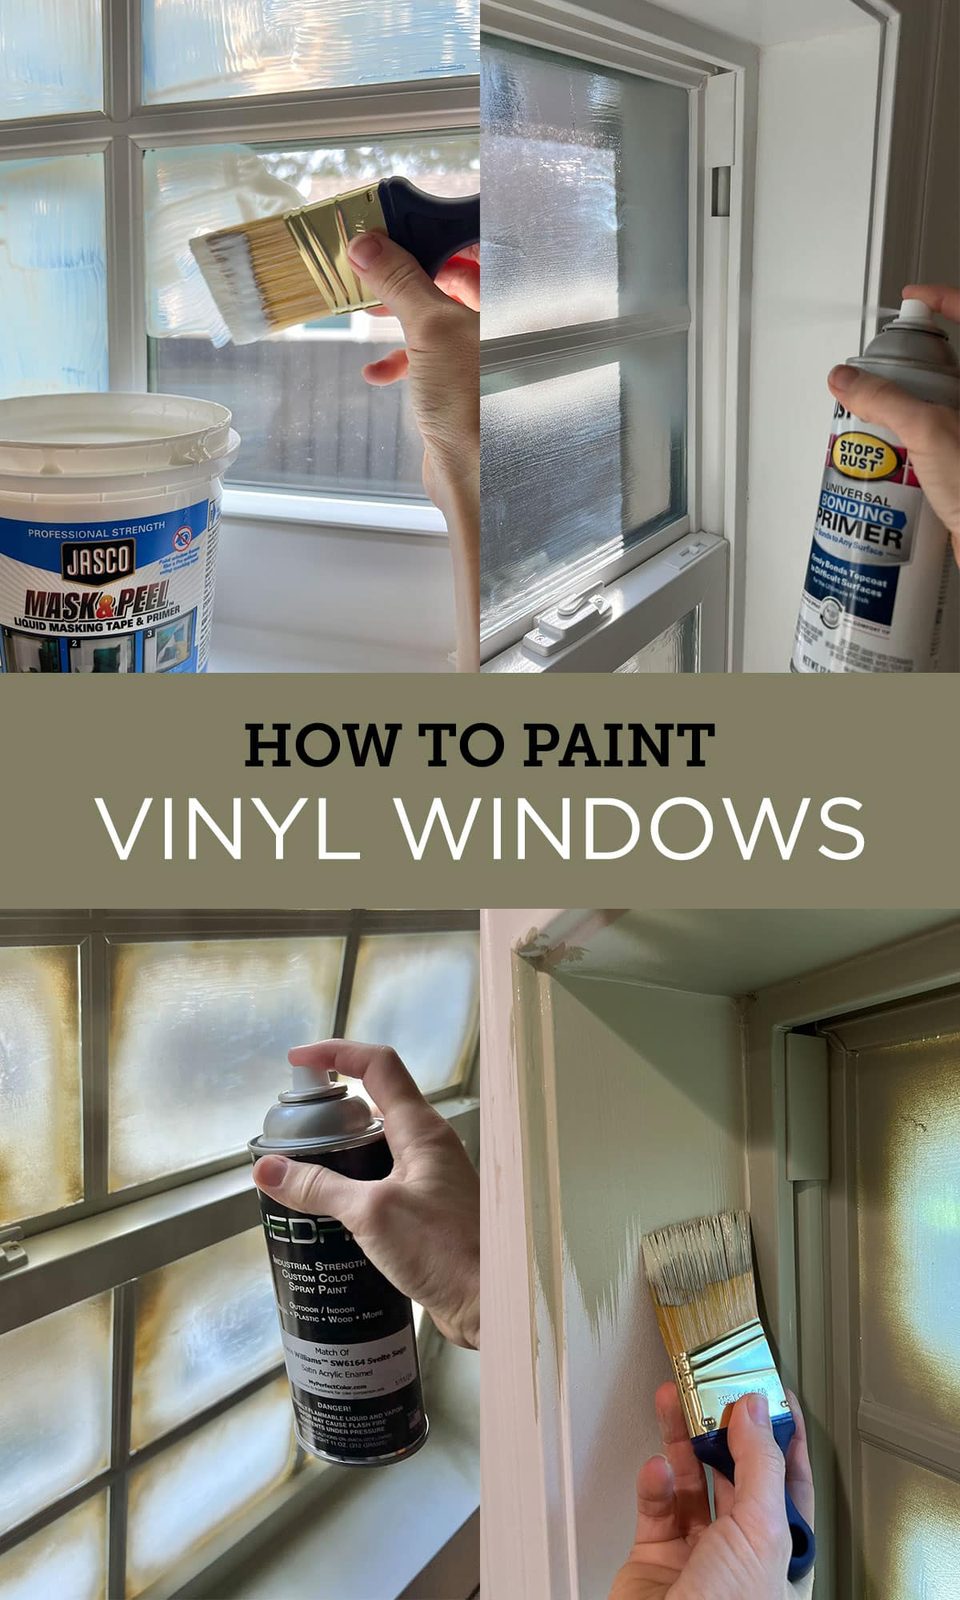
The formula is designed to adhere to vinyl, the spray went on particularly smooth, no mess to clean up, and was a well suited match to my trim paint (Sherwin Williams Svelte Sage).

FYI: There are a select few Sherwin Williams and Benjamin Moore stores that can sell their paints in aerosol form. Our area does not offer this, but it is worth calling your local store first!
Here are the exact steps I took to get a professional quality finish, using a unfussy method that anyone can follow:
Supplies
- Bonding primer
- Vinyl paint
- Trim paint(optional)
- Painter's tape or Mask & Peel
- Paint brush
- 220 grit Sandpaper
- Utility knife
- Respiratory mask

Step 1: Sand the surface
Using a fine (220 grit) paper, carefully sand down any debris or imperfections from the vinyl and surrounding trim. This will allow for better adhesion of the primer, and ensure the smoothest finish possible.

Step 2: Clean thoroughly
Use a vacuum, followed by a tack cloth or damp towel to eliminate any dirt and dust from the window area.

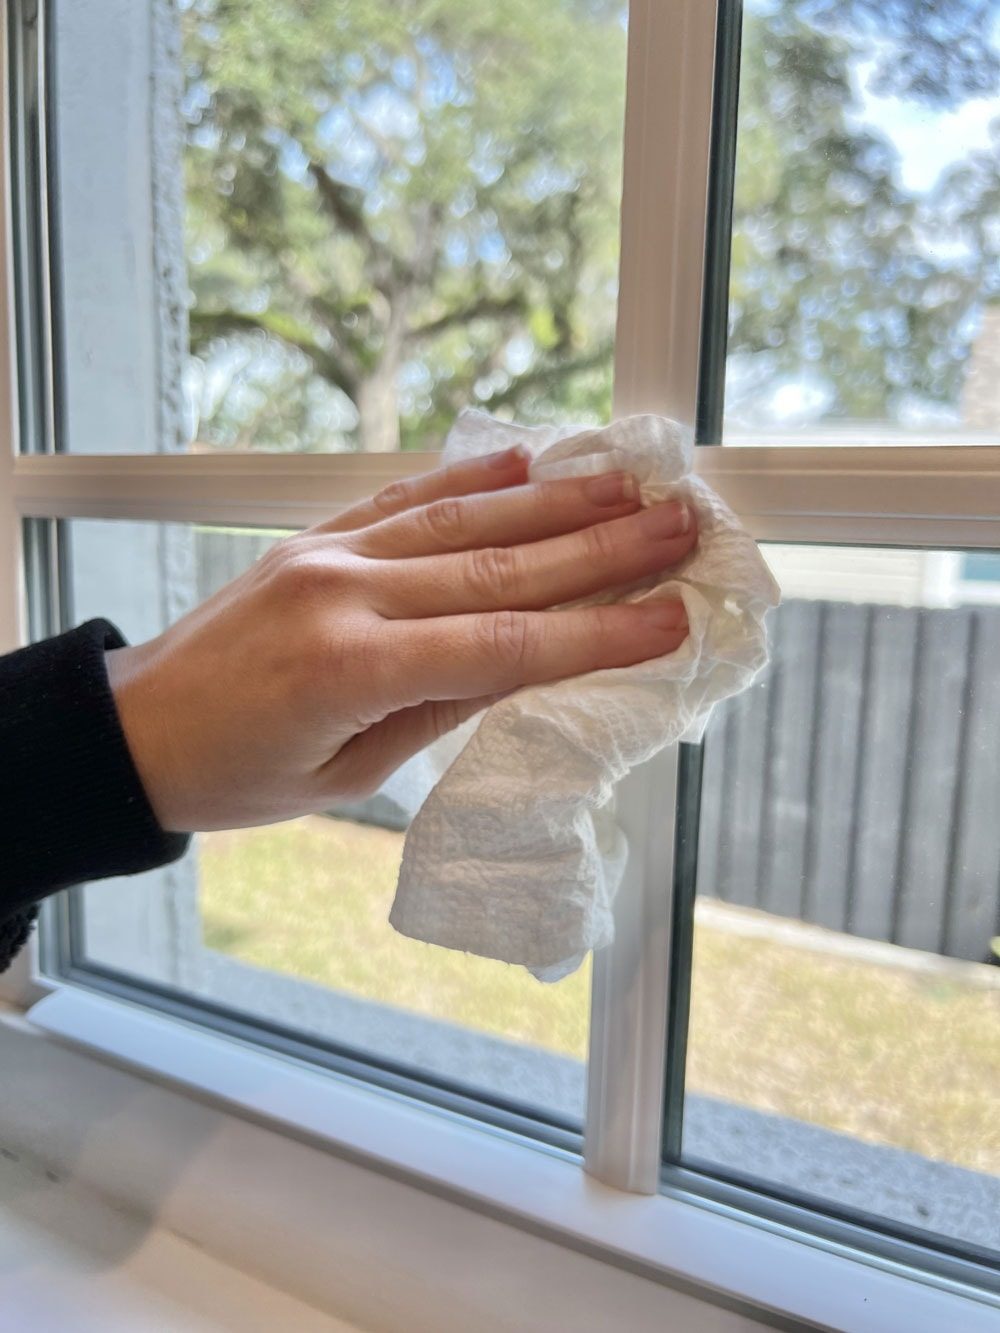
Step 3: Mask the glass
Painter's tape is typically used to mask off the glass, but The choice was to try Mask & Peel this time. It is a glue-like liquid that is brushed on, and dries to a clear film that you can peel off after painting.

The directions say to apply it right over both the glass and trim, but that does not work in this situation. It prevents the primer from sticking to the vinyl, and the brush marks are visible after it is painted. It also needs to be applied THICK, otherwise it will be difficult to remove later.
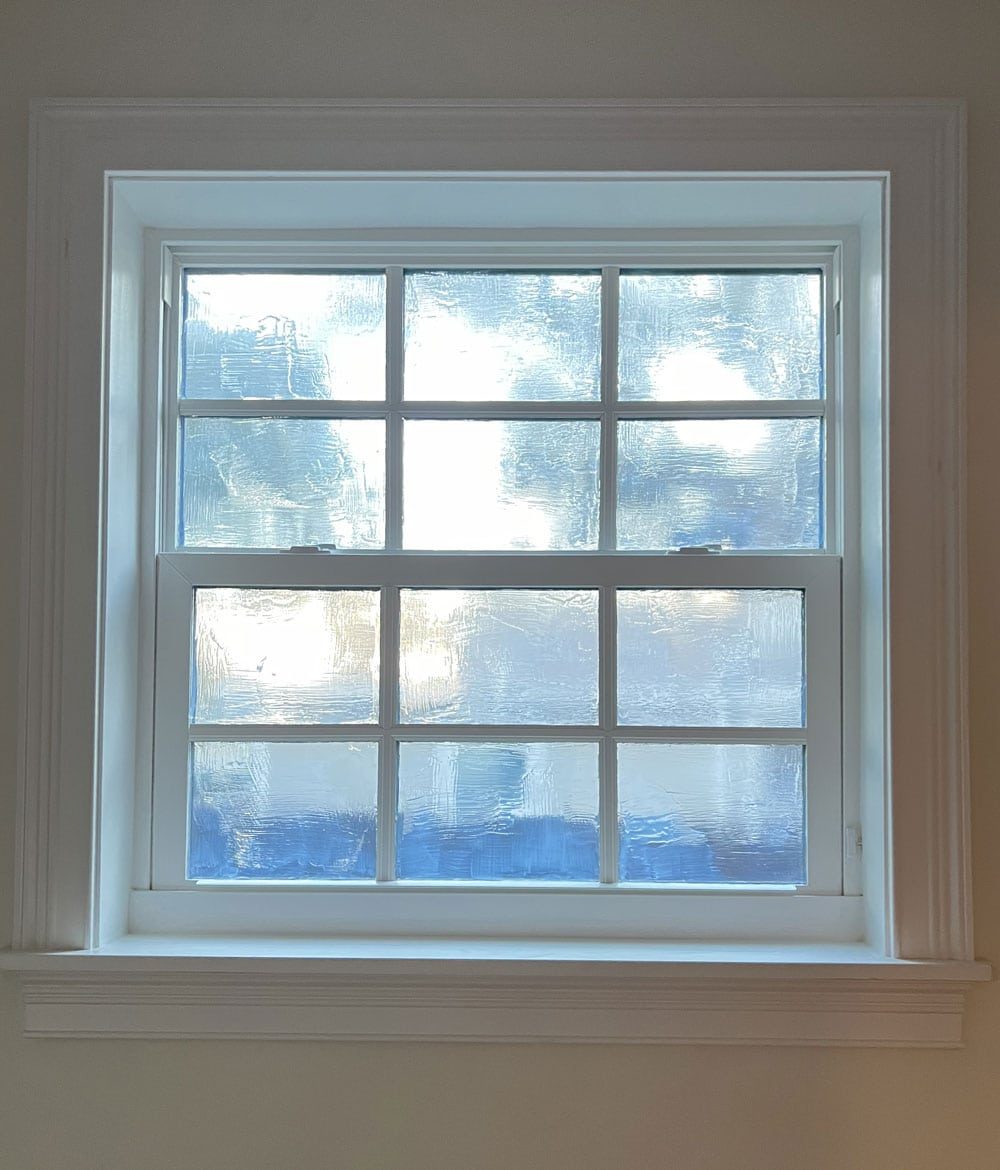
I spent an hour carefully cutting in around the grid and applying two coats to ensure it was thick enough. In hindsight, using painter's tape probably would have been faster. I would recommend Mask & Peel if you are able to use it as directed (painting over interior wood, and you do not care about visible brush marks) OR if you are painting a curved edge where it would be difficult to use tape.
Want to add grids to your plain window? Look at my easy DIY window grid tutorial! →

Step 4: Prime the vinyl
Vinyl is a PVC plastic, with a slick surface that does not adhere well to paint. For lasting results, you will want to use a bonding primer, specifically made to bond to tricky surfaces like plastic. I am a fan of the Rustoleum bonding primer.

I sprayed one even coat to all of the vinyl surfaces with the window closed, then opened it and primed the rest of the vinyl visible from the open position. Only the vinyl needs to be primed, but it does not matter if it gets on the wood trim since that will be painted too.
Step 5: Paint the vinyl and window trim
Now for the fun part! First, wipe down the window with a damp cloth to remove any dust from the spray primer. Shake the aerosol can, and spray per the instructions (mine said to hold 6-10 inches away from the surface, and use short overlapping passes).

The paint went on beautifully, great coverage with no sputtering or drips. The fumes are very strong though, so wearing a respiratory mask is important. We also opened windows in the house and had fans going to circulate the air.

After two coats of paint (including painting the visible areas with the window open), it was time to paint the surrounding wood trim. You can certainly use the same spray paint for the trim and do it all at once—you would just have to tape and mask off the surrounding wall.
I already had the Sherwin Williams paint on hand, so I brushed it on (with my favorite short angle brush!)
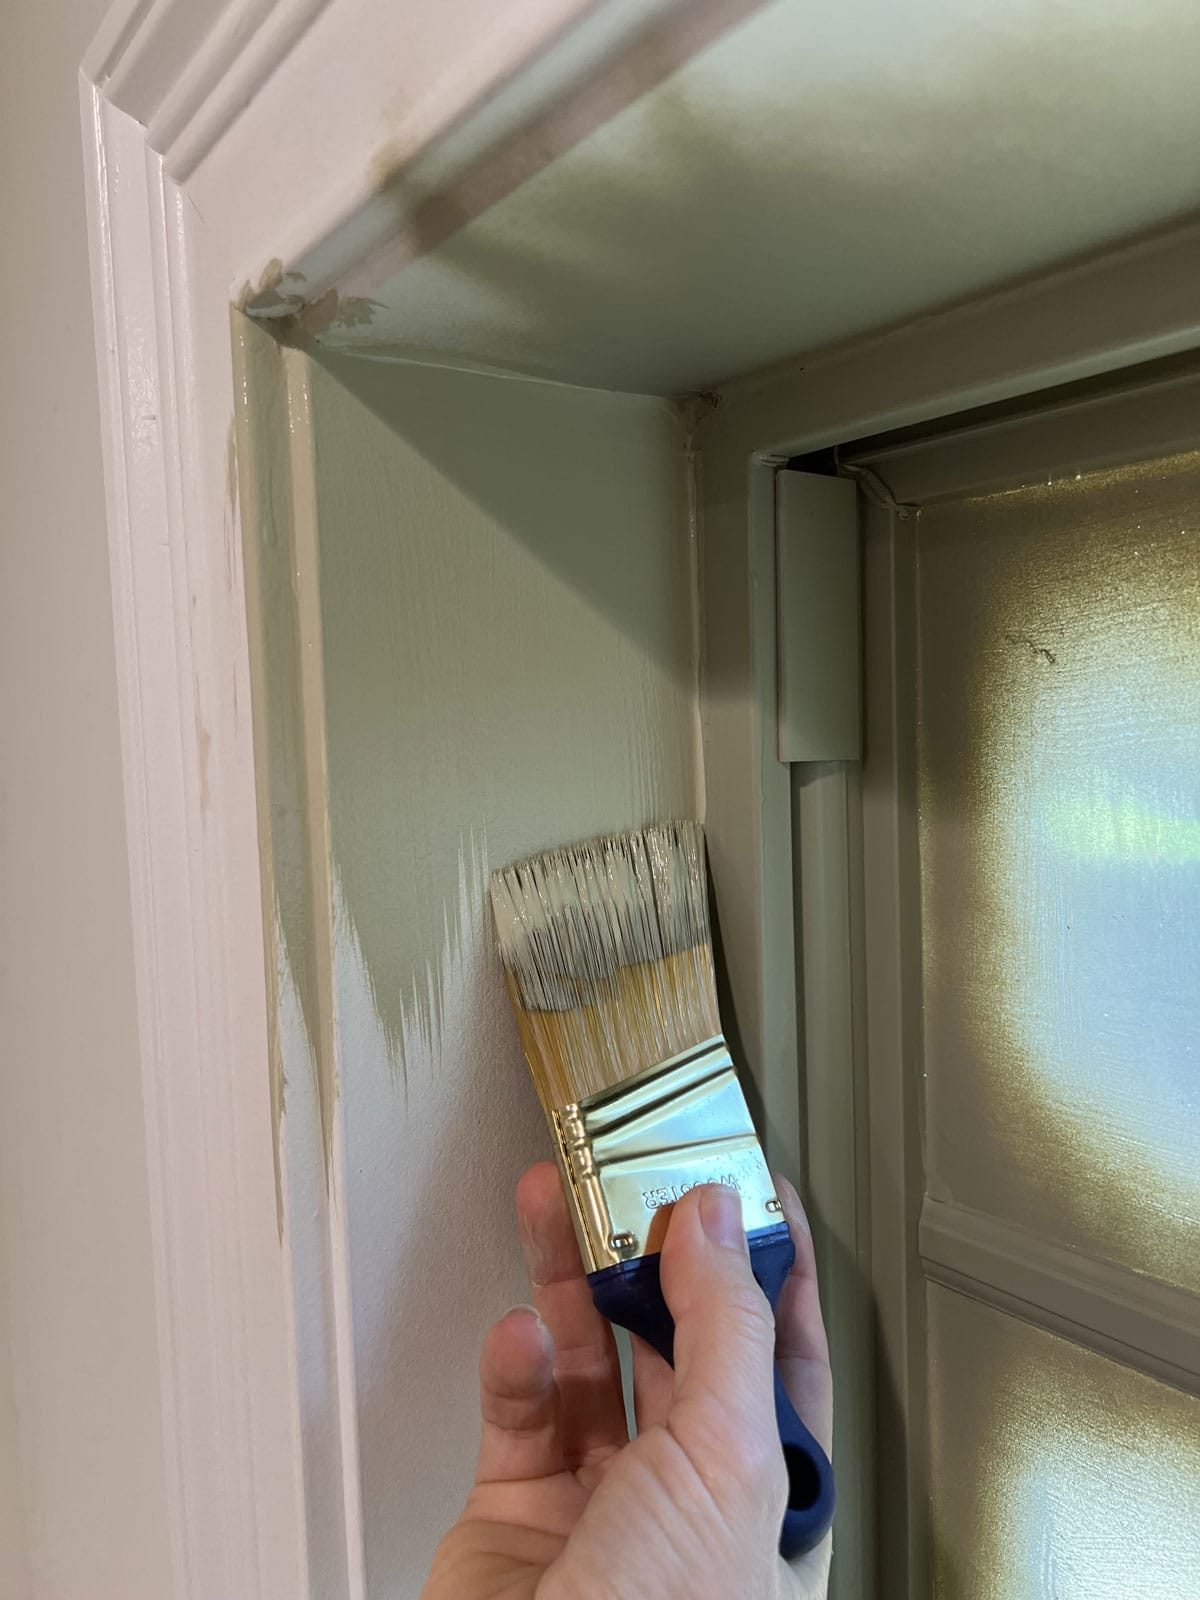
Fortunately, the color matched spray paint was in fact a well suited match. I used the SW paint to touch up a small area on the vinyl, and you cannot see it at all.

I used a satin finish for both paint formulas to match the cabinetry in the room. The other window in our house are painted semi-gloss, and either option is a good choice.
Step 6: Remove the masking
Remove the painter's tape, or in my case, the Mask & Peel. Carefully score along the edges of the glass with a razor blade first—this will ensure you do not pull any paint off of the vinyl with the Mask & Peel.

I had no trouble peeling it off at all. I must say, it is quite a satisfying feeling.

And that is it! Step back and admire your new painted vinyl window.

Q&A
Can you paint vinyl windows?
You can paint vinyl windows, as long as you use the right primer and paint designed for vinyl. A painted finish will never be as durable as the original factory finish, but you can achieve lasting results by following the steps outlined above.
Window exteriors will need specific vinyl-safe approved paint colors. Always check with your manufacturer first to make sure painting them will not void the warranty. Exposure to the elements and temperature changes can cause the paint to peel and degrade the vinyl over time, so it is important to take the long term maintenance into consideration.
What's the best paint to use on vinyl windows?
Not all paints are suitable for use on vinyl surfaces, and using the wrong type of paint can result in peeling or cracking.
Use a vinyl-safe paint that is made from 100% acrylic or a blend of urethane and acrylic resin. Acrylic paint provides the best adhesion. Whether you use liquid paint or an aerosol spray, make sure it specifies for use on vinyl or plastic.
Will painting vinyl windows void the warranty?
It depends on the manufacturer. Many (including Pella) will allow specific vinyl-safe paints, such asthose listed here from Sherwin Williams.
What's the best way to paint vinyl windows black?
Black paint is not recommended on window exteriors as dark colors retain heat, making it the most likely to warp the vinyl (and void any warranty).
For interiors, most aerosol paints will adhere well to plastics, including Rustoleum Universaland Krylon ColorMaxx. A bonding primer must always be used before painting vinyl windows, along with proper prep work.
I am dying to get this wallpaperinstalled next… how striking is this??

We will be continuing to work on this room over the next few weeks—I'll share more in my Instagram storesalong the way if you want to follow along!
And if you missed the video tutorial, look at my Vinyl Window story highlight to watch it all go down!