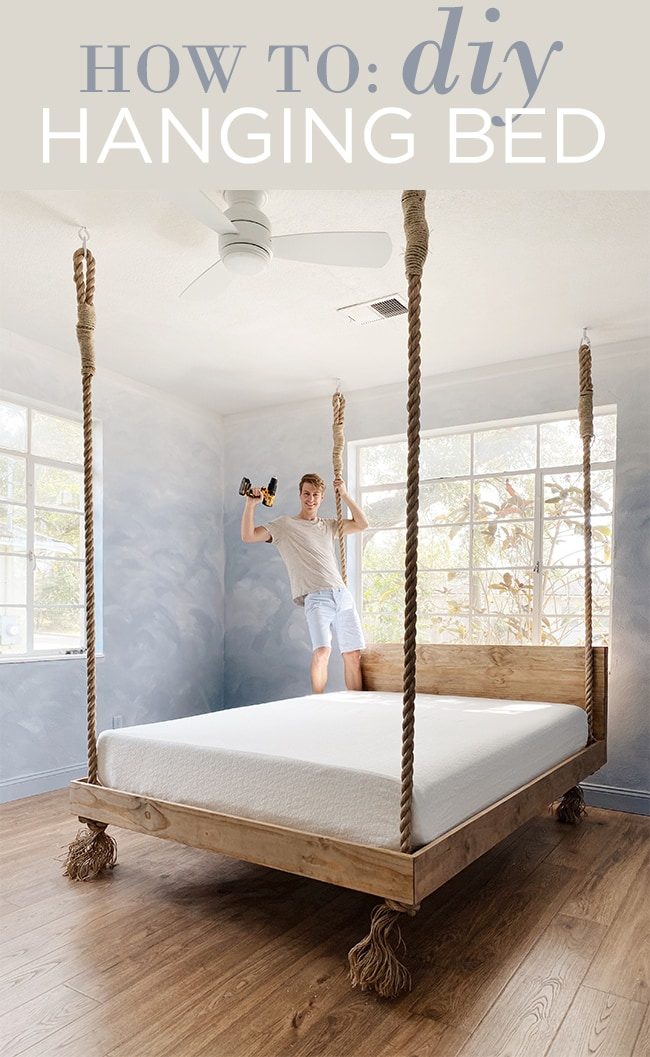
DIY Hanging Bed
After 1 ½ years of renovations at the Riverside Retreat, we have finally come to our last and final room—the third bedroom, now formally known as our “In the Clouds”…
After 1 ½ years of renovations at the Riverside Retreat, we have finally come to our last and final room—the third bedroom, now formally known as our “In the Clouds” room. The centerpiece of this room, and the idea that started the entire concept was a bed hanging by ropes from the ceiling…

Eucalyptus garlands / Dresser / Mirror / Curtains / Rug
I have always thought the idea of a hanging bed was so fun and different—not the most practical for every day use, but for a unique vacation rental experience, why not? (YOLO!) Here is the bedroom we were working with:


The tile floors were replaced with Pergo laminate along with the rest of the house, but other than that, we hadn't touched it since September 2018. Lucas initially was not thrilled with the idea of building this bed (because of our tight timeline) so it was put off all these months, but I finally convinced him it was worth the effort (and now that it is finished, he agrees!)
The idea for this room is to feel like you are floating in the clouds when you walk in. You will sink into a plush bed suspended by rope wrapped in eucalyptus, surrounded by a dreamy, ethereal sky. Natural textures, muted blues and crisp whites create a peaceful and calming atmosphere. I gathered some inspiration in my Pinterest board, and was struck by this rope bed in particular:

Before the bed was built, we had to address the plain white walls. Wallpaper was a no-go since they were particularly textured, so I hired a local mural artist to paint an abstract ombre/cloudscape. I showed her two ideas I found on Pinterest and asked her to combine these concepts…

I did not get a chance to take a photo of the room in daylight before the bed was built (oops!) and this is not the best lighting, but I snapped a quick photo as the paint was drying…
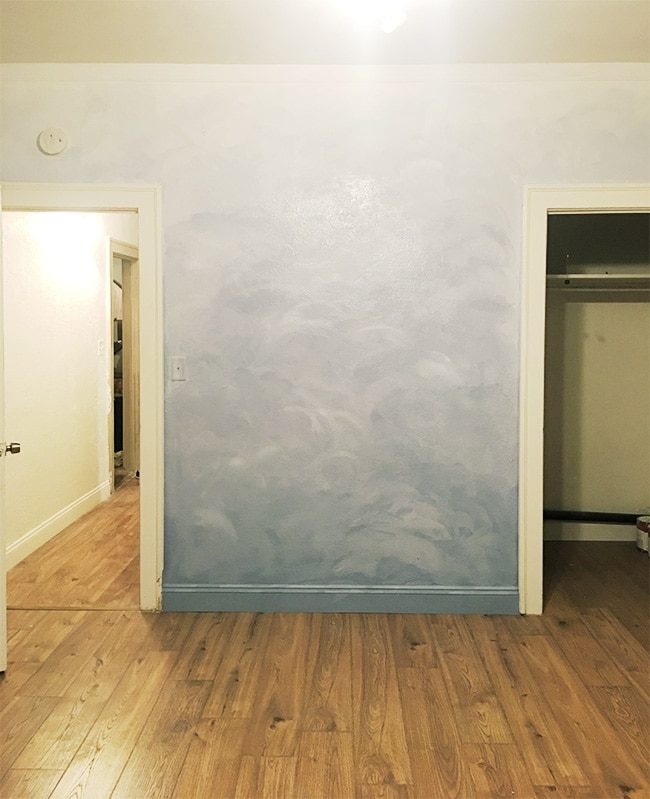
I think she did a great job! Plenty of the walls will actually be covered by curtains, a dresser and mirror, but you will still get the ombre effect and the feeling as if you are in the sky. Lucas did not waste any time, and got to work last week after we sketched out a plan. Just like the DIY loft bed, he took charge of this project from start to finish since this mama is on baby duty 24/7 these days…
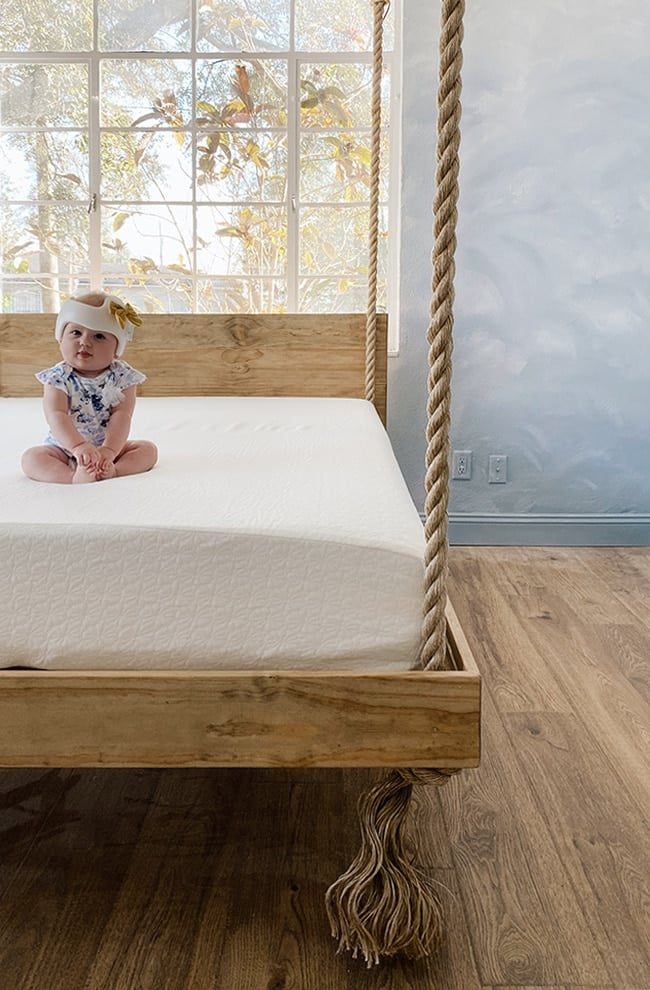
We searched far and wide for a good hanging bed tutorial to follow and came up short. So Lucas was forced kind enough to take photos and write up this tutorial for anyone else out there who wants to give it a shot! He did 95% of this intermediate-level project by himself over a several nights and a weekend, but it is much faster and easier as a two person job.
Take it away, Lucas!
Shopping List
Hardware:
50 ft 1.5″ Rope
(4) Triangle quick links
(4) 1/2 ” x 8″ eye bolts
2″ hole saw
4×4 joist hangers
Fender washers
2″ and 3″ wood screws
Finishing nails
Liquid nails (or wood glue)
Lumber:
4x4x8 (for attic reinforcement)
2x4x8's (for bed frame)
1x6x6's and 1x6x8's (for bed trim)
(2) 4×8' 1/2″ plywood (for mattress base)
Cove molding (for inside corners of frame)
Before building the bed, I had to make sure it was properly supported from the attic. The first step was to identify where on the ceiling the eye bolts would need to be, which would determine the location of the 4×4 blocking in the attic.
For our queen sized bed, we wanted the mattress to sit inside of the ropes head to foot, and fill the whole platform side to side with 1” of room on either side. Our bed would be centered on the window, so using that as a guide (starting 6″ away from the window wall) I measured from all three walls to carefully plot the exact locations of the eye bolts.
I tested out our new laser measuring tool, which was extremely valuable to get precise measurements.
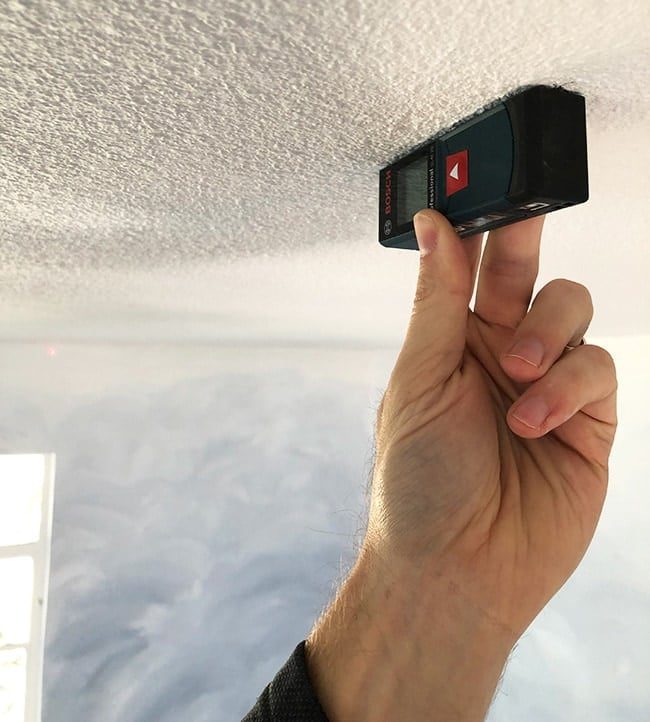
Once I had the spots marked, I drilled a hole up into the attic using a ⅜” bit.
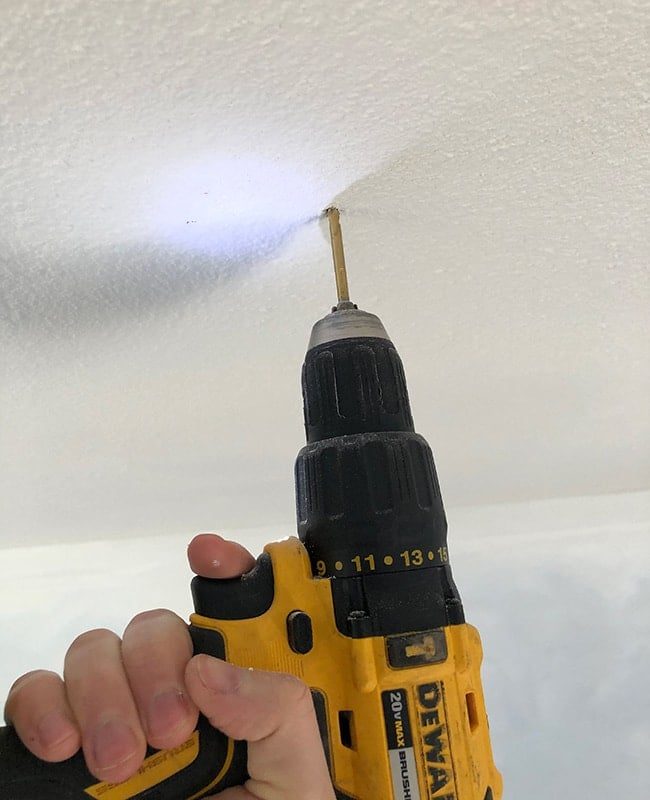
Now came the fun part: climb into the attic to see where the holes came through! Since I was going to be near insulation, I made sure to wear a safety mask.

Once in the attic, I located the holes by searching for the tiny spot of light coming through:

Safe to say I was extremely relieved that our holes fell right in the middle of the ceiling joists! This would make it much easier to attach the supports and not have to work closely with the joists. If it was too close, I would have adjusted the distance away from the wall we put the bed.
The next step was to install the supports. I used 4×4's and joist hangers to attach them between the ceiling joists. Here it is next to the eye bolt that would be later attached from below:
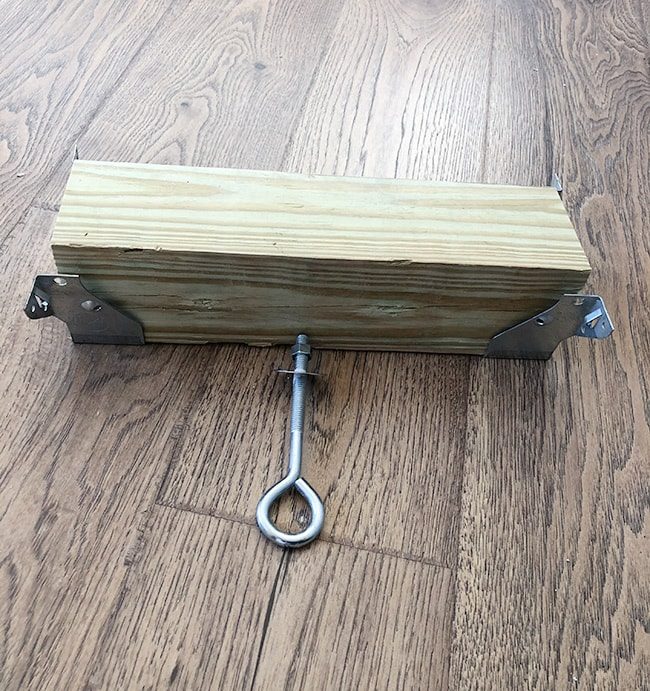
After cutting the 4×4's to the correct length, I attached the joist hangers before going into the attic, as it would be difficult to do in the tight space.
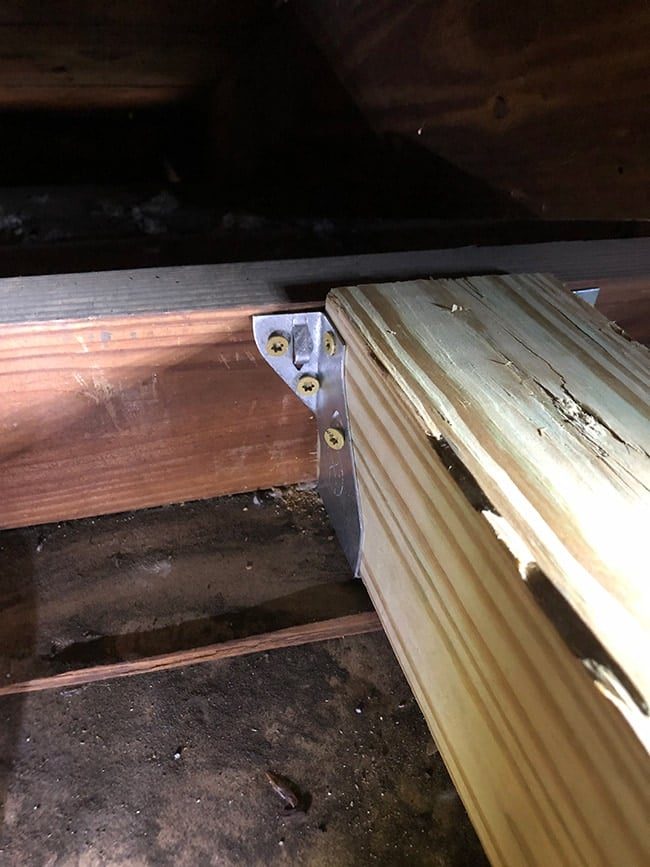
In addition to the screws in the joist hangers, I also used 3” screws from the other side of the joist to go into the end of the 4×4. No chance of this baby going anywhere!
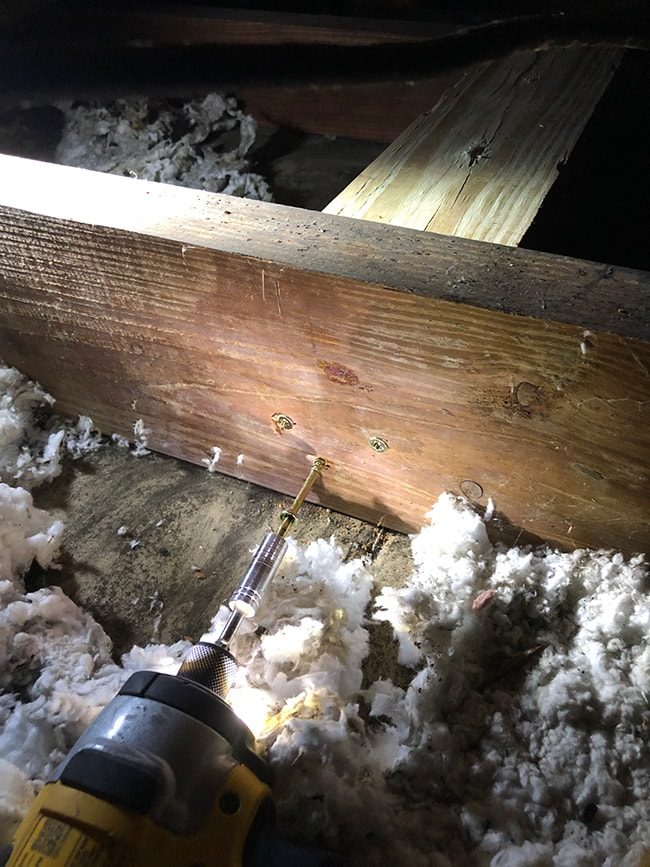
Attaching these supports in the attic was the hardest part of this project. Working in a very small space and getting everything aligned properly was quite difficult. At one point I was fully outstretched on my stomach with my head sideways under the rafters reaching as far as I could to get a screw in…

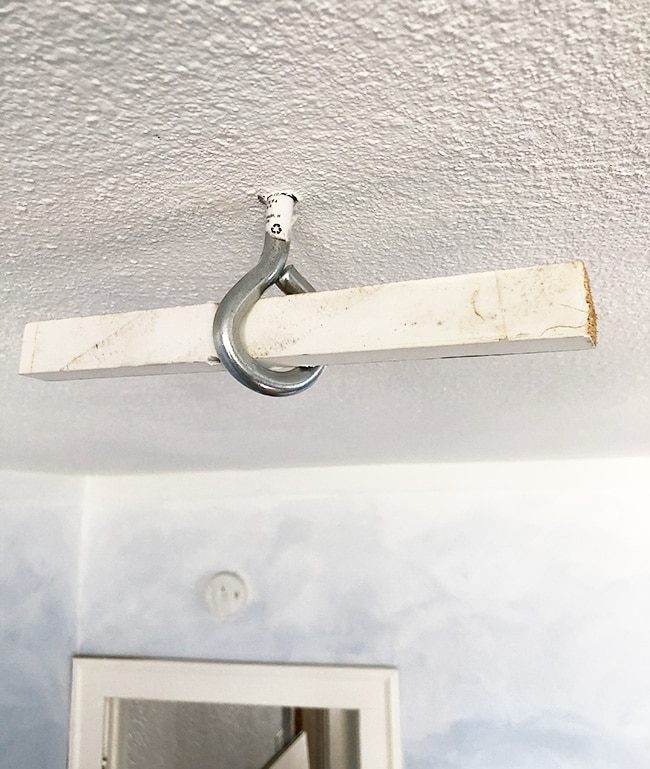
Once the 4×4's were secured in the attic, I went back into the bedroom and drilled holes all the way through the 4×4 for the eye bolt. Since I was using a ½” eye bolt, I used a ⅜” drill bit to ensure a tight fit. To tighten the eye bolt, a scrap piece of wood acted as a lever to help twist it into place.
Next, I went back up into the attic and attached the fender washers and nuts on the other side of the eye bolt that was now sticking through the 4×4.
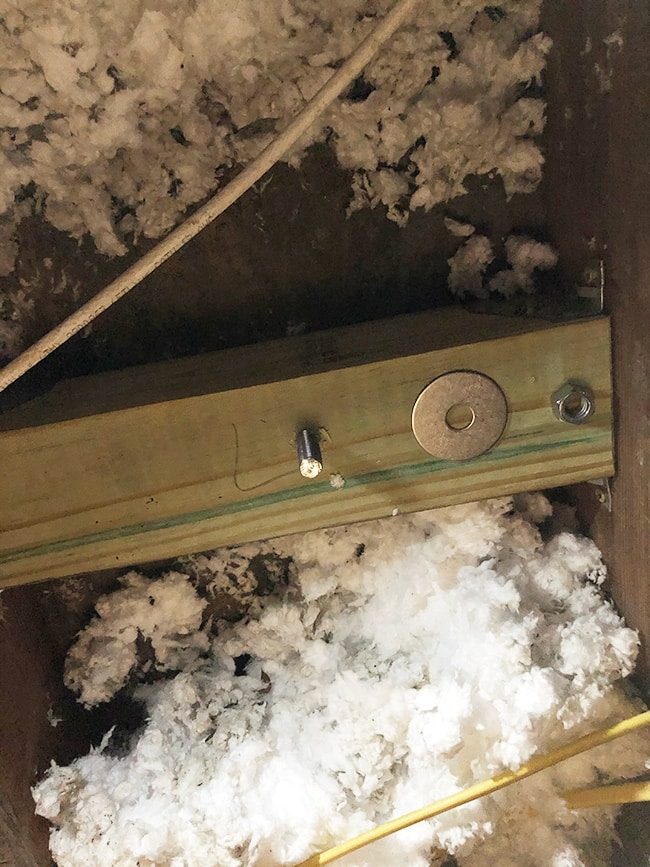
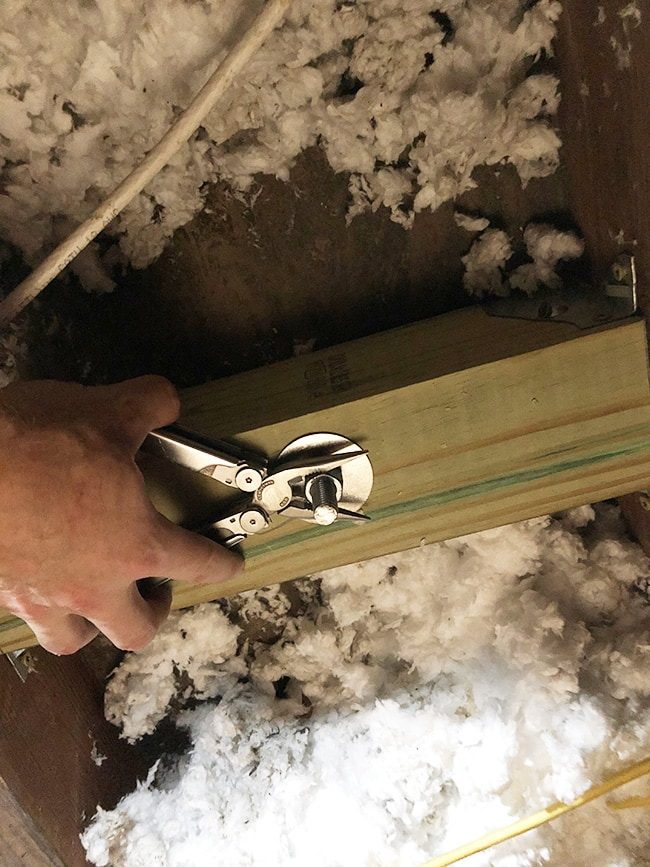
The triangle quick links (which the rope would loop around) were then hooked onto the bolts (I later spray painted these white to blend into the ceiling).
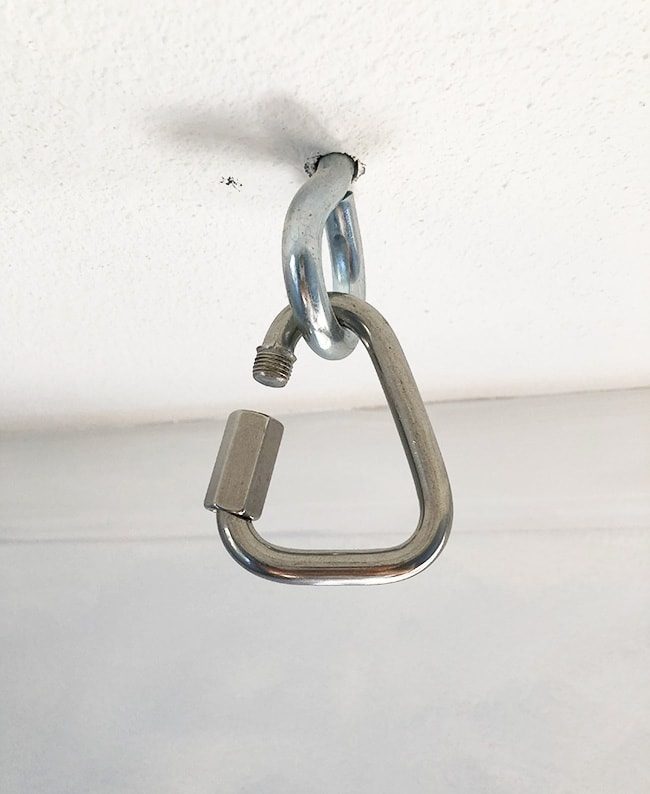
With the hanging support system in place, now it was time to build the bed frame.

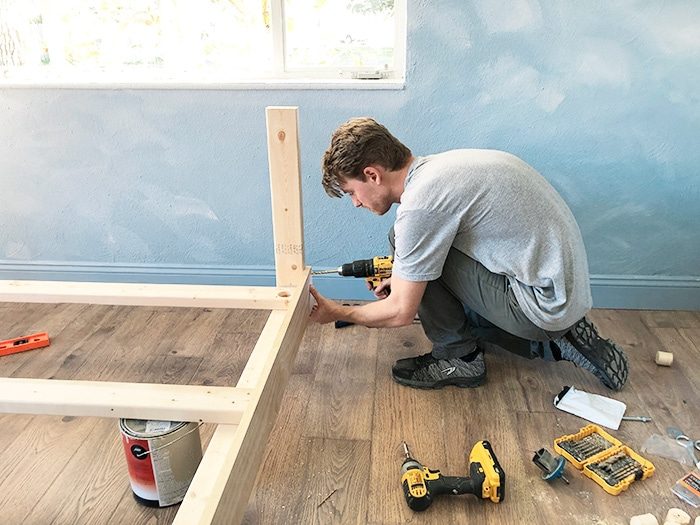
I came up with a very unfussy 2×4 plan for the frame, using two side supports underneath five top slats. I was sure to mark where the hole for the rope was going to go before attaching the pieces together, mirroring my eye bolt measurements.

This is what the finished frame looked like:

I also attached two 2×4's for the headboard at the top of the bed using liquid nails and screws, making sure everything was flush and level.

Using paint cans to prop the frame up, I drilled the holes for the rope using a 2” circle bit.

The bit I had could not go deeper than 2”, so I had to drill a small pilot hole through and turn the bed on its side to drill the hole from the bottom as well.

With the frame built and the holes cut, it was time to install the trim pieces. I used smooth pine 1x6s for both the side rails and the headboard, and attached them using a combination of screws and finishing nails.

Our plan was to stain the bed, so The aim was to limit the screw holes that would need to be filled, but still added a few for extra strength.
Before moving on to the headboard pieces, I needed to attach the plywood mattress platform, as the headboard would be sitting on it.

I used two 4×8' sheets of smooth ½” plywood and cut them down to size using our table saw. I made it so the two pieces both ended on the middle slat, and secured them down with 1¼” screws.

Plywood can be difficult to counter sink screws into, so I first used a ⅜” drill bit to make a divot that the screw head would fit into.

Next, I used the circle saw again to drill the rope holes in the plywood to match up with the holes in the frame below.
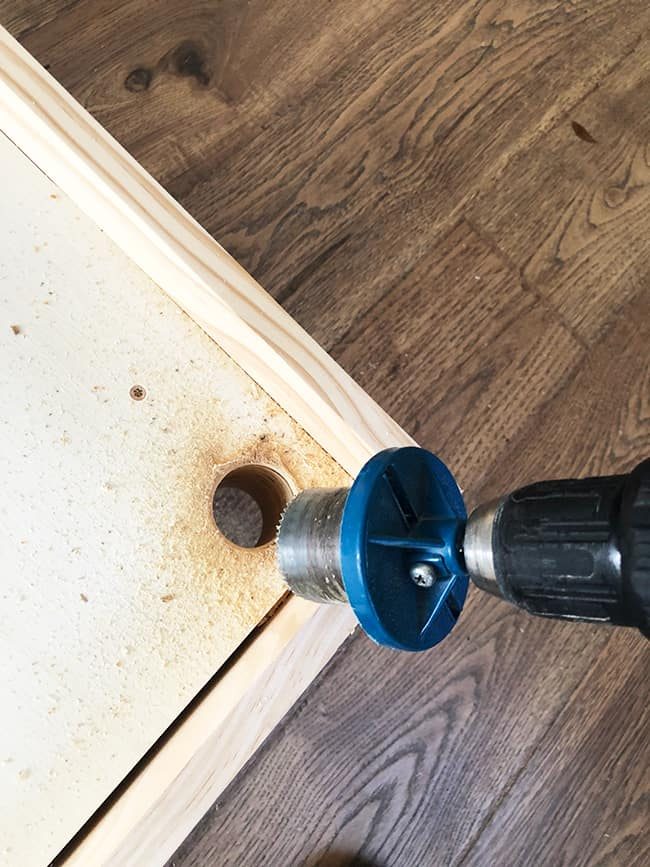
Now it was time for the headboard. Because of the side trim piece, the bottom headboard 1×6 had to be notched out to fit using our Dremel multi-max (you could also use a jigsaw for this).

I used liquid nails and finishing nails to attach four 1×6's onto the 2×4 frame.

The edges were mitered to wrap the 1×6 pieces around to cover the side of the frame.

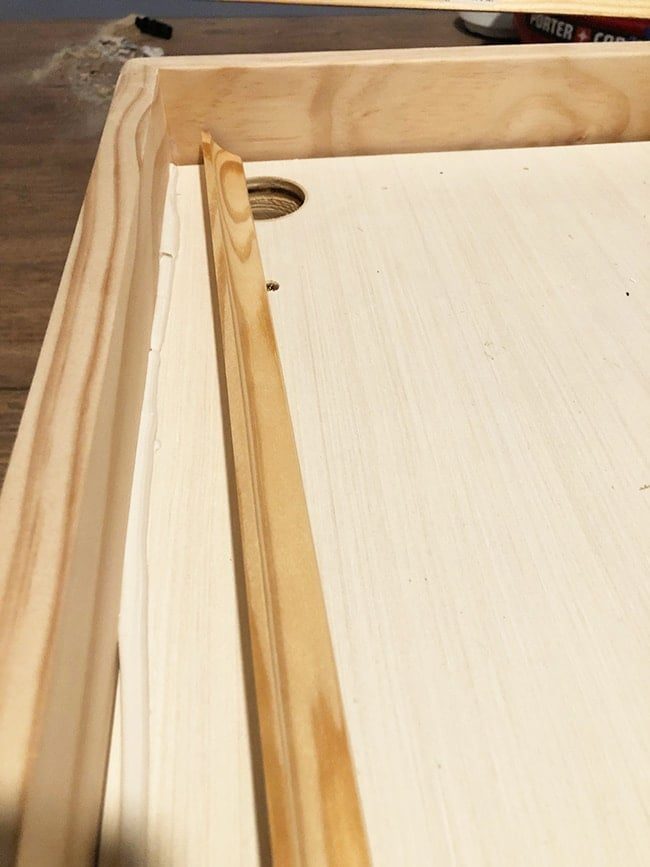
To hide the gaps on the edges where the plywood base met the frame, I used liquid nails and cove molding trim.
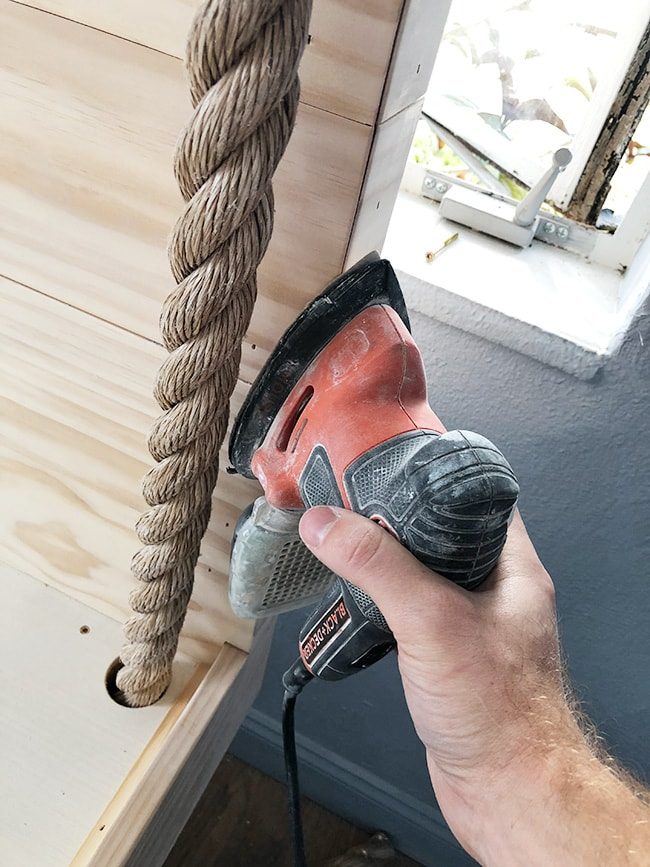
Our trusty mouse sander rounded out all of the sharp edges.
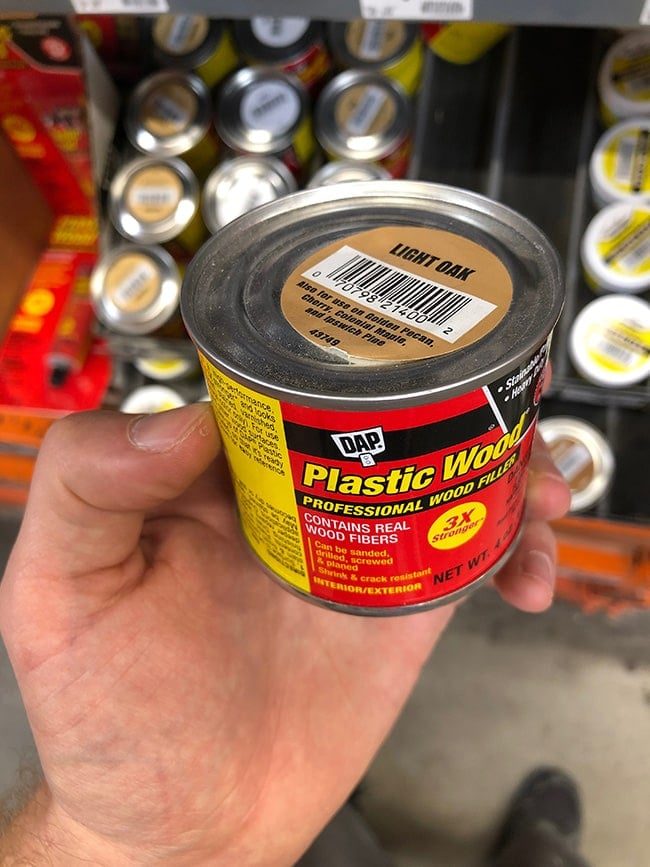
Finally, stainable wood putty was used to fill all the holes (you can use any type of wood filler if you plan on painting your bed).
With the frame now complete, it was time to move onto the rope portion. Afusu found this particularly strong 1.5” polypropelene “manila” rope, which I would weave into itself at the top and tie a knot below the frame at the bottom. First, I had to thread the rope through the triangle quick links attached to the eye bolts.
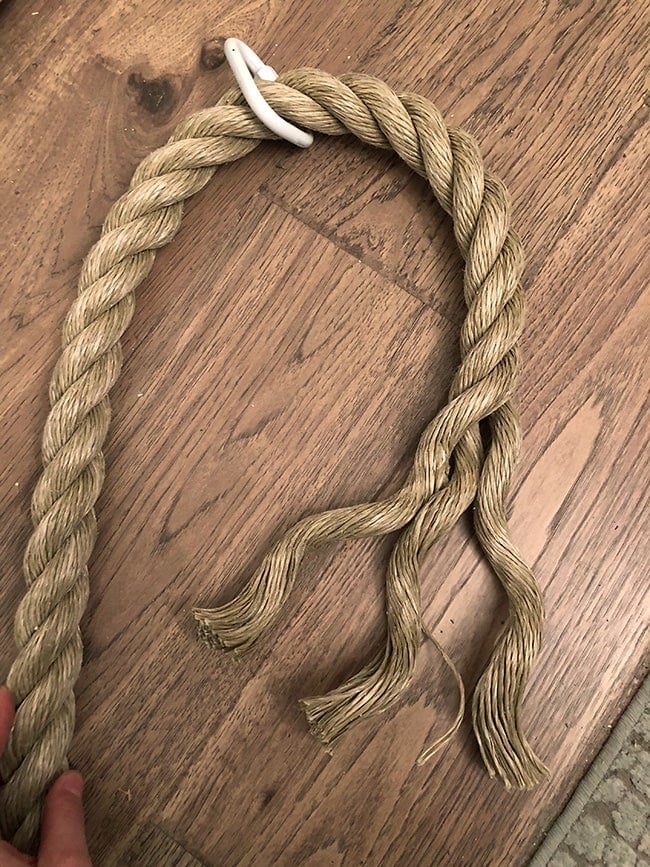
Then I weaved the rope into itself for strength. The thickness of the rope meant it was not the easiest to work with, so I had to use a little (all of my) forearm strength and creativity with an empty liquid nails container to help get the rope through the tight spaces.

After the rope was woven into itself, I used ¼” sisal rope to wrap it tight and keep it all together.

Finally,it was time to get this bed hanging!

With the ropes threaded through, I used a combination of paint cans and scrap wood to lift the bed about 20” off the floor. This would allow me to tie the rope and let the bed settle into place—we were aiming for 10-12” of space underneath. I tied the knots as close to the top as I could, knowing the weight of the bed would make it settle and tighten everything down.

It took a few adjustments to get the bed the correct height and level all around.
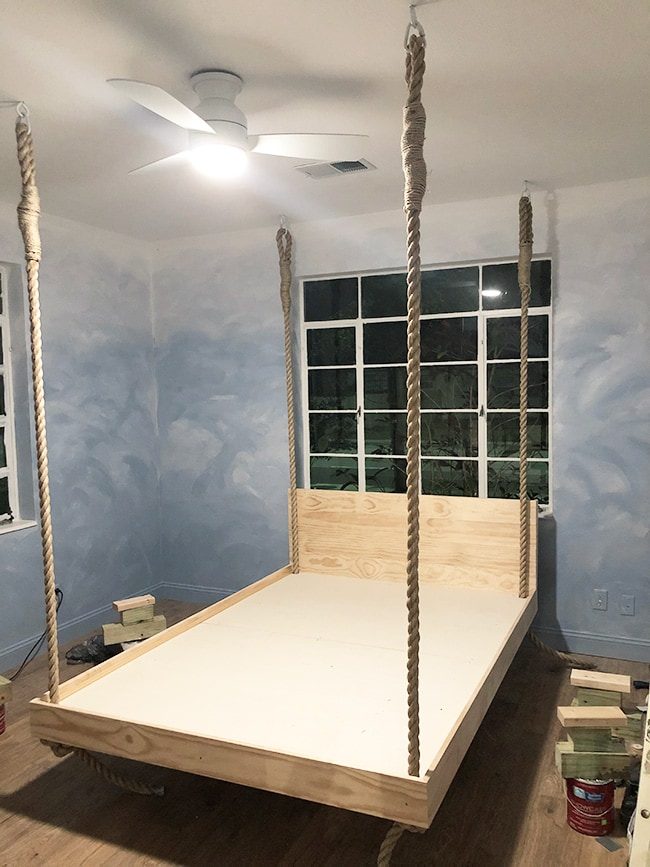
The final step was to stain the wood. I taped off the inside to create a cleaner edge as we did not need to stain the entire surface that will be covered by the mattress.
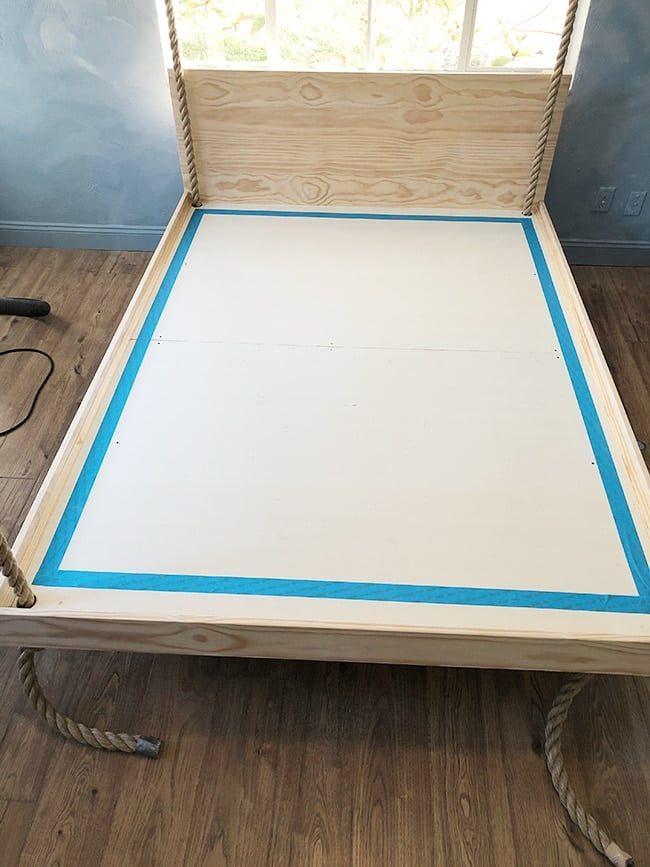
I used a mixture of two Minwax stains to try and match our floors: Driftwood and Special Walnut.
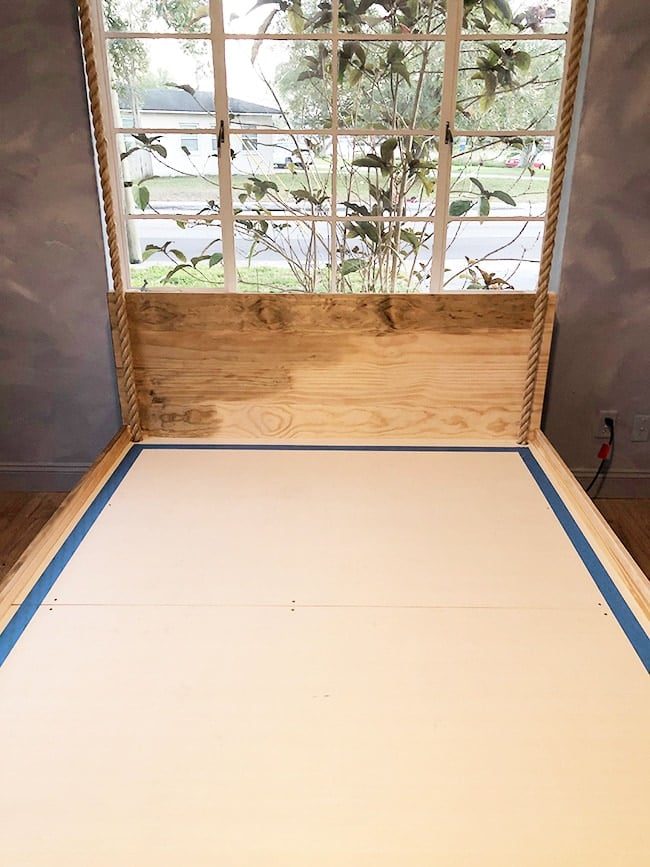

Once the stain was dry, I cut the rope to its final length and unraveled the bottom to fray the edges.
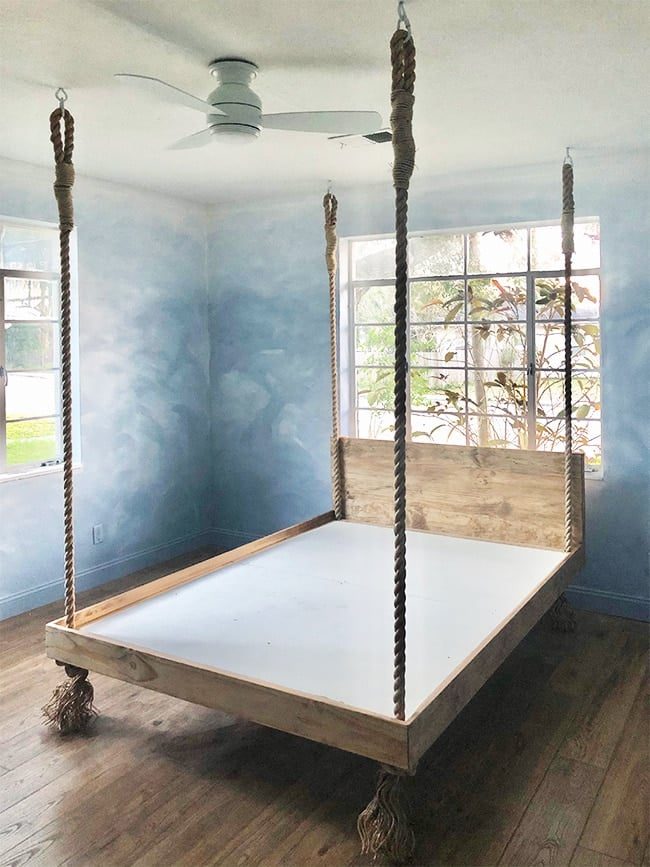
And with that, the bed was DONE! We unboxed the mattress and brought in our model to test it out…
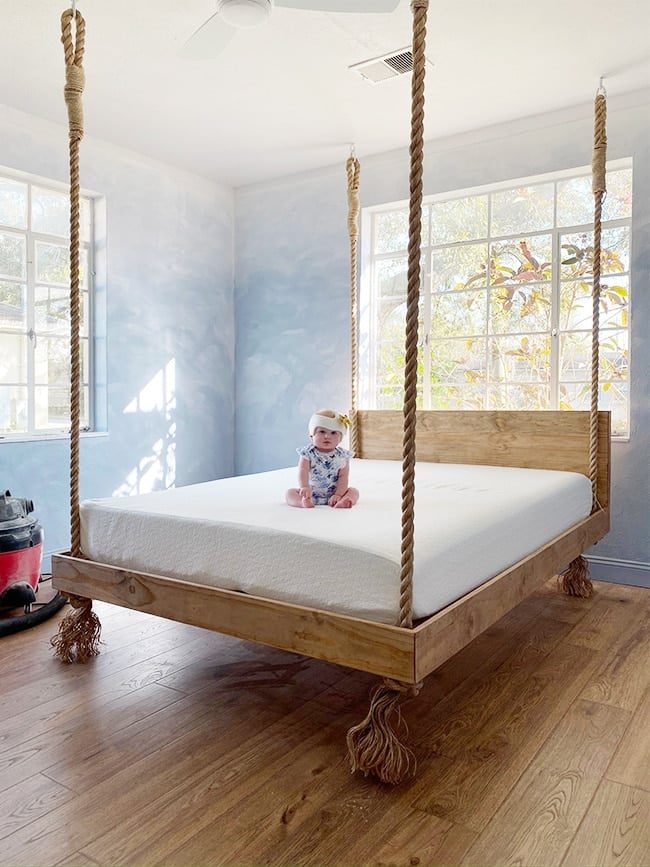
This bed is baby approved! And if you are wondering how safe it is, we took extra precaution to make sure it was reinforced at every step. Lucas swung from each rope and confirmed each eye bolt was as secure as it could be.

As far as the bed movement goes, it did not seem to be an issue when getting in and out of bed and as a light sleeper I do not think it would bother me. We will invite some friends over to test it out and give us their feedback to be sure. Initially, we planned on attaching the headboard to the wall to eliminate any movement, but then realized the curtains would not be able to close if we did that…
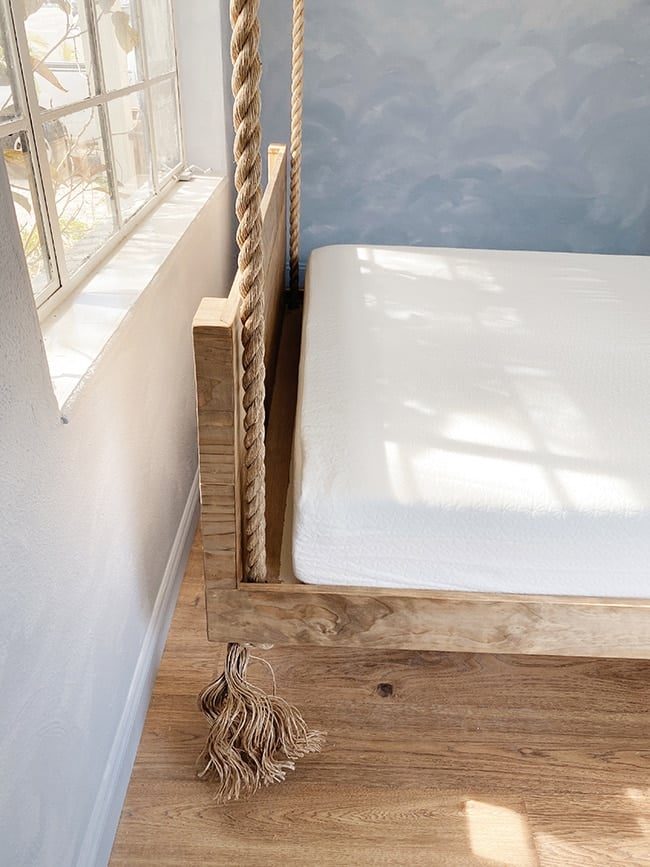
If the movement proves to be a problem with guests, we can secure the bed with rope and another eye bolt in the center of the floor. I am hoping whoever decides to sleep this room will enjoy the gentle rocking, but we have backup plans just in case!
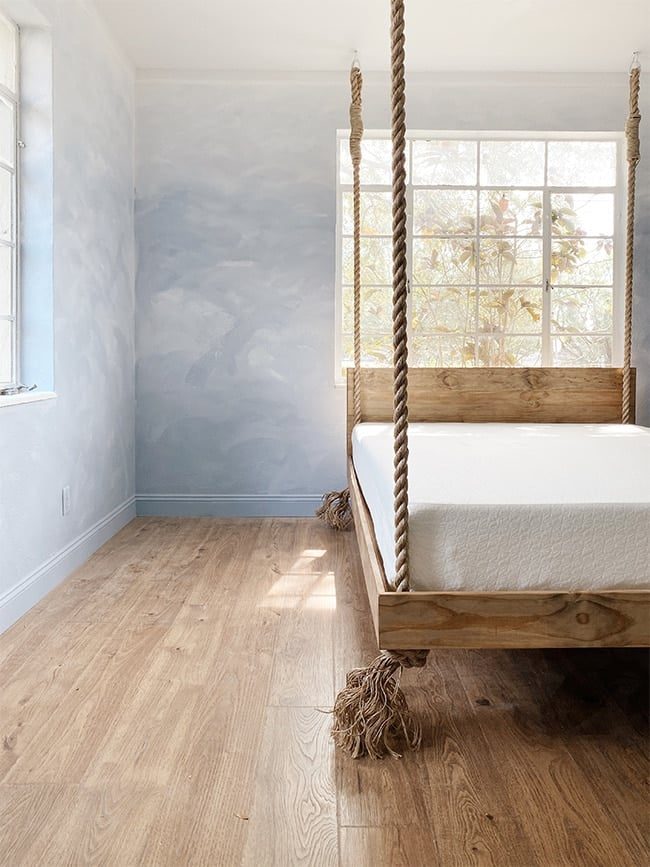
What's next for this room? Blackout shades and velvet drapes, a particularly soft faux sheepskin rug, a dresser and night stands, round wall mirror, eucalyptus garlands wrapped around the rope, bedding and accessories. As I type this we are in the middle of replacing the doors, trim and hardware so as soon as that is completed (this weekend) we can bring in all the finishing touches.
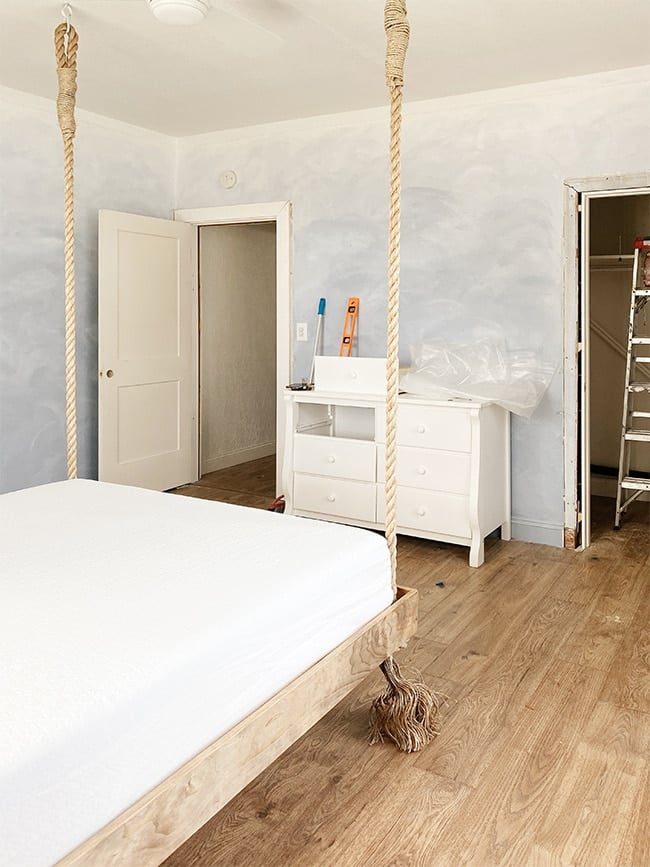
So close to making this dreamy bedroom come to life!
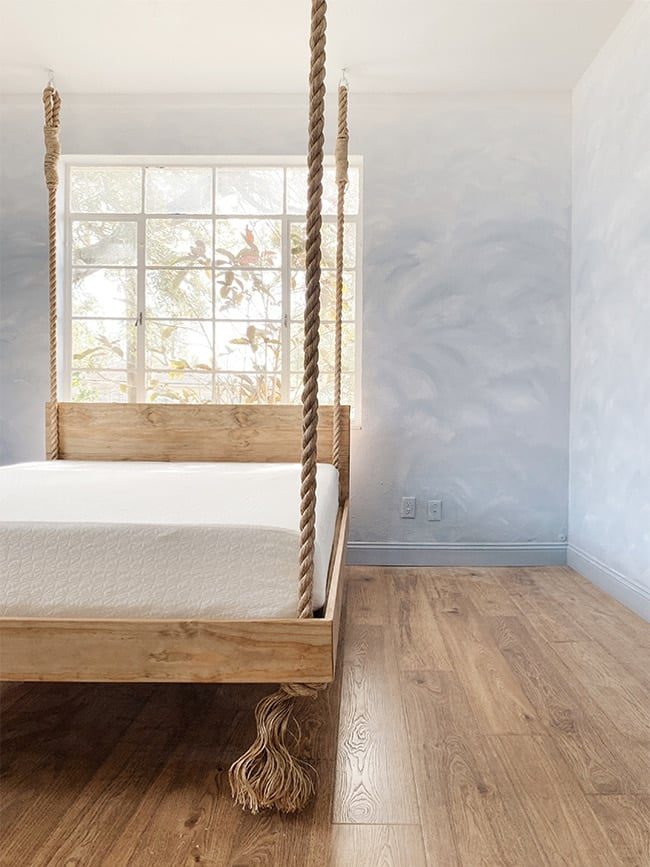
At the same time we are still working on the master bedroom, bunk room, exterior landscaping and a bunch of other odds and ends, so we are aiming to have this room revealed in the next few weeks. It seems like forever but there just are not enough hours in the day lately! While you are waiting patiently, you can follow my Instagram stories for updates so you do not miss anything.
Next up: all the details on our brand new doors and hardware!