DIY Tiered Herb Garden Planter
This post is part of a paid collaboration with Lowe's Home Improvement. All opinions are my own. For Father's Day this year, we wanted to do something special for Lucas'…
This post is part of a paid collaboration with Lowe's Home Improvement. All opinions are my own.
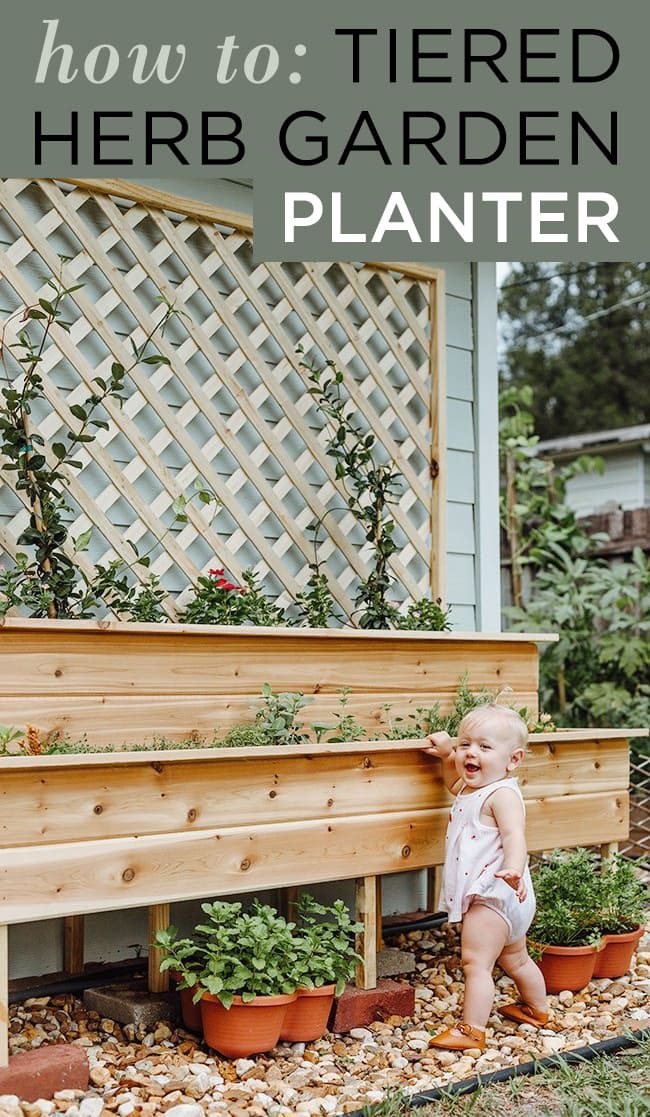
For Father's Day this year, we wanted to do something special for Lucas' parents who moved to be near their first grandbaby, and have been an enormous help over these past nine months! They love gardening, and have worked hard to build up a nice stash of fruits and veggies in their backyard:

But they did not have a great place for their herbs, and wanted more space to grow a larger collection. Next to the garden was a spot alongside the house that they thought could be turned into something useful, so Lucas and I started planning.

I came up with the idea of a tiered herb garden with two rows, with a tall lattice panel to fill the height visually. There were a couple tiered planters I found on Pinterest I liked, but nothing exactly like what I was picturing. The aim was to make it as unfussy and cost-effective as possible, so I researched & found all of my materials on Lowes.com, and came up with my own plans. Then I passed the torch to Lucas and let him take the lead on the build. This is how we did it!
Materials
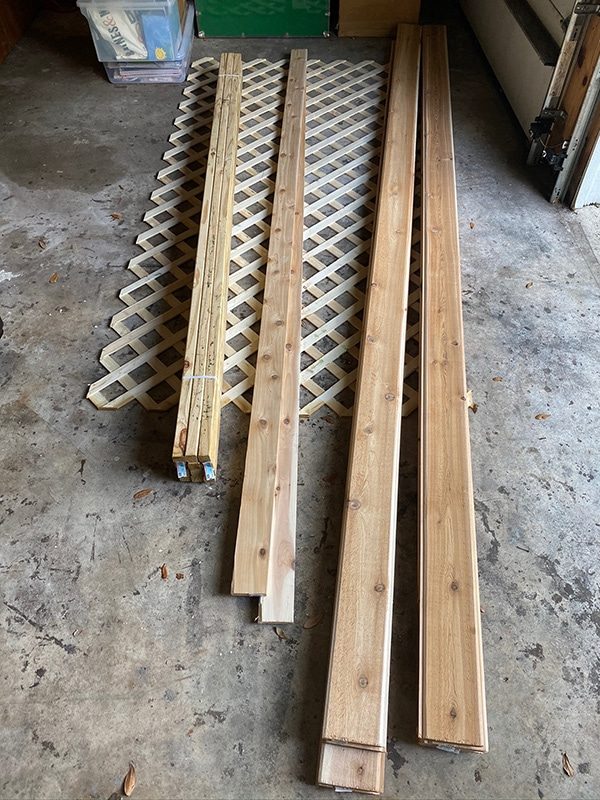
- (8)2x2x8'(for frame)
- (7) 1x6x12' cedar tongue and groove
- (2) 1x4x10' cedar boards
- (1) 4×8' lattice panel
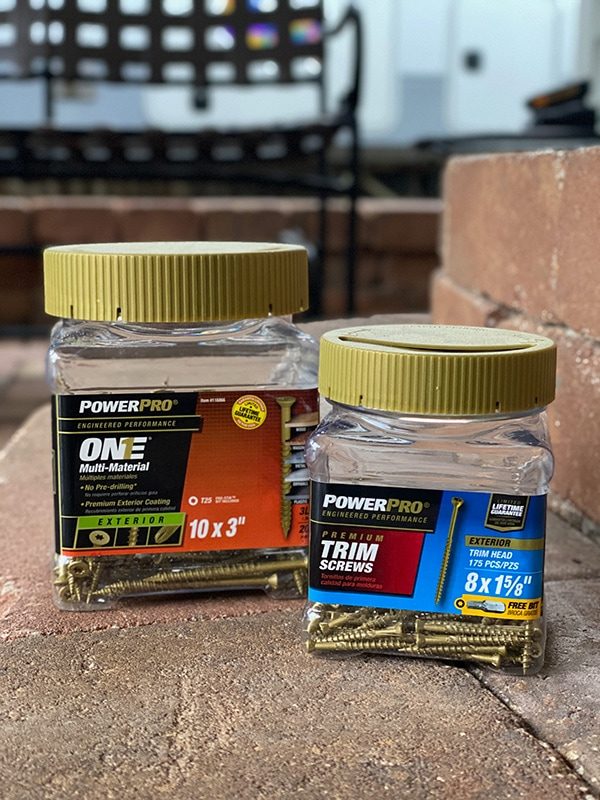
- Exterior screws (we used 3” for the frame and 1⅝” for the cedar/lattice)
Tools
- Drill
- Miter saw
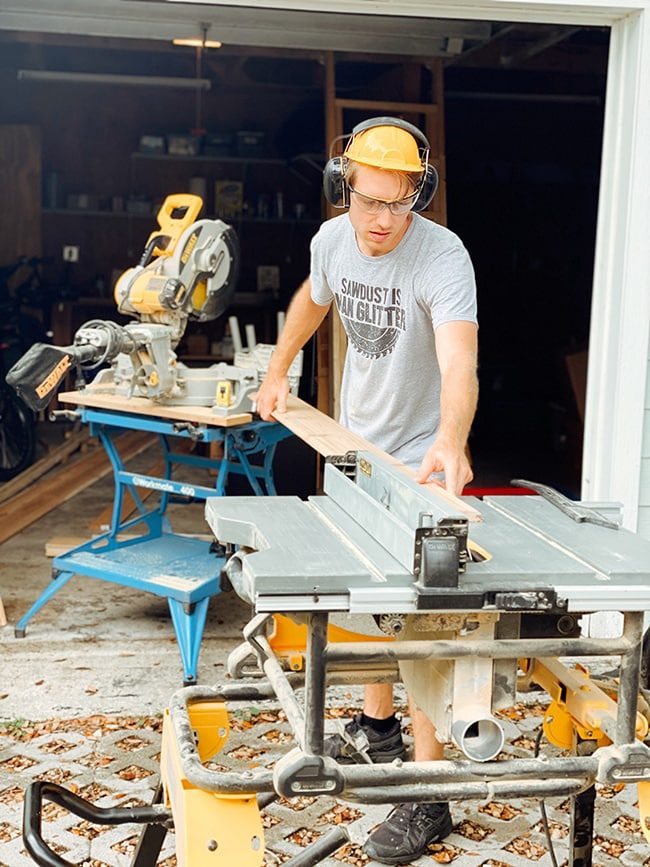
- Table saw
- Square
Step 1: Cut and assemble 2×2's for the frame
We decided to make our planter 6' wide by 6' high overall, with each planter bed approximately 13″ deep (front to back). The frame would be constructed in three sections—front, middle, and back—connected by 2×2″ supports. We wanted the front tier to sit 10″ off the ground, so we cut a template piece at 10″ and used it as a guide to build the front and middle legs.
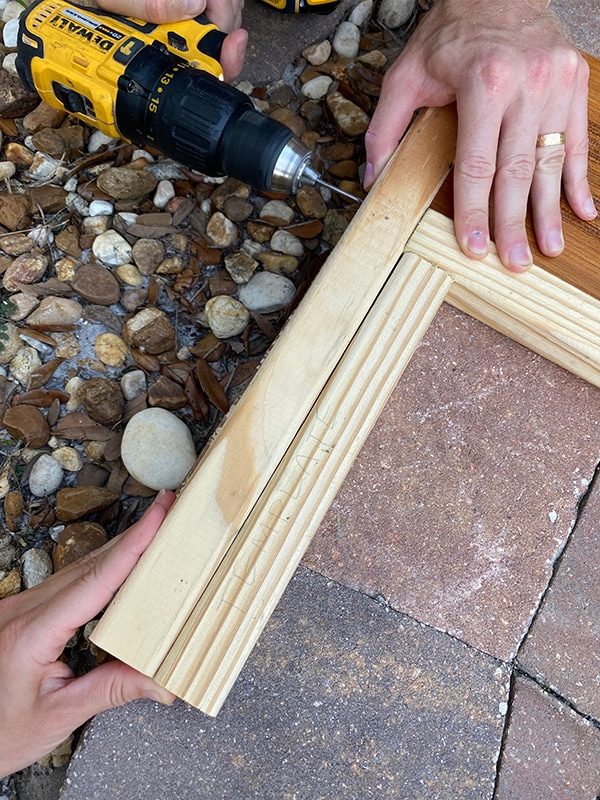
Using our 3″ screws, we made sure to pre-drill the holes first to avoid wood splitting. Use a speed square on the opposite side to ensure a 90° angle (we did not have one handy so we used a piece of scrap wood). Use one screw per joint, and make sure to drill off center so there is room for a second screw for the supports in the next step:

The middle row required two horizontal supports, spaced 10″ apart (outside edge to outside edge).

Here is the finished front, middle and back sections and their measurements:

We also added the top 2×2 to the back section for stability, using two screws (all of the long cross pieces were cut to 67.5″):


Step 2: Attach the frame pieces together
Now it is time to assemble the frame! We began cutting 10″ blocks of 2×2 to connect each section. To attach them, we propped the front leg up against a flat surface using 10″ blocks to ensure the support piece was in the right spot, and drilled through (off center, making sure not to hit the first screw!)
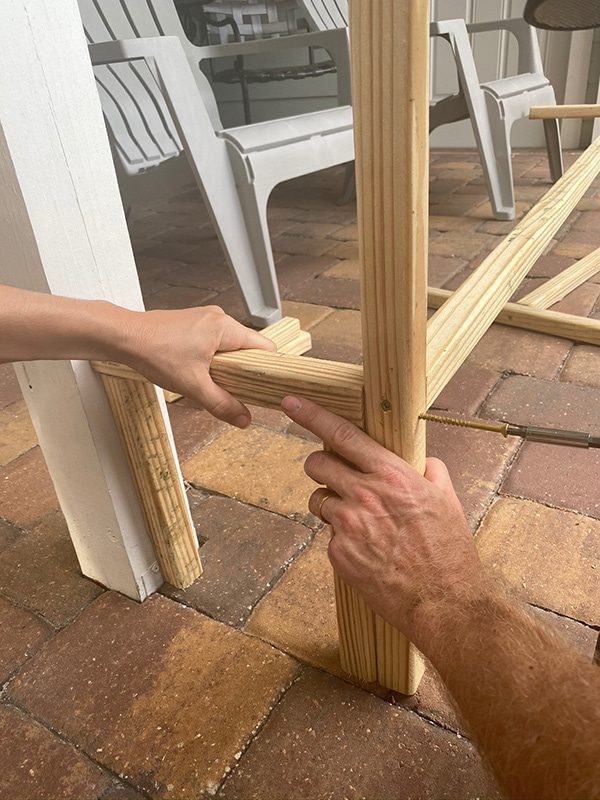
This was done on both ends of the front leg:

Now it was time to attach the front and middle legs. We placed the front leg up against a flat surface, then drilled into the 10″ support from the back of the middle leg:
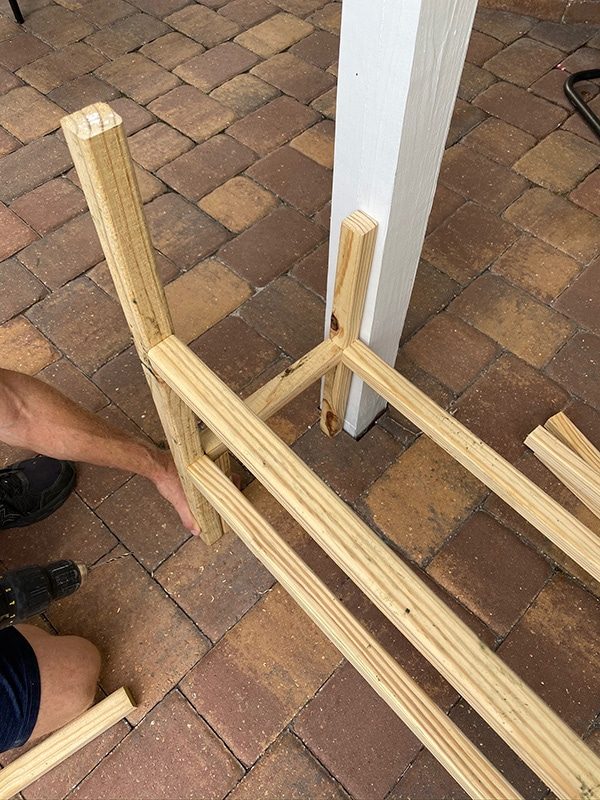
Make sure to use your 10″ spacer here too so they are nice and level!
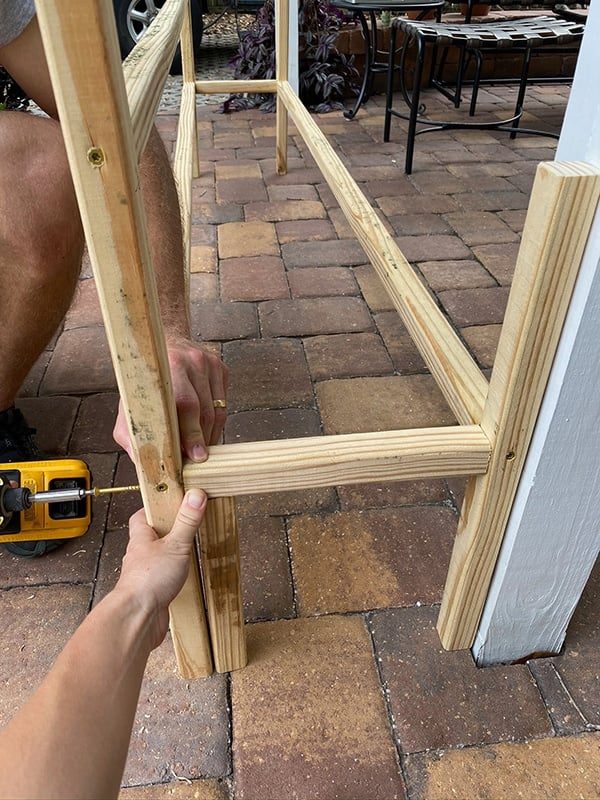
With the front + back legs connected, we added two more 10″ supports in the center, screwing in from both sides.

Progress!

Same process to attach the back legs (using a square would be a good idea for these steps!)

We continued to add 10″ cross pieces, and we also added some vertical legs for extra support as needed (how many and where will depend on how large your planter is). You will want to measure and cut for these after the main frame is built to get an exact size.
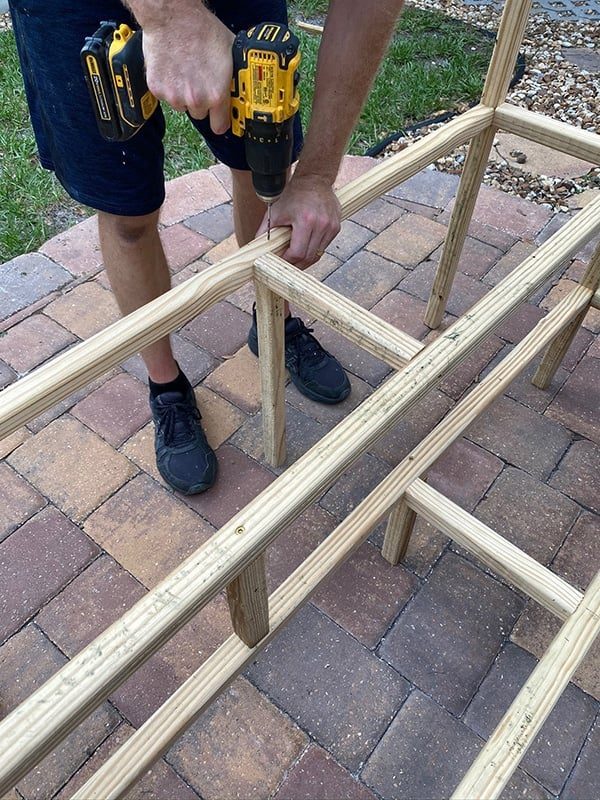
Here is the finished frame. Note: I used 2×2's to keep it light/cost effective, but 2×4'swould make for a sturdier frame without the need for all the extra supports, if you wanted to go that route.

Step 3: Attach cedar front + sides
I chose cedar tongue and groove instead of regular 1x6x12 cedar boards, to save $7 per board, and also because I liked the look of them. You can do it either way, though (regular boards would be slightly easier for beginners).
Each section is 10″ tall, which will fit two full boards locked together. I do not think it genuinely matters where you start attaching the planks, but we started with the back row of the top planter. It had to align with the top of the middle section, which meant we had to rip down one of the boards to fit:
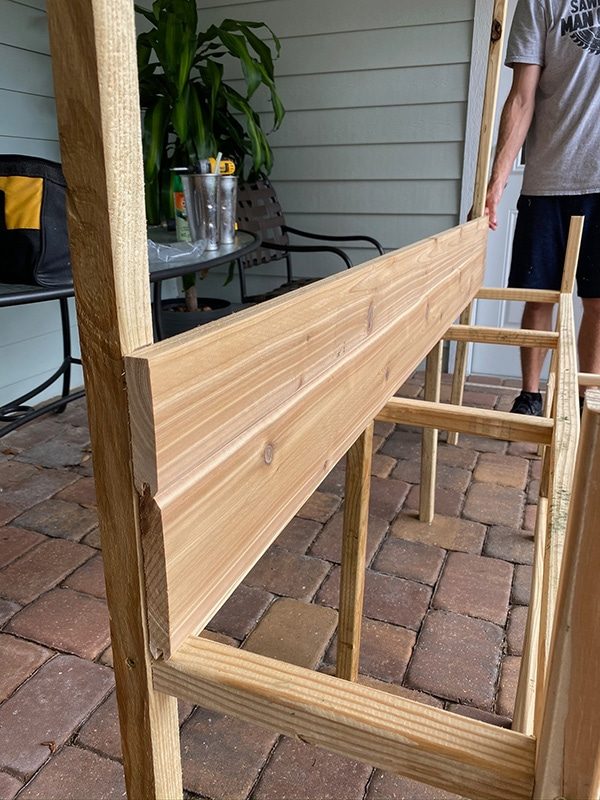
For this step, it is best to measure and cut as you go to ensure accuracy (ours ended up 70″ w). To attach the cedar boards, we used 1⅝” exterior screws (1.5″ is fine too).
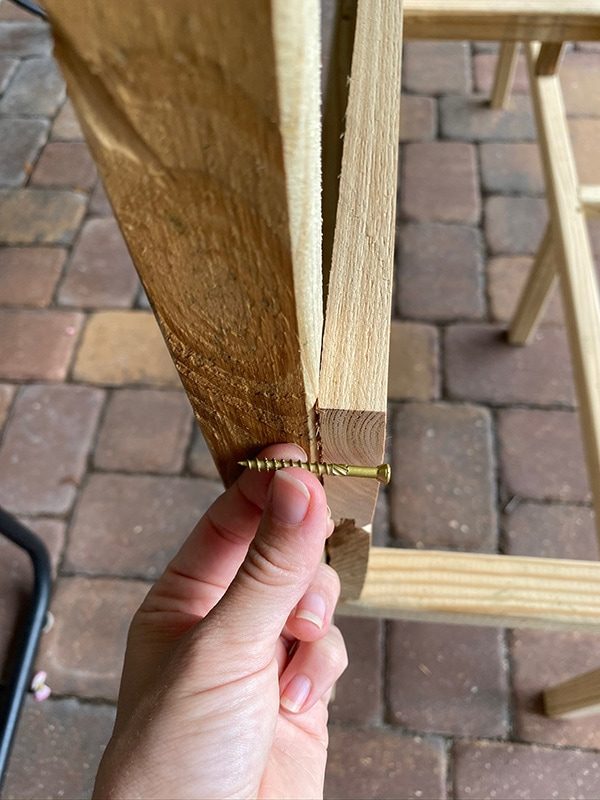
Two screws per board, except on the top piece…
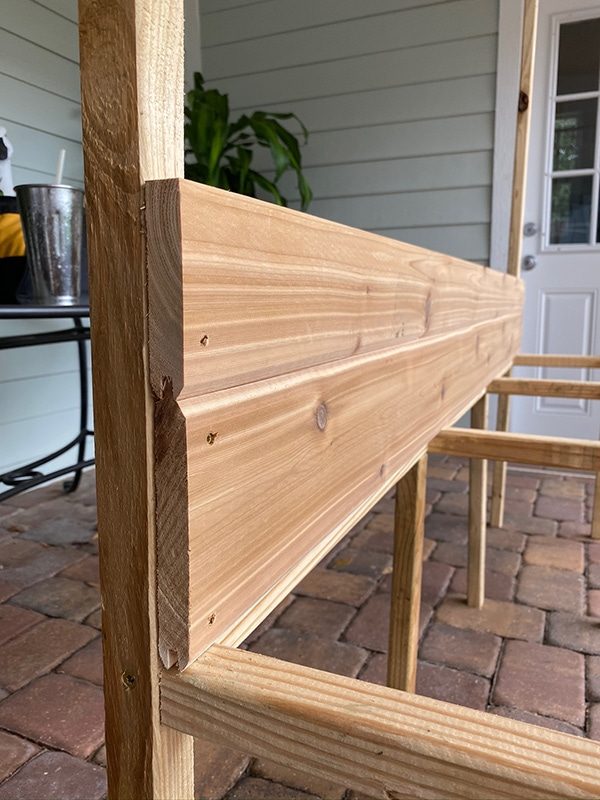
Because we needed to add another 2×2' support to connect the top. This was screwed in from each side.
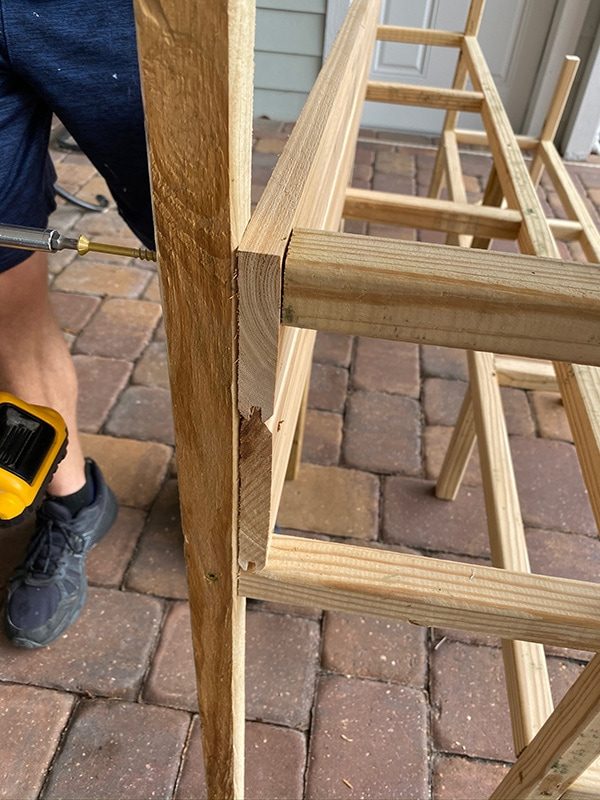
And once more, on the other side:

Then we did the same thing for the lower planter, but we had to rip down the bottom board so the cut would not be visible.
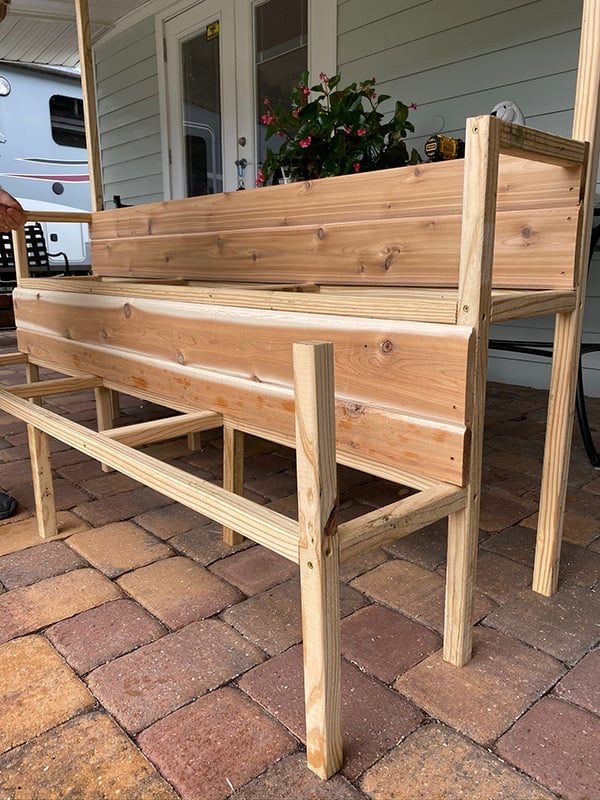
When buying your wood, it is important to inspect each piece to make sure they are as straight as possible. Ours looked fine in the store but they were slightly cupped when we attached them—probably from sitting on the garage floor in the humidity for a few days.
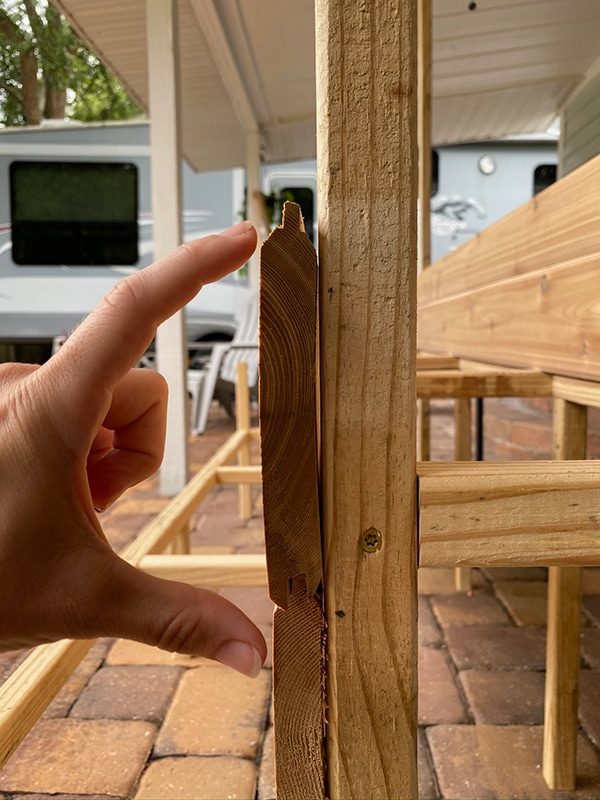
It is not very noticeable and not a big deal for outdoor projects, but it is something to be aware of! We decided to take the extra time to miter our edges—this part is completely optional but makes it look more professional. The inside boards were flush with the frame, but the front and sides of each planter were mitered:

Before attaching the sides, we added the two 2×2 top supports on the bottom planter:
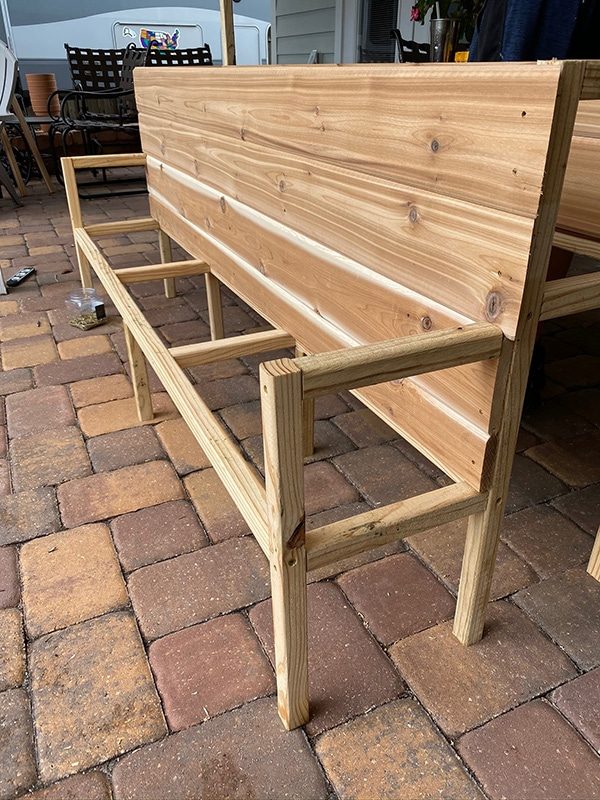
And then cut the sides to fit. Ours ended up at around 13.5″ long, flush with the back of the frame:
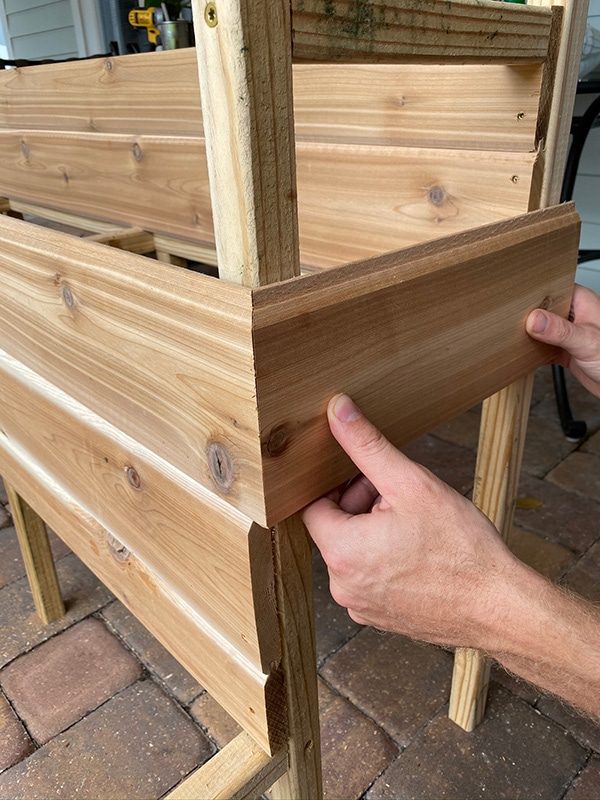
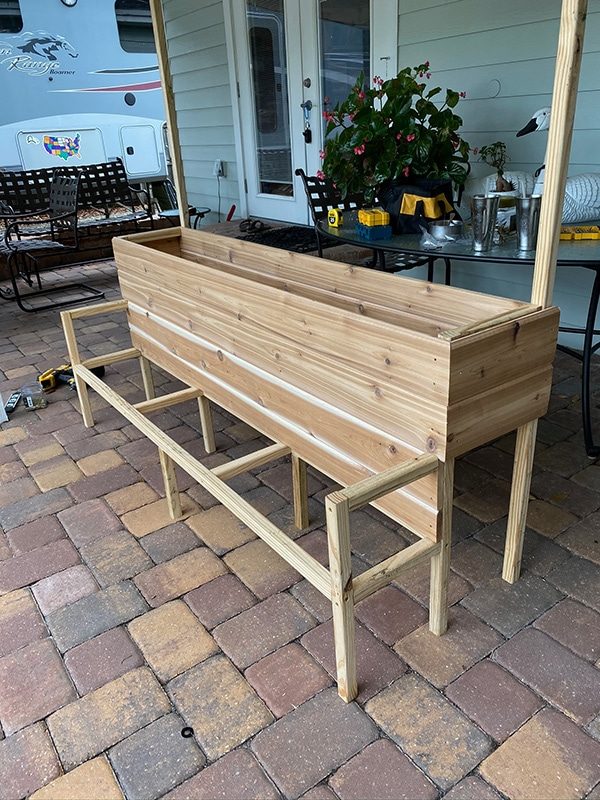
The process was repeated with the lower planter, with the top of the tongue & groove board aligned to the top of the frame:
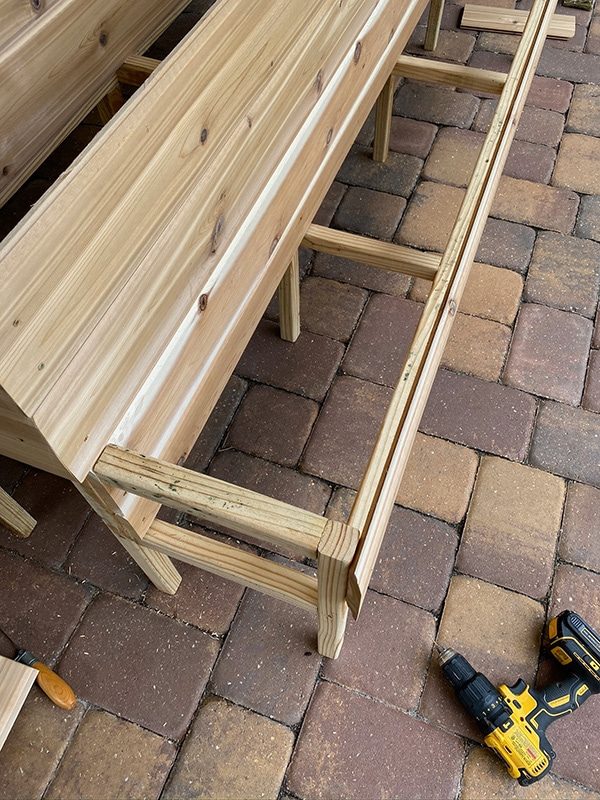
When we got to the sides, the board on the bottom of the top planter was in the way, so I notched it out with a small hand saw (this part will be hidden with trim).
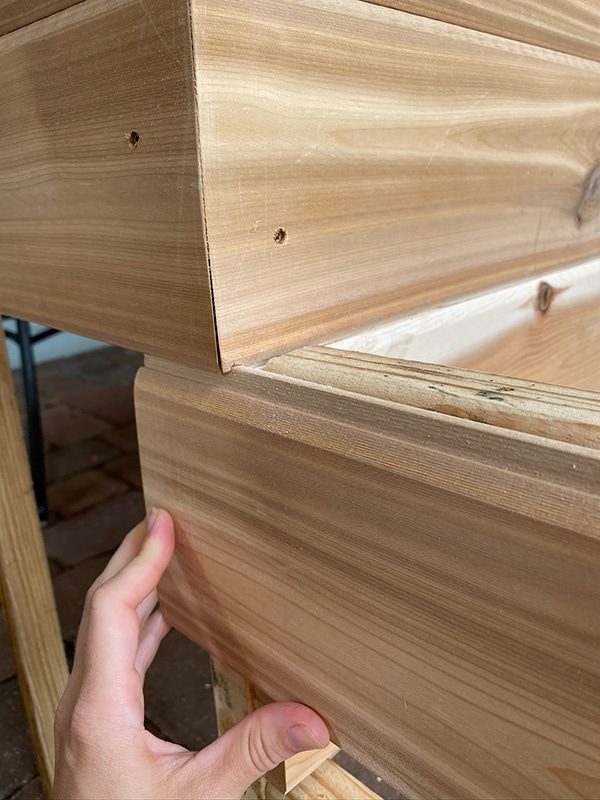
Here is a closeup of one of the finished sides. You can see the gaps where the boards meet due to the cupping. Sanding down helps a bit, but honestly you do not notice at all when you stand back.
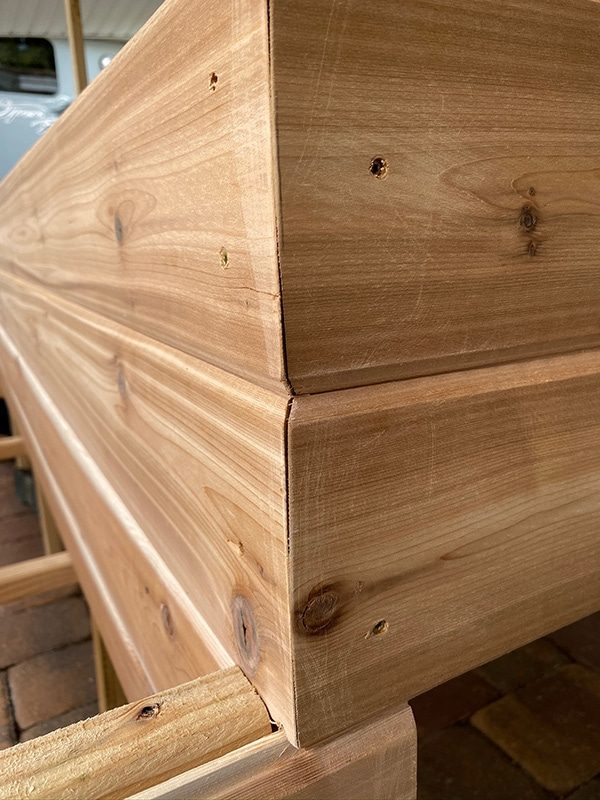
And this is how it looks with the sides attached:
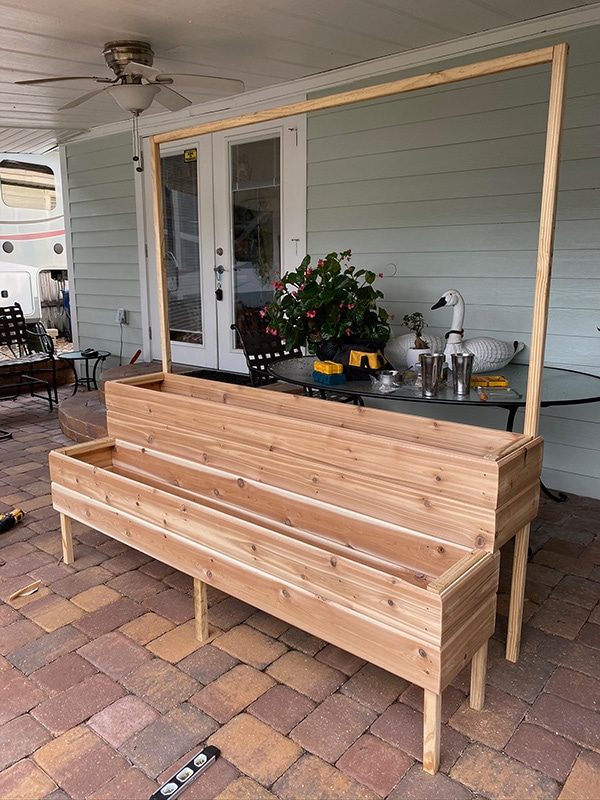
We decided not to wrap the sides of the lower planter all the way around to the back, to save $20 on buying another board.

Step 4: Add final 2×2 supports
Before attaching the bottom, we realized we needed a few more 2×2″ supports for the final trim pieces along the top. All we had to do was cut a few more sections at 8.5″ (to sit flush with the top of the frame) and screw them in at the corners, plus one in the center of each planter.
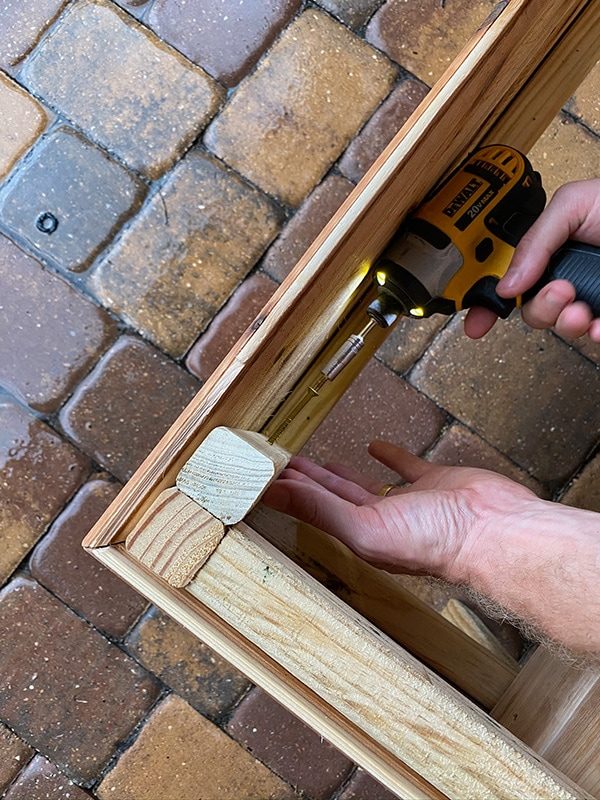
Step 5: Attach cedar bases
Now it was time to add our planter bases. We simply measured the length and width of the bottom opening, and cut our boards to fit (our total size was around 69″ w x 9″ d). One of the boards had to be ripped down.

It does not need to be a well suited fit—in fact you probably want some drainage anyway!

Step 6: Attach cedar trim
To give it a nice finished edge, measure and cut your 1×4 cedar boards to fit along the top of each planter. We mitered our corners here too:

The order does not genuinely matter, but we added our front board first.

The side pieces will have to be notched out where they meet the frame, which we did using our miter saw but a dremel would be much quicker and easier (we did not have ours with us)…
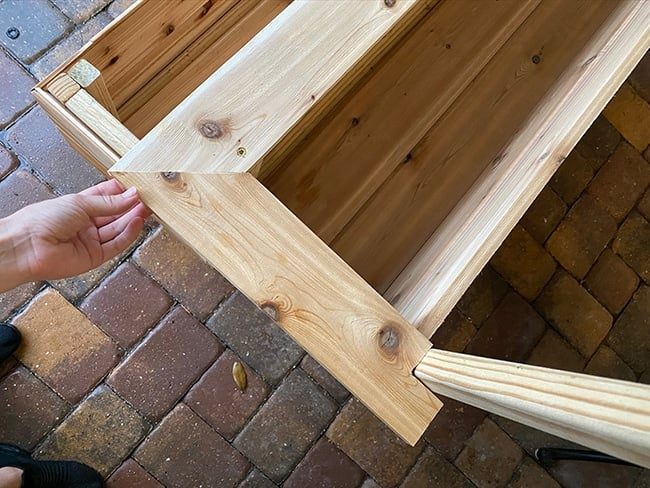
Do not skip this step, it makes it look so much more finished!

Step 7: Attach lattice
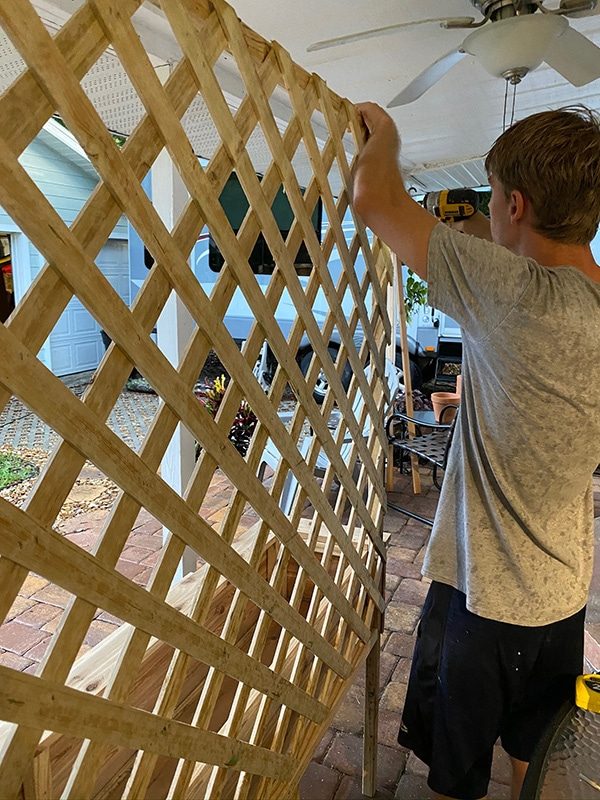
Measure the width at the back of the frame and mark your lattice. We designed ours so that we would only have to make one cut, keeping the full 4' height in the back (it does not matter where the bottom ends up since it will be hidden). You can use your table saw, dremel, circular saw or jigsaw to cut this.
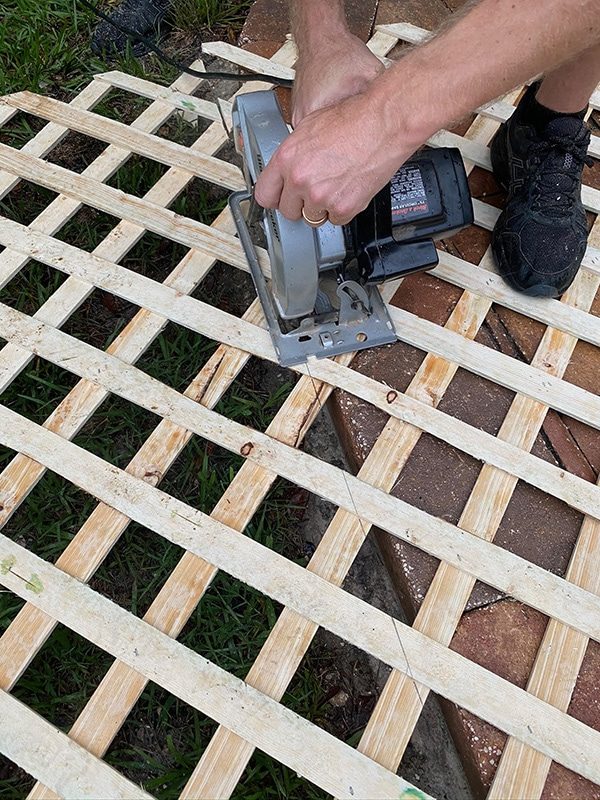
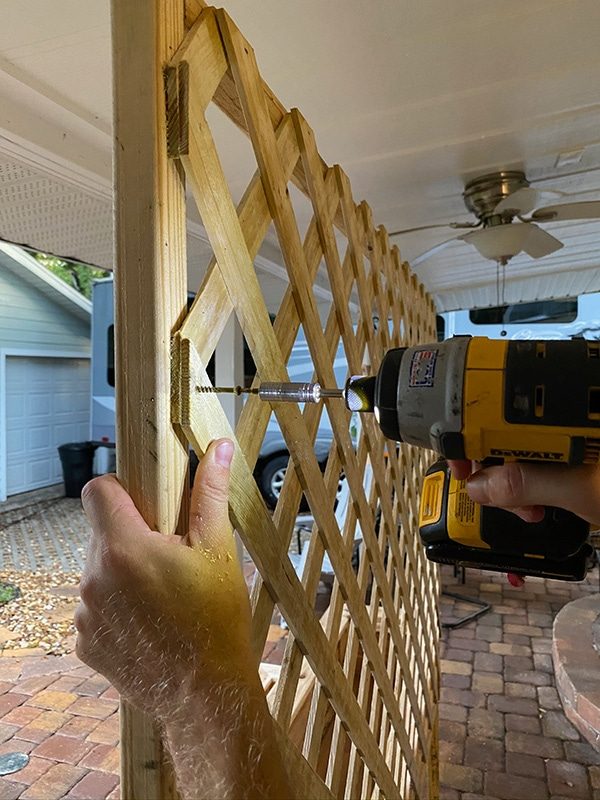
Now center it on the back of your frame and attach it using your smaller screws. We placed a screw at every other connection point.
And that is it… the planter is DONE!
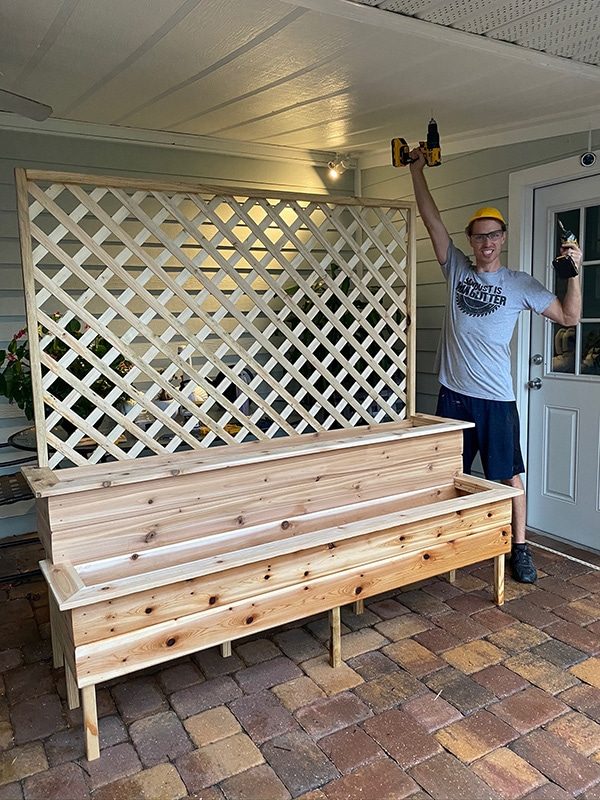
Well, almost…
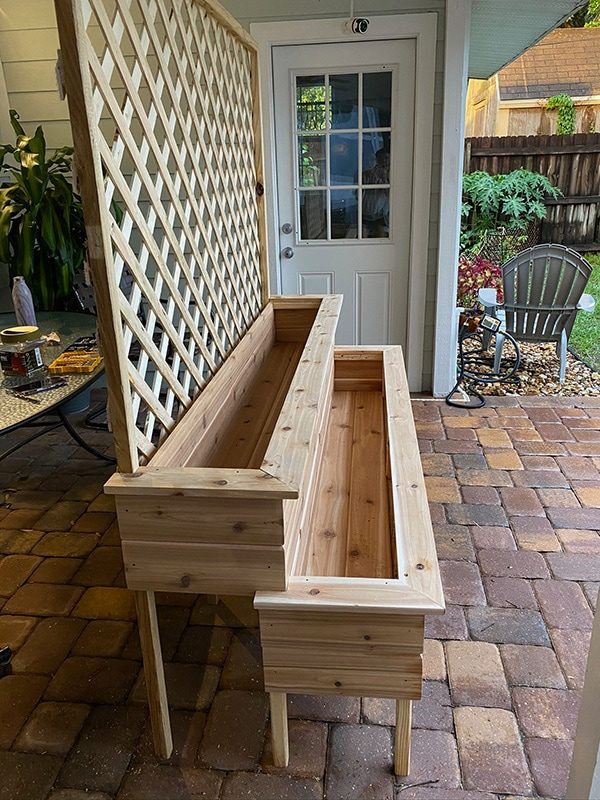
Step 8: Fill with rocks, dirt and pots/plants
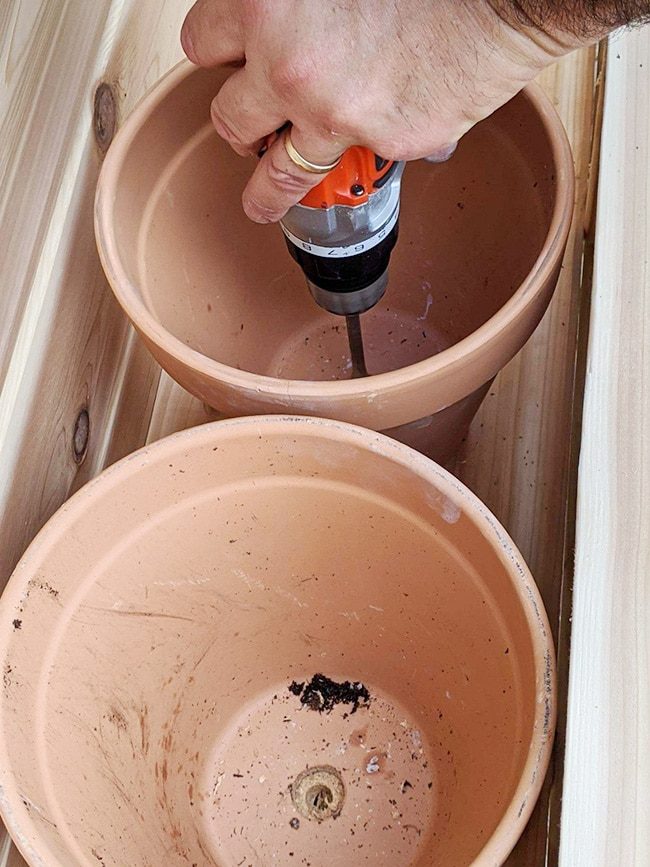
Lucas' parents decided to plant flowers in the top row, and potted herbs on the bottom. Before filling them, they drilled drainage holes into the planter below the pots:
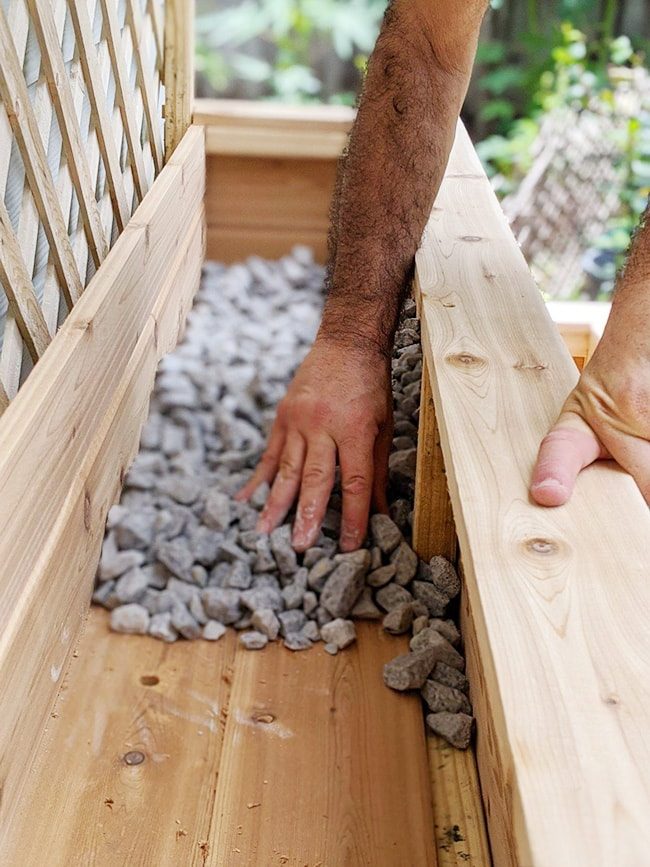
And spread a layer of rocks along the top planter:
Then they added dirt and plants, and this is how it looks in place!
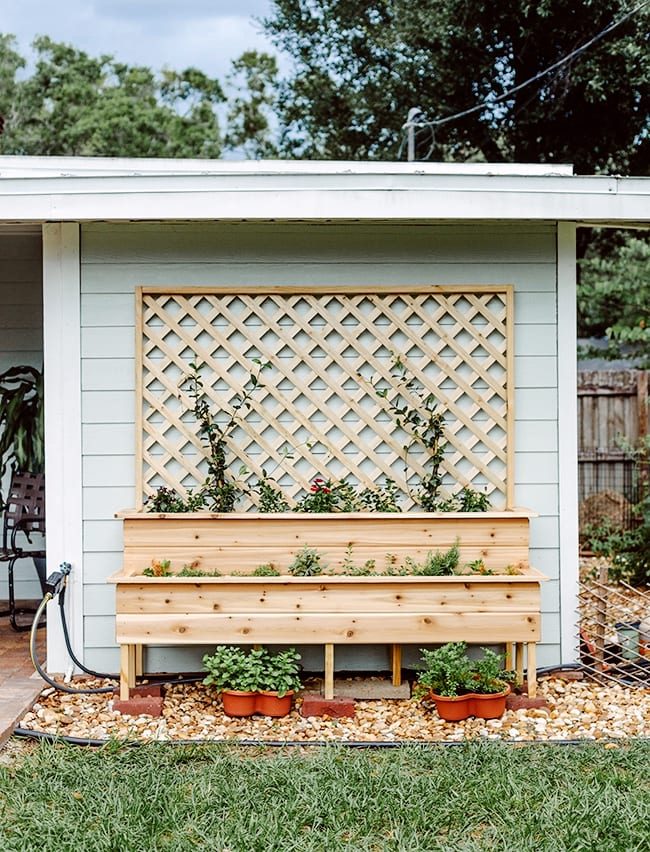

We picked up these inexpensive clay pots and filled them with herbs (sage, oregano, thyme, rosemary) plus vincas and climbing jasmine in the top row—all from Lowe's:

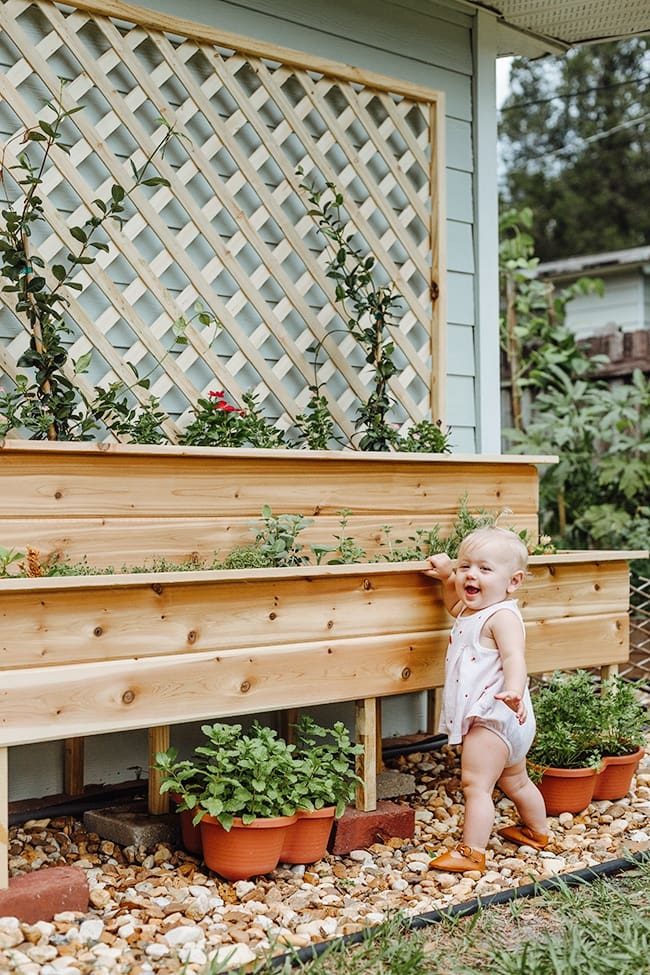
They were so pleased with the way it turned out, and we had fun building it for them. It is the least we can do to show our appreciation for everything they do for our family!
Do you have any fun DIY's planned with dad for Father's Day? With many of us staying at home this year, a unfussy DIY project like this is a great way to spend the weekend. And for dad to show off his skills!

On Monday I posted an invitation to share your dad DIY projects on Instagram, by using the hashtag #DadBuiltThis and tagging me in a post or story! If you want to show off a cool project dad has built, Lowe's and I would love to see it! Share it on your IG account and I'll repost my favorites this week. I hope you have a wonderful and memorable Father's Day weekend, everyone!

 Print
Print Tiered Herb Garden Planter
Customize this DIY planter to any size, using 2x2's and cedar boards Active Time5 hours hrsTotal Time5 hours hrs Keyword: planter, herb garden, tiered planter Yield: 1 6'x6' planter Cost: $220Equipment
- Drill
- Miter saw
- Table saw
- Square
Materials
- 8 pcs 2x2x8' lumber (pressure treated or cedar)
- 7 pcs 1x6x12' cedar (we used tongue and groove)
- 2 pcs 1x4x10' cedar
- 1 panel 4x8' lattice (pressure treated or cedar)
- Exterior screws (we used 3" and 1 ⅝")
Instructions
- Cut 2x2's for the frame (we made ours 72”w, 72”h overall and each row ~13” deep)
- Assemble the main frame legs using the 2x2's and 3” screws (front, middle and back)
- Attach the frame together using 2x2's on each end
- Add additional 2x2's for support in the center, and legs for vertical support
- Cut and attach cedar tongue & groove to the back of each level using 1 ⅝” screws, then secure the last horizontal 2x2 supports at the top
- Cut and wrap the remaining cedar boards around each level (two boards per section)
- Secure 3 additional vertical 2x2's inside each level, at the corners and center
- Attach 1x4 cedar boards along the top of each tier, cutting a notch on each side where they intersect the frame
- Cut the 4x8 lattice to size and attach to the back of the frame with 1⅝” screws
- Fill with rocks, potting soil and/or pots, plants and enjoy!
Notes
If you liked this outdoor DIY project, look at my string light planter tutorial: