DIY Wall Mounted Clothes Drying Rack
Learn how to build a unfussy wall mounted clothes drying rack for your laundry room for under $50. Step by step tutorial inside!
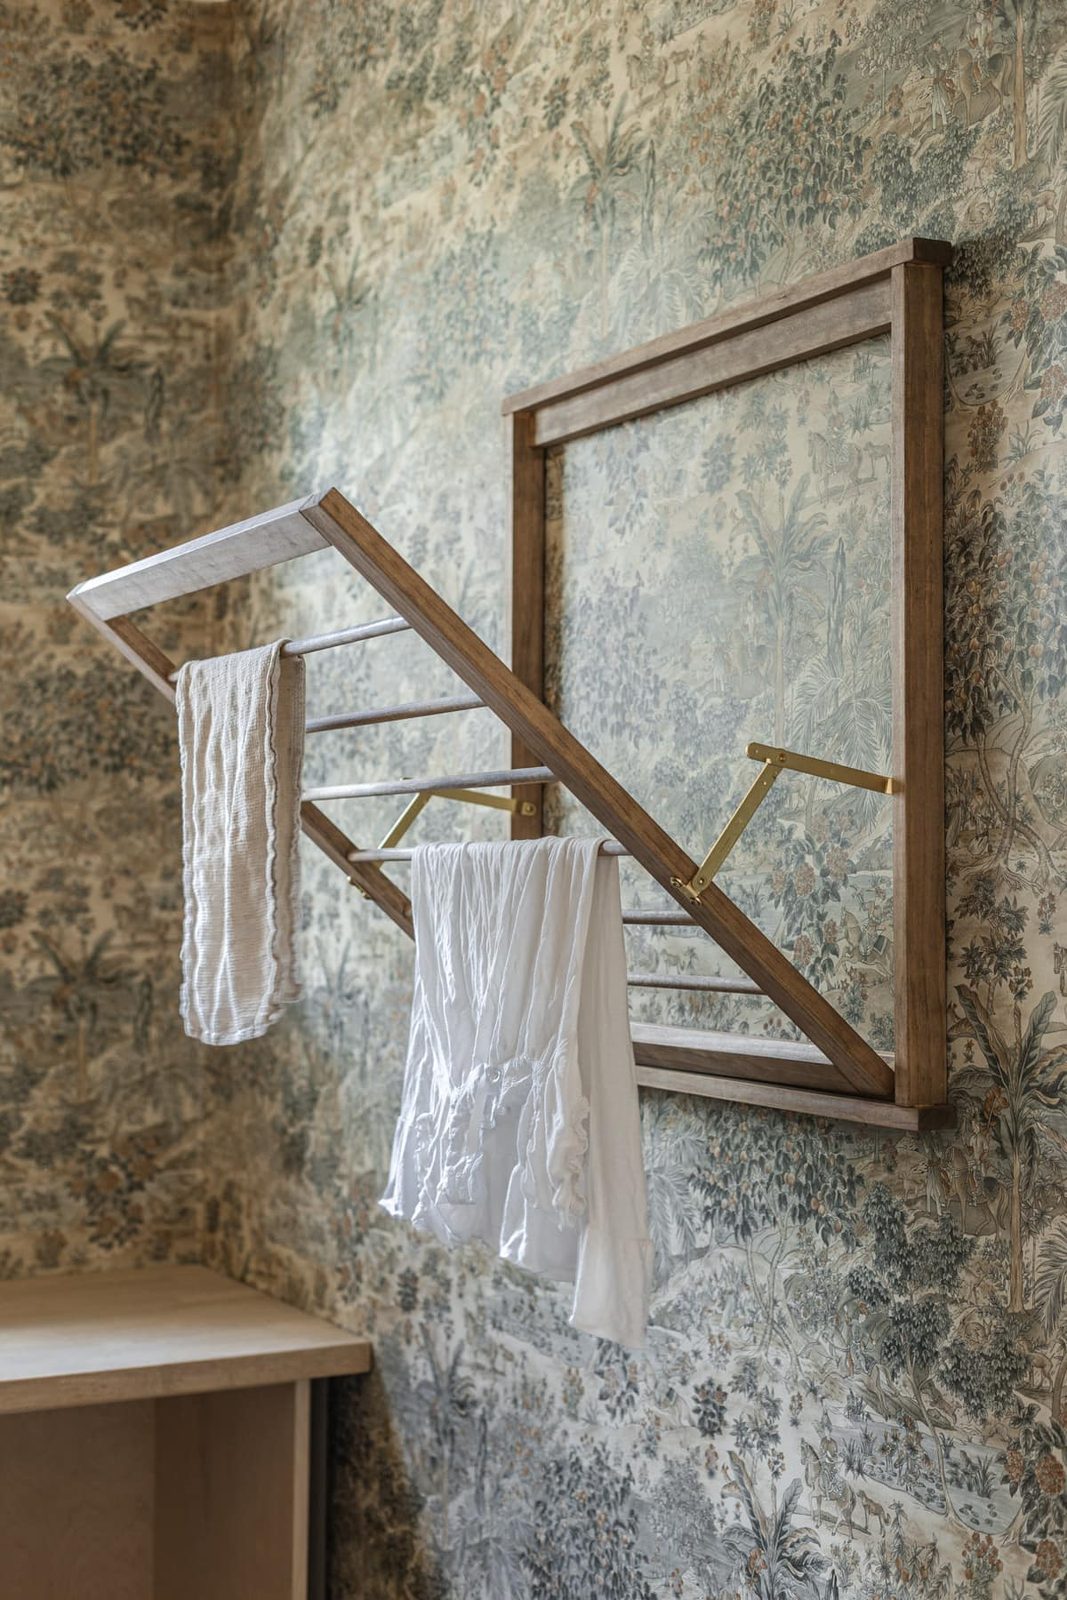
This unfussy and inexpensive DIY blends form and function with its space-saving, traditional design. Well suited for drying or hanging clothes to steam, and folds away when not in use. Customize it to any size, stain or paint you'd like! Keep reading to find out how to build your own wall mounted clothes drying rack.
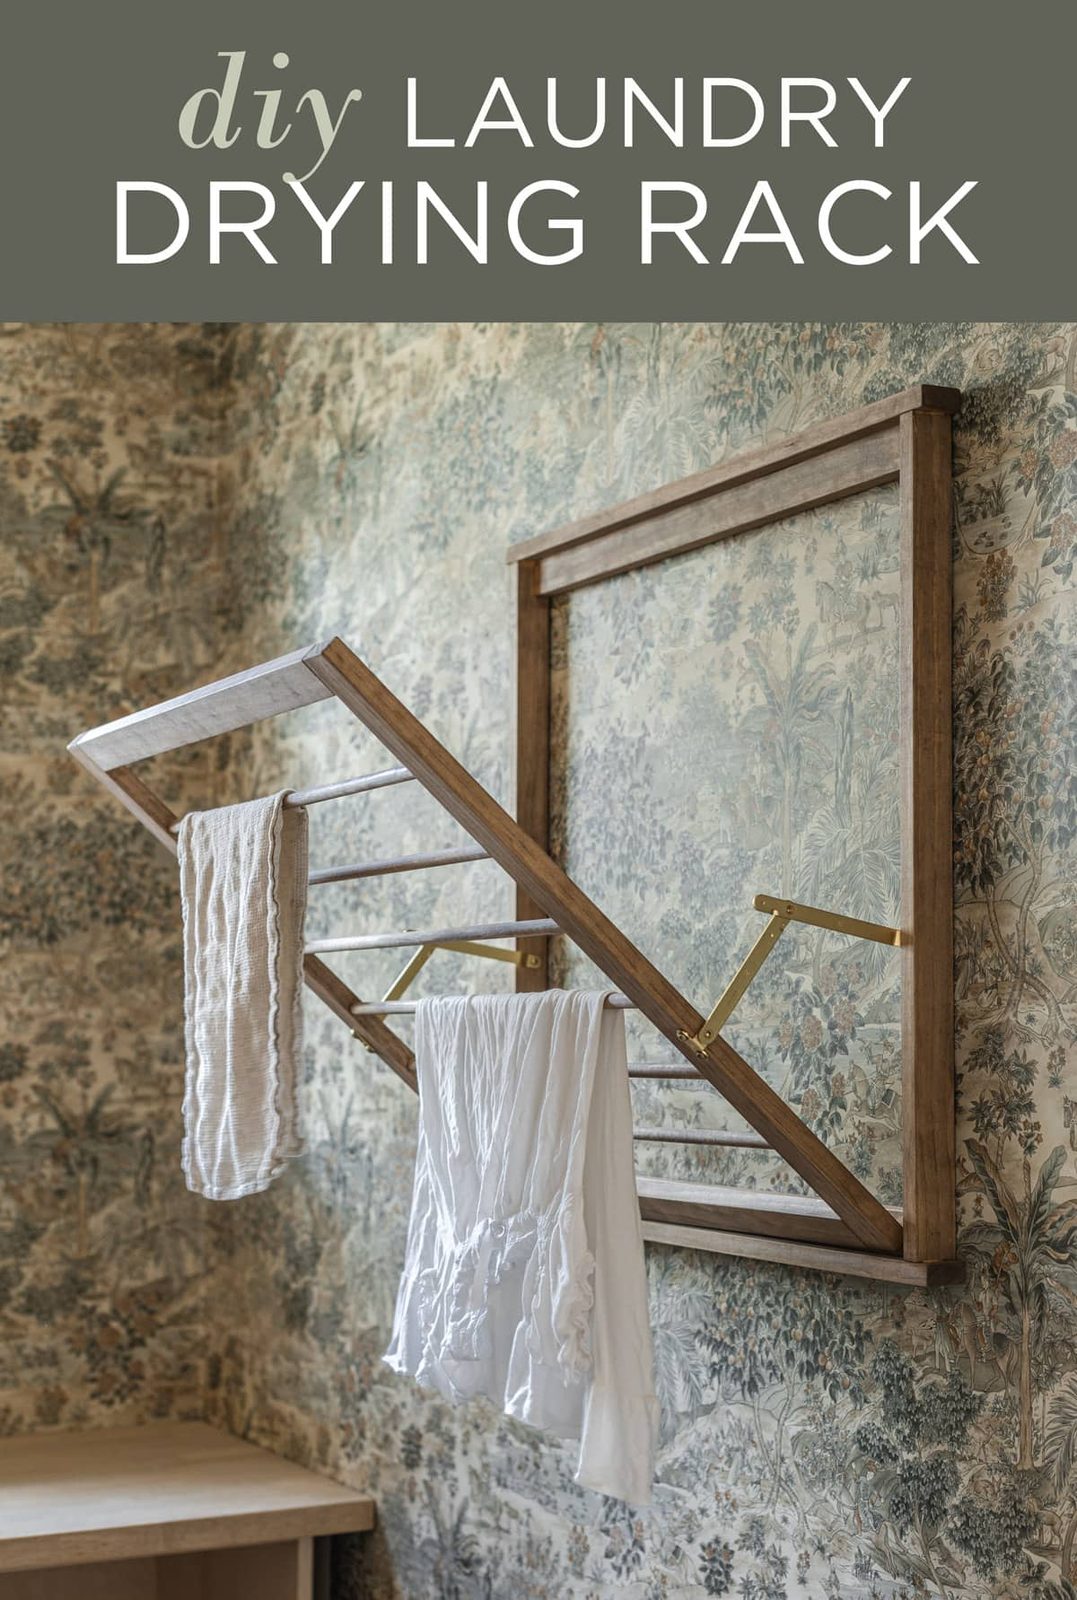
A clothes drying/steaming rack was one must-have for our new laundry room, but with such a confined space, my options were limited. I considered this sleek pull-out drying rack, but then found this traditional wood rackthat I felt suited our space better. However, I did not want to spend over $300, and I also wanted to customize the size to fit our wall. It seemed like a unfussy enough DIY!
Here is what you will need:

Materials
- 1x2x12'board (x4)
- 0.5” x 48” dowels (x3)
- Hinge set
- Wood glue
- 1 ¼” screws
Tools
- Tape measure
- Drill with 1/2″ spadeor forstner bit
- Finish nailer
- Speed square
- Miter saw
- Bar clamps or corner clamps
- Kreg jig (optional)
Step 1: Cut the wood
After determining the ideal size for our wall, I mocked up a quick diagram to determine the cut list. Here is what I came up with:

To keep the project costs down, I chose inexpensive 1×2 pine and 1/2″ wood dowels for the entire build. If you plan to stain rather than paint, I do recommend choosing a higher quality wood like oak.
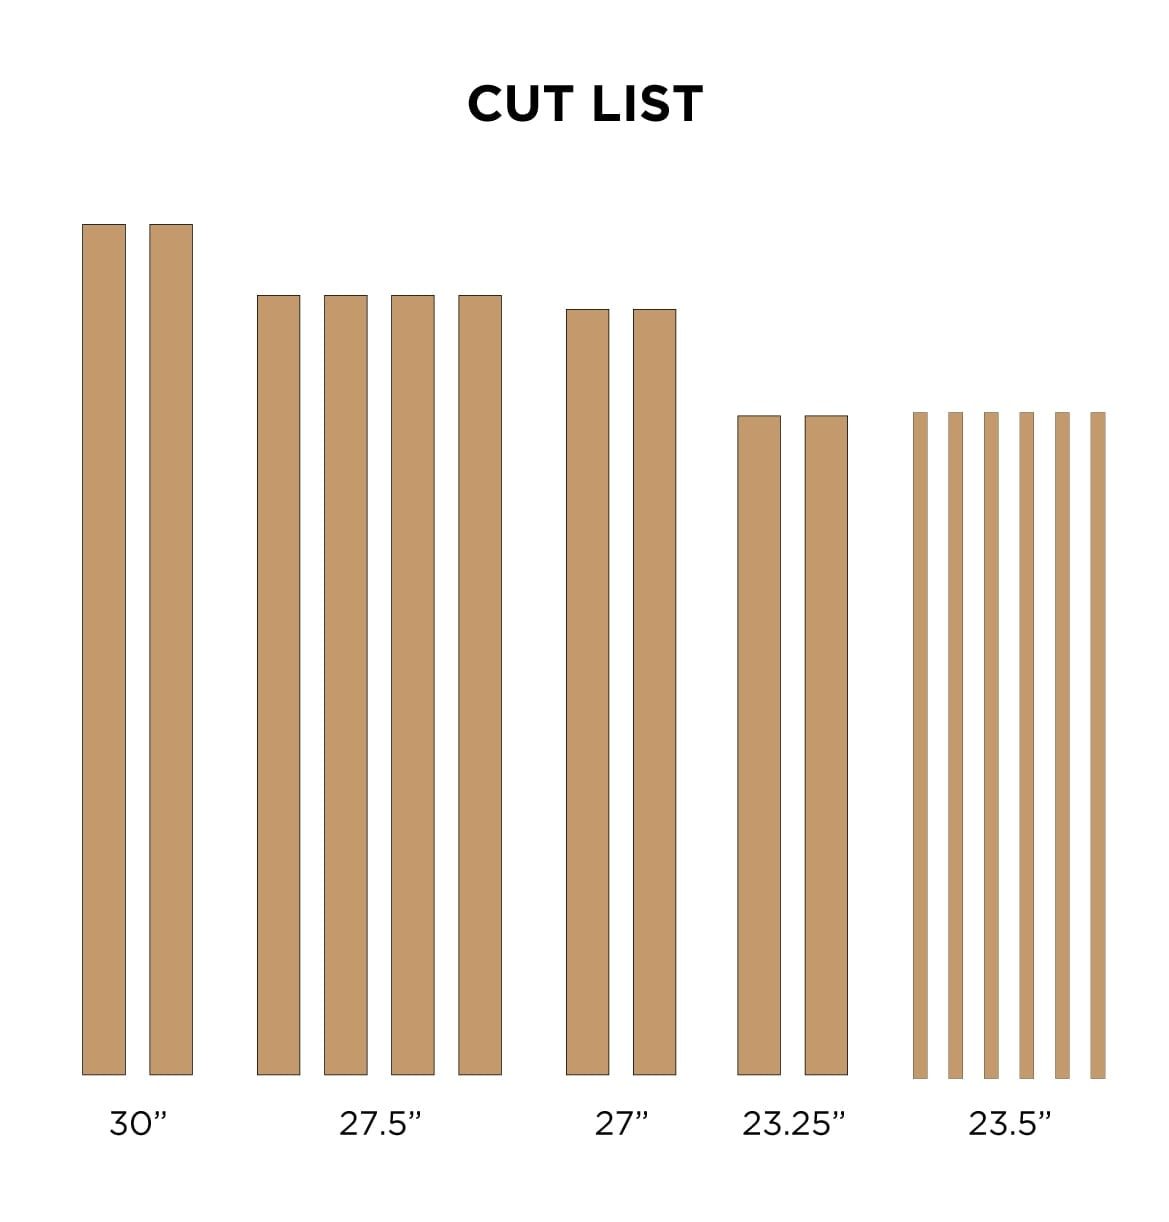
- 1x2x30″ (2) Outer frame top + bottom
- 1x2x27.5″ (4) Outer frame sides + horizontal supports
- 1x2x23.25″ (2) Inner frame top + bottom
- 1x2x27″ (2) Inner frame sides
- 23.5″ (6) Dowels
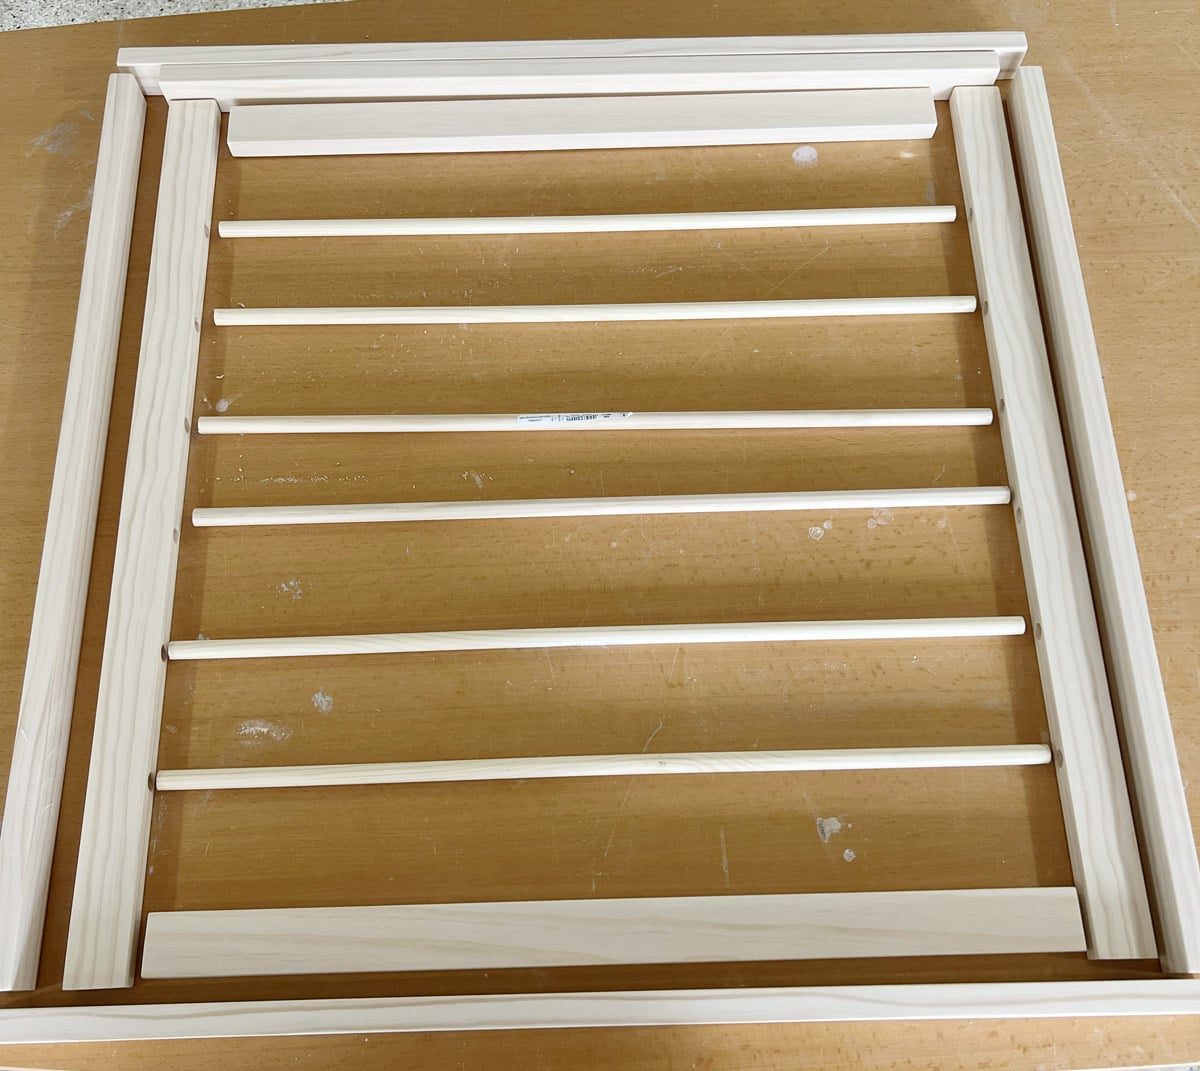
Dry fit after the pieces were cut:
Step 2: Assemble the inner frame
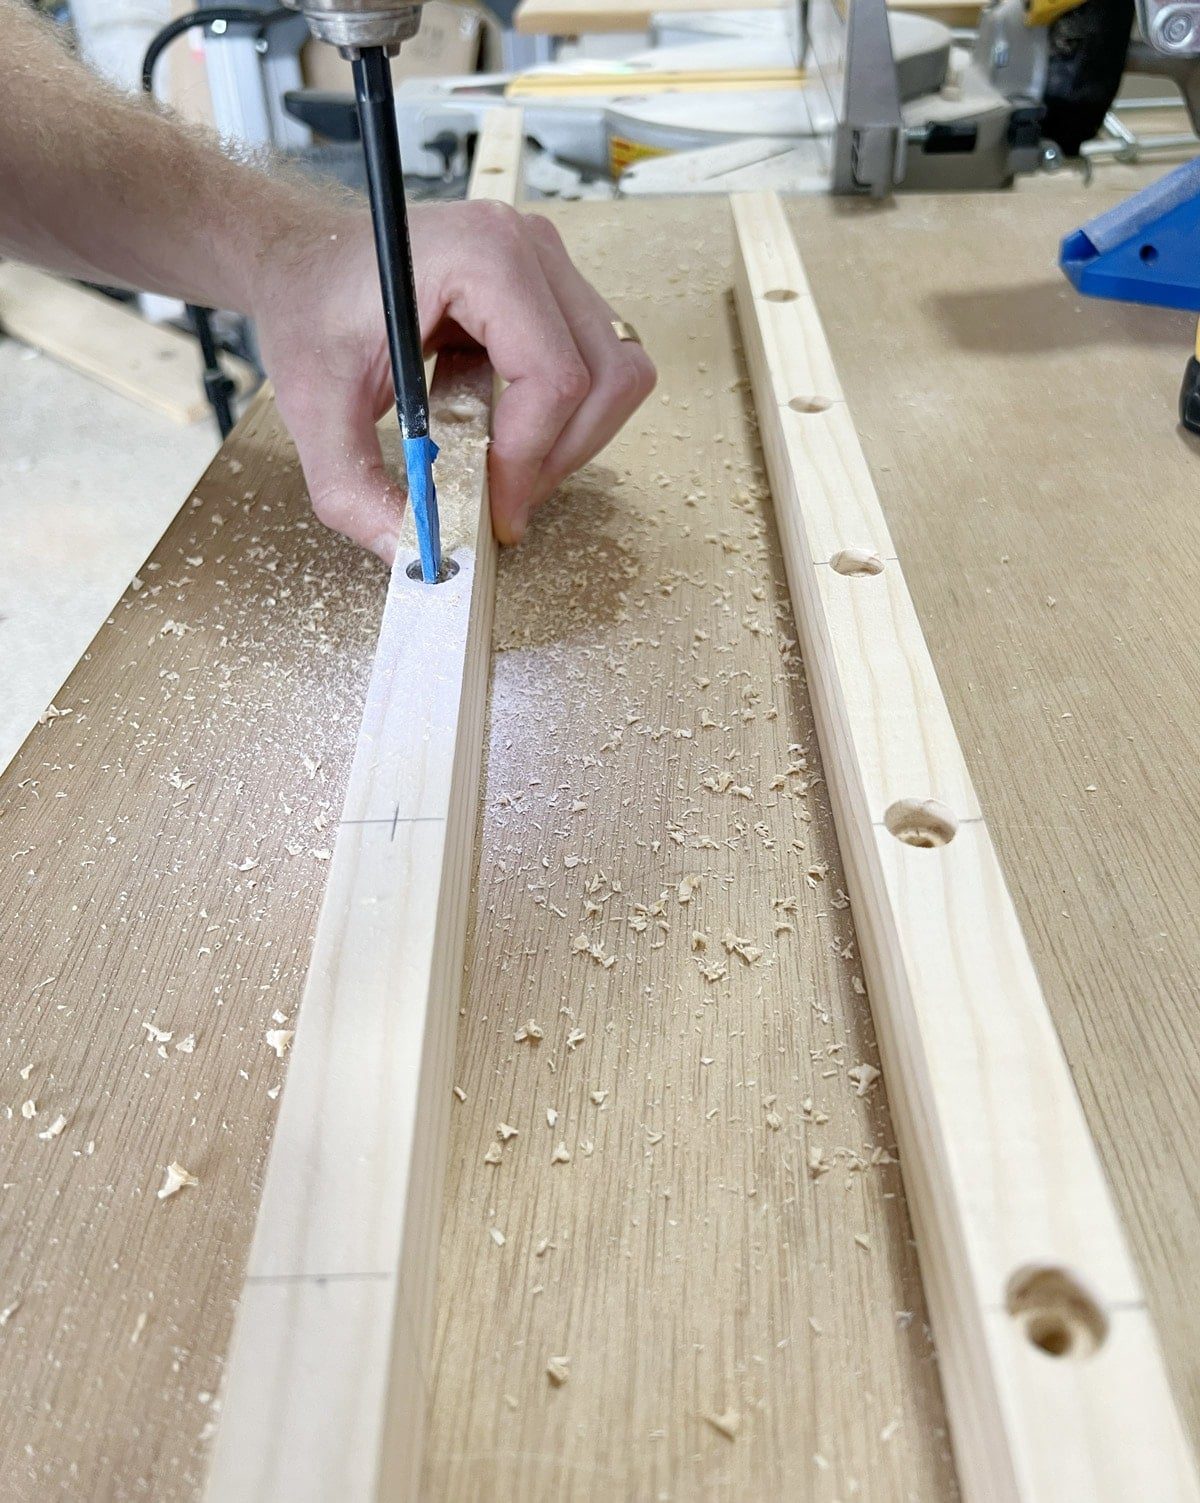
On the vertical stiles (two 27″ boards), measure in 1.5″ from one side and mark six center points spaced approx 3.5″ apart for the dowels (our math actually ended up with the spacing a hair less, at 3.43″).

Using a ½” spade or forstner bit, drill ¼” deep holes at each mark.
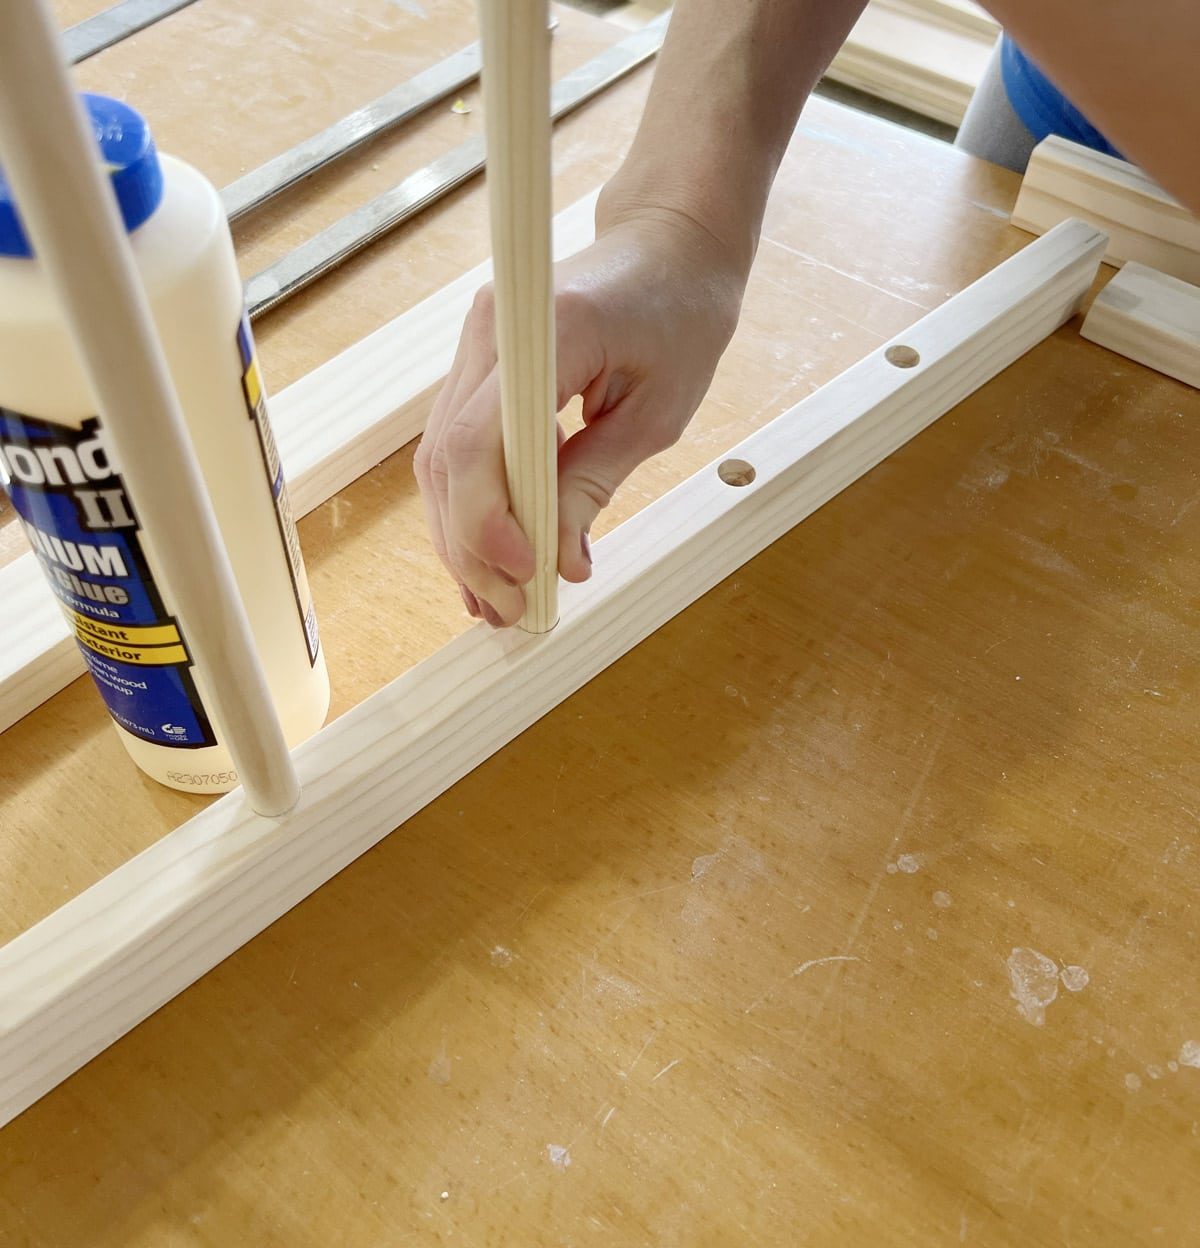
Apply wood glue at both ends and and gently hammer each dowel in place.

Drill two pocket holes into each side of the top and bottom stiles. If you do not have a pocket hole jig, you can use finish nails or screws into the end of the boards instead.
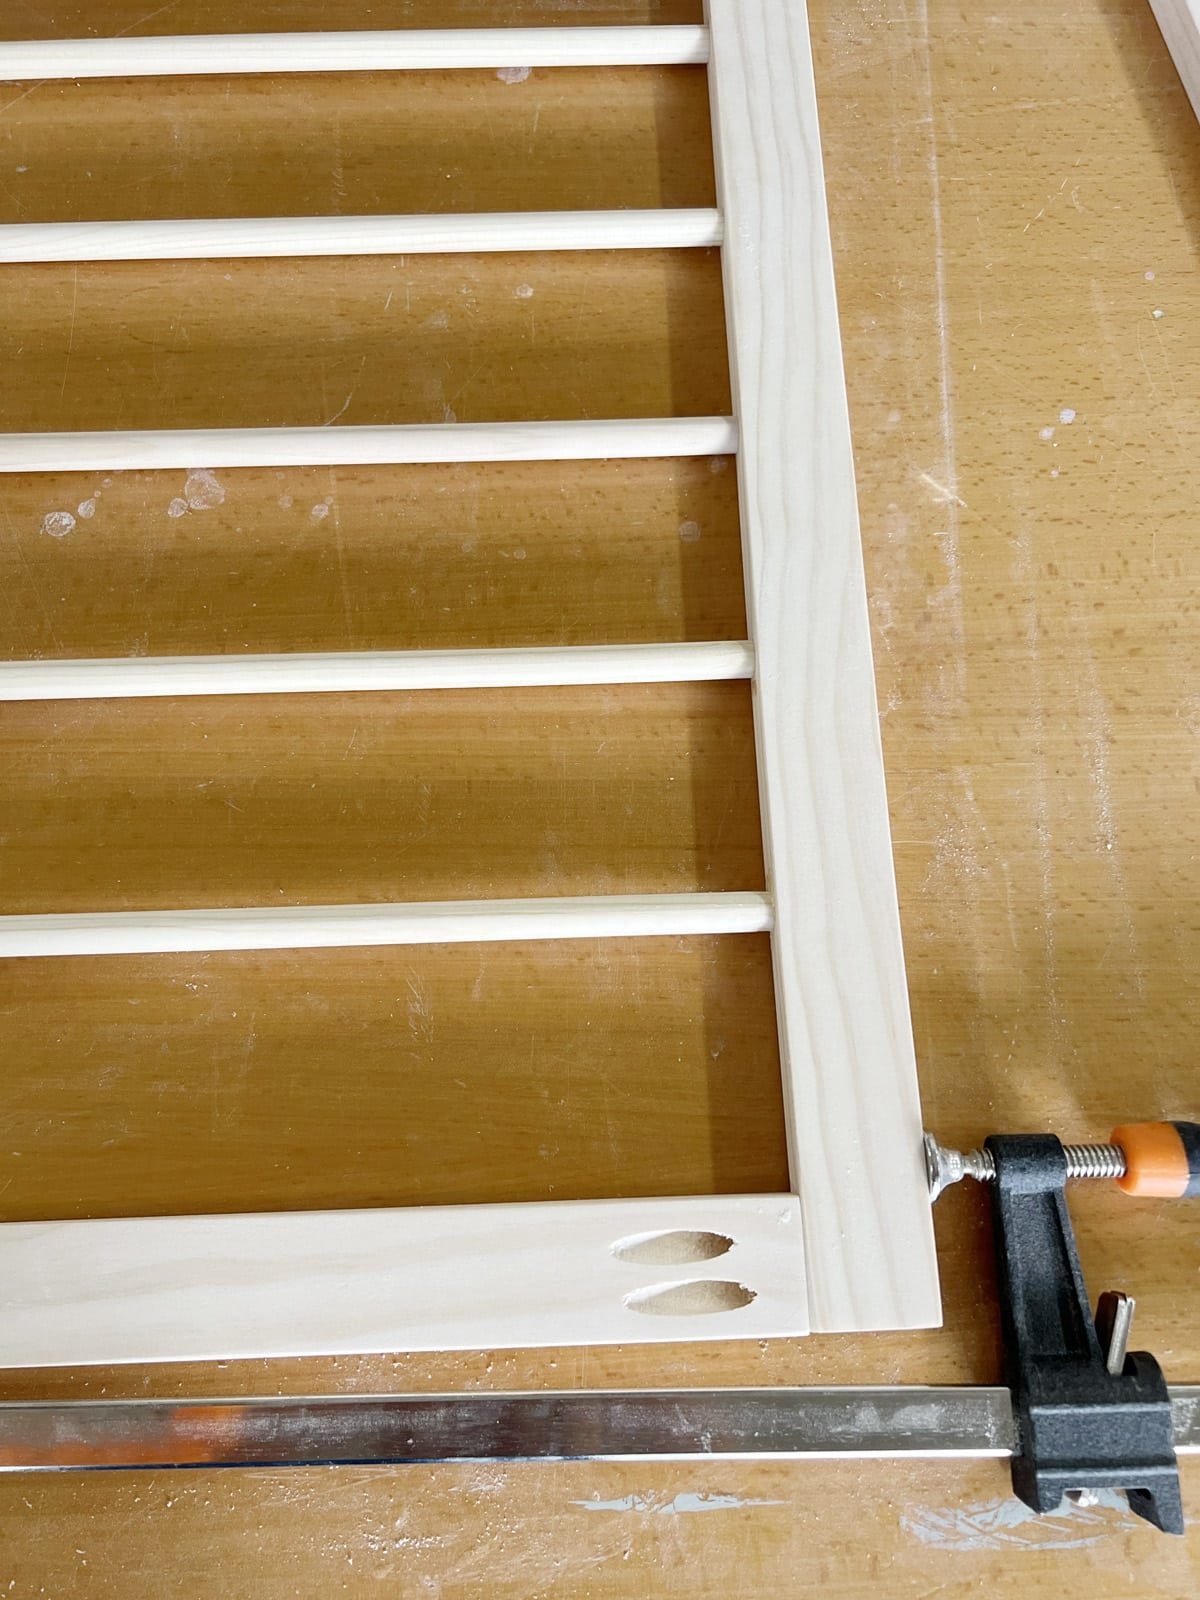
Clamp stiles into position with wood glue, and attach with screws.

Finished inner frame:

Step 3: Build the outer frame
Drill pocket holes into the ends of both frame support pieces (27.5″ boards).

We originally had just one support piece along the top, but later realized we also needed one along the bottom for it to function properly, so that is not shown above!
Clamp the outer frame pieces in place, using the frame supports to ensure proper spacing.

Make sure each corner is square first, and use wood glue before attaching with finish nails.
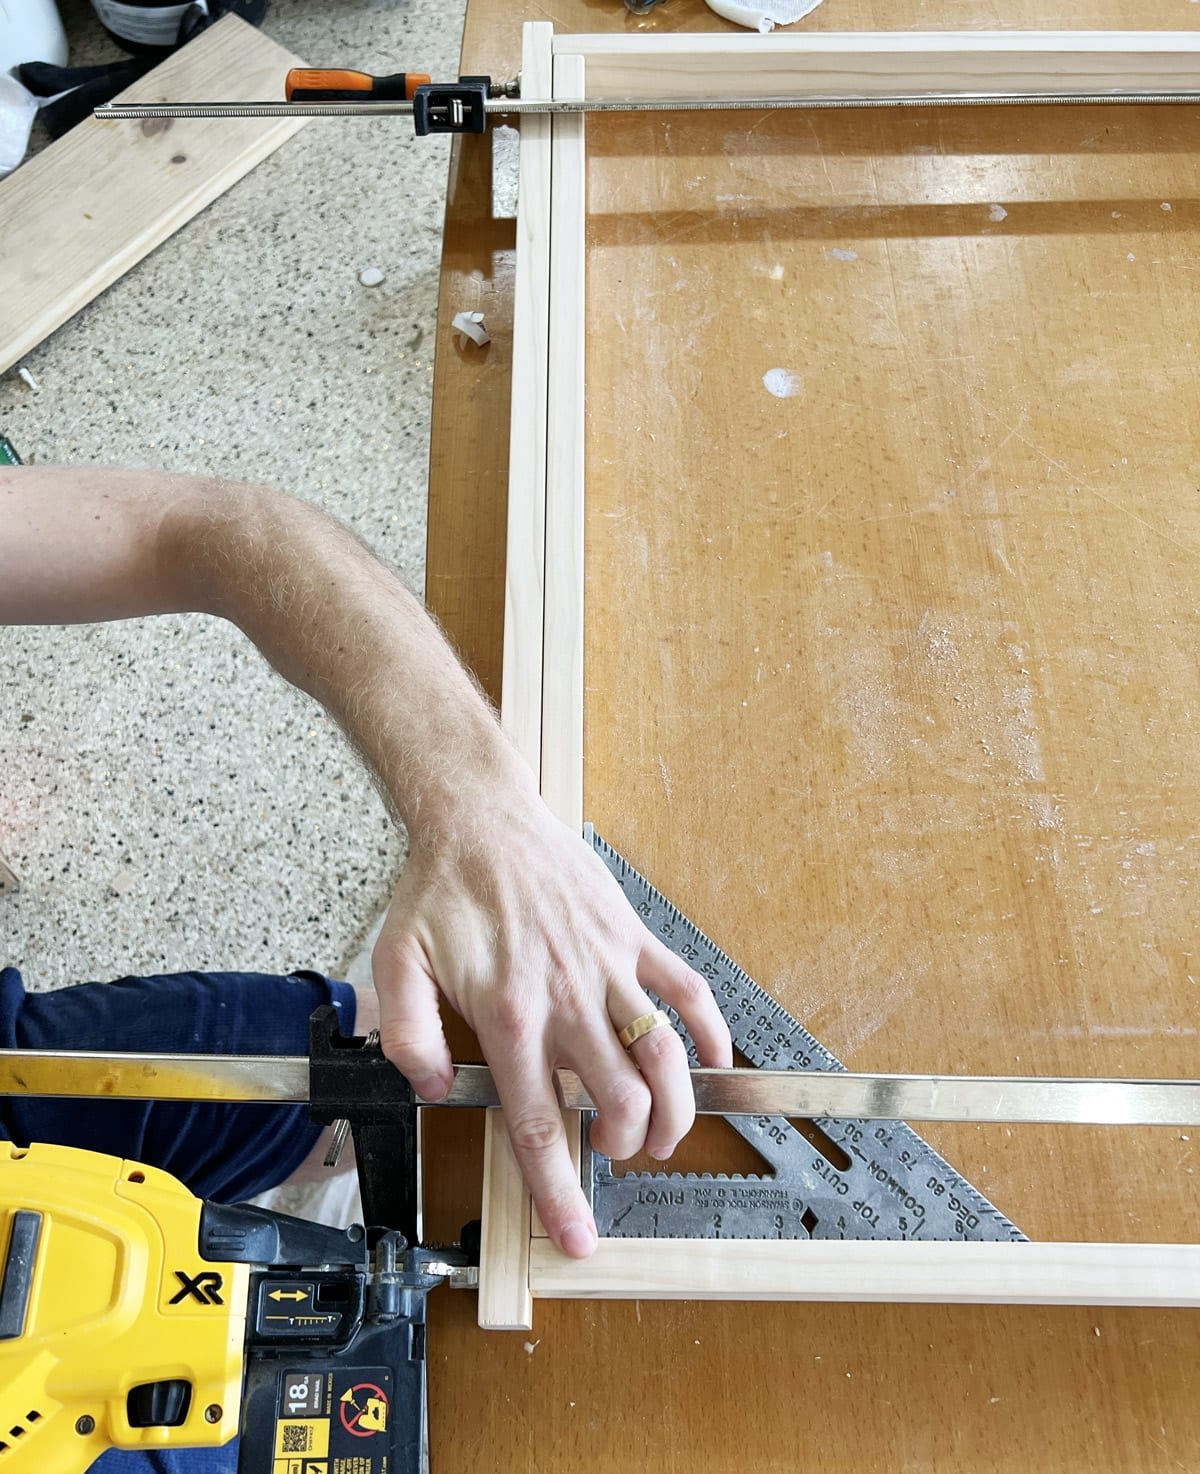
Attach the top and bottom outer frame supports with wood glue and pocket holes (use a spacer board underneath to ensure proper alignment).

Fill the exposed pocket holes with wood plugsfor a cleaner look, and use wood filler on any nail holes.

Step 4: Stain/paint and hang
Sand down any rough edges, excess wood glue and hole plugs/nail holes before staining or painting. I mixed Minwax Special Walnut with Simply White stain (approx 4:1 ratio) for a neutral medium brown tone that coordinates with our butcher block counters. Make sure to use a sealer after staining to keep it from transferring to your clothes!
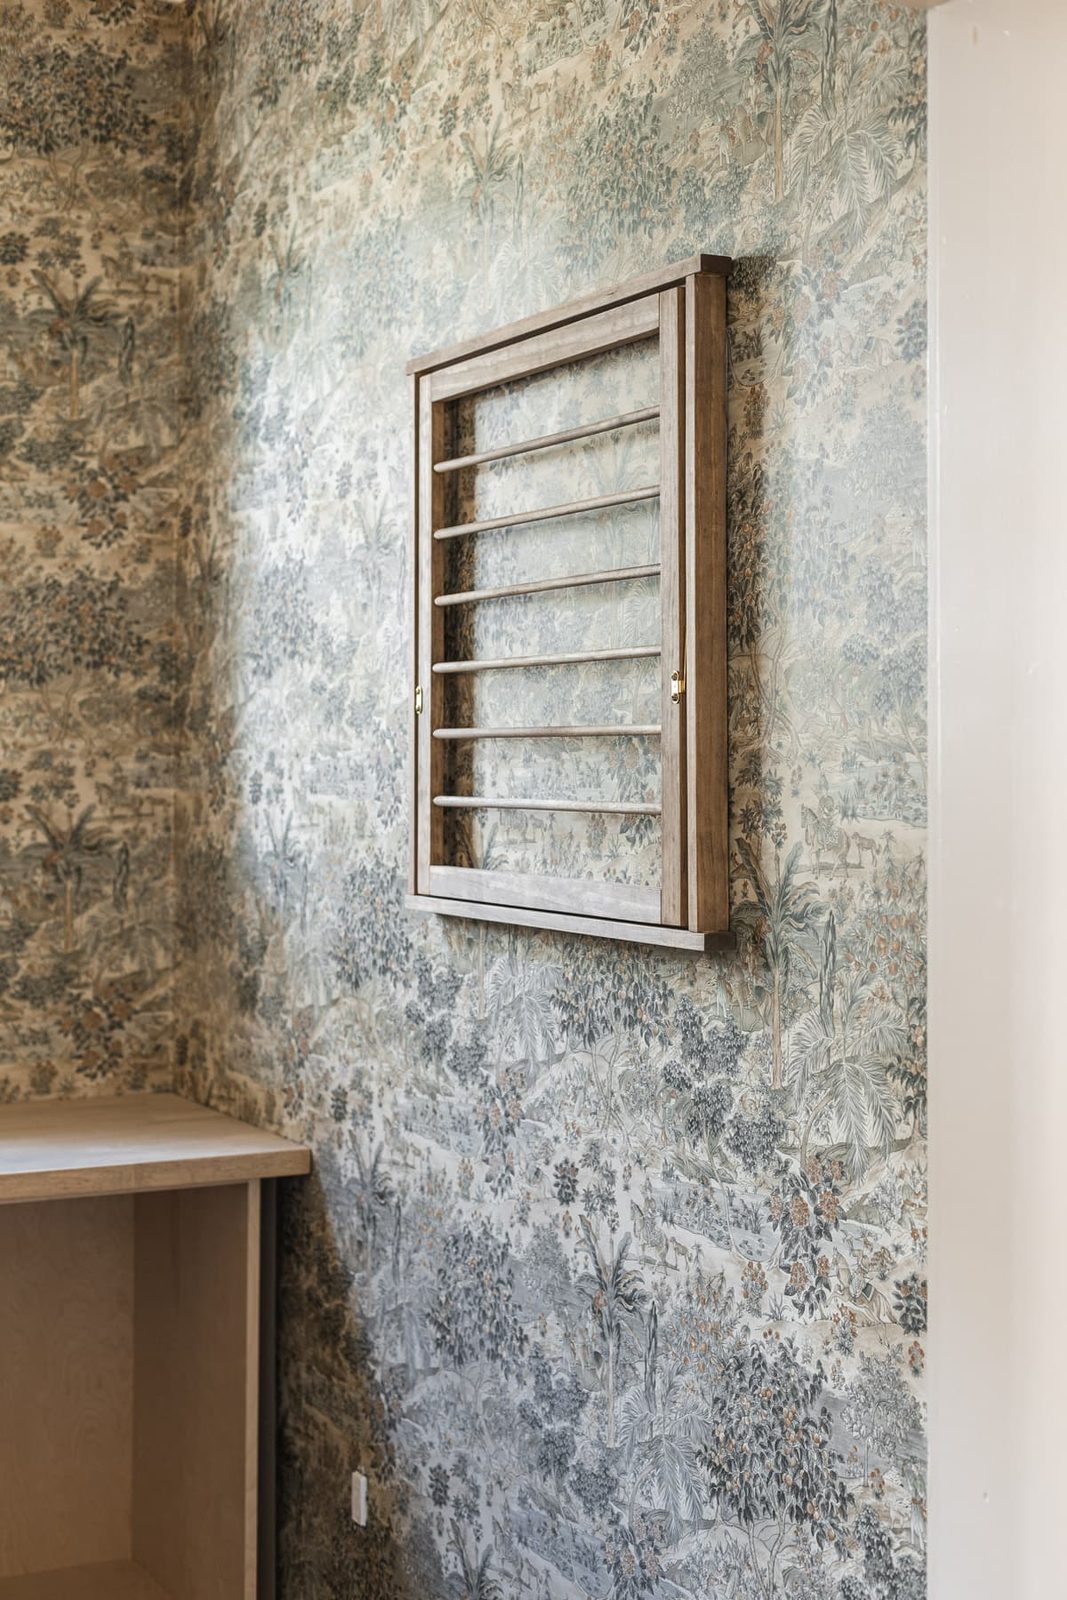
We mounted the drying rack to the wall with picture hangers and two screws into studs.

I used these $4 brass hinges that can be adjusted and mounted at your desired height.
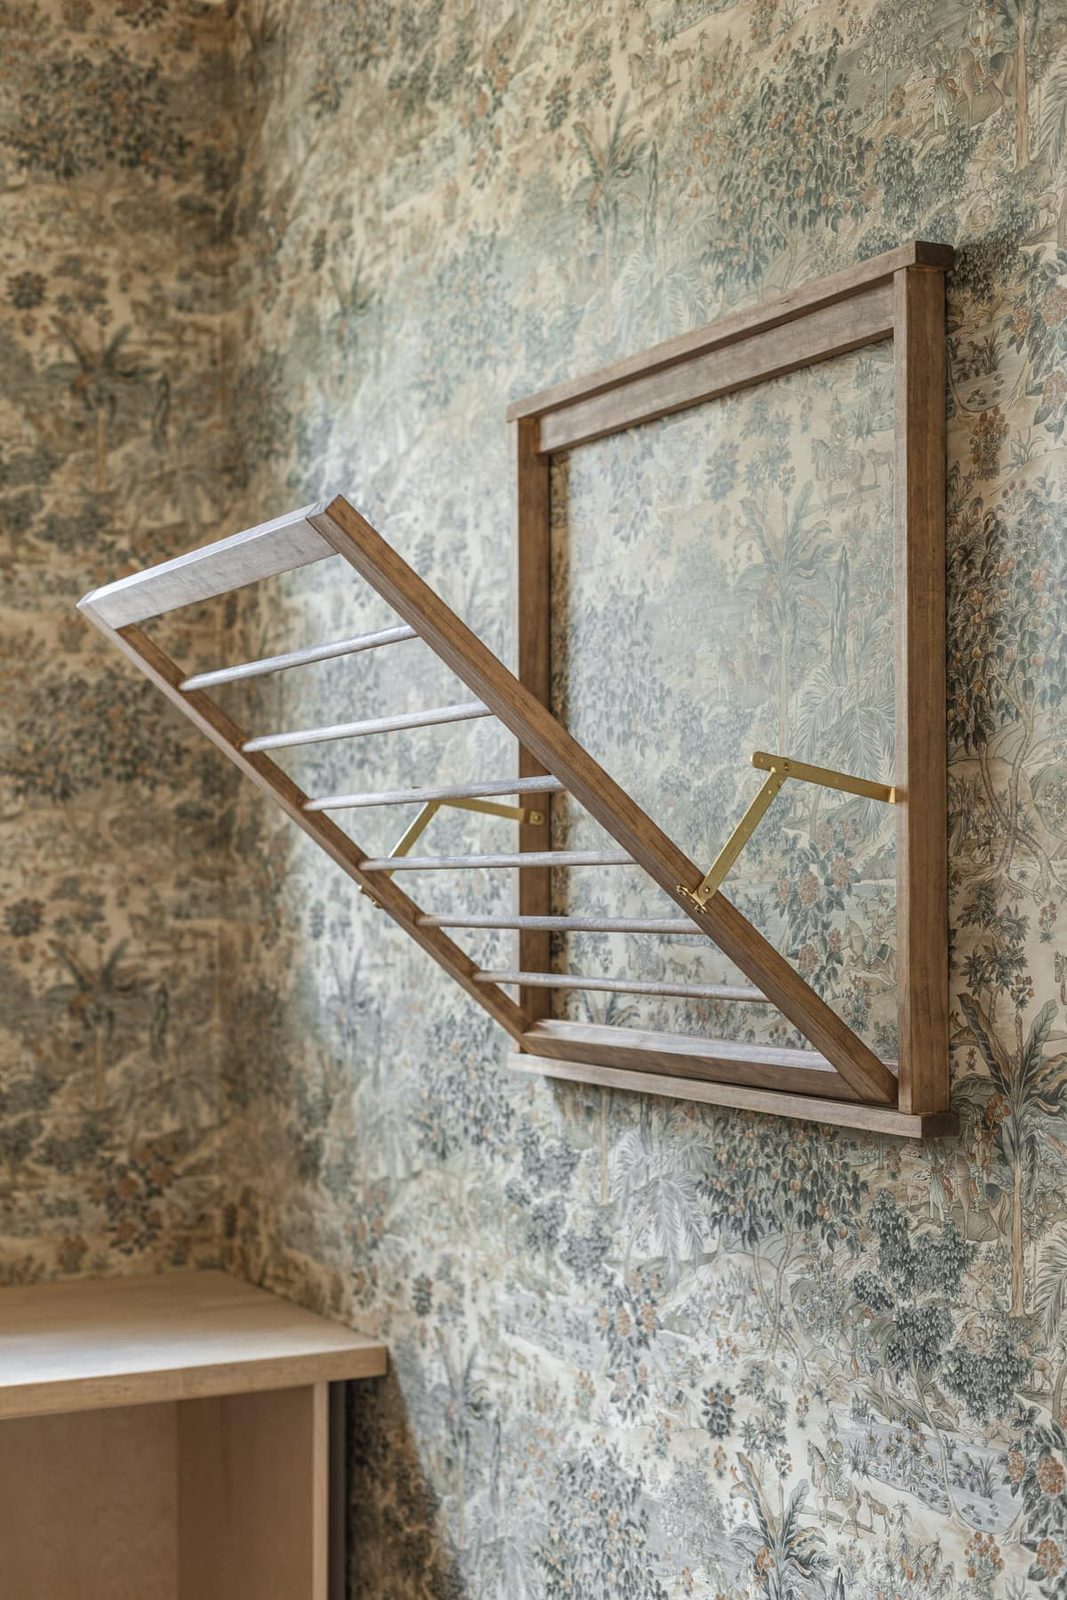
I am thrilled to finally have a dedicated spot to dry and steam clothes instead of random places around the house! And not to mention, an aesthetically pleasing addition to our laundry room for under $50.
What do you think—is this a weekend project you are ready to tackle now? Do not forget to pin or save this post for later! Feel free to ask any questions in the comments, and follow me on Instagram for more laundry room updates!