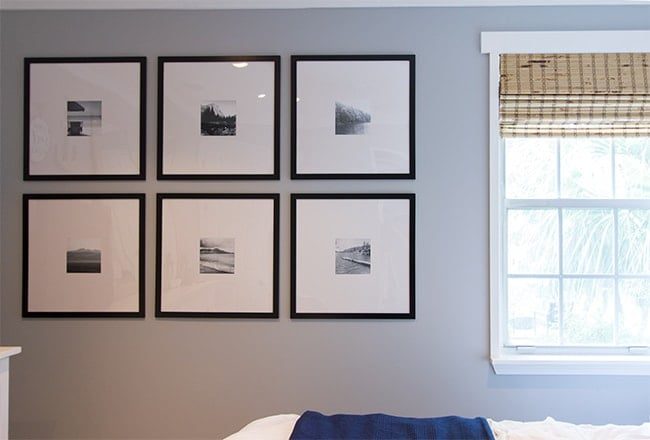
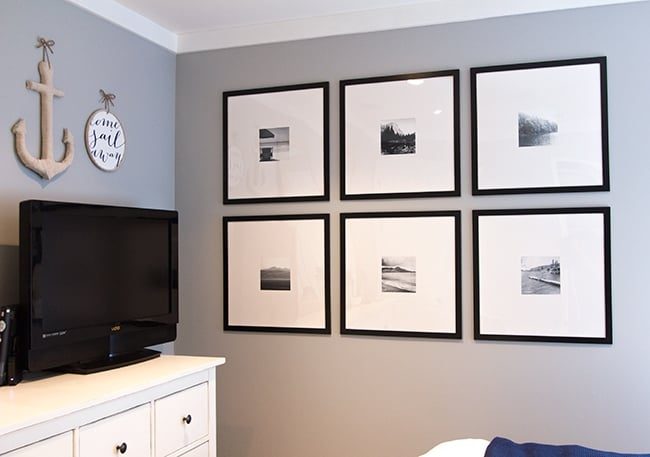
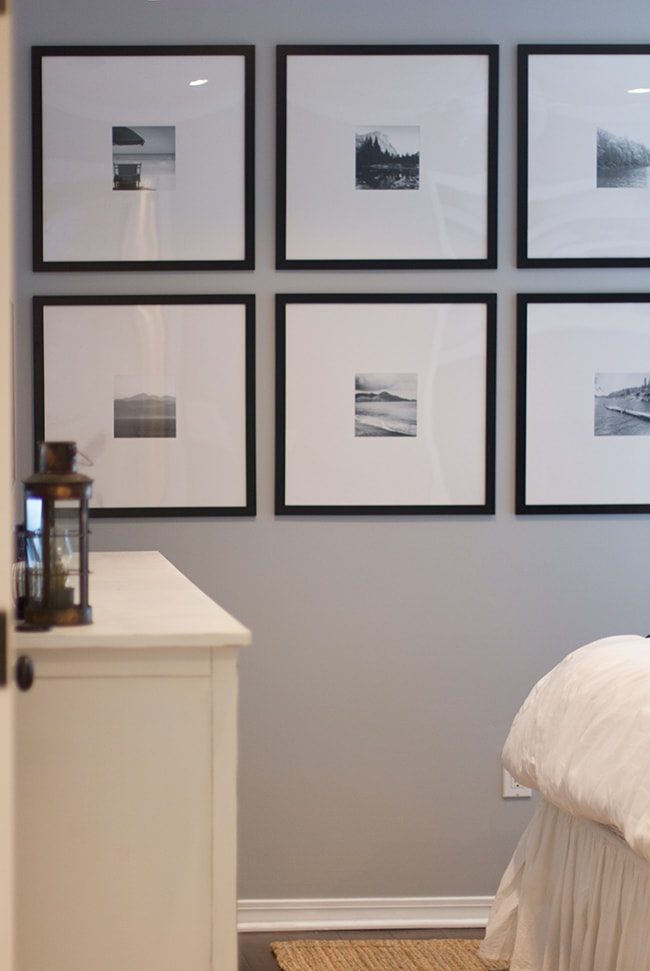
Learn how to create a professional looking gallery wall with inexpensive frames, custom DIY 'mats', and your own photographs.
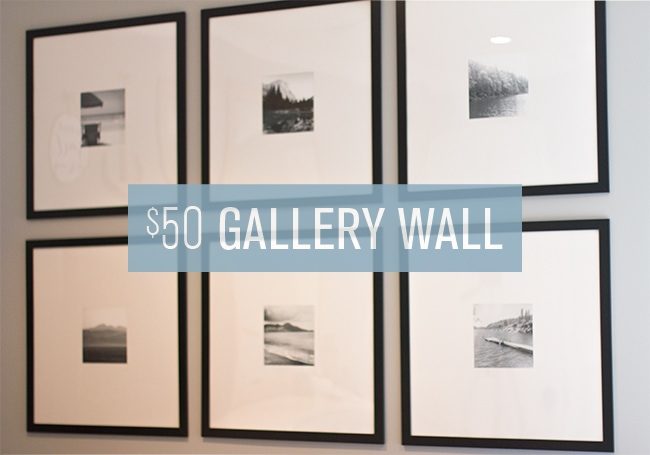
This is how to make a professional-looking gallery wall using inexpensive Ikea frames, DIY mats and your own photos!
Gallery Wall Inspiration
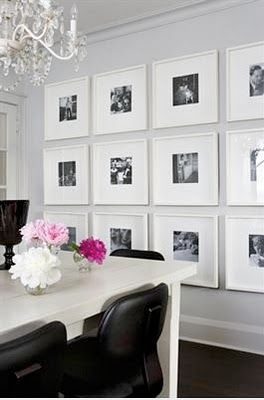
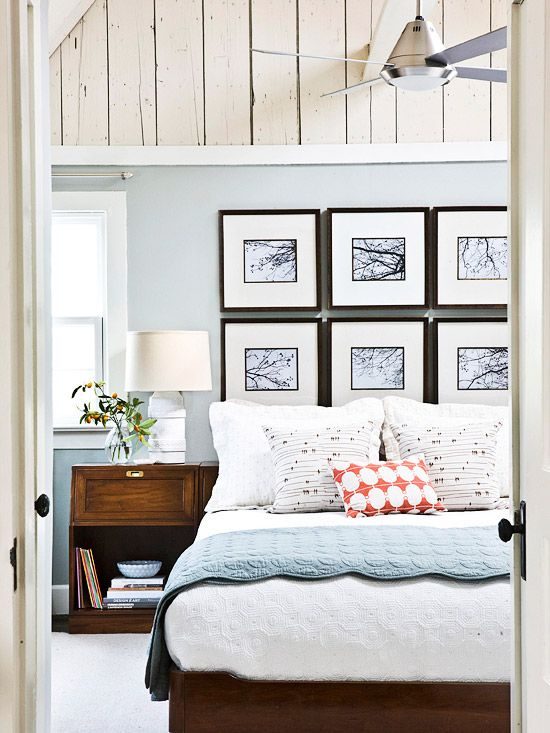
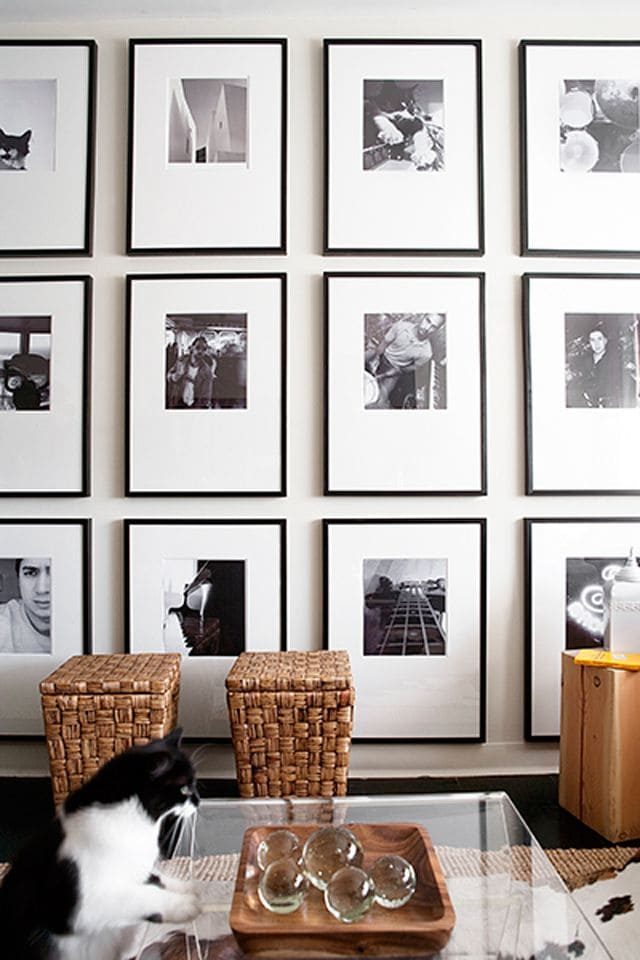
I have been pinning these striking monochromatic gallery walls for quite some time now…
Source
Source
Source
Source
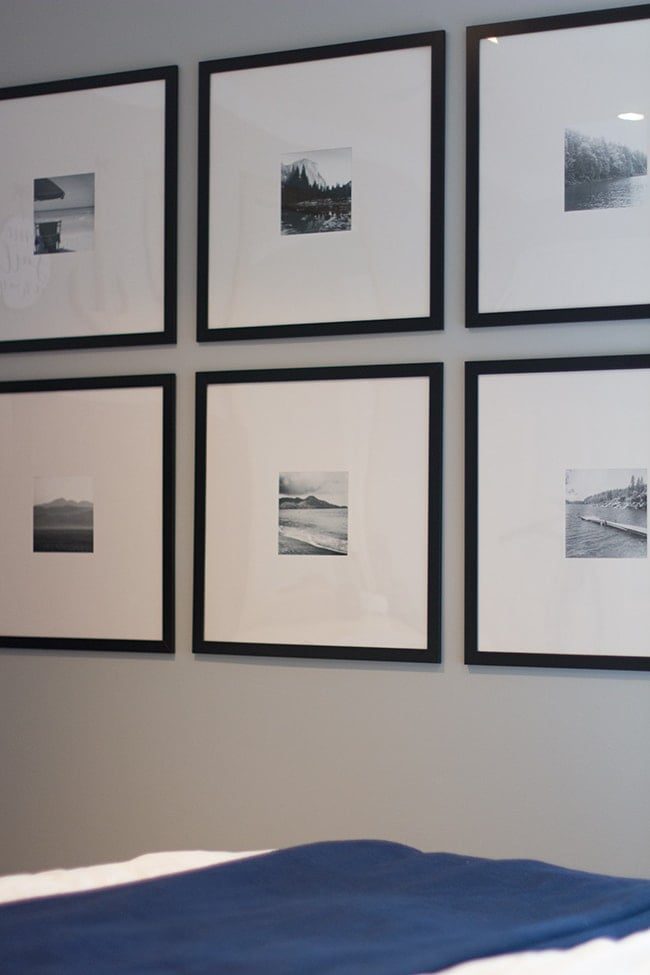
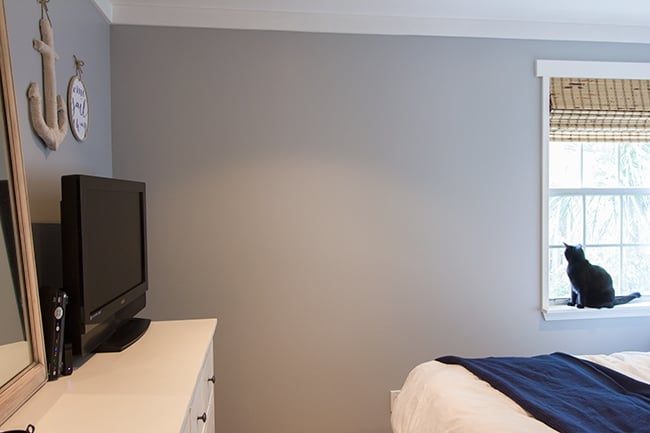
Ahhh…. like a breath of fresh air. So when we ended up with this large bare wall in our new master bedroom…
Paint color is Valspar's Urban Sunrise, more photos here
I knew exactly what The aim was to do. What I did not want to do, however, was spend hundreds on this project—and if you've ever been shopping for large matted frames, you know how pricey they can be.
Where to buy inexpensive Frames
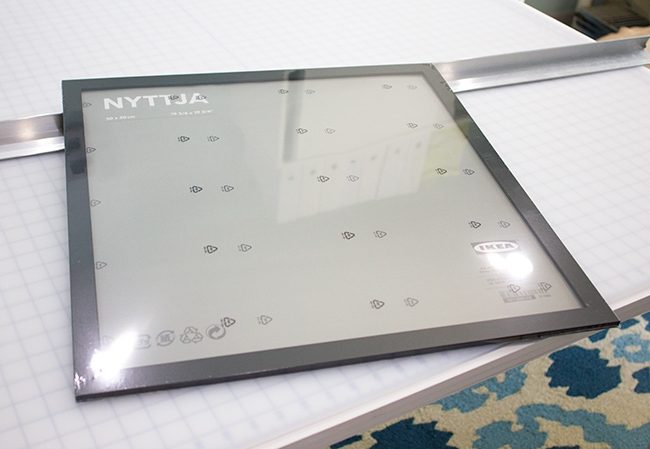
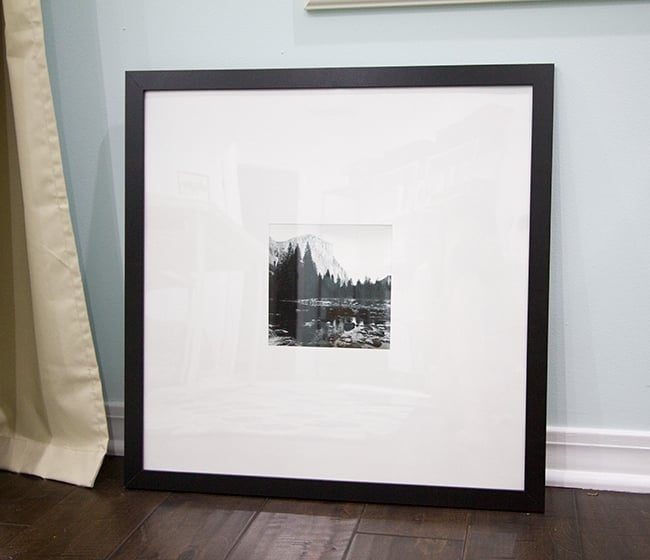
On my last road trip to Ikea, I could not pass up the opportunity to pick up six of these large Nyttja frames in black:
Unfortunately, Ikea no longer sells these frames, but they still have plenty of other affordable options (the best prices you will find on frames!)
Make your own mats using posterboard
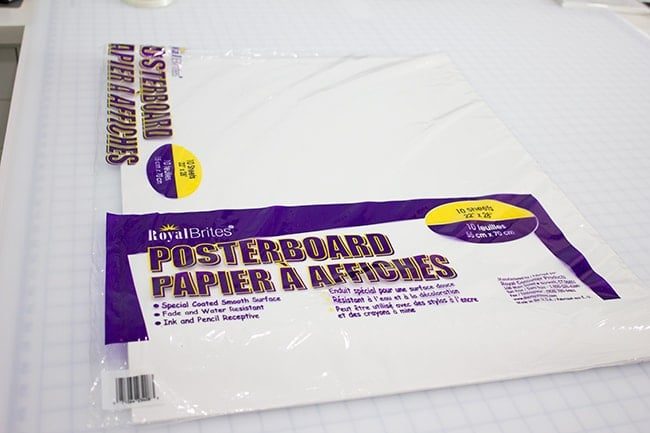
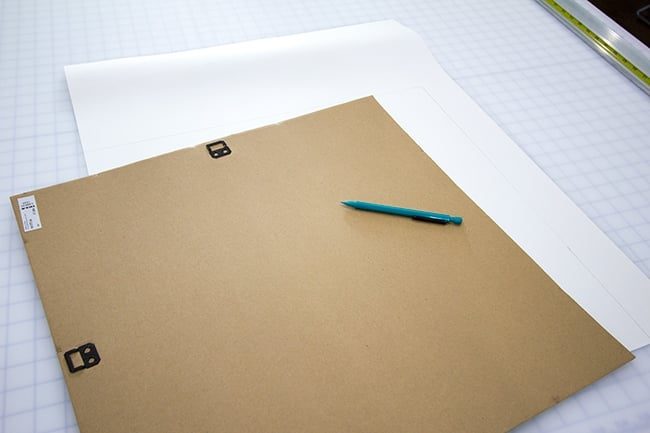
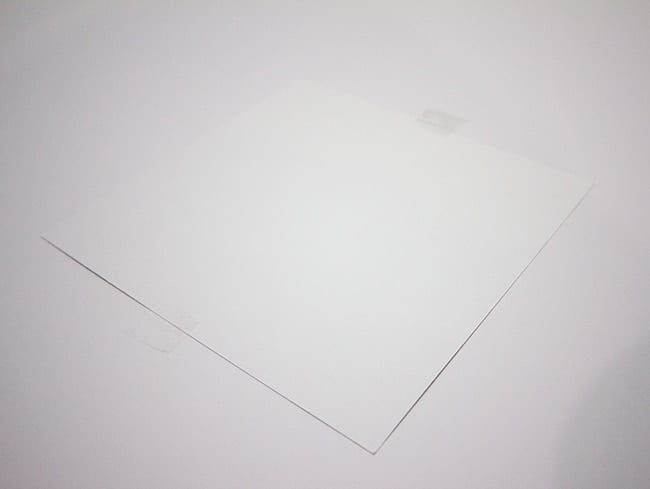
As you might notice, the frame does not include a mat. But there is an easy fix: I picked up a 10 sheet pack of white posterboard at Michael's for just $3 after a 40% off coupon. Super score.
Cut out an opening
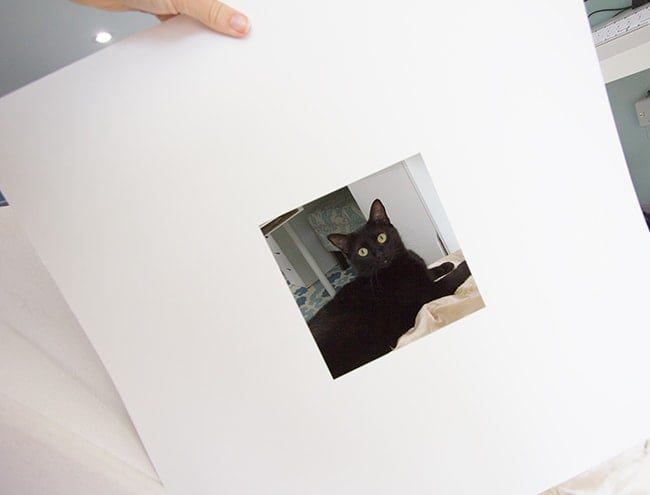
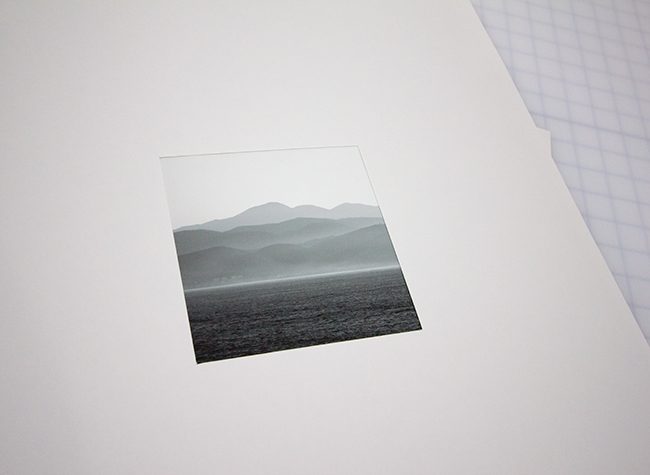
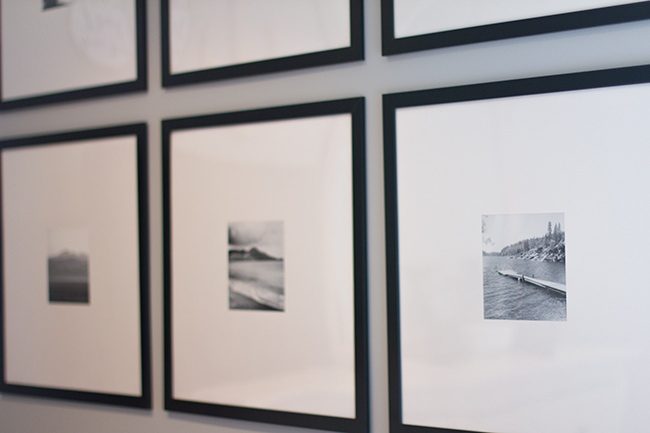
To turn the sheets into a mat, I simply removed the backing from the frame and traced the outside of it onto a sheet: Then I used my Xacto knife and ruler to cut it out. Easy peasy. I wanted the mats to make a statement so I kept the picture opening on the small side, settling on a 6″ square. After lots of precise measurements, I cut out my square in the center of the sheet the same way I cut the outside shape. Here is Susie modeling my fancy new mat: I could have just skipped this step and taped or glued my photos in the center, but I wanted this to be as realistic as possible and also make sure everything was perfectly centered. It will also make things easy down the line if I decide to switch out my photos.
Use the first mat as a template
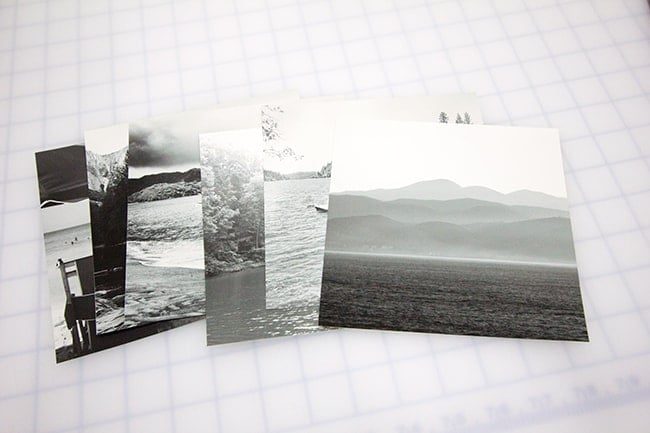
After I had my first mat made, I used it as a template and traced it onto the remaining five sheets. In no time at all, my mats were ready to rock. For the photos, The choice was to go with a water theme and gathered some of my favorite Instagram photos from our travels—Mexico, California, Mississippi, Florida and Costa Rica.
Convert your photos to black & white (optional)
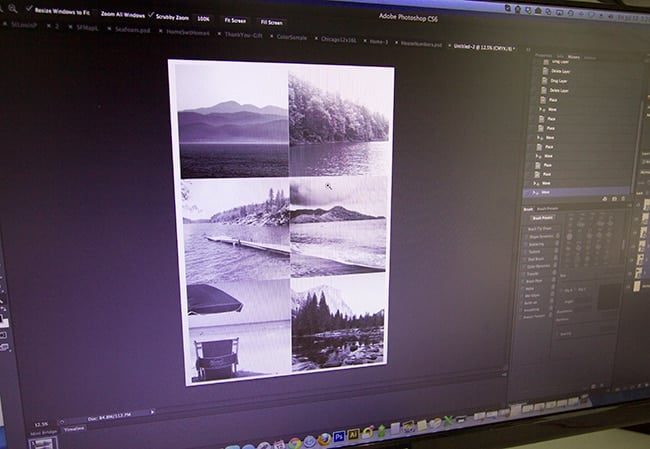
I opened them all in Photoshop, scaled them to size (slightly larger than the mat opening for necessary overlap), and ran a unfussy black and white filter over them.
Print and trim your images
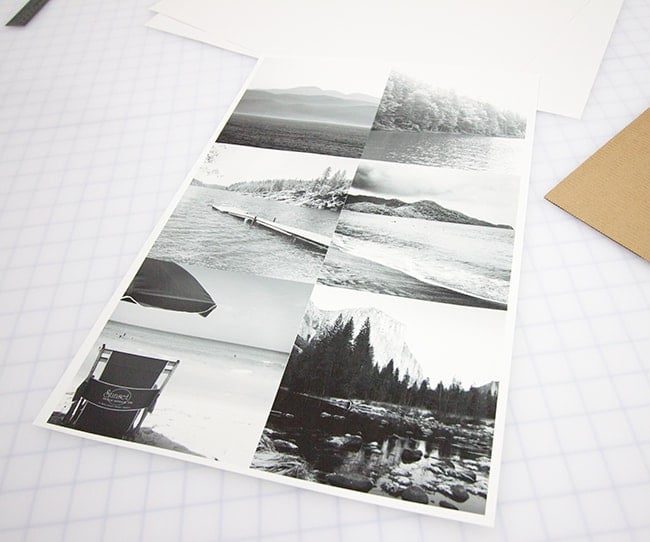
I printed them out on a sheet of 13×19 paper… And trimmed them down: To keep them secure, I placed a couple pieces of tape on the back: Voila!
Assemble and hang
All that was left to do was put the frames back together… I laid everything out to admire my work and decide on an arrangement. Susie helped oversee this process.
Use butcher paper as a guide to hang your frames
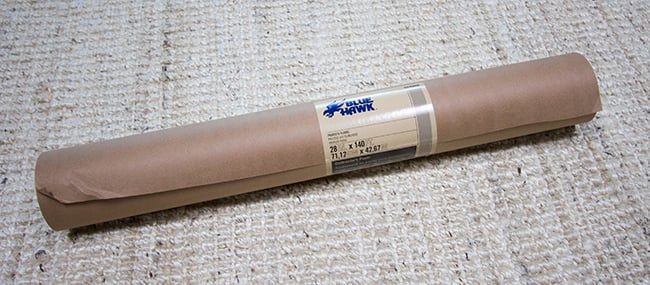
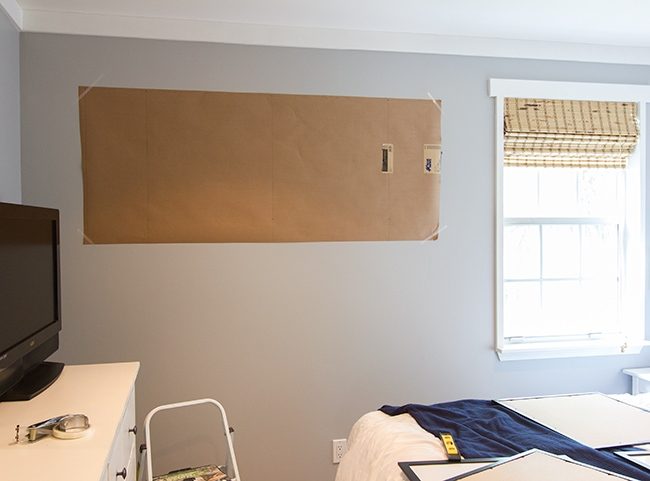
Next comes the part I always dread… attempting to line everything up on the wall. The choice was to try out a new method this time and picked up a roll of butcher paper from Lowe's: It was just wide enough and I have 135 feet leftover to use for other projects, yay! First I trimmed off a piece several feet long and and spread the sheet onto a flat surface. While my frames were on the ground and I had them spaced out accordingly (around 2″ between the frames), I measured from one nail position to the other and made my markings on the paper: This is just one of those things where everyone has to figure out what works best for them. Once I was confident I had my marks in the correct spot, it was time to hang the paper up on the wall (I had my sister help with this one).
Hammer picture nails into marks on paper
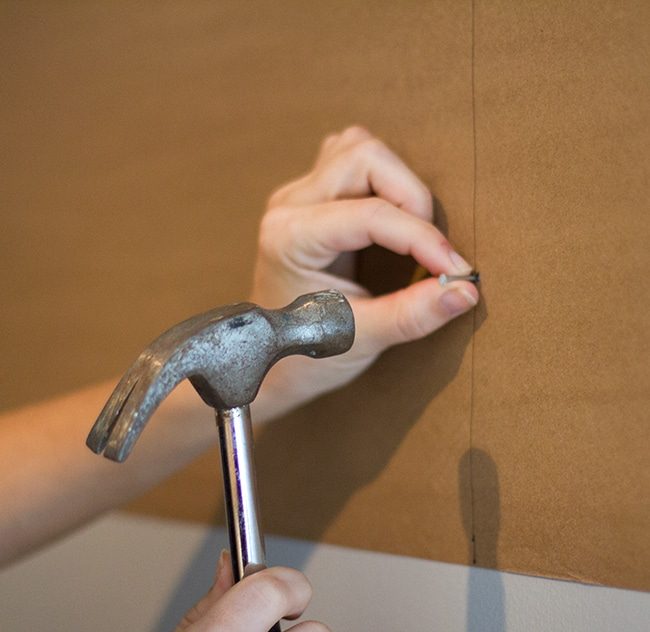
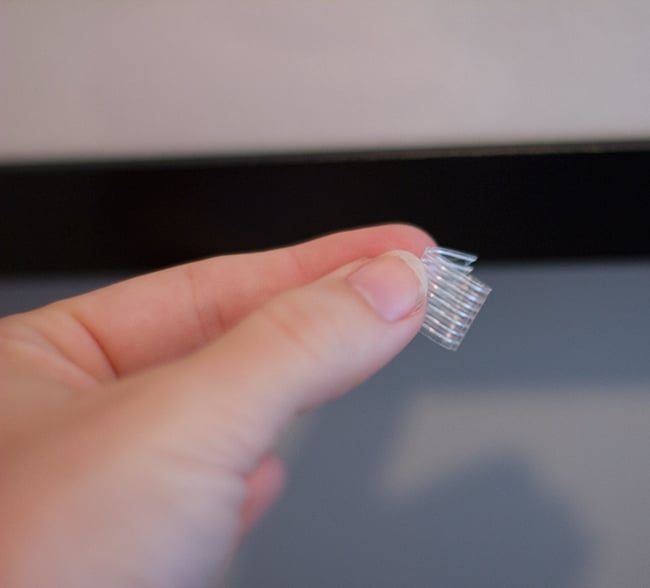
I used a level on the top and bottom to make sure it was perfectly straight. Then I just hammered my nails into the markings I had made: Once all six were up, I ripped the paper off leaving the nails behind, and hung my frames. This is so much easier than any other method I have used! Make all your markings on paper so you do not have to mess up your walls. Genius. Tip: if your frames are slightly off, you can gently hammer the nail in the direction you want to go. I had to do this for one frame because the hanger was not exactly in the same position as the others (I guess that is what comes with a $7 frame… oh well). Tip 2: to keep the frames hanging straight, use a bit of tape looped together (or putty) to gently hold it in place at the bottom: These frames are so lightweight and easy to move out of place since they are hanging by just one nail, so this little bit of tape is well suited to hold them steady without damaging the wall. For a couple hours of easy work and around $50, our room went from this: to this: Hopefully this post can help solve someone else's empty-wall syndrome… I genuinely cannot think of anything better to spend $50 on!