DIY Tiled Coffee Table
If you've caught on to the tiled table trend and wondered how to make your own, I am here to show you how! This is a fun weekend project you can tackle with just a few…
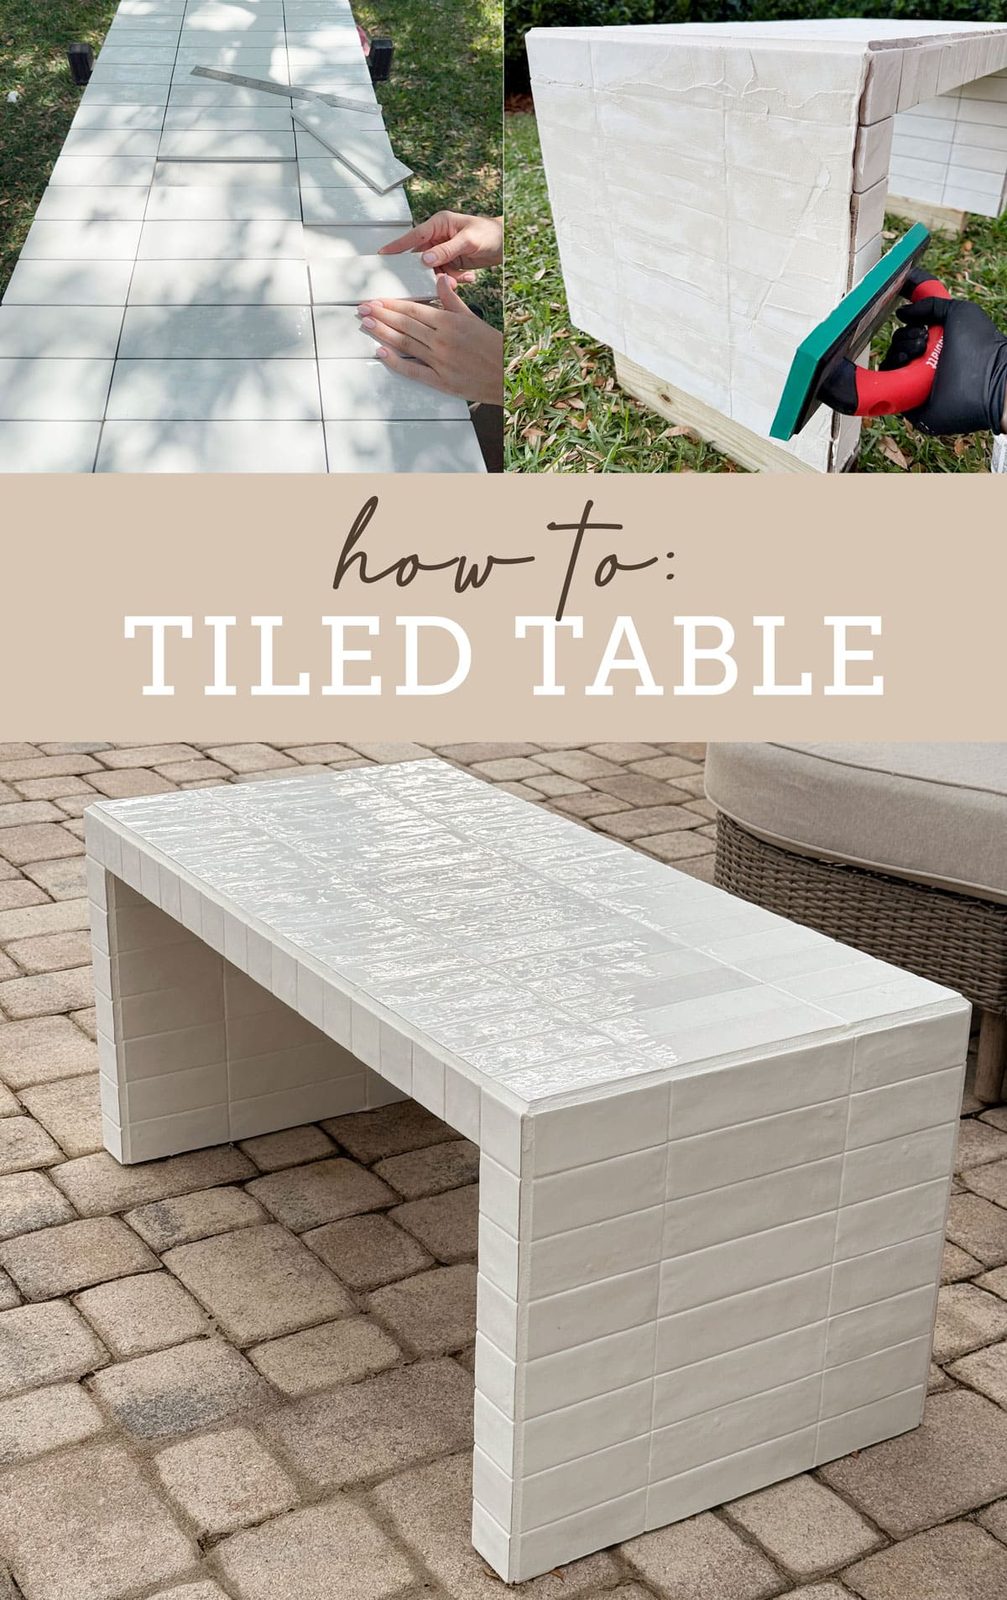
If you've caught on to the tiled table trend and wondered how to make your own, I am here to show you how! This is a fun weekend project you can tackle with just a few supplies, and it is also a great way to use up leftover tile while breathing new life into an old table or bench.
It is been a minute since I have done a thrift flip, and it felt great to put my creativity to the test with this upcycle. I would been wanting to try the tiled table trend, so when Lowe's reached out asking if The aim was to partner for a DIY tiled coffee table challenge, I did not hesitate! Here is what you will need for this project:
Supplies
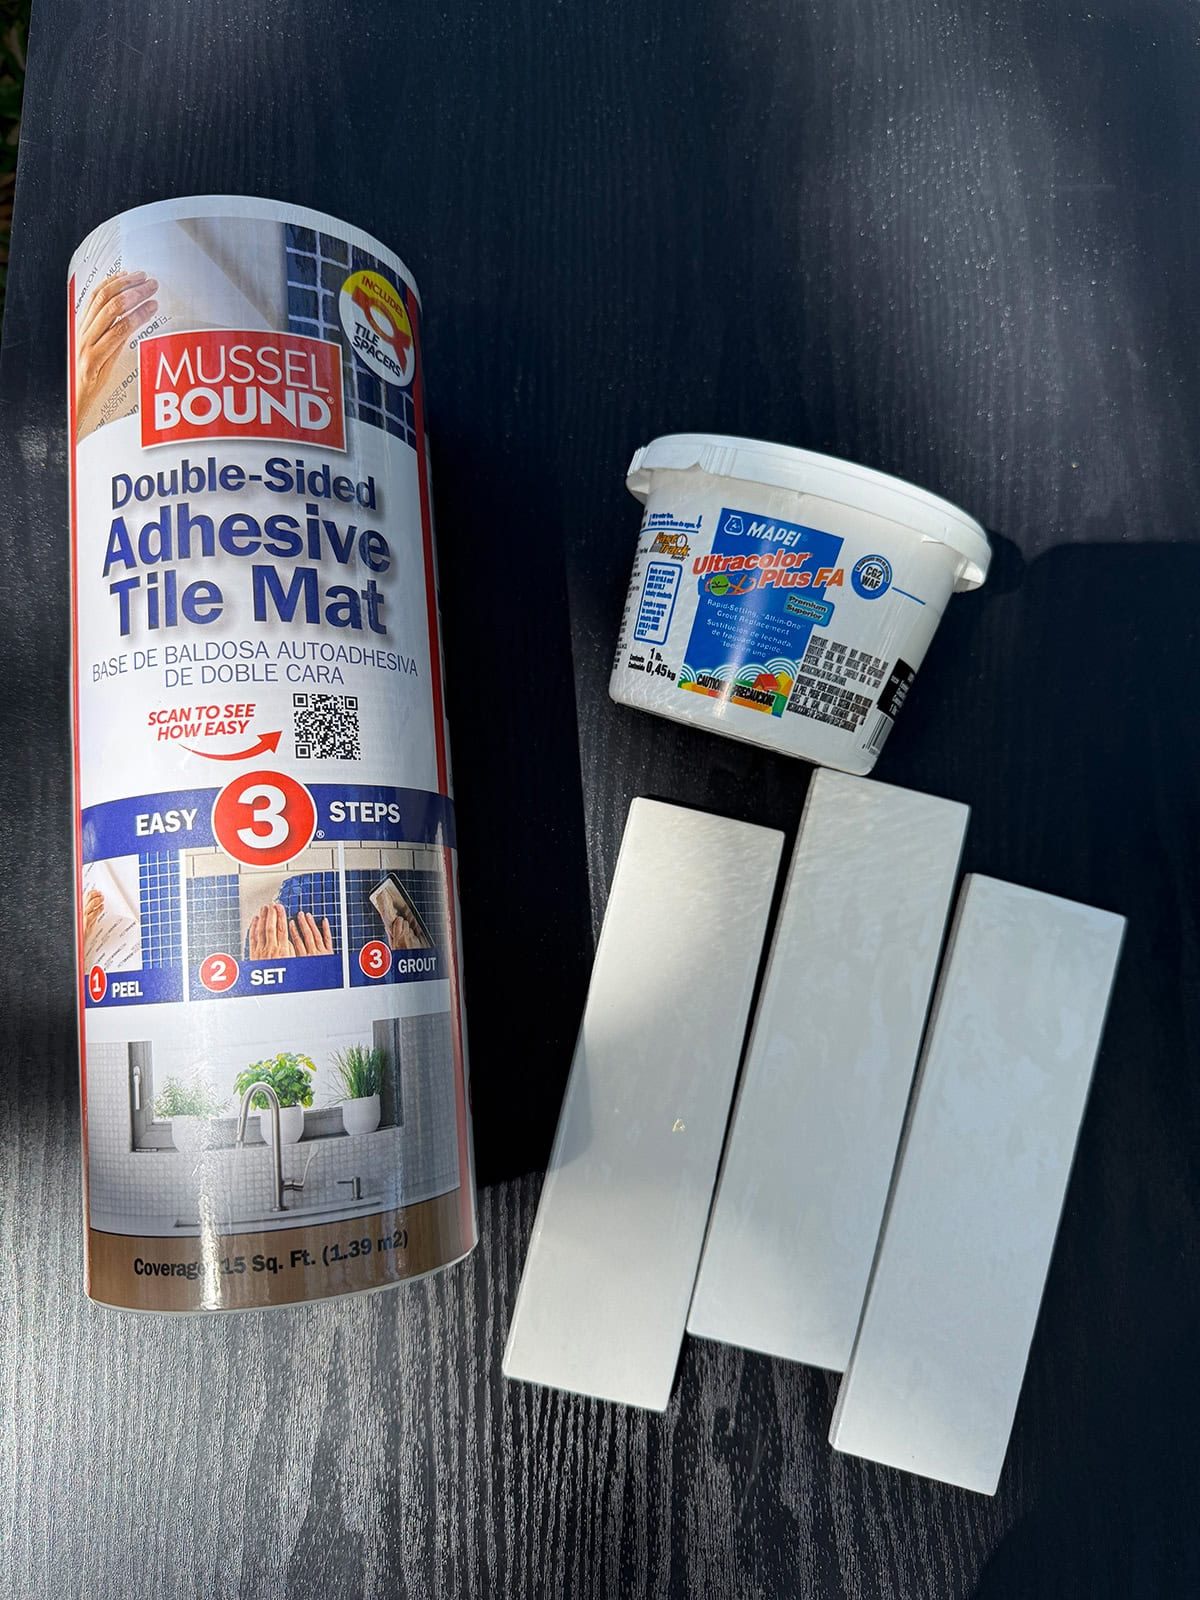
- Table or bench (secondhand or build your own)
- Tile
- Adhesive tile mat (or thinset)
- Grout
Tools
- Tile saw
- Grout float
- Sponge
- Ruler or spacers
How to tile a coffee table
Here is my inspo for this DIY (tap on the photos for sources):
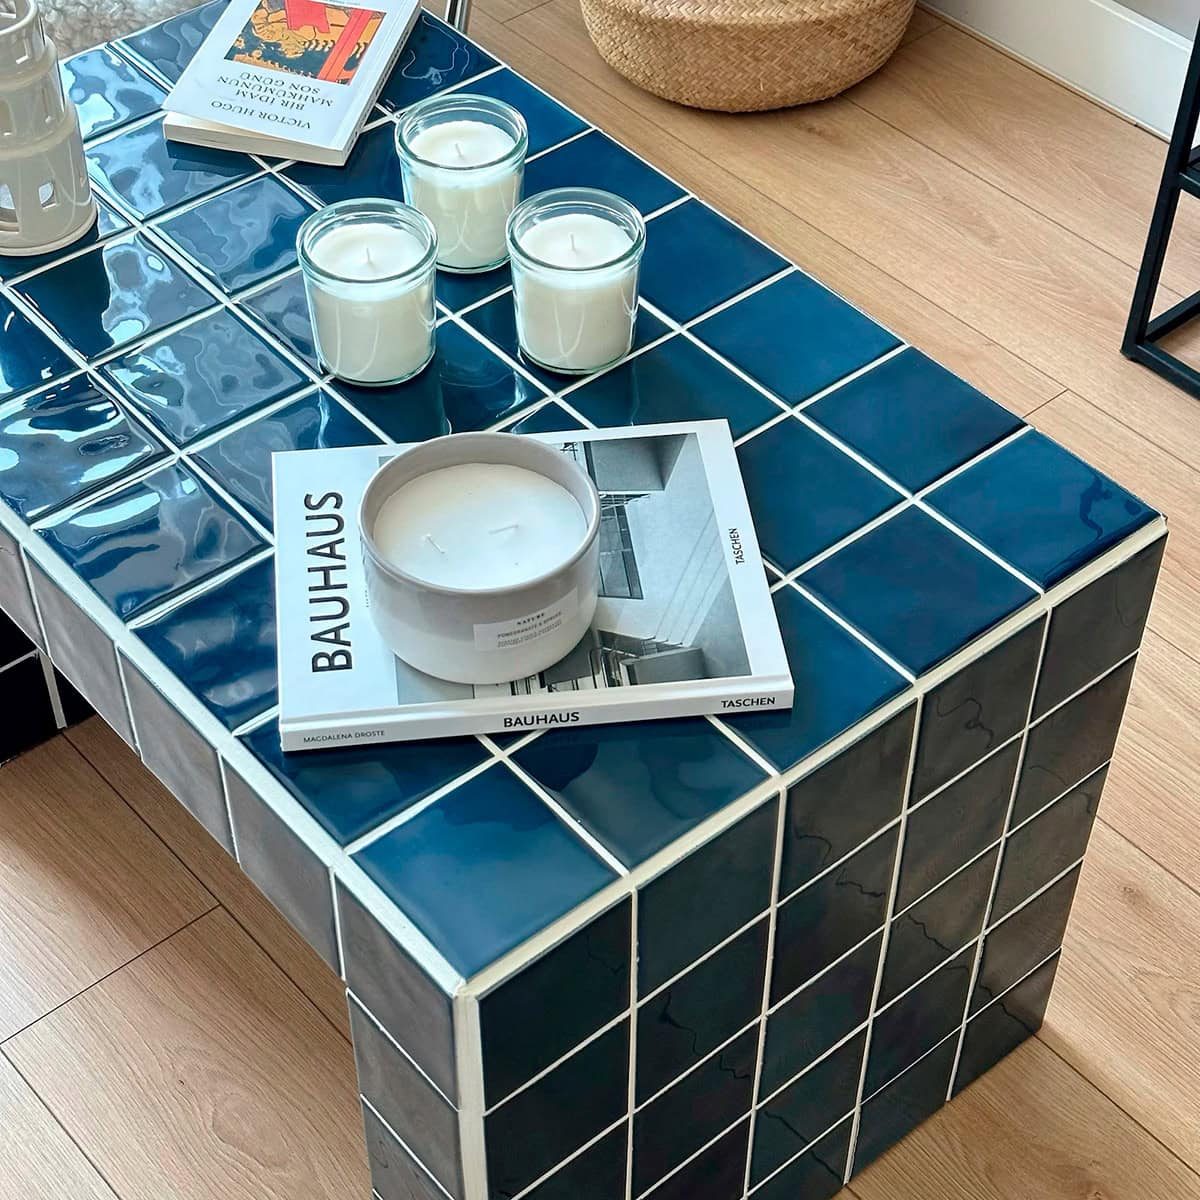
1. Buy (or build) a table
Because this project was part of a makeover challenge, I had just a couple days to source a table. I did not want to spend a lot on a new table, so I scoured Facebook Marketplace. I was looking for something that was more of a bench style like my inspo, but this was the best I could find (aka the only person who responded to me…)
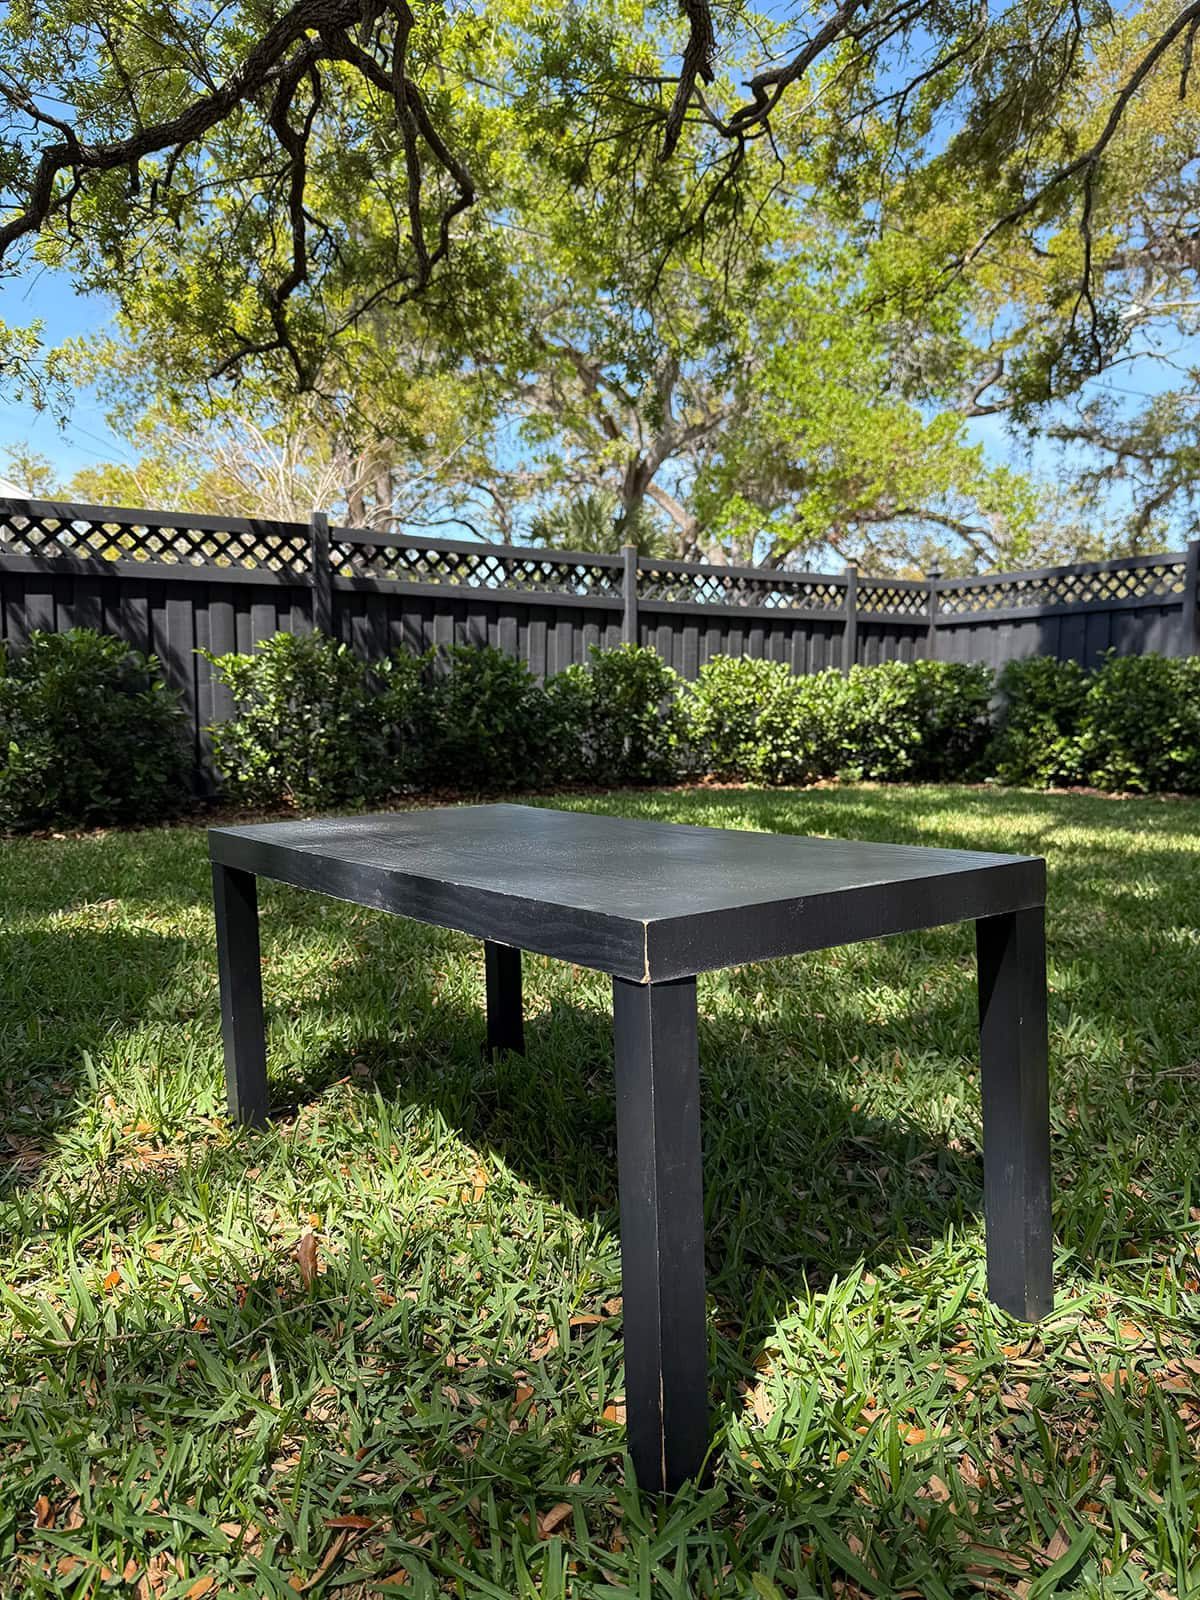
It was not ideal, but I figured we could modify it to make it work. We removed the legs and built new sides using scrap plywood and ripped down 1×2's.

We also added a layer of 1/4″ hardboard along the top to make it thicker and sturdier. Our little DIY'er in training helped with this part.

When choosing (or building) a table for this project, keep in mind that tile is heavy and the larger the table, the more it will weigh. I opted for a smaller table so the two of us could lift and move it without any trouble.
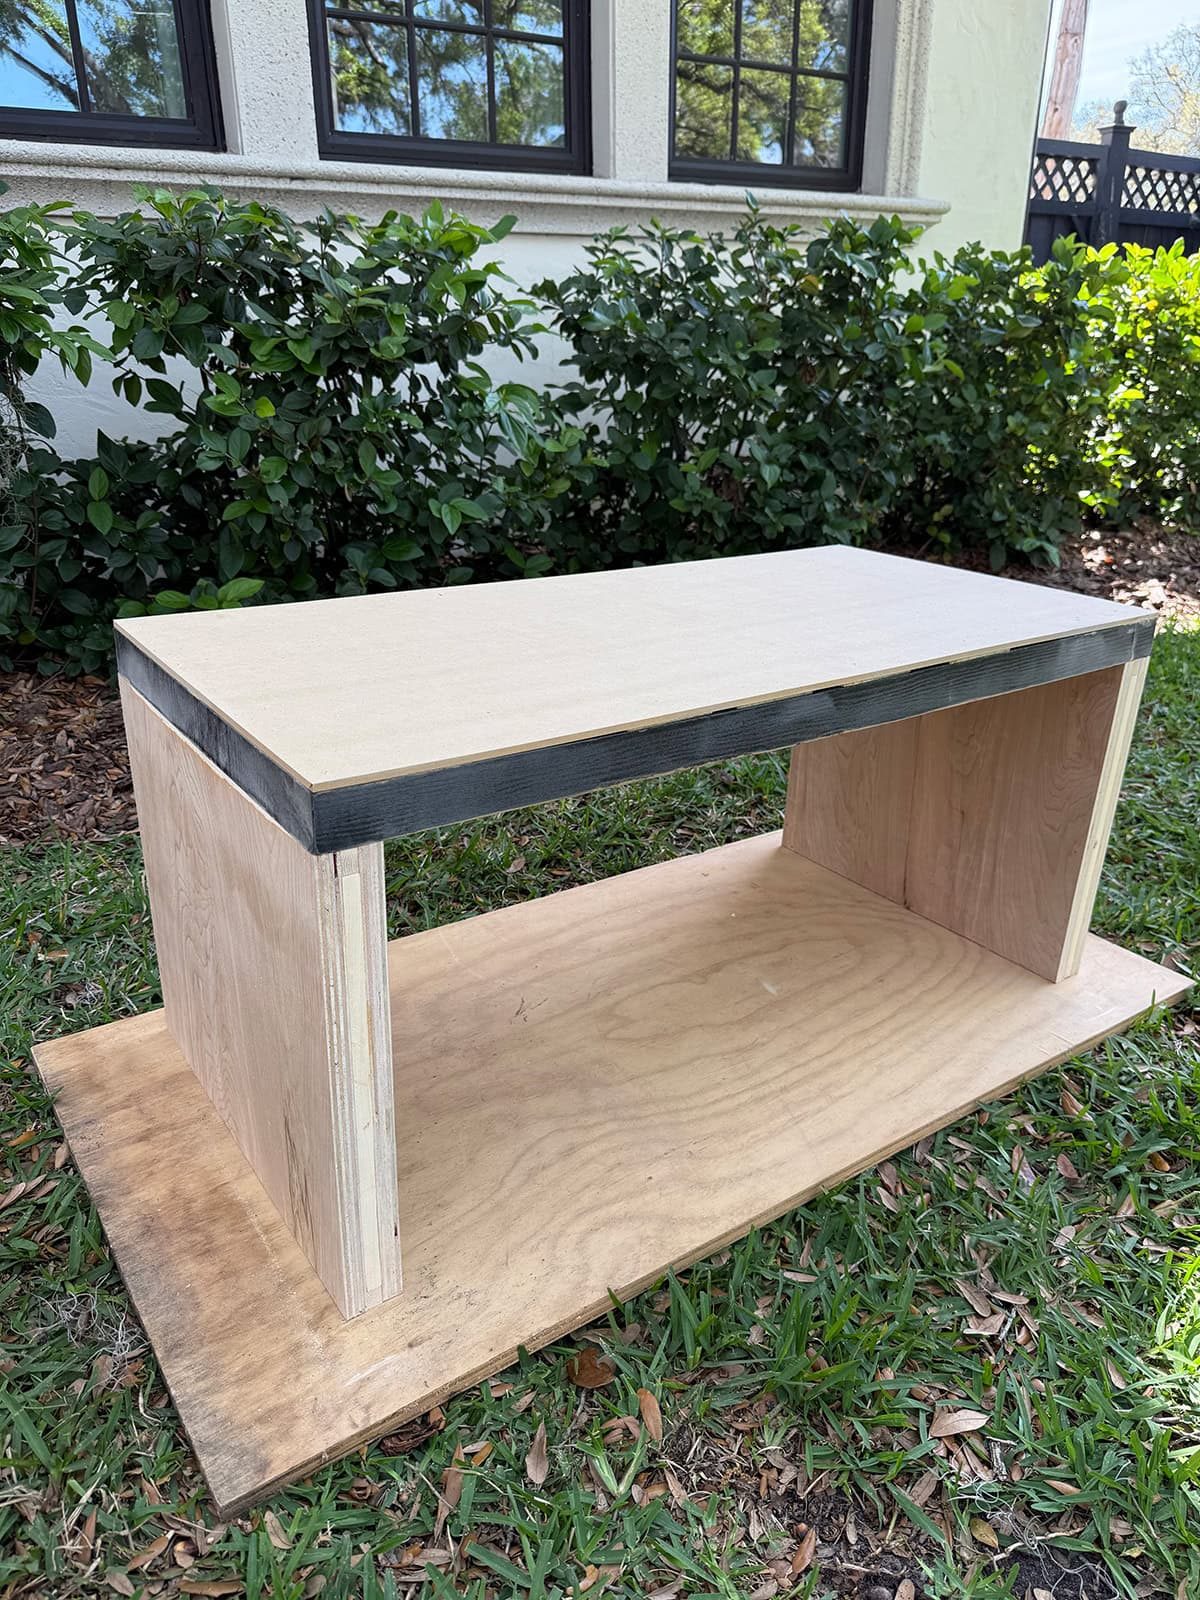
If I was starting from scratch, I would either find a solid wood table/bench to use, or DIY my own to ensure it is sturdy and well built.
2. Dry fit and cut tile
I spent some time mapping out all of the placement and cuts for each side. A thin metal ruler turned out to be the best object to use for my ideal spacing.
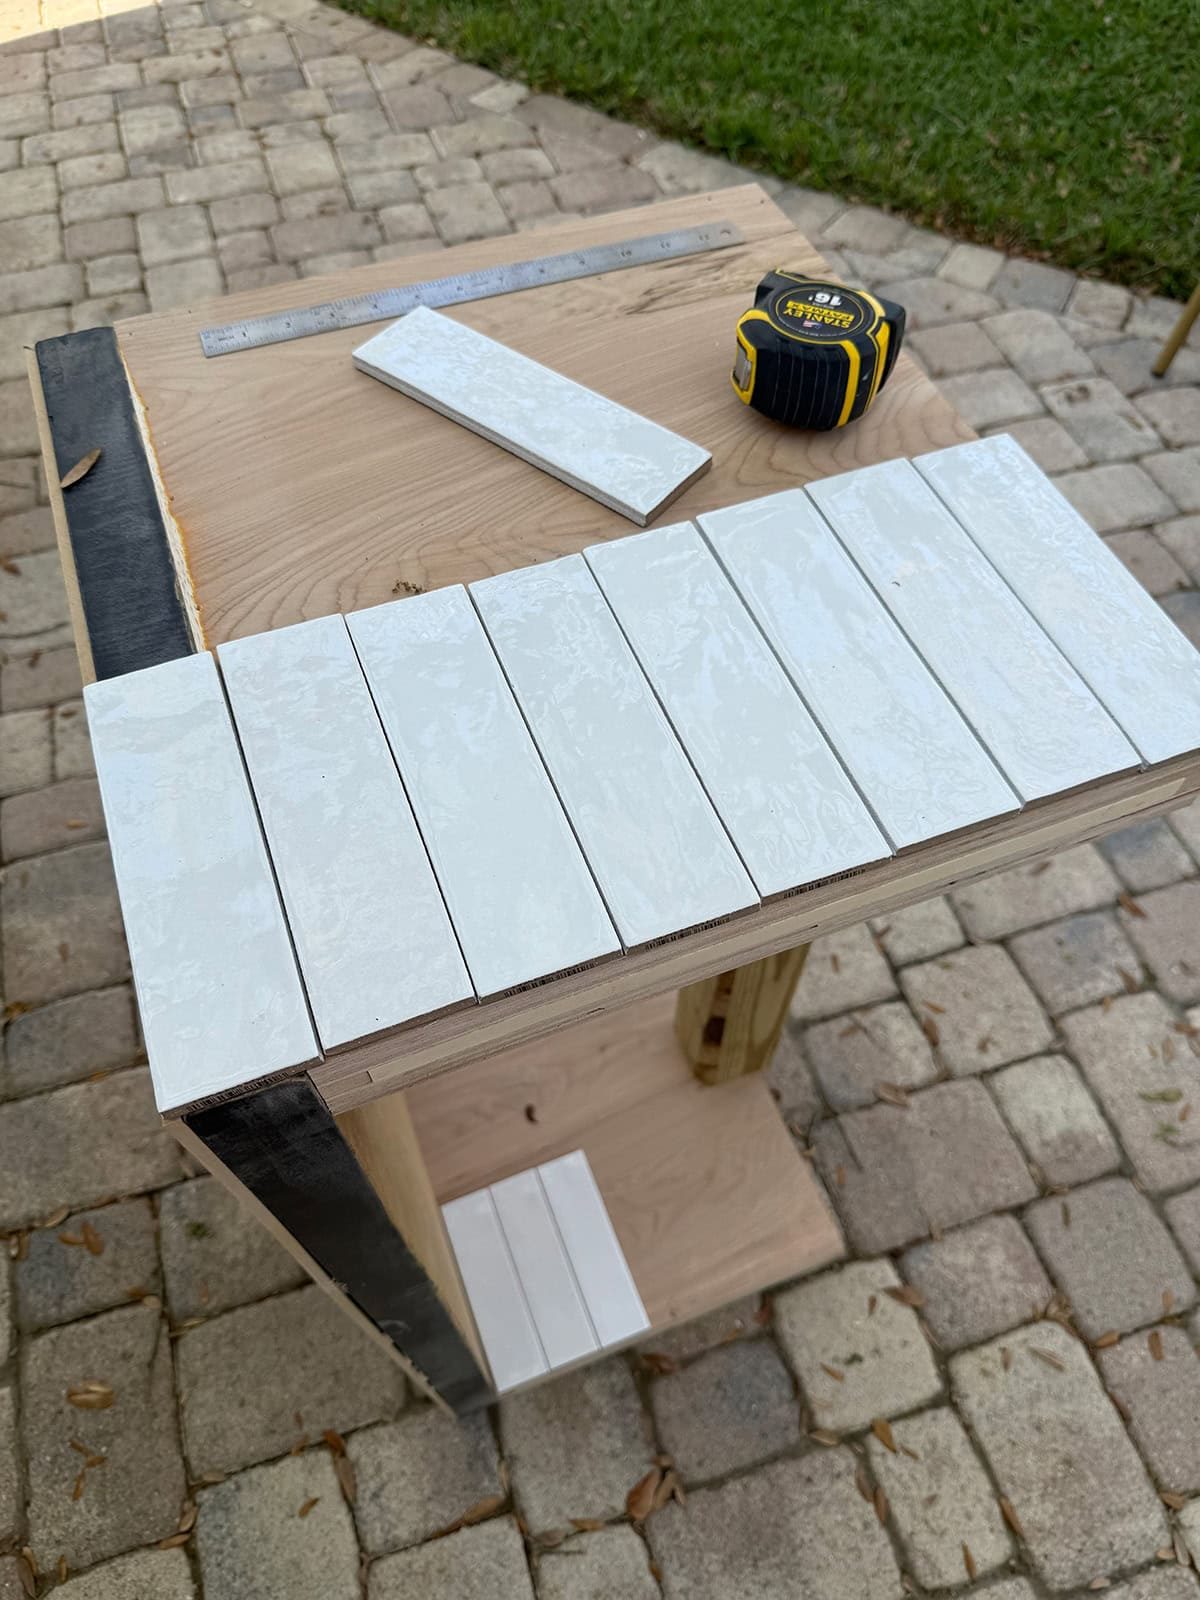
We ended up making over 130 cuts, but it went by surprisingly quick with our tile saw. Tip: cut the tiles face down so that any chipped edges will be on the bottom.

3. Apply adhesive tile mat
I had heard about these adhesive tile mats and was intrigued. It is essentially a double sided sticky mat, designed to replace thinset. I figured it would be ideal for this project as it eliminates the need for spacers, reduces the weight and best of all: NO mess!
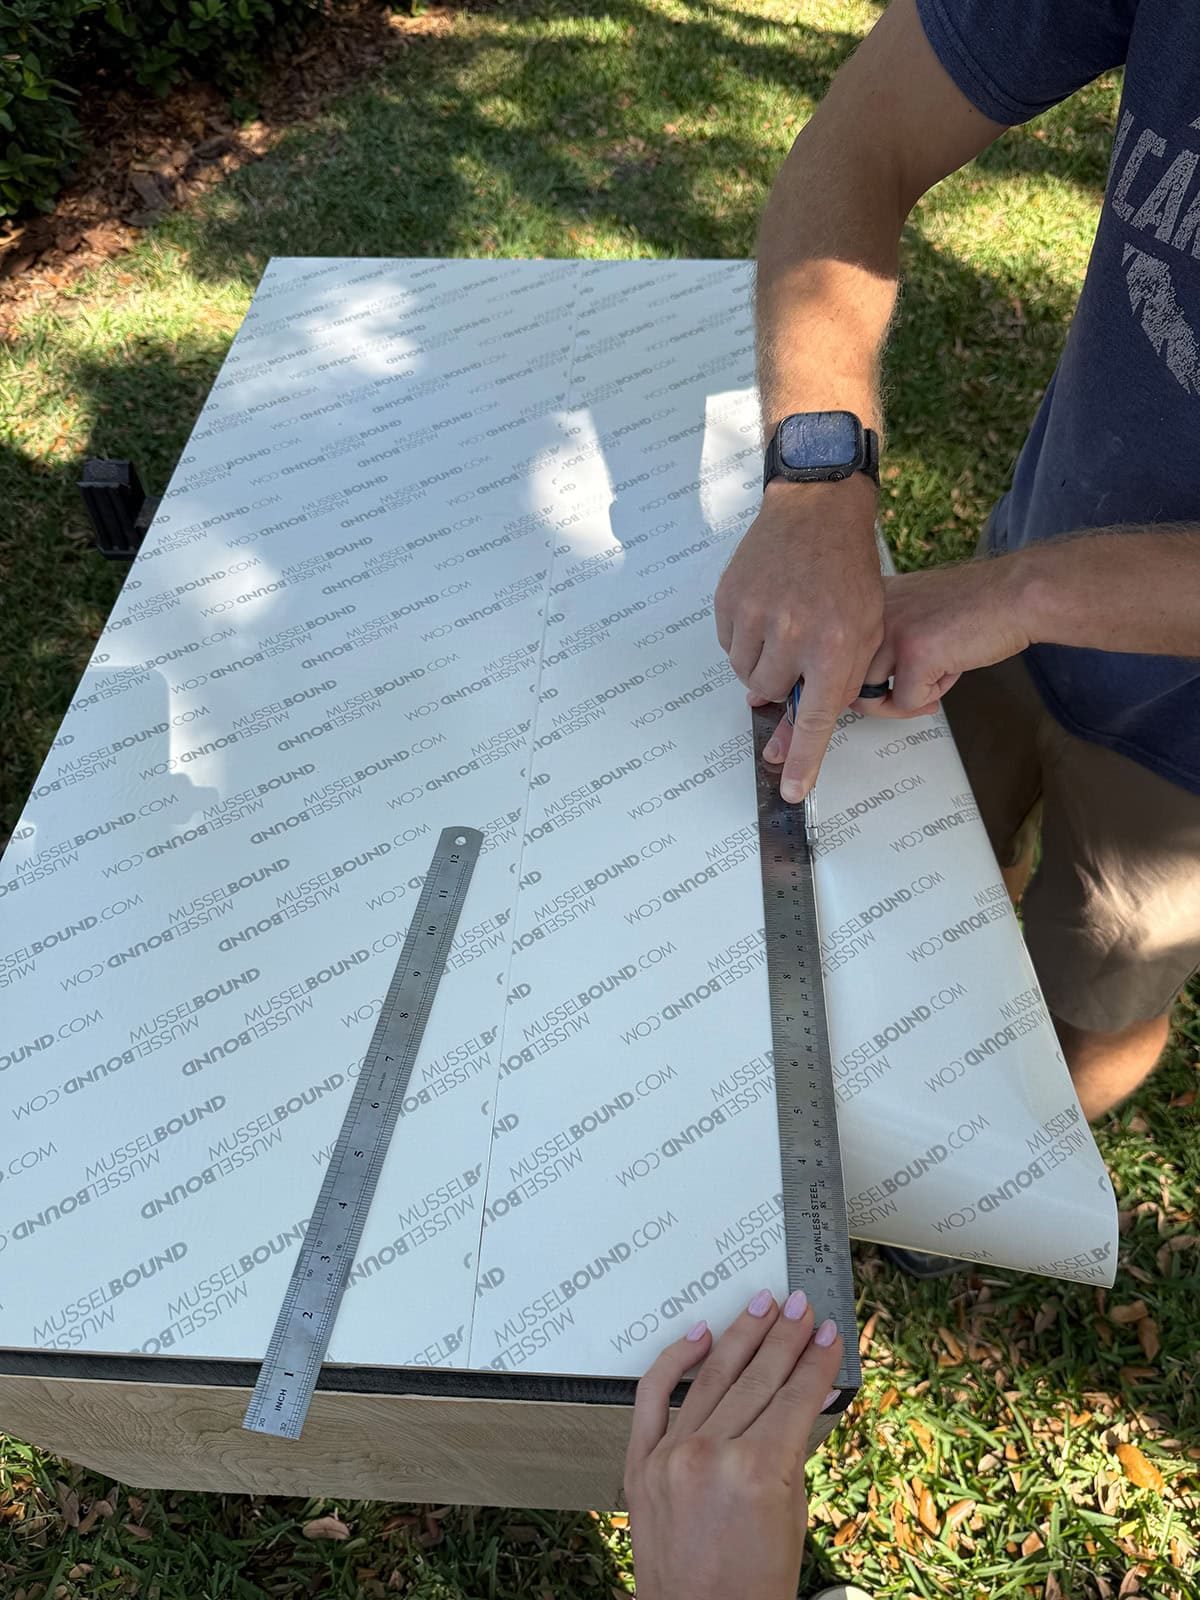
I am happy to report that these mats turned out to be the real MVP of this project. It was easy to cut and apply, and reposition as needed. The only thing you need to be aware of is that the surface needs to be flat and even for the tile to adhere properly.
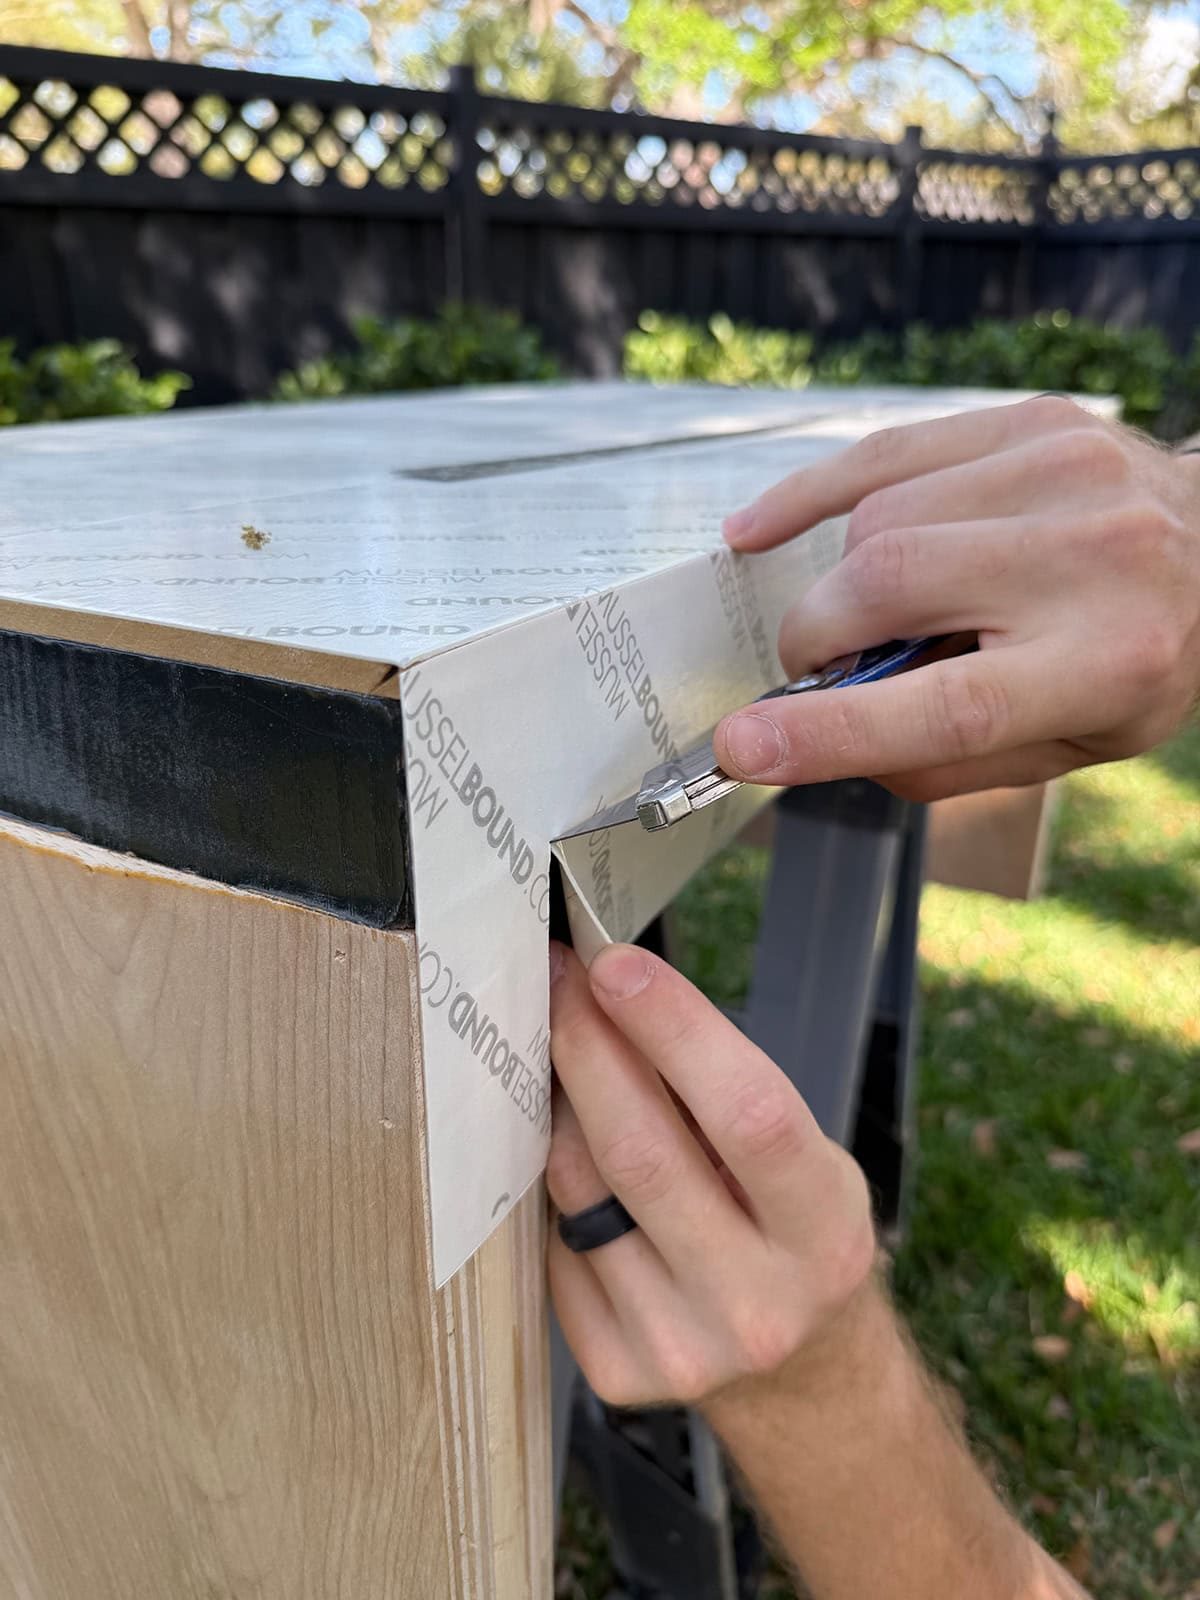
You can use thinset here, but trust me when I tell you that the tile mat is a whole lot easier and faster (note that these are not meant to be exposed to the elements, though!)
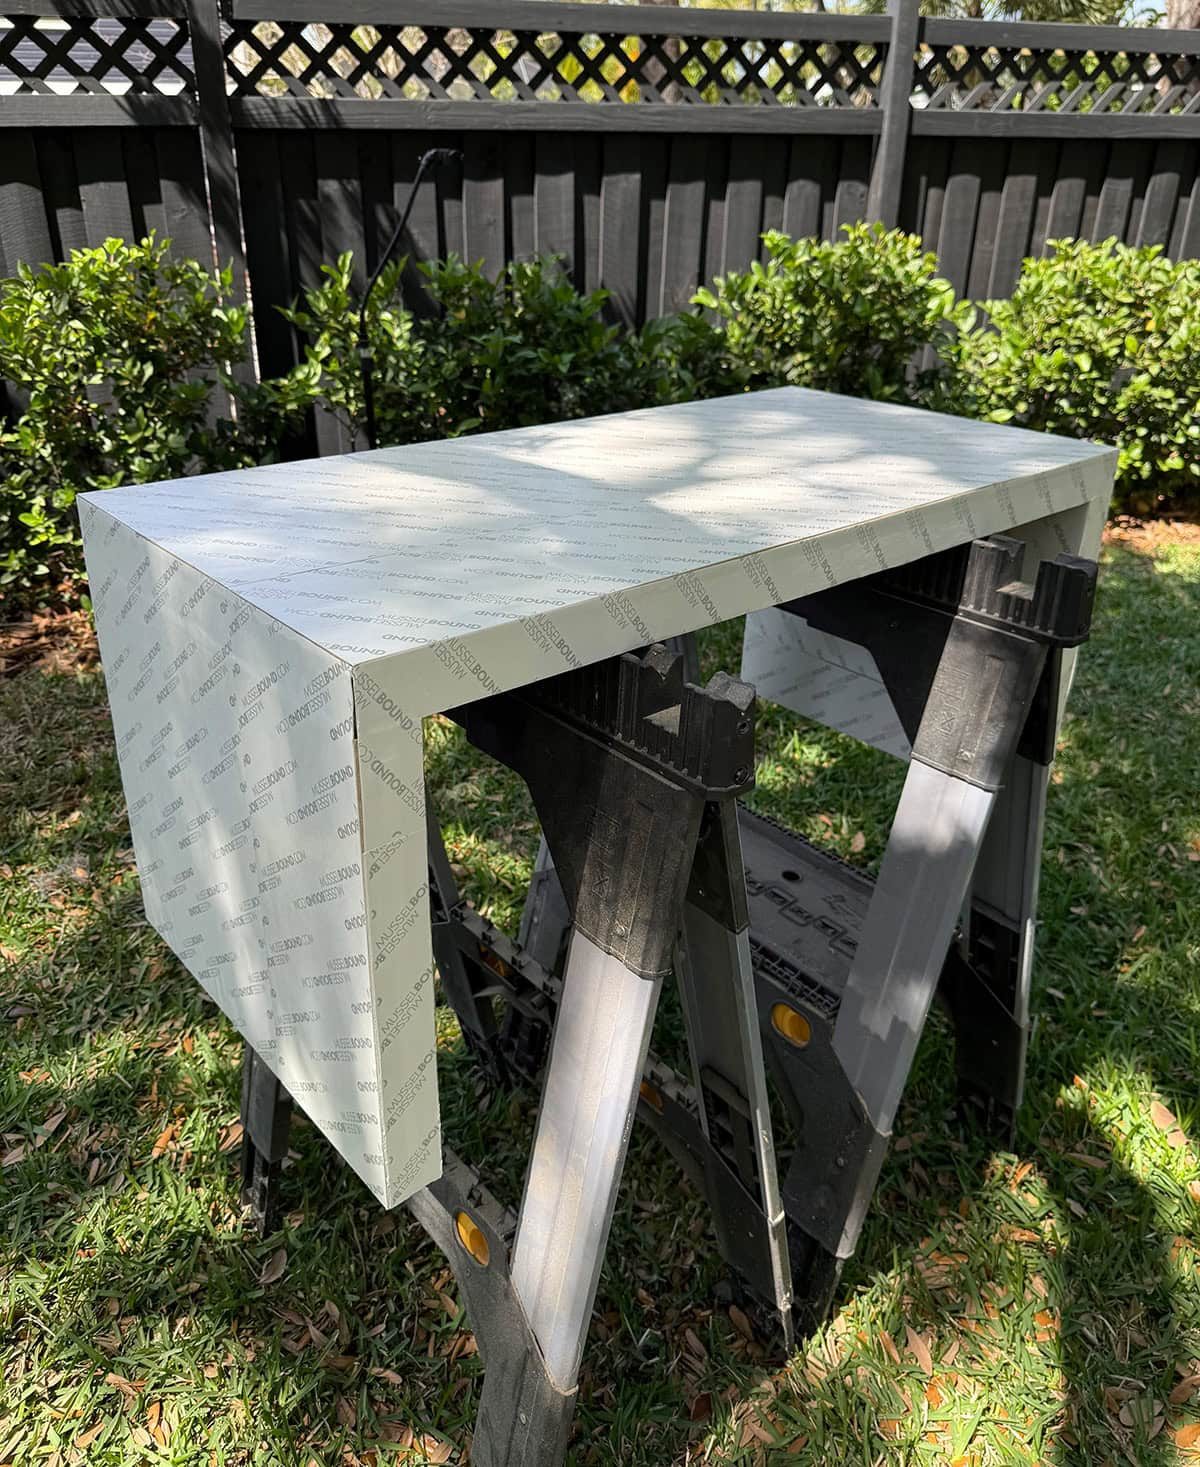
4. Tile the table
We began tiling on the inside with the table upside down. It took some trial and error, since we were only using the ruler as a spacer and had to eyeball it it some areas.

The tile mat made this so much easier, because we could easily adjust the tiles as needed and did not have to wait for thinset to dry.

The tile/grout combo we used was also very forgiving, so the spacing did not have to be well suited. This is how it looked before grout:
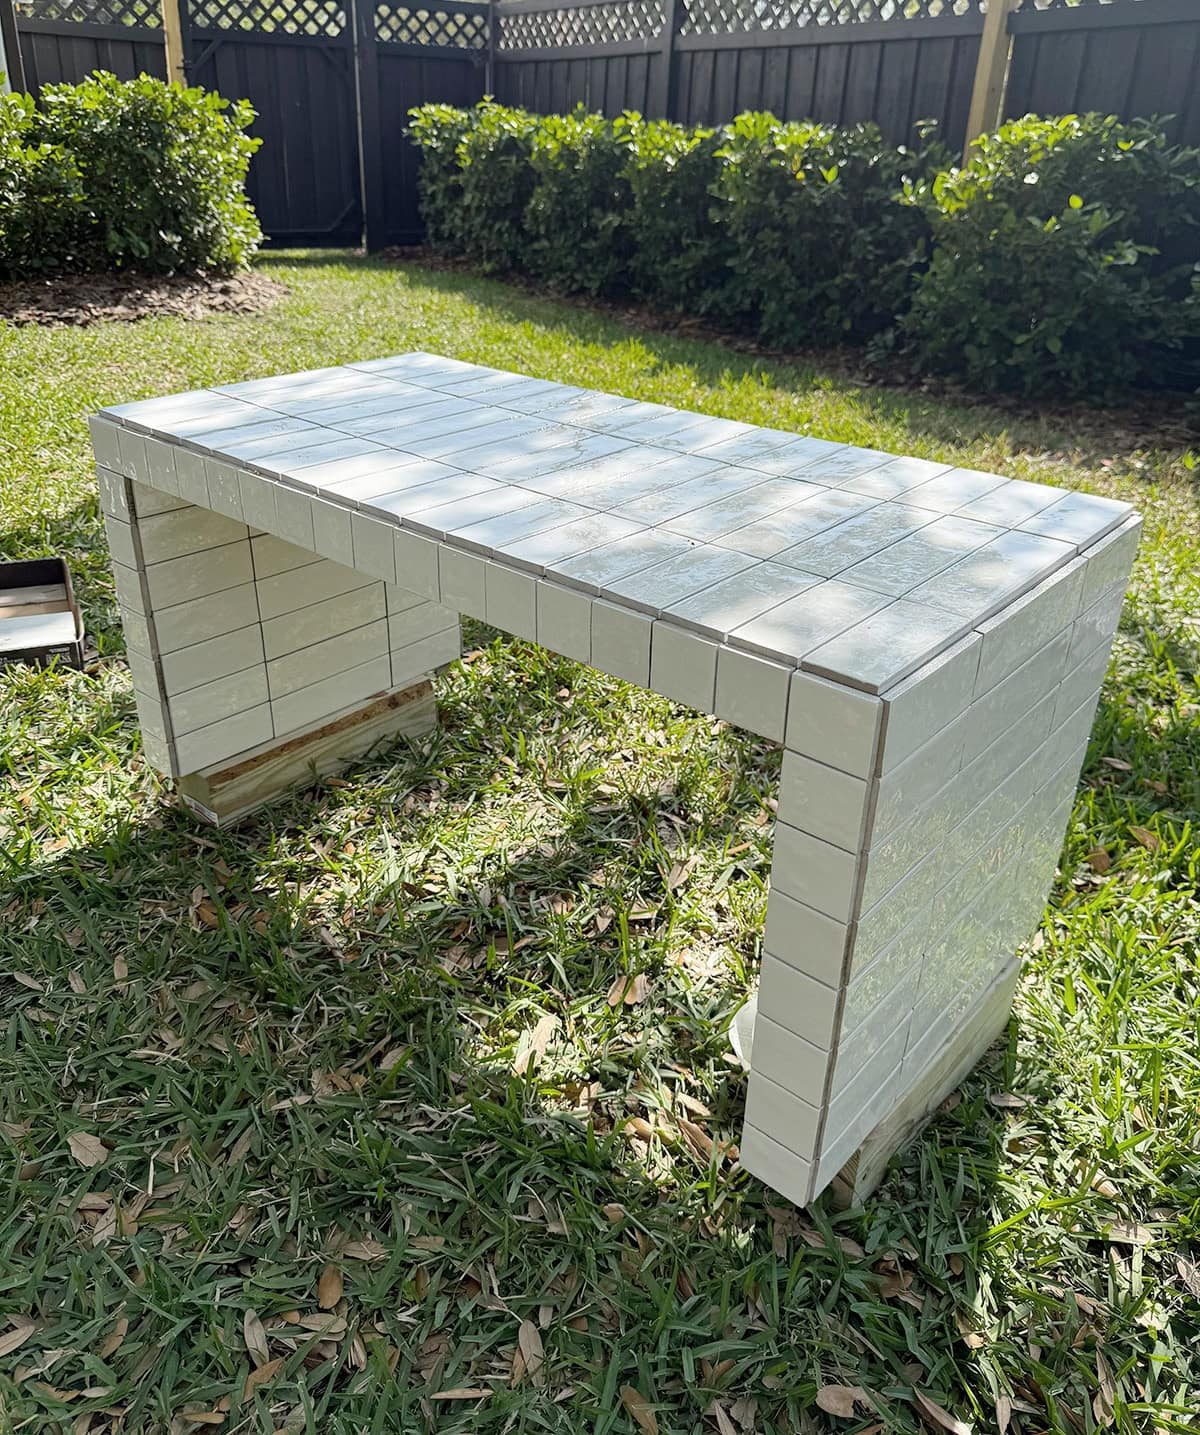
5. Grout the table
Once the tiles were secured, we could start grouting right away. I chose Mapei in Eggshell.
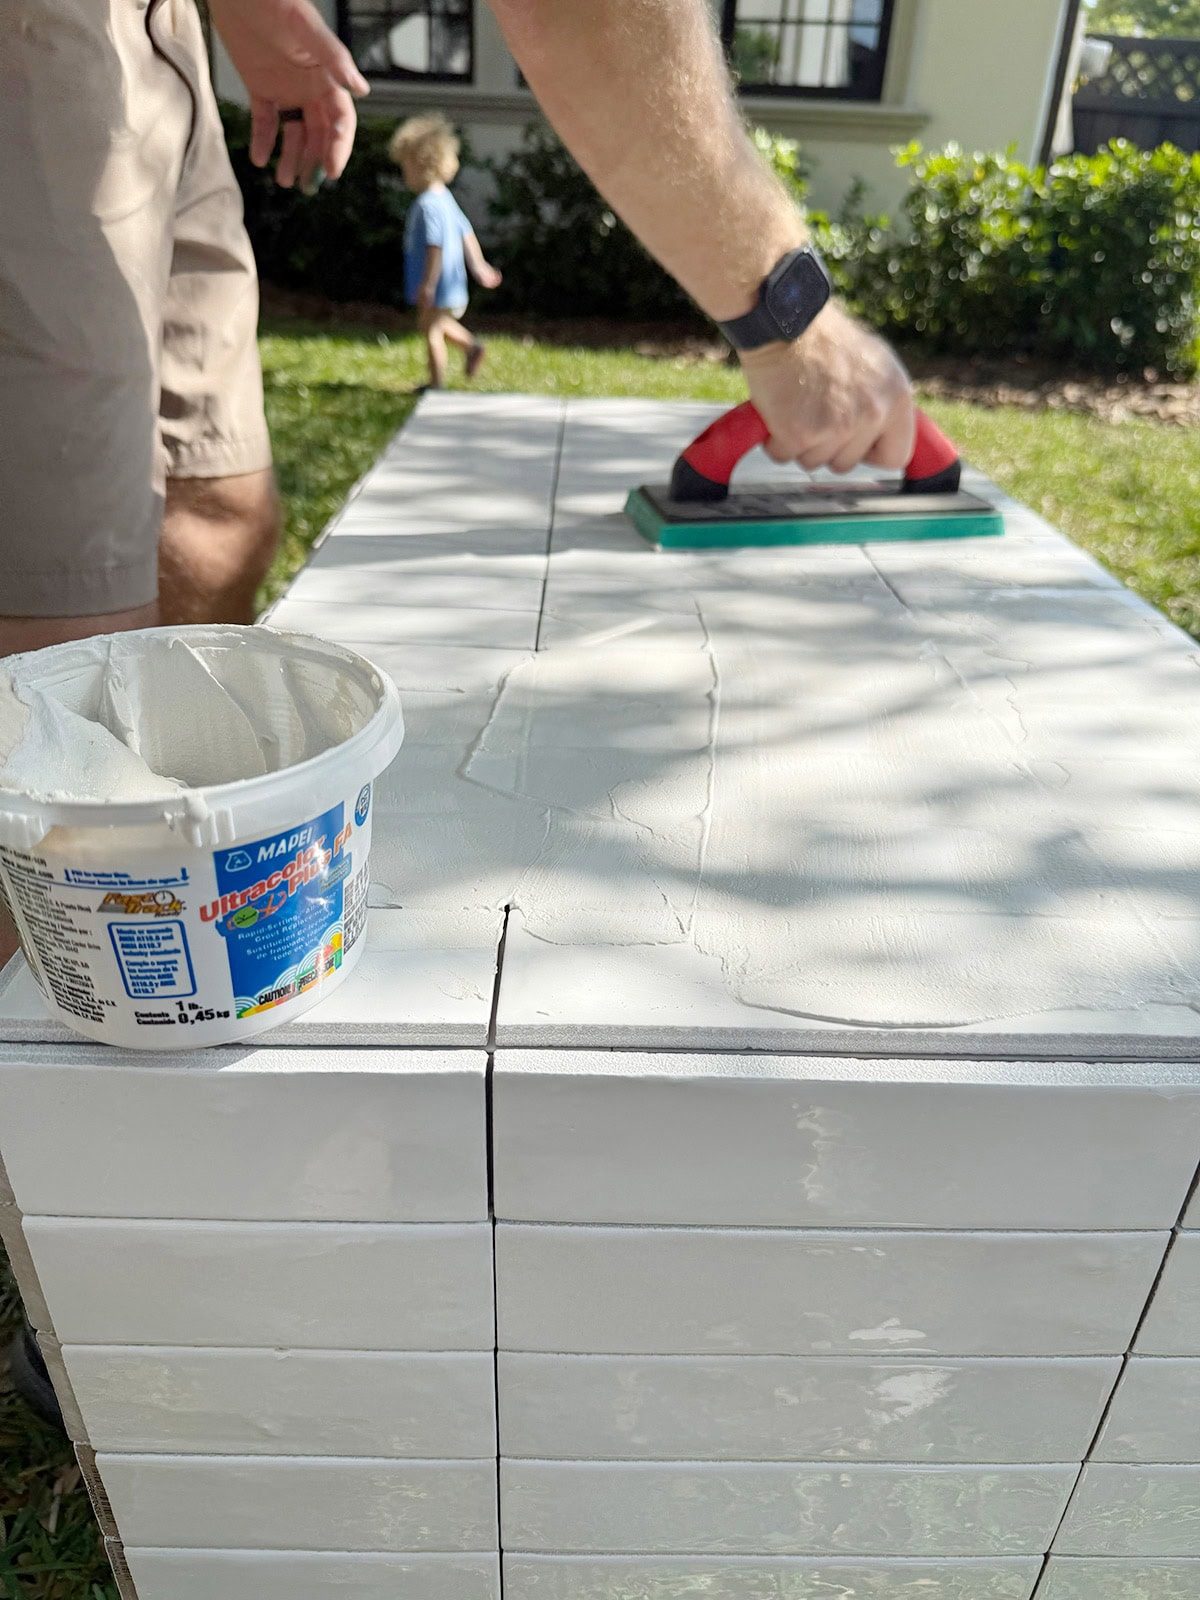
PSA: Get more grout than you think you need! One bucket should have been enough per the instructions, but we had to run back to the store and grab two more. We managed to finish just before sunset (thanks, daylight savings!)
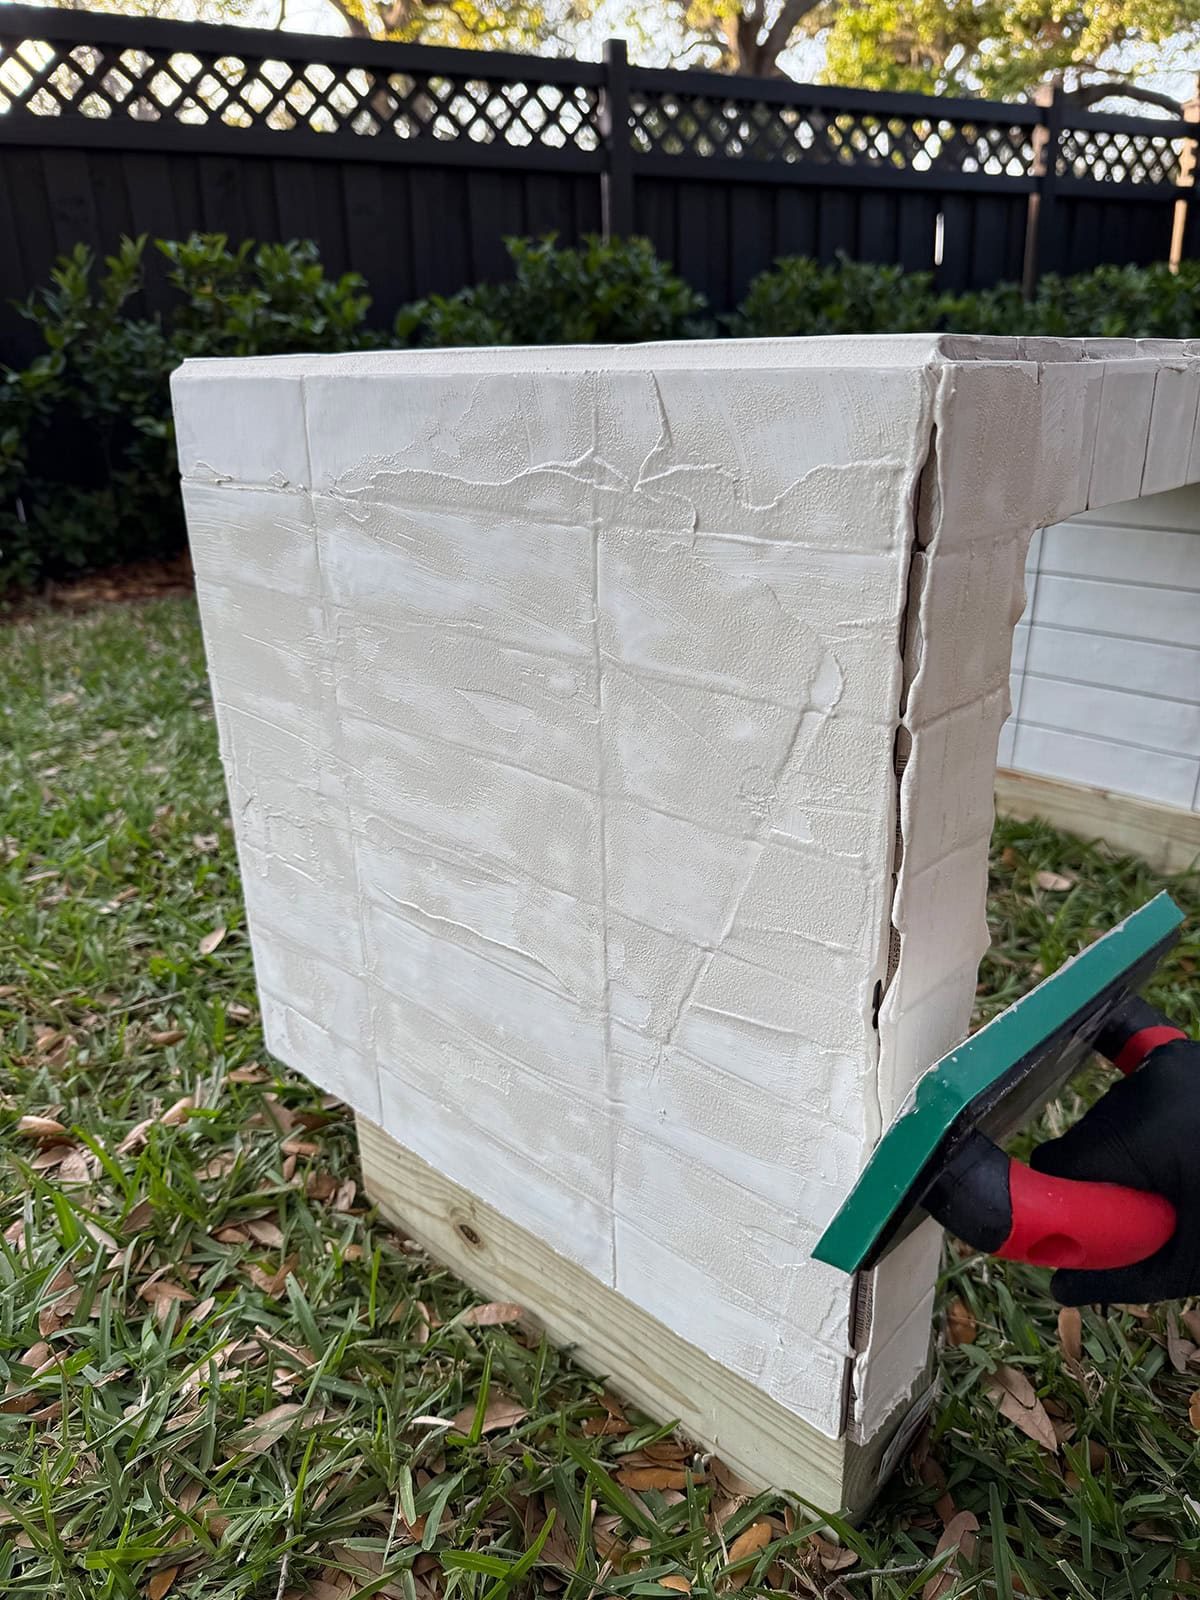
DIY tiled table reveal
This is how our $5 table looks now!

Not bad for a weekend thrift flip, right? In total, the materials cost came to just under $200, which I would say is worth it for a one of a kind piece you can customize with any tile + grout combo. Tile was the biggest expense, so if you are using leftover tile, the cost will be much lower.

I moved the table to our patio for photos, but if you plan to make one, you will want to keep it under a covered area to protect it from direct exposure to weather.

A side table would also be a great way to try this trend on a smaller scale. What do you think—would you add this to your weekend project list this spring?