Ikea Hack: A Custom Godmorgon Vanity
Ikea Godmorgon Vanity hack: how to get a high-end, built in look with custom wood drawer fronts and panels.
If you are wondering how to transform a basic Ikea vanity into a custom built-in: this post is for you! Today I am sharing how we modified and installed the Godmorgon vanity with customized wood panels for an elevated look.
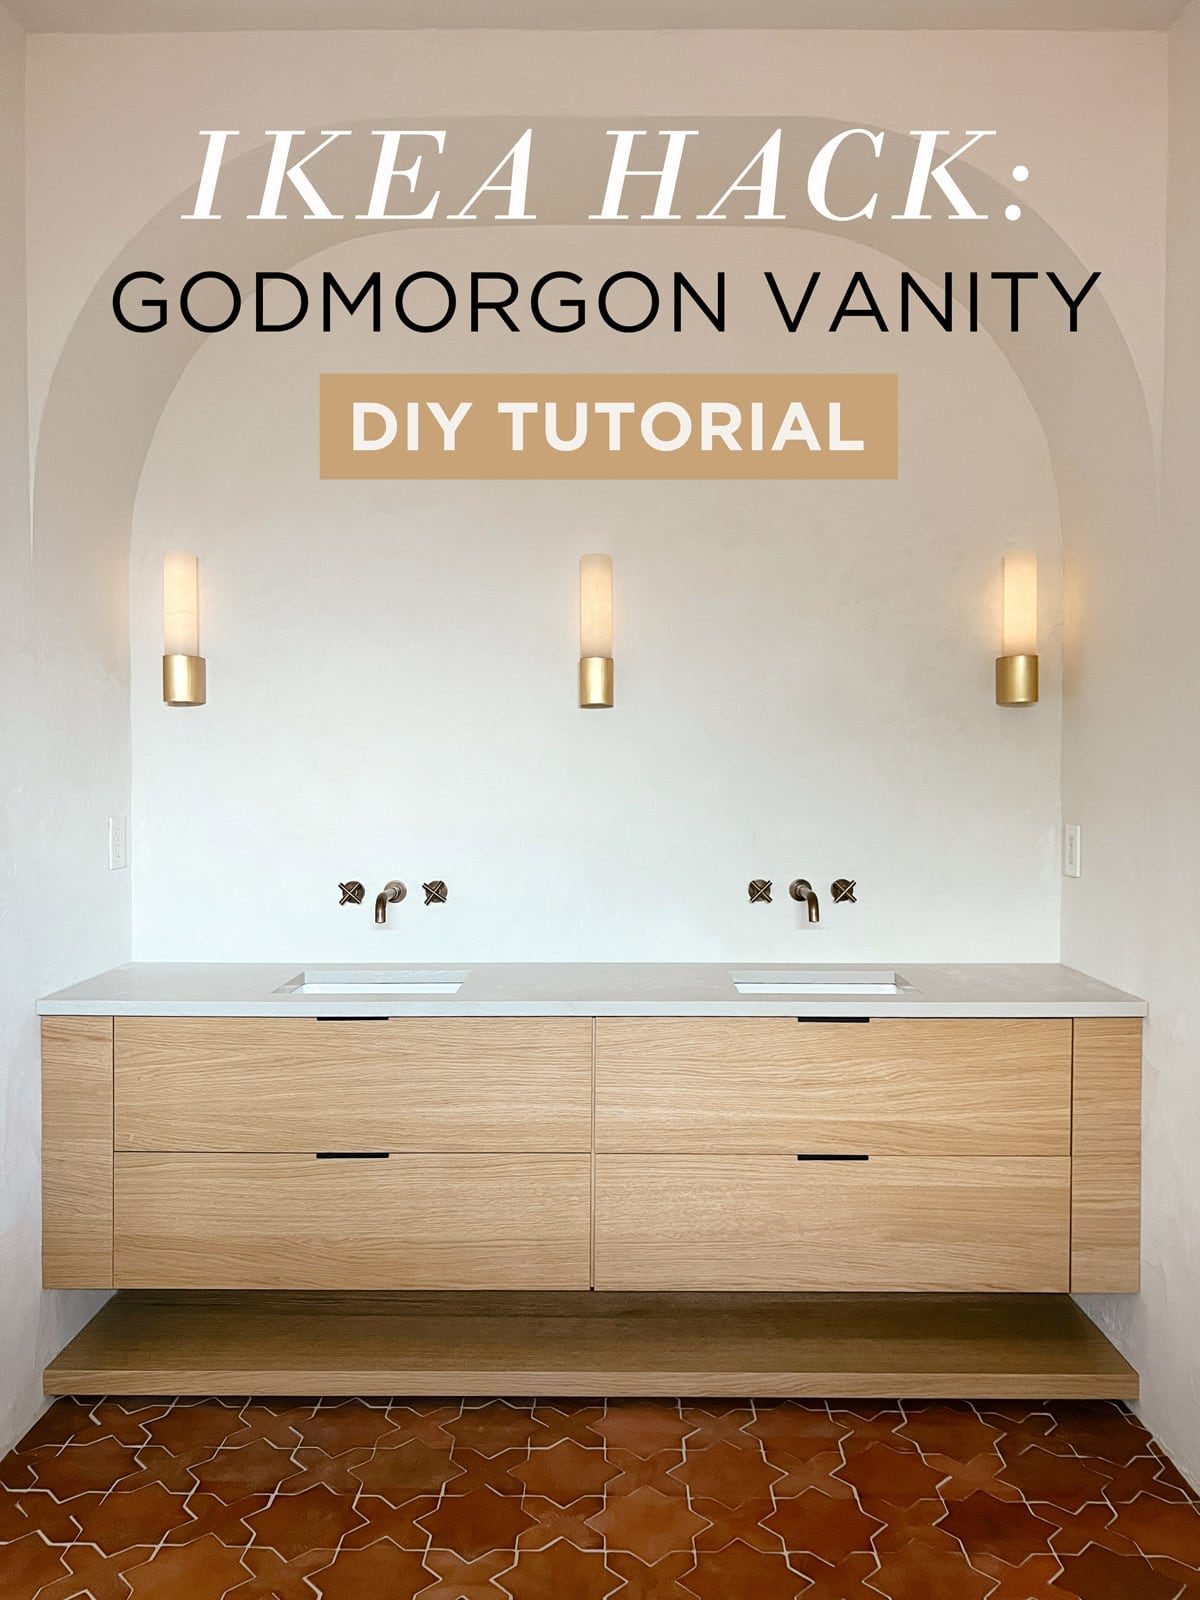
After our microcement walls and floor tile installwas complete, the next big task in the primary bathroom was installing the vanity. I had a very specific look in mind: a minimalist built-in light wood floating vanity with a shelf underneath:
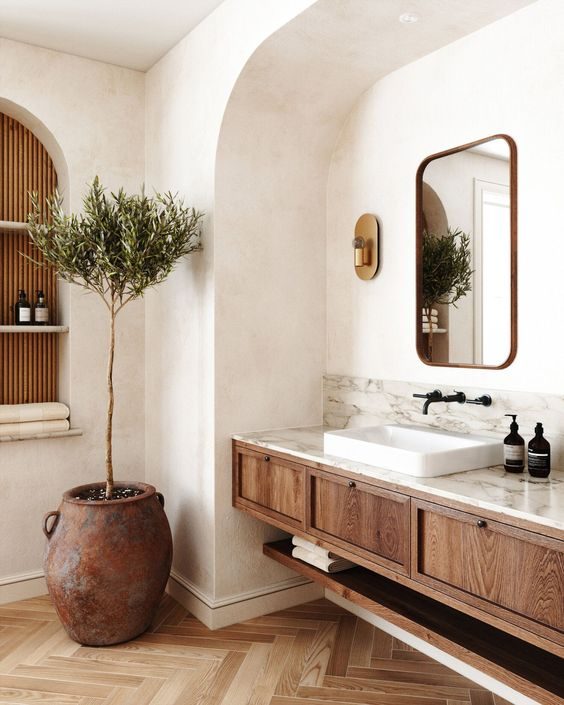
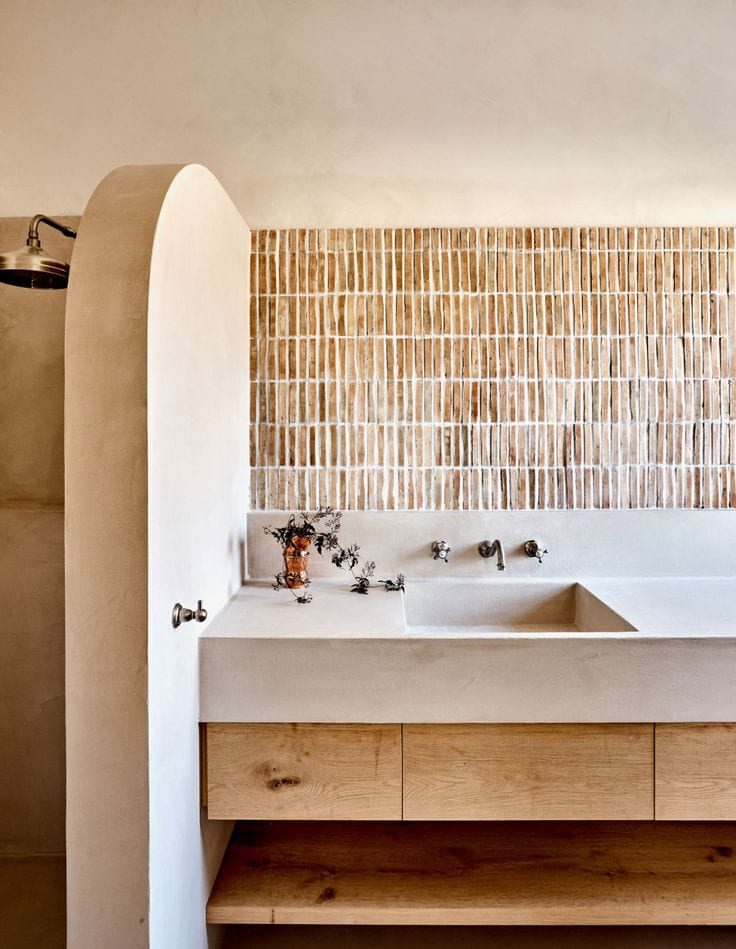
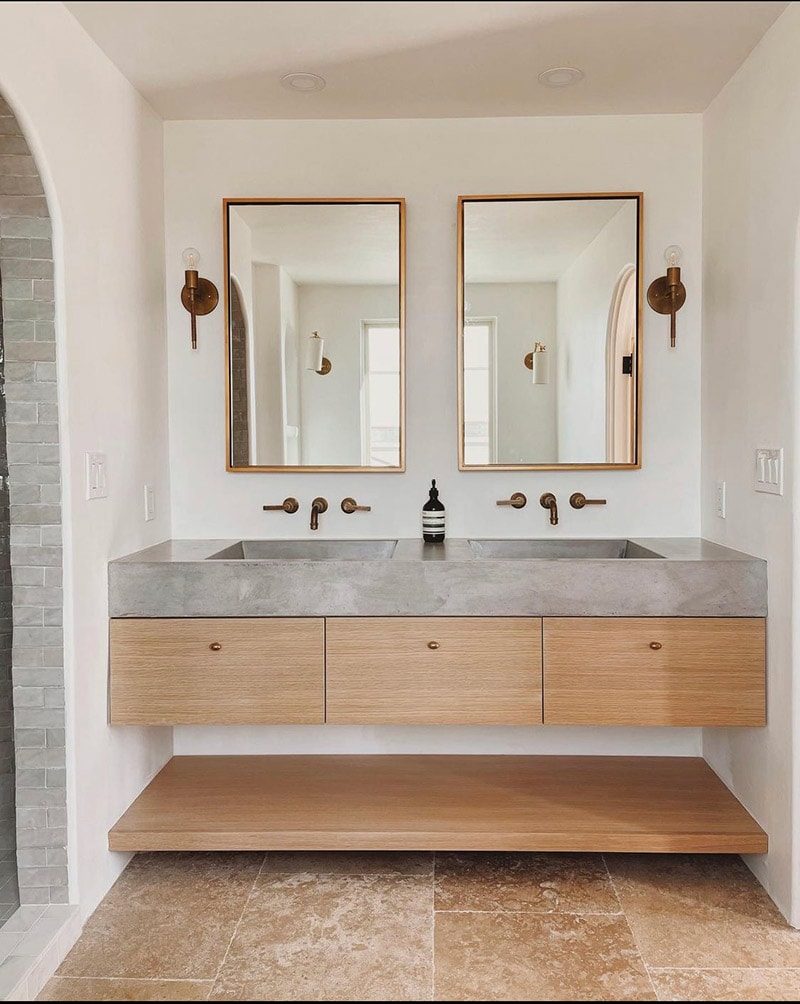
There were two options to get this look: build it from scratch, or use inexpensive Ikea Godmorgon vanities with custom wood fronts and panels. In an effort to save on costs/time, I opted for the latter.
Customizing the Ikea Godmorgon
I reached out to my friends at The Cabinet Face after seeing their selection ofGodmorgon fronts. I ordered several samples and landed on their Brushed White Oak, which has a genuinely nice wood grain texture and tone.
I sent over a mockup with my measurements, and asked if they could build a custom shelf as well. After a few emails back and forth, my custom panels were sent off to production and arrived nine weeks later.

My design included two 40” Godmorgon vanities with two ~5.5” filler pieces on either side against the wall. Total width = 90 1/4”. The vanities were mounted 10” off the ground in order to keep them at standard counter height (34”) and leave enough room under the faucets.

Step 1: Install the shelf
After assembling the vanities, the first step was to build a base for our floating shelf. Since we did not have much vertical space to work with, we built the 2×4” frame directly on the floor and made the depth shallower so you would not see the frame underneath.

Our floors are not level at all, so plenty of shims had to be added to adjust the height.


Once level, the frame was attached to the studs along the walls with long wood screws.


We also ripped down a strip of thin plywood to cover the front of the frame and block the gaps made by the shims. This would prevent small things from finding their way back there and getting lost under the shelf.


Our shelf came pre-mitered which was a huge help (thank you, The Cabinet Face!) and just needed to be cut down to fit the width. Sanding was also required in some areas to scribe the edge to our uneven textured walls.


The shelf was attached using wood glue and finish nails along the back of the frame. Easy peasy!


Step 2: Attach the vanities to the wall
Ikea's installation instructions left us scratching our heads, because there only four pre-determined locations to attach the vanity to the wall, and a 99% chance they will not land on studs. Ikea: tell me how a few drywall anchors will support an entire vanity, carrying the weight of a stone counter and sink and everything else inside?? Sketchy.

So, we did things our own way. Starting with a support piece (made from a ripped down 2×4) attached to the wall, which the bottom of the vanities would sit on. We also added metal L brackets to connect the vanities to the support ledge.

Then, we drilled directly into the cross piece along the back of the vanities into the studs (two screws per stud).

Finally, using the supplied metal brackets from Ikea, we inserted heavy duty toggle metal bolts.


We also screwed the vanities to each other at the front, to make sure they would not separate.

Now, we are confident these babies are not going anywhere.
Step 3: Add blocking for filler pieces
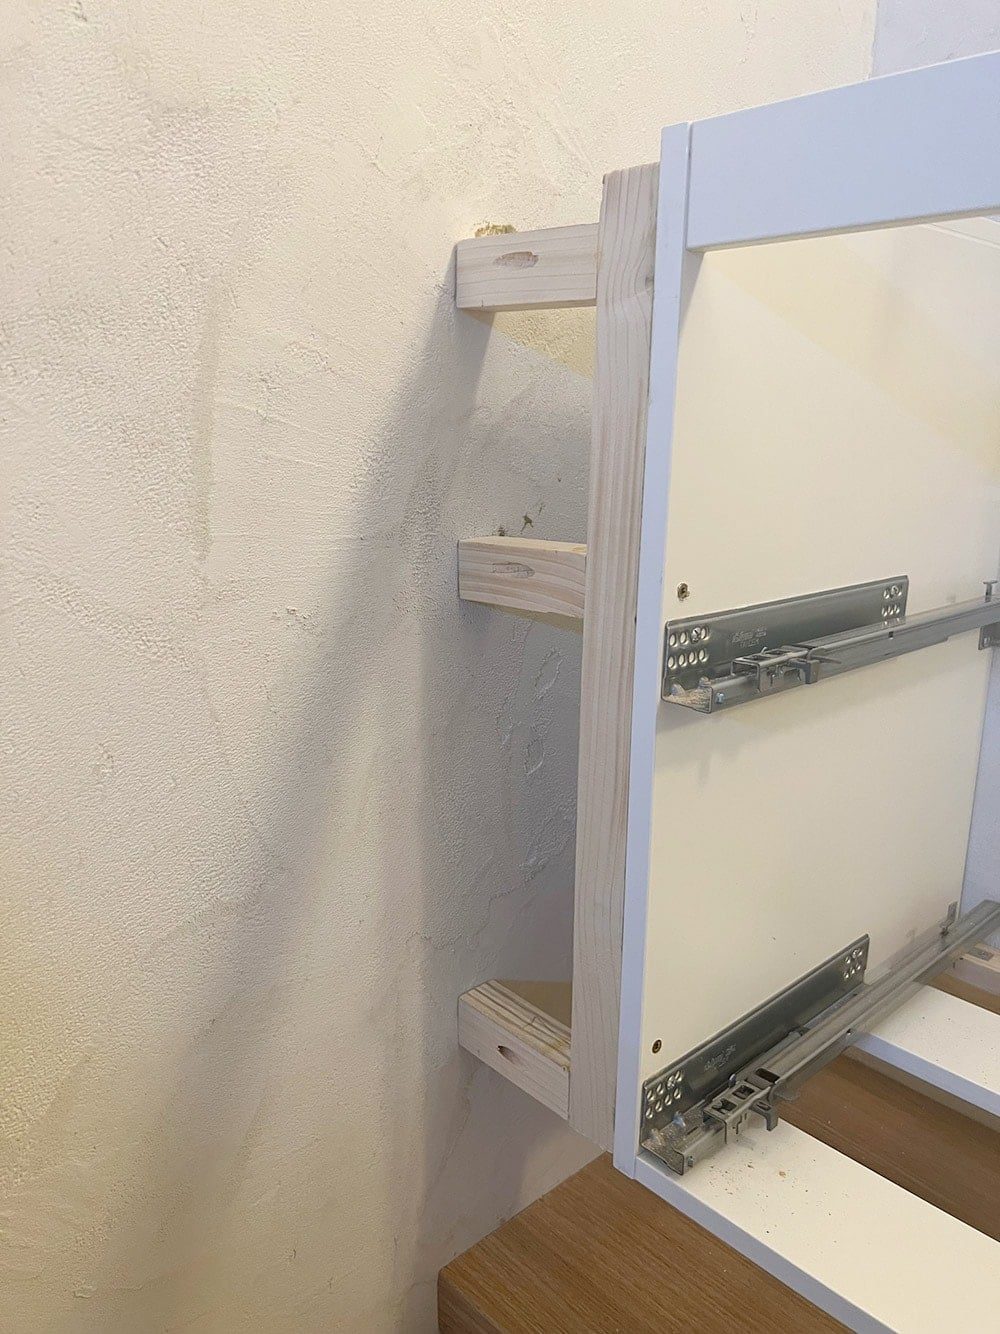
Before installing the counters, blocking was added on the sides of the vanity for the filler pieces. This can be done a couple different ways. On one side, a strip of 2×4' was secured flush to the front edge of the vanity, and then three cross pieces were attached to the wall with pocket hole screws (not into studs).
On the right side, we tried a different method to see if it would be easier. The same vertical strip was attached to the vanity, but then two smaller pieces were clamped to the top and bottom using wood glue. The wood glue bonds the wood together to form one solid piece. This method worked well and saved a little time.
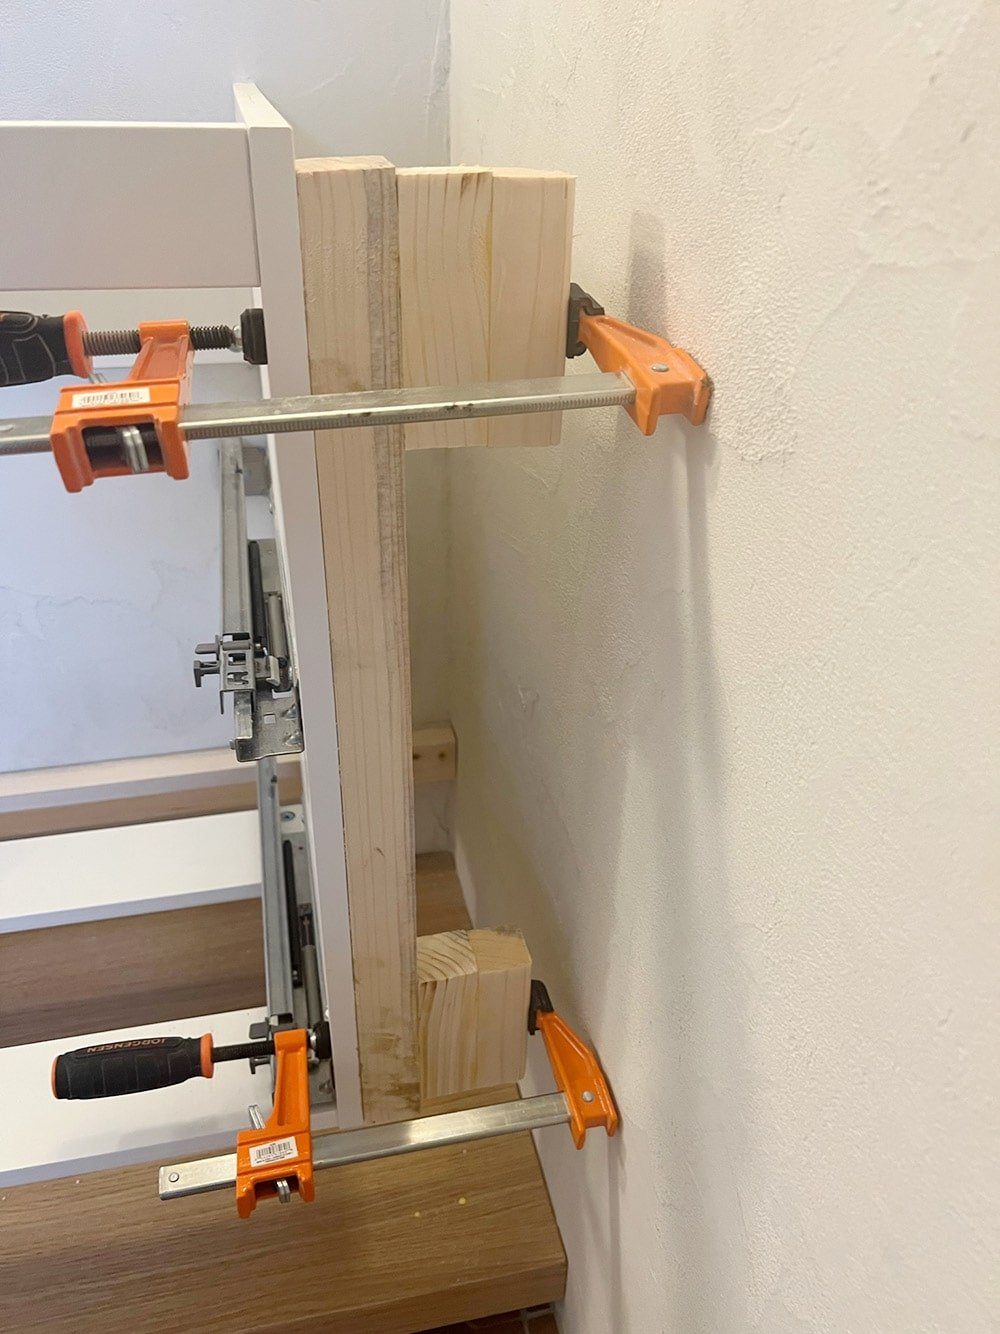
Note: this would also be the be best time to install the filler pieces. We decided to wait until after the drawers were in so we could cut the pieces exactly to match the height, but that proved to be a mistake. It was extremely tricky to screw the filler pieces in from the back after the counter was installed, as there was hardly any room and no way to see back there. We made it work (barely), but would not recommend it.
Step 3: Install counter and sink
For the countertops, I chose Hanstone Quartz, 3cm in the color Coast. It is a light gray with subtle white veining and a genuinely neat honed 'river washed' texture that feels like natural stone.

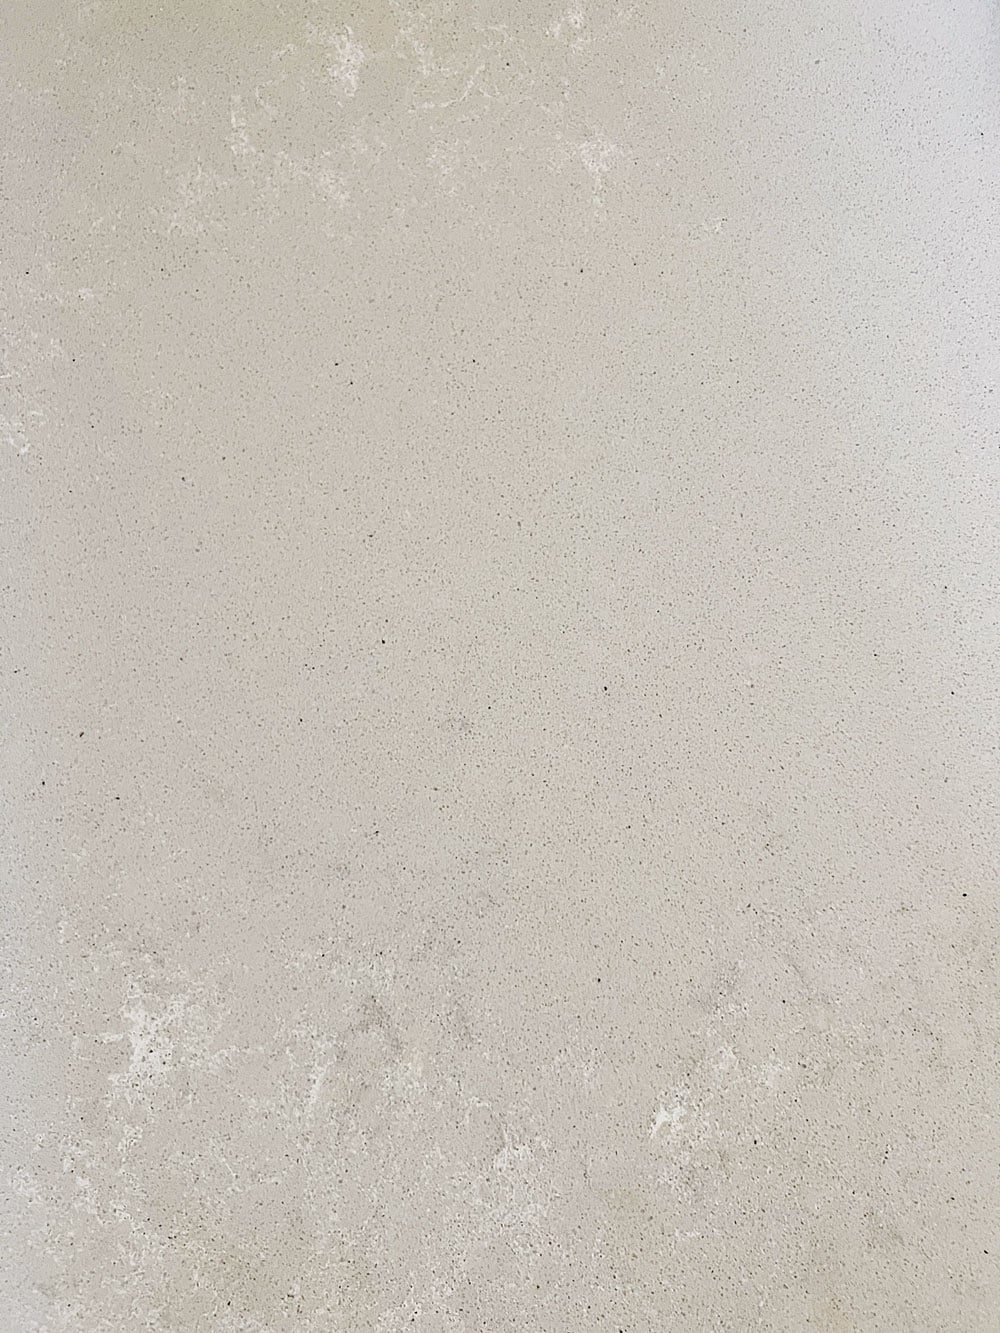
Two rectangular undermount sinks were also installed.

Step 4: Modify and install drawers
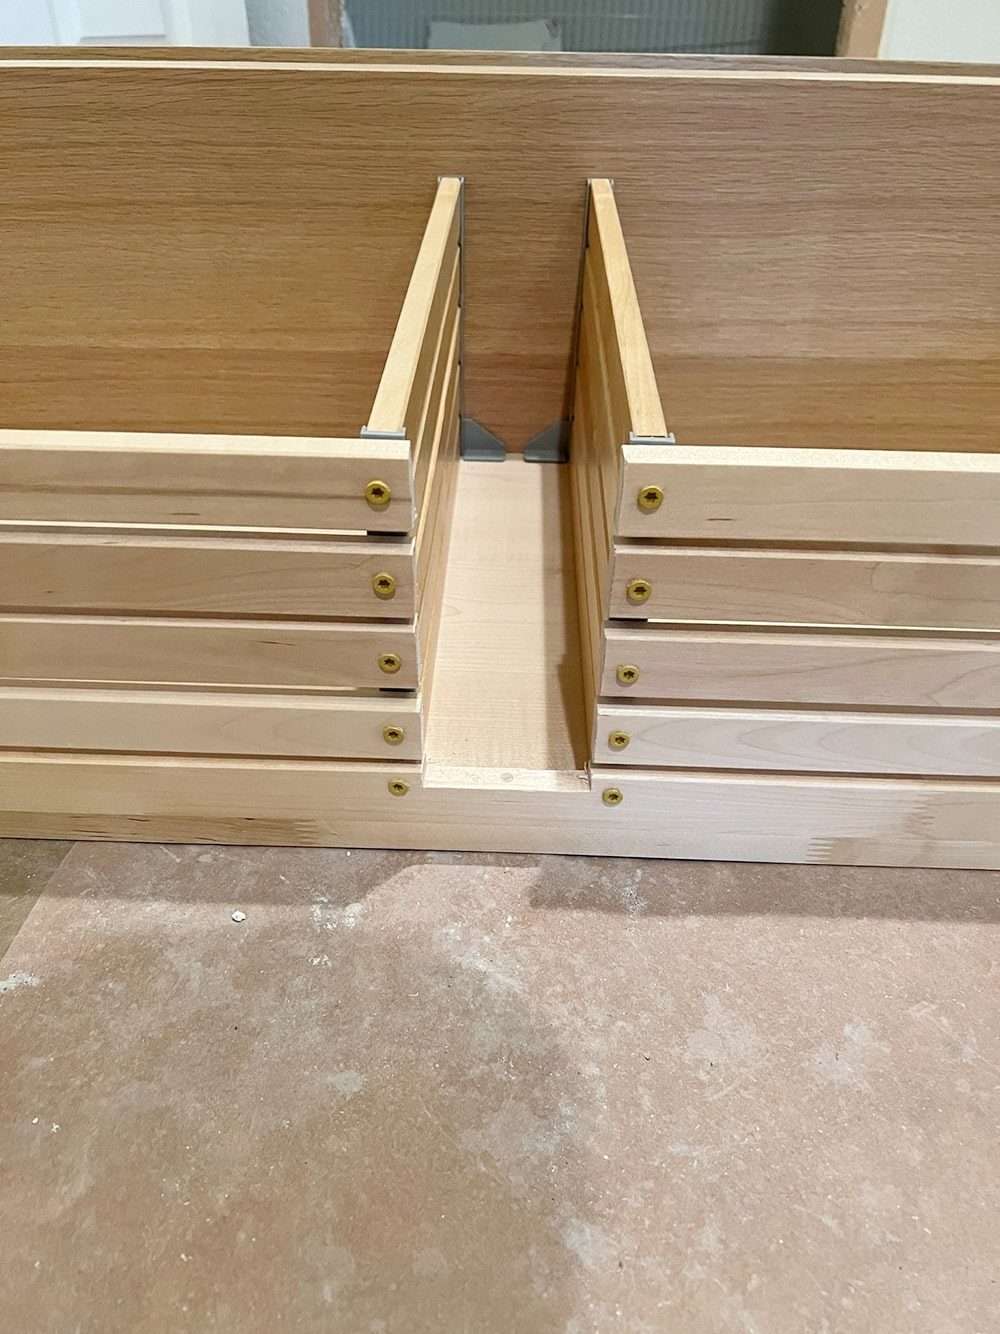
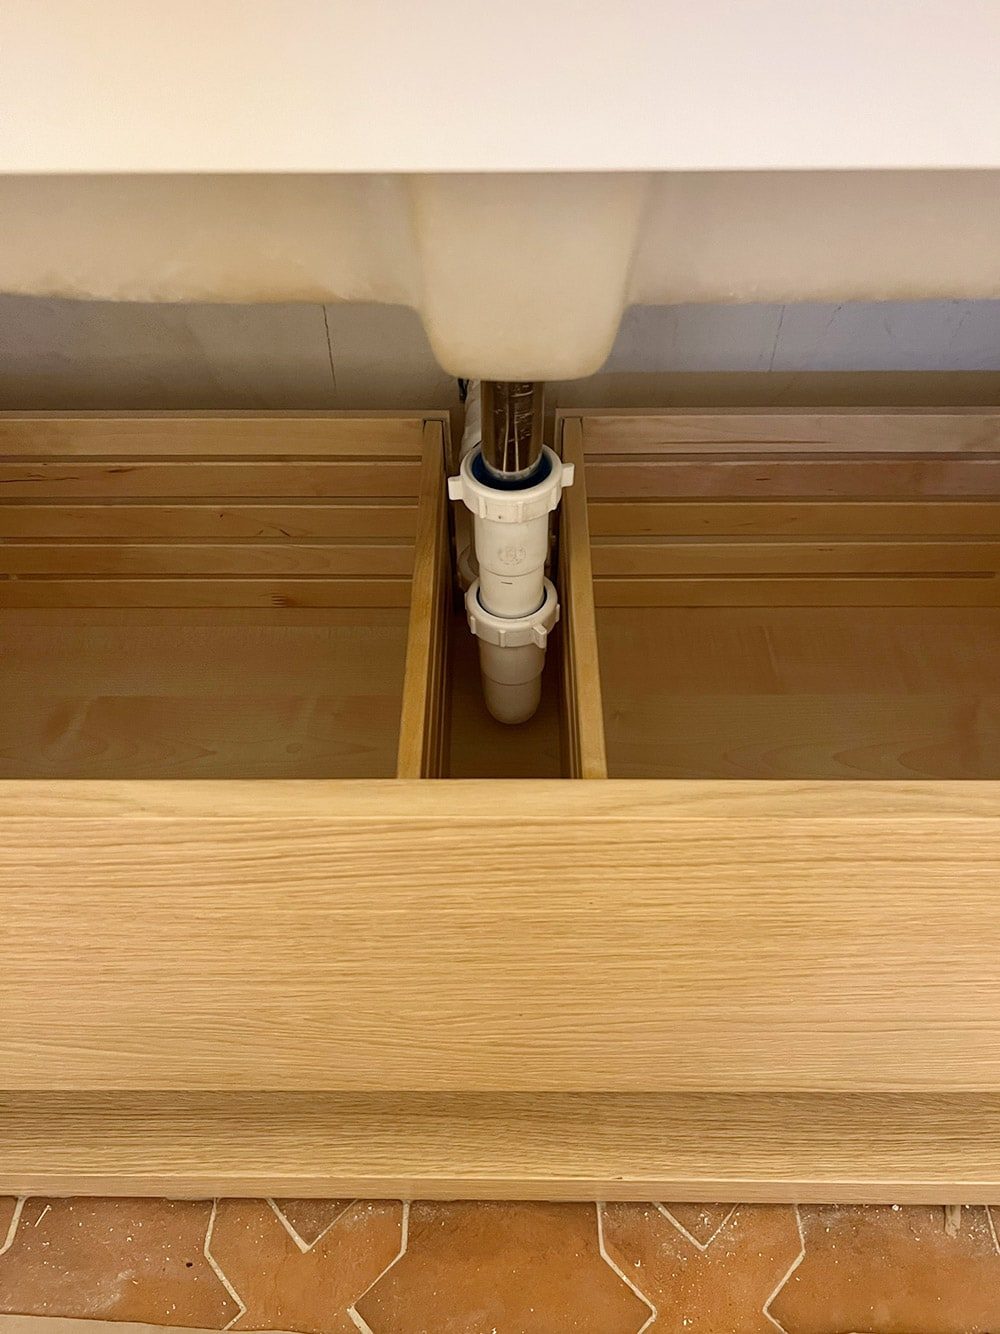
Since we are using undermount sinks, the Godmorgon drawers have to be modified to accommodate the plumbing. You can route the plumbing to avoid the bottom drawer, but our plumber did not, so we had to modify both drawers.

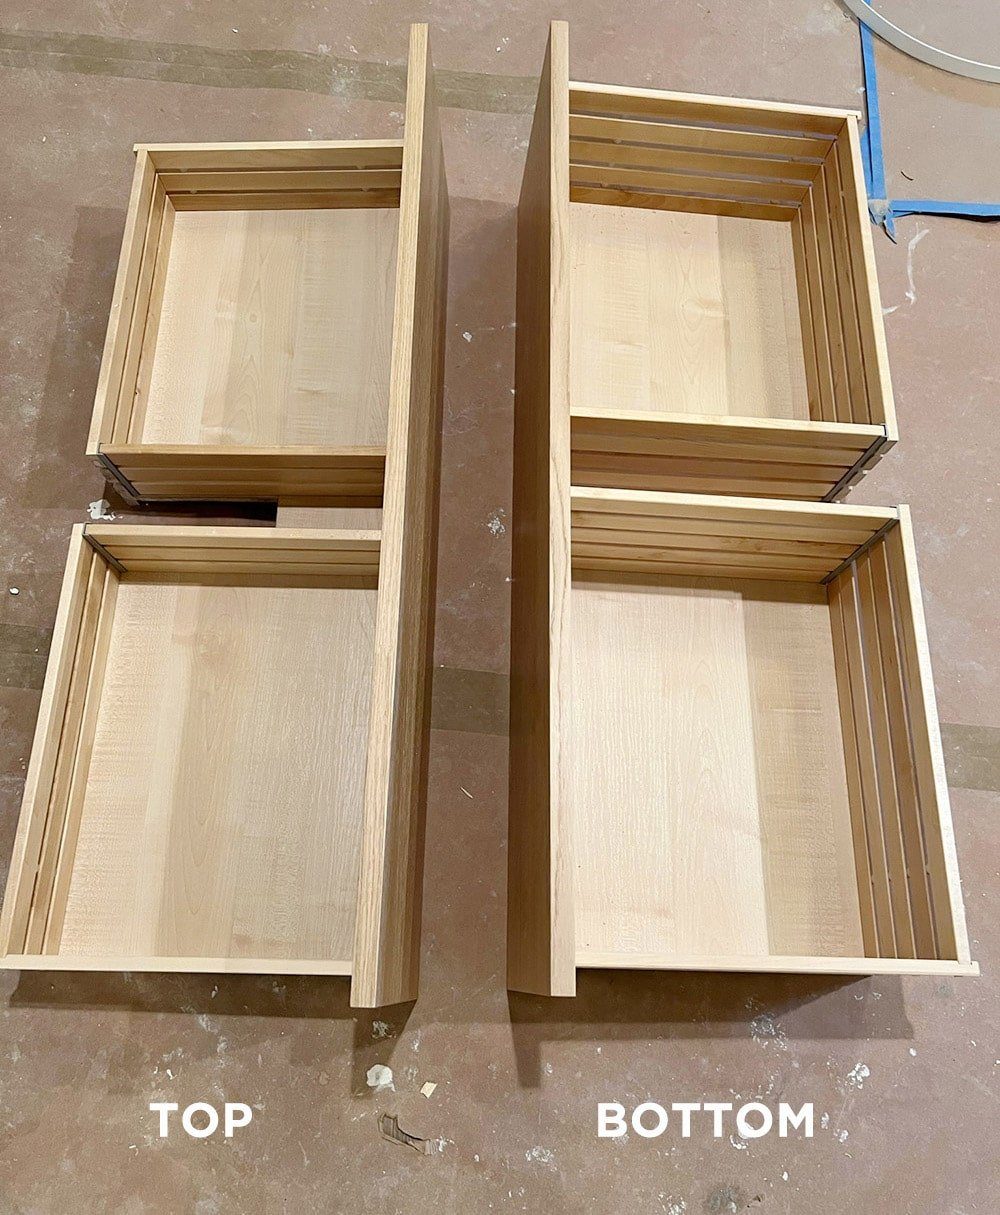
Fortunately, this is a relatively unfussy process. Ikea provides removable dividers that you can attach to the cut edge for a cleaner look. We notched out a section of the back with a Dremel, then screwed each slat into the back of the divider.

The end result leaves one small visible cut edge in the center, but it is genuinely not bad at all.
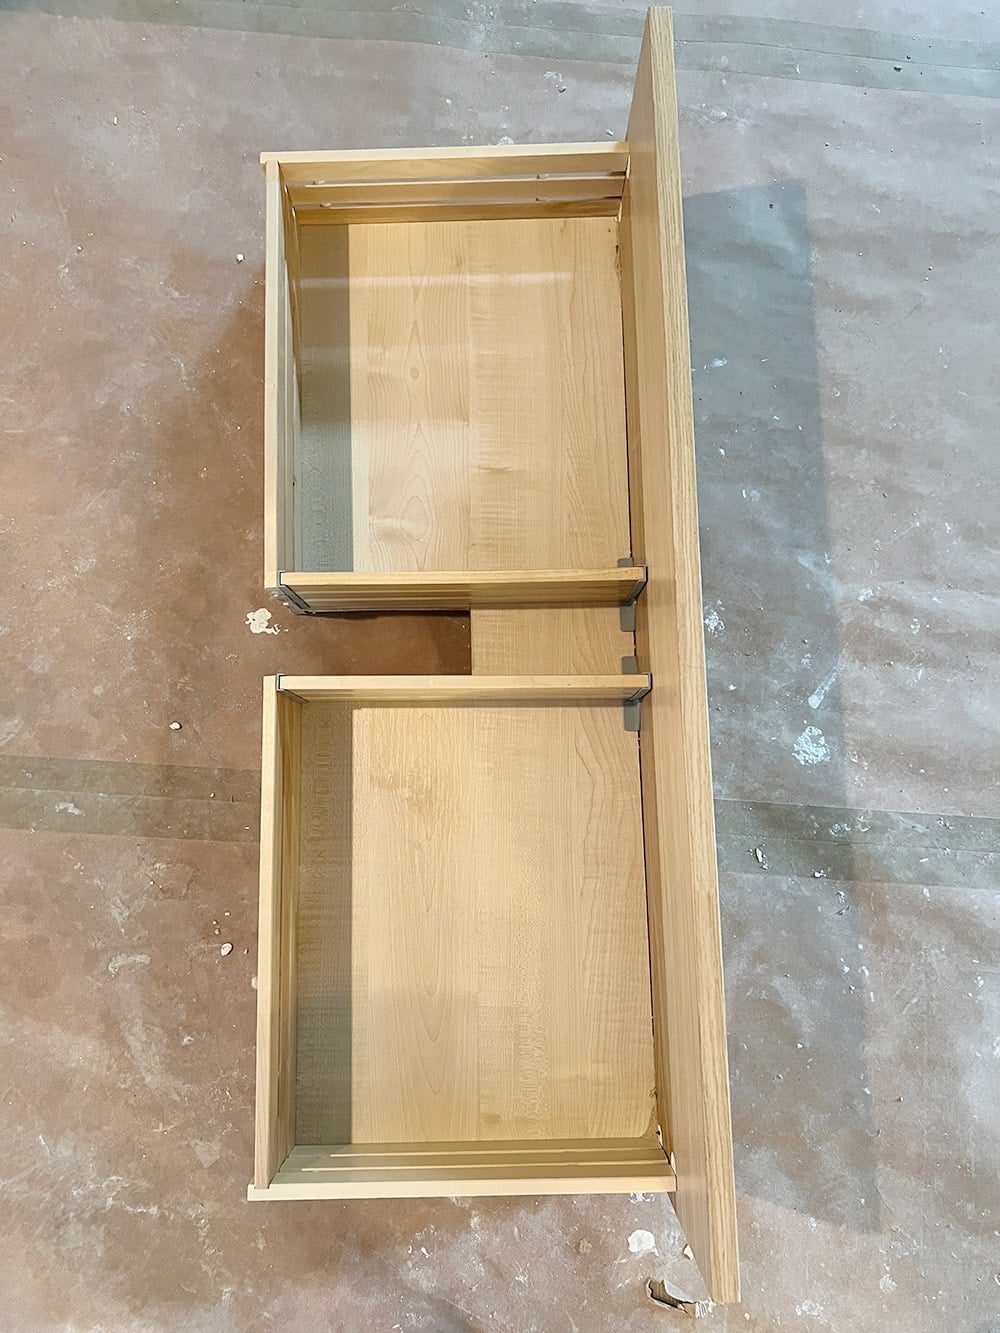
The same process was repeated for the bottom drawer, but only the slats had to be cut on this so you do not see any unfinished edges.
Step 5: Finishing touches
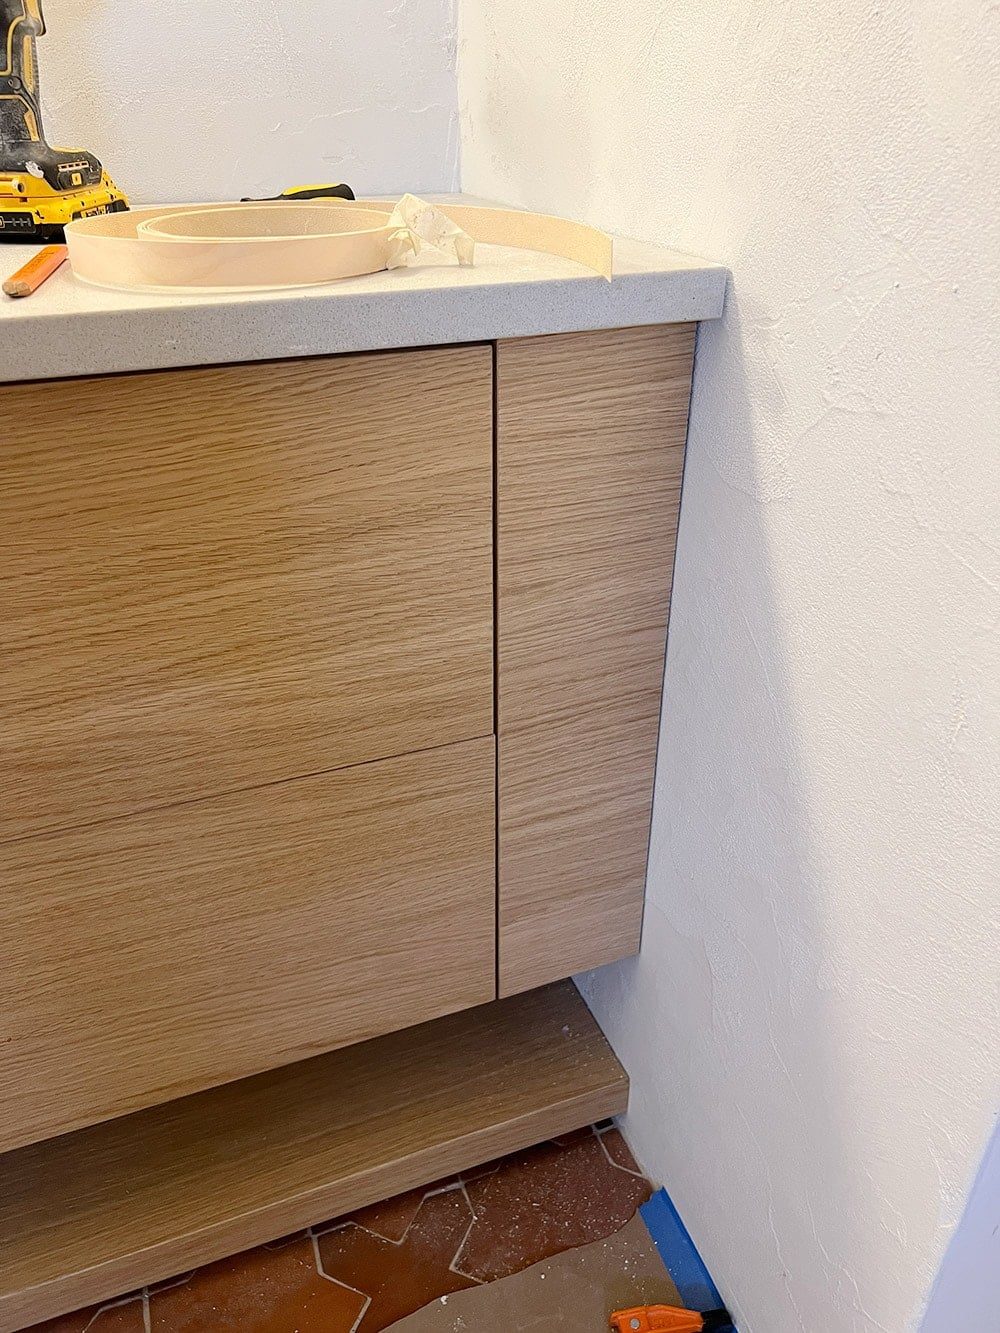
Before we moved on to the filler pieces, we had to address an unsightly issue. See that big gap in the center? The drawers did not line up perfectly, and there is no way to adjust them left and right (we researched and called customer service to confirm).
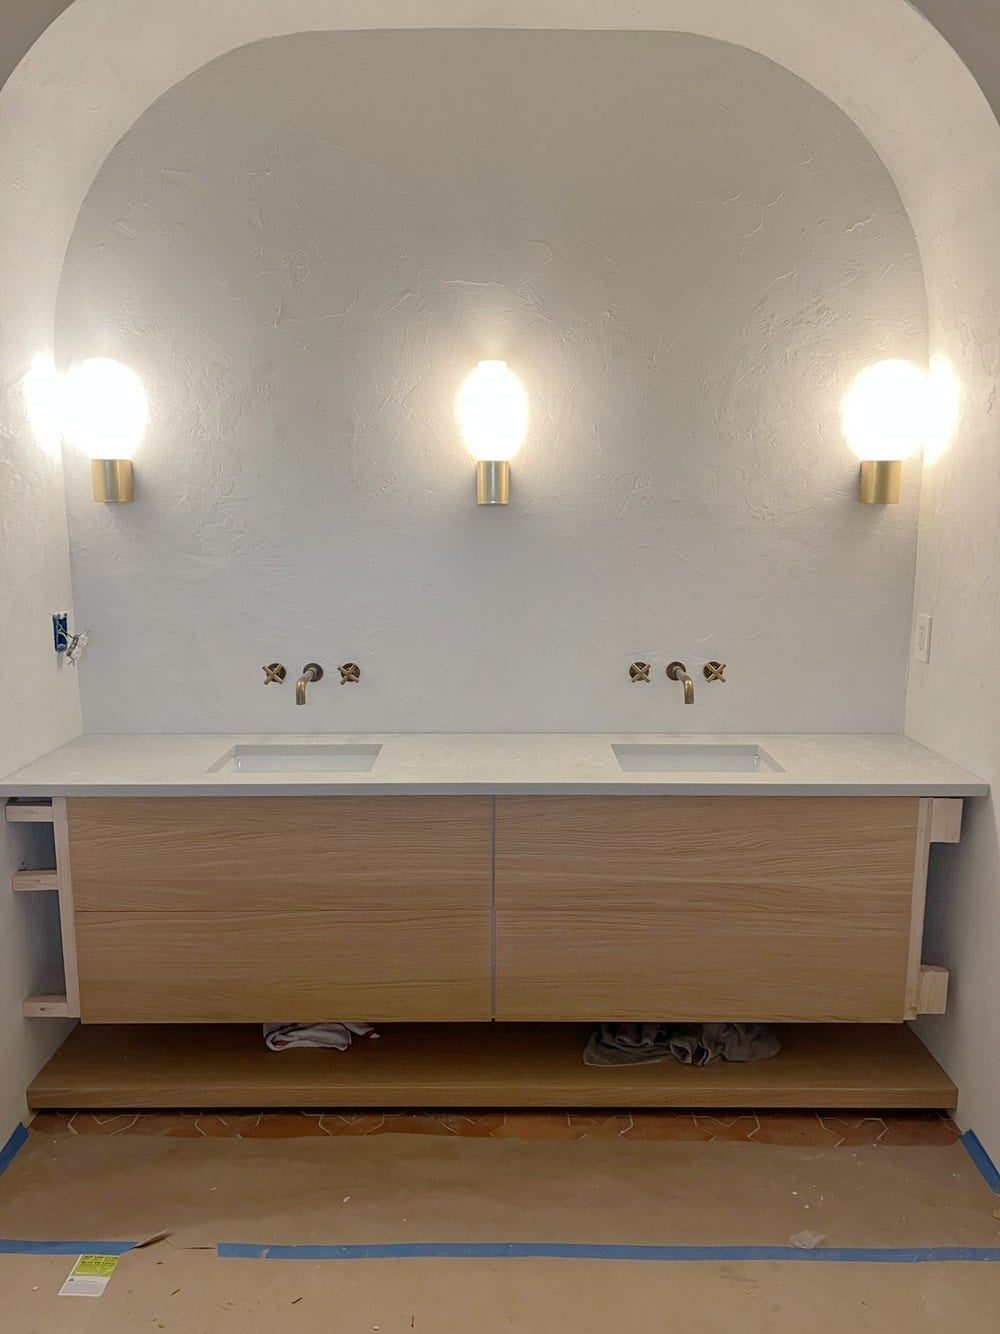
So, my solution to hide the large gap was edge banding veneer. This would make those visible cabinet edges look like wood, and it would blend in much more than a white cabinet frame. You can see the difference closeup, with a strip of edge banding on the bottom:

We used this iron-on edge bandingleftover from our kitchen cabinets. It adhered quite well, even on melamine!
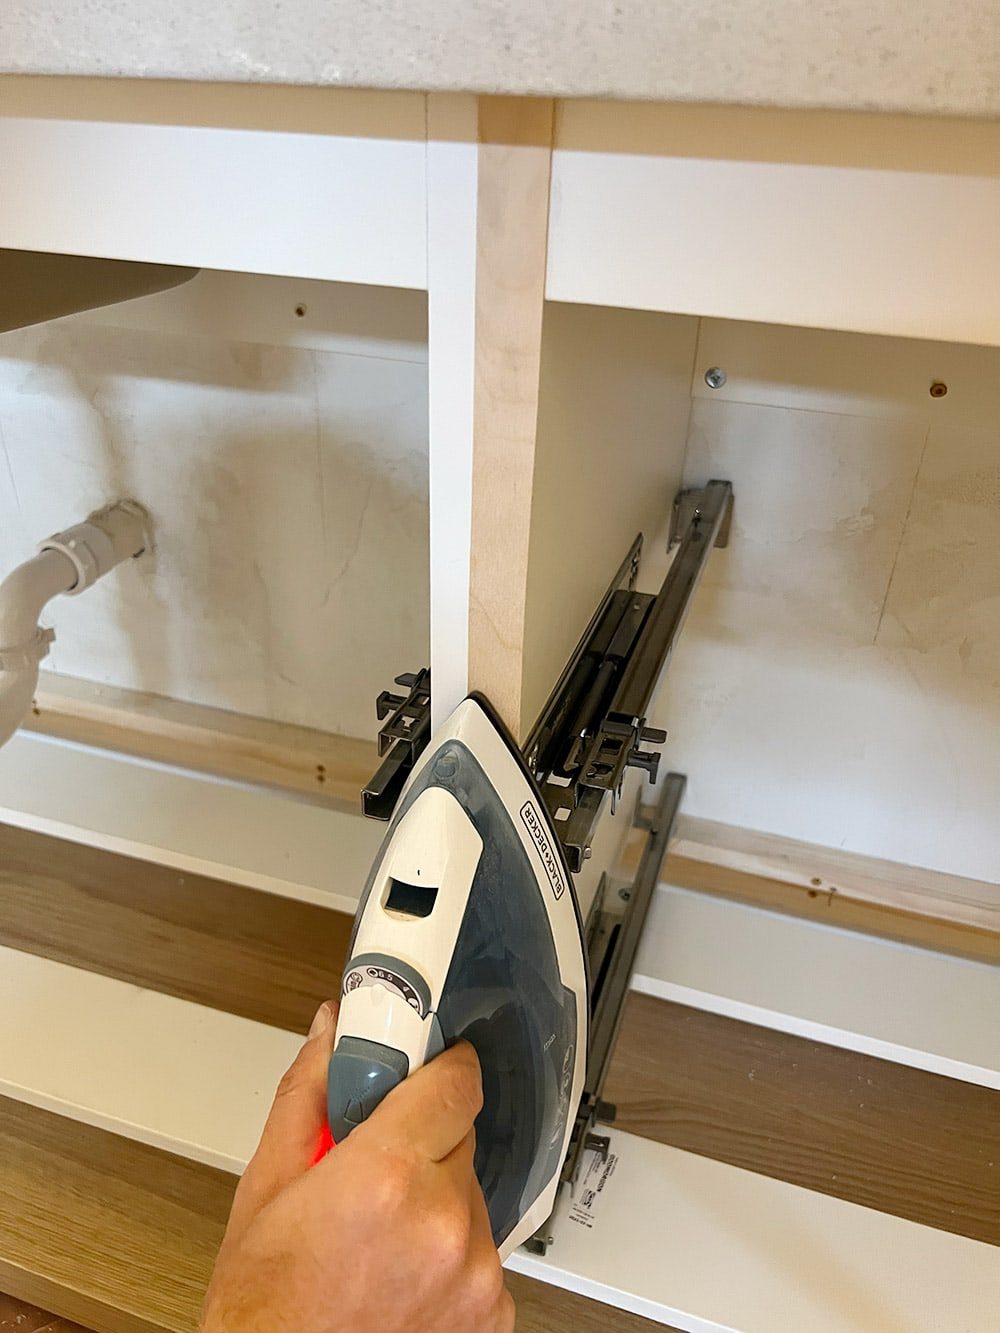
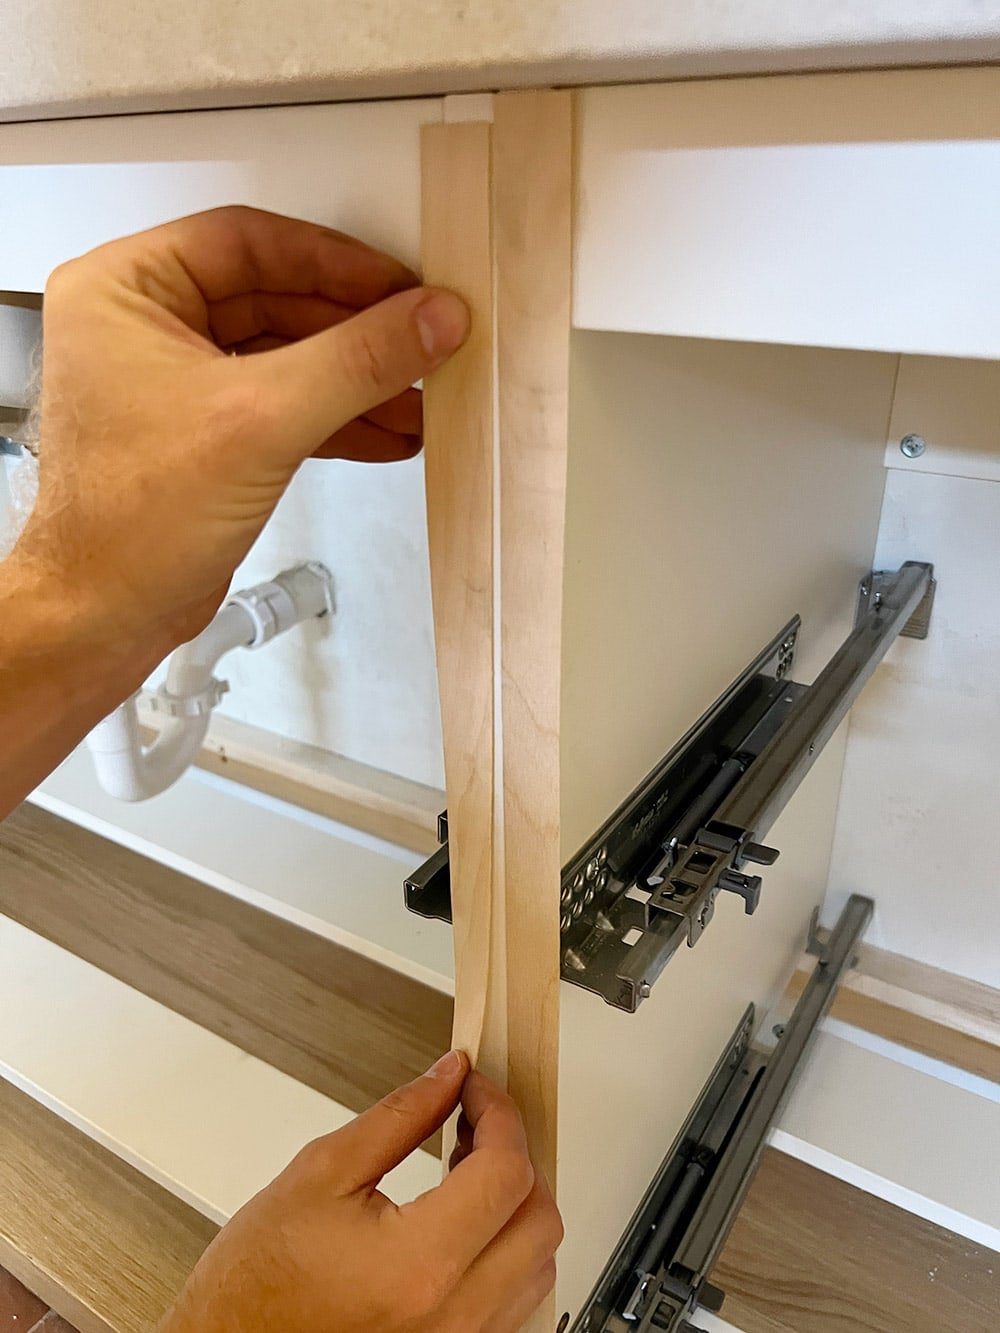
The excess was trimmed with a sharp blade and lightly sanded. Much better.
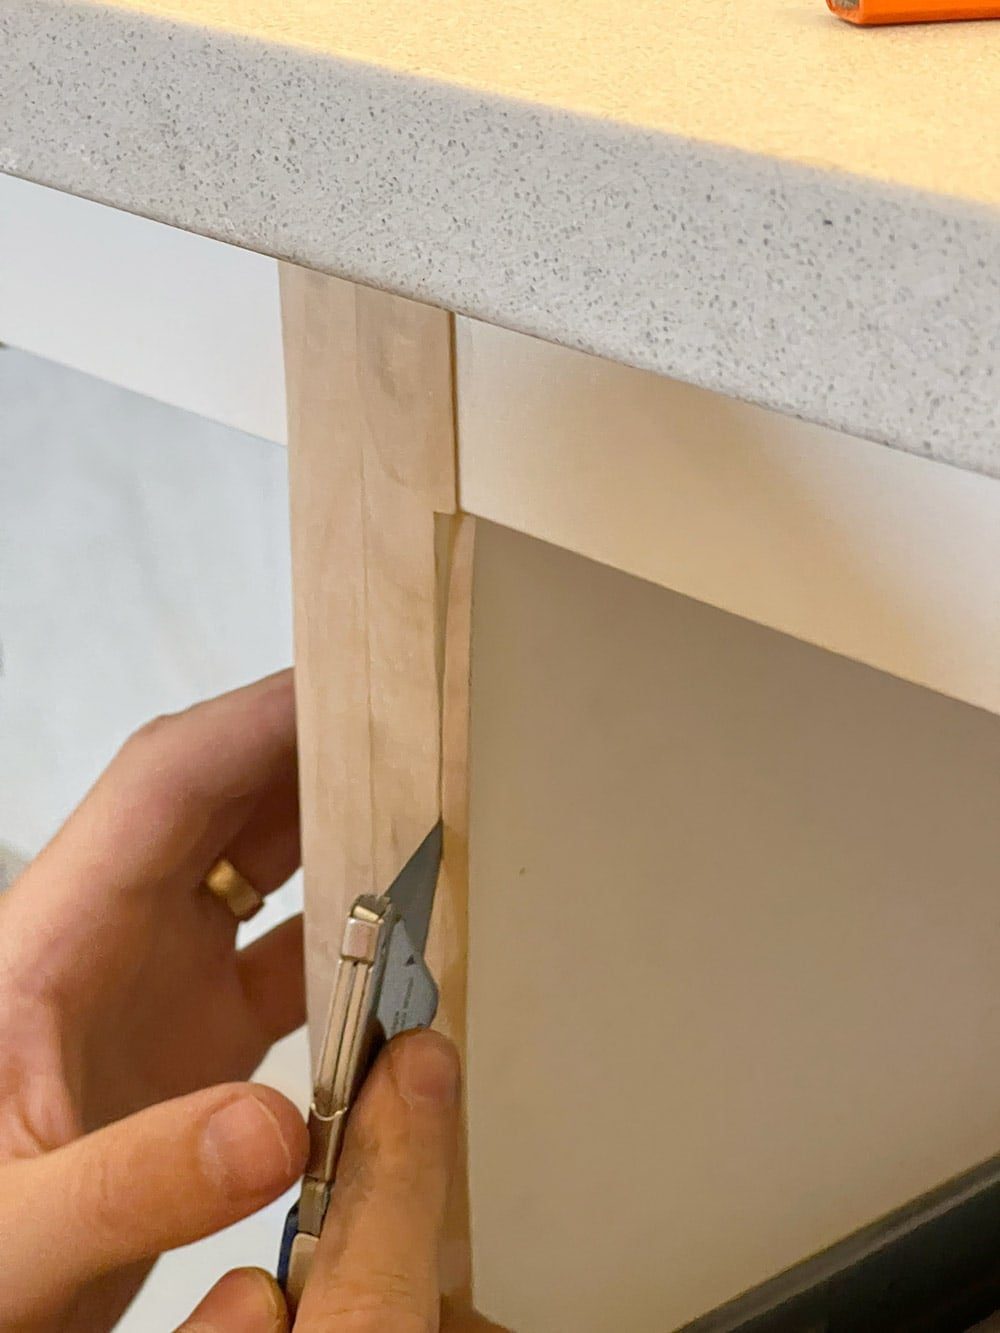
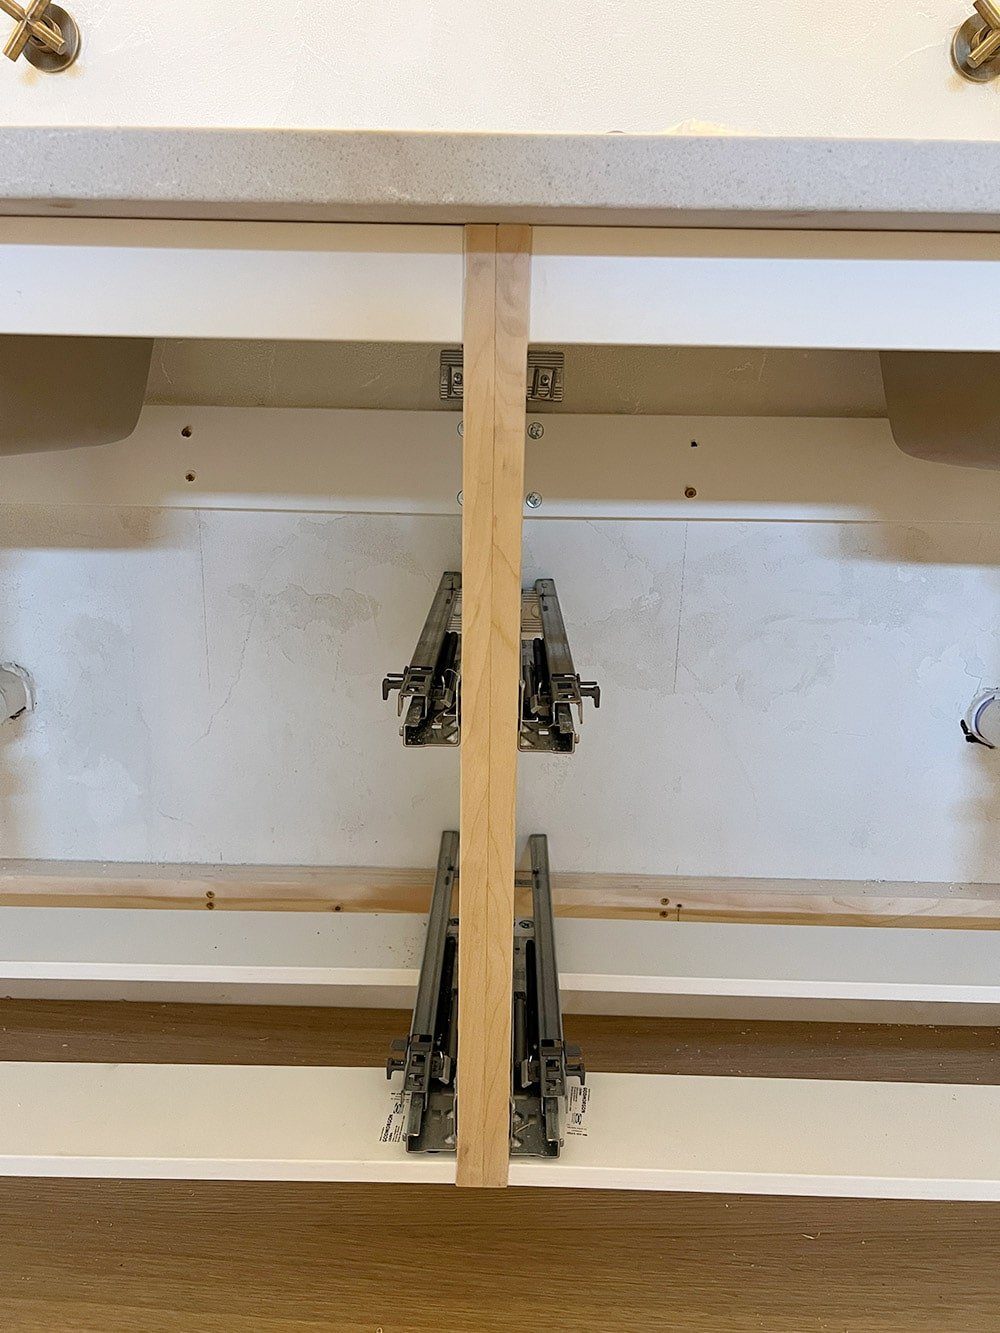
I ran out of time but I do plan to stain the veneer to match the drawers more closely.
Now, onto those filler pieces that we should have installed before the counters… it took some tricky maneuvering, but Lucas was able to squeeze a drill up in there to blindly screw through the back and secure them to the support blocks.
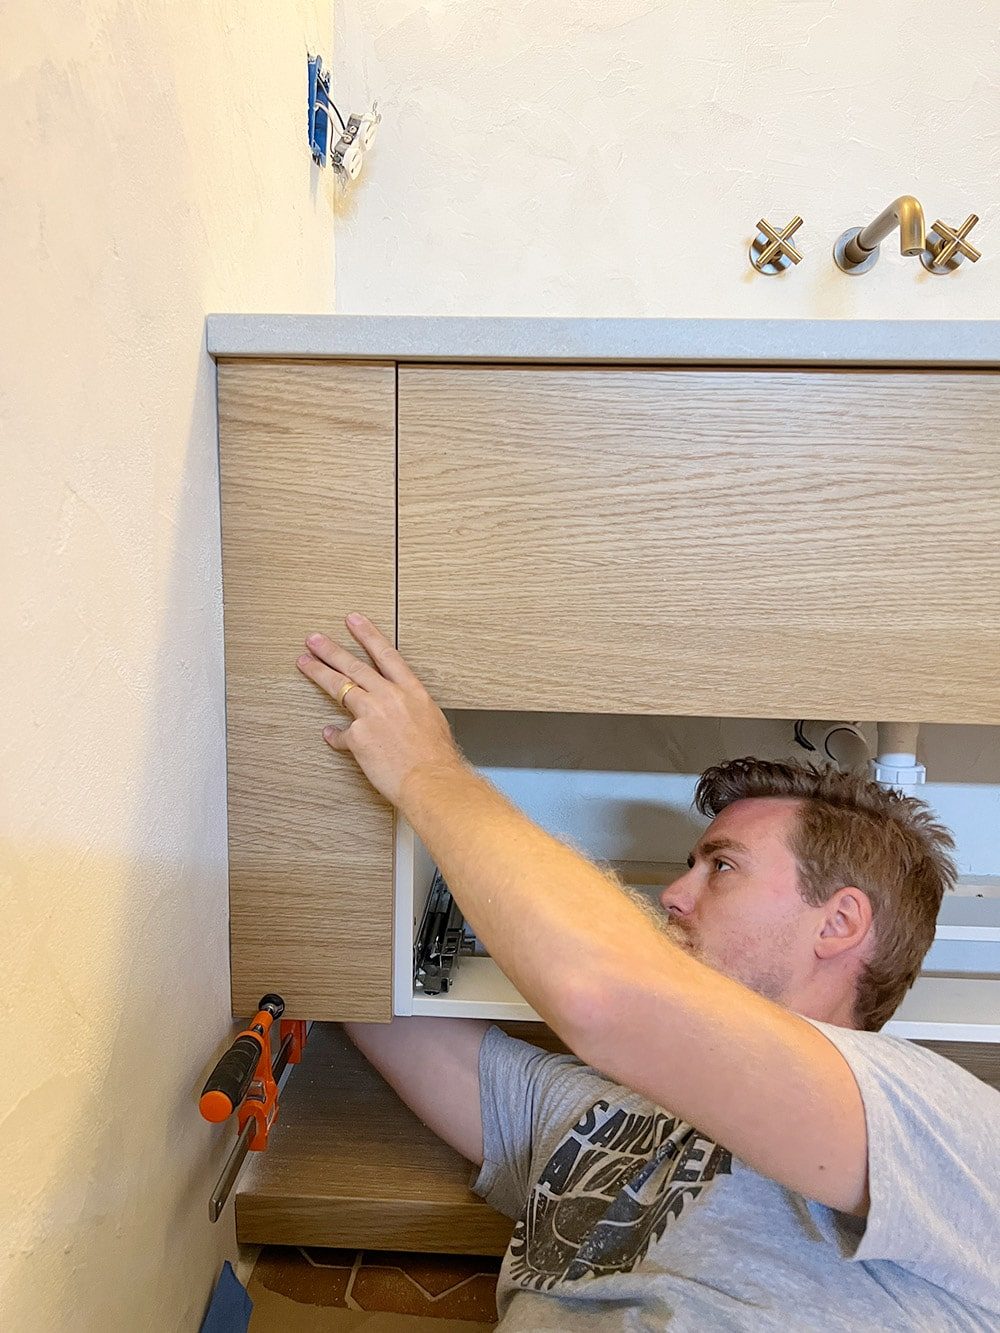
The spacing is not well suited but hey, that is Ikea for ya.
Finally, I installed these finger pulls. I wanted something very low profile minimal, and these fit the bill!
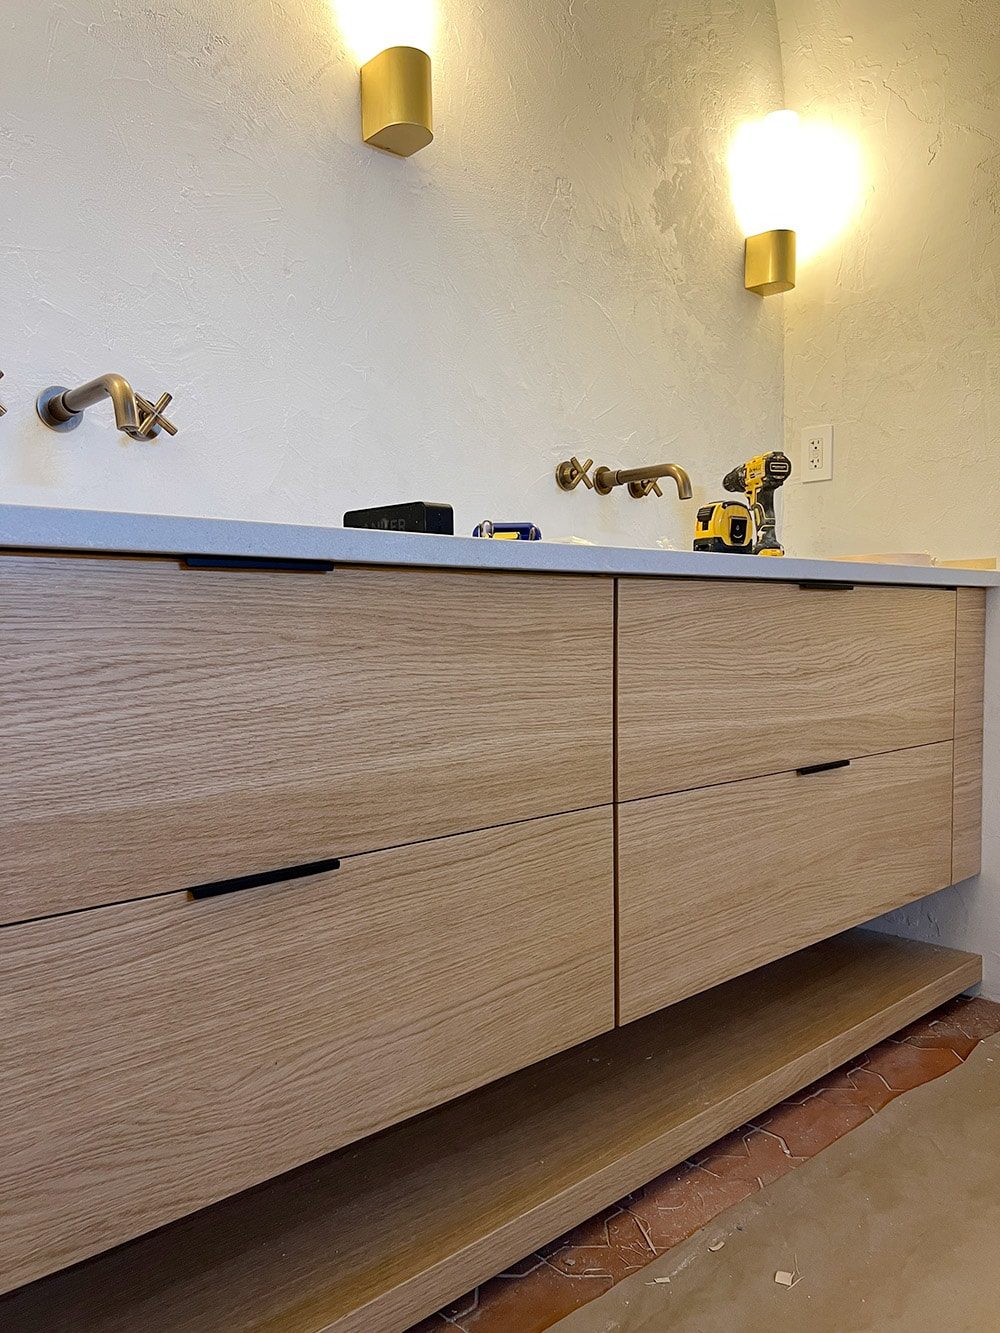
Reveal
This is how our customized Ikea vanity turned out! What do you think?

The custom European oak panels from The Cabinet Face are genuinely what set this apart and make it hard to believe it is an Ikea vanity. The texture is striking in person!

I also like the mix of metals and think it keeps things interesting. Black hardware, bronze faucets, and brass sconces.

Total Cost
The two Godmorgon vanities cost $406, the custom panels/shelf from The Cabinet Face came in at $1,361, and the drawer pulls were $15. Total cost: $1,782. (full disclosure: I partnered with The Cabinet Face on this project). If you've ever sourced vanities, you know that price is unheard of for a nice 90″+ vanity!
Honestly if we would have built this entirely from scratch, I think the materials alone would have cost more. This genuinely is the most cost effective and quickest/easiest route if you want a custom, built-in look.
Next on the to-do list: hang mirrors and hooks, update the doors, hang a DIY pendant light over the tub and accessorize! If all goes as planned, I'll have the big reveal on the blog in two weeks. Cannot wait to cross another Hacienda Hideaway space off the list!