DIY $10 Canvas Floating Frame
How to build a unfussy floating frame for your canvas art for around $10. Easy step by step tutorial inside!
Back with Part 2 of my DIY landscape art project—make sure to look at yesterday's post first if you missed my painting tutorial!


Once the painting was dry, we got to work building the frame—do not skip this part! Art looks unfinished without a frame, in my opinion. It helps to keep the look of floating frames and set out to come up with the simplest plan to make one, using what we had in the garage.

Materials needed (for a 30×40″ canvas):
- (2) 1x2x8 pine wood
- Scrap wood
- Wood stain
We used our miter saw, nail gun and table saw for this project, although you do not need a table saw unless you want your canvas to be recessed back from the frame (more on that later).
We already had scrap wood and wood stain, so this project cost under $10 for the 1×2's!
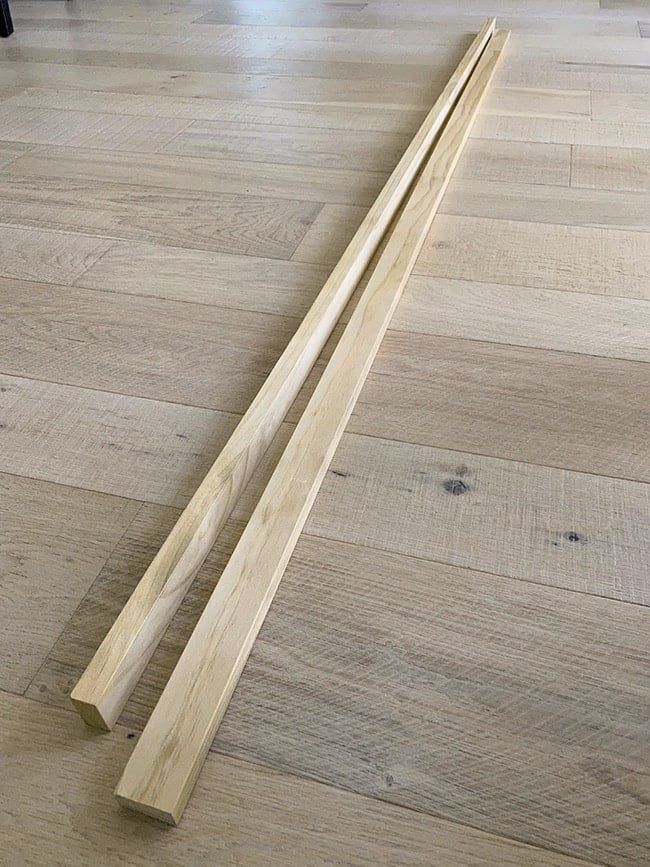
Step 1: Cut the 1×2's
Determine how long you want the overall frame to be and cut the sides to that length. I wanted an 1/8″ gap around the canvas, so I added 1/4″ total to the length, plus the thickness of two boards (3/4″ x2) to get the measurements.
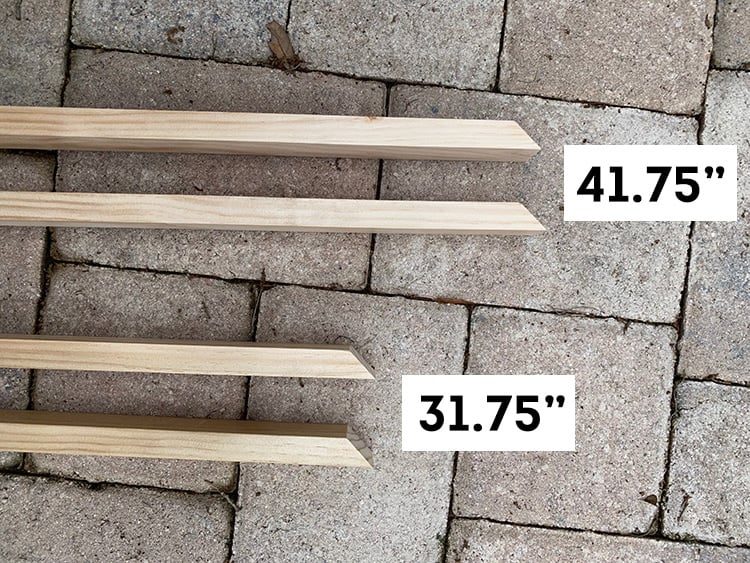
For my 30×40″ canvas, that came to total frame size of 41 3/4″ by 31 3/4″ (measuring from outside to outside). You do not have to miter cut the edges, but I think it looks more professional that way.

Step 2: Cut corner blocks
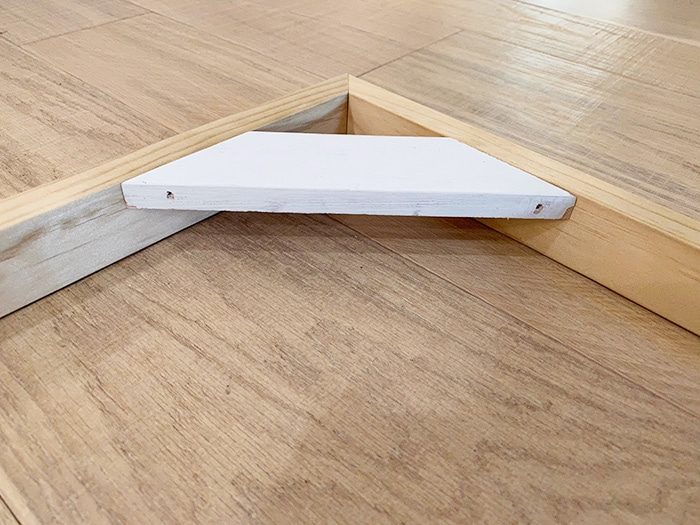
Once all four sides were cut, it was time to make the corner pieces that the canvas would attach to. We found some scrap wood in the garage and ripped the thickness down to 1/2″ with a table saw. This would allow the canvas to be recessed slightly from the frame, but you could also skip this step and use a regular 3/4″ board which will make your canvas flush with the front edge (you could actually just use the scraps leftover from your 1x2s).
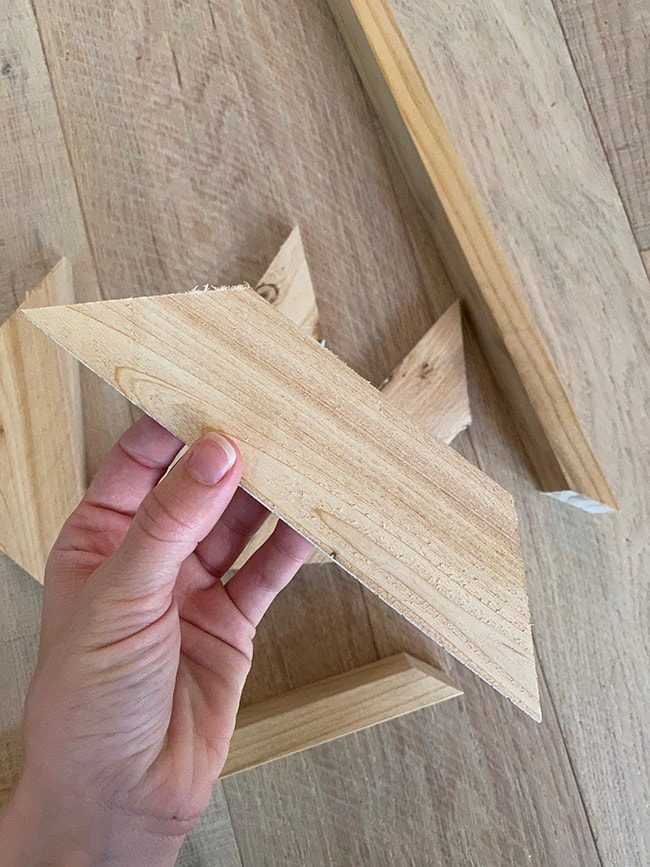
The edges were cut at 45º, and the length genuinely did not matter too much since these would be hidden. Ours ended up at around 6-7″ at the longest point.
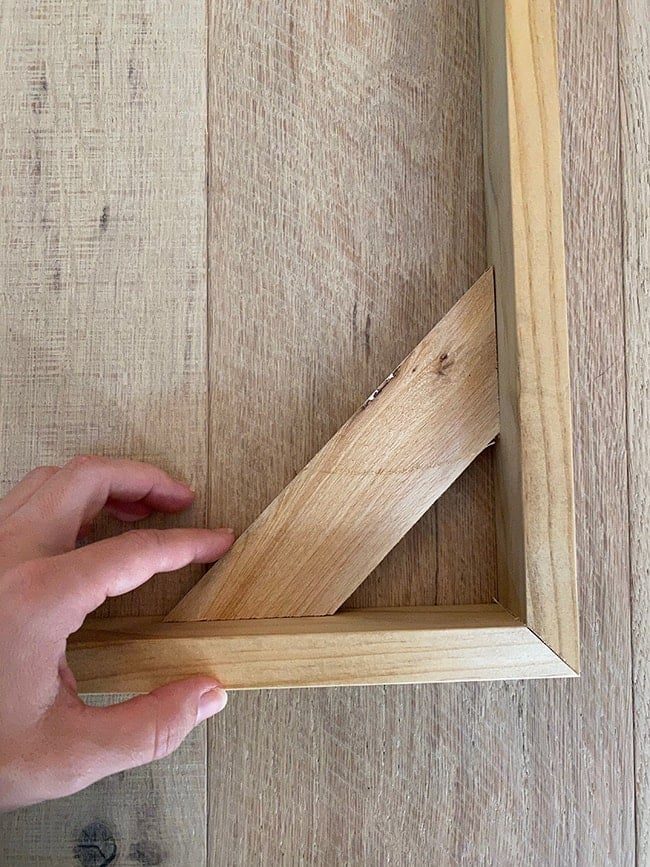
This is how it looks from another angle—the corner pieces will be flush with the back of the frame. Our canvas is 3/4″ thick and the frame is 1.5″ thick, so the canvas would end up recessed 1/4″.

Here is all the materials we need—easy peasy!
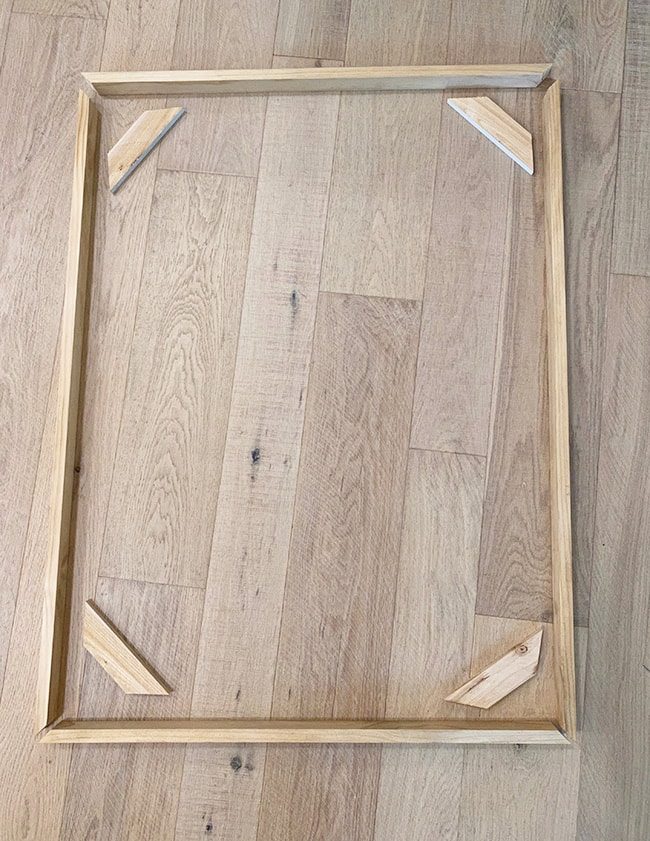
Step 3: Assemble the frame
Now it is time to join the 1x2s together. We ran out of wood glue (oops!) so we improvised with industrial strength adhesive. I recommend wood glue instead…
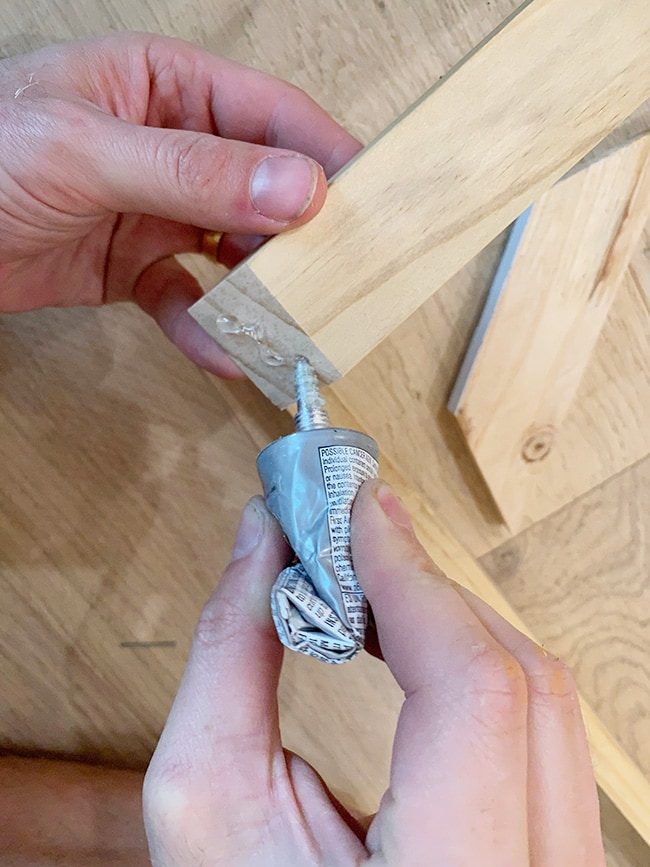
To attach the wood, we used 1.25″ 16 gauge nails (anything from 1-2″ should work, and 18 gauge is fine too).
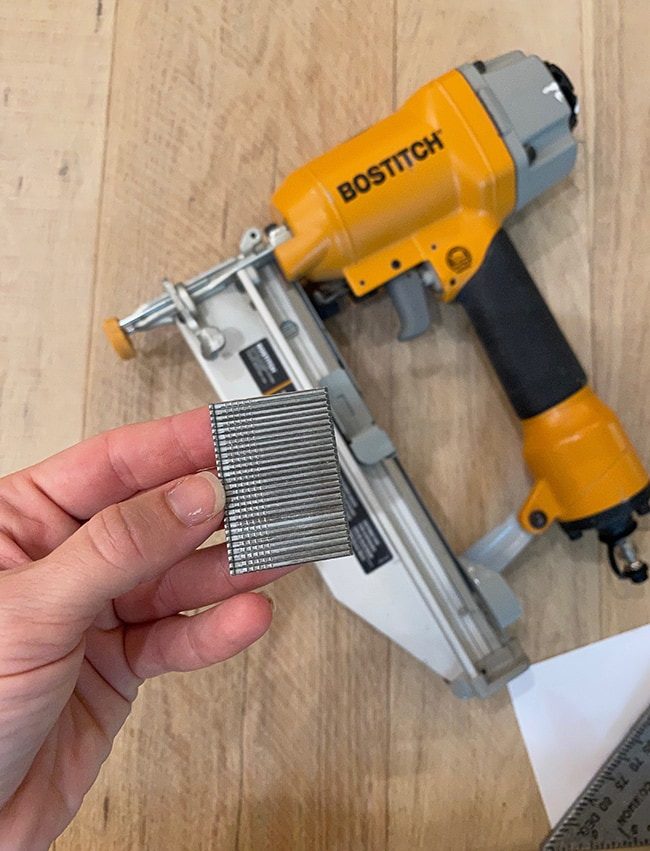
At this point I realized we did not own a corner clamp (how is that possible after all these years?) AND we left our regular clamps at the other house, so again we had to improvise. I grabbed a square to keep the corner 90º and we both held on to the boards as tightly as we could to keep them from moving as Lucas shot the first nail. Luckily, it worked.
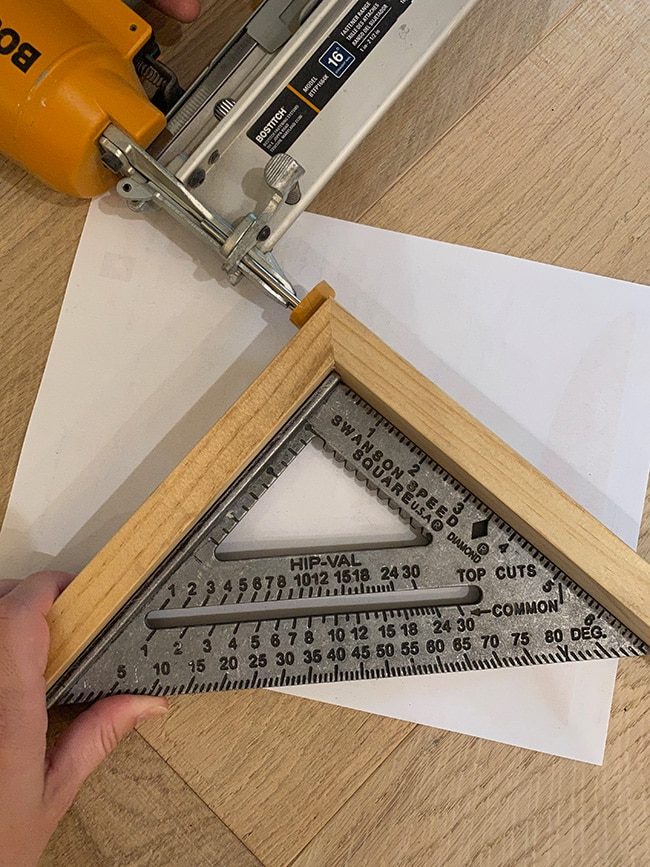
We decided to nail into just the the top and bottom frame pieces only, instead of the sides which would be more visible. Nailing into all 4 boards from both directions would be the most secure, but we could not find our stainable putty and since I was using a transparent stain, the holes would still be visible.
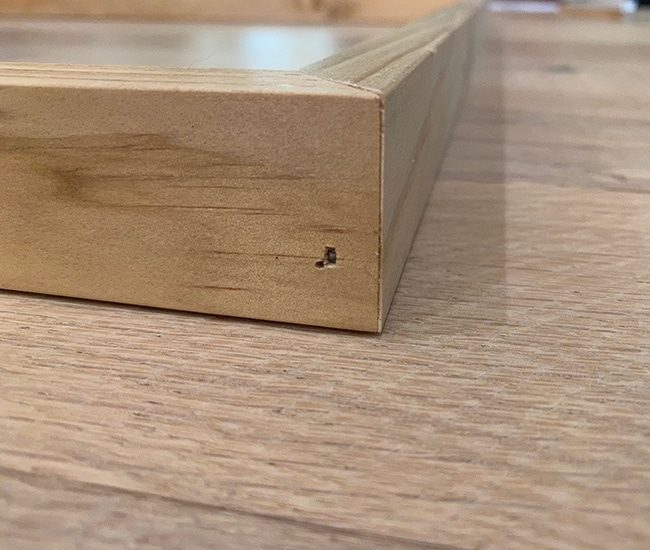
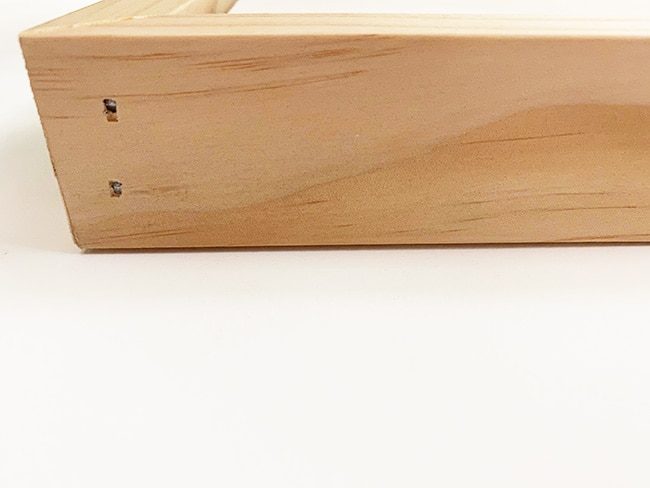
Once each corner had one nail, we flipped the frame over to add a second nail (because the nail gun can only get so close to the ground and you have to nail straight in). The frame took eight nails total.
Step 4: Attach corner braces
This part was a little tricker since the edge had to be perfectly flush with the frame, and we could not find a hard surface for it to sit on that was exactly the right height (and too lazy to rip down another piece of wood, it was getting dark out). There is probably a better way to do this, but Lucas held the piece to the frame very tightly with one hand, and shot the nail in at an angle with the other hand.

Our amateur approach worked out for us yet again, and the corner pieces were attached as planned, one nail on each end (although two would not be a bad idea… just in case. Also, do not forget to use wood glue first!)
And that is it, your frame is done:
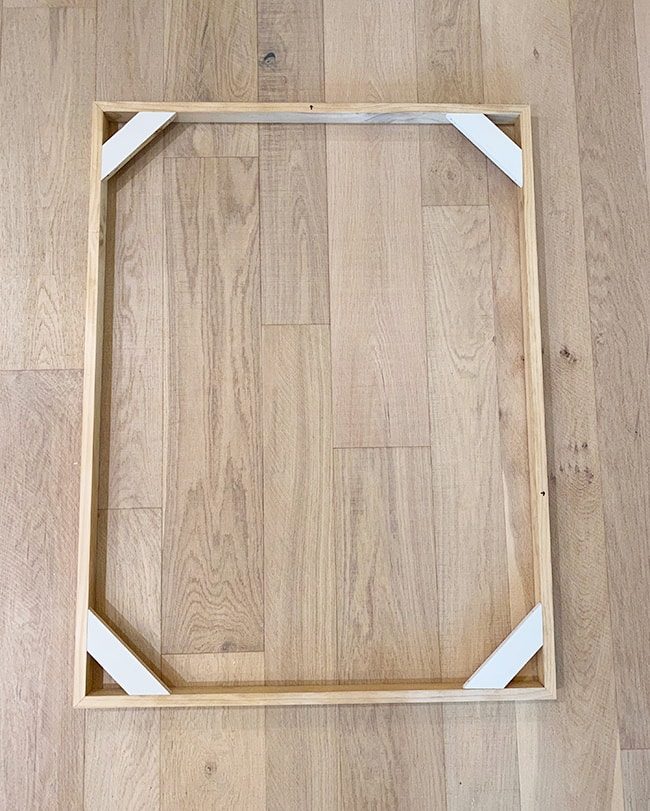
Moment of truth, time for a test fit…
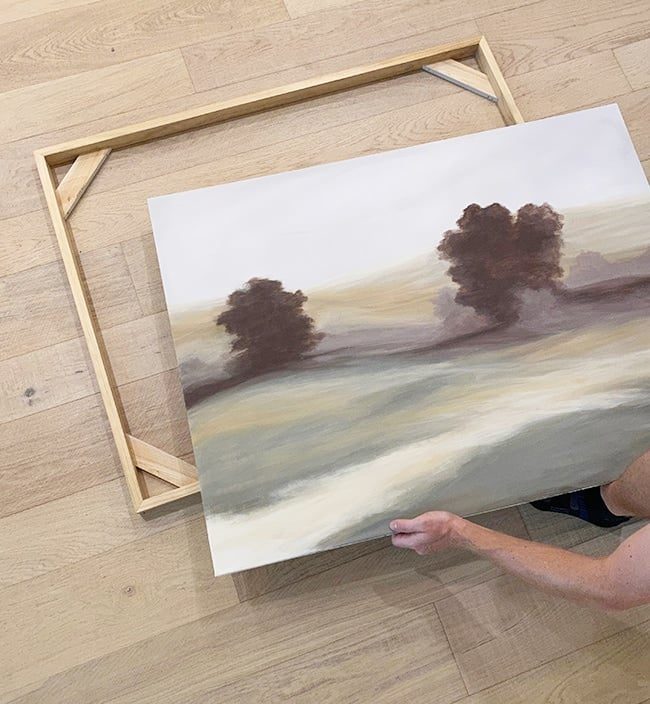
Ta-da!
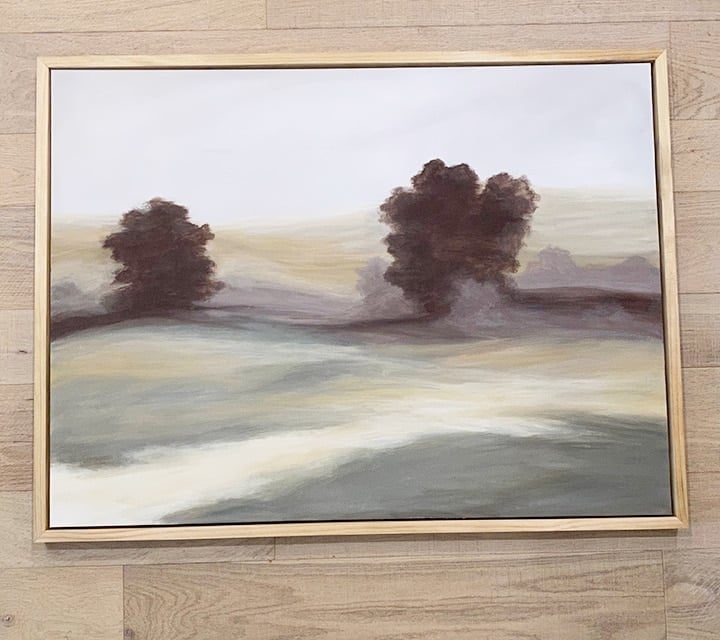
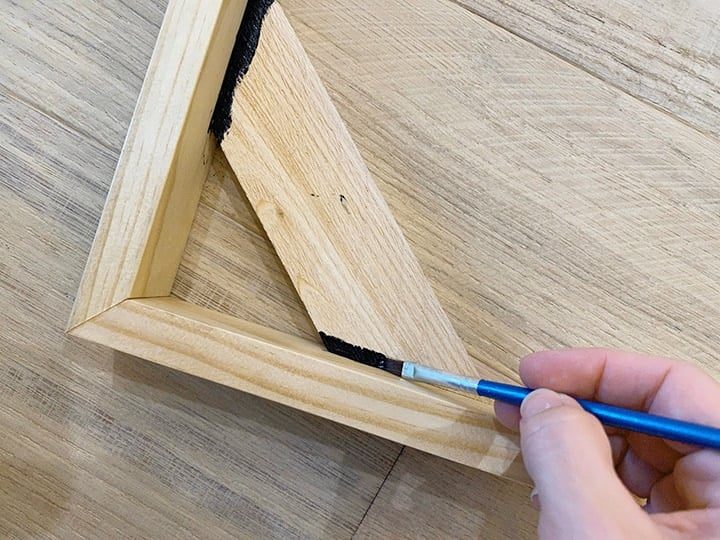
If you looked closely, you could see the wood corner braces in the gap behind the canvas, so I painted the visible areas black to hide them. If you are a perfectionist, you could also cover the gap with dark tape/paper to make it truly uniform, but you genuinely do not notice the braces unless you are studying it up close.
Step 5: Stain the wood (optional)
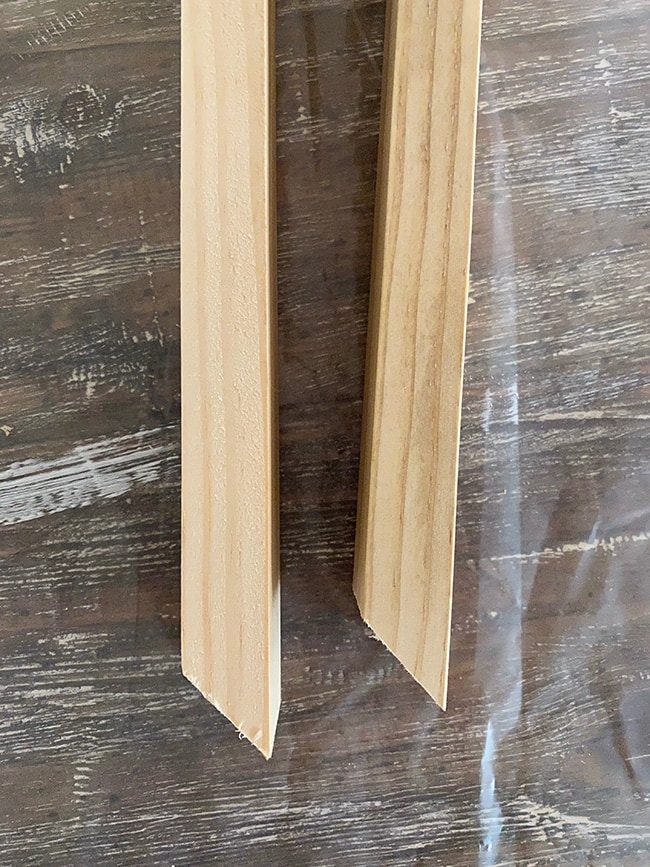
This is also the time where you will want to stain or paint your wood, if you choose to do that. I gave mine a light coat of Minwax Driftwood, which is mostly transparent but gives it just a hint of color and makes it look more finished. Below you can see the natural wood on the left and Driftwood on the right:
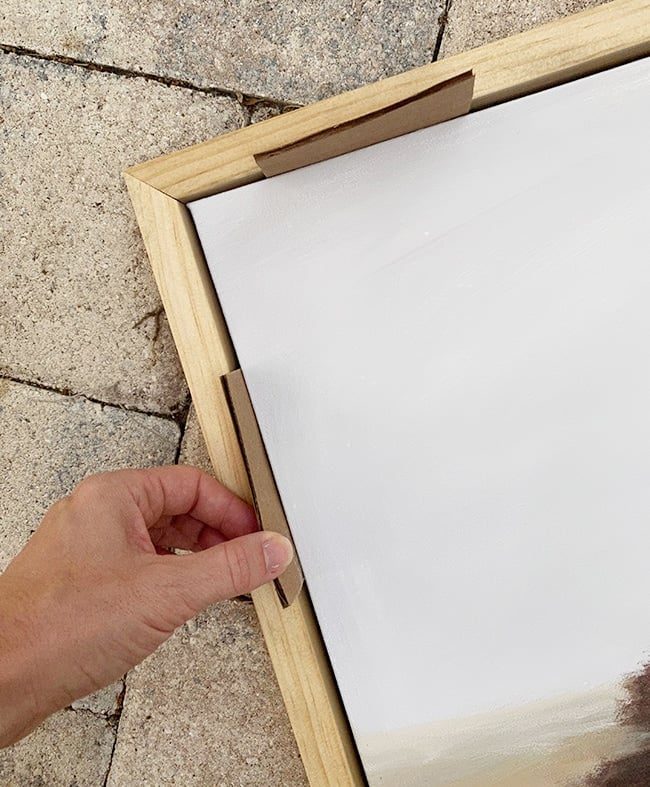
Now place the canvas back into the finished frame, and use spacers to evenly center it. A cut up Amazon box did the trick for us. Our gap was definitely not even all the way around, but fortunately you genuinely cannot tell once it is all said and done.
Step 6: Attach the canvas
Now, flip the canvas and frame over onto a hard, even surface. We had to elevate ours slightly since the canvas was recessed back from the frame. We found a wood shelf bracket in the garage, and placed a towel in between to protect the art.
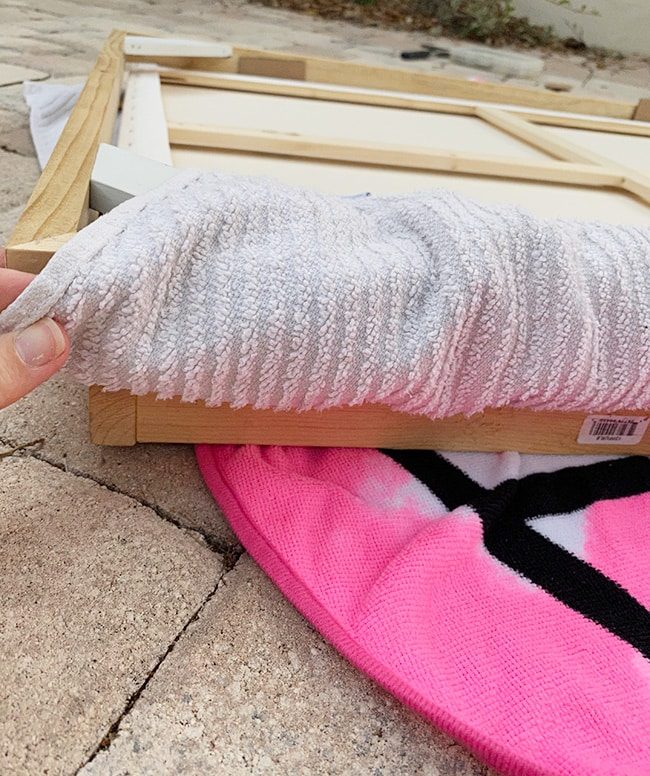
With the canvas against a solid surface, we hammered a couple finish nails through the back of our braces. We would have used our nail gun, but our 1.25″ nails were too long and we did not have anything shorter. Nothing wrong with an old school hammer and nails!
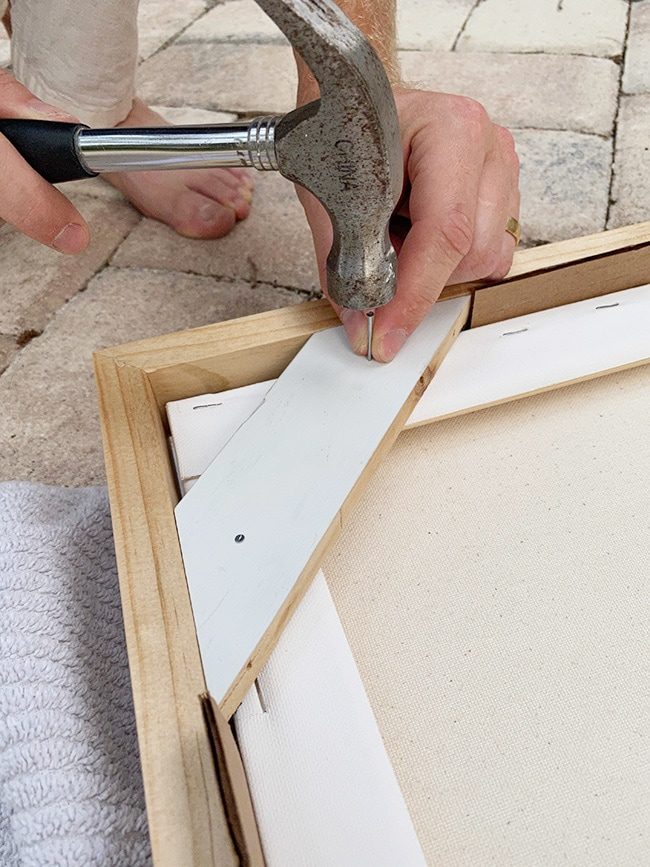
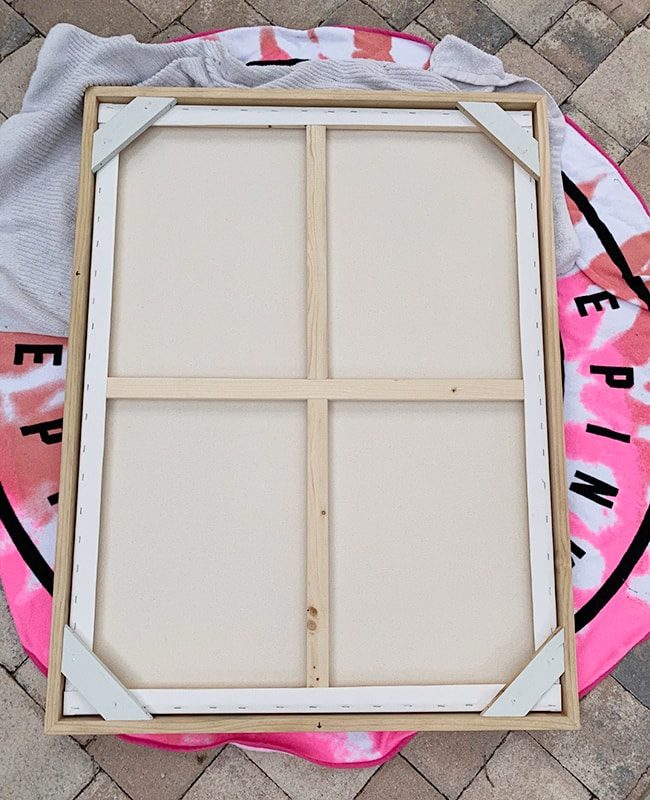
Two nails per corner brace into the canvas does the trick. Even at 30×40″, this art is particularly lightweight so finish nails should be just fine to hold it all together.
This is how it looks on the mantel!
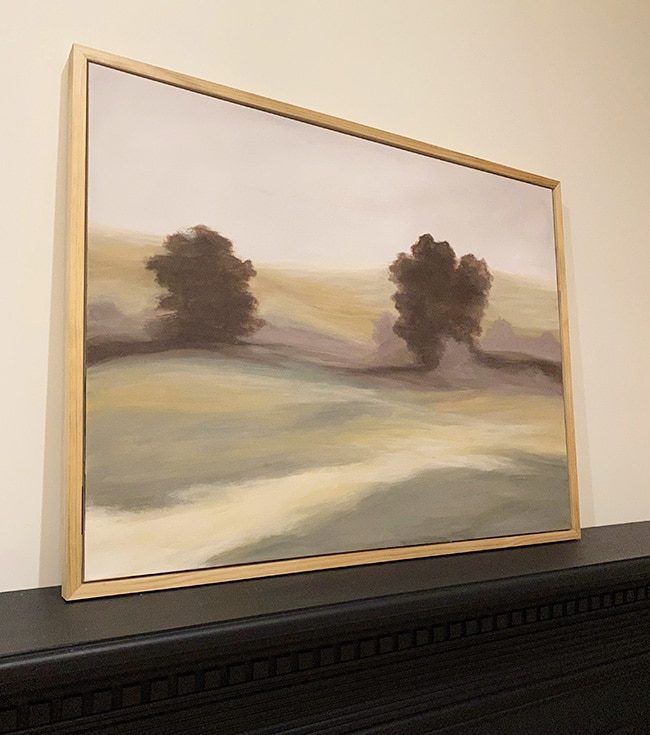
I opted to hang it on the wall (using picture frame hooks and wire + a nail into the drywall).

So glad we took the extra steps to make the canvas frame floating instead of attached directly to the art. Does not it kinda remind you of a Frame TV?

Except this version costs about $1k less 😉

And that wraps up this painting project! I am already trying to figure out where I can put another painting… or two (or three). Maybe I should just open an art studio and start selling them (you know, if this blogging gig does not work out…)

 Print
Print DIY Floating Canvas Frame
Make this unfussy floating wood frame for any canvas using 1×2's Active Time1 hour hr 30 minutes minsStain dry time30 minutes minsTotal Time2 hours hrs Keyword: diy, canvas, wood frame, picture frame, floating frame Yield: 1 30×40″ frame Cost: $10Equipment
- Miter saw
- Nail gun
- Table saw (optional)
Materials
- 2 1x2x8 boards
- wood glue
- 1-2" finish nails
- scrap wood (optional)
- wood filler
- wood stain/paint (optional)
- picture hook(s)
Instructions
- Cut your 1×2's to size at a 90° miter (we added 1.75" to both the length x width of our canvas, measure from longest tip to tip)
- Using scrap wood or leftover 1×2's, cut four corner braces (6-7" length) with opposing 45° angles on each end
- Assemble the frame using wood glue and finish nails, two nails per corner (we nailed into the top and bottom pieces only)
- Attach your corner braces by aligning them flush with the back, and inserting a finish nail at an angle into each end (do not forget the wood glue!)
- Lightly sand and stain or paint the frame
- Use dark paint to cover the exposed gap of the corner brace where it connects to the frame (optional)
- Align the canvas in the center of the frame (you can use cardboard for spacers), flip it over, and nail into the back of the canvas through the corner braces (2 nails per brace)
- Attach picture hook(s) to the back of the canvas to hang on the wall
Notes
Click below to shop the sources for our living room:
Next week I'll be sharing another inexpensive, unfussy DIY “look for less”—my favorite thing to do these days! I can finally reveal the project that I started a month ago and many of you have been asking about on Instagram. Stay tuned to find out what it is 😉
If you like this project, look at these similar budget DIYs from my Project Library!
- DIY Frame TV
- DIY Framed Tapestry Art
- Easy Framed Giant Tapestry
- How to realistically age wood (the easy way!)