How to Make a Large Arched Mirror
How to make a large arched mirror in just a few unfussy steps! Learn how to DIY a custom mirror in any shape or size.
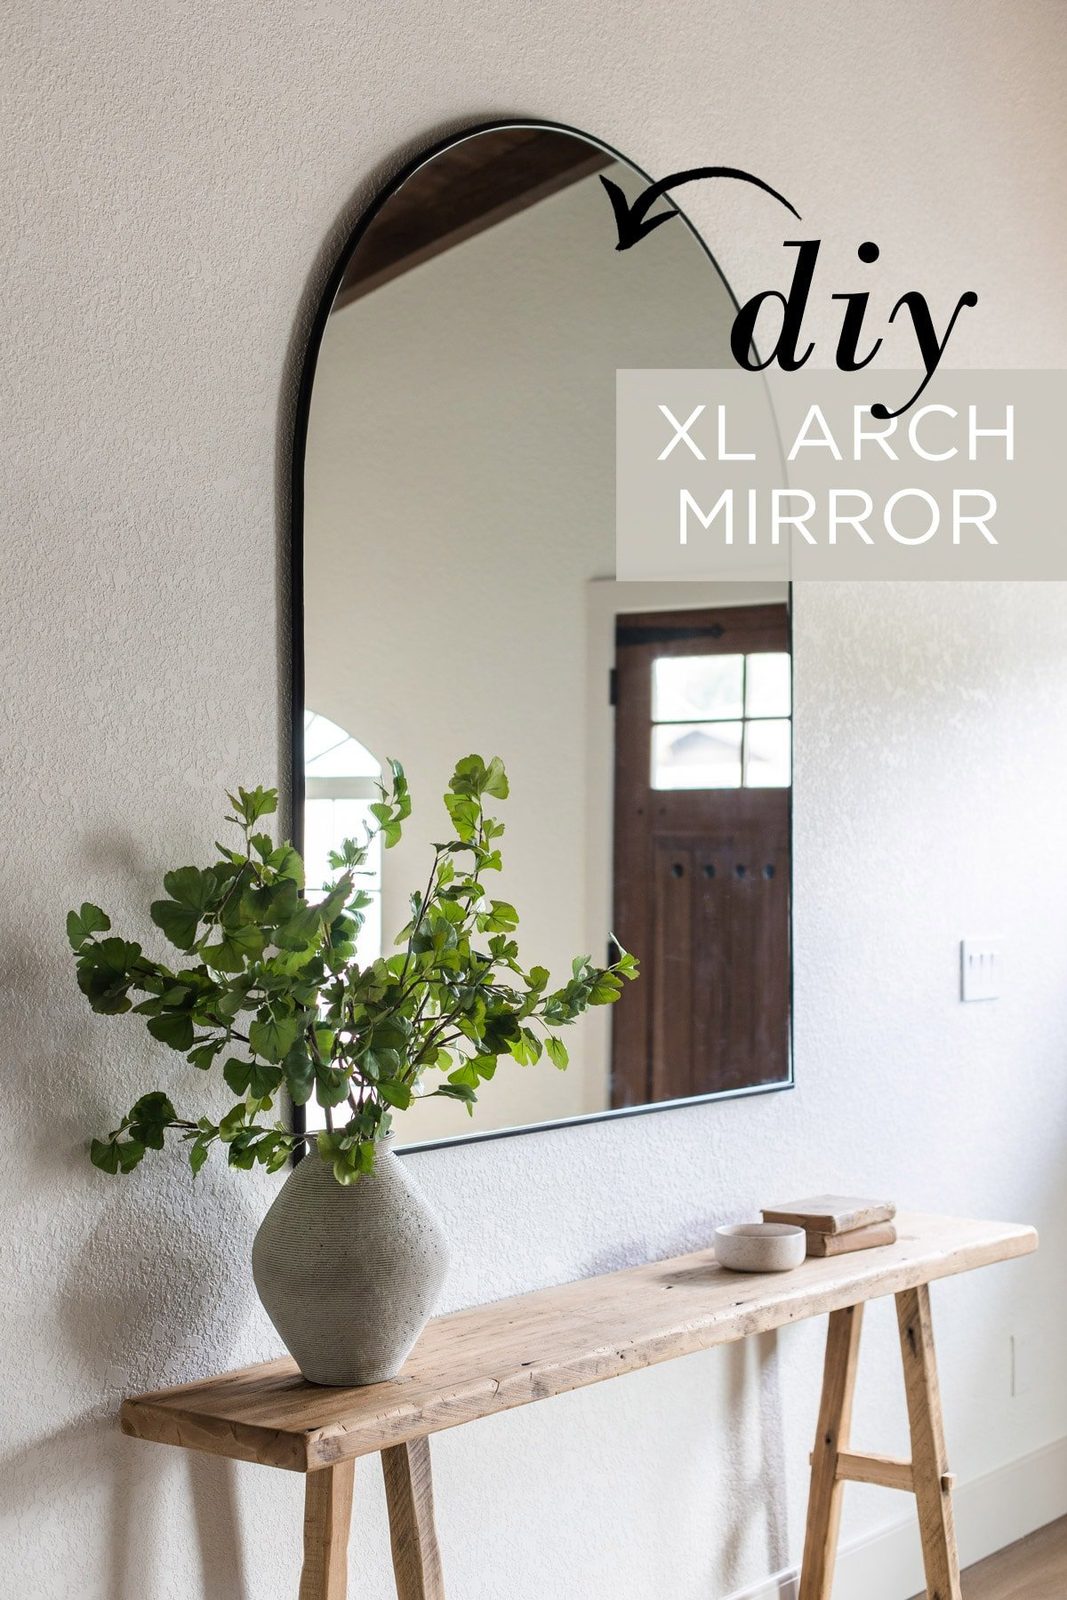
If you are in search of a large arched mirror but cannot find the right size or it is too expensive, I have good news: it is surprisingly unfussy to DIY your own! Keep reading to see how we made our own custom arched mirror for the Hacienda Hideaway entrance.
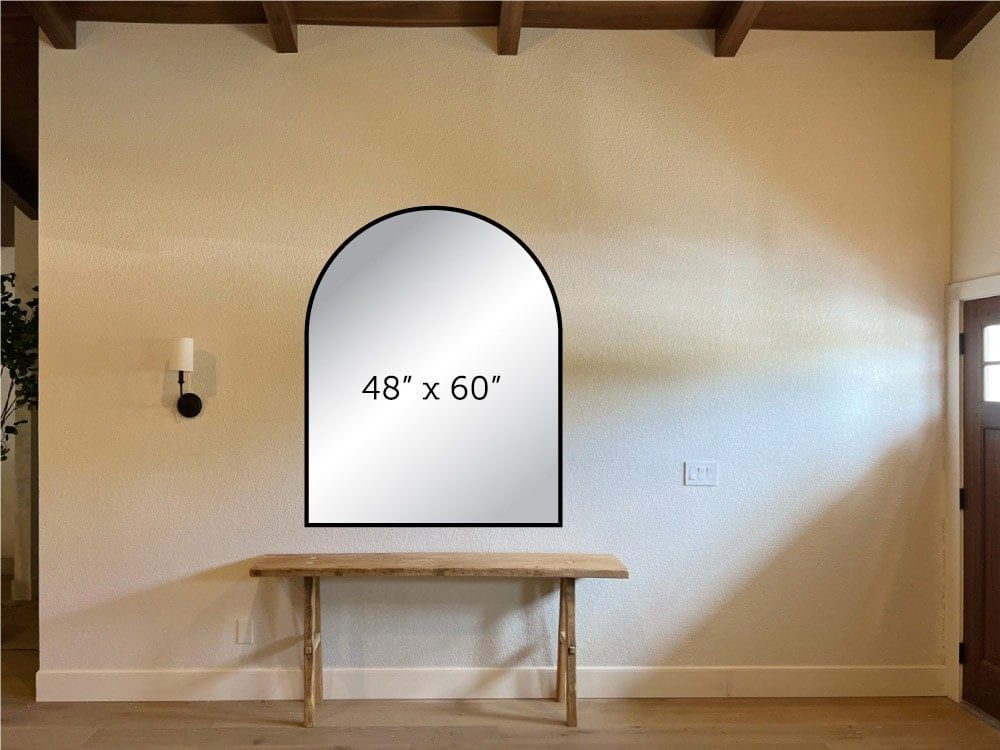
When searching for a mirror for the foyer wall at the Hacienda Hideaway, I had specific criteria: arched shape with a black frame, and proportionately sized to fit above our 6' console table and fill the large wall. I played around with the scale in Photoshop, and landed on an ideal size of ~48×60″:
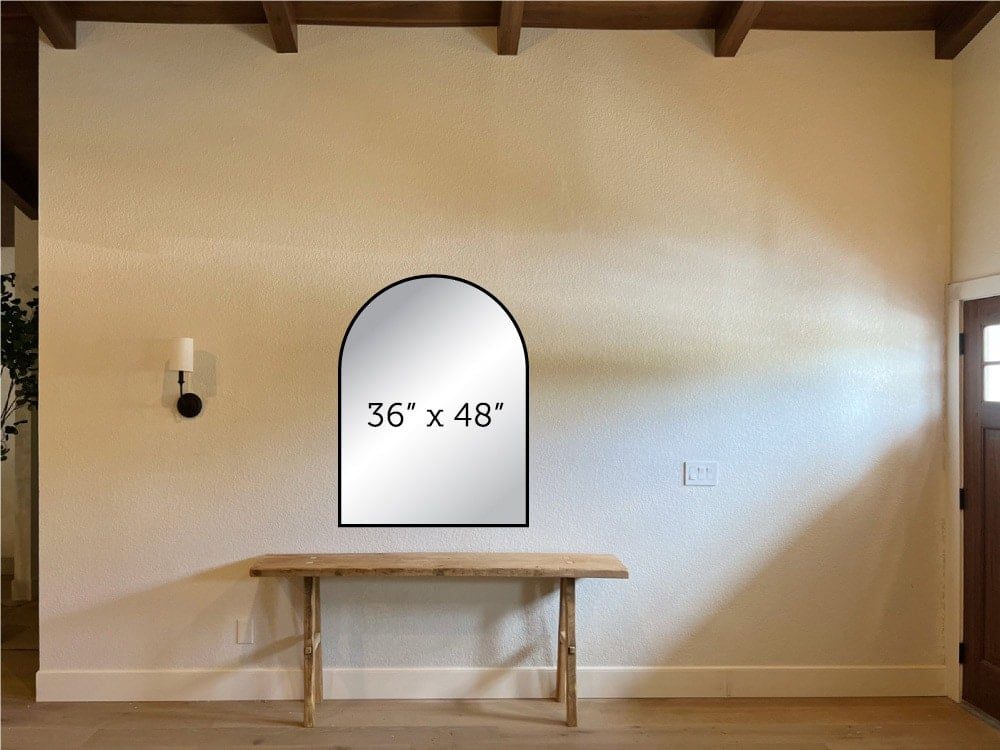
After weeks of searching, all of the results were either too small, or too tall and narrow. The closest I found was this (affordable!) 36″x48″ mirror, and I was this close to buying it, but ultimately decided it was just too small. Time to get creative and DIY my own!
Making your own custom mirror is surprisingly unfussy with the help of a local glass shop. This is how we did it:
Supplies
- 4×8' plywood
- Mirror (from a local glass shop)
- Flexible molding
- Hanging cleat
- Super glue
- Clamps
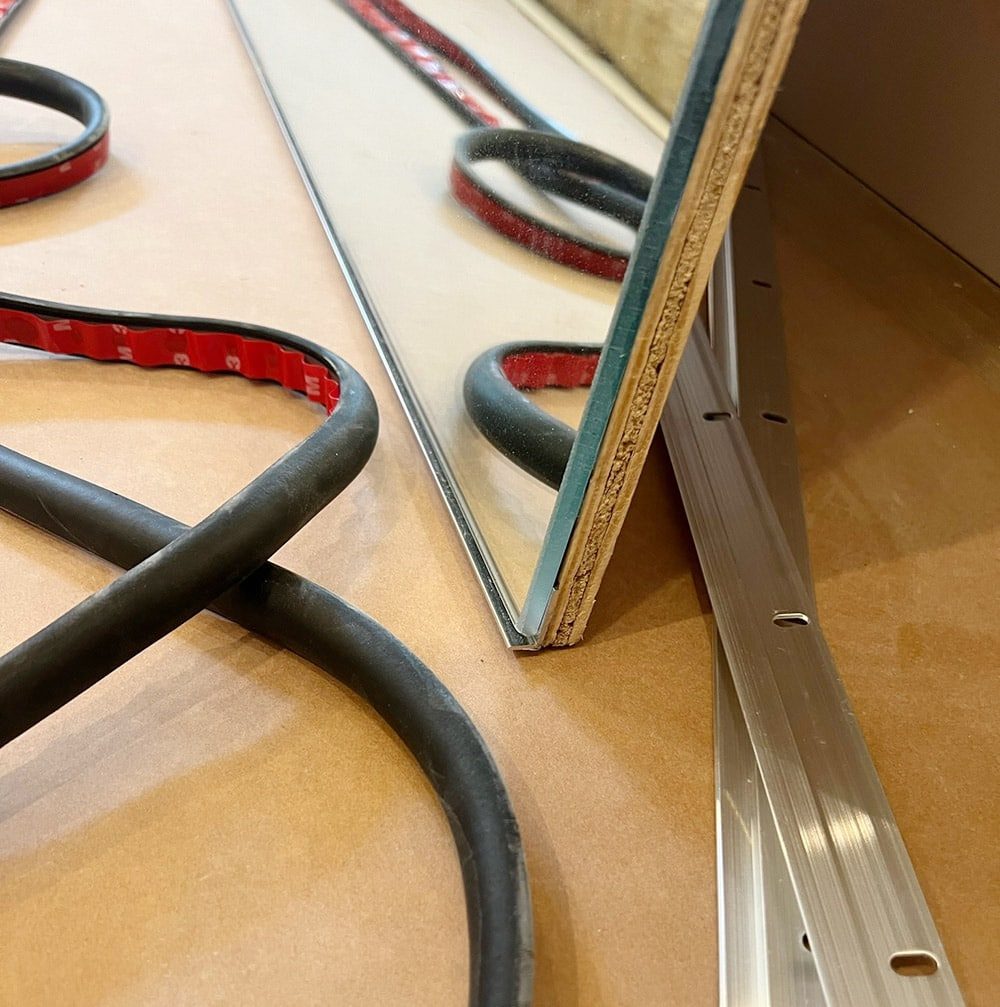
How to DIY a large arched mirror
I bought a 4×8' sheet of 19/32″ plywood sheathingto accommodate the screw length for the hanging cleat, but you can get away with a thinner material depending on your hanging hardware. It just needs to be sturdy enough to support the mirror.
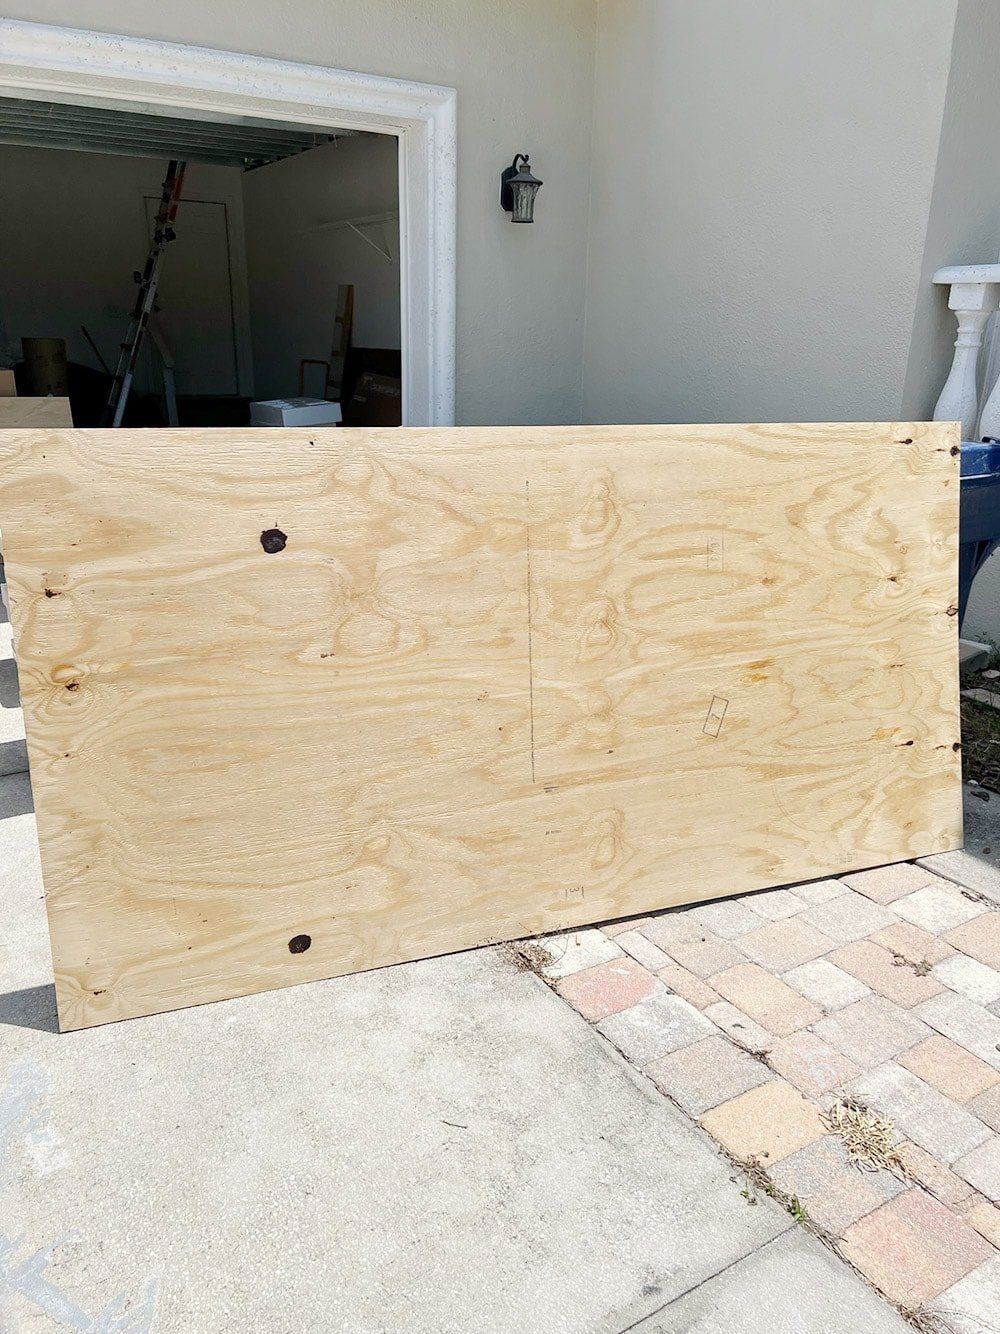
Step 1: Cut plywood to desired shape/size
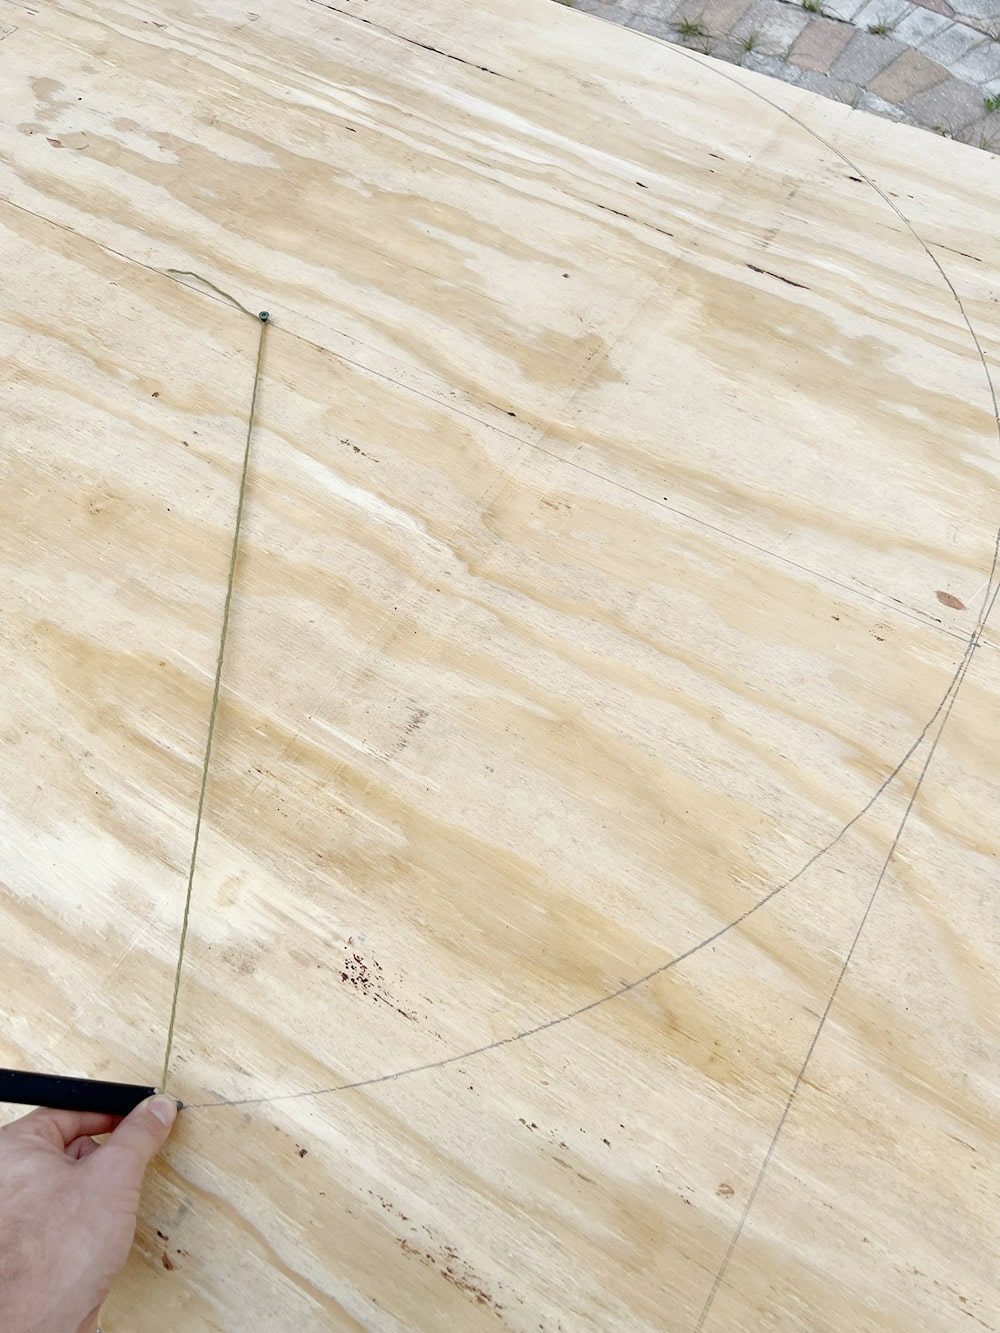
I wanted a unfussy arch top for our mirror, so we used the screw/string method to trace a half circle.
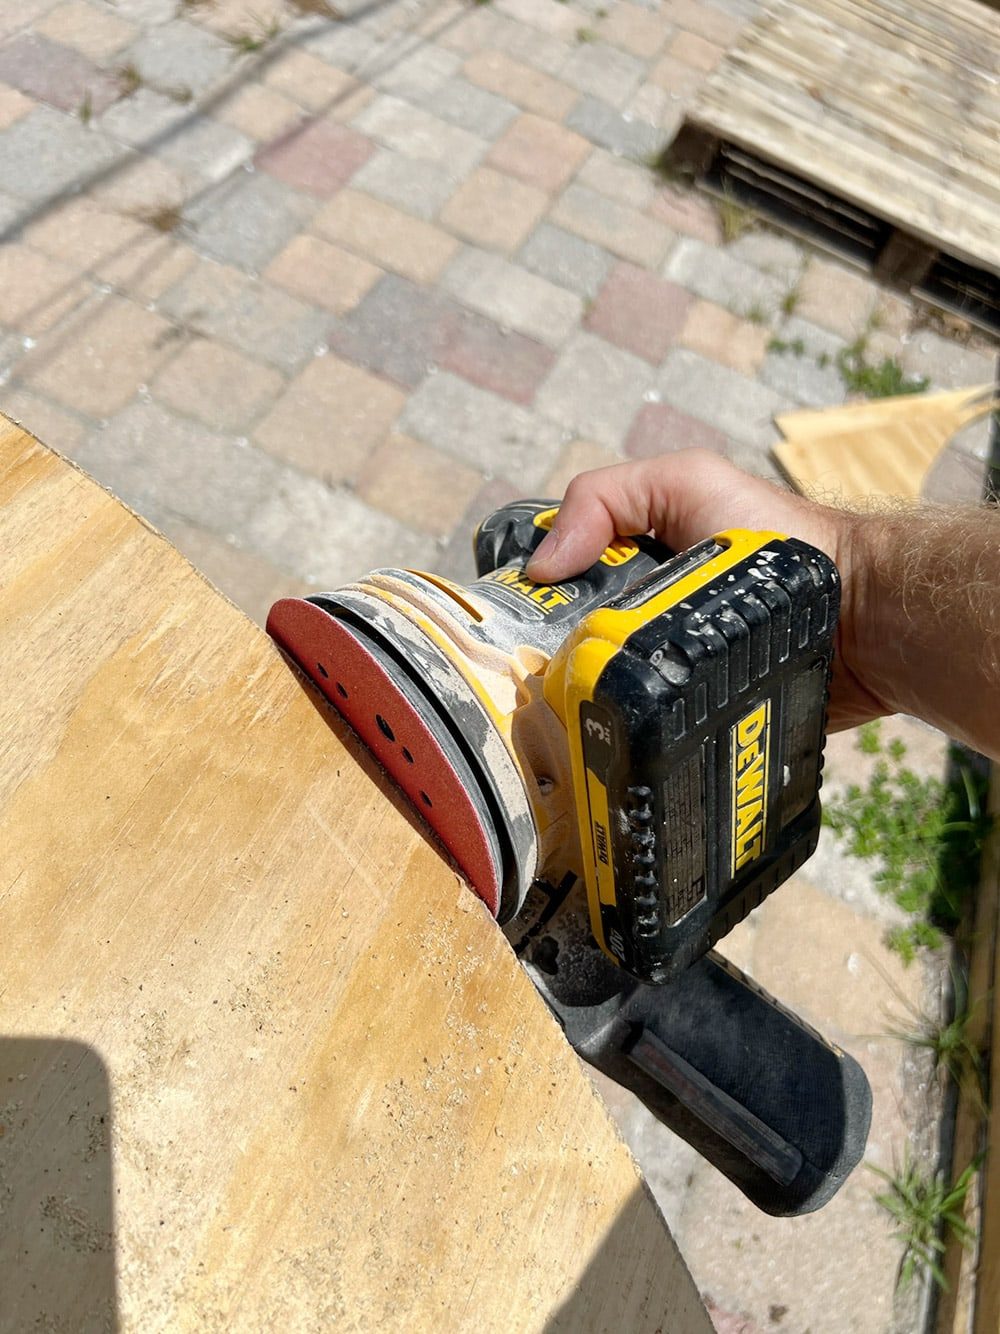
The shape was then cut out with a jigsaw, and sanded smooth.
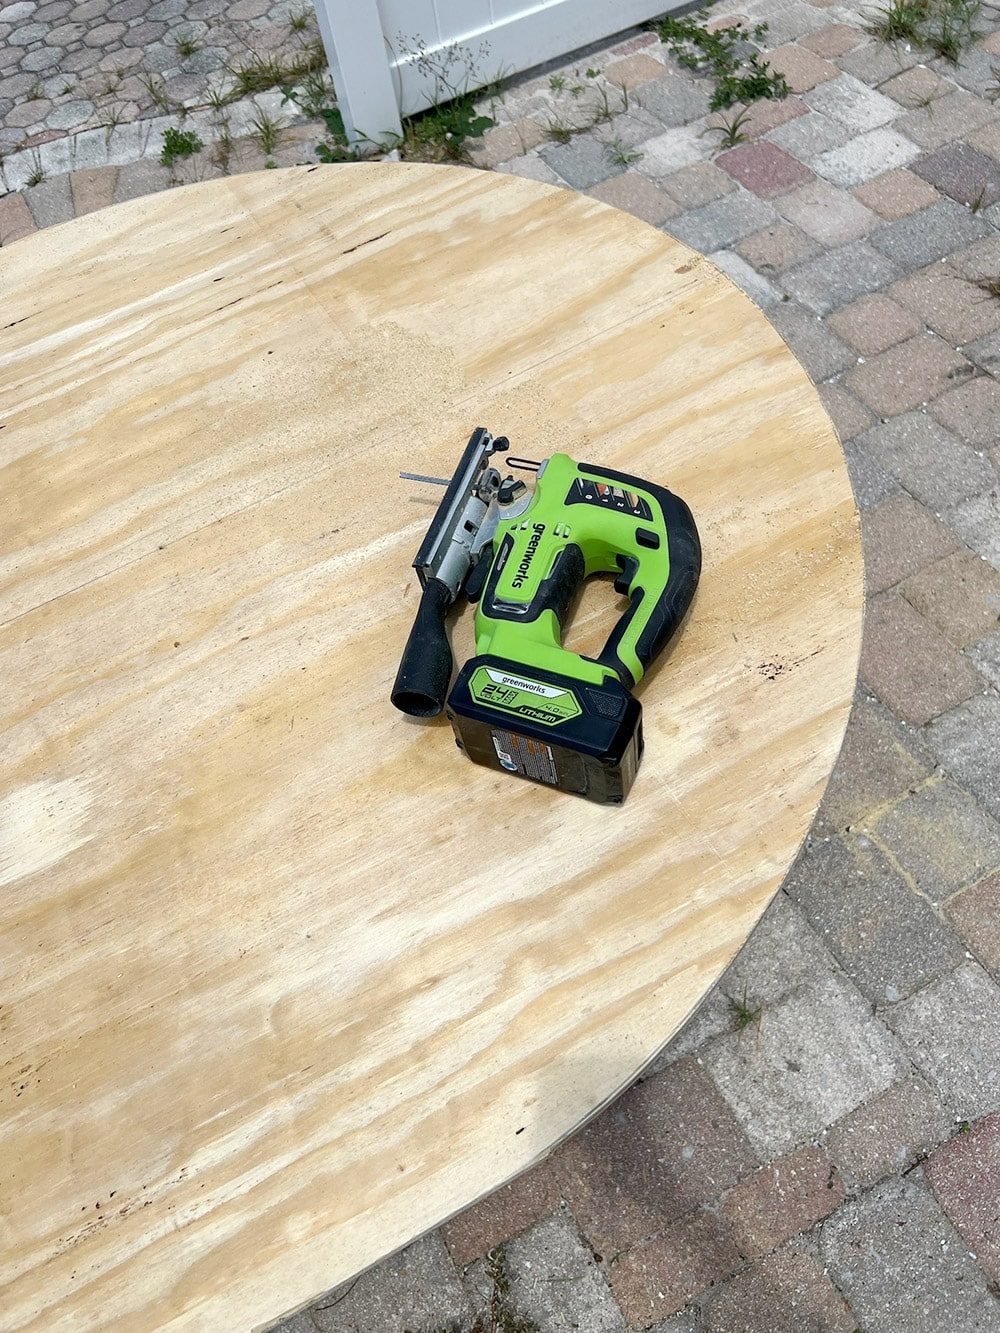
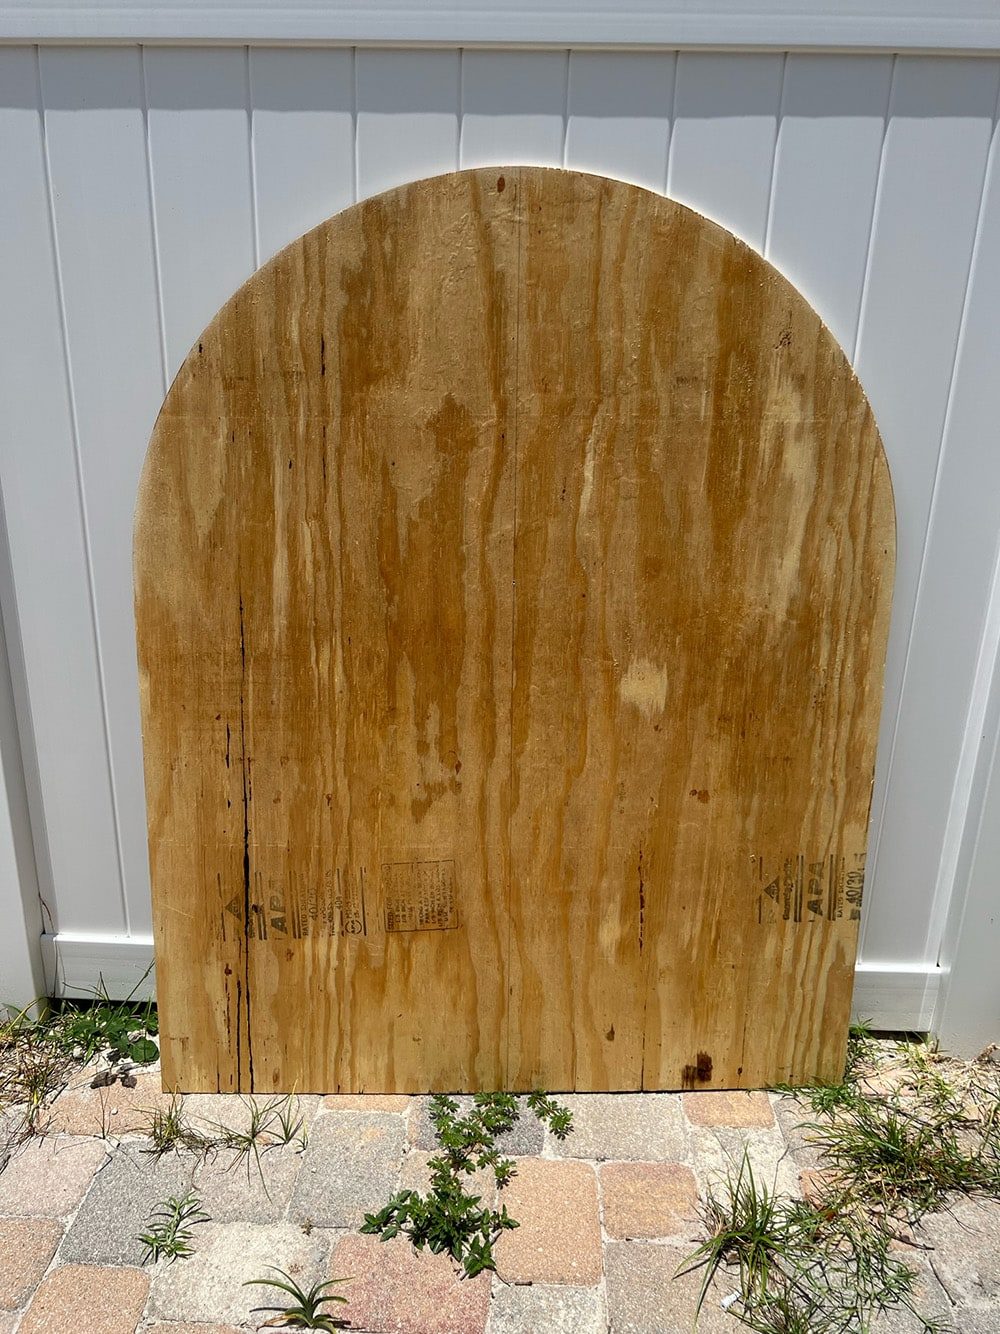
The end result was this 4'x5' arched top plywood:
Step 2: Attach custom mirror
I called around to local glass shops to get quotes, and found a few that could cut and attach a 1/4″ thick mirror to our piece of plywood. This is a pretty standard request, so you should be able to find someone locally no matter where you live. One week and $333 later, our custom mirror was ready:
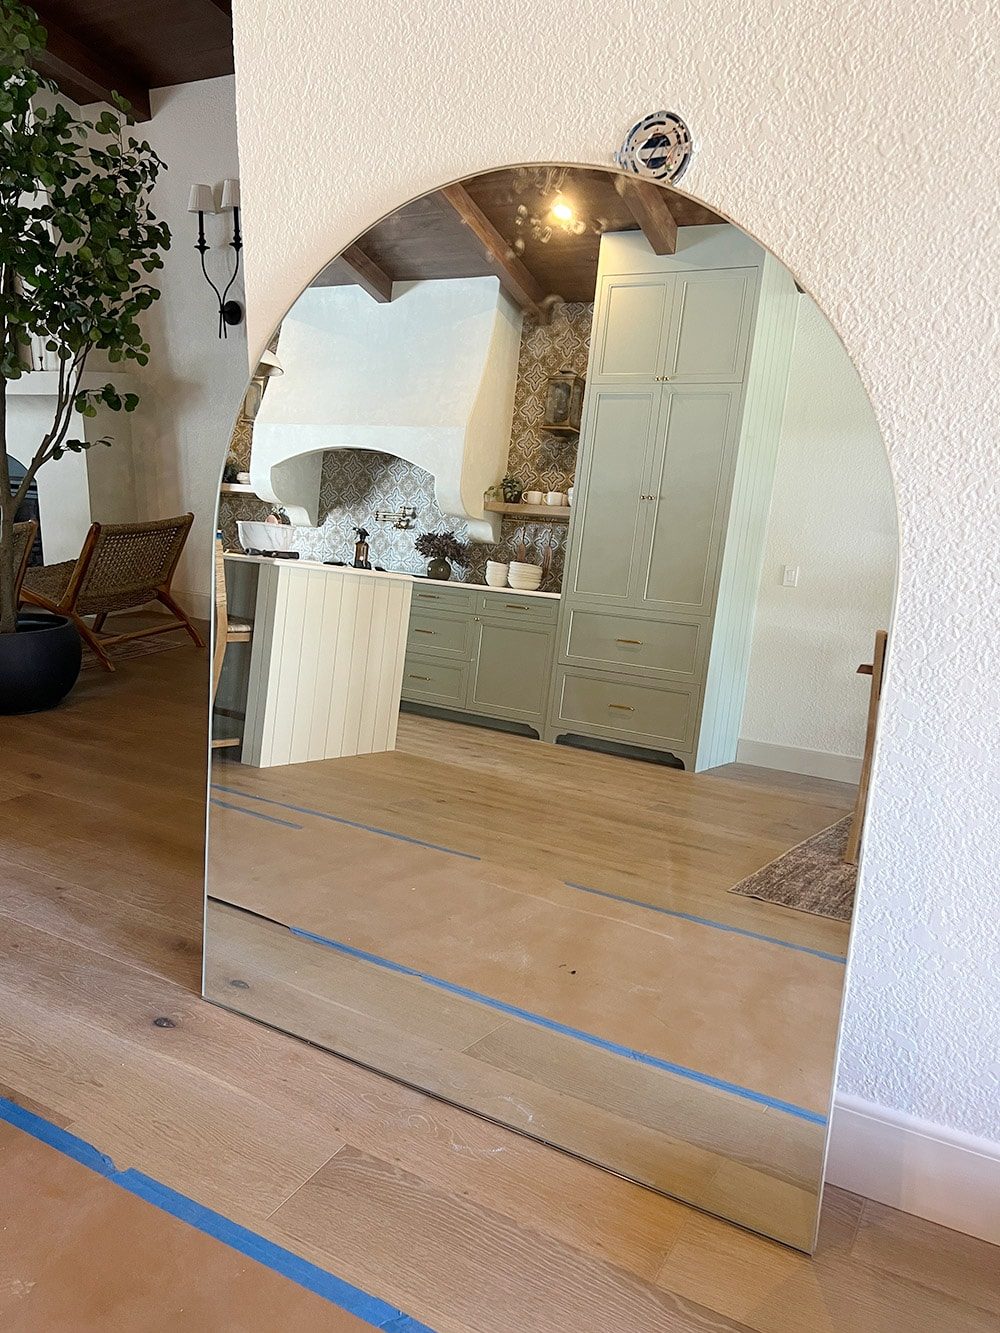
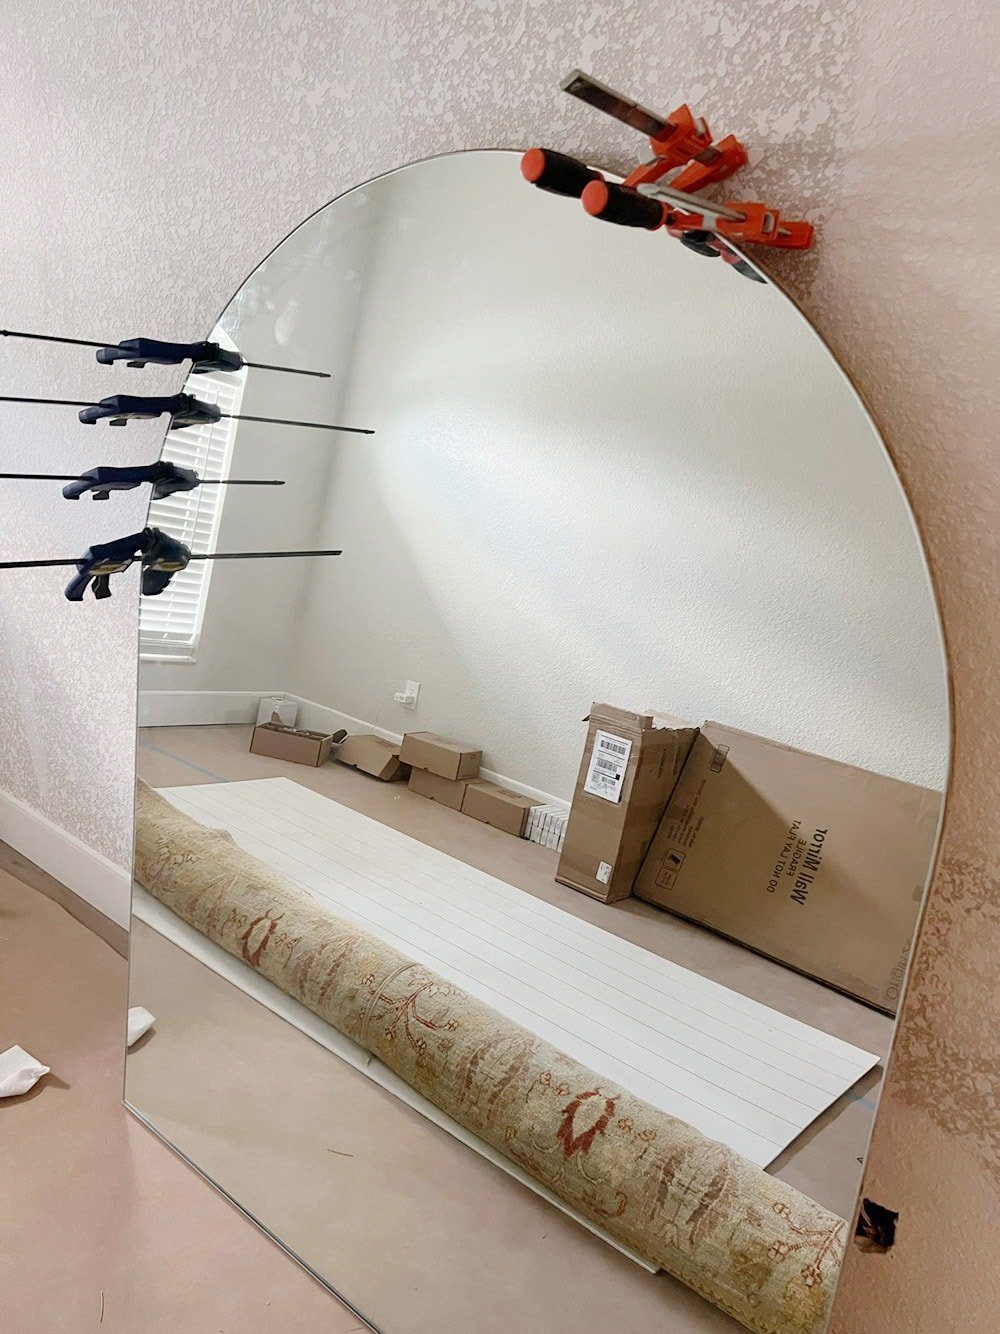
They did a decent job, except the edges did not line up all the way around, and there were some gaps. We fixed the gaps by applying superglue and clamping the pieces together overnight.
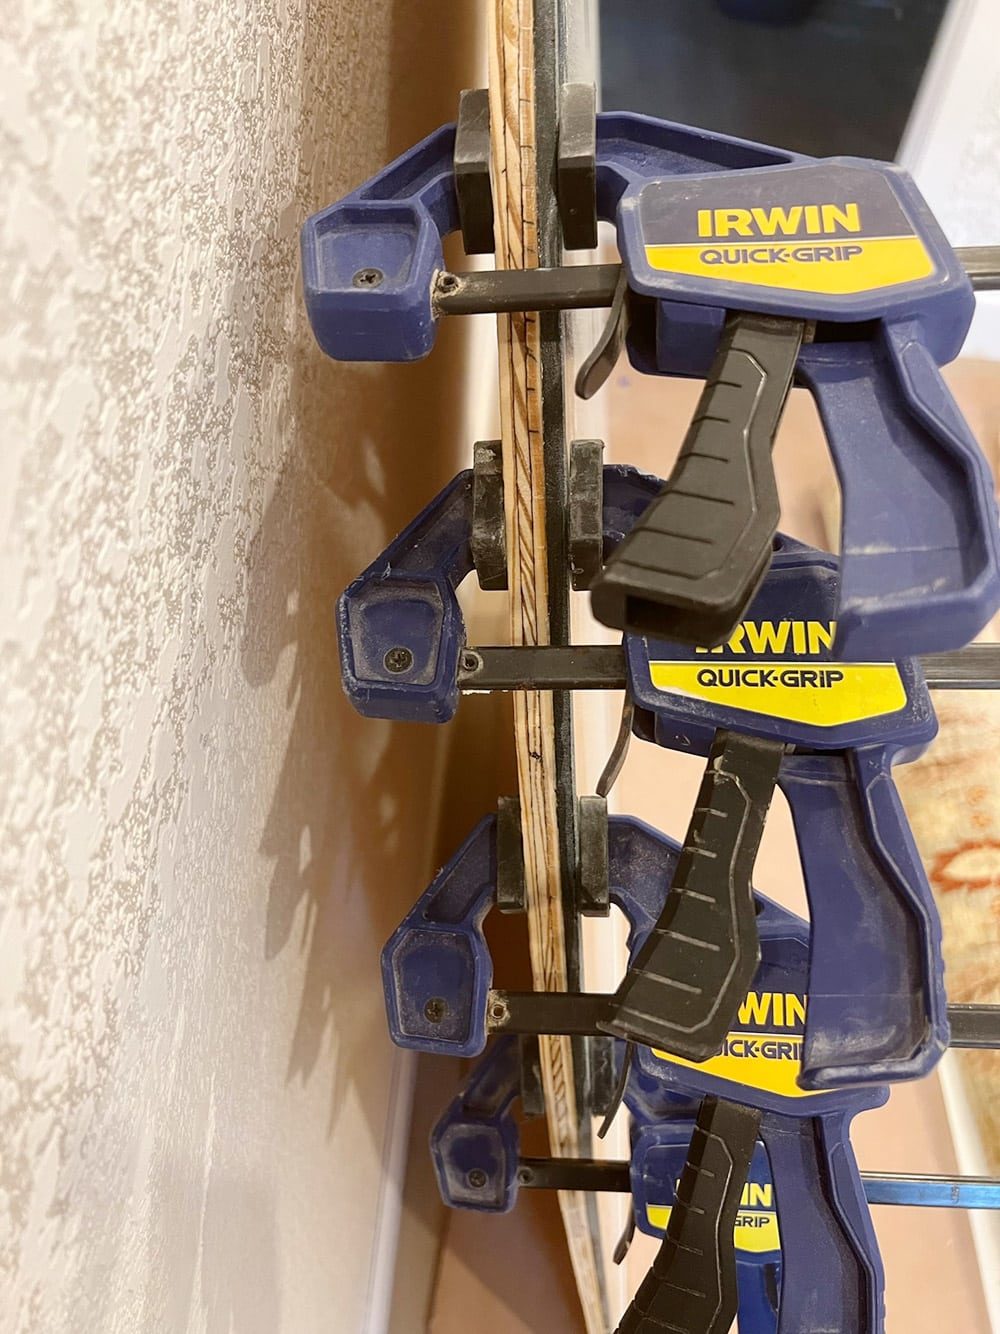
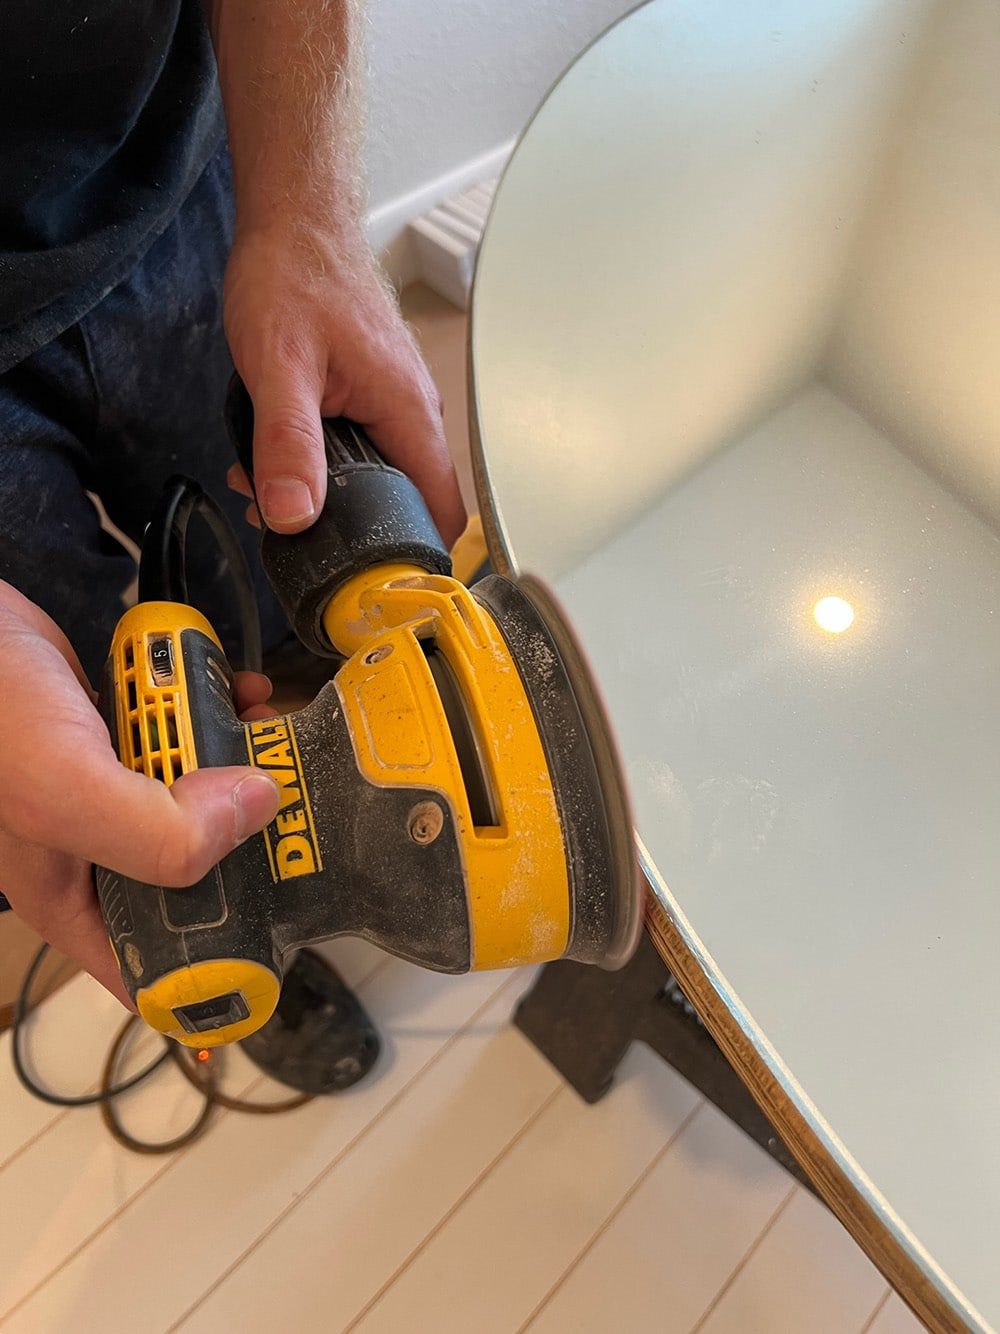
For the uneven edges, we sanded down the plywood with 60 grit on our orbital sander. It did not take long at all to get everything nice and flush.
Step 3: Attach the edge trim
Here is where I had to get creative. It proved very difficult to find flexible molding that was the right size and shape to fit around our mirror. I located somehere on Etsy and ended up purchasing it—but then I came across this wheel arch trim on Amazon (automotive trim to the rescue, once again!)
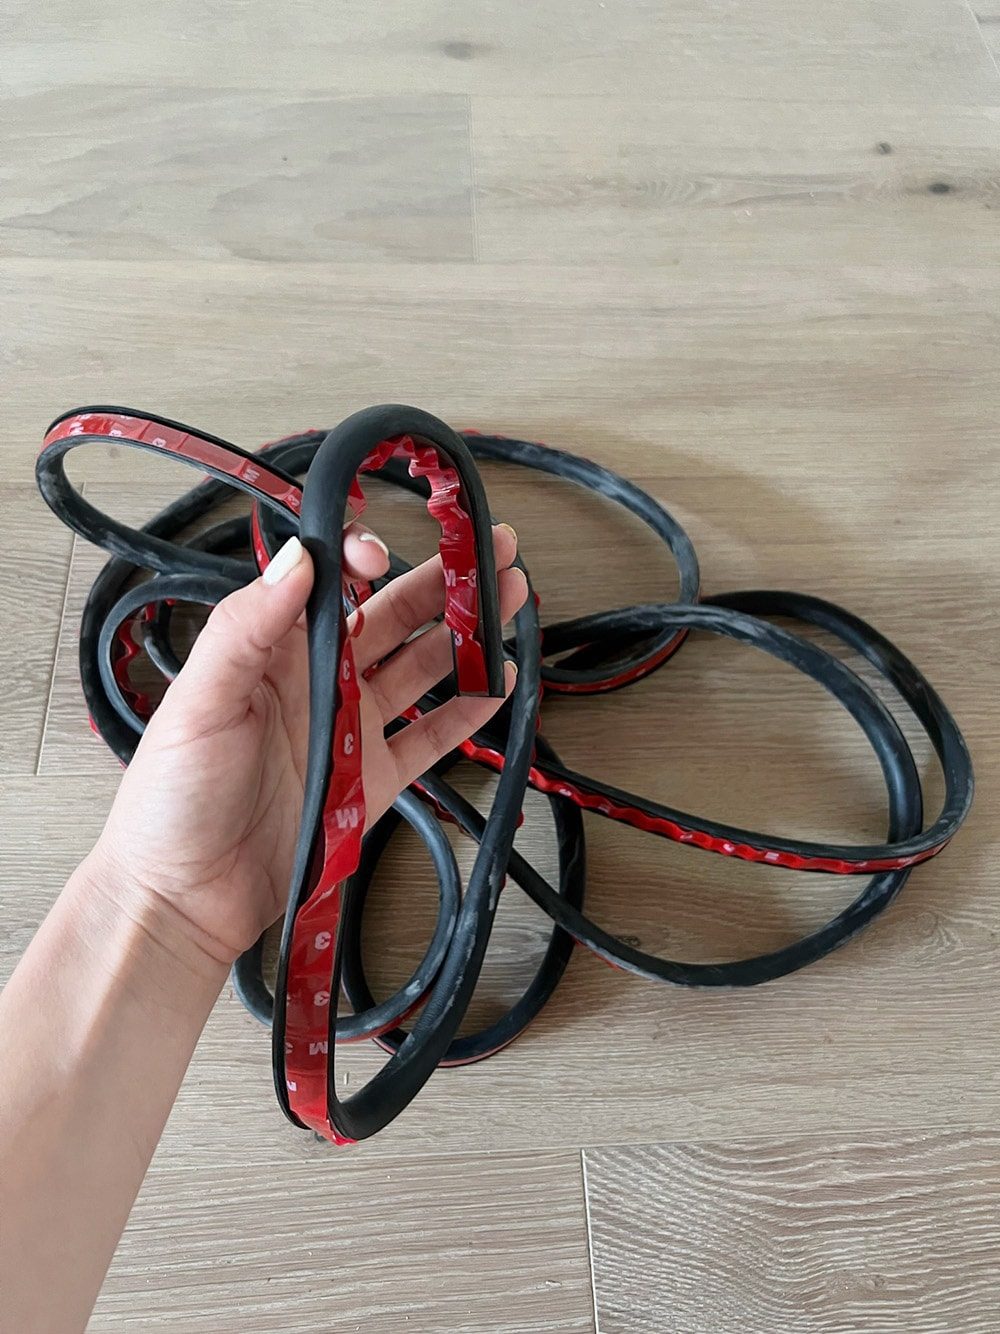
This molding was 1/4th the cost, and already black so I would not have to paint it. It was just barely wide enough to cover the plywood and mirror, and had a little lip at the top to help cover the front edge of the mirror:
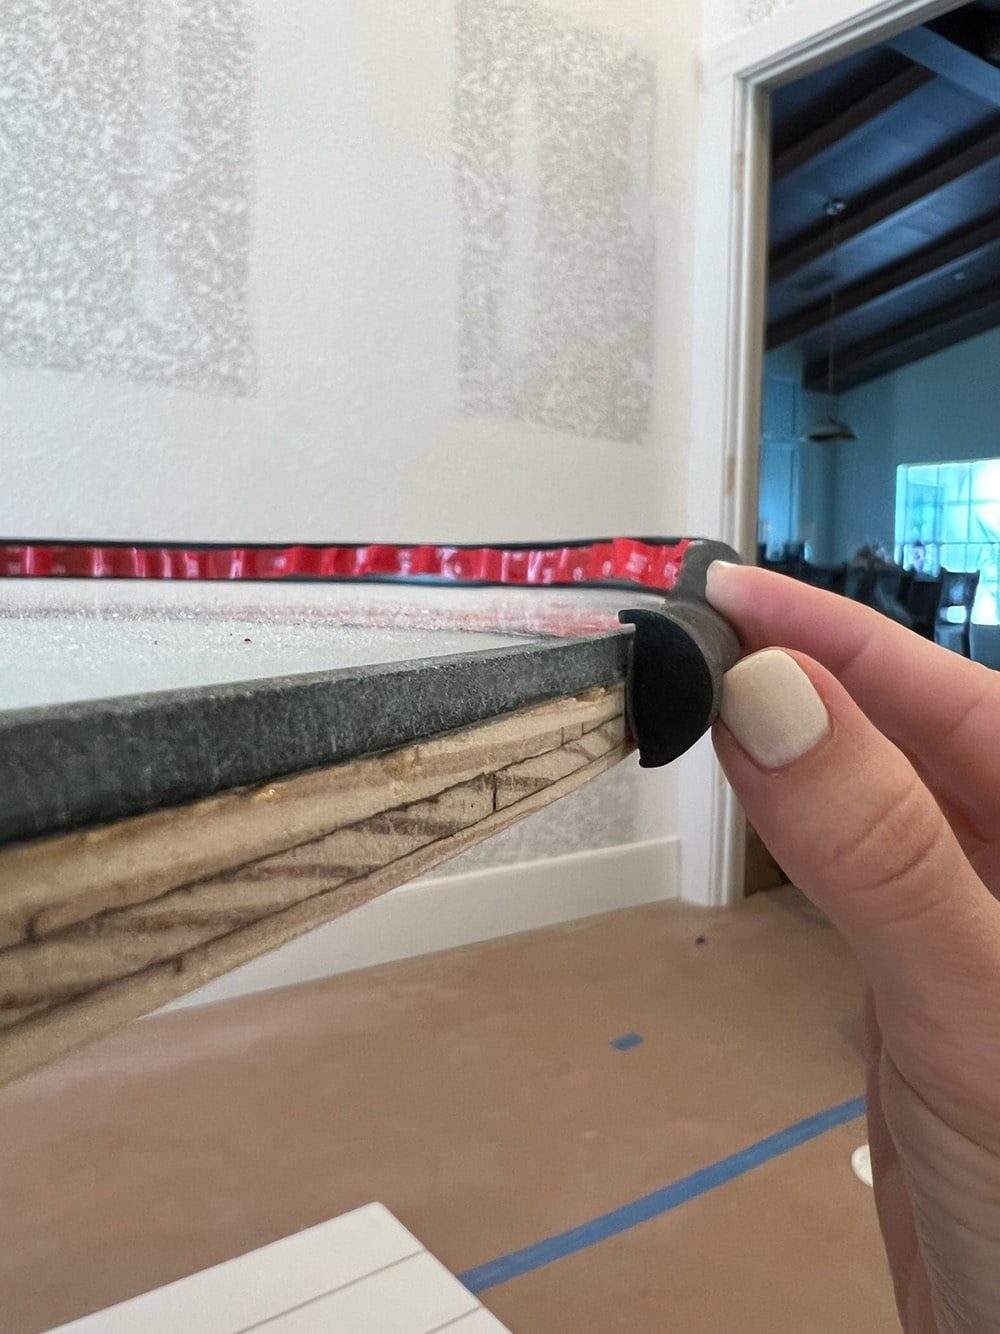
It is a thick foam-like material so probably not as ideal as something more sturdy, but overall I think it was the best option (and worth a shot at just $20!) Cutting the edges in a miter was the most difficult part—I genuinely just had to eyeball it:
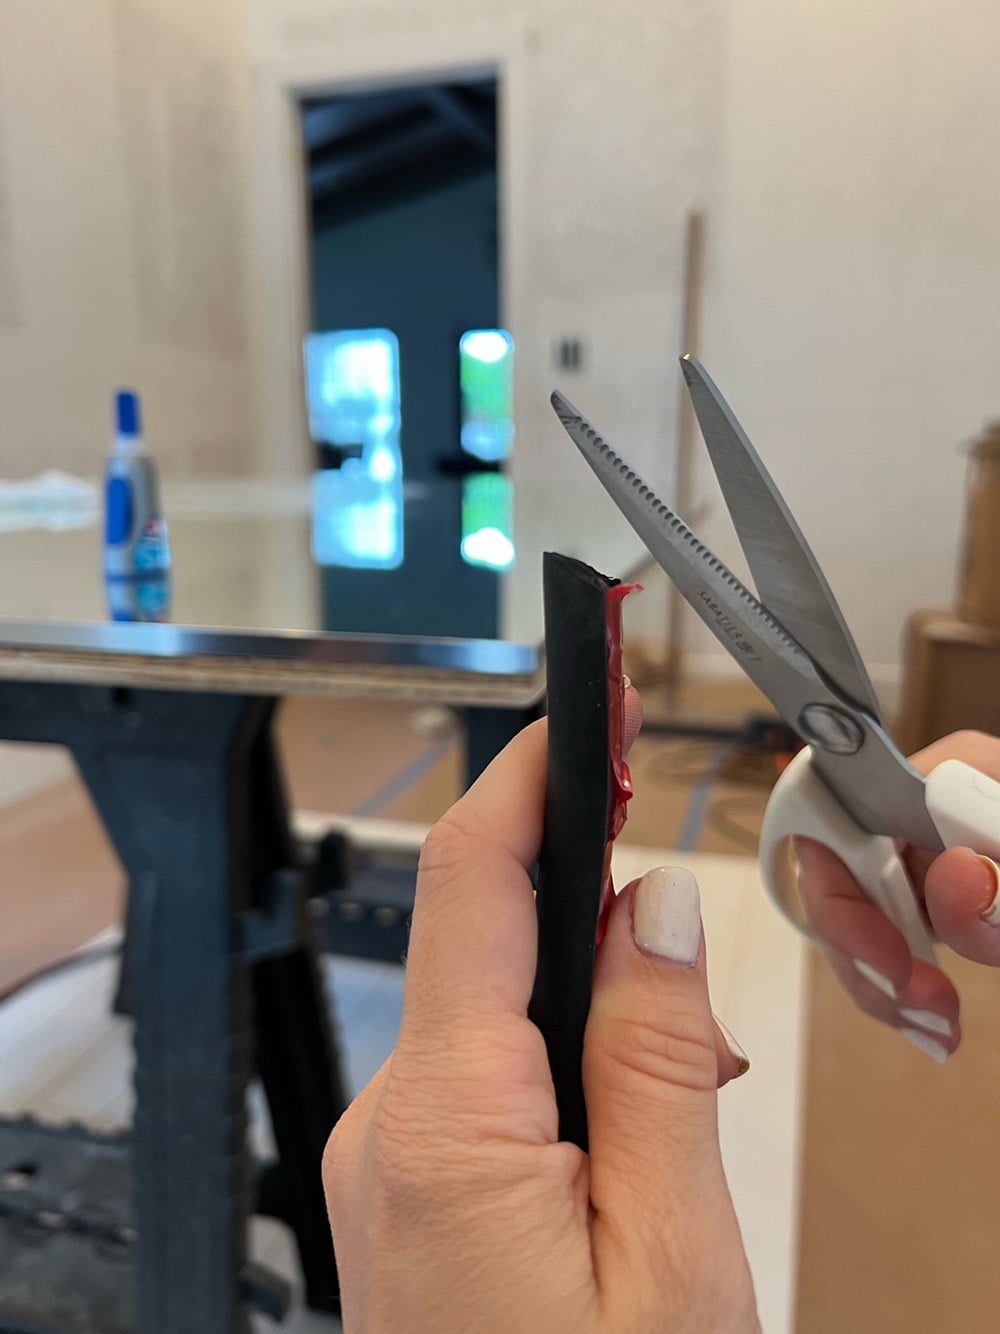
I lined the trim up as best as I could, and slowly worked my way around:
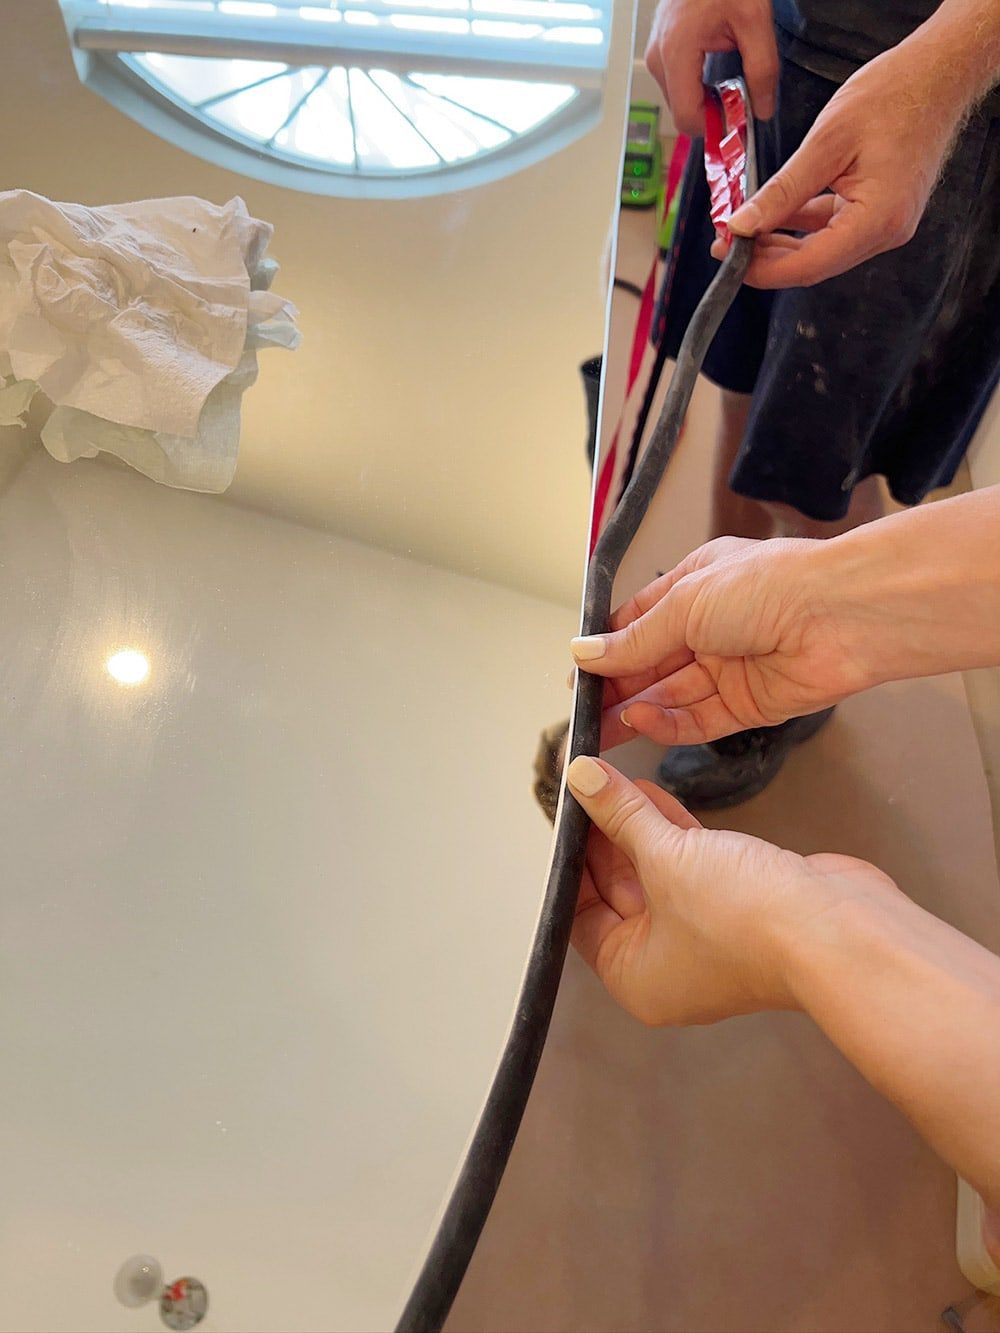
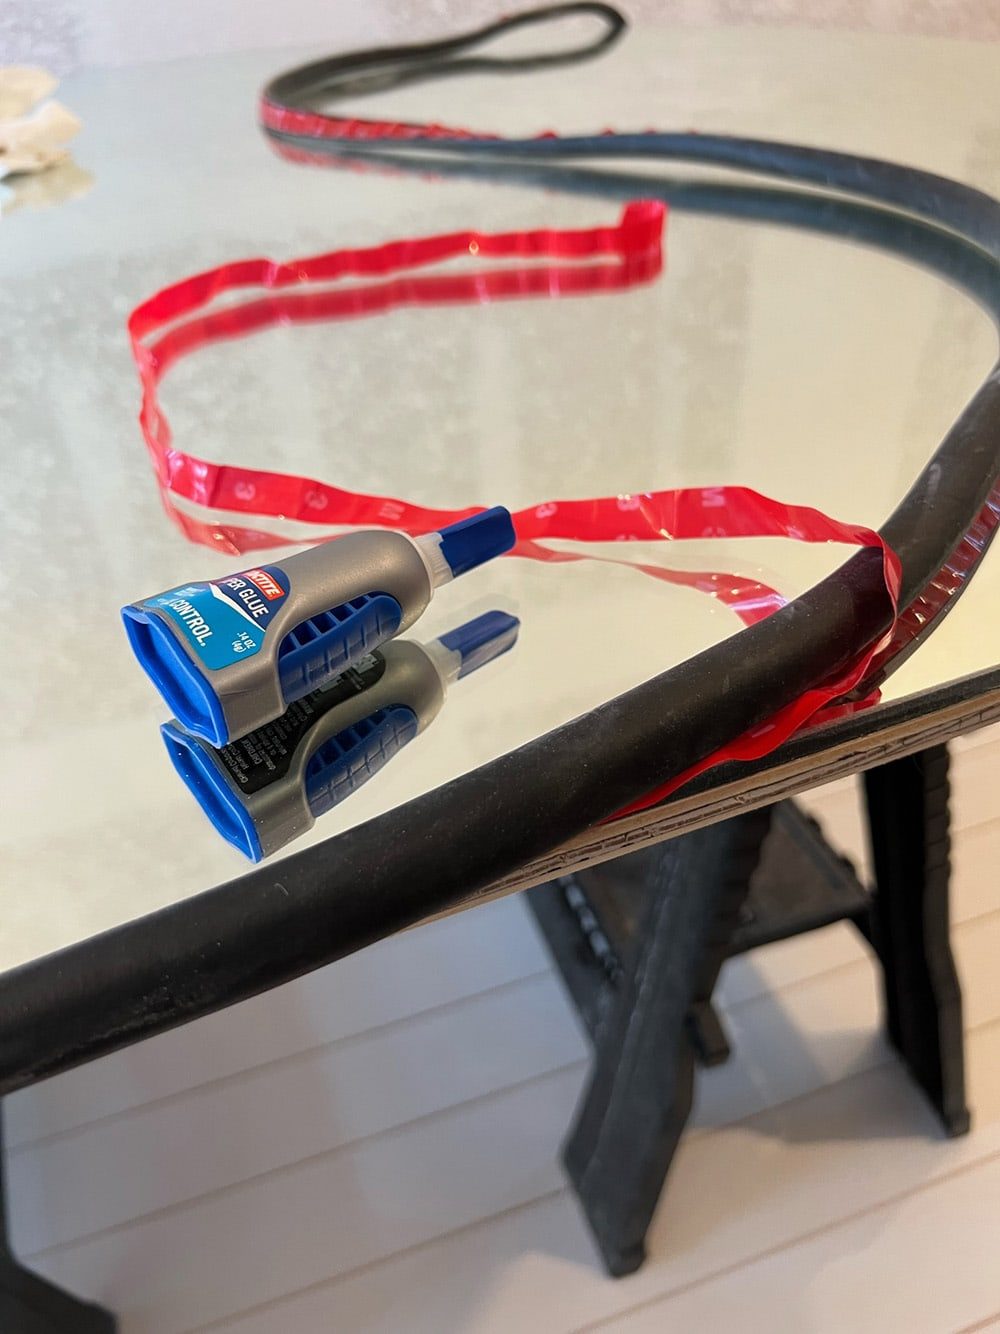
The adhesive strip it came with was sticky enough to attach it but not particularly strong, so we added a bit of superglue along the mirror edge for extra reinforcement.
Joining the two corners at the bottom was definitely the trickiest part, and it did not turn out perfectly.
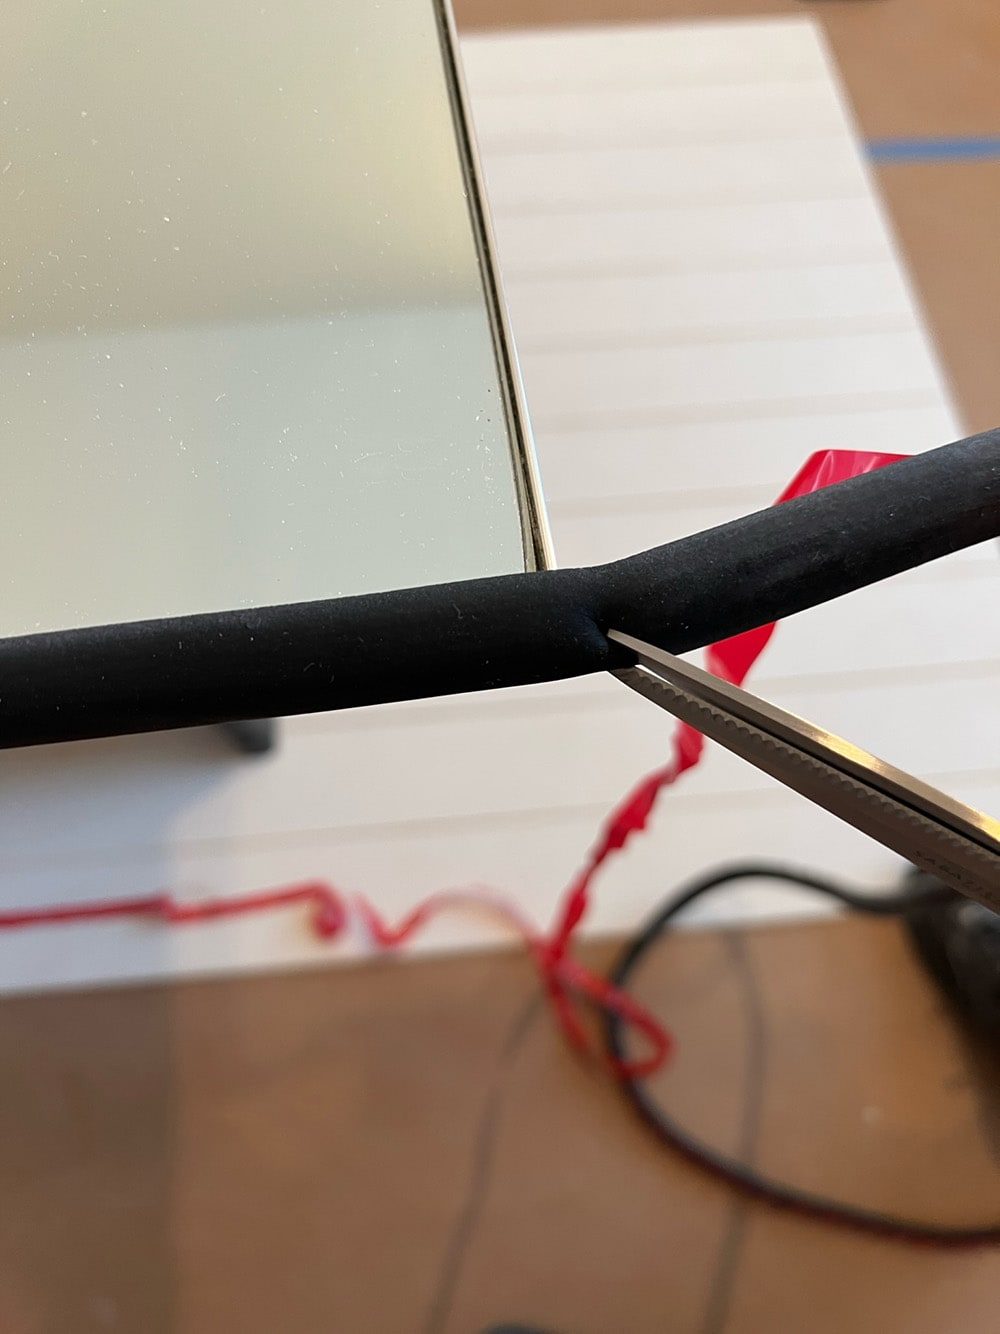
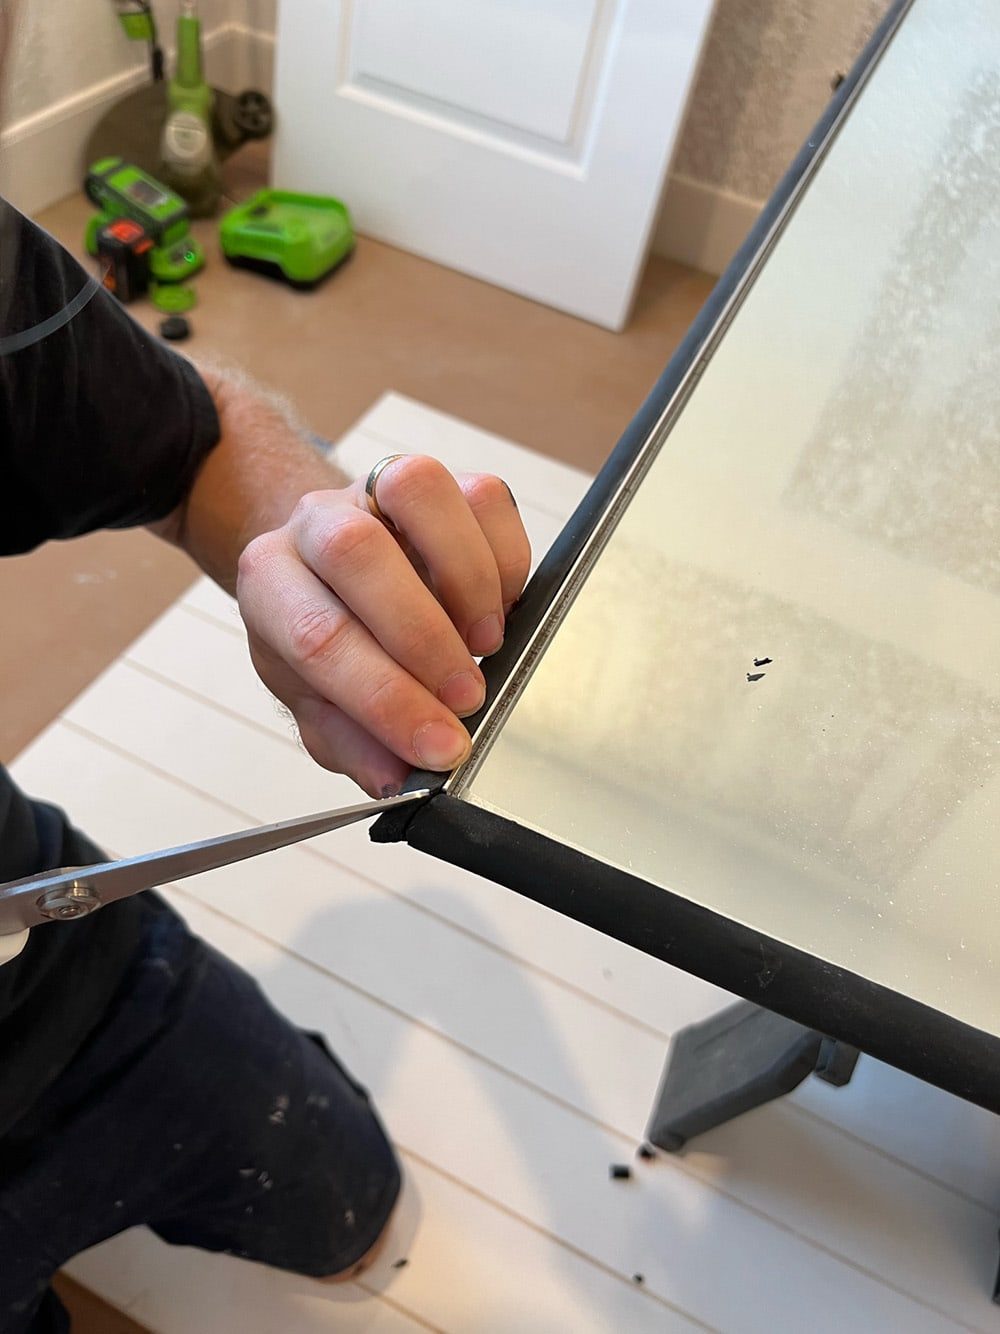
But, it was good enough, and a lot easier/faster than patching and painting.
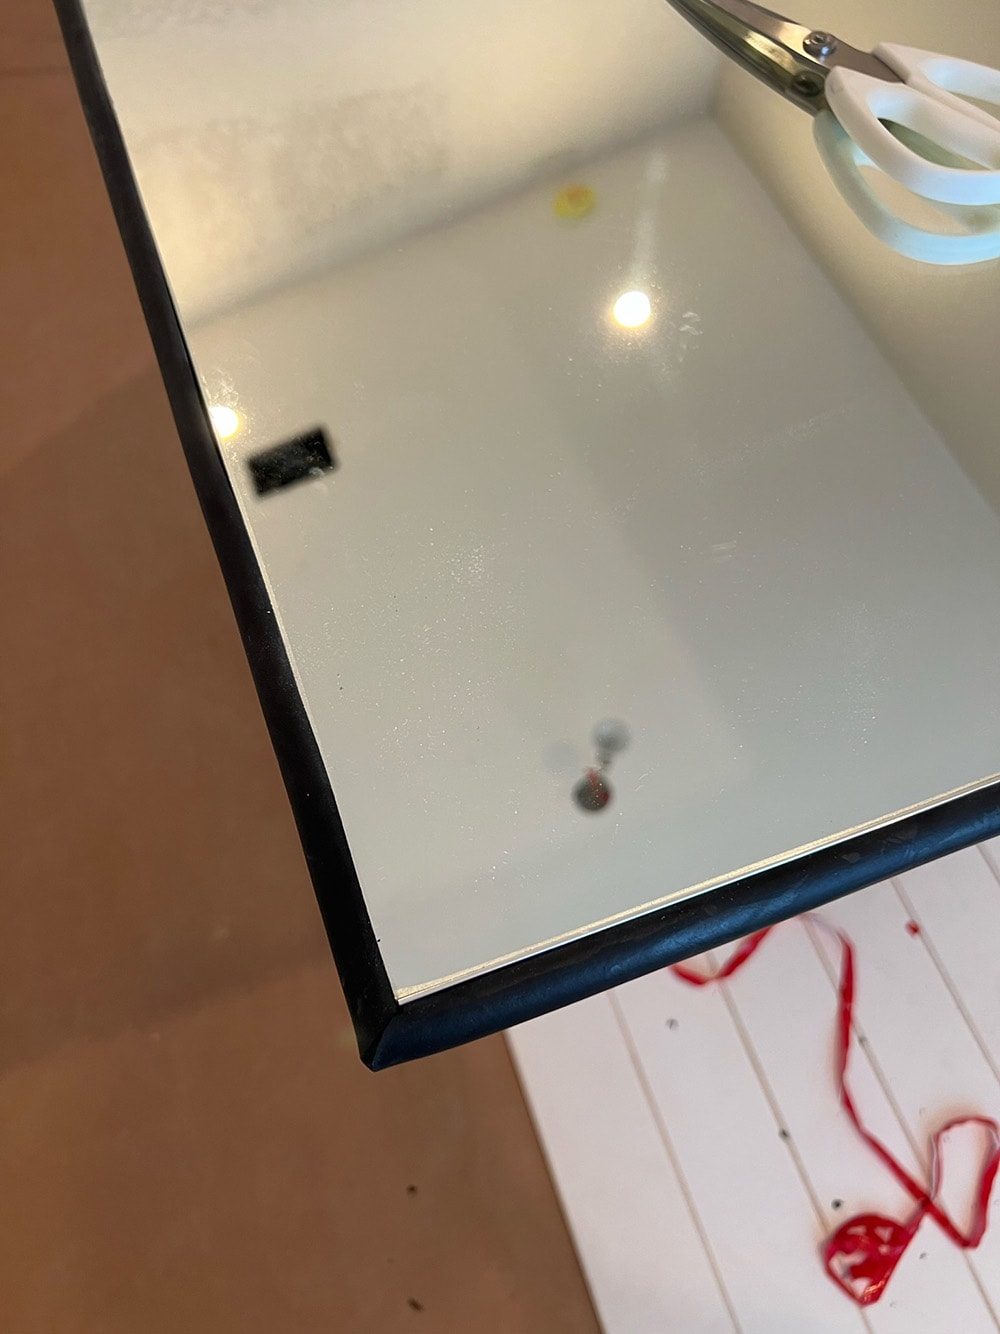
And just like that, our DIY custom mirror was finished!
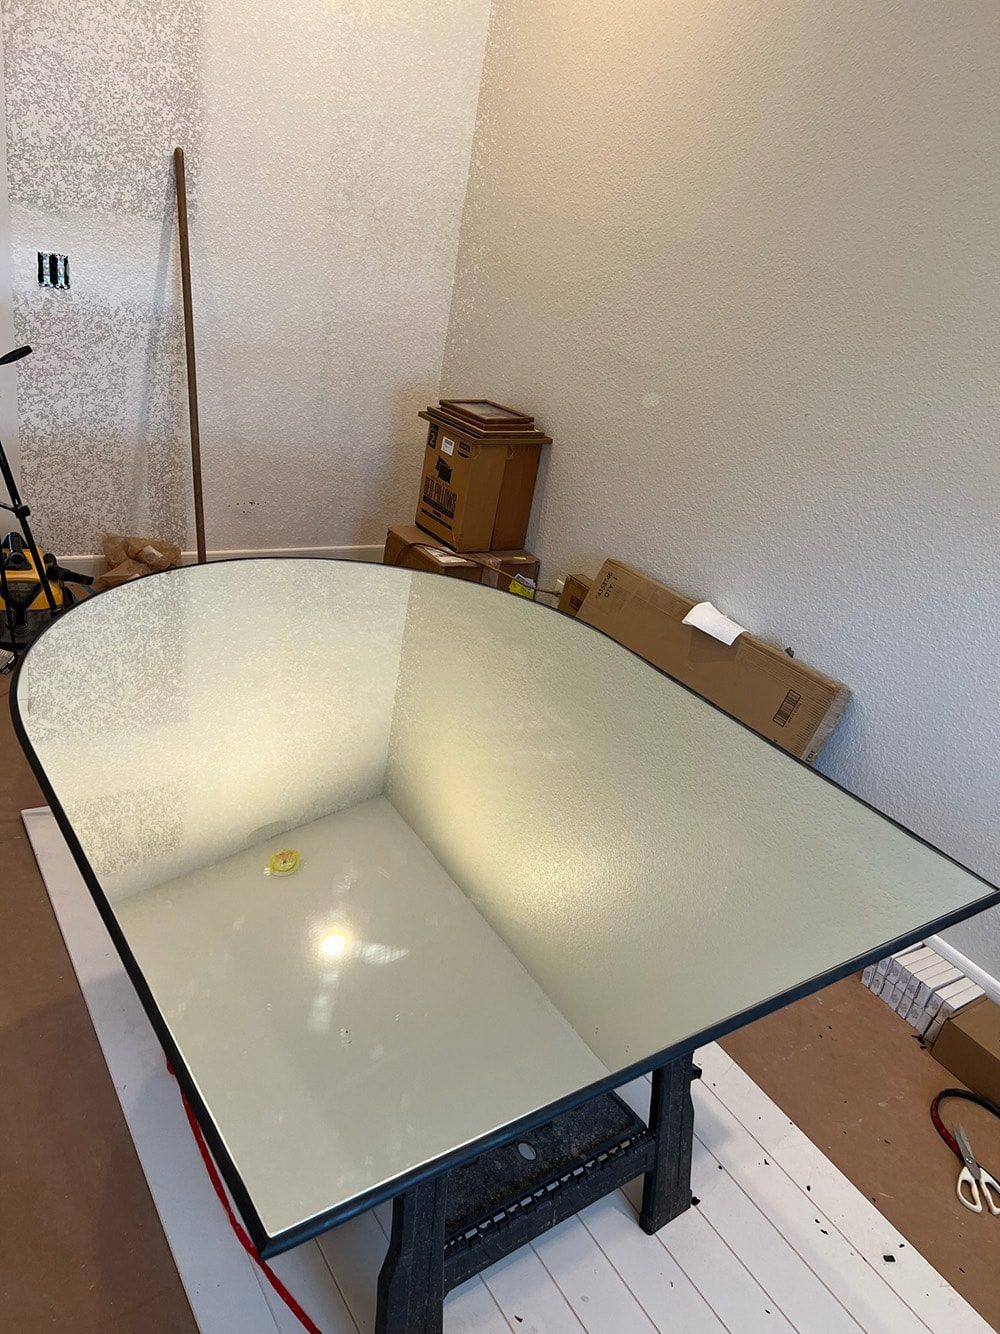
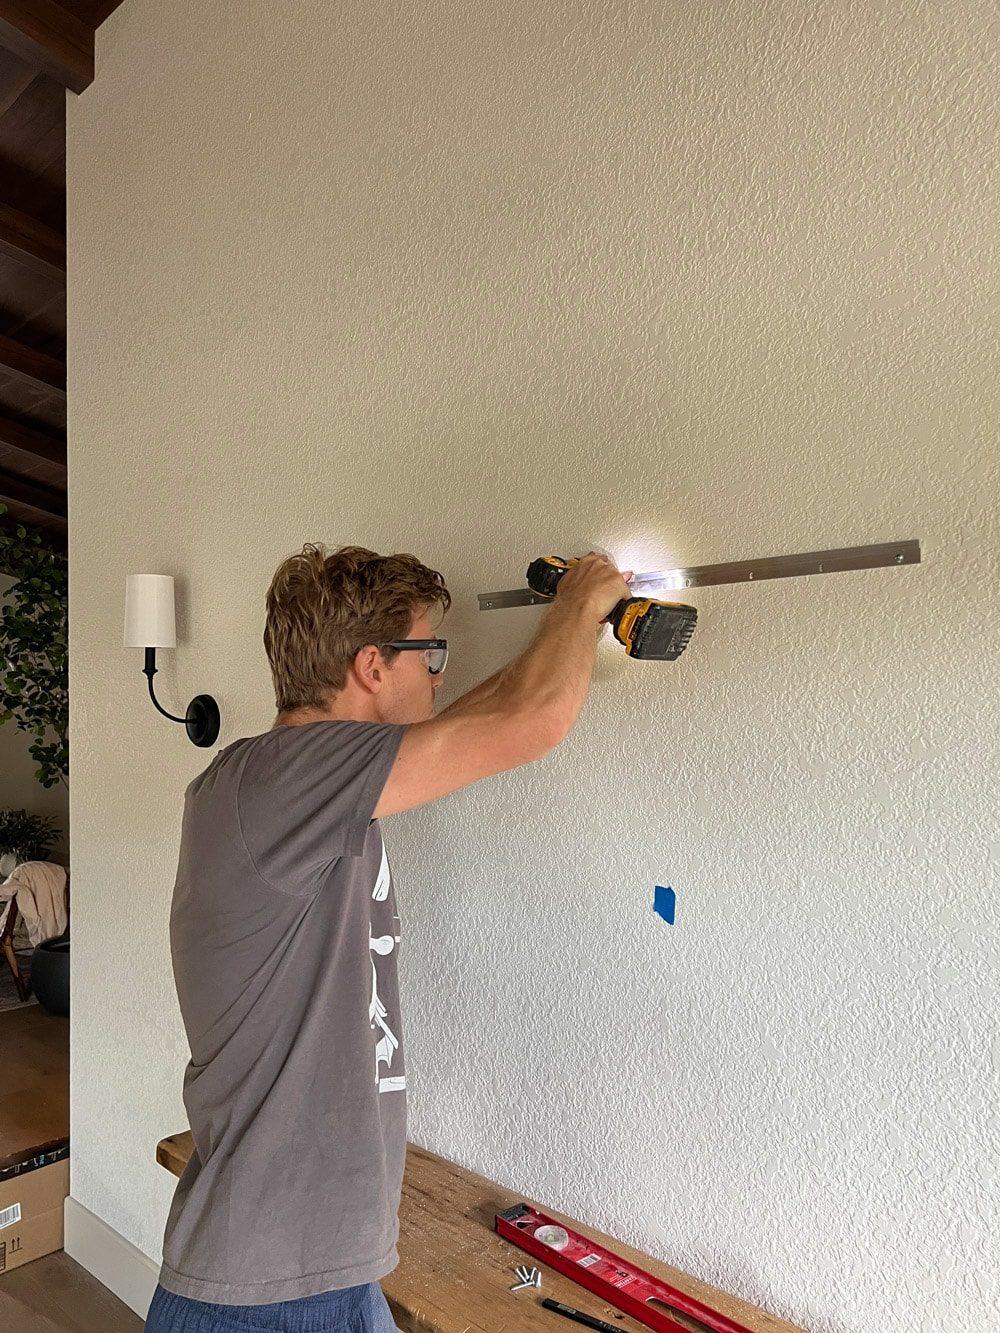
Step 4: Attach cleat and hang
Since we were hanging the mirror on the wall, I opted for a french cleat—my preferred method to hang heavy/large objects. I found this 30″ cleat on Amazon:
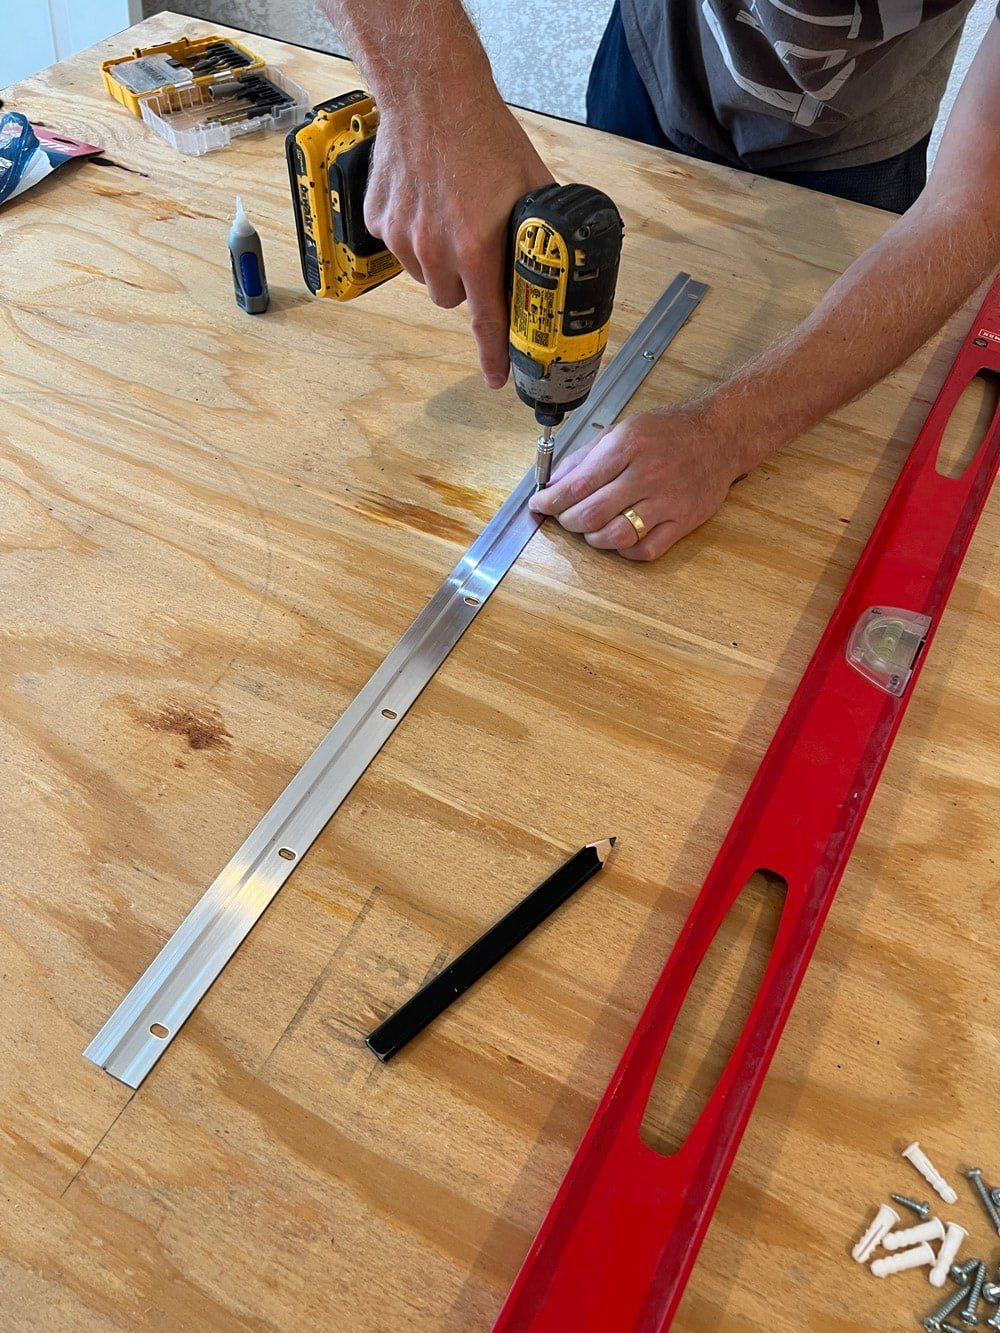
Installation is pretty straight forward—screw one side into the back of the mirror (make sure it is level first!) then secure the other side to the studs in the wall. We were able to hit two studs.
Reveal
This is how the mirror looks in our newly completed foyer!
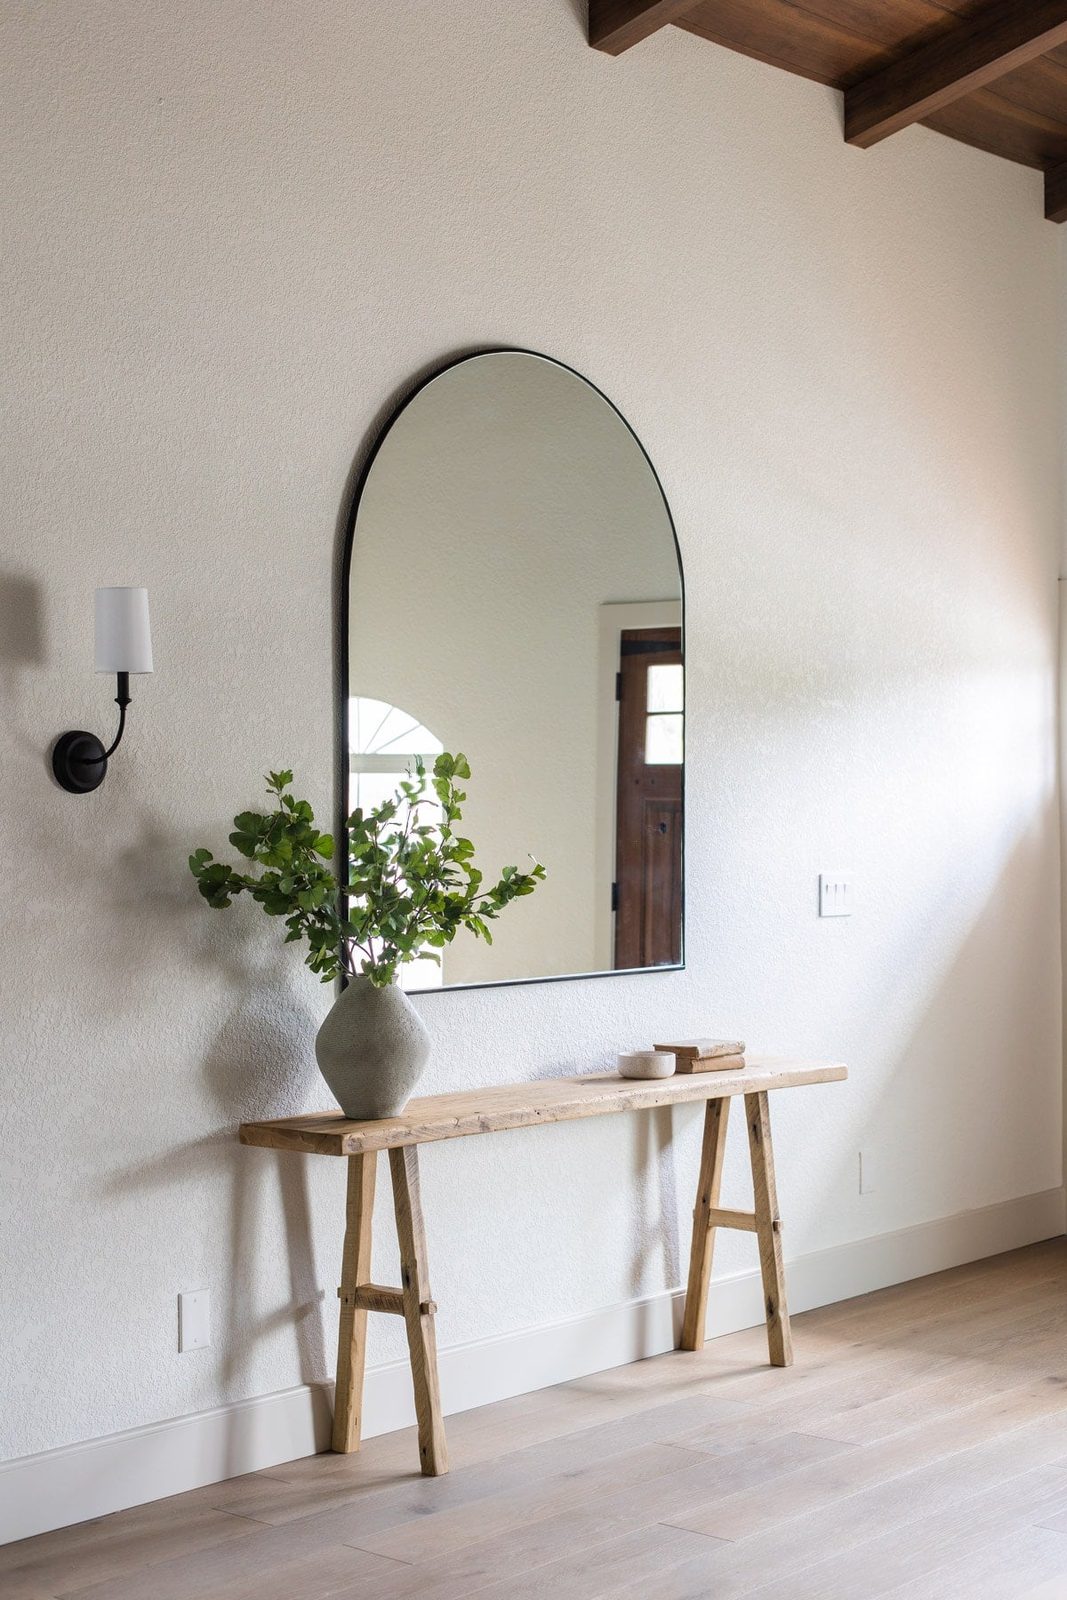
Not bad for around $400—you definitely will not find a new mirror for sale in this shape/size at that price.
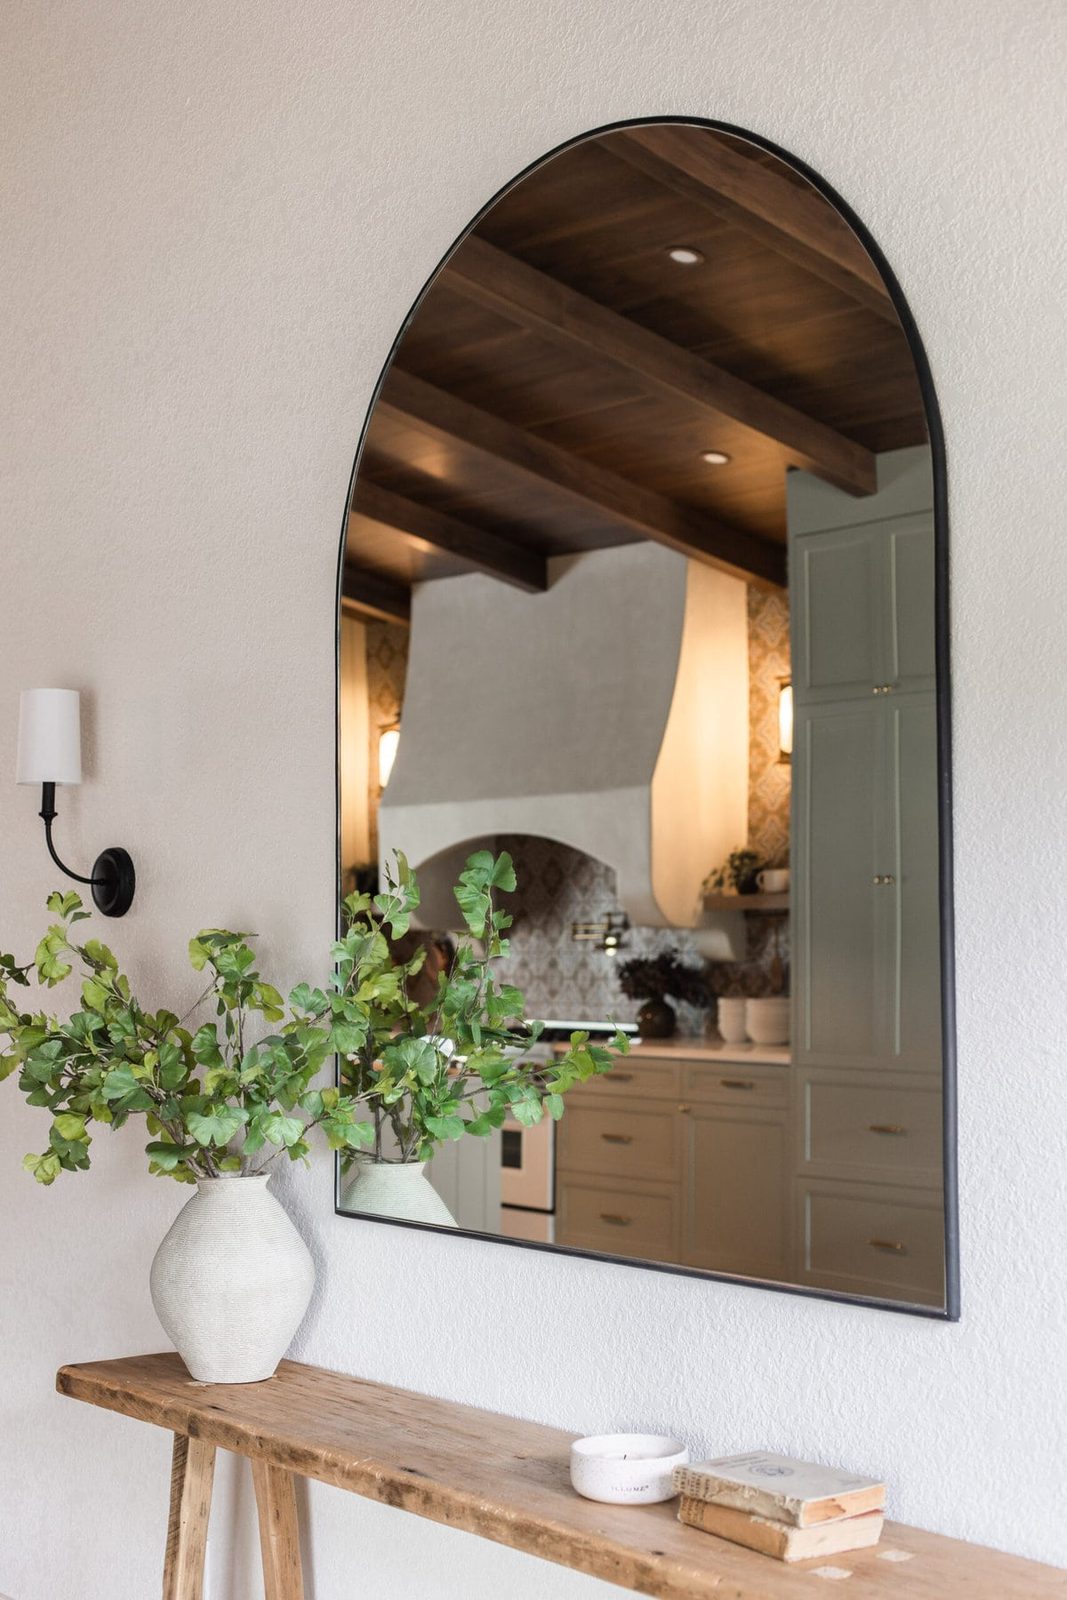
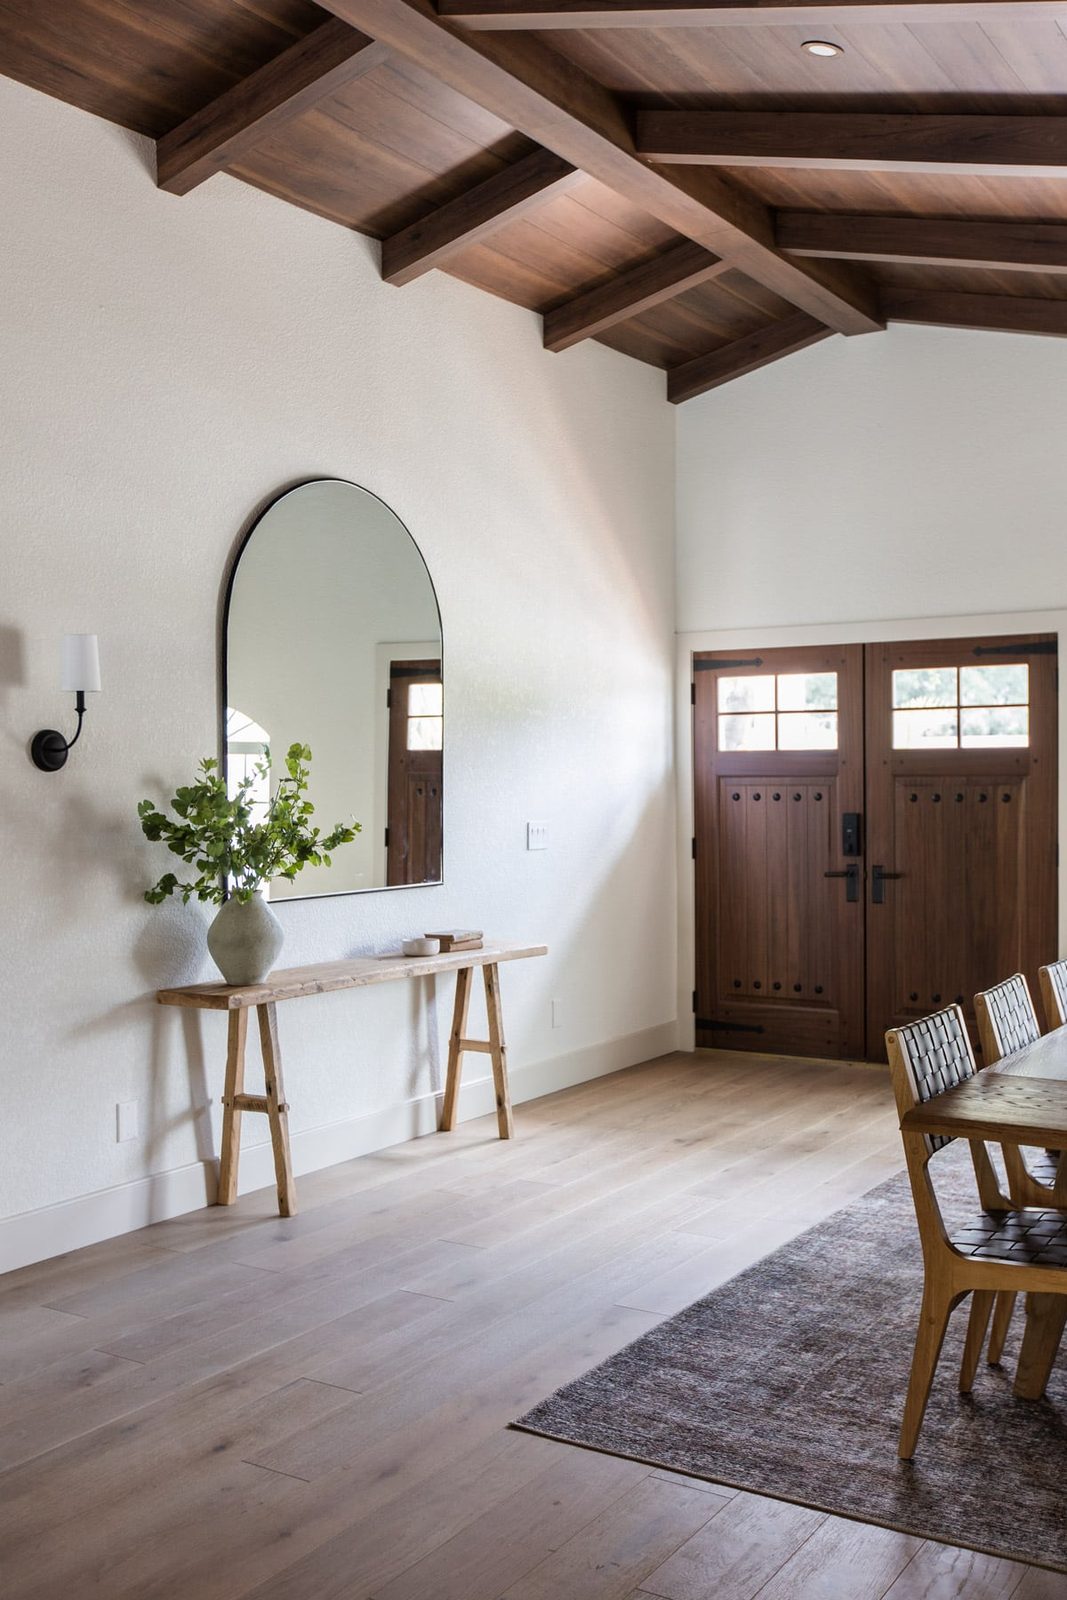
I am so glad I went the DIY route instead of settling for a mirror that was too small. The larger size makes the space feel more open, and is the well suited way to welcome our guests when they enter the Hacienda.

There are just a few pieces left to finish the dining room, and then I can share the reveal here on the blog!
Next week, we have got a long overdue backyard pool update, plus a fall stem roundup. You will not want to miss these!
As always, make sure you are following me on Instagram to see video tutorials of all of our DIY projects in my stories! More to come soon,