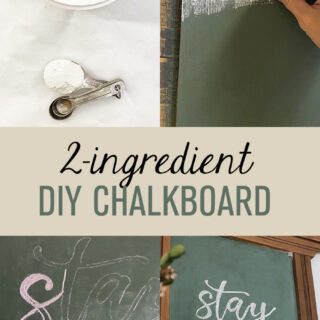
DIY 2-ingredient Chalkboard
Whew… what a year this week has been, am I right?! Has the world been moving in slow motion for everyone else? I suppose more time has been one silver lining in all of…
Whew… what a year this week has been, am I right?! Has the world been moving in slow motion for everyone else? I suppose more time has been one silver lining in all of this. We are working on a long overdue vlog update for you guys soon with how we have been impacted. But in the meantime, I came up with a quick, fun and free project at the request of many of you who answered my Instagram poll!
In your responses, there was a high demand for projects that were quick, easy, and could be done with materials already on hand. This DIY chalkboard meets all of those criteria, and it is one that kiddos could enjoy as well!
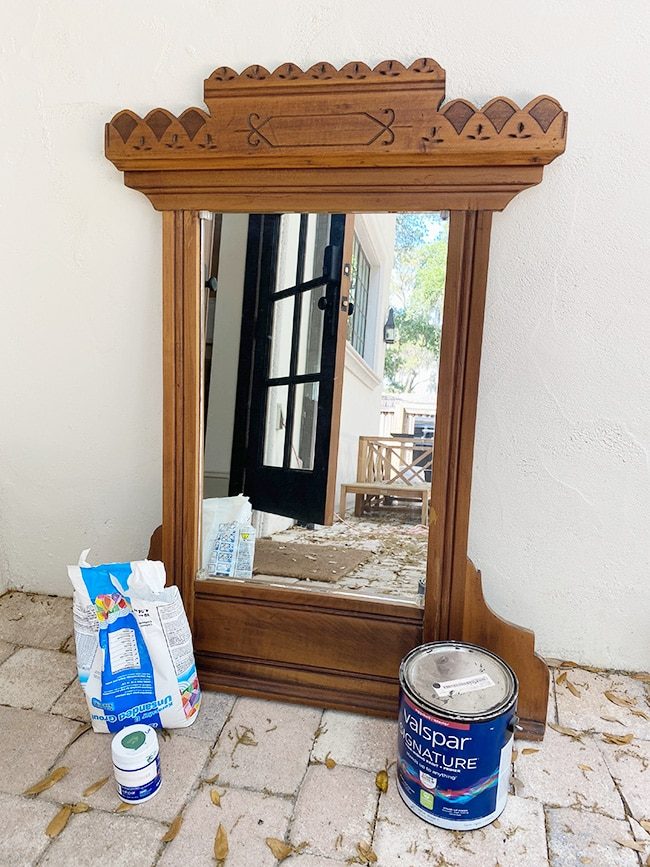
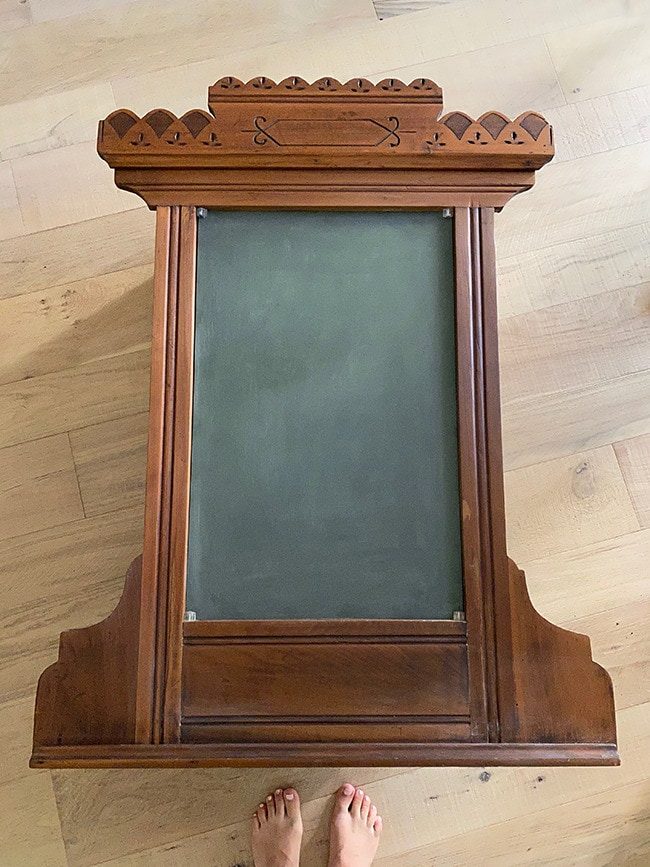
Step 1: Look around your house (or attic/garage) and find something that can be repurposed. Picture frames and mirrors in any shape and size are well suited for this. You can also use an old tray, a piece of scrap wood—literally any flat/smooth surface. Get creative! The choice was to repurpose this antique mirror I scored secondhand for $15:
Step 2: Choose your paint. From my research, this can be any type of water based paint (your typical latex paint or even acrylic craft paint). You do not need much, and I am sure we all have a little leftover paint somewhere! It can be any color you'd like. The choice was to mix a sample pot of a random green Valspar color (in satin) with SW Tricorn Black (eggshell) to make a custom dark green and give it that classic schoolhouse chalkboard look.
Step 3: Choose your additive. There is a handful of different ingredients you can use to make chalkboard paint—unsanded grout, baking soda, Plaster of Paris and cornstarch are all tried & tested options. If you only have one of those on hand, try it out! We have bags of leftover grout in our garage and this ingredient seems to be one of the most popular, so that is what I used (the color does not matter). The ratio is approximately 1/2 cup paint to 1 tbsp grout (or 1:8 parts).
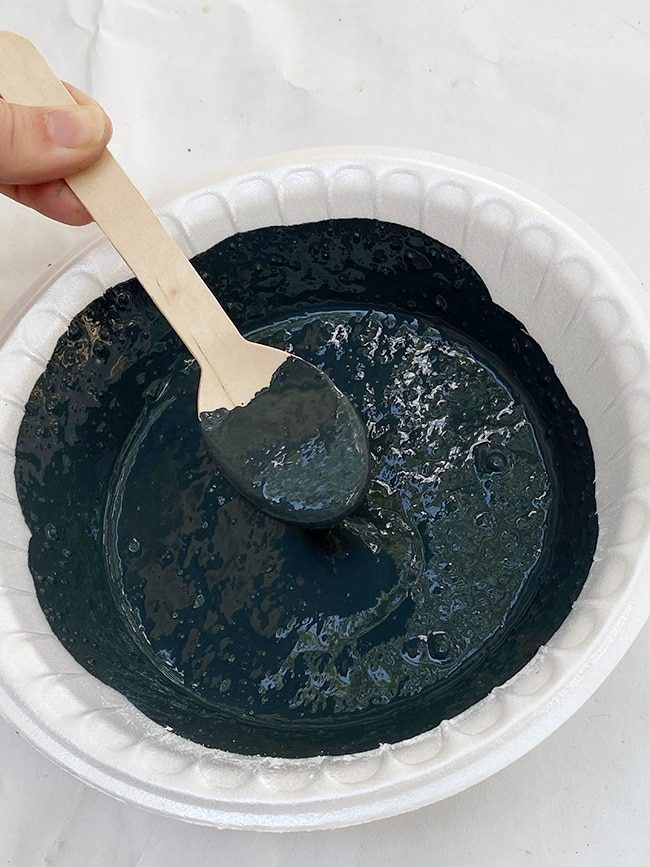
Step 3: Mix and apply. This is not baking—it is not an exact science, and there is plenty of flexibility here, so do not worry that you are not doing it perfectly! I did not want to get paint on my measuring cup so I eyeballed the ratio.
I mixed the grout directly in with the paint, and 1/2 cup of paint ended up being about 4x more than what I needed to cover my surface. The paint thickens up quickly with the additive, so ideally you only want to mix enough for one coat at a time. I would also recommend mixing the grout with a little water first, so you do not end up with clumps in the paint.
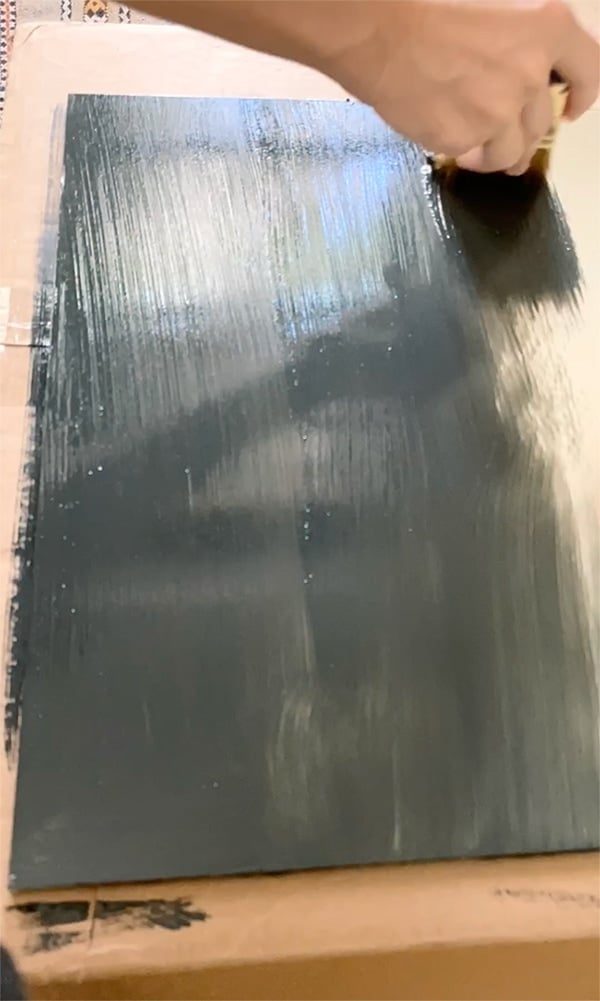
A timelapse was shared in my Instagram stories of the mixing & painting process. I used my go-to short angle brush and it went on nice and easy. Note: if you are using a mirror or picture frame and there is a flat, solid surface behind the glass, you can also use that instead of painting directly on top of the glass. My mirror frame did not have that, so I used the mirror as my chalkboard surface.
I applied two coats, letting it dry for a few hours in between, and then decided it was darker than I wanted so I mixed up one more small batch—this time using an 80% green and 20% black mixture.
It was the well suited amount for one more coat, which I applied and let dry for 24 hours.
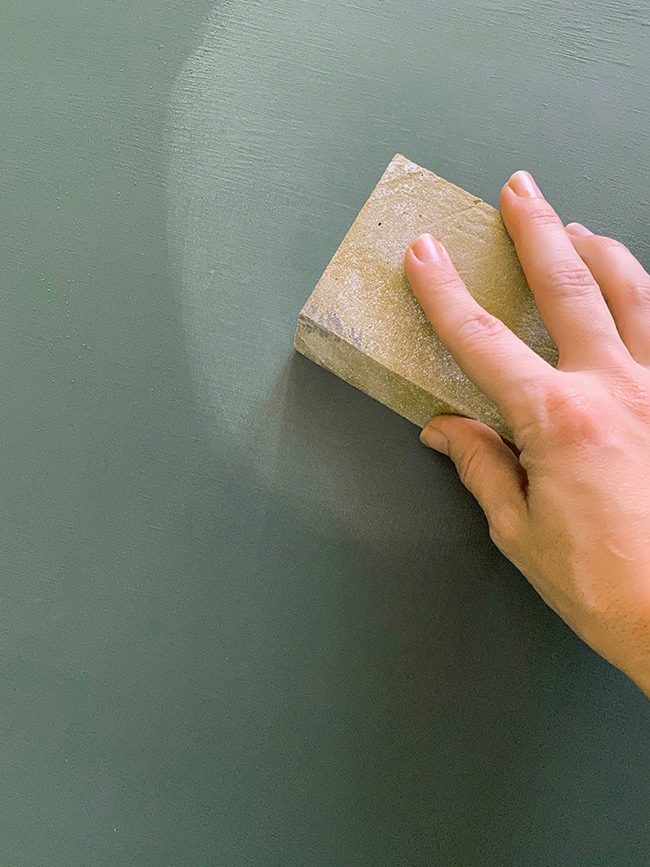
Step 4: Once your chalkboard paint has had sufficient time to dry and cure, it is time to prime the surface. First I used a fine sanding sponge to smooth out any imperfections, then wiped it clean with a towel. I did not mind the bit of texture left behind from using a brush, but if that bothers you, use a sponge brush and sand in between coats.
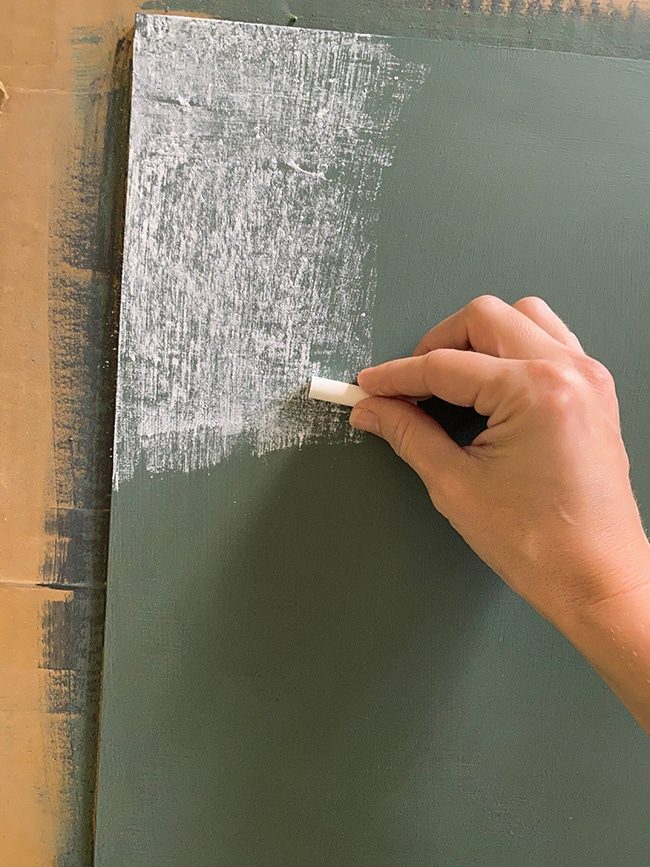
To prime the surface, lay a piece of chalk on its side and thoroughly rub it across the entire board.
This is supposed to help seal the paint and prevent any 'ghosting' (permanent marks left behind after erasing).
Wipe clean with a dry (or slightly damp) paper towel and your chalkboard is ready to roll!
And now for the moment of truth… eek!
No ghosting at all—SUCCESS!
Now that you are done, feel free to pass your creation off to the kids and let them entertain themselves. Or, you might want to get fancy and do a little professional hand lettering. I vote option 2!
If you've been around this blog for a while, you might remember my easy chalkboard lettering tutorial, and I used that same process here. This time, with a message that is very relevant right now…
I printed it out on two sheets of letter sized paper, and made it into a template which you can download here if you'd like.
Look at the full tutorial for all the details, but all you have to do is cover the back of the sheet with chalk, tape it in place, transfer it onto your chalkboard by tracing over it, then fill in the outline.
It is so fast and easy, and enjoyable too! Like a relaxing mini-meditation session. I think we could all use one of those right about now 😉
Eventually, this chalkboard will end up on a wall in thekitchen at the Riverside Retreat and will display the Wifi login info.
But for now, it is a nice addition to our Spring fireplace mantel.
Our city/state is not on full lockdown (yet?) but we have been limiting our public exposure as much as possible, and enjoying our time together at home. I can think of worse situations than being quarantined with the world's cutest baby ?
 Print
Print DIY 2-ingredient Chalkboard
Repurpose materials found around your home to create your own custom chalkboard Prep Time5 minutes minsActive Time15 minutes minsWait time1 day dTotal Time1 day d Keyword: chalkboard, paint, diy, crafts, chalk Yield: 1 chalkboard Cost: $0Equipment
- Paint brush or roller
- Fine sanding block
Materials
- 1 picture frame or mirror - or any flat smooth surface
- 1/2 cup latex paint - any color
- 1 tbsp unsanded grout - any color
- 1 piece chalk
Instructions
- Find an old picture frame, mirror, or smooth flat surface
- Mix together 1 part latex paint to 8 parts unsanded grout
- Apply paint/grout mixture to your surface with a brush or roller
- Wait a few hours to dry
- If needed, recoat with another layer of paint (mix a new batch)
- Once dry, lightly sand with a fine sanding block
- To prime the surface, rub a piece of chalk across the board (on its side) and wipe clean
- Enjoy your new chalkboard!
Notes
Learn how to make well suited chalkboard lettering (without any artistic ability!) in this post.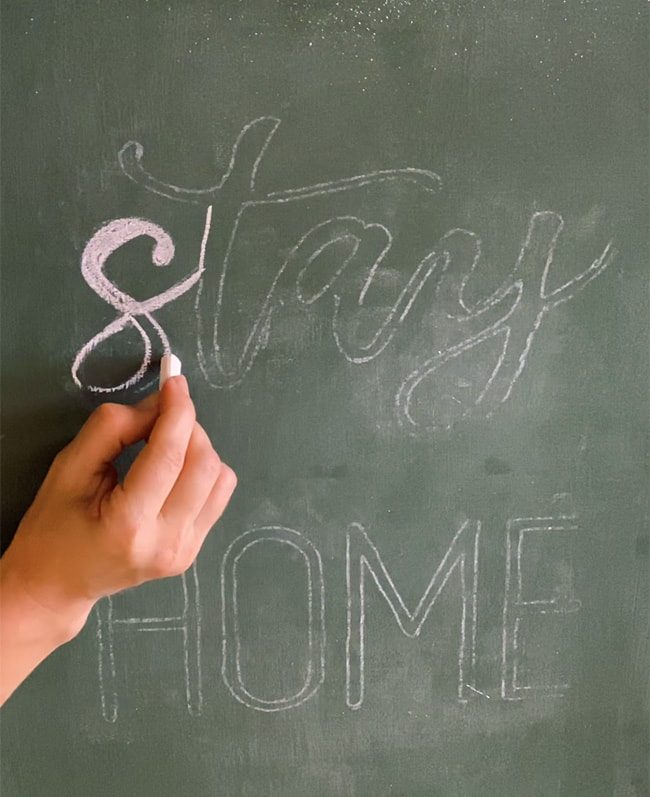
More to come from our little corner of the universe soon… stay safe out there my friends!