DIY Large Fluted Cement Planters
How to DIY a large fluted cement planter in just a few easy steps! Sharing my best tips for the most realistic concrete look.
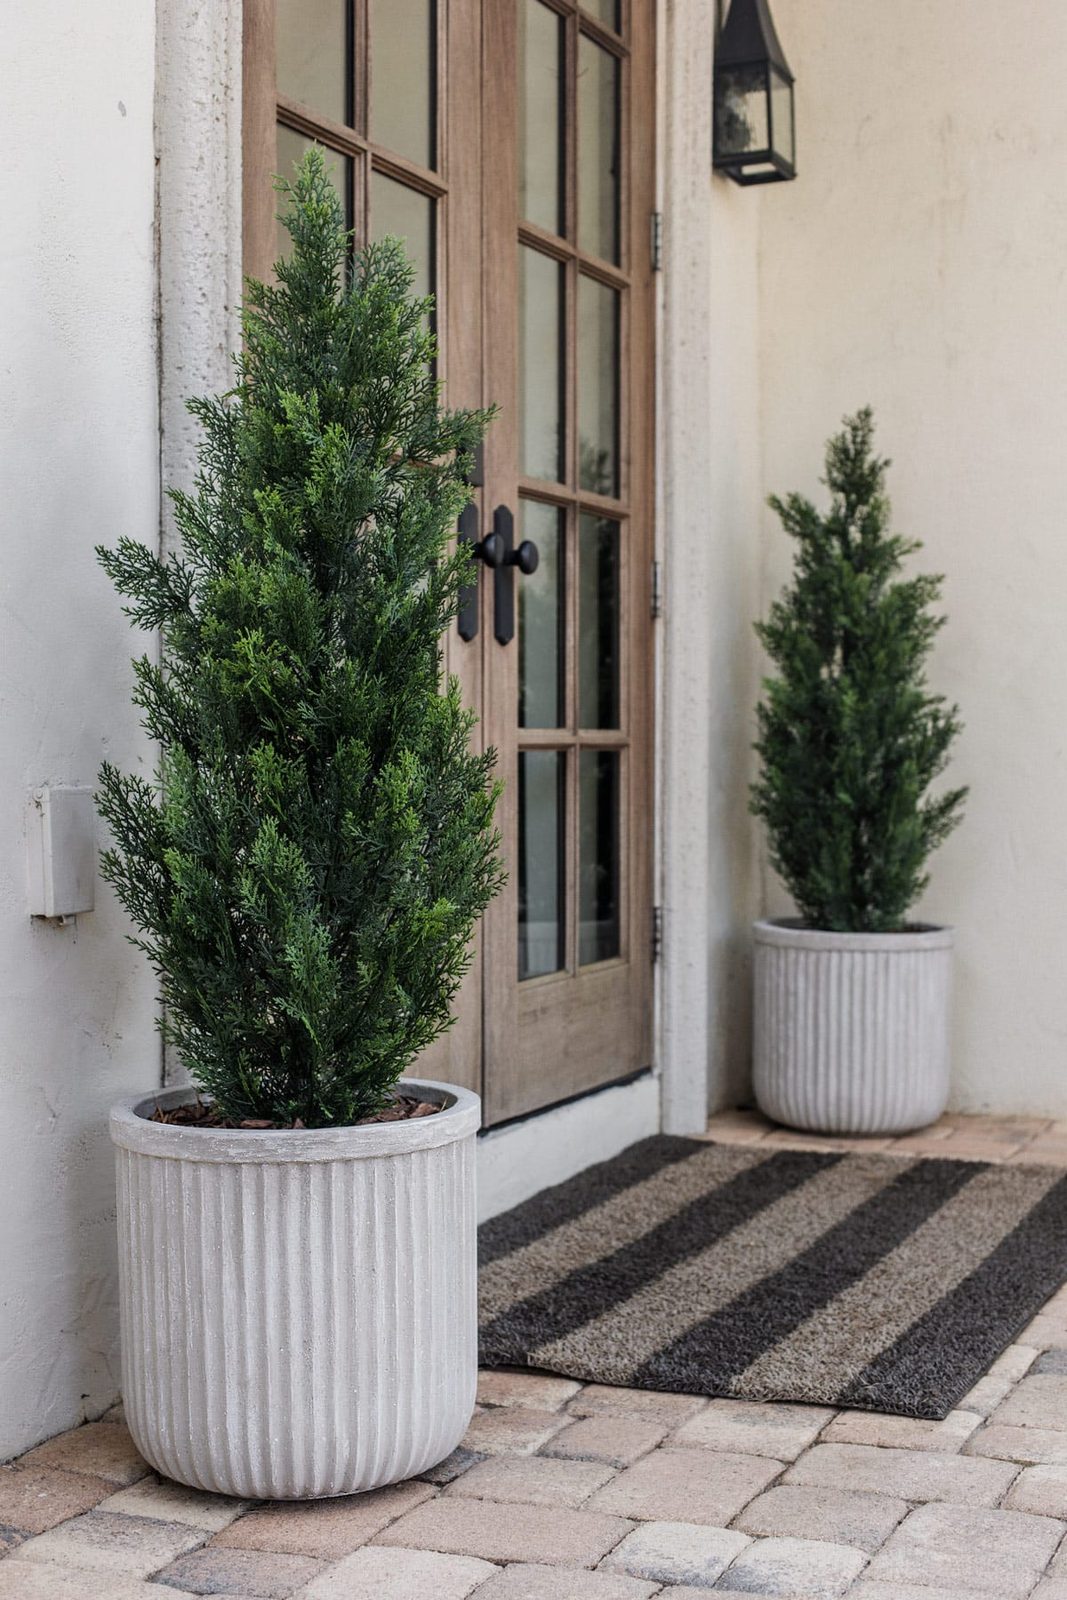
Today I am sharing a new technique to create your own cement Pottery Barn dupe planters for less! Find out how to DIY these extra large concrete fluted planters:
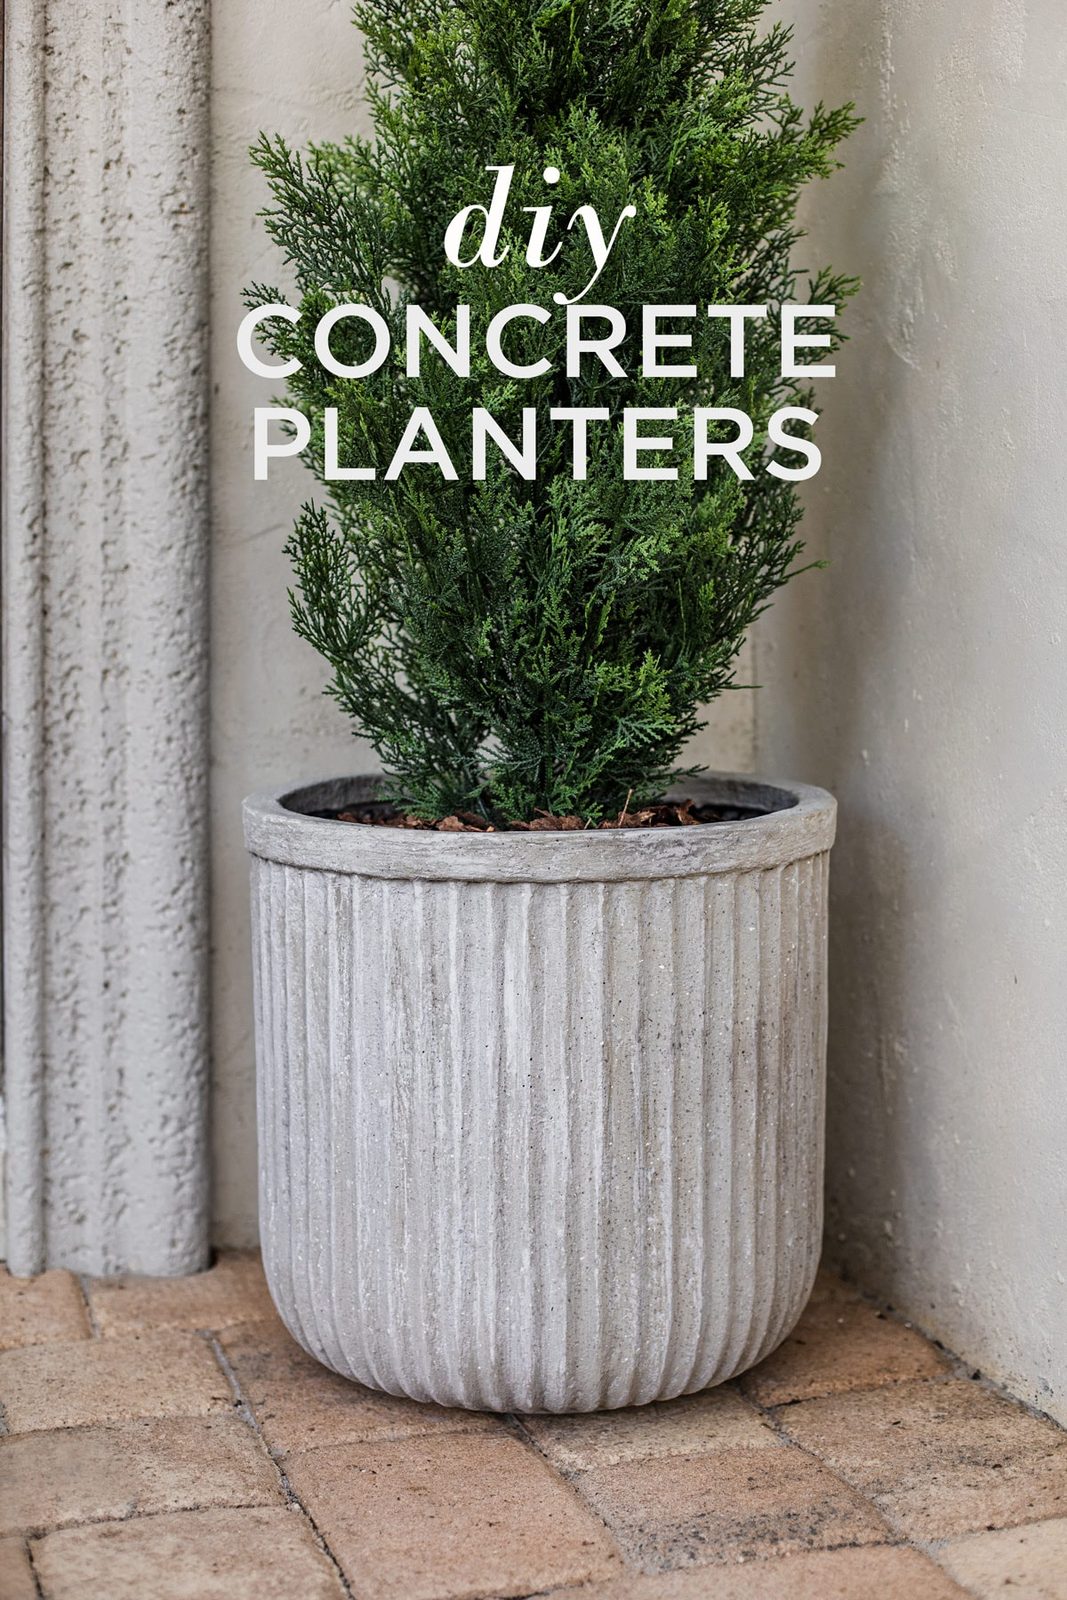
You may recall my past tutorials for DIY hypertufa plantersand faux stone planters…

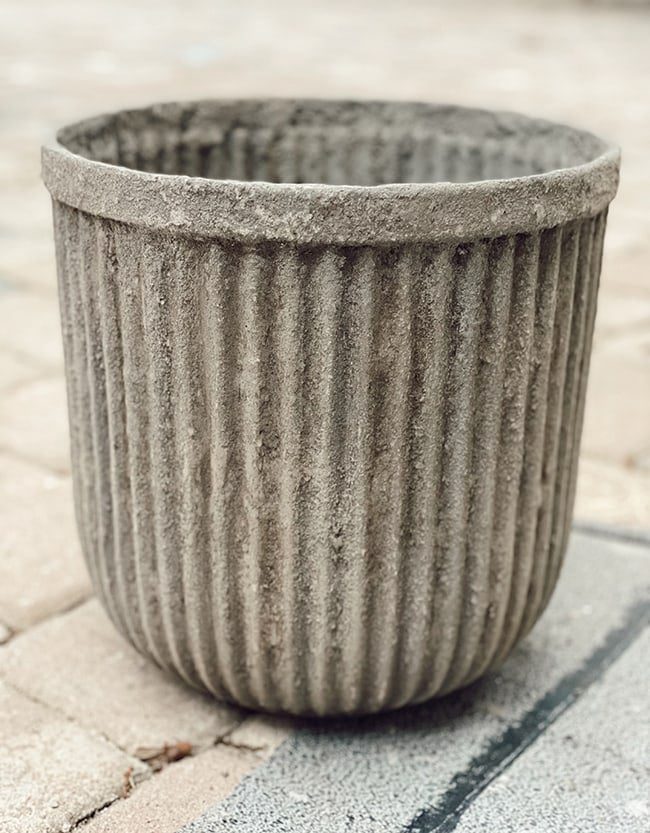

All of these are great tutorials to follow, but I also love experimenting with new techniques and sharing my results with you. Recently, I came up with another method using leftover microcement from our recent bathroom renovation, and this is how it turned out!
Supplies
- Large Fluted Planter
- Self-adhesive flexible trim
- Microcement
- Waterproofing membrane (optional)
- Paint or limewash
- Sanding stone
- Paint brush
You can use any planter for this project, but I bought two of theseextra large fluted plantersat a steal for just $25 each. These are the same planters I used for my faux stone planter DIY two years ago. They were discontinued for a while, but recently became available again (in white) so I could not resist grabbing two more. Psst—I have seen these sell out several times so grab 'em while they are hot!

These planters look nice as is, but The aim was to make them look like aged concrete—similar to those pricey planters from Pottery Barn and Rejuvenation.
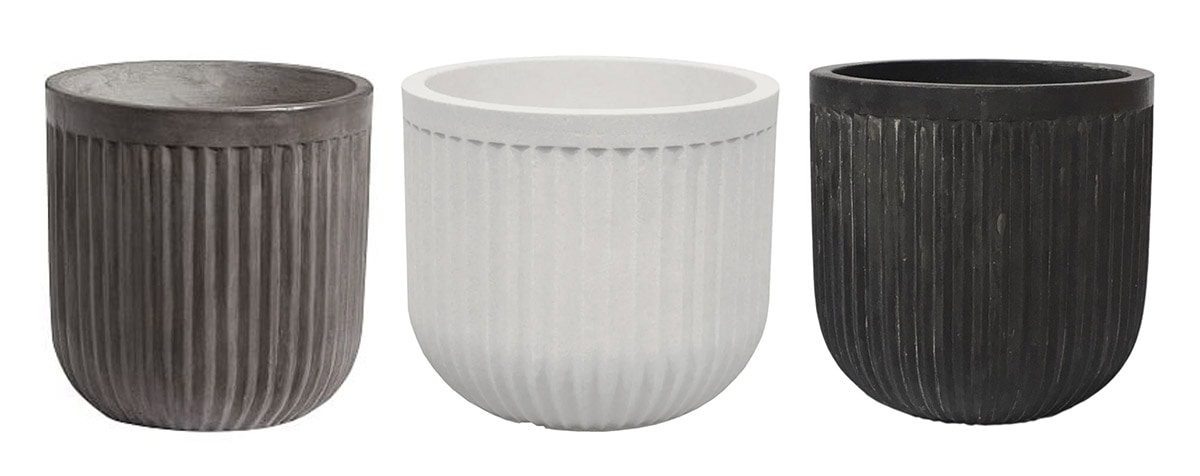
The only issue is—even with a concrete coating on the surface, you can tell that the Walmart planter is plastic because it is so thin. Fortunately, I figured out a trick to solve this!
Step 1: Adhere flexible trim to top edge
While brainstorming ways to make the planters appear thicker, I came across this flexible self-adhesive trimon Amazon. It is sold in a 16.4ft roll, which was just enough to wrap around each planter twice:


The adhesive backing is quite strong, and molding is made from soft PVC that can be cut with scissors.


The molding does not need to line up perfectly, as the microcement will fill in the gaps and cover any uneven spots.
Step 2: Apply waterproofing membrane (optional)
I do not think this step is genuinely necessary, but I had leftover ElastoShield from our microcement vanity DIYso I figured I would use it. It is a liquid waterproofing membrane commonly used in wet areas (i.e. showers) underneath tile. It is also recommended to use under microcement to help prevent cracking.


It is a thick gel that you brush on, and it dries a dark pink or red. If you have some already, it is worth taking a few minutes to apply it, but it is on the pricey side so I do not think I would buy it just for this project (I'll update this post later if I learn any new information!)

Step 3: Mix and brush on microcement
We buy our microcement for $30/bag at a local building supply store. A little goes a long way! You could easily cover at least 50 planters from this 40lb bag (I wish they would sell it in smaller quantities).

Untinted microcement dries off-white, and I wanted a light gray cement color, so I mixed in a splash of blank latex paint.

The mixture is not an exact science by any means—I just mixed with water until it was a pancake batter consistency. I used a large masonry brush to apply it (which I later realized was overkill).

The microcement went on easily, but it did not cover completely with such a large brush.

Around the top edge where the surface was smooth, I was able to apply it thicker with a putty knife.

Microcement naturally thickens as it sits, but you can continue to add more water and re-mix it as often as you need to. I found it easier to apply with a putty knife when it was thicker, and easier to brush on when thinned out.

After a couple hours, the planter was dry enough for a second coat. This time, I used a small chip brush and it worked so much better! I should have used this from the beginning.


Because my first coat was so thin, I ended up needing three coats to fully cover. I added more black paint to the last coat to make it a darker gray, closer to the color of real concrete (note: it will dry a lot lighter).


Step 4: Lightly sand the planter
Before the cement fully cures and becomes difficult to sand (~12-24 hours or so) use a sanding stoneto remove any drips or imperfections. I focused on the edges of the ridges, where the planter would naturally wear down over time.

The lighter gray peeking through adds a layer of depth and gives it a more realistic aged look.


Step 5: Apply paint or lime wash (optional)
Real concrete/stone planters will develop a natural color variation over time when left outside, so The choice was to use some leftover limewash from our Mediterranean bedroom makeover.
The color is called Soft Taupe, which is a nice earthy gray-brown. I diluted it with a bit of water and brushed it on, allowing some of the grey to show through underneath. You could also use thinned paint, or even try garden lime. Layering multiple shades of color is key to an authentic aged look.

Limewash is also safe for outdoor use, so the color should not wash off if it is exposed to the elements.

Once dry, I gave it a final quick sanding, focusing again on the ridges.

For the final step, I used a little trick I discovered back when I made my DIY concrete lamps: dip a paint brush in watered down black paint and flick it onto the surface. This speckled effect creates the illusion of a porous texture and gives it a stone-like appearance.

I did this using diluted black paint, followed by white paint for a dimensional look. It genuinely makes such a difference!

If your planters will be outside and uncovered, you will want to protect the finish with a matte sealant. Mine will be on a covered porch so I skipped this step, but I may seal them anyway to be on the safe side.
DIY Fluted Cement Planter Reveal
Here is the final result…
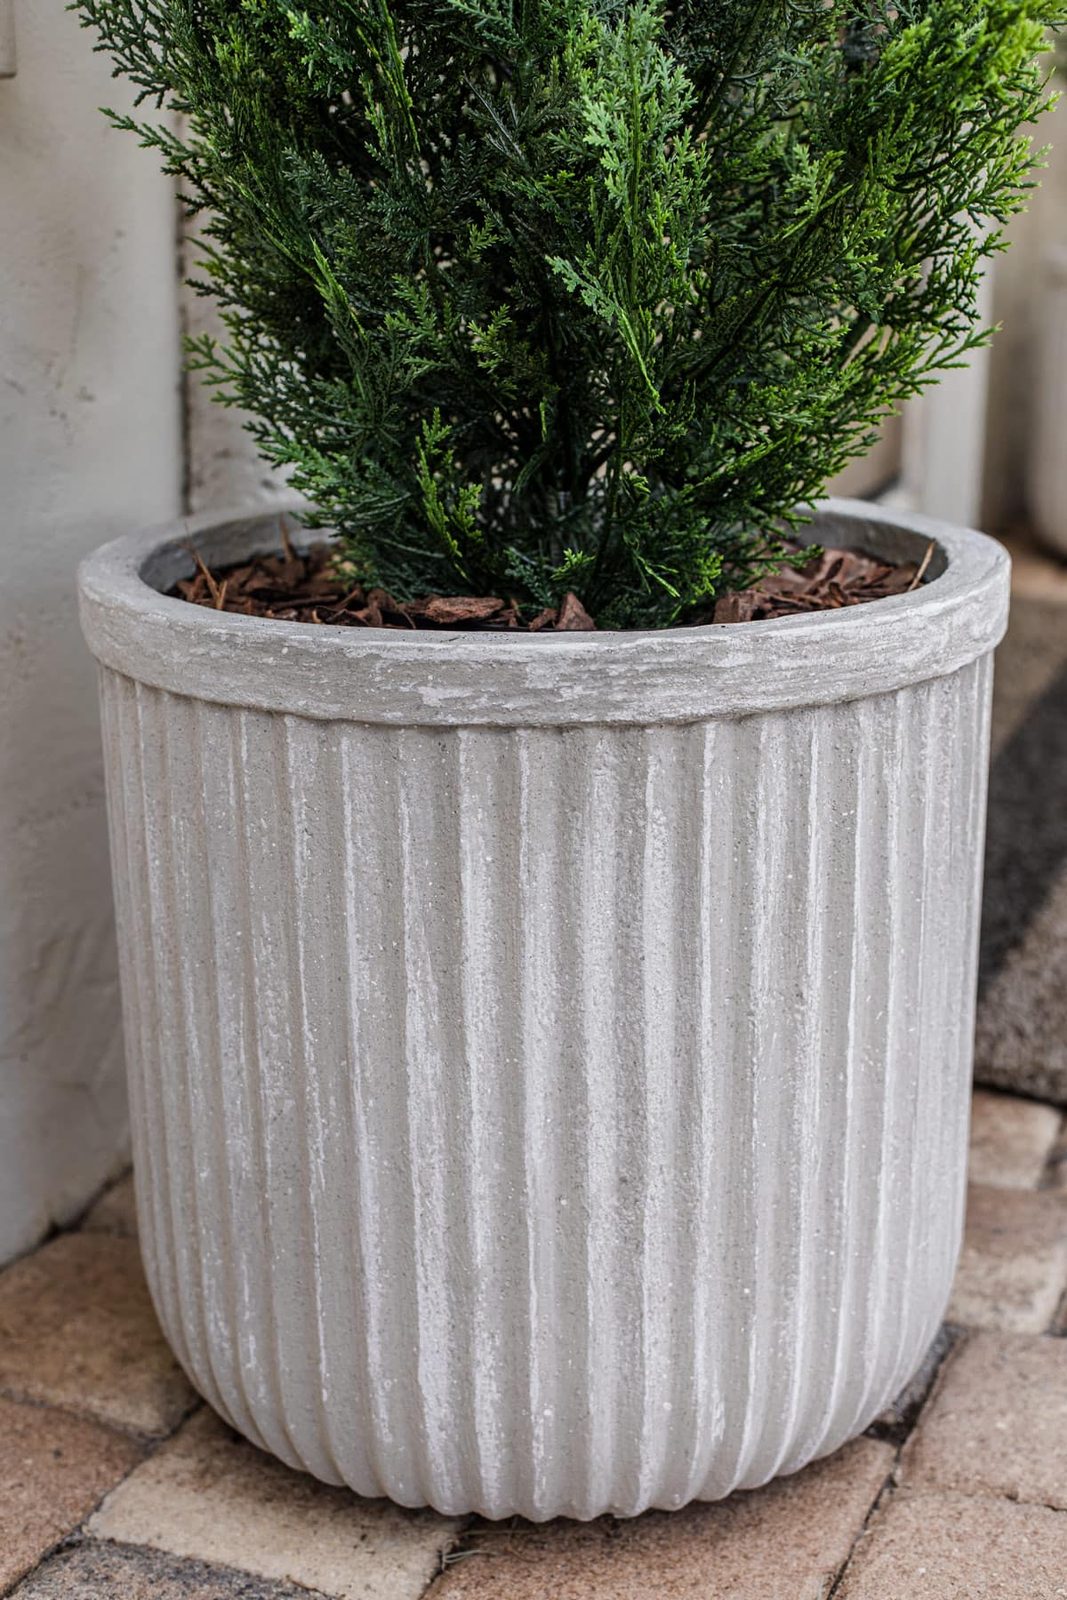
It helps to keep the way they look with these realistic cedar shrubs. I have had them on our back patio for almost two years and they still look good as new. I think this is the best faux outdoor greenery out there!

Both microcement and limewash are commonly used on exteriors, so these planters should be safe for outdoor use (if sealed). I plan on keeping them on a covered porch at the Hacienda Hideaway, where they'll be somewhat exposed to the elements.
Another benefit of these is compared to real concrete planters? They are light weight and easy to move around. I filled mine with leftover cardboard/packaging materials and topped with mulch. You can also use heavier objects like rocks, bricks or sand to weigh it down.

The front porch is getting prepped for tile at the Hacienda this week, and then I'll be able to bring the new planters over. I cannot wait to show you the finished space, along with our new front door makeover. Lots of exciting things in the works over here!