DIY Fabric Roman Shades
Last week I announced the start of my new project, operation budget boy's room makeover. Since cash is tight ($250 for the whole room) it must be spent wisely and…
Last week I announced the start of my new project, operation budget boy's room makeover. Since cash is tight ($250 for the whole room) it must be spent wisely and sometimes that means getting creative.
These old aluminum blinds were one of my must-go's, but costing at least $70 for two roman or bamboo shades, replacing them definitely was not in the budget.
I knew there had to be a way to disguise them and I wondered if I could simply attach fabric to the front to give them a roman shade look.
After some Pinterest searching, I found a few tutorials and was pleased to find out it could be accomplished!
First I had to select a fabric. Since the room is very small and does not have plenty of light, I wanted something light and also neutral so it would not compete with the bedding and other fun things I have planned for the space. I narrowed it down to these guys at JoAnn:
After mulling over it for a while, I decided that the colored options may clash with the paint color so I opted for white in a thicker woven fabric. Two panels at a little over 2 yards each in length came to $28—that is more like it!
The first step is to remove the old blinds (they should just unclip), release the cord and spread it out:
Most of the slats have to be removed, so in order to do that you've got to cut all of the small strings that hold them in place:
The main thicker cord that runs through the holes in the slots must stay, so make sure not to snip that by mistake!
Once they are all cut, unplug the cap at the very bottom and cut the knot at the end of the cord to release the bottom piece.
Then you can slide them all off, making sure to leave a few on so the fabric can be pulled up in sections. I went with four slats.
When you are done, it will look something like this (make sure to also cut off the thinner strings shown here, leaving just the main cords):
Then comes the real work.
I measured the blinds and then cut my fabric to size, adding about an inch on each side so there was enough room the fold the edges over for a cleaner look.
Then I ironed it and used something called Unique Stitch to hem the seams (it seemed easier than Stitch Witchery hem tape)
Once that was all hemmed up it looked like this (also, it is genuinely hard to get this straight—that is the trickiest part):
Then I lined up the old blinds in place and glued down the top rail, leaving just a bit of overlap (also using unique stitch):
Then I evenly spaced the slats out and using a brush, I painted the convex (back) side of each slat with the same glue, making sure to not get any on the cord…
At the bottom, I retied the cords and glued the end piece to the fabric as well.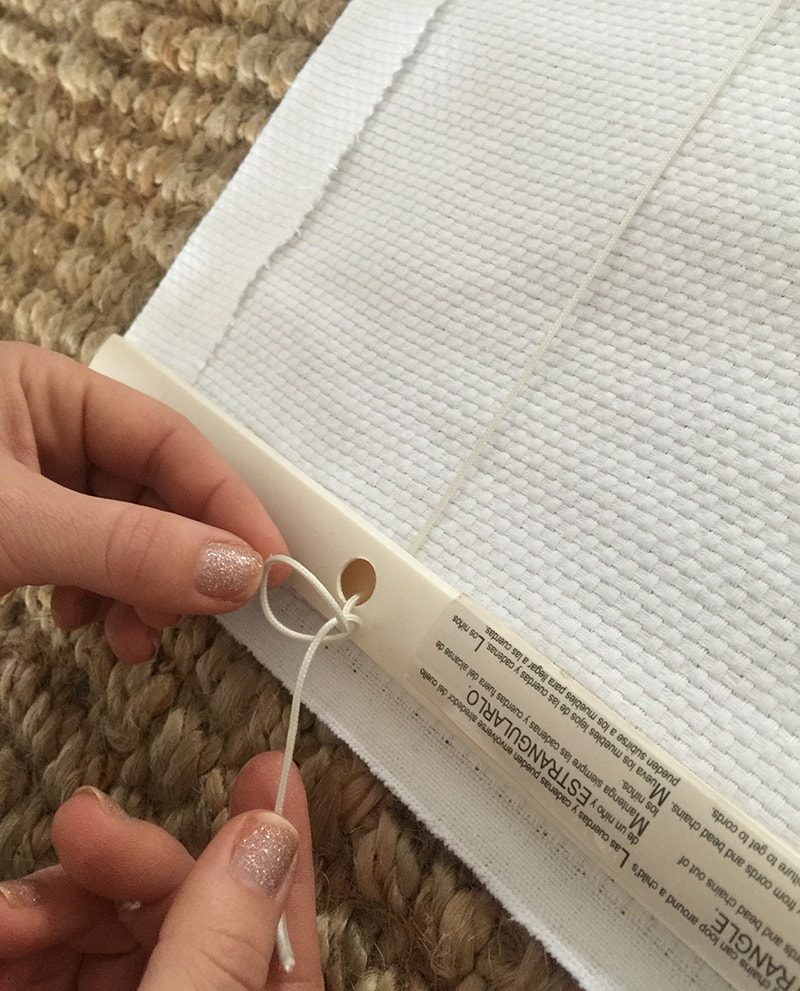
All done!
Finally, the moment of truth…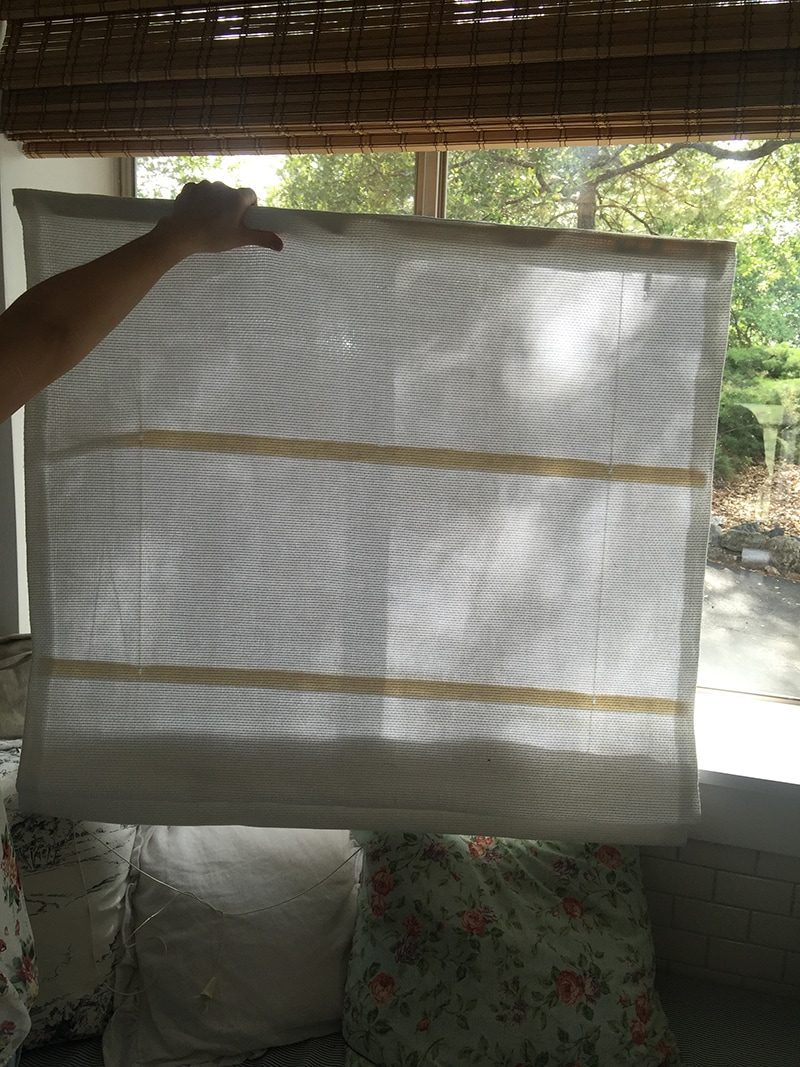
….Not exactly what I had planned! The cord mechanism worked but I did not even consider the fact that being backlit would show every detail. Fail.
But, inexpensive blackout fabric to the rescue. I found it at JoAnn for just $3.50/yard:
Instead of redoing everything I wondered if I could just glue the fabric to the edges… so I tried it.
But, nope. This is what happened when I pulled the cord:
Sigh. So, I had to rip it all off. If you are wondering how well this Unique Stitch holds up… here is your answer:
It is good stuff but it is depleted genuinely fast… especially when you are redoing a project twice.
I was able to salvage the blackout fabric and after removing the slats, glued it directly onto the fabric. Take my advice—this is how you must do it from the beginning!
And this is how it should look from the back when you are done:
Much better! To reattach, simply slide it back onto the rail (you may have to lift the fabric up on the ends and reglue it) and put replace the caps to keep your new roman shades in place.
Another learning experience, in the books! At least it was only a $37 project for both windows. $213 left to spend….!
Next week I tackle a DIY rustic wood headboard and bring in some much needed lighting. Make sure to check back then to see how everything unfolds!