Skinny Lattice Wall Molding DIY
This post is part of a paid collaboration with Lowe's Home Improvement. All opinions are my own. I have been looking forward to taking on this DIY project for weeks, and…
This post is part of a paid collaboration with Lowe's Home Improvement. All opinions are my own.
I have been looking forward to taking on this DIY project for weeks, and now that it is done, I am even more excited to share that it is completely do-able for anyone with a little patience and basic tools on a budget!
I have said this many times and I'll keep saying it forever—molding has to be my favorite easy and inexpensive way to add character to a blank wall, and I am always looking for new styles and treatments to try. There is unlimited options out there, from unfussy beadboard to shiplap, vertical or horizontal board and batten, picture frame molding, the list goes on.
Several weeks ago I shared my plans for our guest bathroom at the Heights House, along with an inspiration photo I fell in love with from Jean Stoffer Design:

The thin board and batten wall treatment caught my eye, as I would never seen an application quite like this before (I did a similar look years ago but a more common style with thicker boards).
I knew I would be able to find the materials needed to DIY this project at Lowe's, so it was a no brainer—this was happening!
Let us first rewind back to where we started:
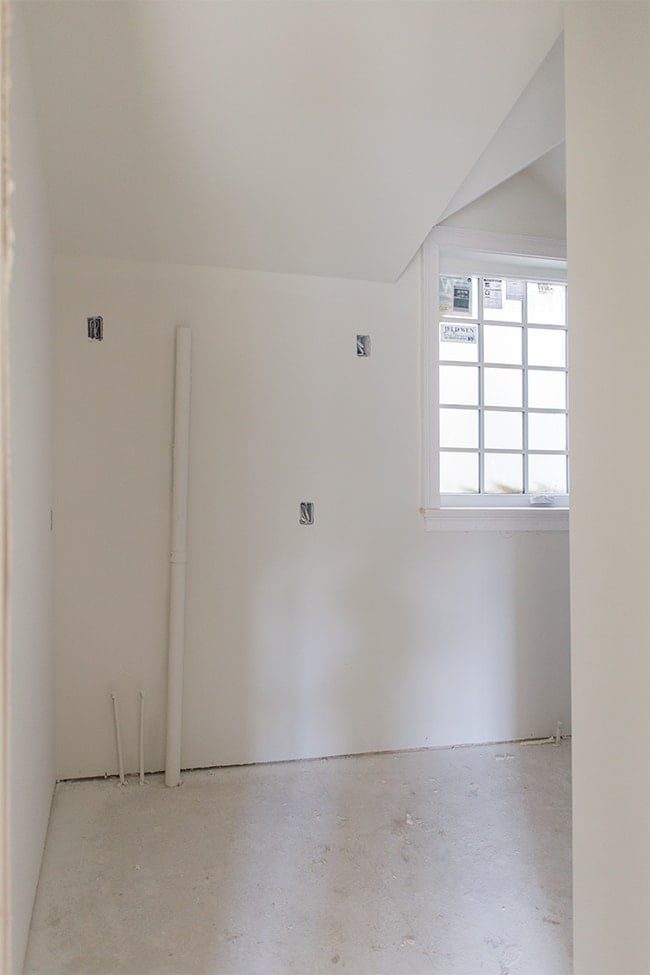
A small bathroom—10' wide by 7' long (5' not including the tub)…
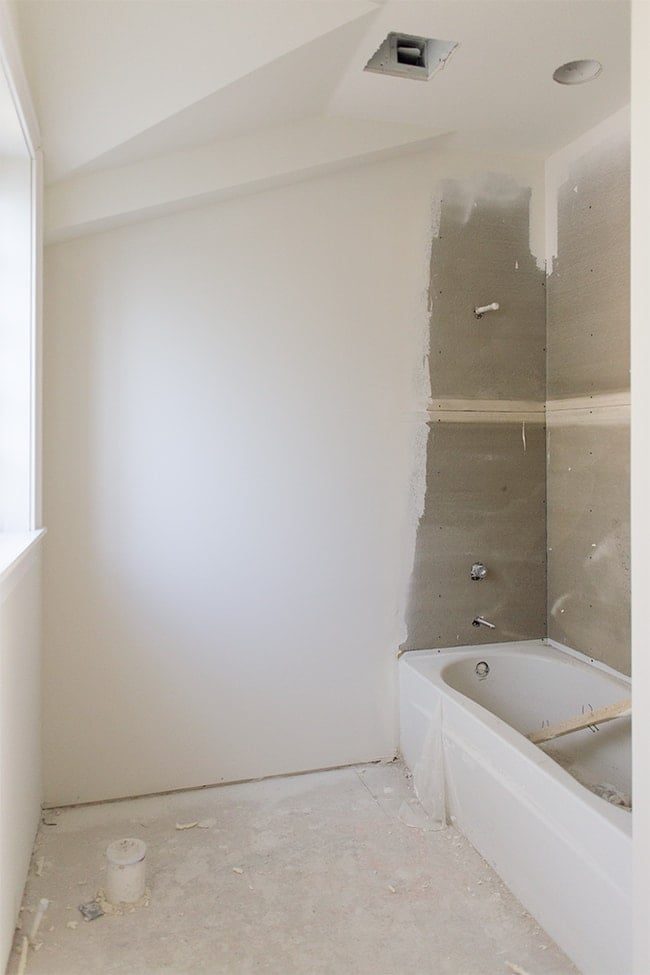
With a nice sized 3×4' window to let in light.
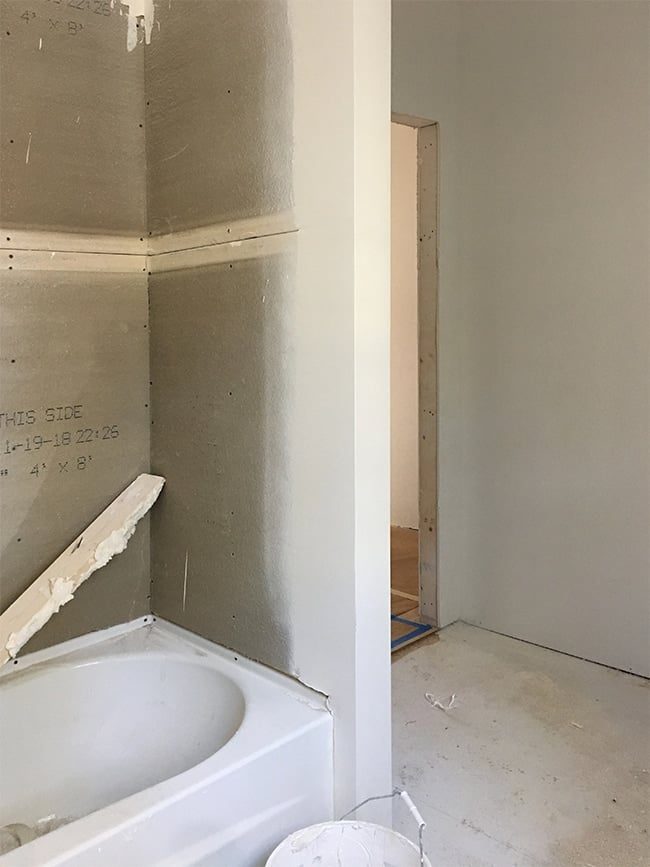
First we had to tile the shower:
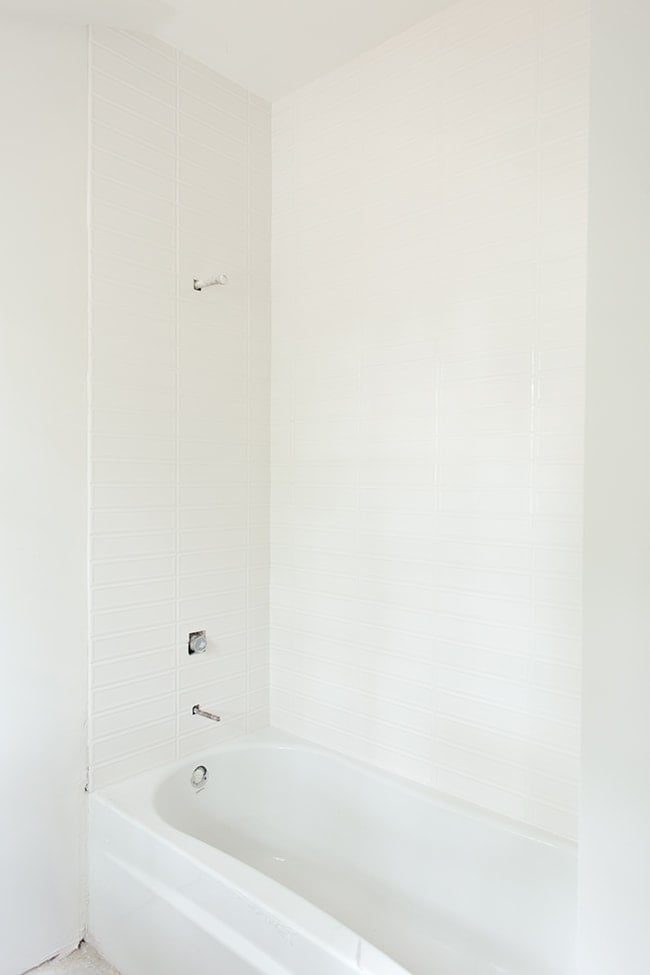
Then our floor tile was installed (obsessed, by the way):

We also turned an an awkward section of drywall along the ceiling into a faux beam using two planks of reclaimed wood from my favorite local salvage yard (Schiller's, for you locals).

Then it was wall treatment time!
Let me preface this tutorial by saying things did NOT go as planned… and it had nothing to do with the project itself (the DIY part was actually easier than I thought!) On Day 3 of shooting, my SD card failed, and after spending Sunday morning at a repair shop, everything was gone. All of my videos and photos for this project were unrecoverable. Luckily I had snapped a few iPhone photos and we were able to re-enact some of the shots in a different room, so if you notice anything that seems a little off, now you know why 😉
This is a beginner-mid level project that should take two people a few days (based on our bathroom size). It can be done with one person, but a second hand is recommended! Here is what we used:
Materials
1.5″ x 10' lattice molding (we needed 23 in total, you can use 8' strips if you have standard height ceilings)
Valspar Signature Paint in Cracked Pepper, eggshell finish
Caulk
Spackle
Liquid Nails
Angled paint brush
Velour roller
Tools
Air Compressor and nail gun (or a cordless nailer)
Dewalt miter saw
Mouse sander (or sanding blocks)
Plus a tape measure, level and optional angle finder

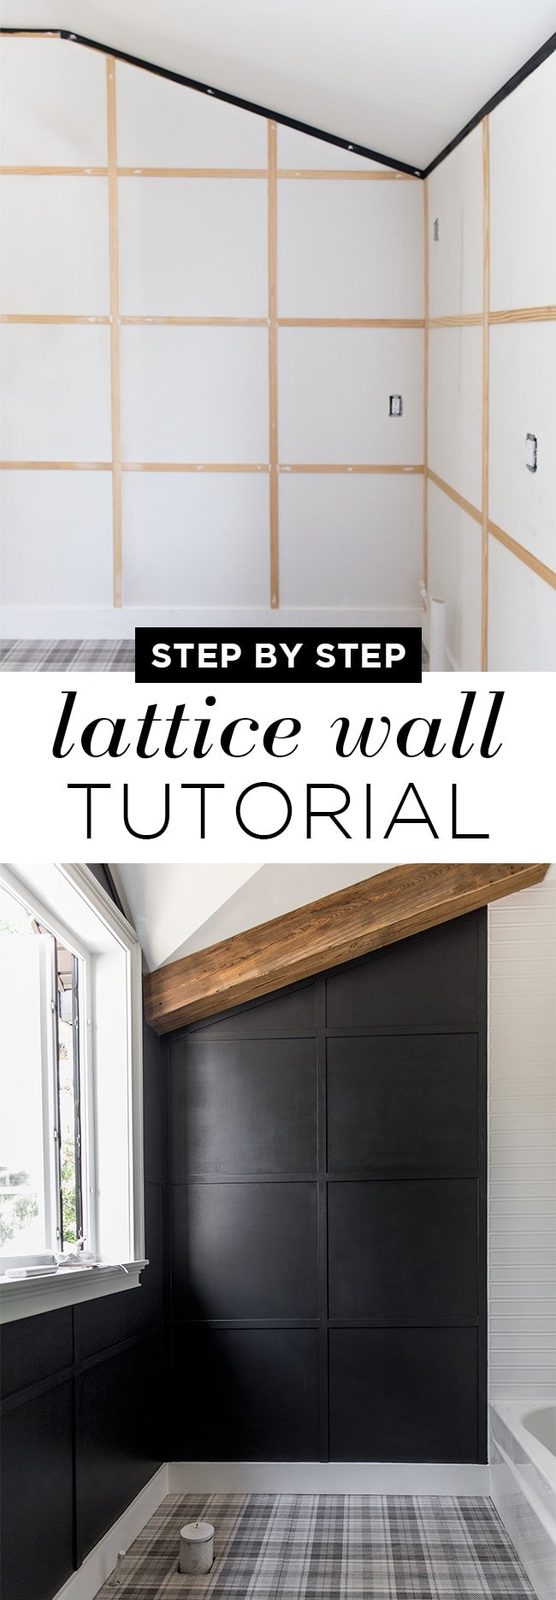
With only a vision in my head, I first measured each wall in the room and mocked them up on the computer (via Illustrator, but you can use a pencil and paper too!)
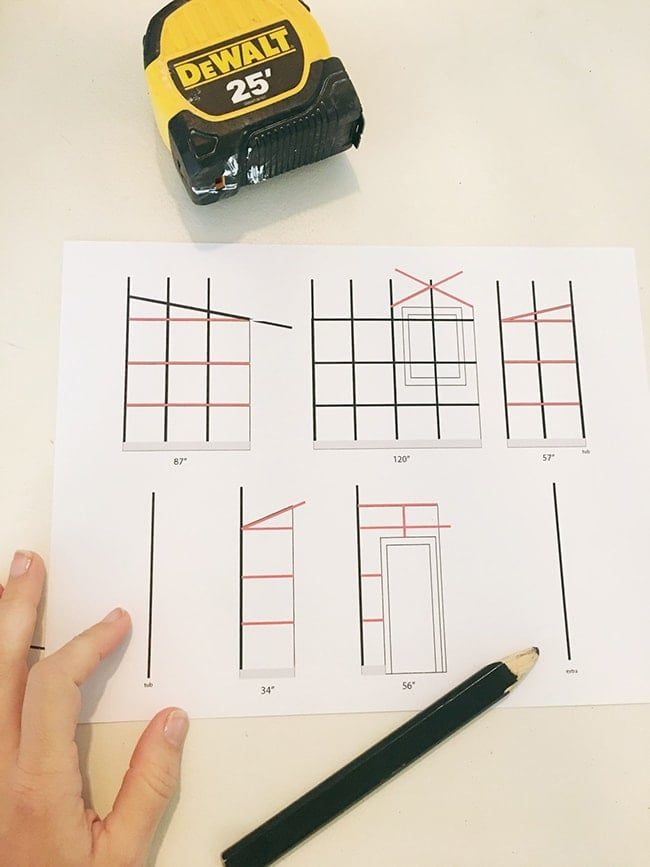
There were five walls in total, and my goal was to get as close to an even grid as possible. Since each wall was a different width, the spacing of the vertical lattice varied slightly, but luckily it worked out so that the three main walls were pretty uniform (the space between each vertical was around 29″). I also had to account for focal points like the vanity and window, so I opted to center the lattice on those, rather than even spacing on that wall.

The horizontal pieces, however, had to be consistent on each wall, since they'd be carried all the way around the room. To find this distance, I subtracted the width of the lattice and divided the main vanity/window wall into thirds. With my plan in place, I grabbed 26 pieces of 10' lattice at $9/ea (we only used 23, but it is always good to have extra just in case!)

They come in 8' lengths too, but we needed 10' because of our 9'4″ ceilings. We had all of the other tools/materials at home (minus the paint) which meant this whole project cost less than $250. Score!
With everything ready to go, we set up shop on our new patio (more on that in another post) and got to work.
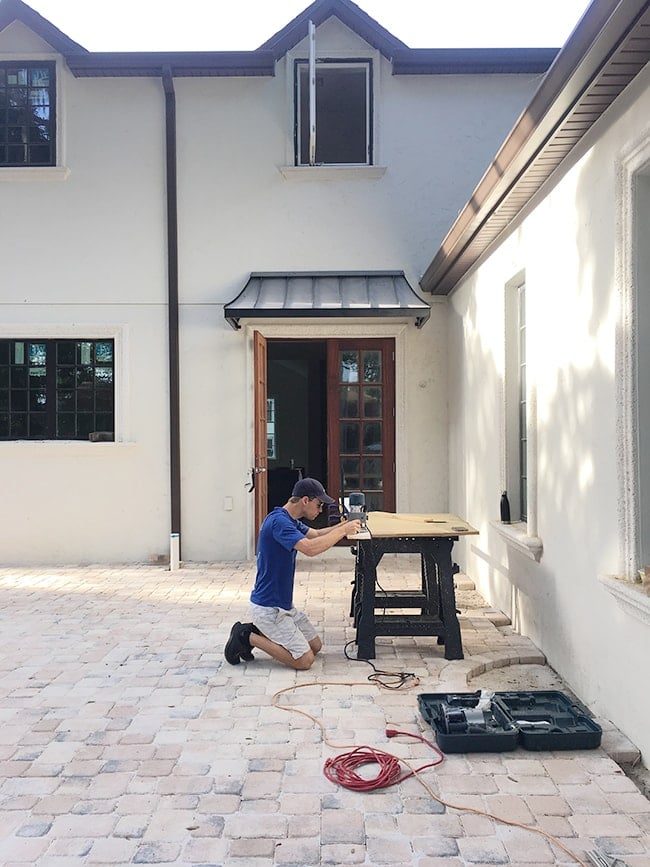
Sidenote: the bathroom is that open window upstairs, so we had to run through the house and up a flight of stairs for every.single.cut. We definitely got our cardio in last weekend!
After installing the baseboards (we used unfussy primed 1×6 boards), the ceiling also had to be addressed. Ceiling trim tends to make a room feel much more finished (especially when the walls are a different color than the ceiling) so I figured I would use the same lattice as a border. For most of you this will be particularly straightforward, but remember what our ceilings look like?
Crazy angles everywhere. Fortunately, I recently discovered angle finders (ours came with our Kreg crown guide) and I do not know how I ever lived without it!

With all the guesswork out of the equation, we were off to the races.

Do yourself a favor and invest in a quality miter saw if you do not have one. It makes all the difference!

Before attaching our first piece, we ran a bead of liquid nails along the back.

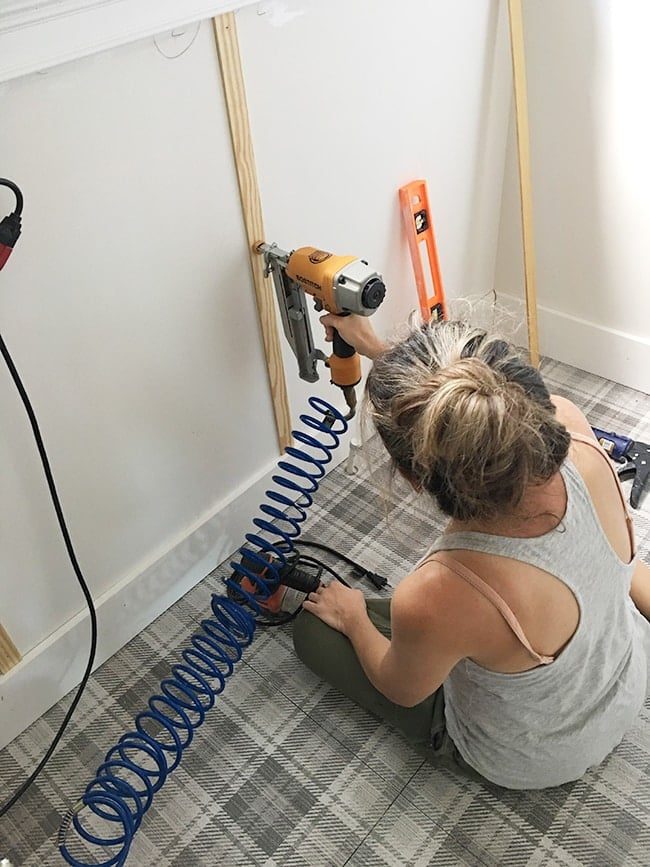
Then nailed it to the wall every couple feet, and onto the next piece!

At some point during this time I realized it would be smart to paint these strips before installation, to limit having to cut in with a paint brush along the ceiling.
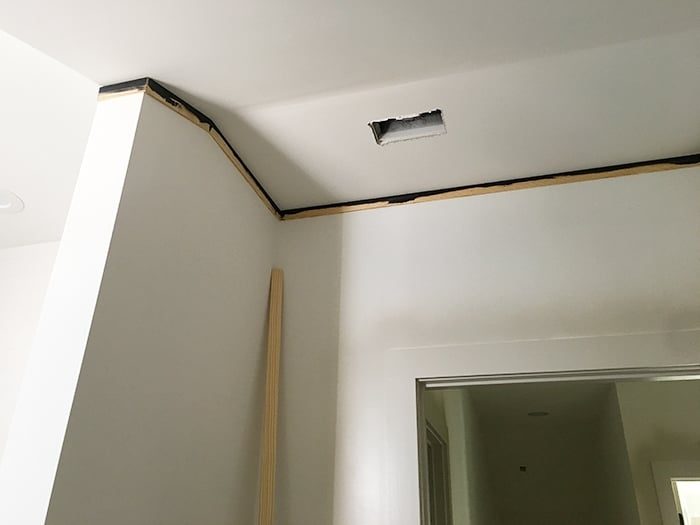
Even with new construction, you will end up with some crooked walls. This little corner area was a fun puzzle…
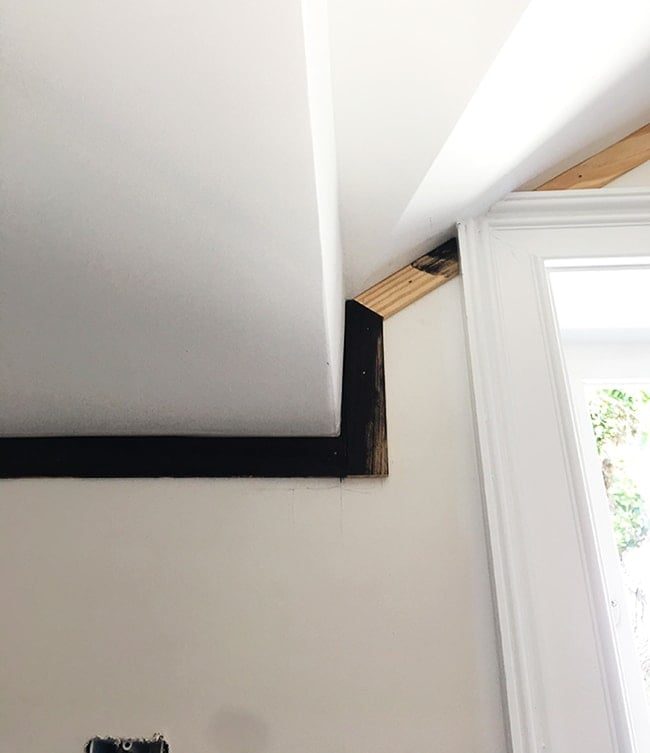
The ceiling trim took us few hours, but happy to report all our angles matched up nicely! We are getting better at this DIY stuff 😉

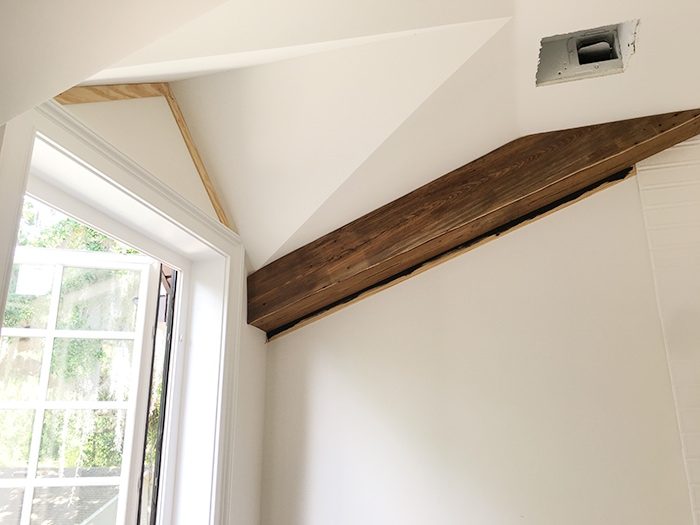
Once that stage was over, it was time to move onto the horizontal pieces. Starting in one corner, we measured the height from the baseboard to the ceiling trim. The piece was cut, glued and attached the same way.
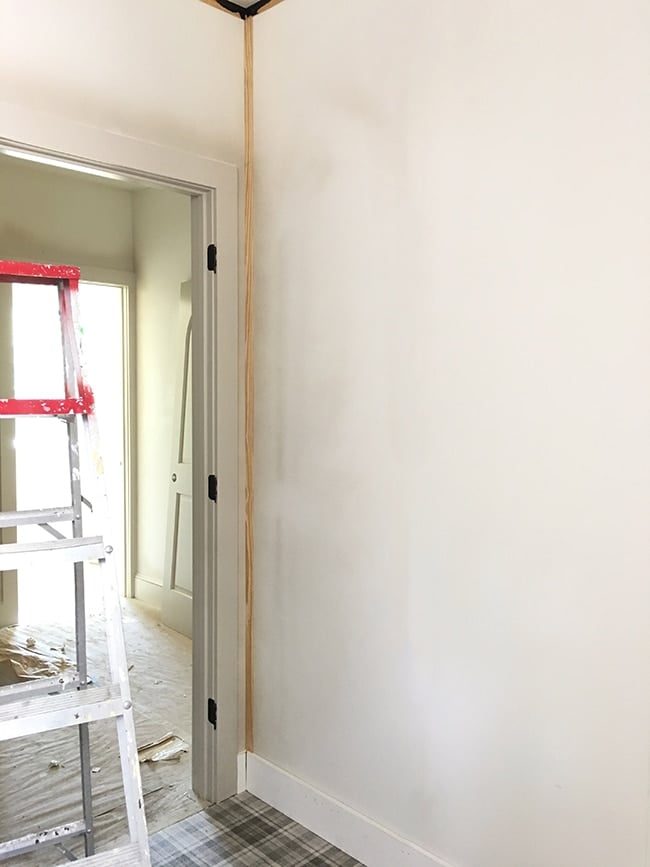
Before attaching the next vertical piece, we had to mark the location on the wall. This was found by subtracting 4.5″(the width of the 3 pieces on that wall) from the total wall length and dividing by 3, for 3 even sections.

After marking the spot, we used a level to draw a straight line from the ceiling to the baseboard.

Then we took our next piece (already cut down to the right size with liquid nails) and lined it up along our mark.
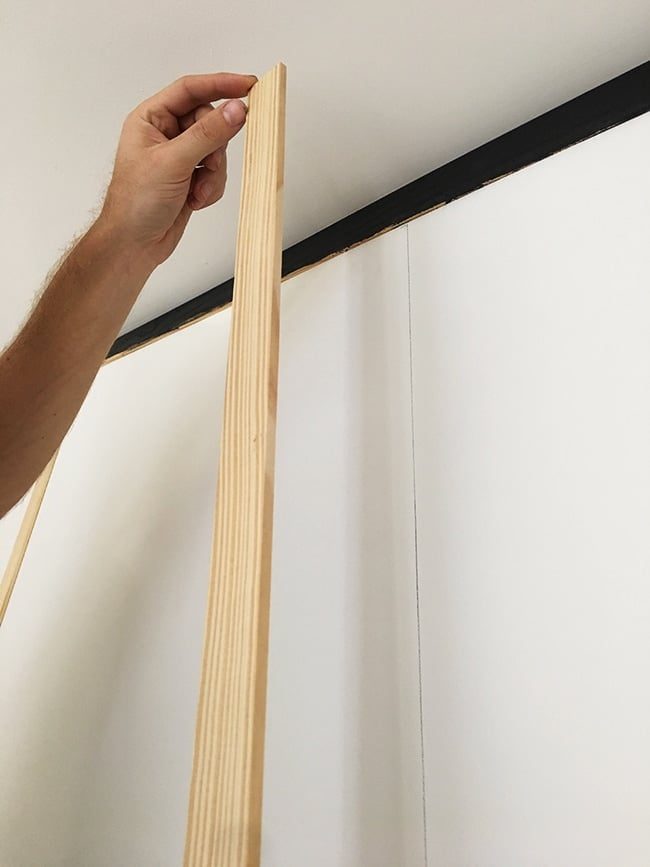
This part is best with two people, so one can hold the lattice in place to make sure it stays lined up, and the other can nail it to the wall.

We repeated this step for each vertical piece, measuring each time to ensure accuracy.
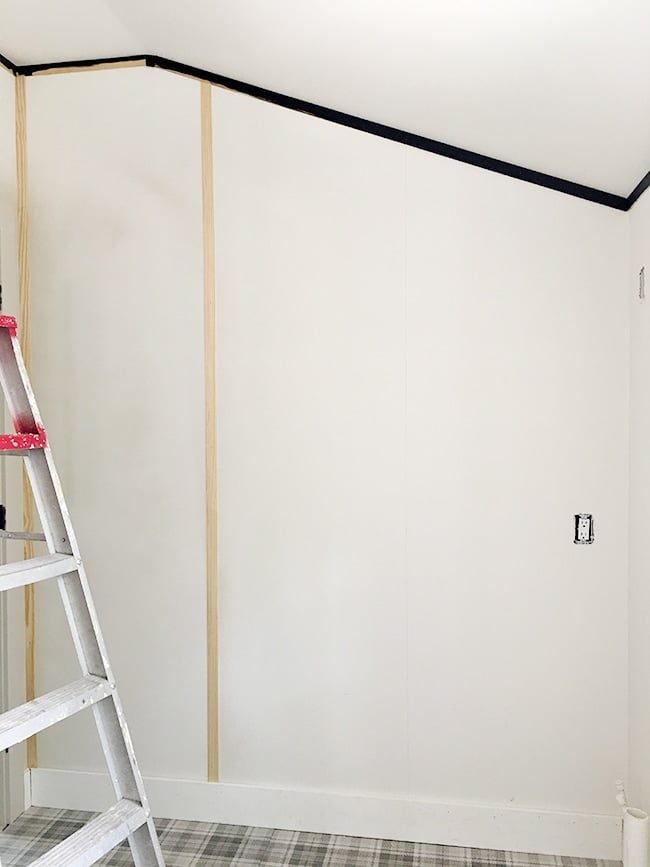
When we got to a new wall, we'd have to remeasure and calculate the distance (which surprisingly ended up being around the same on all three main walls).
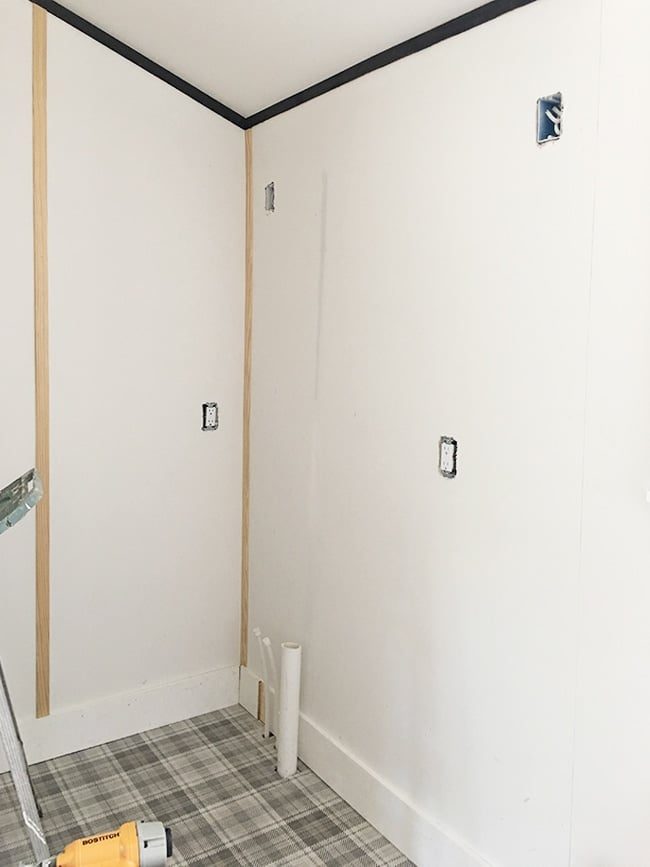
The vanity area had its own spacing, as The aim was to make sure these pieces were equidistant from the sconces and centered behind the mirror.
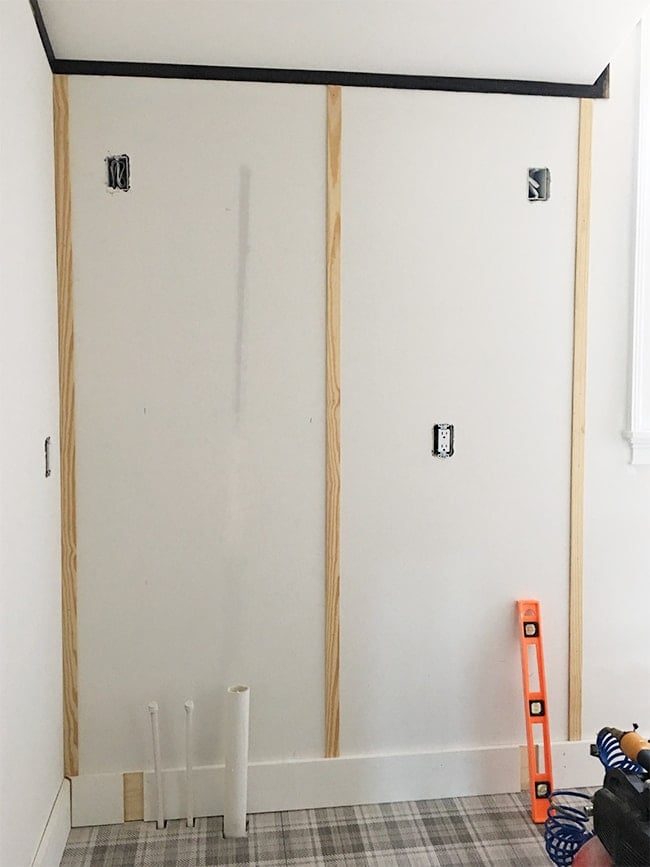
(^The notches in the baseboard are for the vanity legs, in case you are wondering.)
The window also had its own spacing, with a vertical centered below it.
And then there was this wall adjacent to the shower…
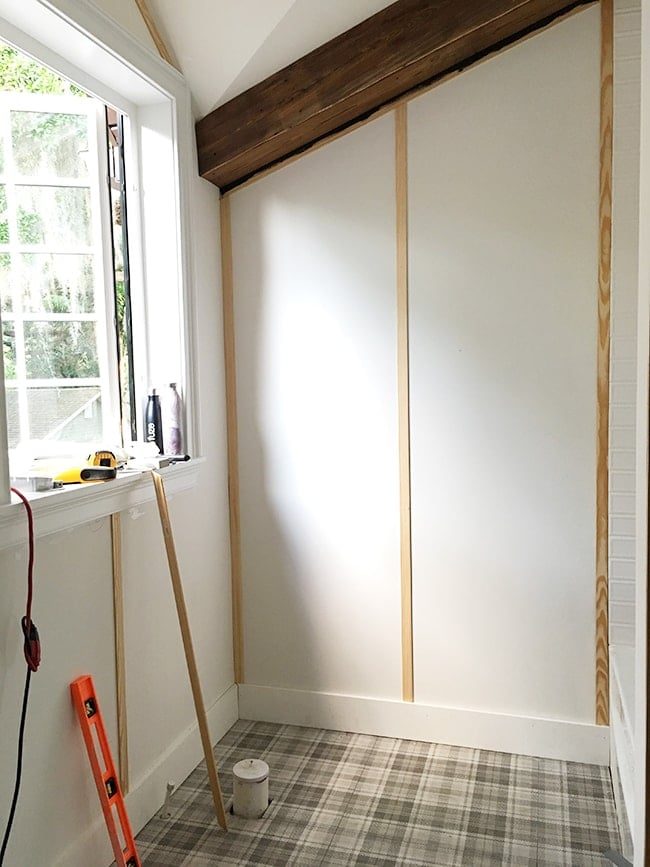
Not shown are the two little walls next to the door, but we finished it all in one afternoon! (after 50 trips up and down the stairs and 4 trips back home for food/water/bathroom breaks). The next day, it was time to start adding our horizontal pieces.
Using the vanity wall as our starting point, we split the height into thirds (minus 4.5″) to get our horizontal board spacing, which would be consistent throughout the room. Ours was a little over 25″.

Along this mark, we then measured the horizontal distance between boards and cut the wood to fit snugly.

With the board in place (with liquid nails) we could adjust it until it was perfectly level before nailing it up.

It is important to remeasure and check for level with each piece, because walls and wood are rarely 100% well suited and spacing can shift. You want the lattice to line up as evenly as possible for a seamless look.
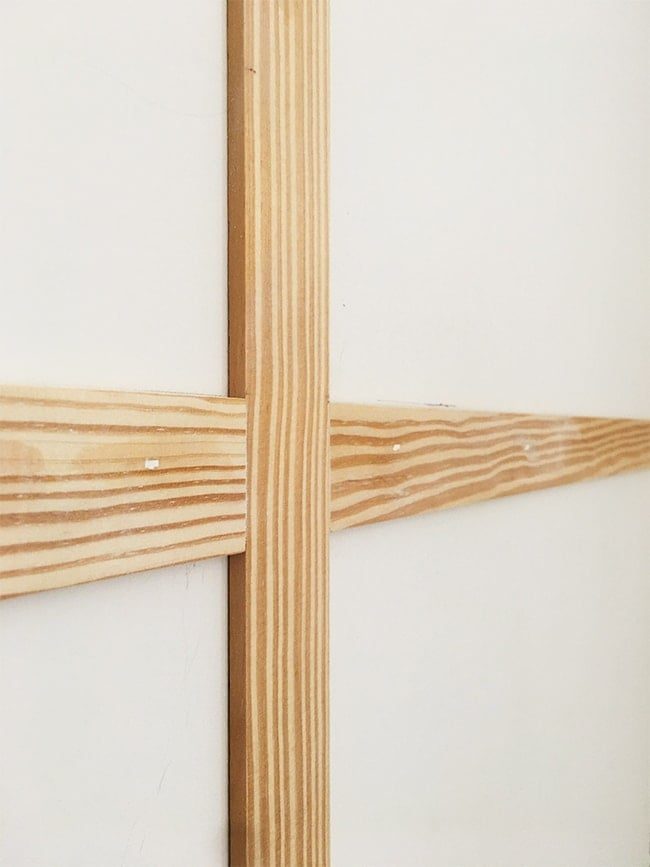
This phase required the most measuring and cutting and was therefore the most time consuming, but it was a unfussy process to follow and there were no hiccups (aside from losing all my footage that day, of course…)
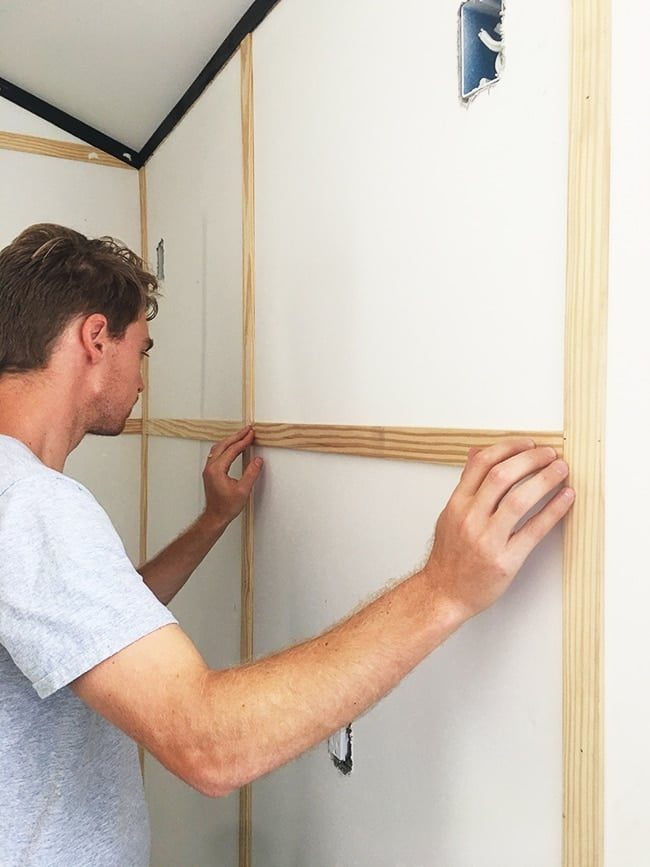
Pretty soon my belly will get in the way of all this DIY! Enjoying it while I can 🙂
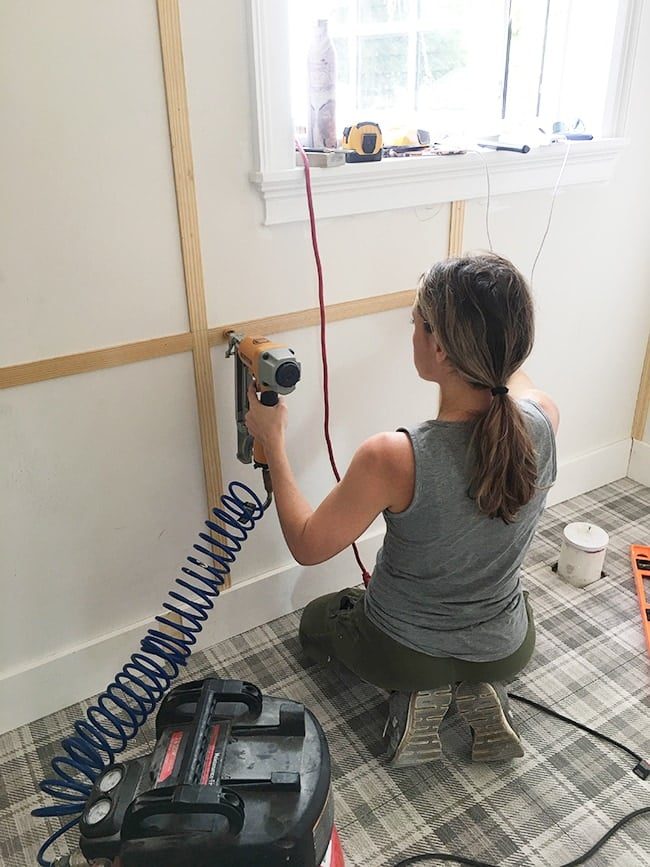
It is so rewarding when it all finally starts to come together…
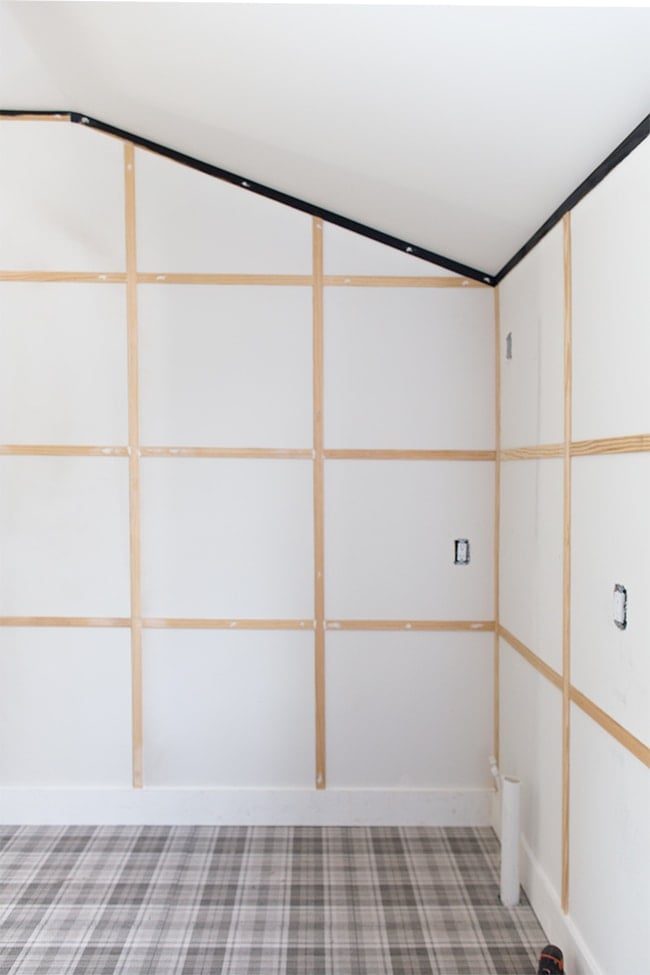
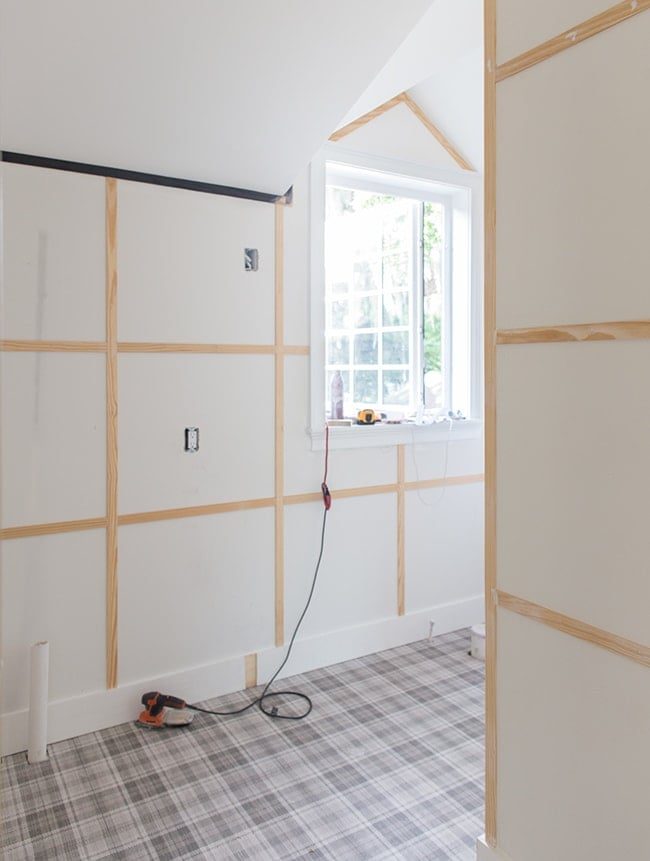
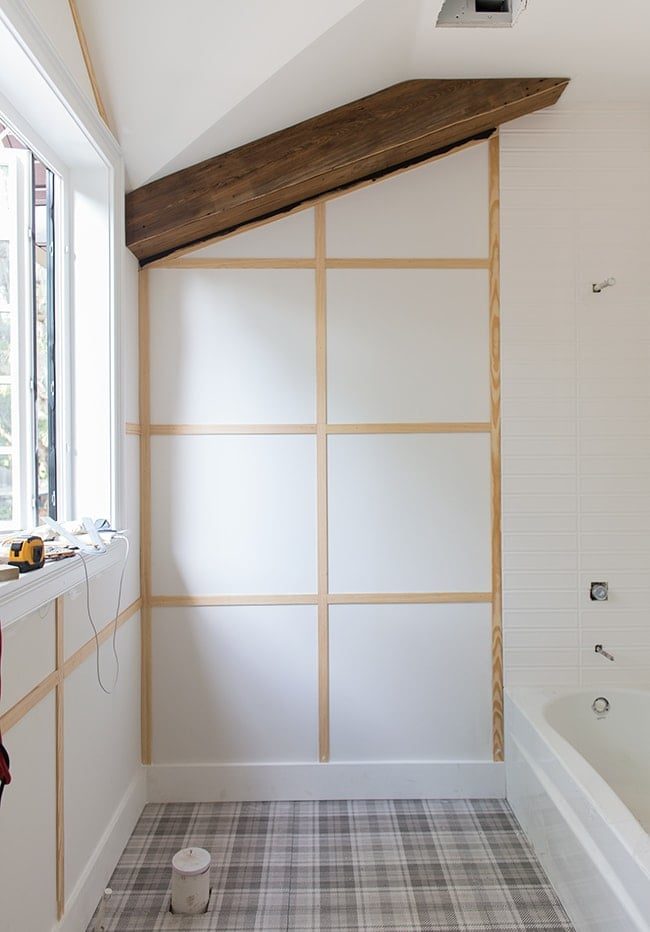
The nail holes were spackled, along with any imperfections in the drywall and gaps between wood.
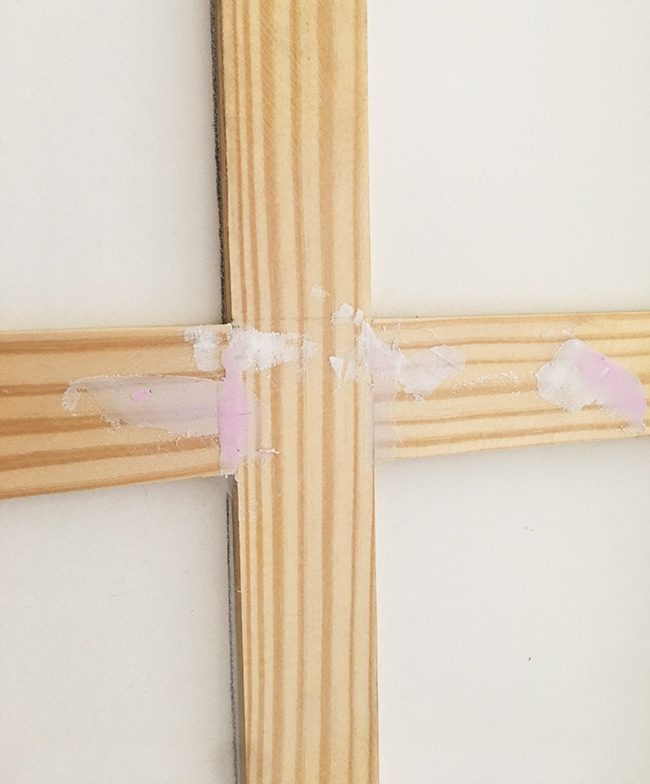
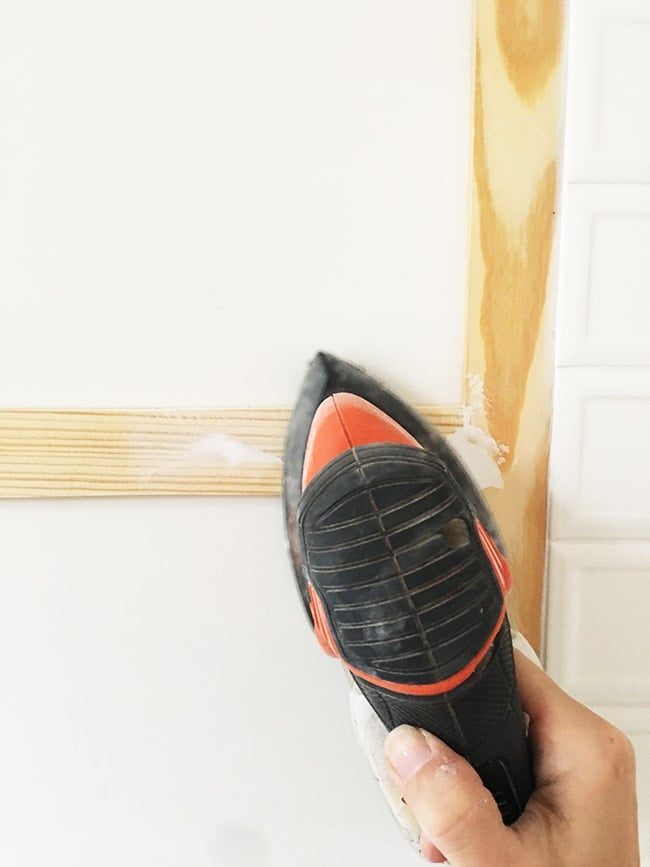
There were a couple areas where the wood was a slightly different thickness at the intersection, so we used our handy Mouse to even those out.
Next came the caulk. This is meant to be used along the edges of the wood where it meets another surface (drywall, trim, shower tile).
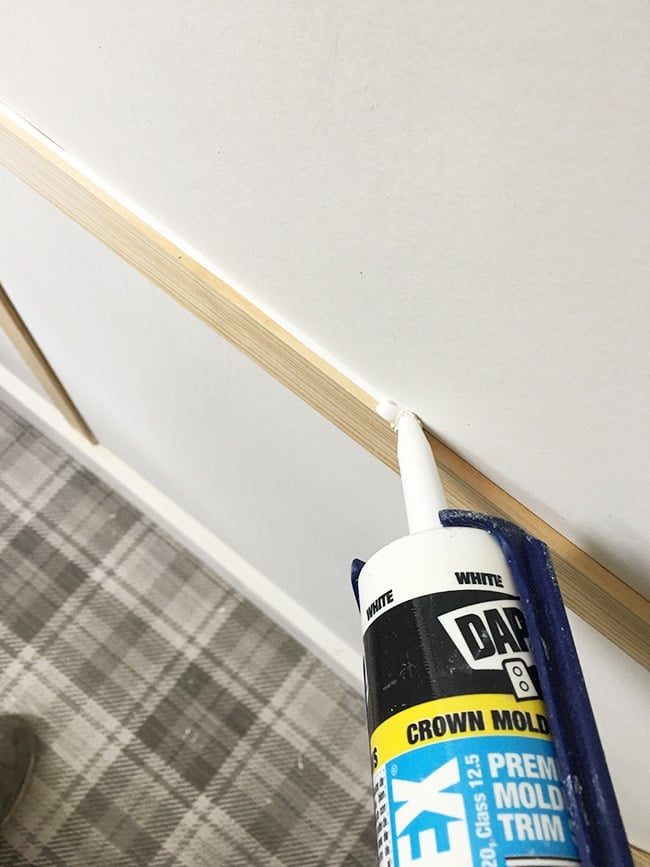
The lattice was pretty flush against the drywall with very minimal gaps (thank you, non-textured new construction walls) but I still ran a bead of caulking along most of the edges. This helps ensure a seamless and professional look.

An important note on walls—this look requires smooth walls, and will not look the same if your walls are textured. For best results, I would cover textured walls with a smooth surface like thin hardboard (I did a tutorial on this with my last paneled wall DIY) or skim coat and sand, though I have no experience with the latter. If you have a very light texture like orange peel, you could try smoothing a first with an orbital sander, but it is quite a dusty job and I am not sure how even and smooth they'd end up. Our walls are primed drywall (this is my first house with non-textured drywall, and it is memorable!) so that made this project much easier.
I have been asked how I keep all my trimwork clean, and let me tell about something that may change your life—an air blow gun!
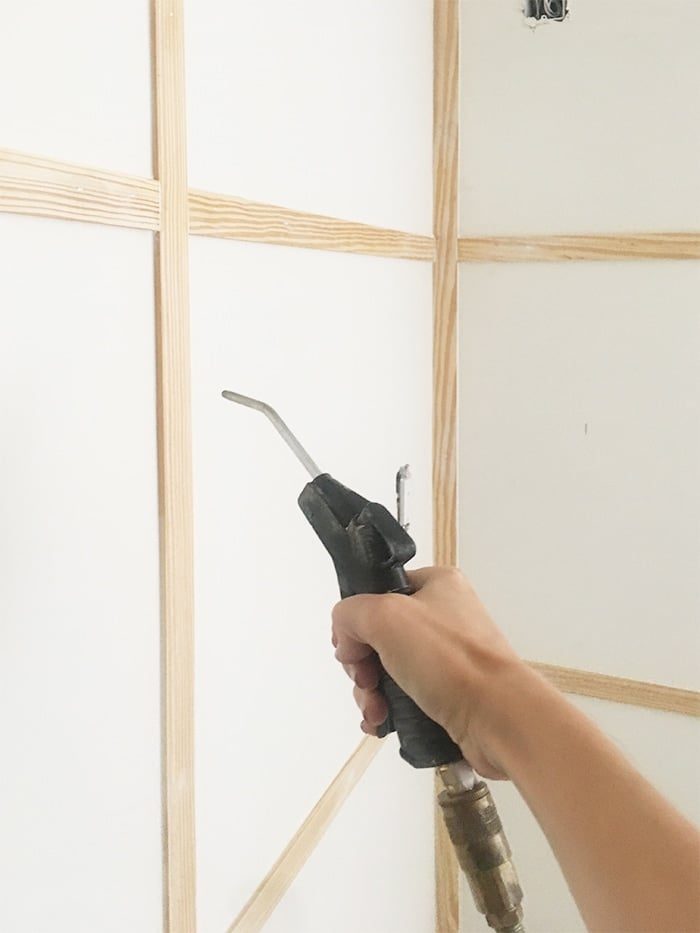
It attaches to your compressor and pressurized air blows away the dust and dirt, and within seconds, your hard-to-reach trim is good as new. No more dusting! This has been a lifesaver, especially with all the construction we have going on at all times. I used it to clear out all the dust from sanding the walls and trim before painting this room.
Speaking of paint…

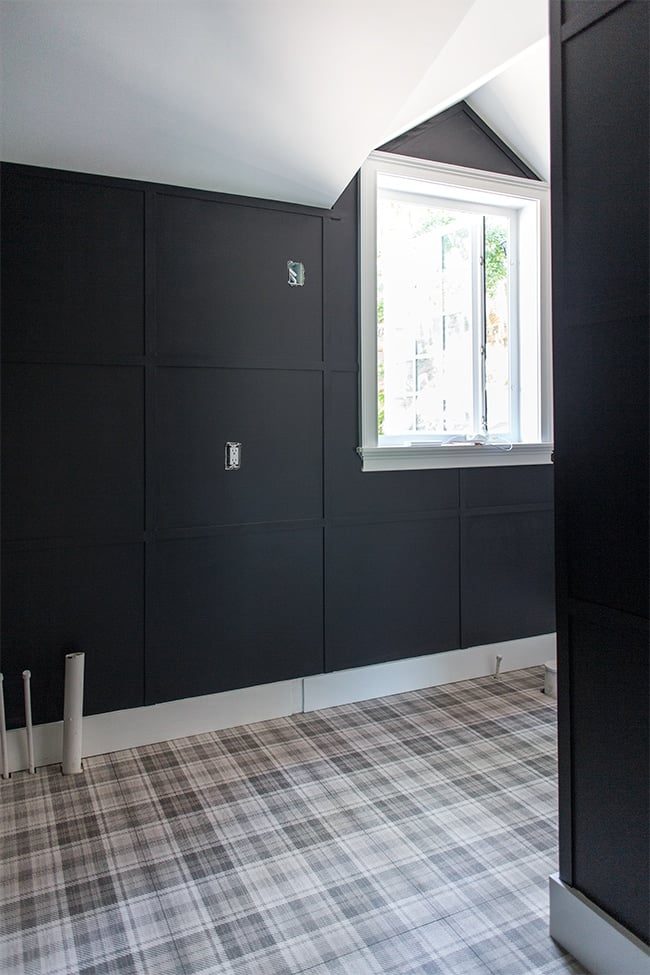
As much as It helps to keep painting everything black, this is the first black room I have taken the leap on. I do not know why it took so long, but I am never looking back!

I used my angled brush to cut in along the edges first, then rolled on all the flat surfaces.
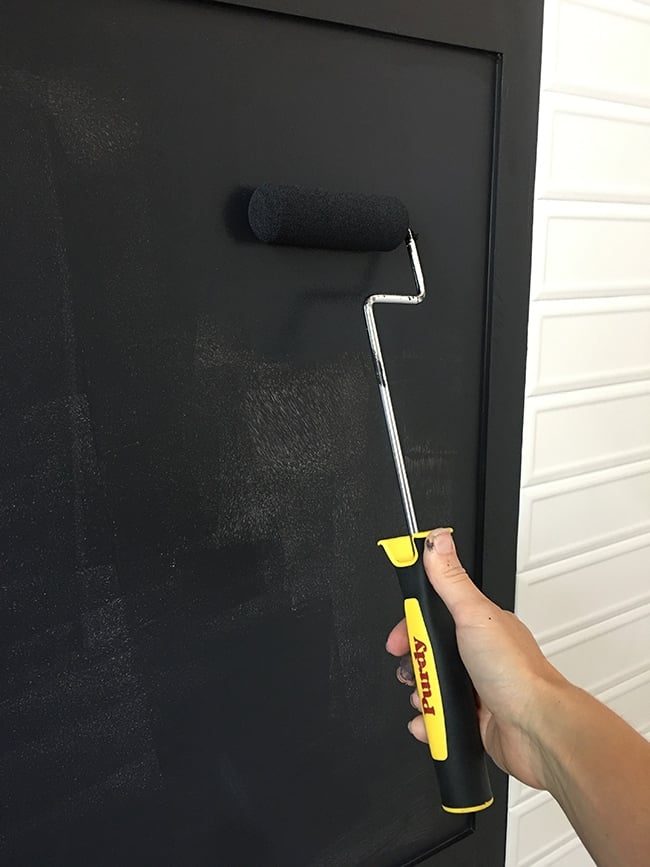

The coverage on this Valspar Signature paint is exceptional. Can you believe this is just one coat? The darkest Valspar black easily covered white primer in two coats.
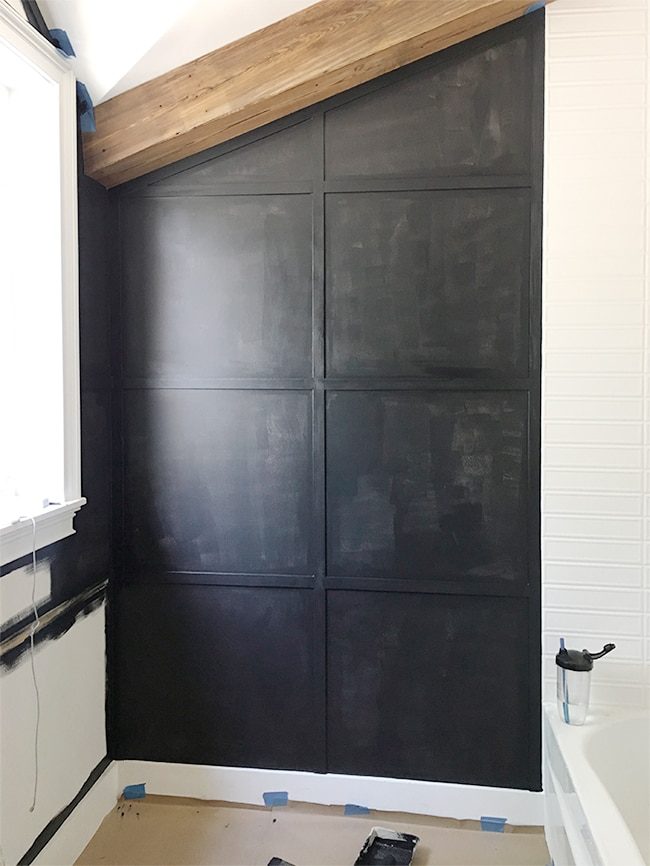
I opted for an eggshell finish, which I thought was a good compromise between matte walls (which It helps to keep the look of) and the practicality of being able to wipe them down, especially in a bathroom. We will see how they hold up!
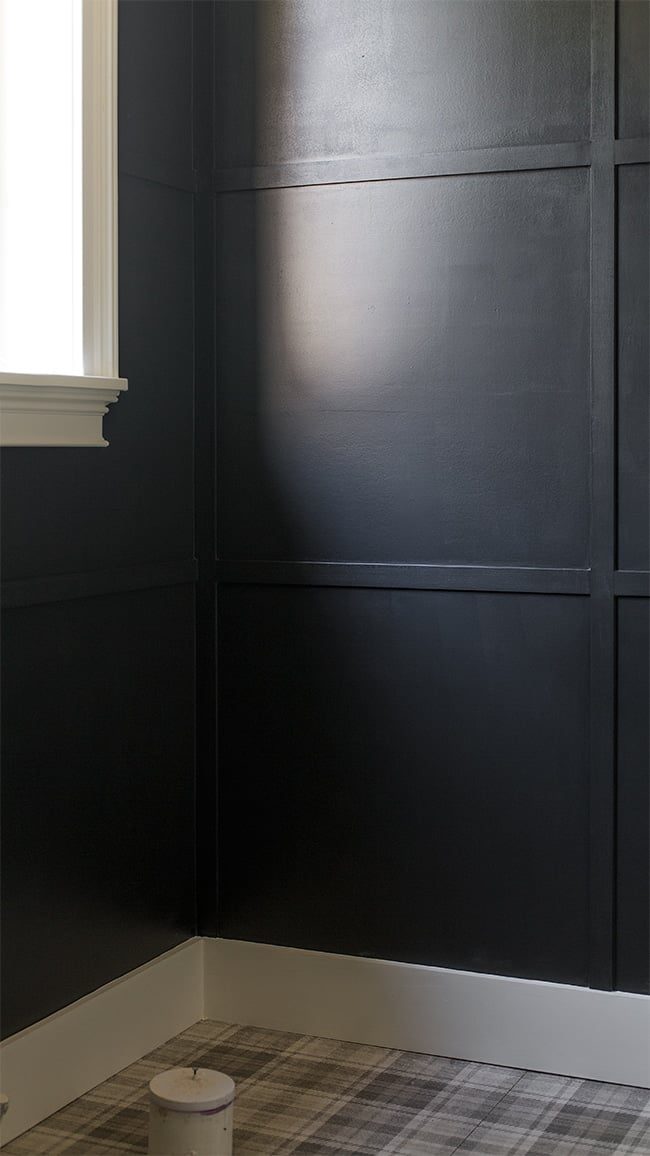
Keep in mind that flat finishes hide more flaws, whereas paint with a sheen will accentuate them.
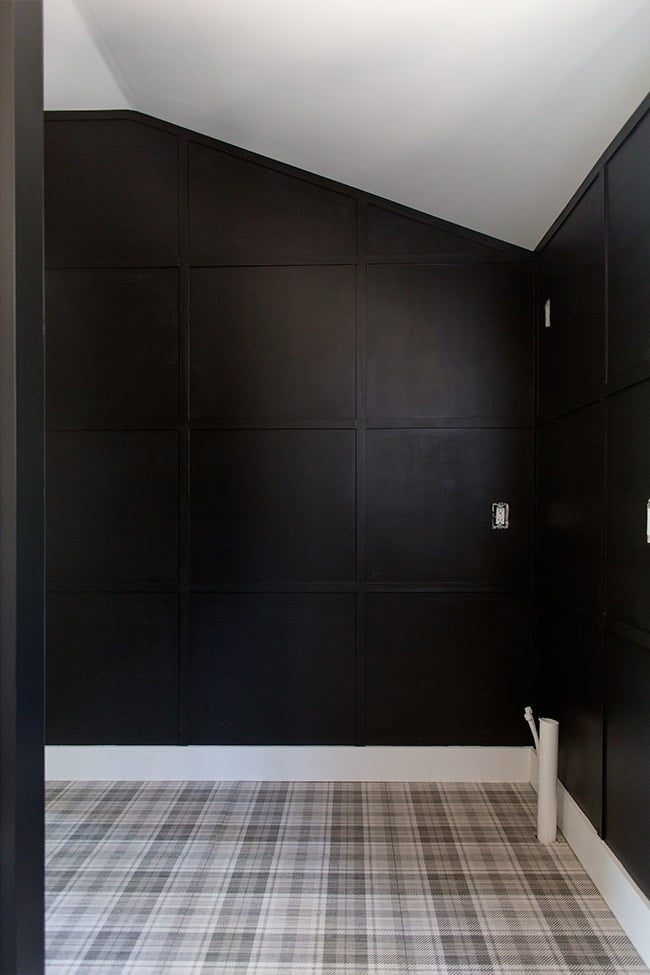
The baseboards & door trim were coated in a bright white semi-gloss for a nice crisp edge.
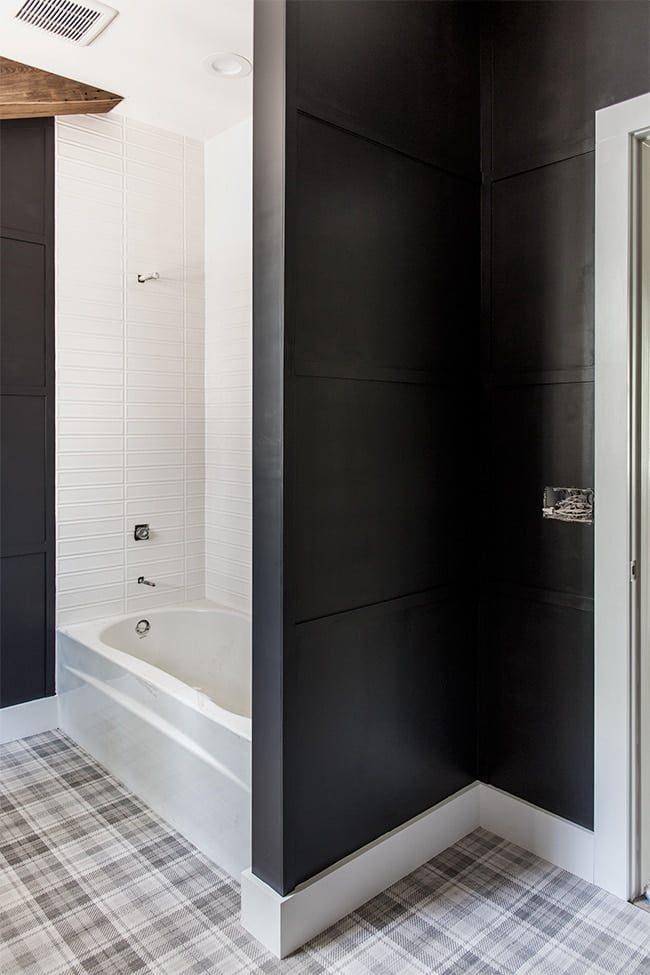
The rich black walls completely transform the room, making it feel both sophisticated and cozy.
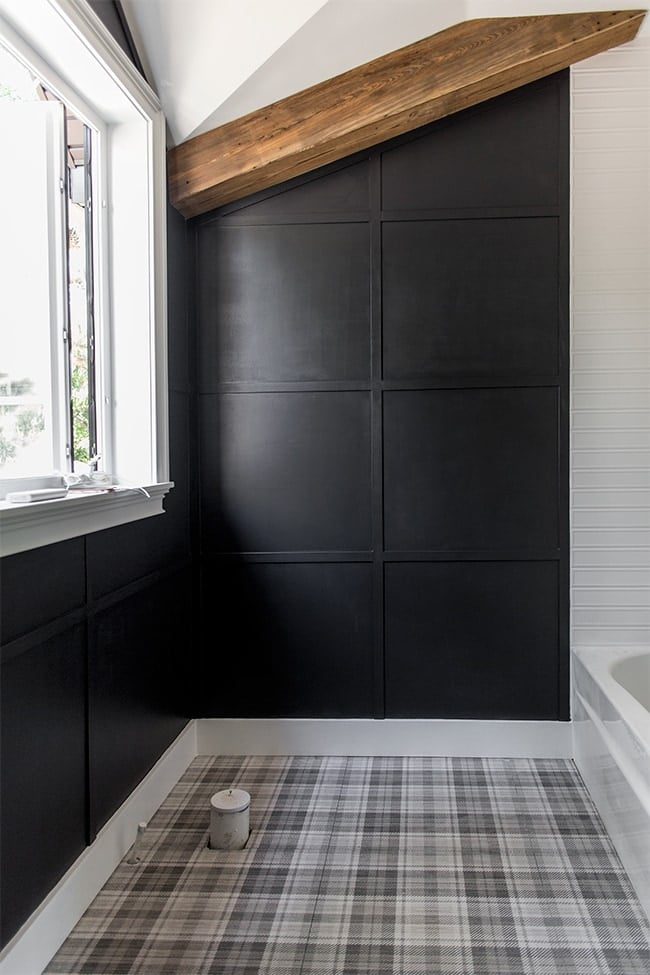
This wall treatment feels traditional and modern at the same time, and I especially love that it looks high end, but anyone can do it on a budget with basic materials.

Now it is time to pull together all of the finishing touches! Over the next few days we will take care of plumbing, electric, grouting and installing all the fun accessories in time for the photo/video shoot and reveal next week. There is still a LOT of pieces that need to come together, so there cannot be any hiccups if we want to stay on schedule. Let us hope the odds are in our favor this weekend!
I hope this tutorial was helpful to others looking for a unique DIY wall treatment. Please do not hesitate to leave a comment if you have any questions, and as always, you can follow my Instagram stories for live updates as the progress unfolds 🙂