DIY Garage Cabinets and Miter Saw Station
How to build DIY garage cabinets with a miter saw station! Plus, workshop organization and tool storage ideas using metal pegboard.
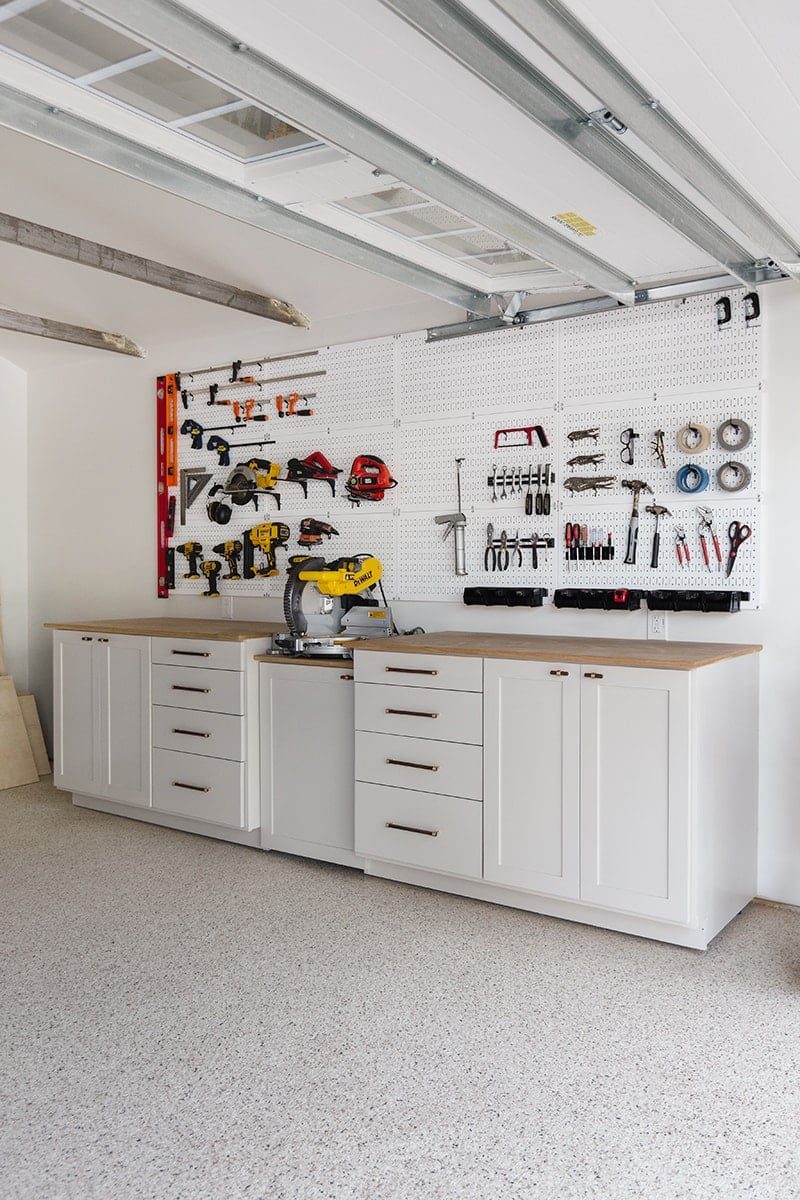
Nine months after myGarage Makeover Part 1 post, we finally have an update—look at our new DIY garage cabinets and miter saw station!
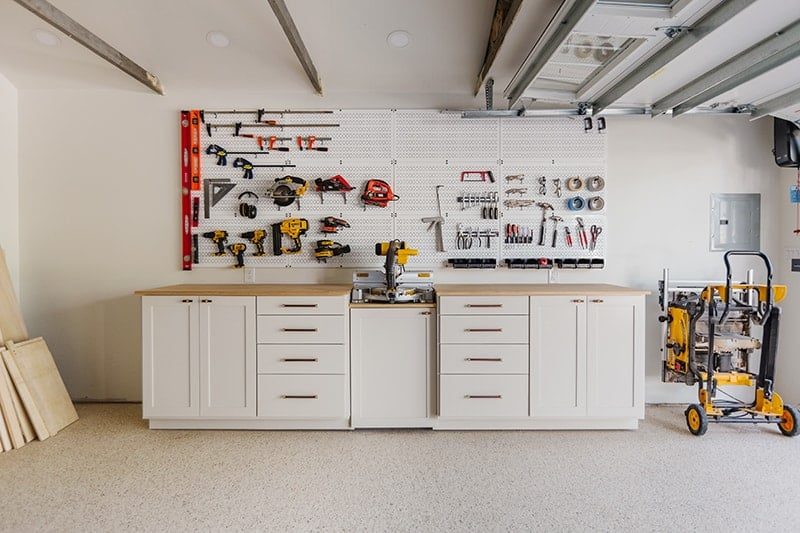
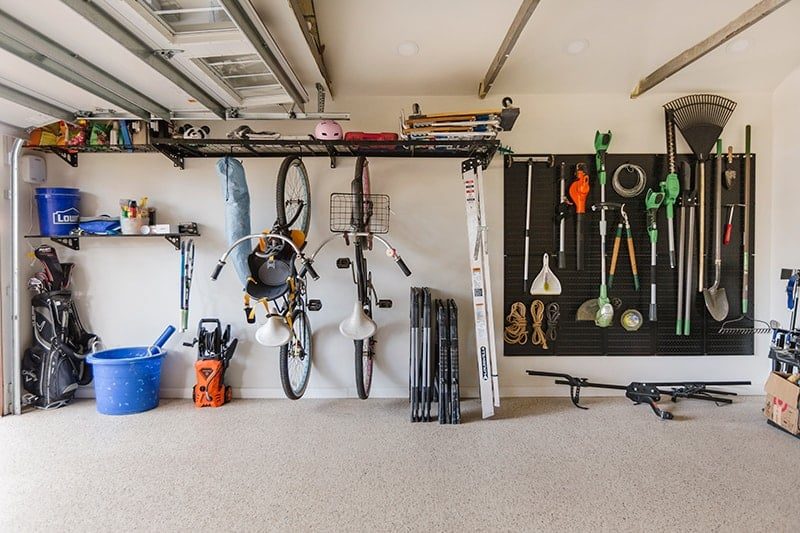
Along with garden tool organization and wire shelf storage!
I am considering this Phase 2 of our garage renovation, because there is still more to come. But first, let us just rewind to how it looked before we started (summer 2019)…
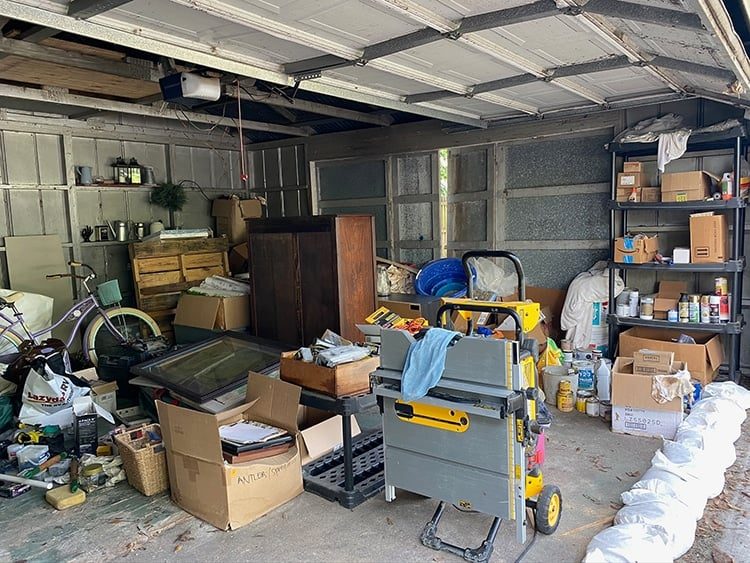
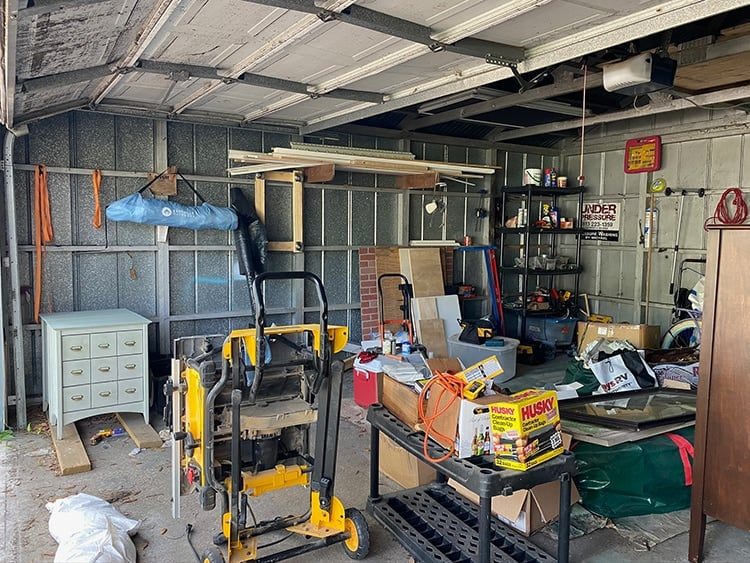
Lucas spent the next eight months essentially rebuilding the garage from scratch, inside and out (you can see all the details in theGarage Makeover Part 1post):
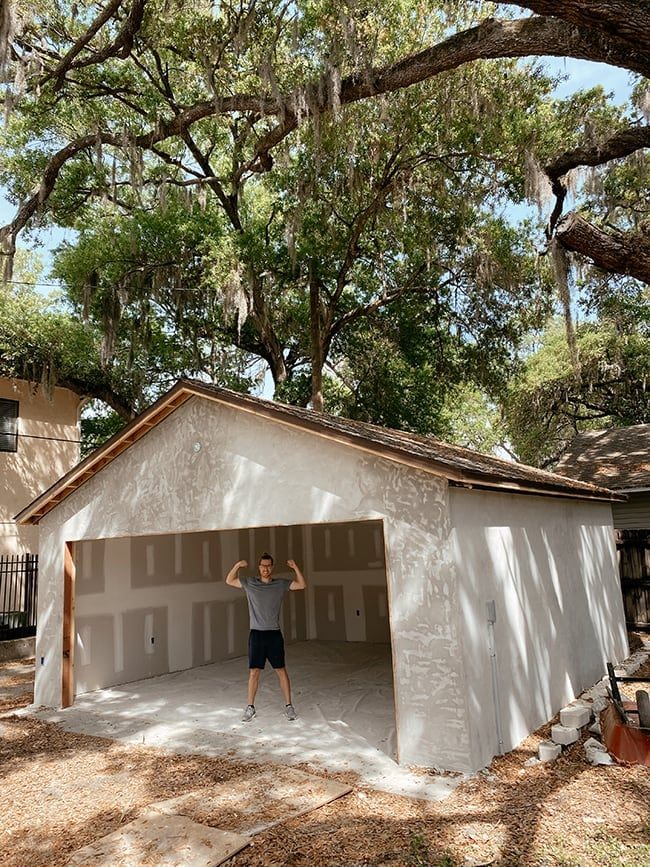
We finally had a blank canvas and a world of possibilities!
Garage layout plan
Here is the workshop organization plan we came up with:

This walkthrough covers more than halfway done with the interior—let us dive right in to our latest progress!
Miter Saw Station
A built-in miter bench was one of the most important features we wanted to include in our garage workshop. Every time we cut wood now, we have to pull out our sawhorses and table top, hoist our heavy miter saw onto it, and use two people (or props) when cutting long boards.
A built-in miter bench solves that and makes our DIY projects much more efficient. I found these miter station build plans on Etsy, and we decided to modify them to fit our space/desired setup.
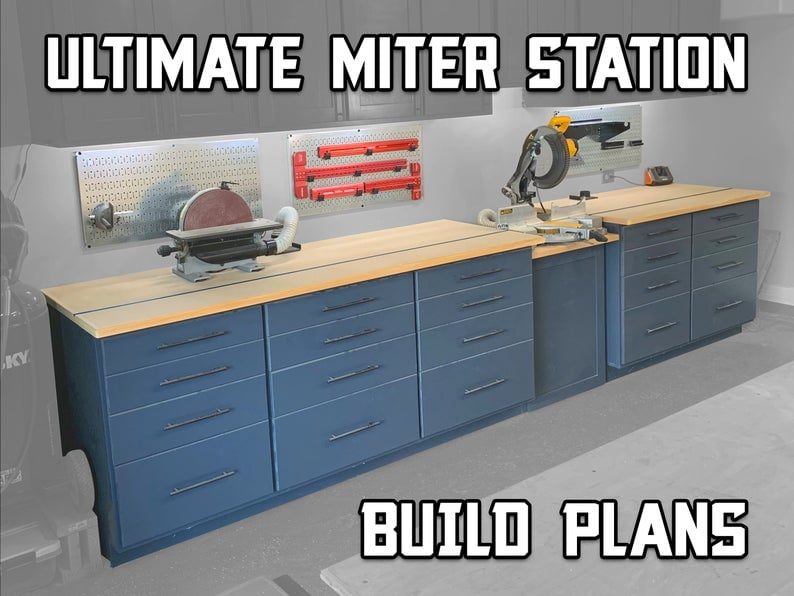
I will not go into much detail on the construction since all of the information is provided in the plans, but here is a quick recap. First: the blank wall we were working with:
This was Lucas's first time building base cabinets and we thought it would be good practice for the upcoming kitchen cabinet boxes he'll be building next month. He used 3/4″ Sande plywoodto build the boxes and followed the instructions in the plan:

Pretty interesting to see how they come together! Notice the sides/center panels are notched out for the bracing boards and toe kick:

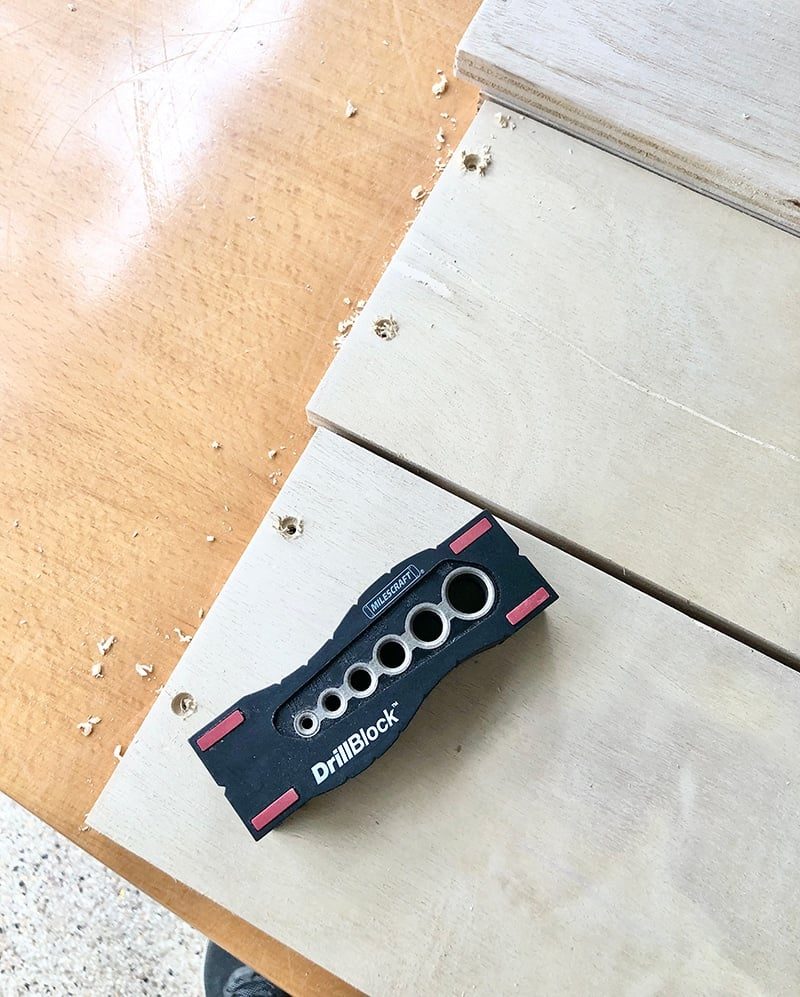
Pro tip: this drill blockwas key to ensure the screws went in straight every time. There is very little wiggle room in 3/4″ thick material so your drilling has to be precise!
These cabinets also have a face frame, which was built with 1×2' boards and pocket holes made with our Kreg Jig. The center vertical board is slightly wider, made from a ripped down 1×3″:

The countertop was constructed from the same 3/4″ plywood, and a small strip of wood (ripped down from a 1×2″) was nailed to the front for a finished edge (that is wood filler you see in the middle).

Here are the finished cabinet boxes:


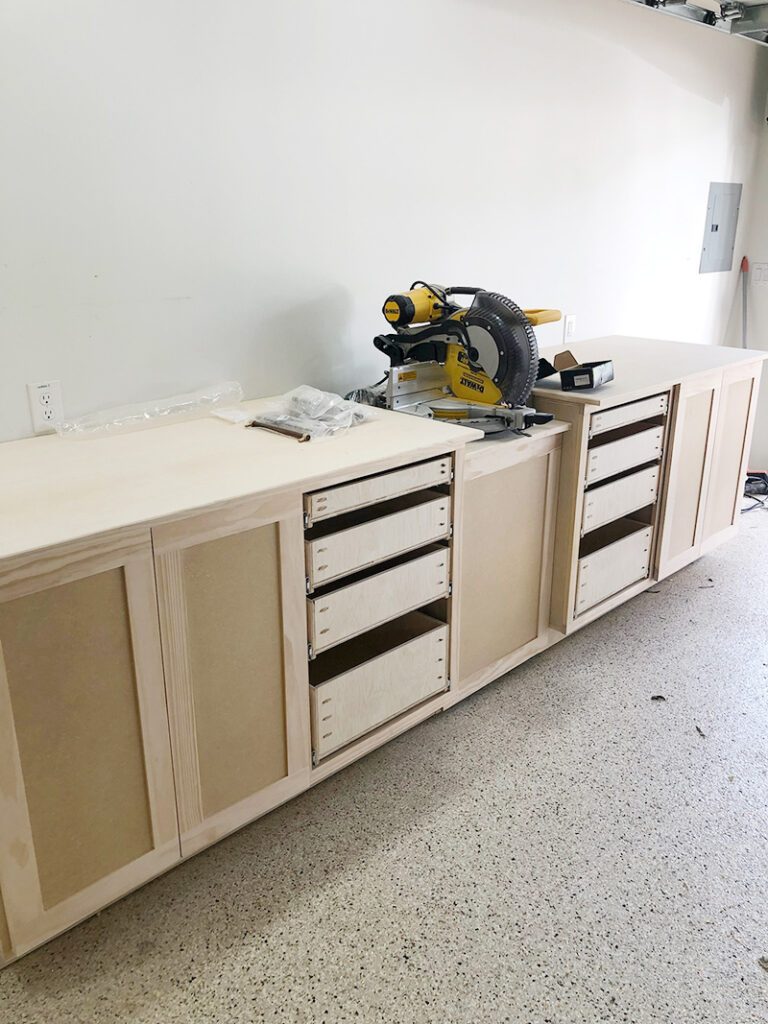
A shelf was then added between the two cabinets for the miter saw. The position had to be precise so the miter saw table would line up exactly with the countertops—wood shims were used for this.

Note: Our regular miter saw is sliding, so it could not fit in this space. We bought a stationery version of the same 12″ Dewalt compound miter saw which fits perfectly. We will keep our sliding saw at job sites (or use it as needed for cutting larger boards).


A face frame was also added to the cabinet below the miter saw:

Building cabinet drawers
These were constructed using 1/2″ Sande plywoodand pocket screws. Channels were cut into the sides by multiple passes on the table saw (a dado blade could also do this).

The bottom of the drawers slide into the channels and stay put with wood glue.

Before installing the drawers, strips of wood were attached along the drawer slide locations to make them flush with the face frame.

Building shaker cabinet doors
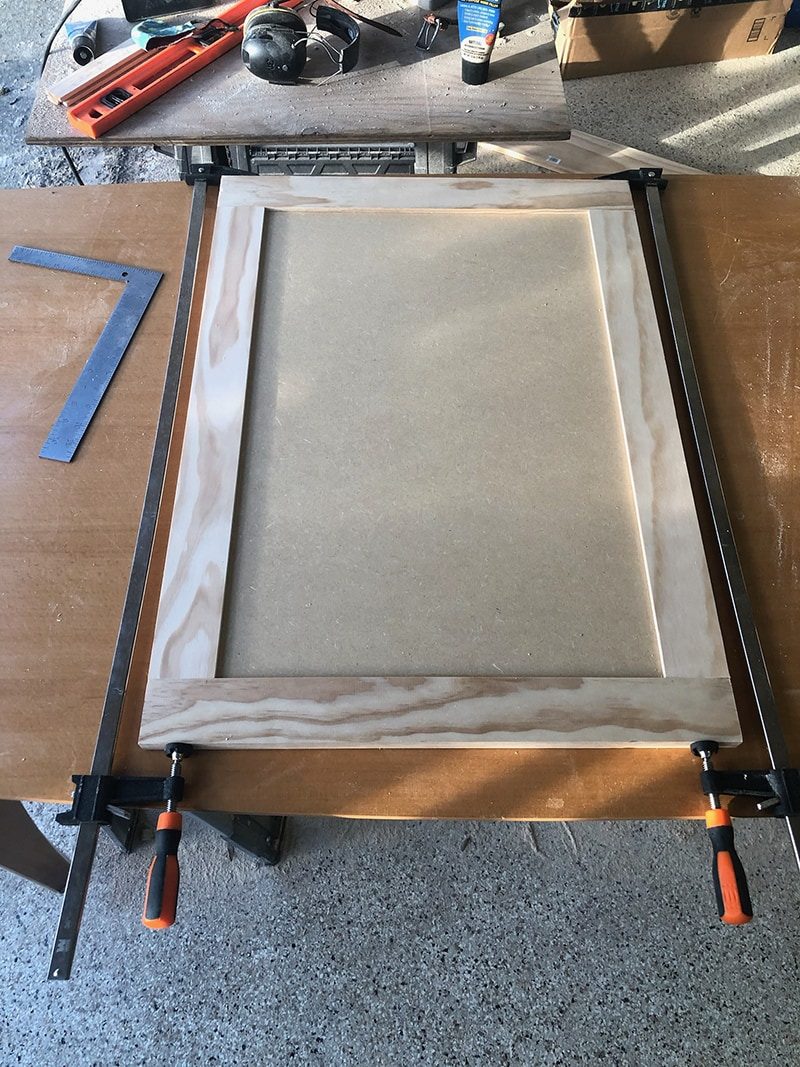
The shaker door construction was also outlined in the build plans, requiring 1×3's for the frame and 1/4″ MDF for the panel. The frame was assembled using tongue and groove joinery, with both cut using multiple passes on our table saw (alternatively, you could use a dado blade).

The MDF panel sits inside the channels carved into each side, and the frame is secured with wood glue, tongue and groove joinery. It is held together with clamps until the wood glue dries (no screws/nails required!)
Once the doors and drawer boxes were built, the hinges and slides were attached, and in they went!
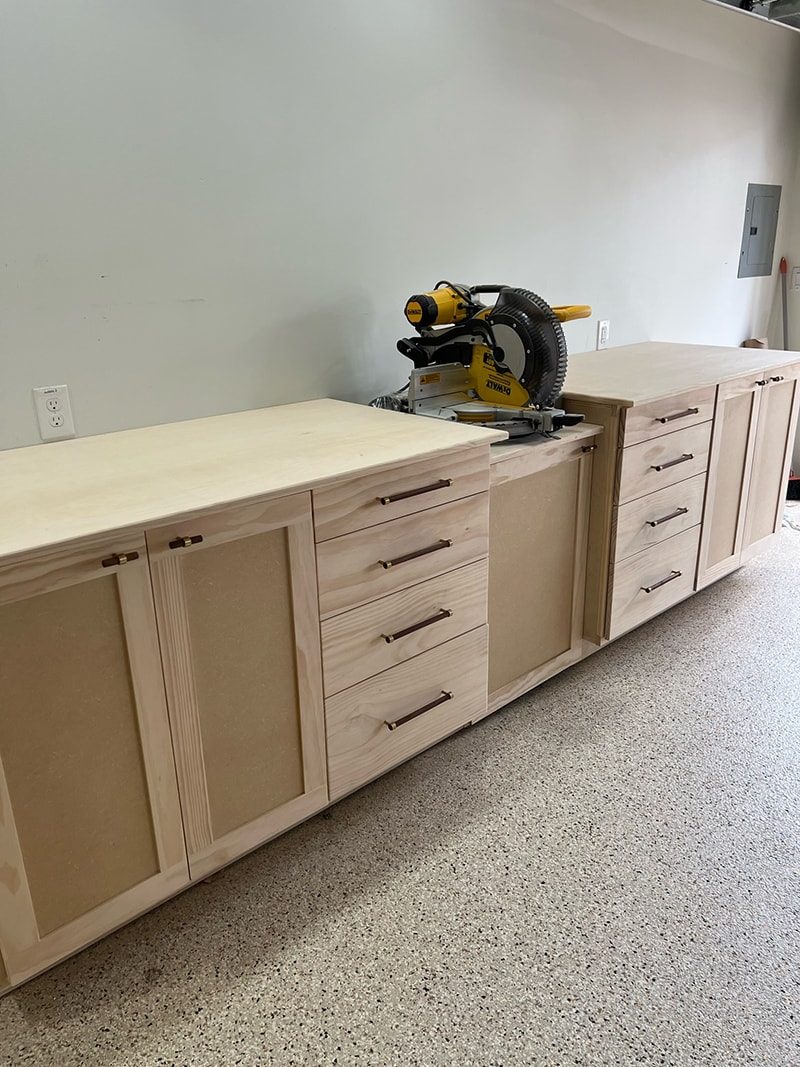
Finally, the drawer fronts were attached and hardware installed (we sourced these affordable 9″ wood pulls and coordinating knobs)
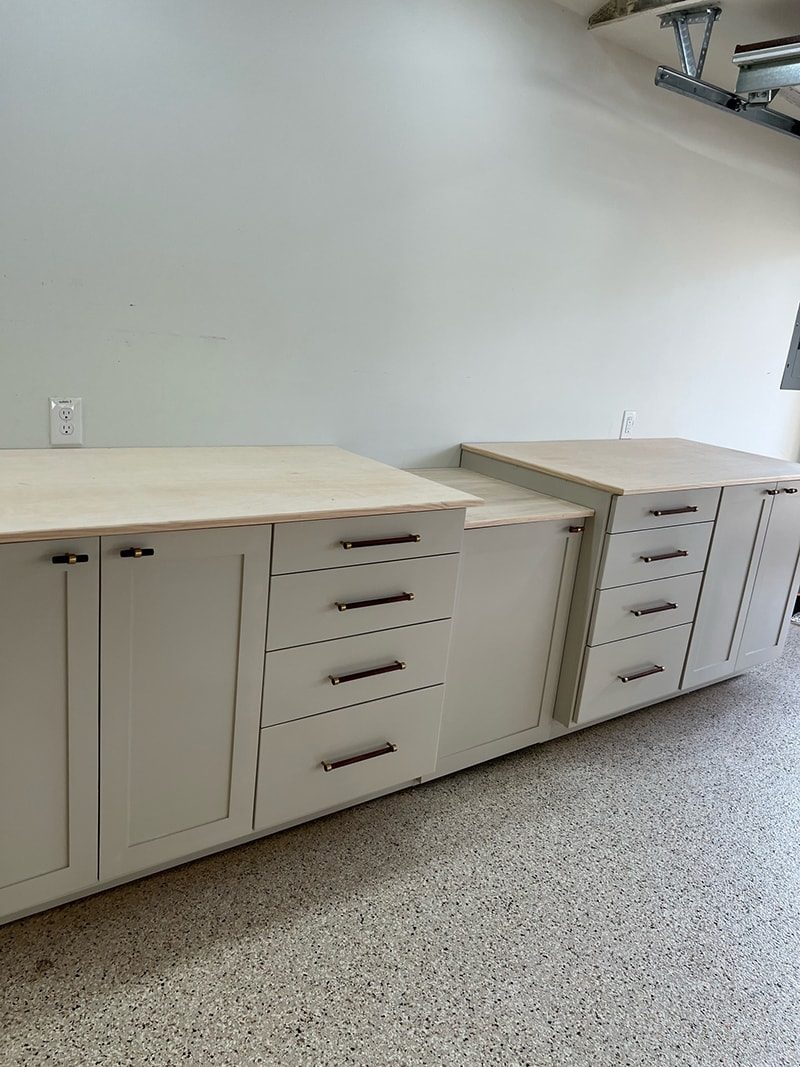
The cabinets were painted using Sherwin Williams Emerald Urethane Enamel in satin, in the color Accessible Beige. This is SW's pro line designed for cabinets, and exact same paint we used for our Playroom cabinets.
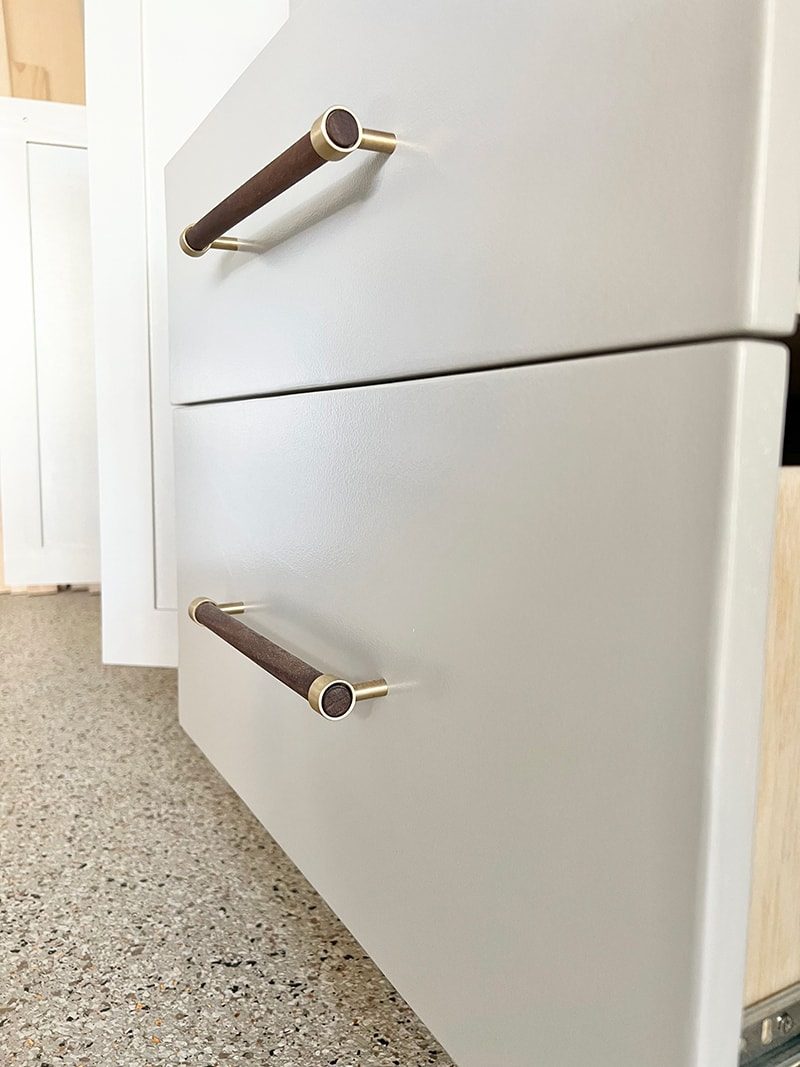
The painting was done by hand using our go-to short angle brush and velour rollers for the smoothest finish. Here is a couple detail shots of the finish—not quite as smooth as a sprayer, but honestly only noticeable up close (especially with lighter colors):

I think velour rollers are a great alternative to spraying, and we will most likely use them for our upcoming DIY kitchen cabinets!
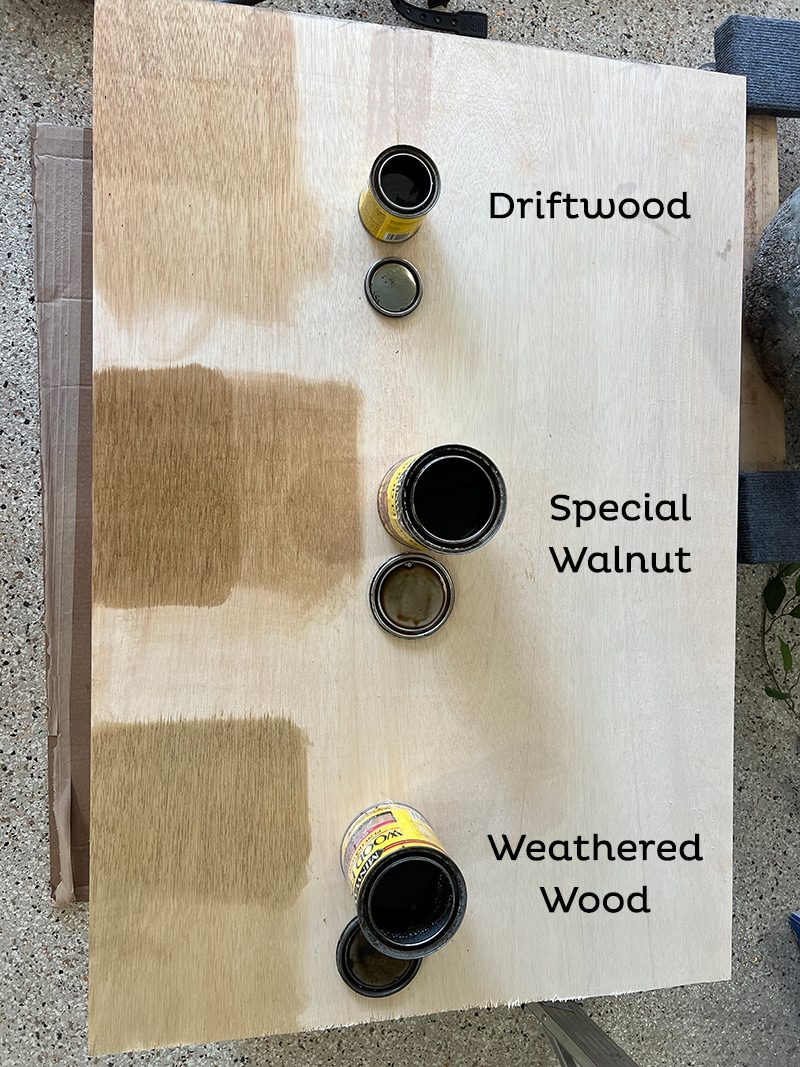
We tested out a few different stain samples for the countertop, and decided on Special Walnut to help break up the lighter tones.
Before moving on, here are a few Q&A's about our DIY garage cabinets:
Wood vs Metal Garage Storage Cabinets
We researched metal garage cabinets in the beginning, and decided against them due to the higher cost and lack of customization options. The sizes were not quite right and we'd still have to figure out a way to incorporate our miter saw bench. I think they are a great option, however, for many homeowners.
Why not use pre-made kitchen cabinets in the garage?
We could have, and most likely would have if we did not have the ability to DIY. But again, we could not find them in the exact size/arrangement we were looking for, and we'd still have to modify them to fit our needs. We also used better quality wood and hardware (typical unfinished stock cabinets use particleboard).
How much did the DIY garage cabinets cost?
| Wood | $733 |
| Cabinet hardware | $285 |
| Door hardware | $92 |
| Paint | $65 |
| Total | $1,175 |
Metal pegboard tool organization
With the DIY storage cabinet complete, it was time for the fun part—tool organization! We reached out to Wall Control and they offered to send an assortment of metal pegboards and accessories to test out and share with you. We knew we wanted to use their metal pegboard vs cheaper hardboard for several reasons:
- Metal is stronger and more durable
- Metal will last much longer outdoors (hello, Florida humidity!)
- Wall Control has a huge assortment of hooks/accessories for simplified organization
- The pegboard/hooks are customizable and available in multiple colors
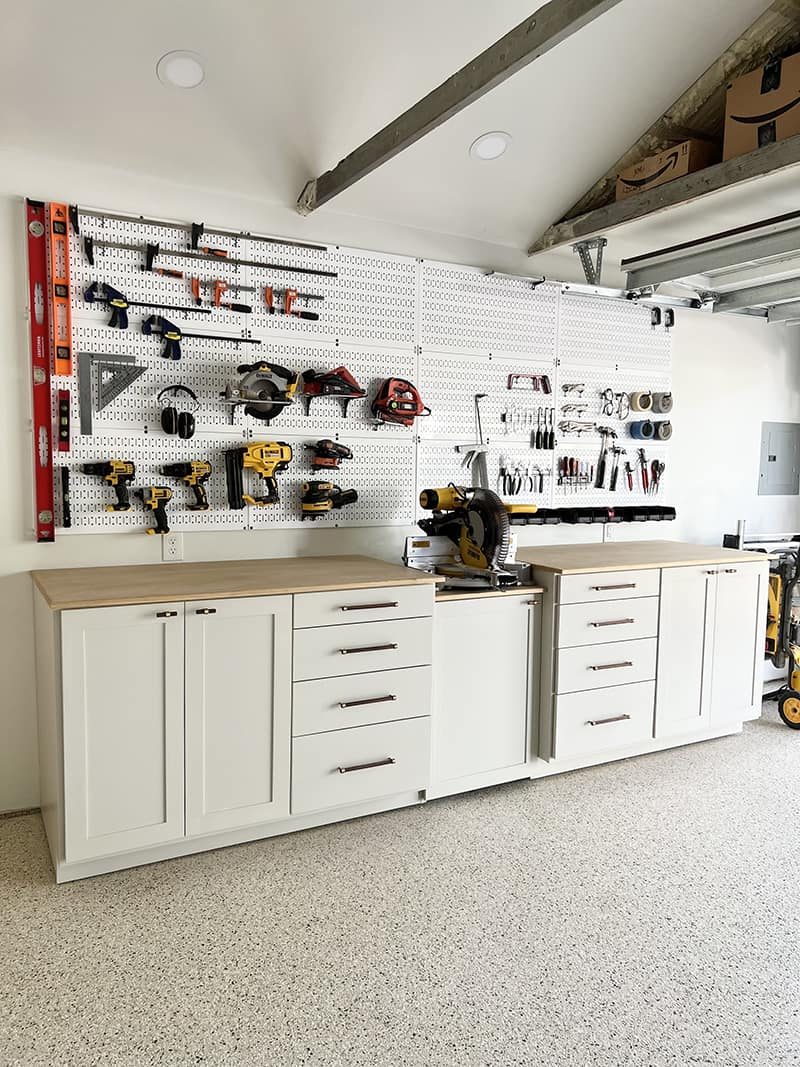
We ordered twelve 16×32″ pegboard panels for ample tool storage, they fit perfectly above our miter station (pst, these are 25% off on Amazon right now!)
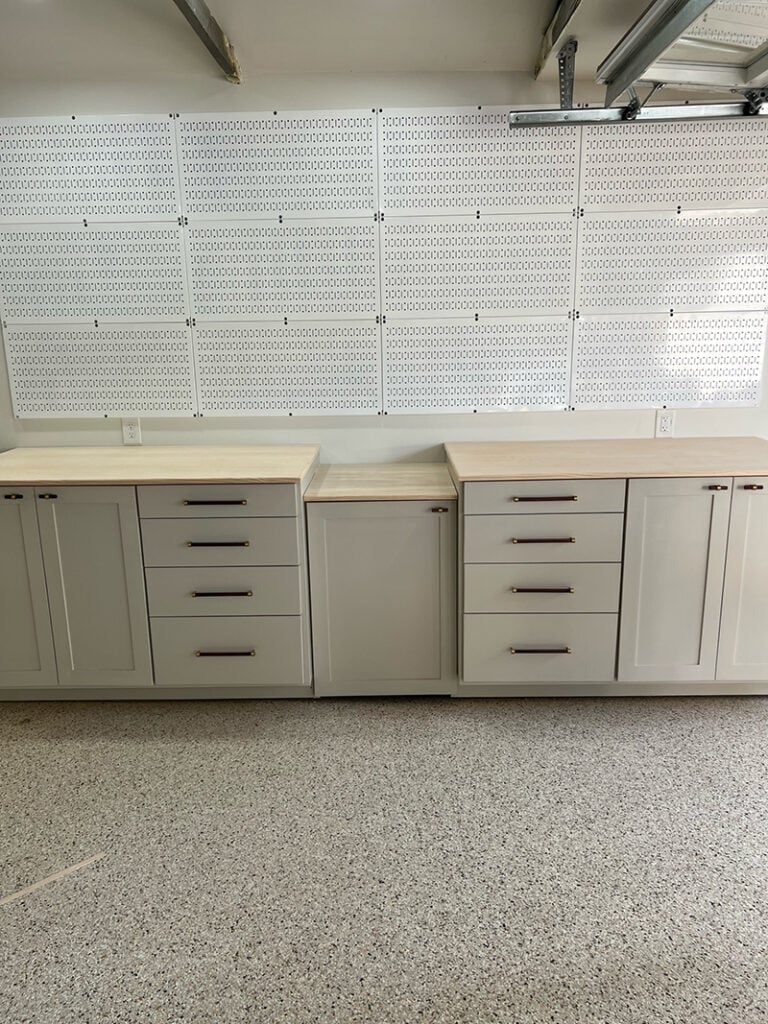
We have only spent a few hours organizing our tools, but here is the progress so far!
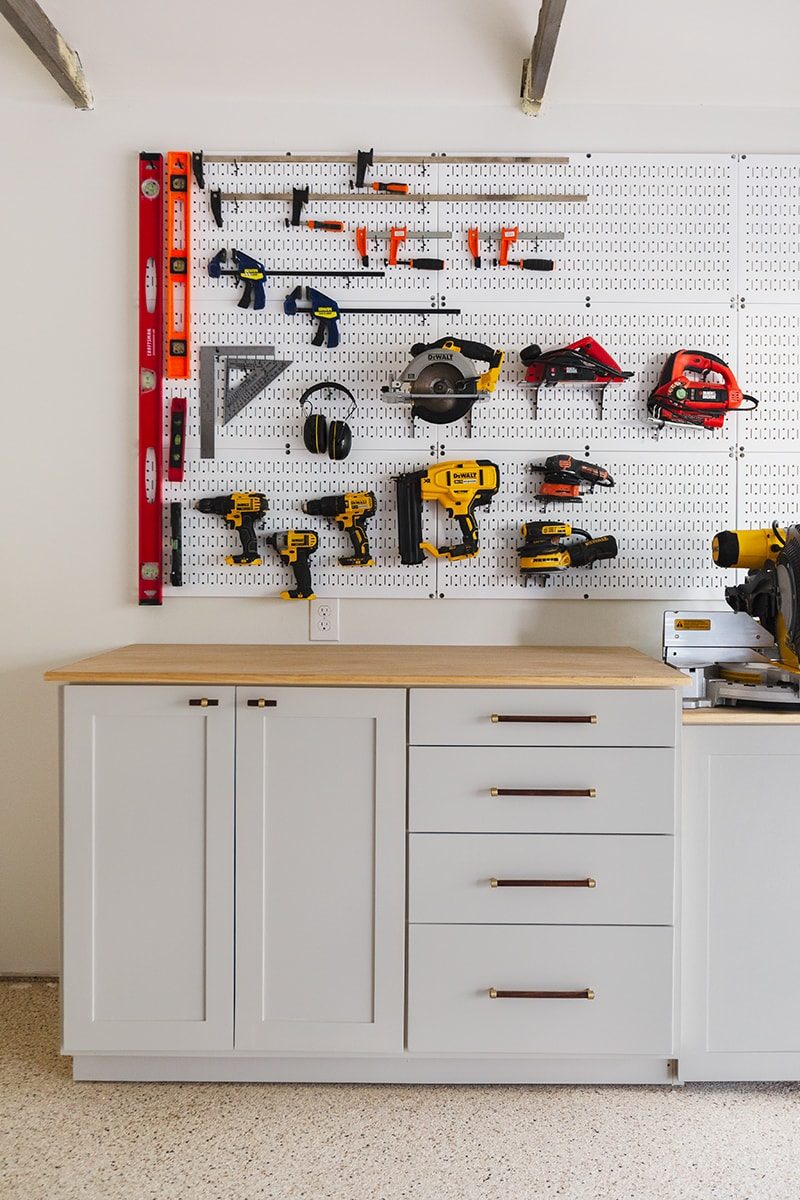
Just lock me in here for the next week while I organize all the things. I could organize all day!

We ordered a variety of Wall Control pegboard accessories, as we were not sure exactly what we'd need. Thehook accessory kit and workstation accessory kitare good options to start with.
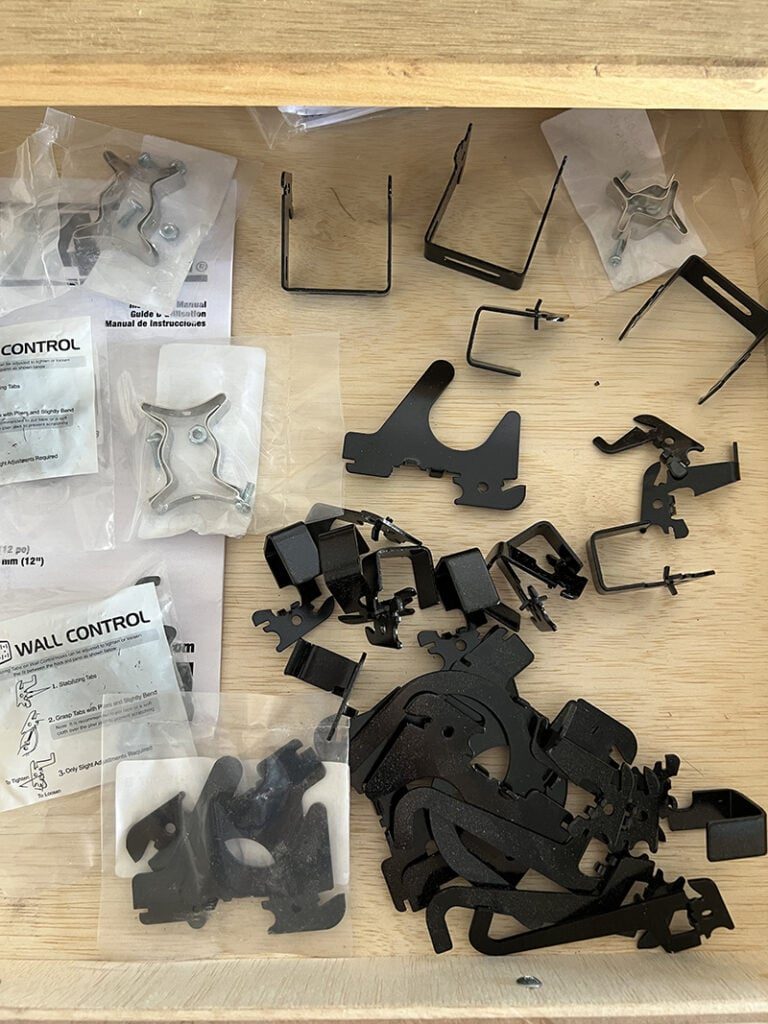
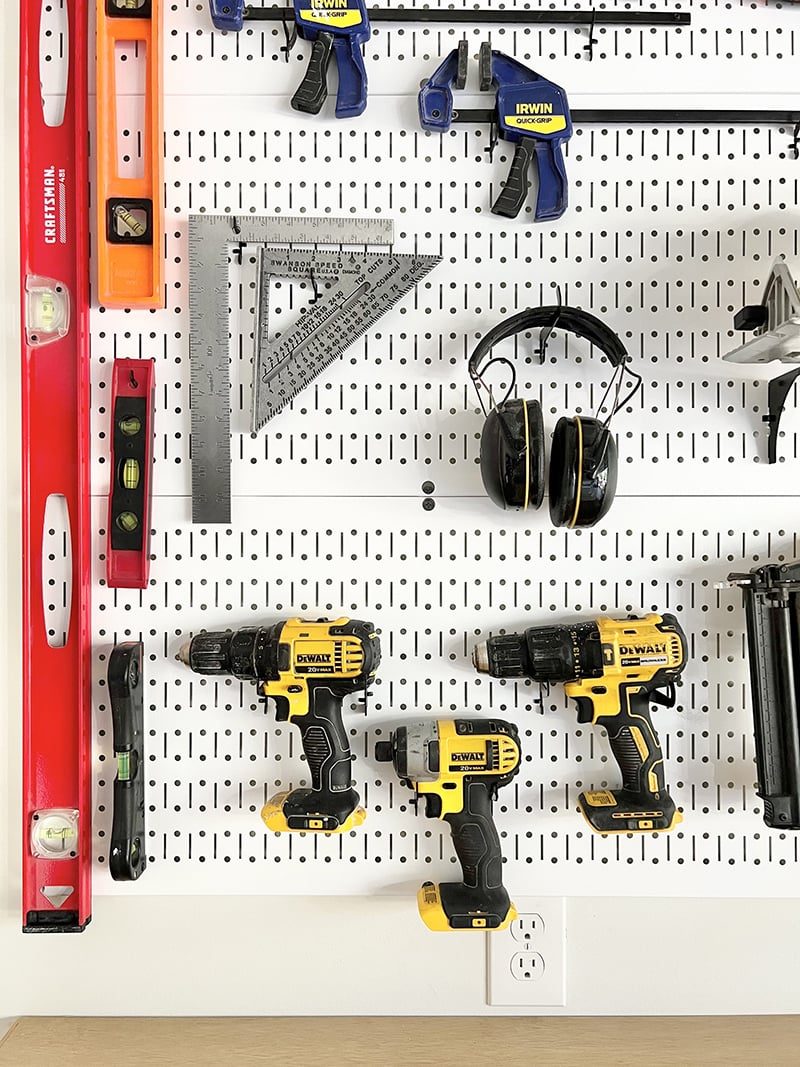
I selected all black accessories, but you can mix and match any color you'd like (they have more options ontheir website).

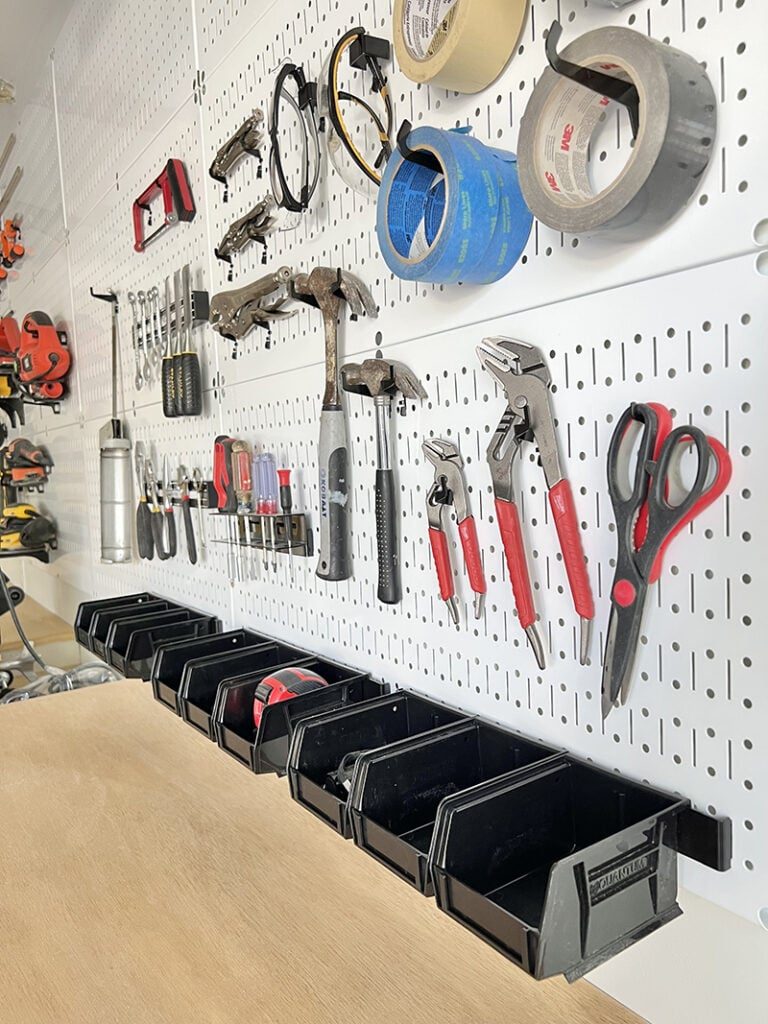
Our tools have never looked so well composed!

This is how a board would sit nice and flush along the workstation:
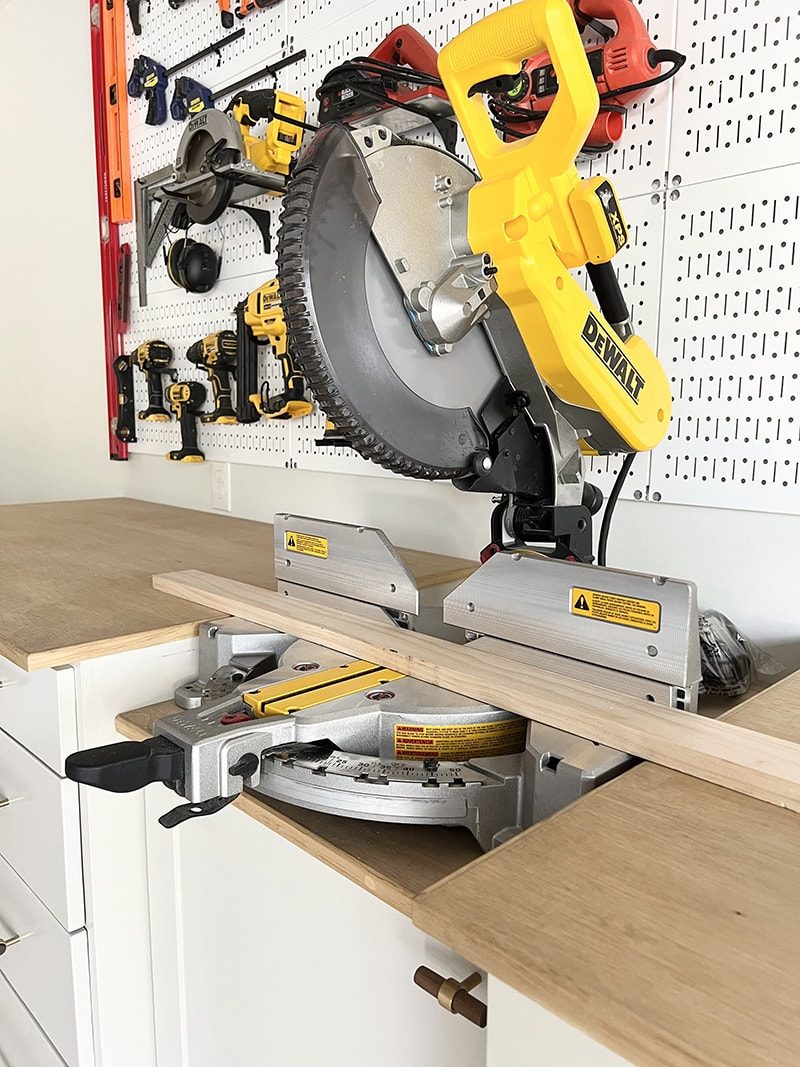
To keep the work area clean, there will be a 'dust collection system' with a shop vac connected to the miter saw dust port via a hose. The shop vac will live in the cabinet below (our air compressor is just here temporarily).

On the far left and right cabinets, we installed shelves on these undermount drawer slides for easy access:
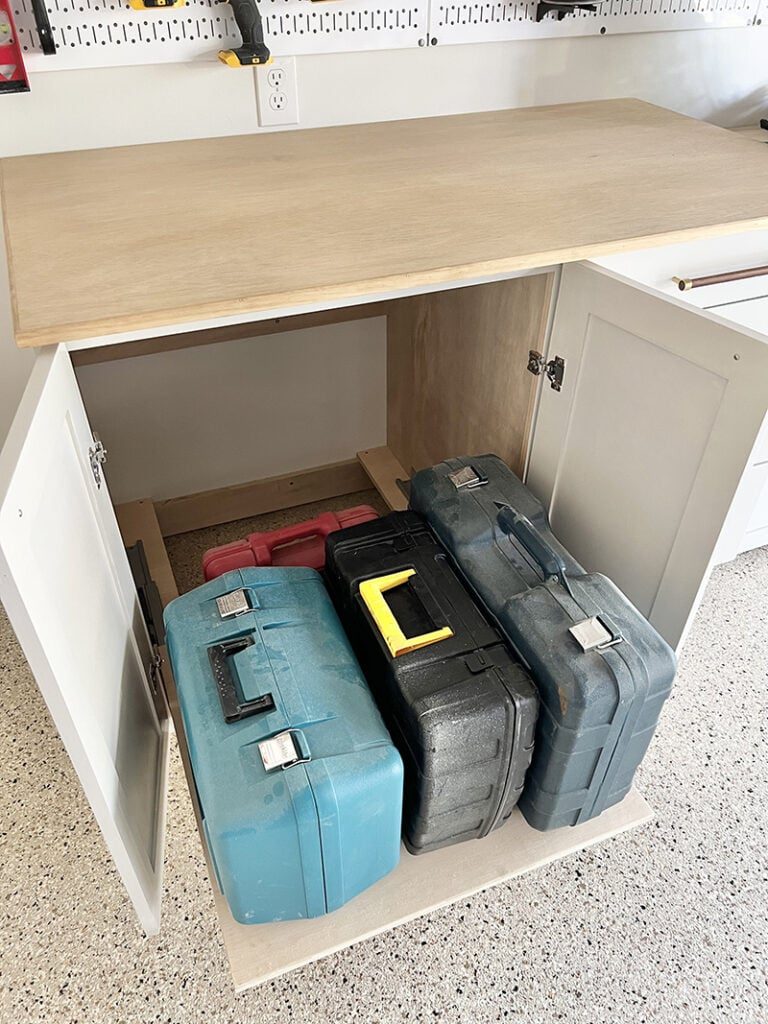
Have not organized the drawers yet but just IMAGINE THE POSSIBILITIES!
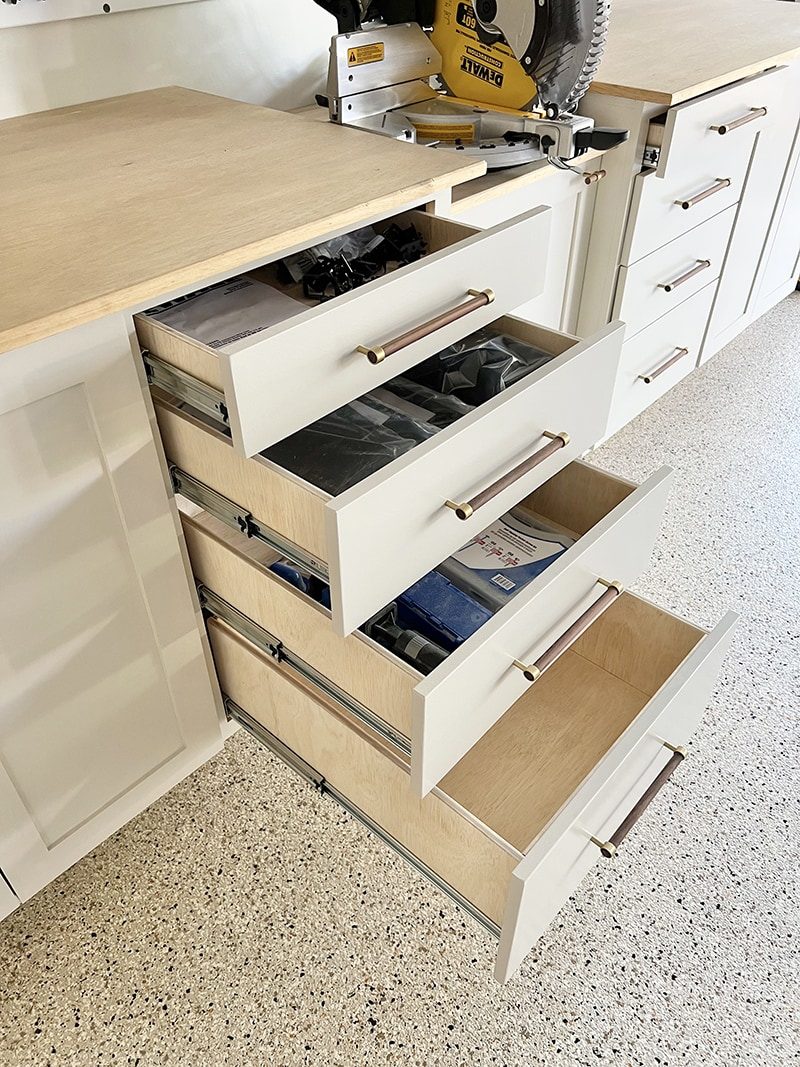
I never thought our garage could make me this happy.
I also realize it will never be this clean again, so I am enjoying it while it lasts.
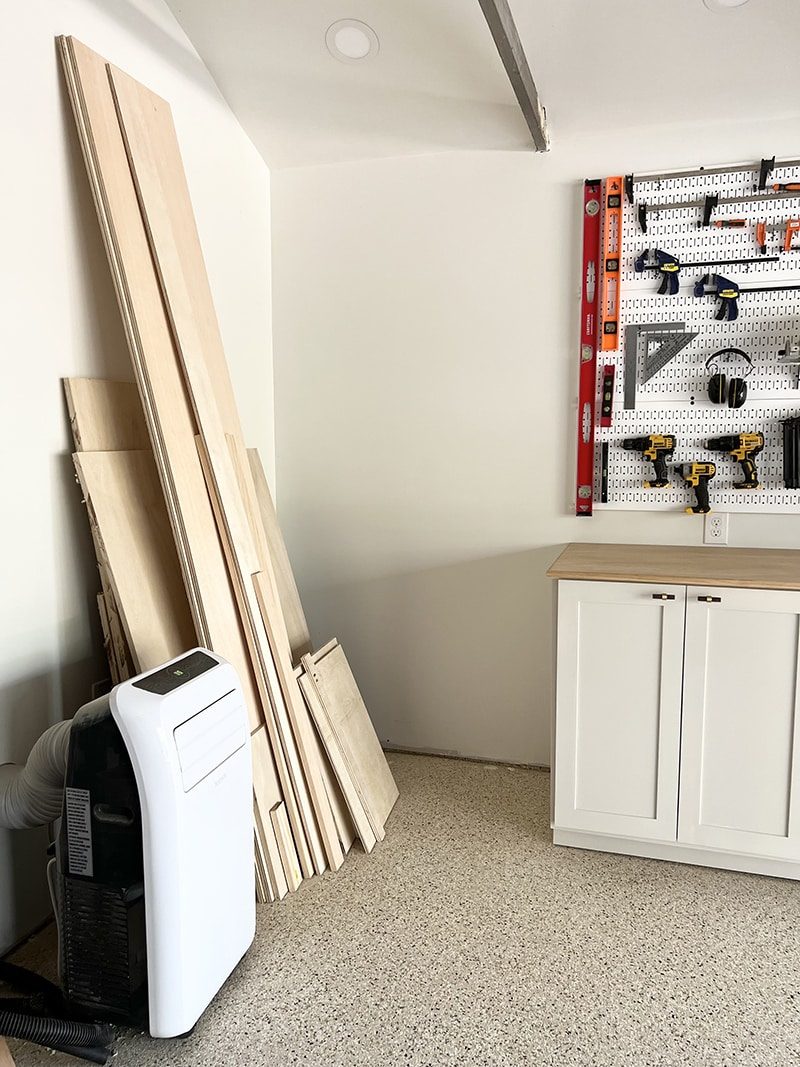
But—we are not done yet! In the next phase, we will build a wood storage area + cubbies in this corner:
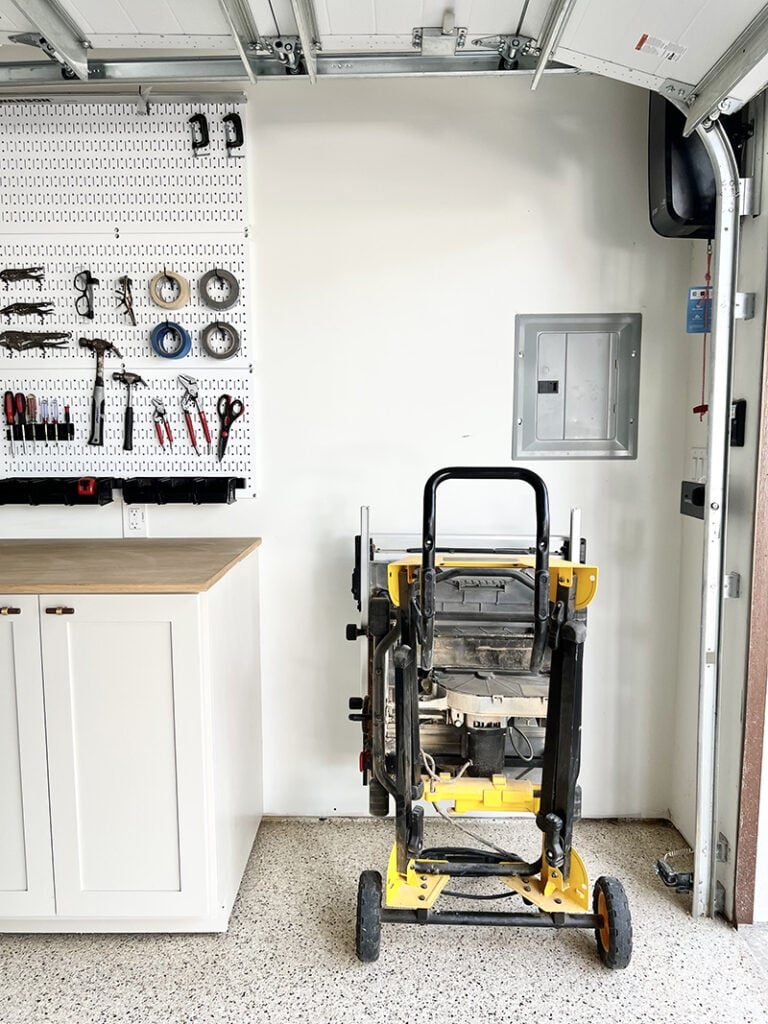
And a tall cabinet for paint in this area:
In the end, it will look something like this:

Now let us take a look at the opposite wall… this is how we organized it:
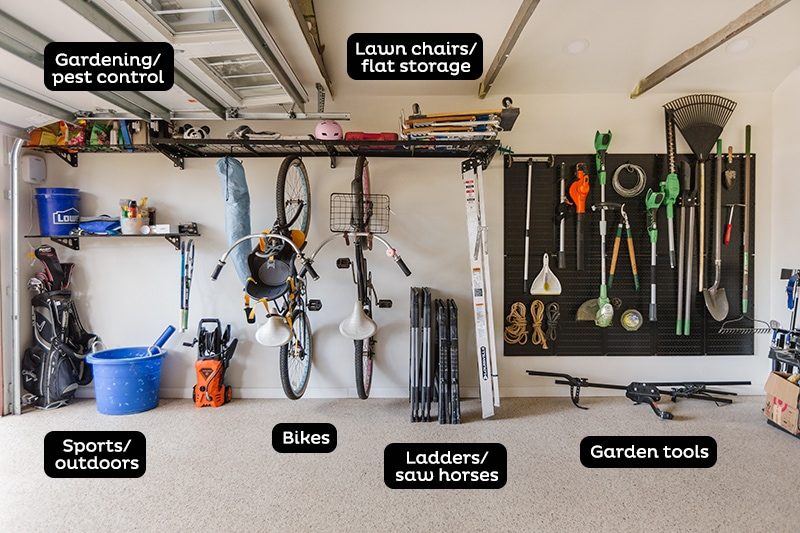
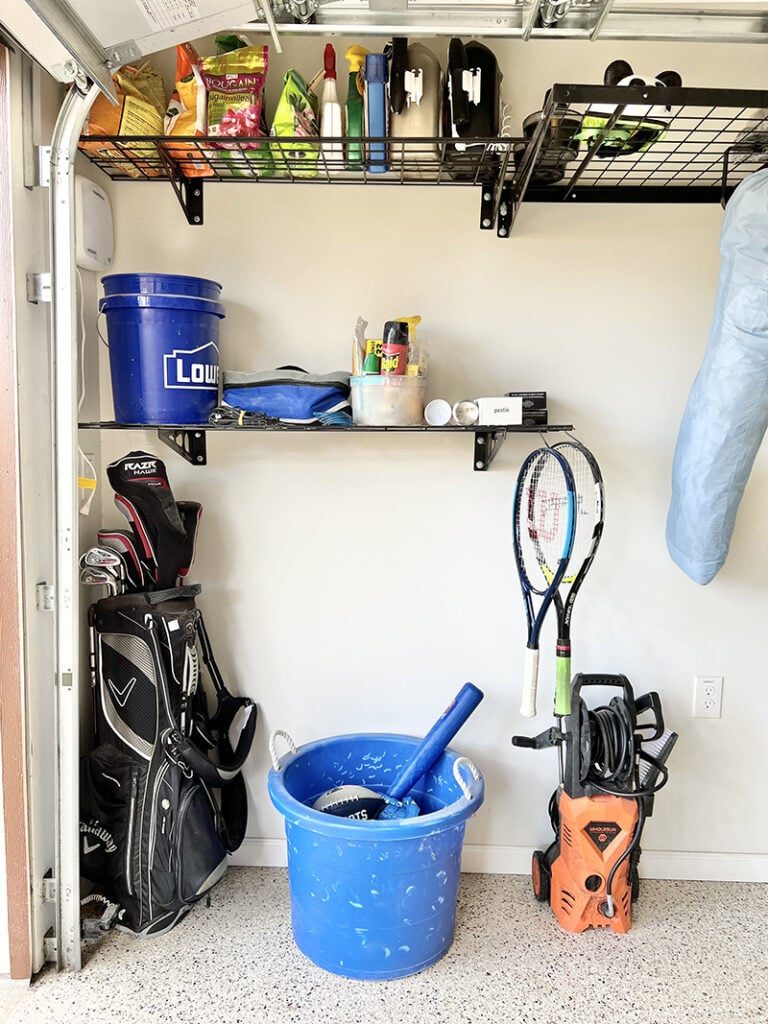
Garage wire shelving
On the left side, we have our sports/outdoors and gardening/pest control section. We installed two of these 1×4' Fleximount wire shelvesin black. The wire is nice to be able to attach hooks to, but small objects fall through so we will probably add a thin sheet of plywood on top.
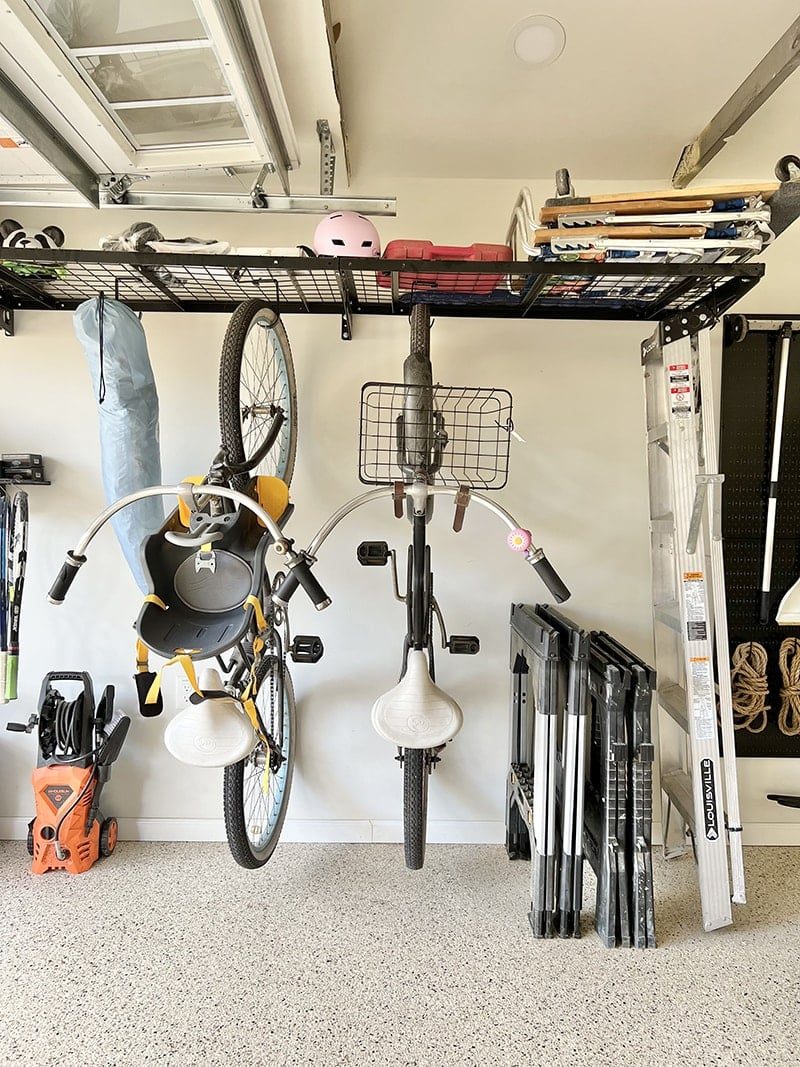
Wire shelf bike storage
In the center, we installed two 2×4' wire shelves for bike and ladder storage. The wire is great for hanging objects like ladders, but we do not love the hanging bike storage solution—it is cumbersome to lift them off/on. We plan on trying a bike clip like thisas an alternative option.
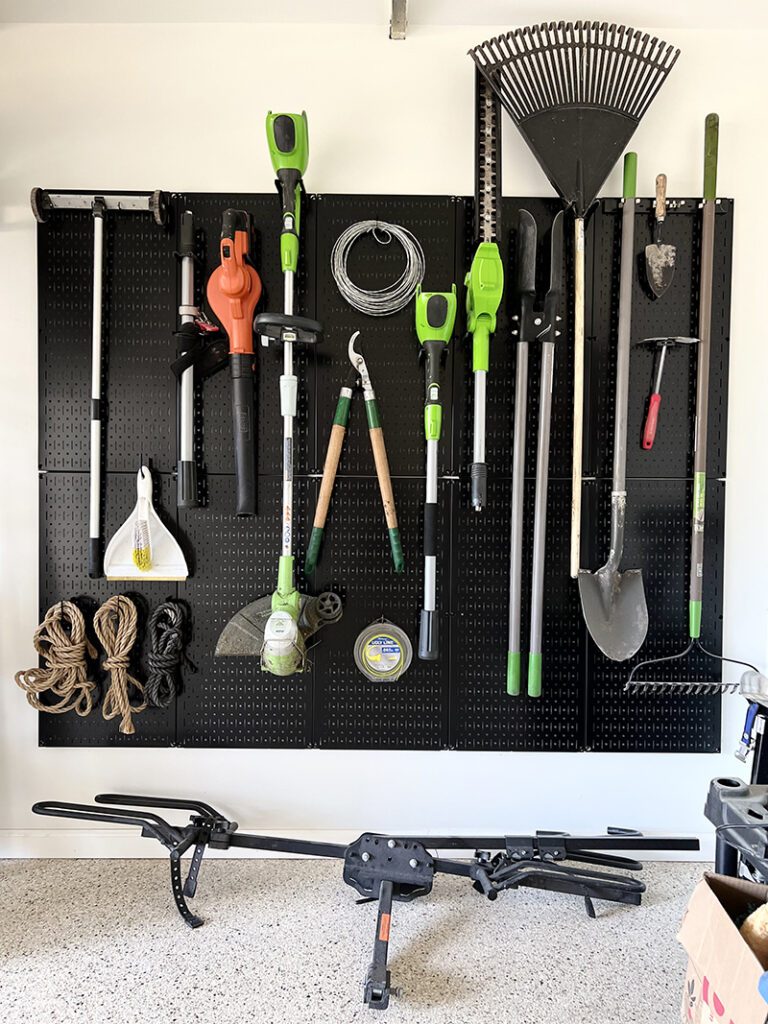
Garden tool organization
Lastly, (my favorite part!) we have our garden tool organization, using Wall Control pegboard and hooks in black.
I could not decide between white or black pegboards for our garage, so I got both. Which look is your favorite?

Black is so sleek, I think it wins out for me.
Garage Renovation Phase 3
Next up: finishing the storage cabinets around the miter station, building additional wood storage along the back wall and organizing all of this stuff on our temporary storage shelves:
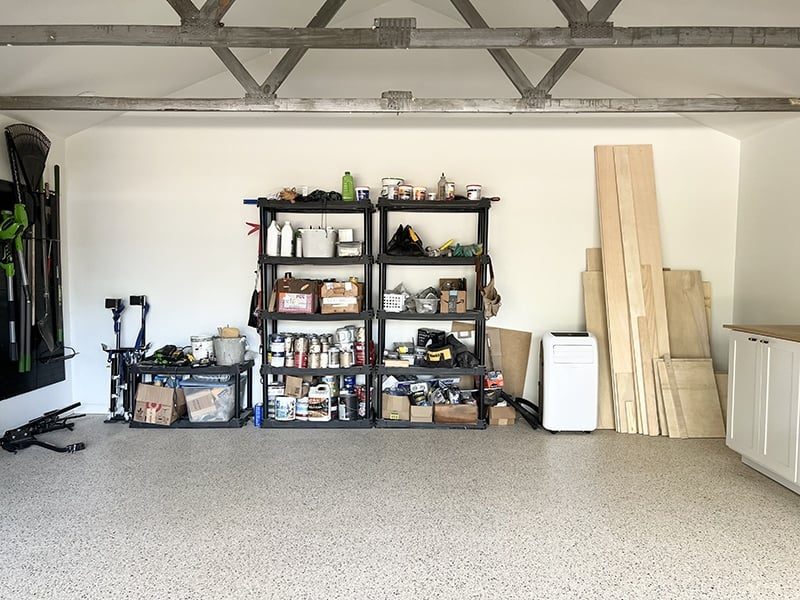
To be honest, I do not think we will have time to get to it in 2022, so this three-year renovation will continue into year four. I know plenty of you can relate.
Whew, that is it for now! I hope this post has given you some helpful ideas/motivation if you are also looking to reorganize your garage or create a DIY workshop. Come back in 2023 for the final reveal! 😉