Kitchen Chronicles: DIY floating rustic shelves
How to build unfussy and inexpensive DIY rustic floating shelves using 1x2's and plywood. Step-by-step tutorial with tips inside!
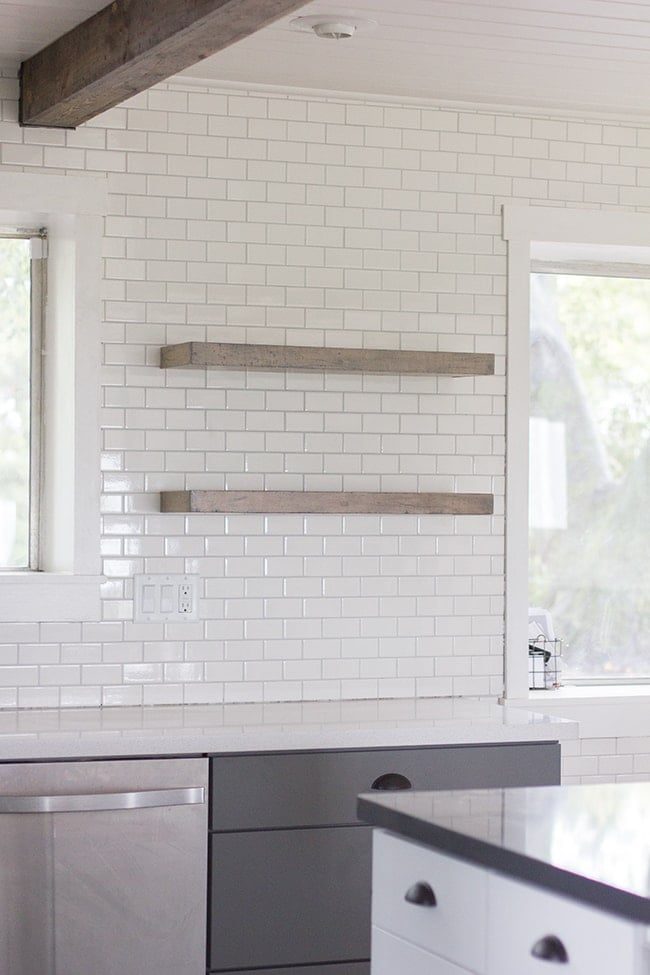
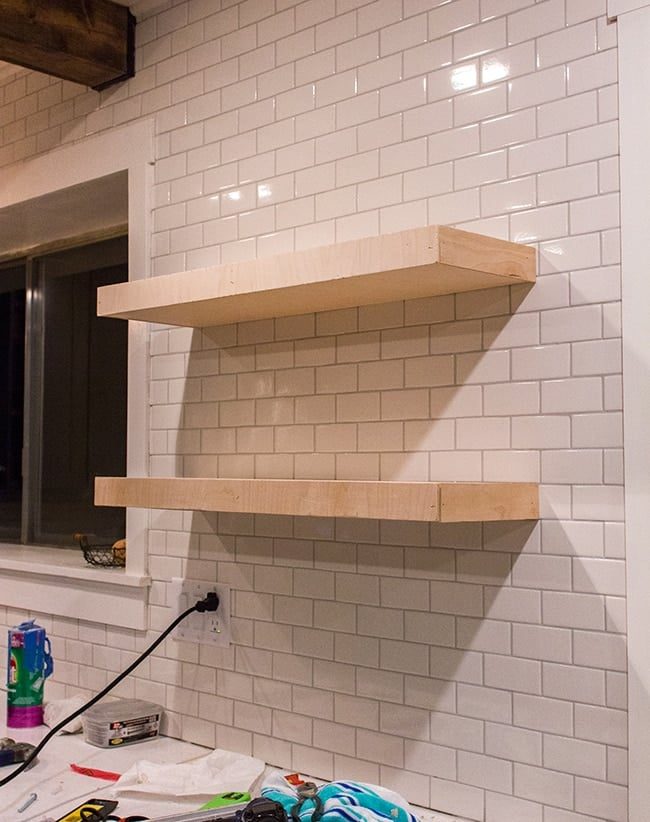
These last few days have flown by! With our housewarming party approaching in May, I have been taking on a handful of other projects. The kitchen is still our priority though, and these DIY rustic floating shelves are the latest addition:
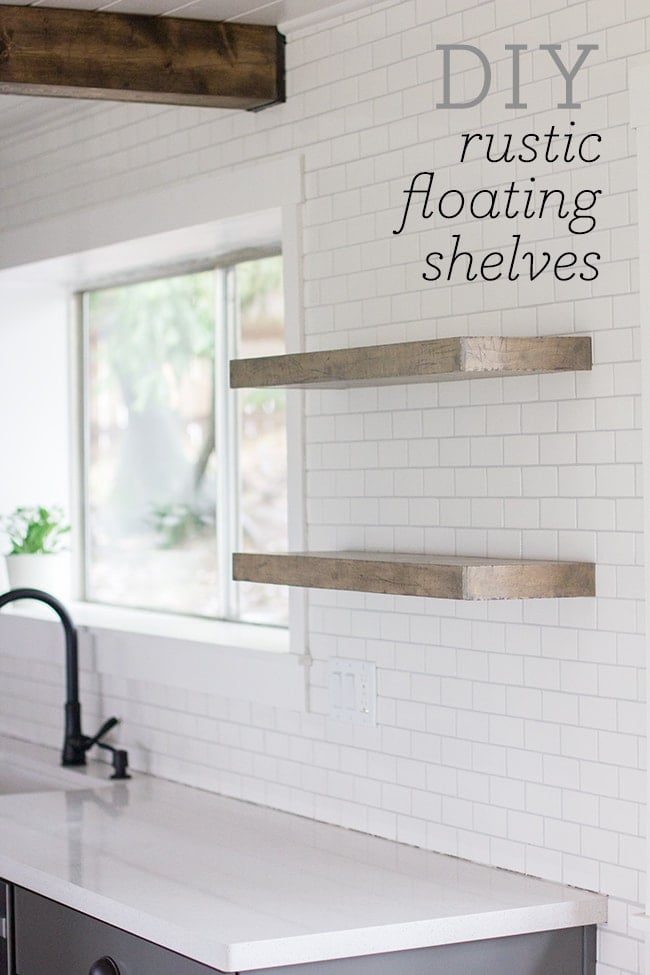
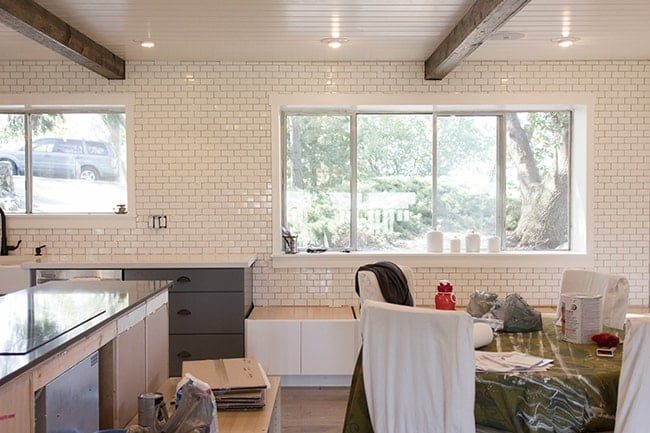
This is how it all began. This open wall between the two windows needed something, and I thought would make the well suited space for a couple smaller shelves:
Inspiration
I spotted this tutorial on Pinterest that got my attention:
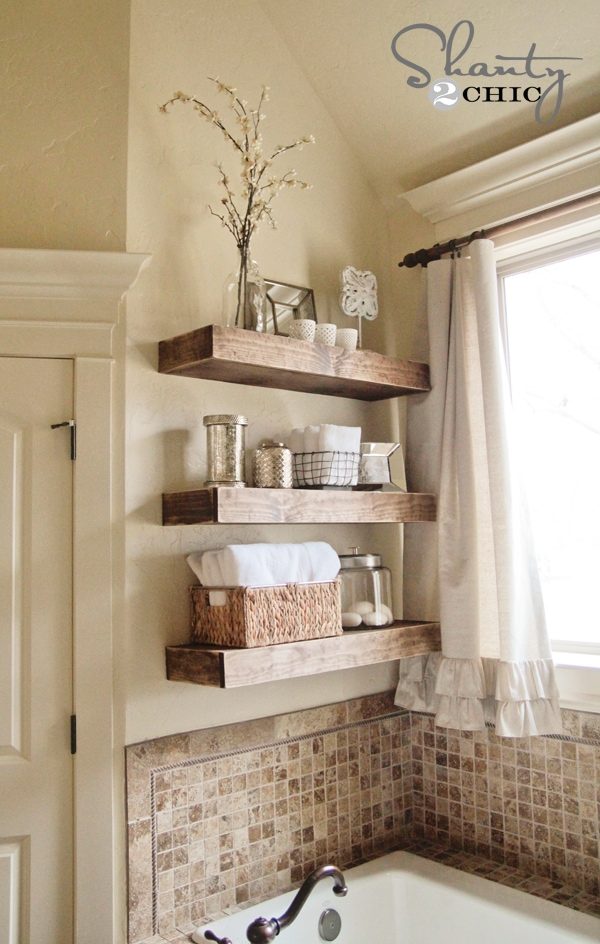
They were a bit too thick for what I wanted, so I substituted the top & side pieces of wood for 1/4″ plywood instead of 1″ boards.
Materials list
- (1) 1/4″ 4×8' sheet of cabinet grade plywood
- (2) 1x2x8' whitewood boards
- Heavy duty anchors/toggle bolts (if not attaching to studs)
- Pint of wood stain
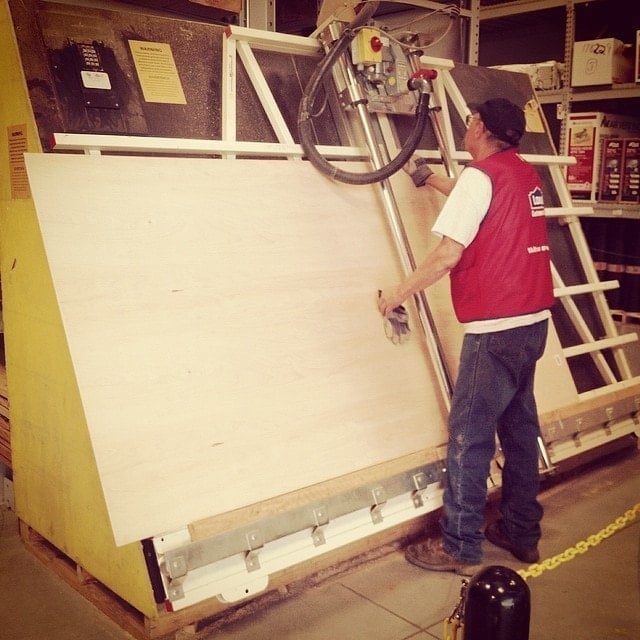
Because I would be staining the wood instead of painting, I splurged on the cabinet grade plywood ($30 for a 4×8' sheet) rather than the $15 cheap stuff. I had Lowe's cut it into three 32″ strips so I could transport it in my car…
 |
| via Instagram |
I also bought a couple whitewood 1x2x8″ pieces for the shelf supports, and a pint of wood stain.

Cut 1×2 boards to desired size
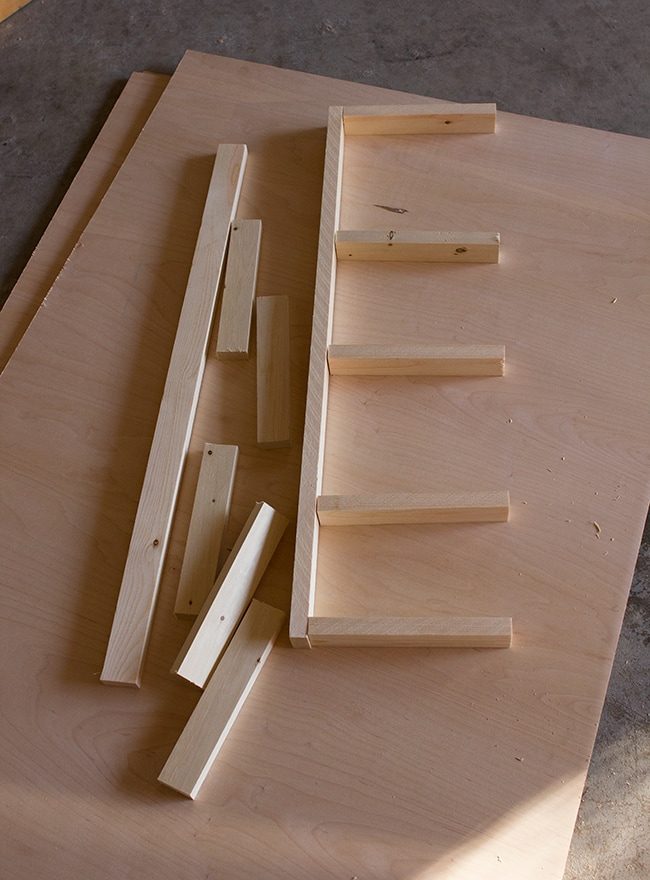
After deciding I wanted my shelves to be 30″ wide and 9″ deep, I cut the 1×2's to the appropriate size—30″ for the back piece and 8″ strips for the depth. I used four 8″ pieces for extra support since I was placing thin plywood on top instead of a thicker, more solid piece of wood.
Here is what all of the cuts look like, and how they would fit together on the right.
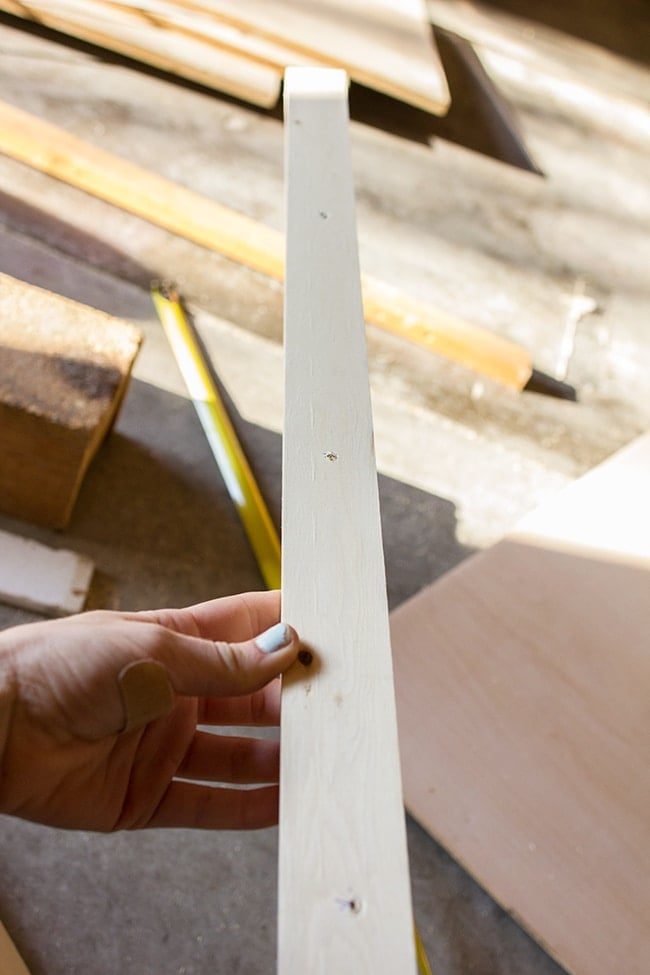
Drill pilot holes to avoid wood splitting
I spaced them out evenly, made marks then drilled pilot holes into both pieces so the wood would not split…

Attach with wood glue and screws
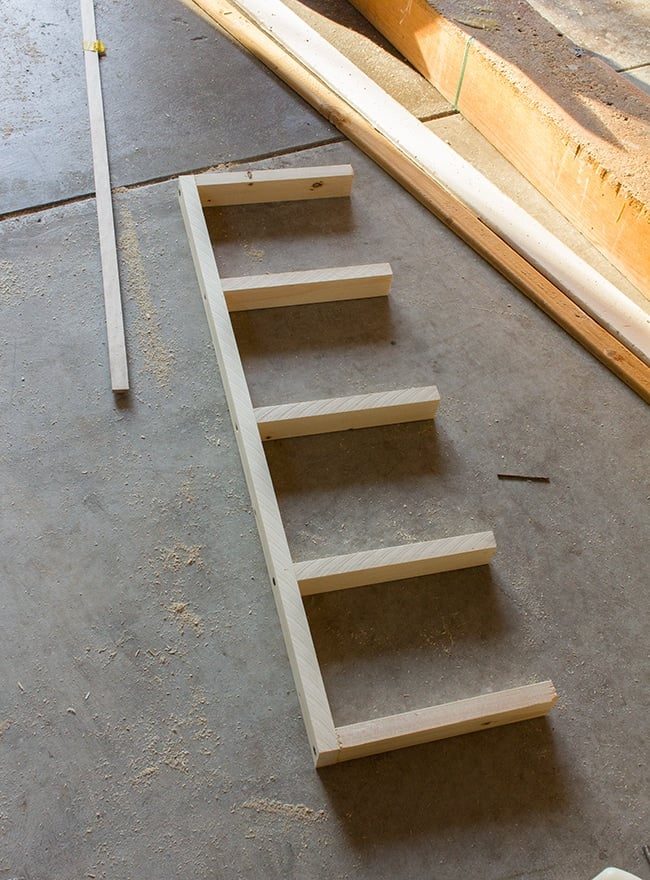
Then I dabbed some wood glue onto the ends and secured them with 3″ wood screws. These might have been stronger using pocket screws from my Kreg Jig, but I thought they were strong enough for my purposes (plus they'd be hidden).
Here is one finished support piece:
Cut plywood to desired size
Next it was time to cut my plywood pieces. The top and bottoms would be identical, as would the sides, and then there'd be one front piece which would be slightly wider to hide the right and left edges of plywood. This is how it went down:
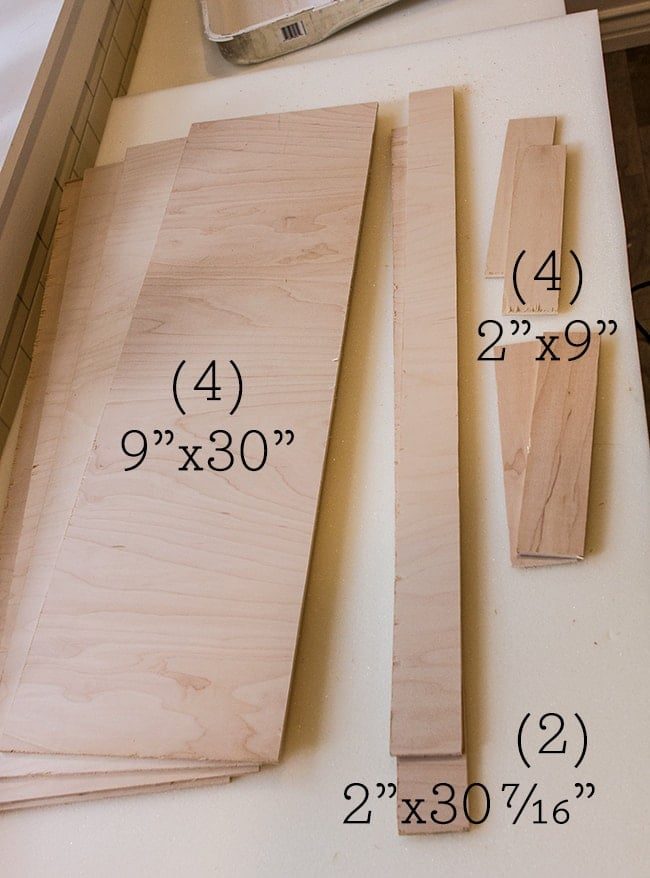
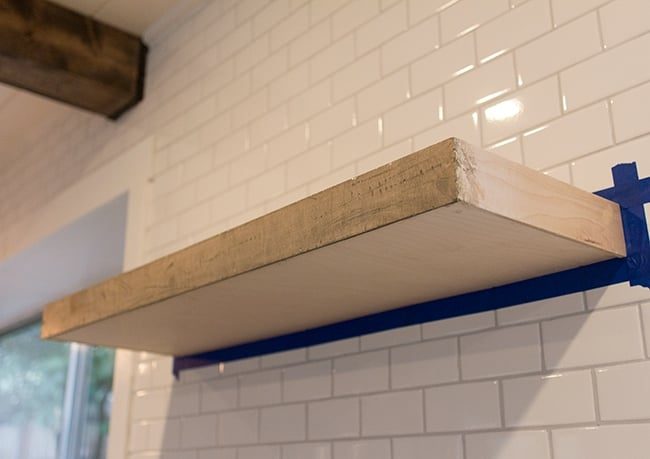
The edges splintered a bit when I ripped them down with the table saw, so I went with it and decided to make these “rustic.” Time to get these babies up!
Attach anchors into wall
We were never going to find the studs, so we needed anchors that were long enough to go through both tile and drywall. I found these at Lowe's ($3 for 2)…
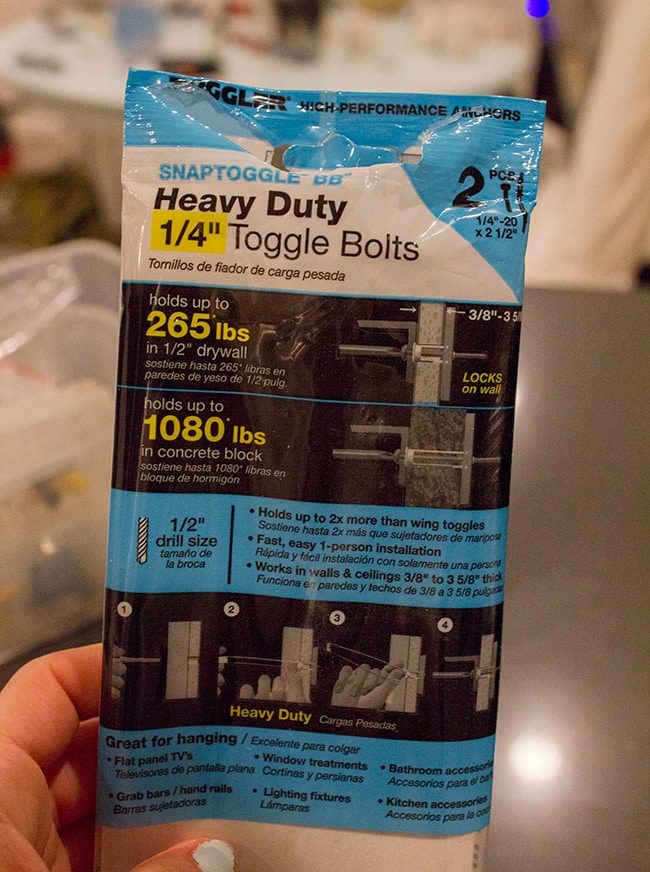
They were way overkill, but were the only ones I found that were long enough and they did not break the bank so I picked up two packages (two for each shelf). I also had to drop $11 on a special 1/2″ carbide bit made for cutting through tile.

It put up real fight. It took Brad several minutes to get through each one. These bits get real hot and smoky so I had to constantly spray water as he was drilling to cool it down.

After going through two batteries for our drill they were finally in. Then we slipped the anchors in and were good to go (actually, two of them broke off inside of the wall so I had to run back to Lowe's for more)…
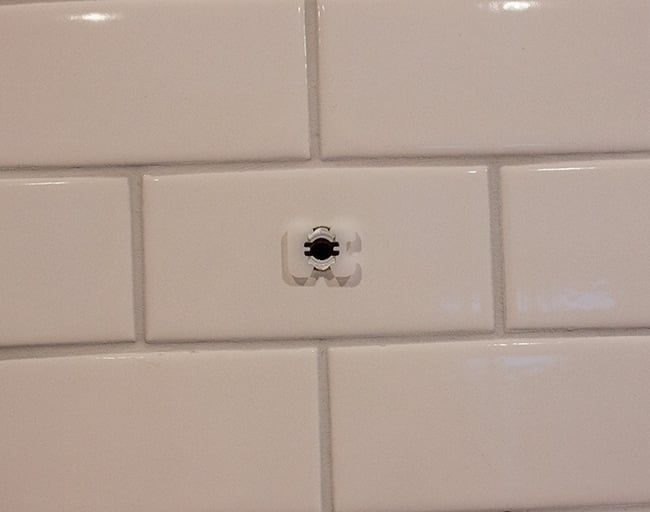
Secure support brackets to wall
Once that was done, we drilled holes into our support shelves and then secured it with the bolts that came with the anchors.
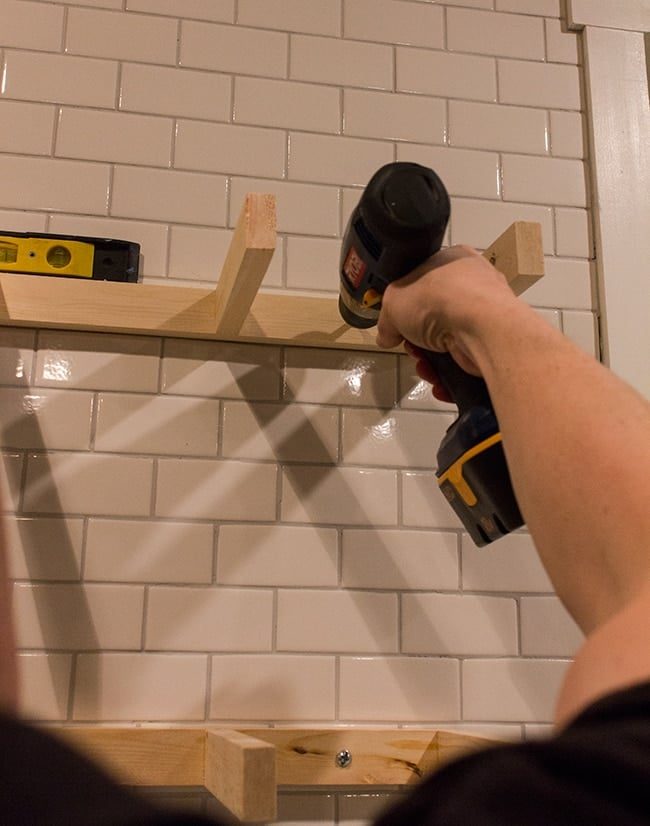
These shelves are not coming out of the wall. The wood would split in half before those bolts came out. Finally, it was time to build our shelves!
Attach plywood to support brackets
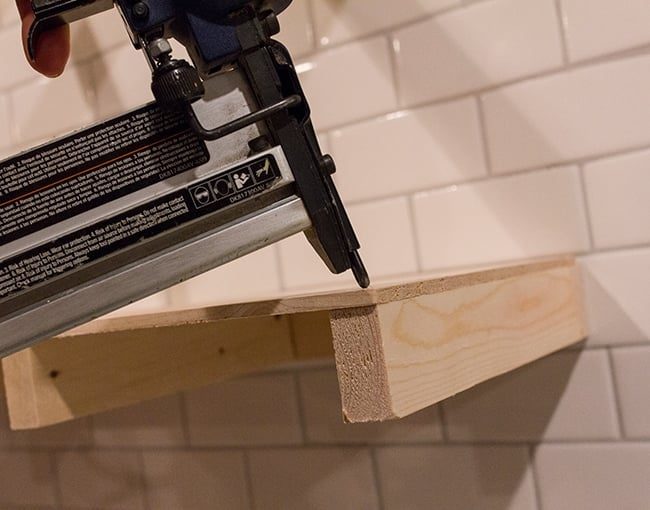
I attached the top & bottom pieces with 1″ brad nails…
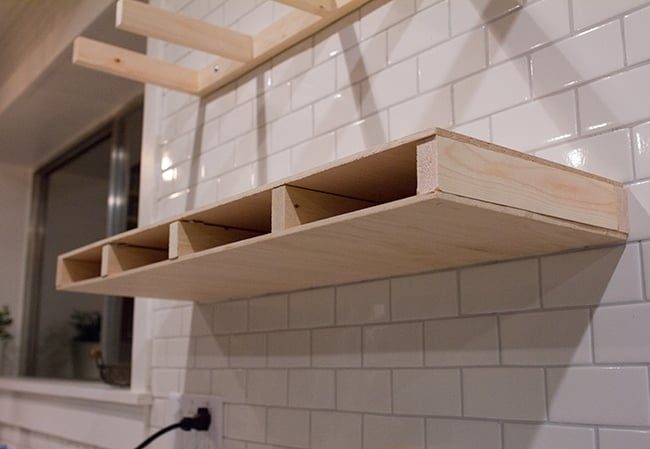
Now, I am no Ana White—wood work is not my forte. My measurements did not end up perfectly and I was a little bummed. But then I remembered that in the world of rustic/farmhouse style, imperfections = character. And I remembered why I chose this style (or did it choose me because so many of my creations have been imperfect and I had no choice but to embrace it?) Either way… rustic for life.
Use wood filler on gaps/nail holes
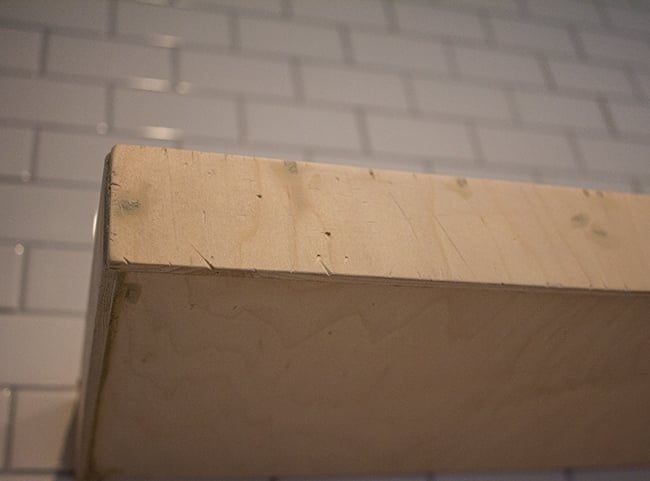
I used wood filler to help conceal the most obvious seams and gaps.
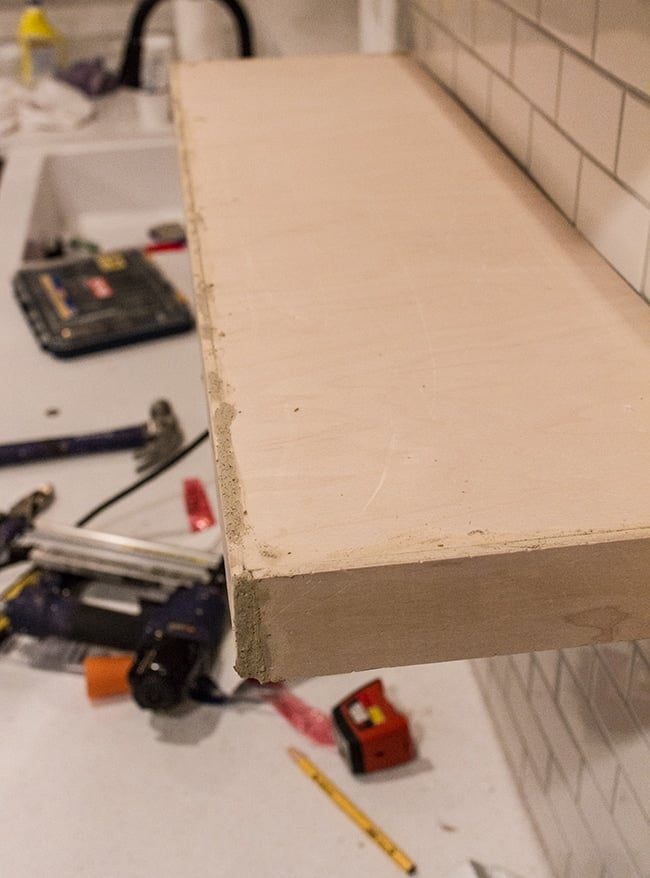
But I also just went for it and banged it up a few times with sharp tools.
Apply stain
I wanted the color to be a neutral mix of gray-brown to tie into our wood floors, so I grabbed all three stains I had—Rustoleum in Driftwood, and Minwax in Dark Walnut and Ebony.
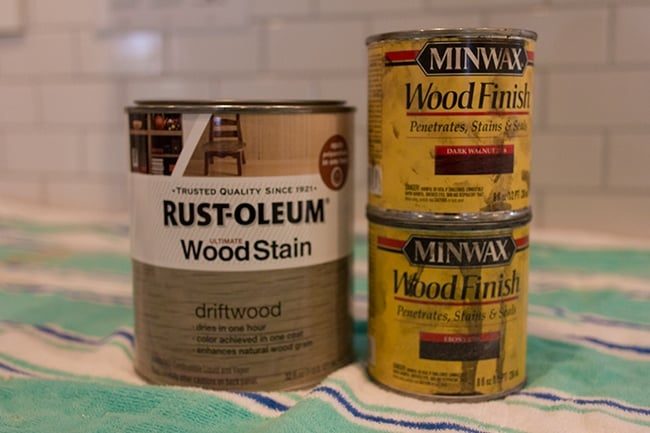
I played around with the mixture until I found a combination I liked…
Staining is always my favorite part. I could do it all day.
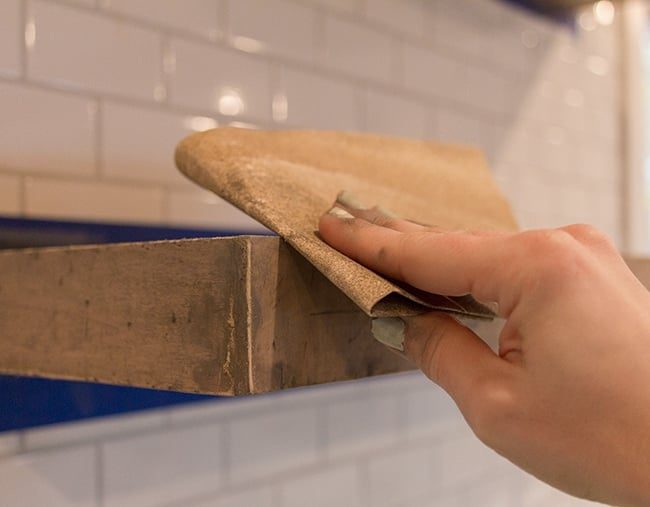
Once it was colored to my liking, I sanded down the edges to give it that extra distressed touch.
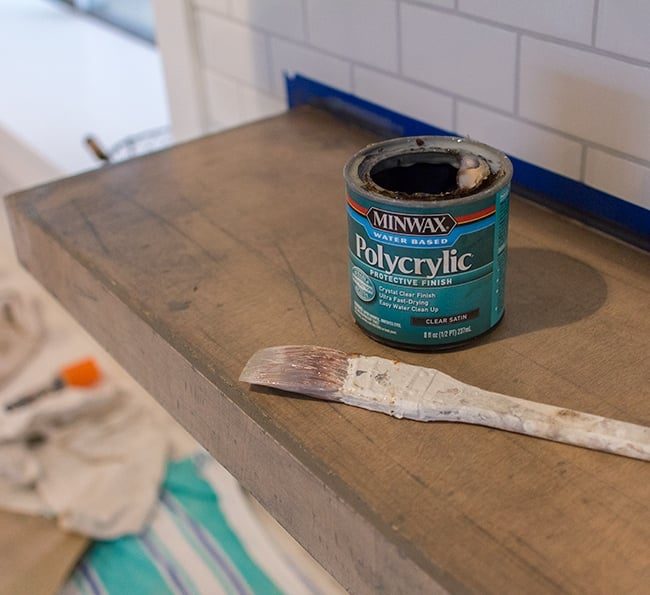
And finally, I sealed it with a few coats of Polycrylic I had leftover…
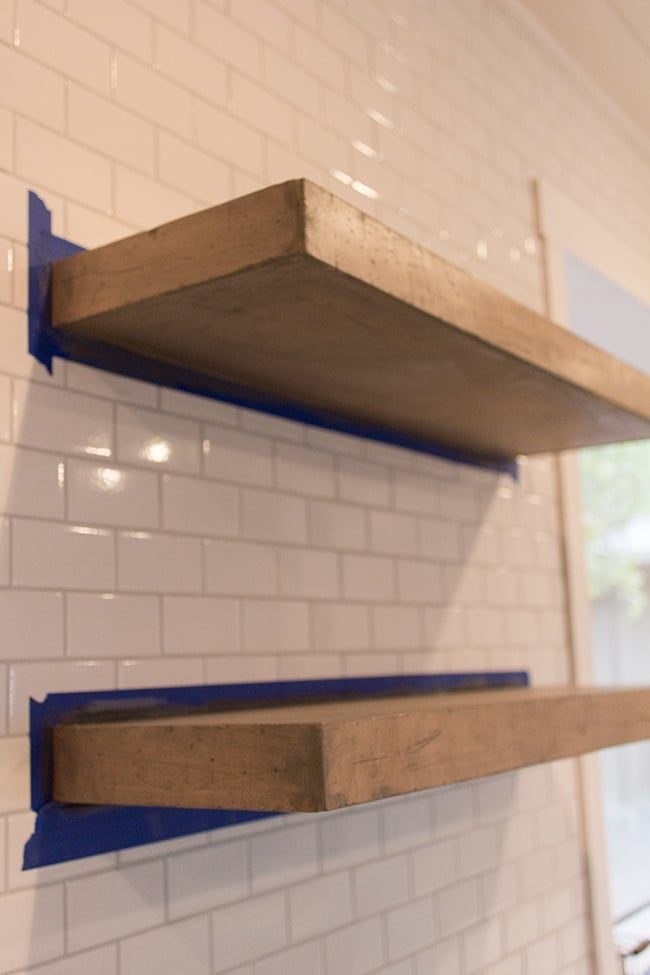
And now I have these beauties:
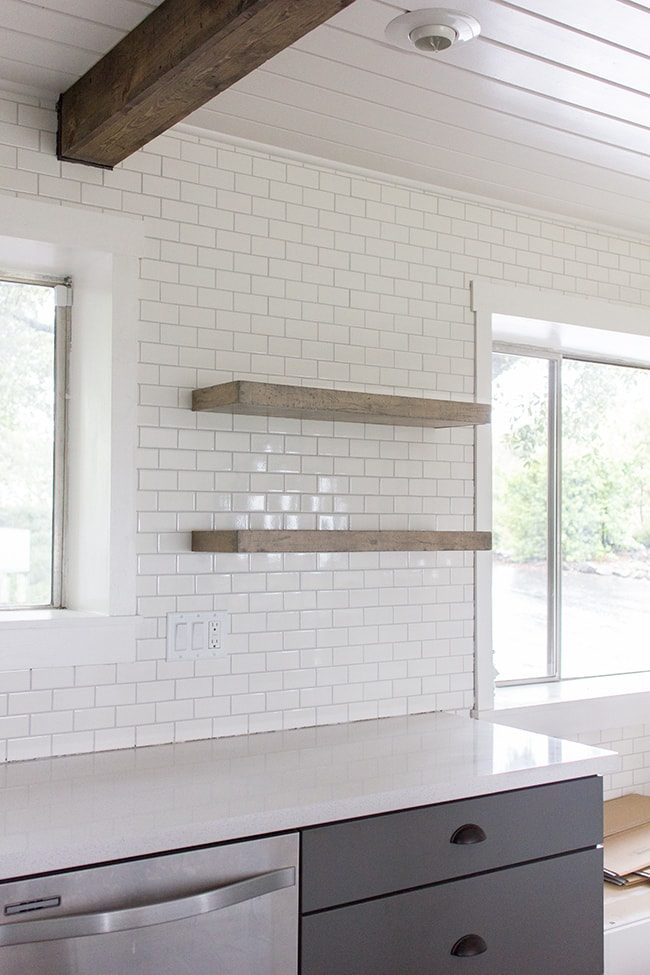
Sometimes I'll walk in the kitchen and just stare. I heart them.
The second the polycrylic dried, I ran to storage and pulled out some of my favorite things to display. I have got to save something for the official “After” photos, but here is a sneak peak I shared on instagram because I just could not wait…
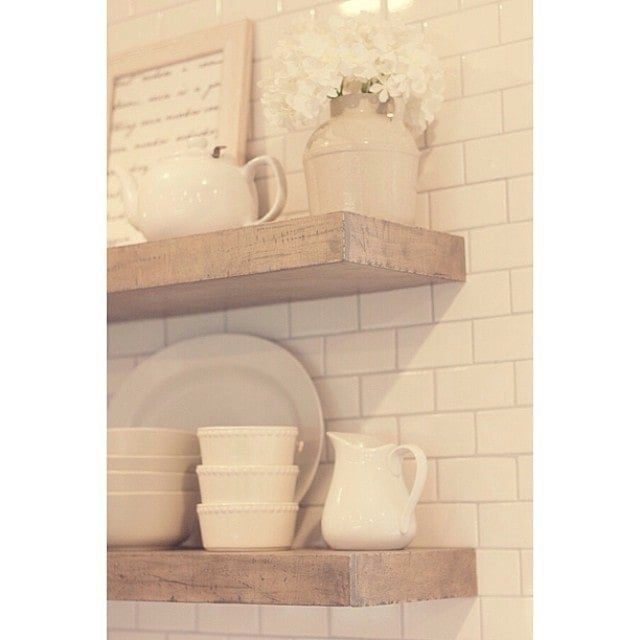
Tomorrow morning we are road tripping to Sonoma for a weekend of wine tasting, but there is some major changes happening in the living room. I'll be back Monday to share!