How to Build Box Beams
How to build box beams: a unfussy technique used by the pros with memorable results. Follow this tutorial to make your own ceiling beams!
If you are looking for a straightforward technique to build custom faux wood beams (without nails or screws!) here is a great tutorial to follow. This method is used by professionals, and results in realistic-looking solid wood ceiling beams!
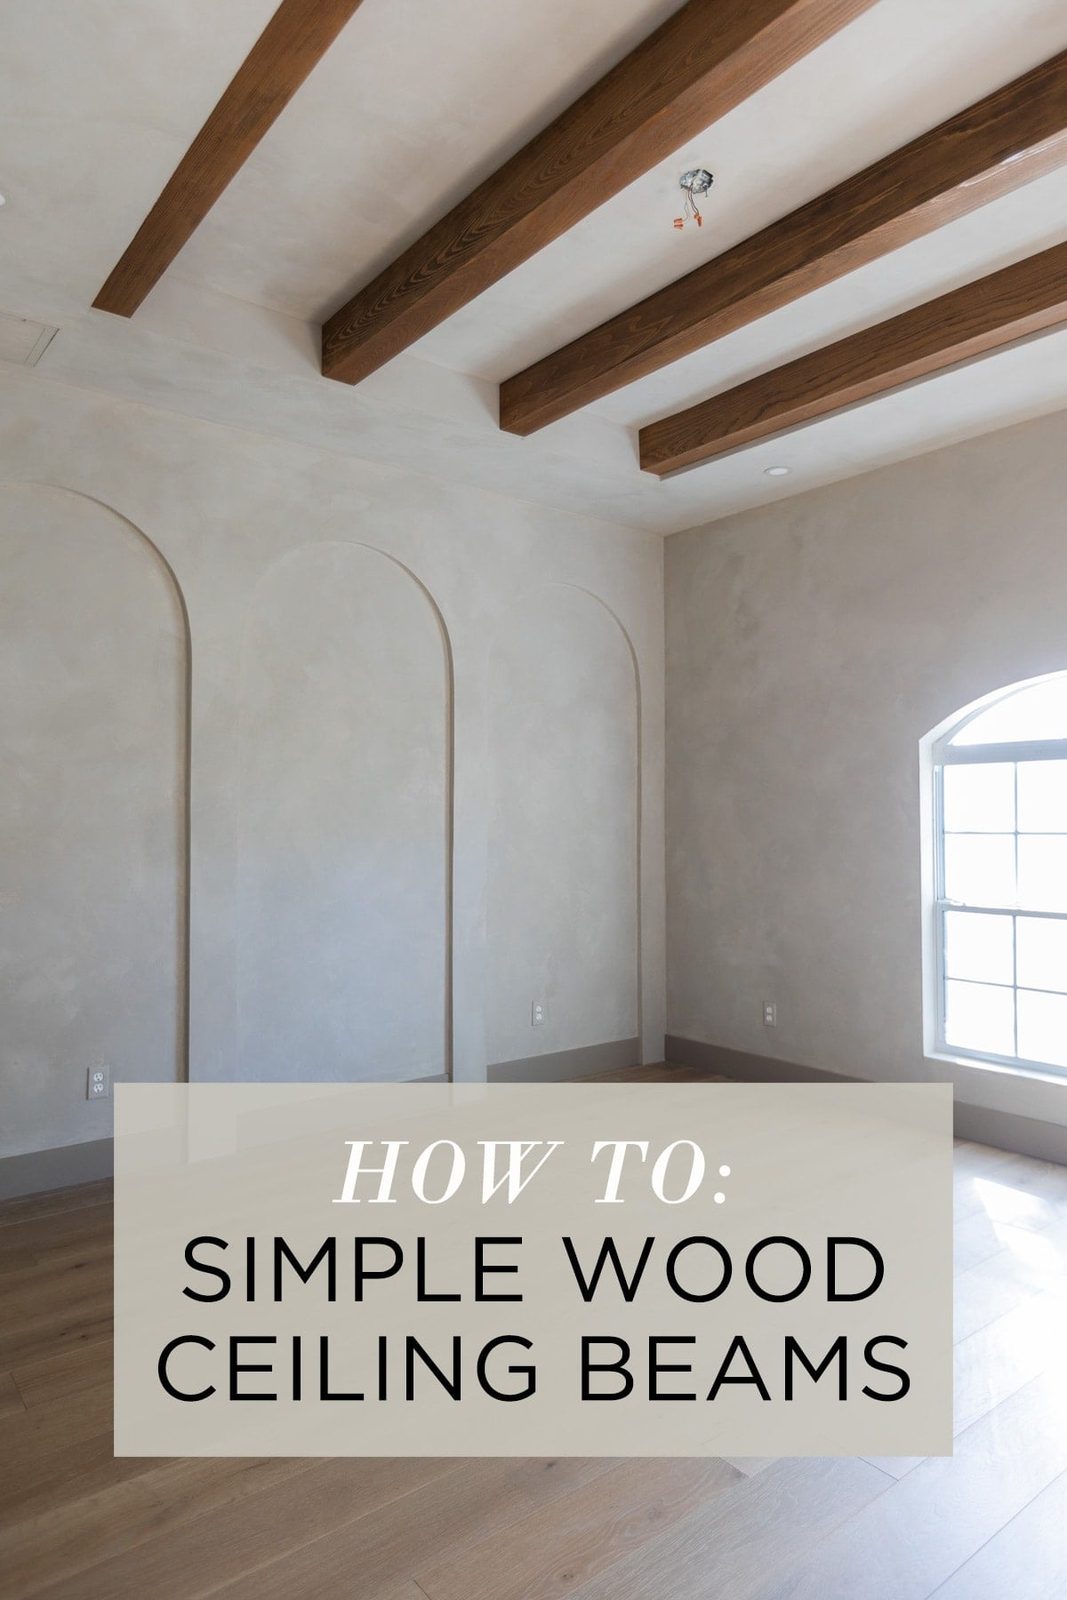
I have shared a few different beam tutorials on this blog—frombeginner DIY beams to pre-made faux beams, to a vaulted ceiling beamsmade with laminate boards. This method is easily our new favorite, with a unfussy approach that consistently yields well composed results (without the guesswork/headaches!)
How to build box beams

Materials to build box beams:
- 2x4x8' boards (we used 4 total, one per beam)
- 1×8 and 1×6 boards (or any size you'd like)
- Reinforced tape
- Wood glue
- Wood stain
- 3″ wood screws
Tools needed:
- Miter saw
- Table saw (optional)
- Nail gun
- Electric Sander
- Drill
- Stud finder
- Laser level(optional)
Choosing wood for your ceiling beams
You can use any wood species for this, as long as the boards are straight and level. Inexpensive common boards found at the hardware store are often bowed or warp over time, so we spent a little more on Select Cypress wood from a local lumber mill.
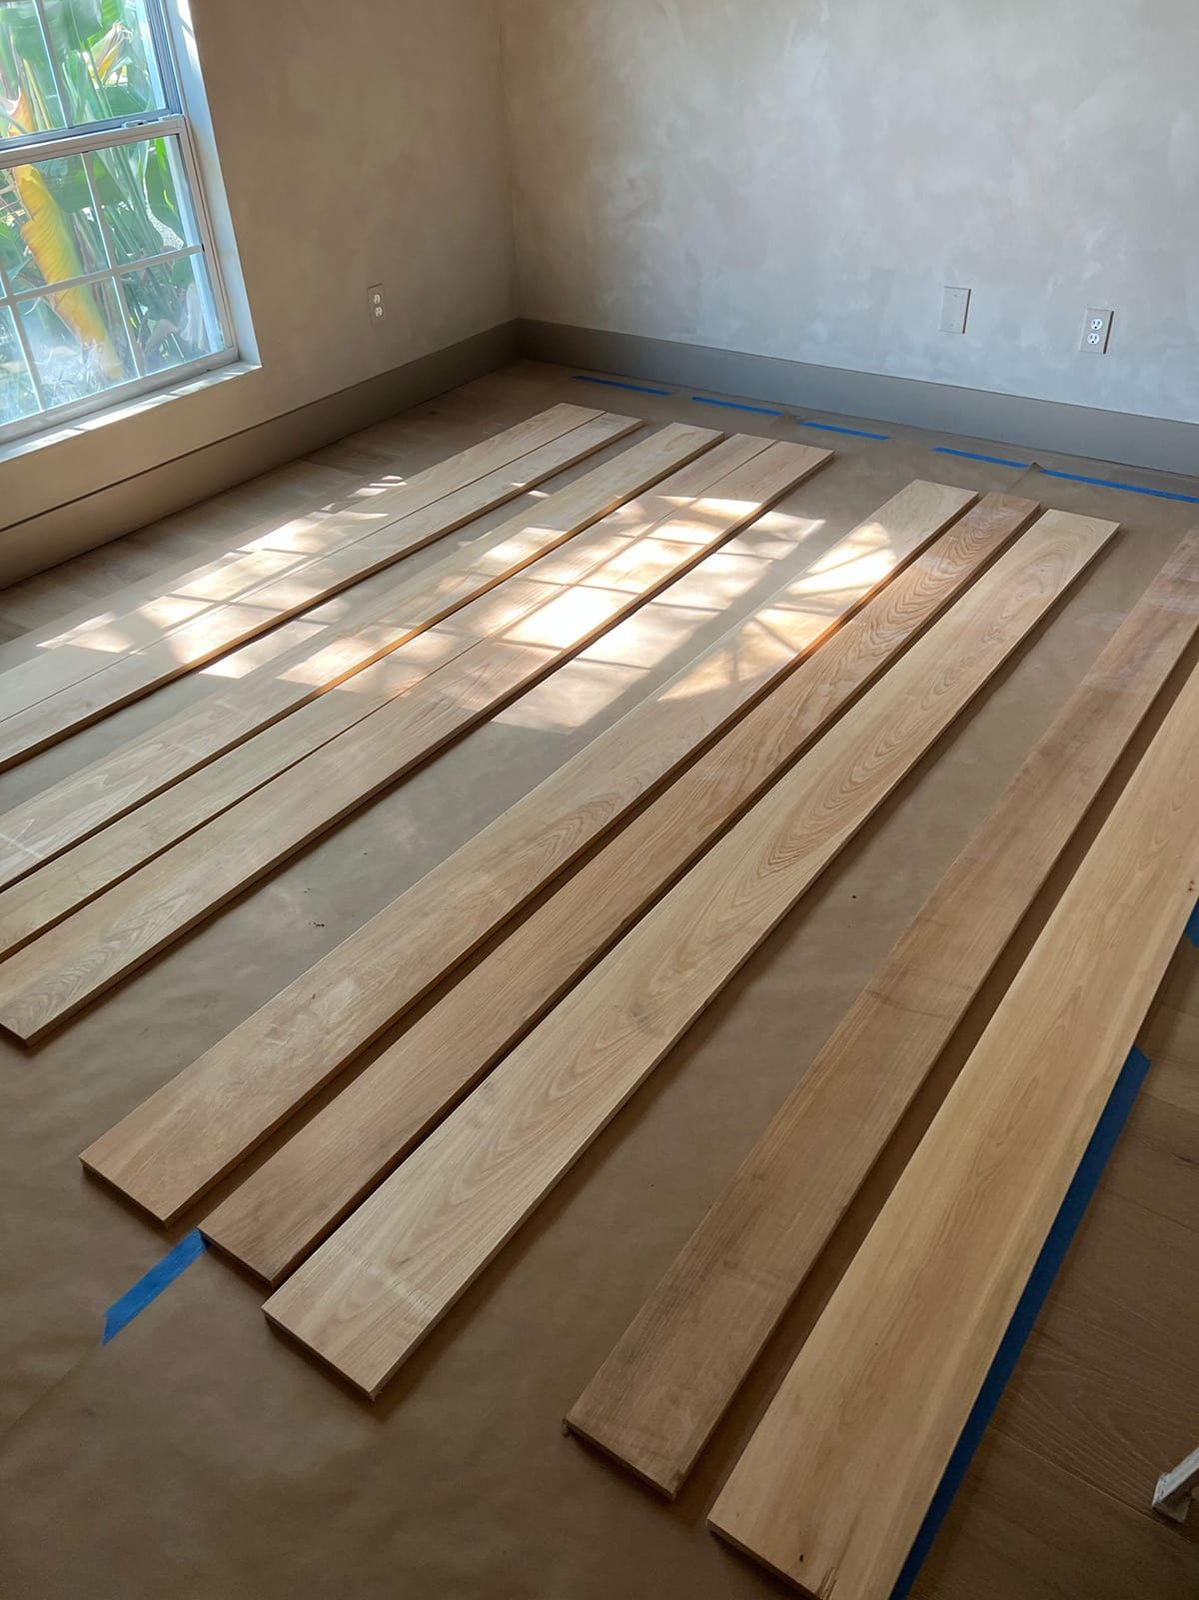
It is also important to keep your desired look in mind. If you want something more rustic, look for boards with grain texture and variation. If you have a specific stain color in mind, go for a lighter wood and avoid species with orange/red tones as those are difficult to conceal.
Step 1: Locate and mark the ceiling joists
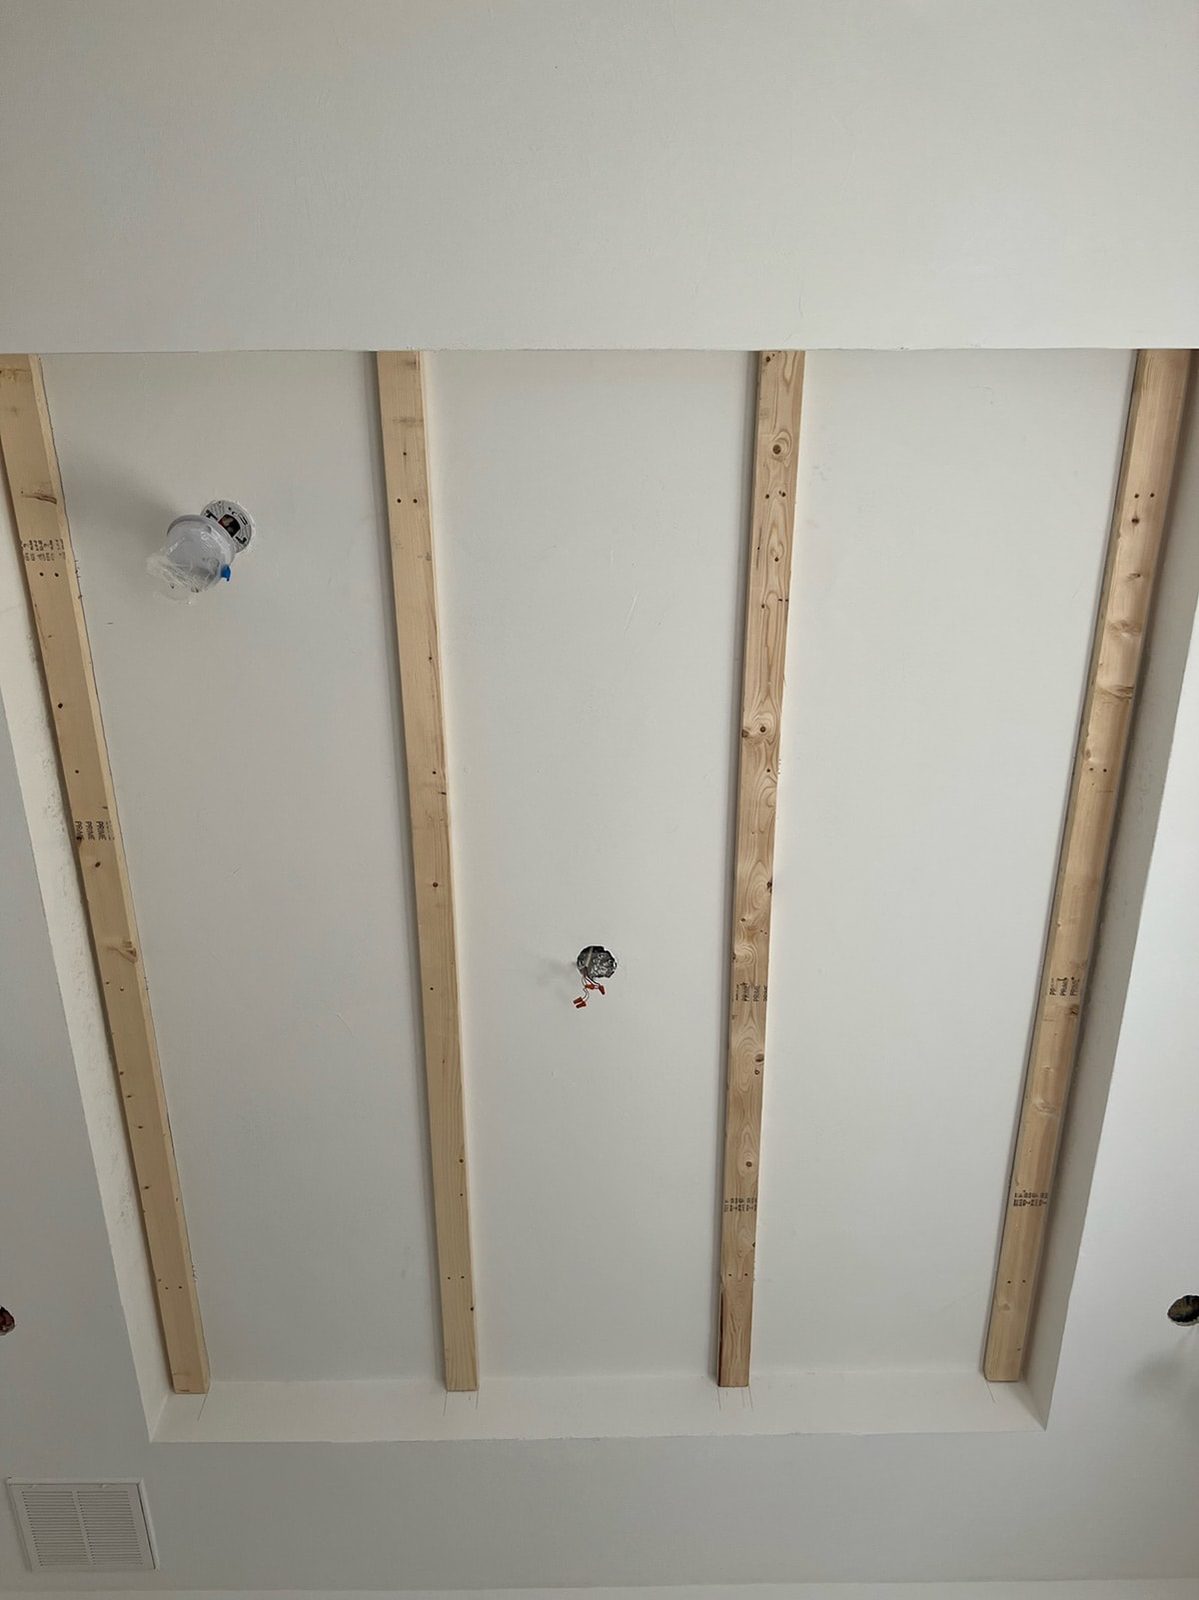
Measure the ceiling area and divide it by the number of beams you want. We decided on four beams, spaced ~25″ apart. After determining the beam locations, we used a laser level to mark each line.

Step 2: Attach 2×4's to ceiling
Our ceiling joists ran parallel to our beams, so we were able to attach the 2×4's to them using wood screws. If your beams run parallel, you can attach the 2×4's into drywall using screws driven it at opposite angles, or use heavy duty drywall anchors/toggle bolts.
Step 3: Cut and miter box beam boards
Cut each board to length and rip the width down if needed. It is important to measure each beam separately, as the walls/ceiling may not be square all the way across the room. Cut them slightly shorter (~1/8”) to make installation easier.
Mitering the edges is optional, but it will make the beam look like one solid piece (this is the way the pros do it!) Definitely worth the extra step if you have a table saw. The opening of the beam will need to match the width of the 2×4 (3.5″).

Miter both edges of the bottom board at opposing 45º angles, and miter the bottom of both vertical sides to match, so the pieces will form a U shape. Our final beam width + height ended up at 5″ and 7″.

Step 4: Assemble box beams
This is the fun part! Line up all three boards in the position they will be assembled in, miter side down.
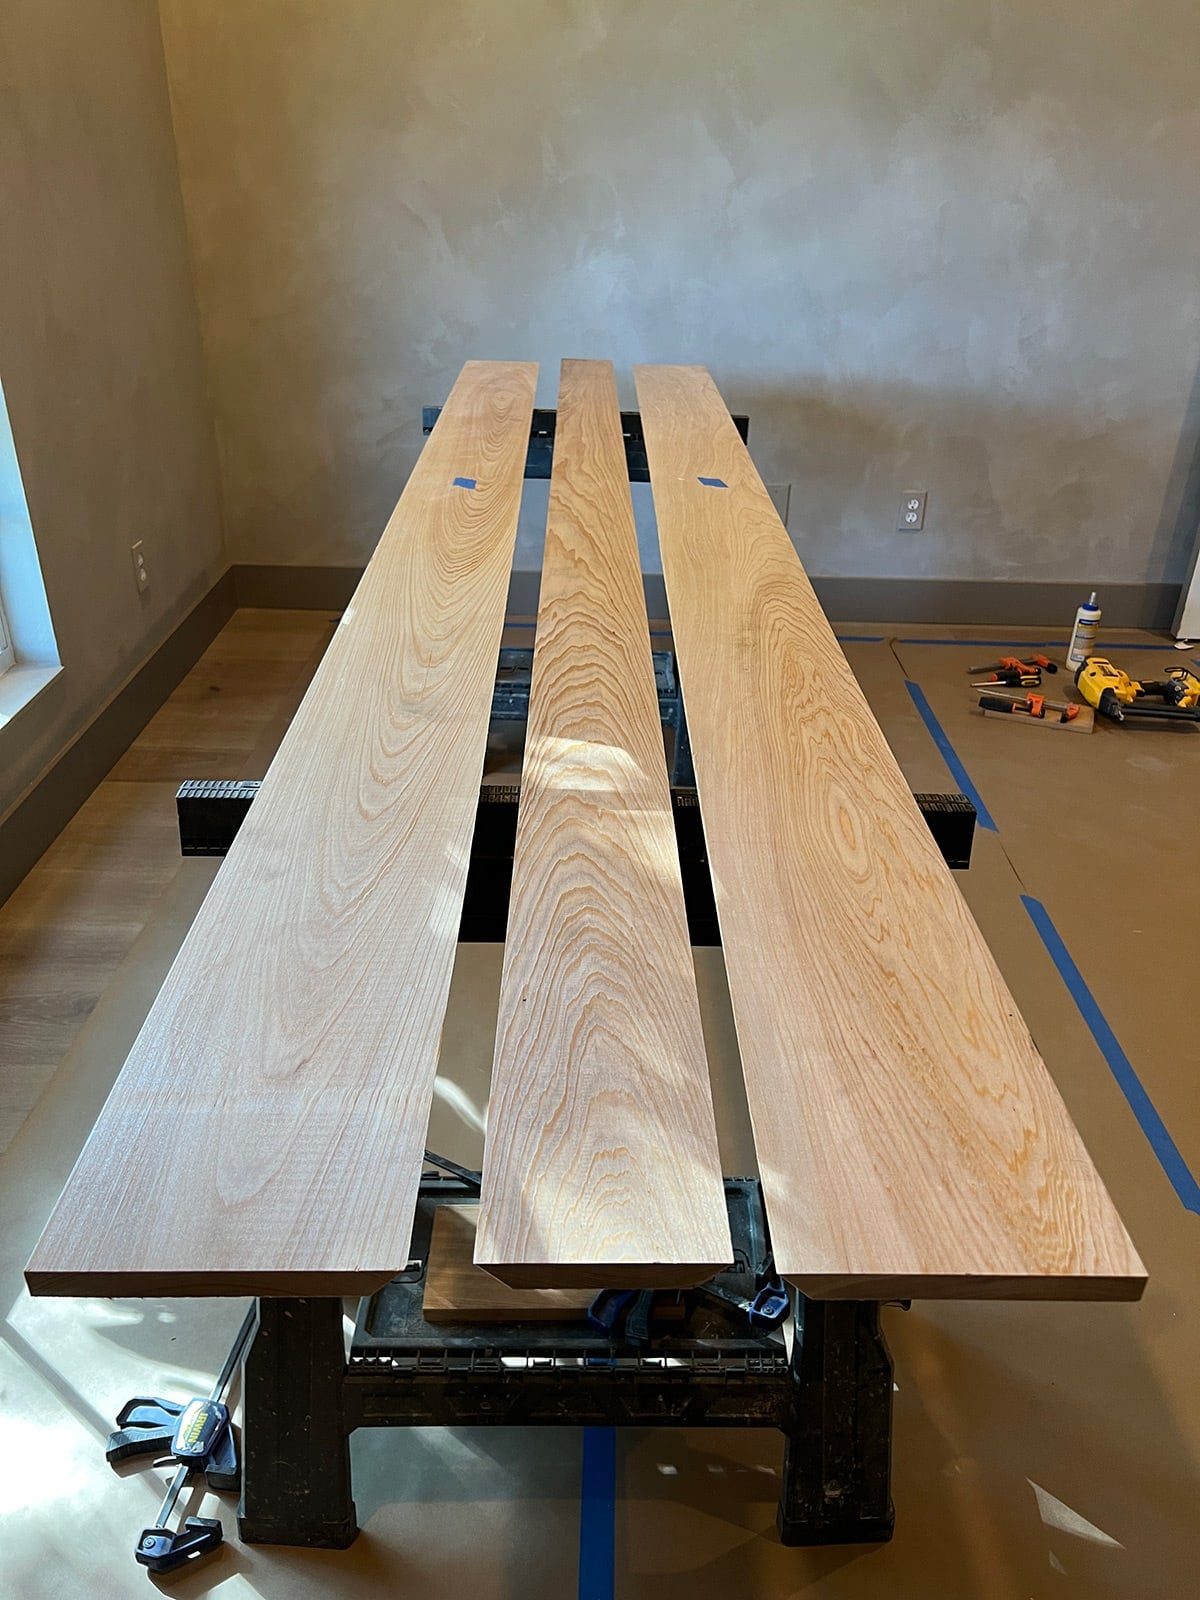
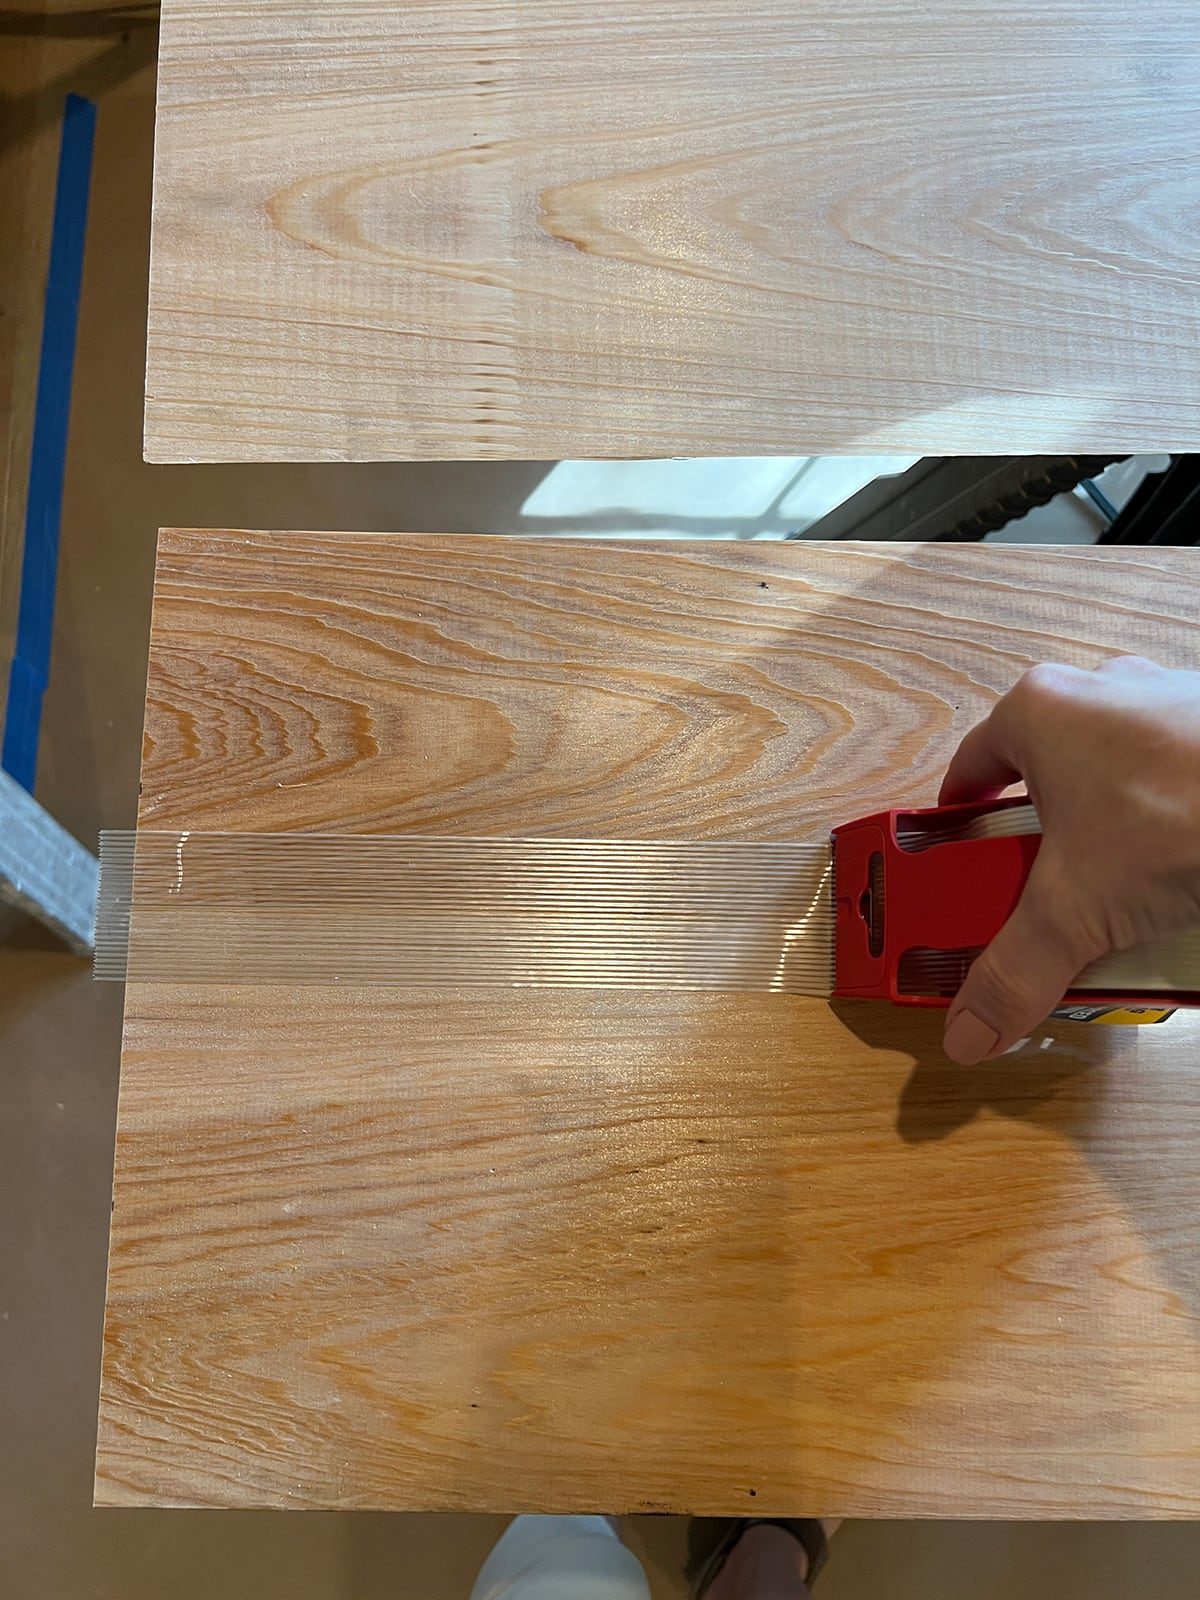
Next, push the boards together and apply reinforced packing tape along each seam.

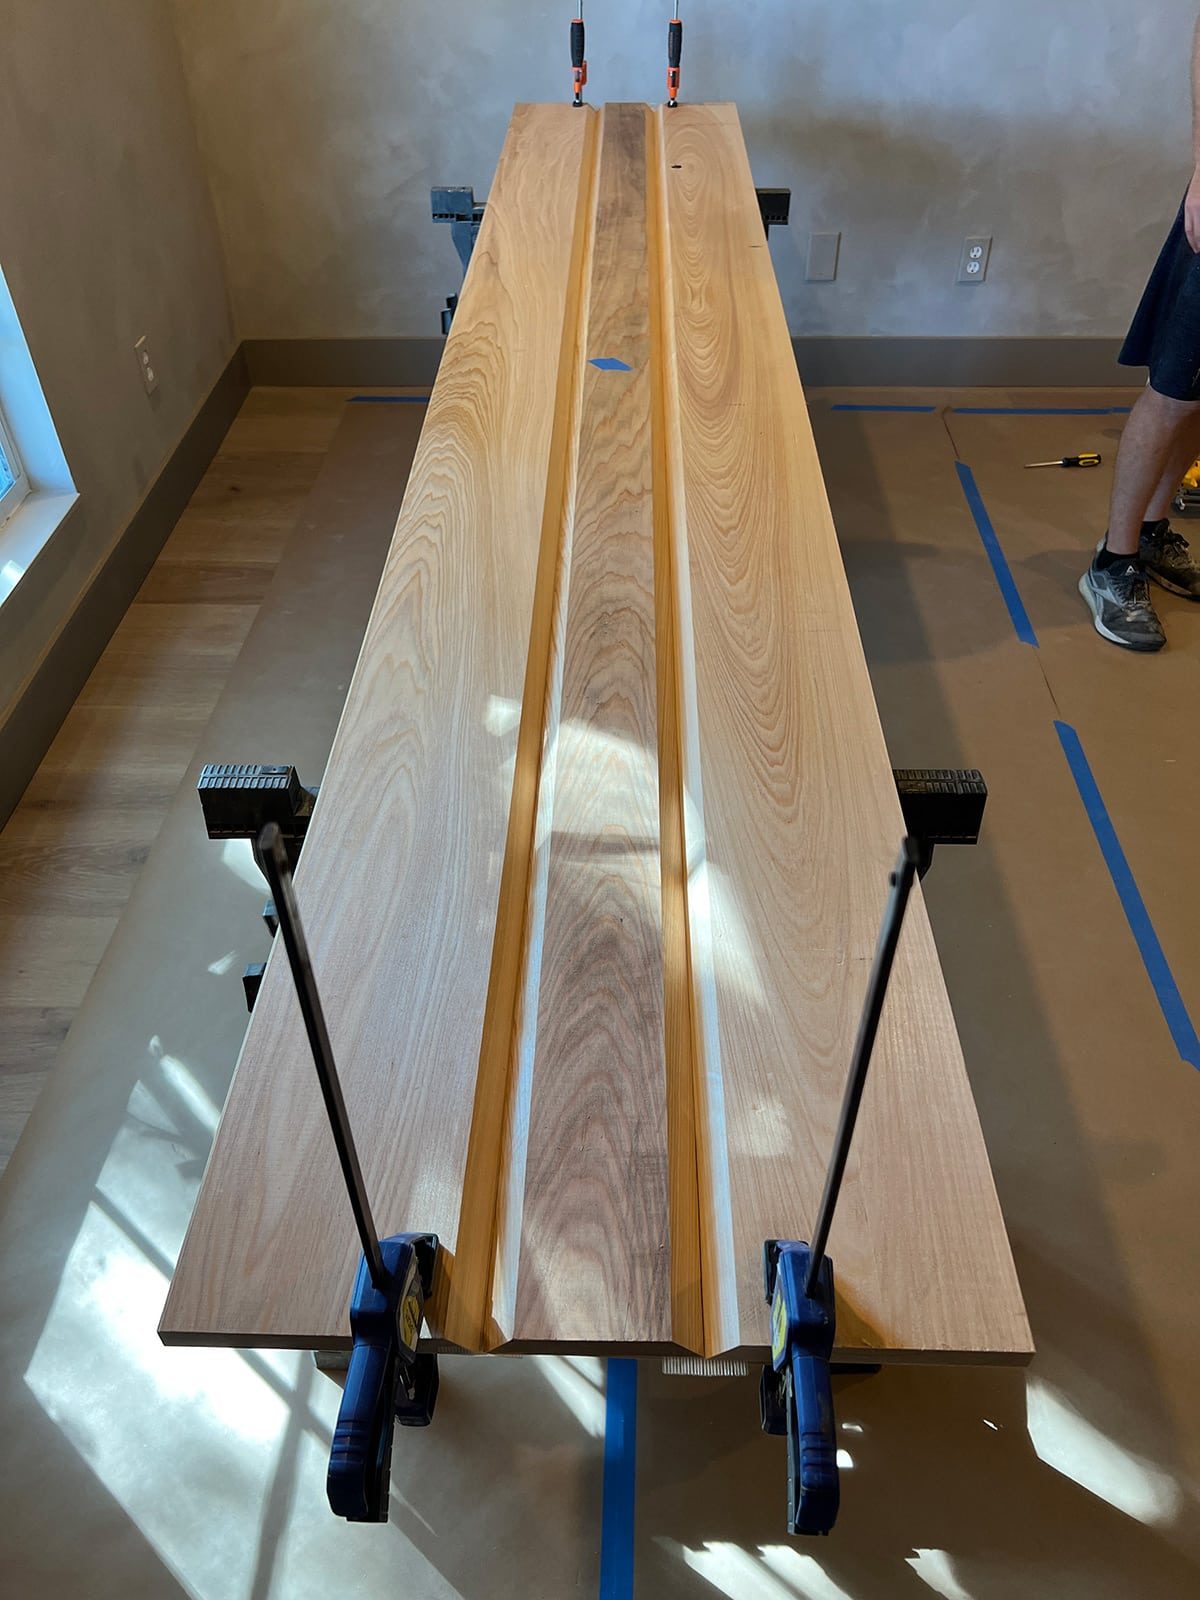
Carefully flip the boards face up (we used scrap boards and clamps to hold them together while flipping).
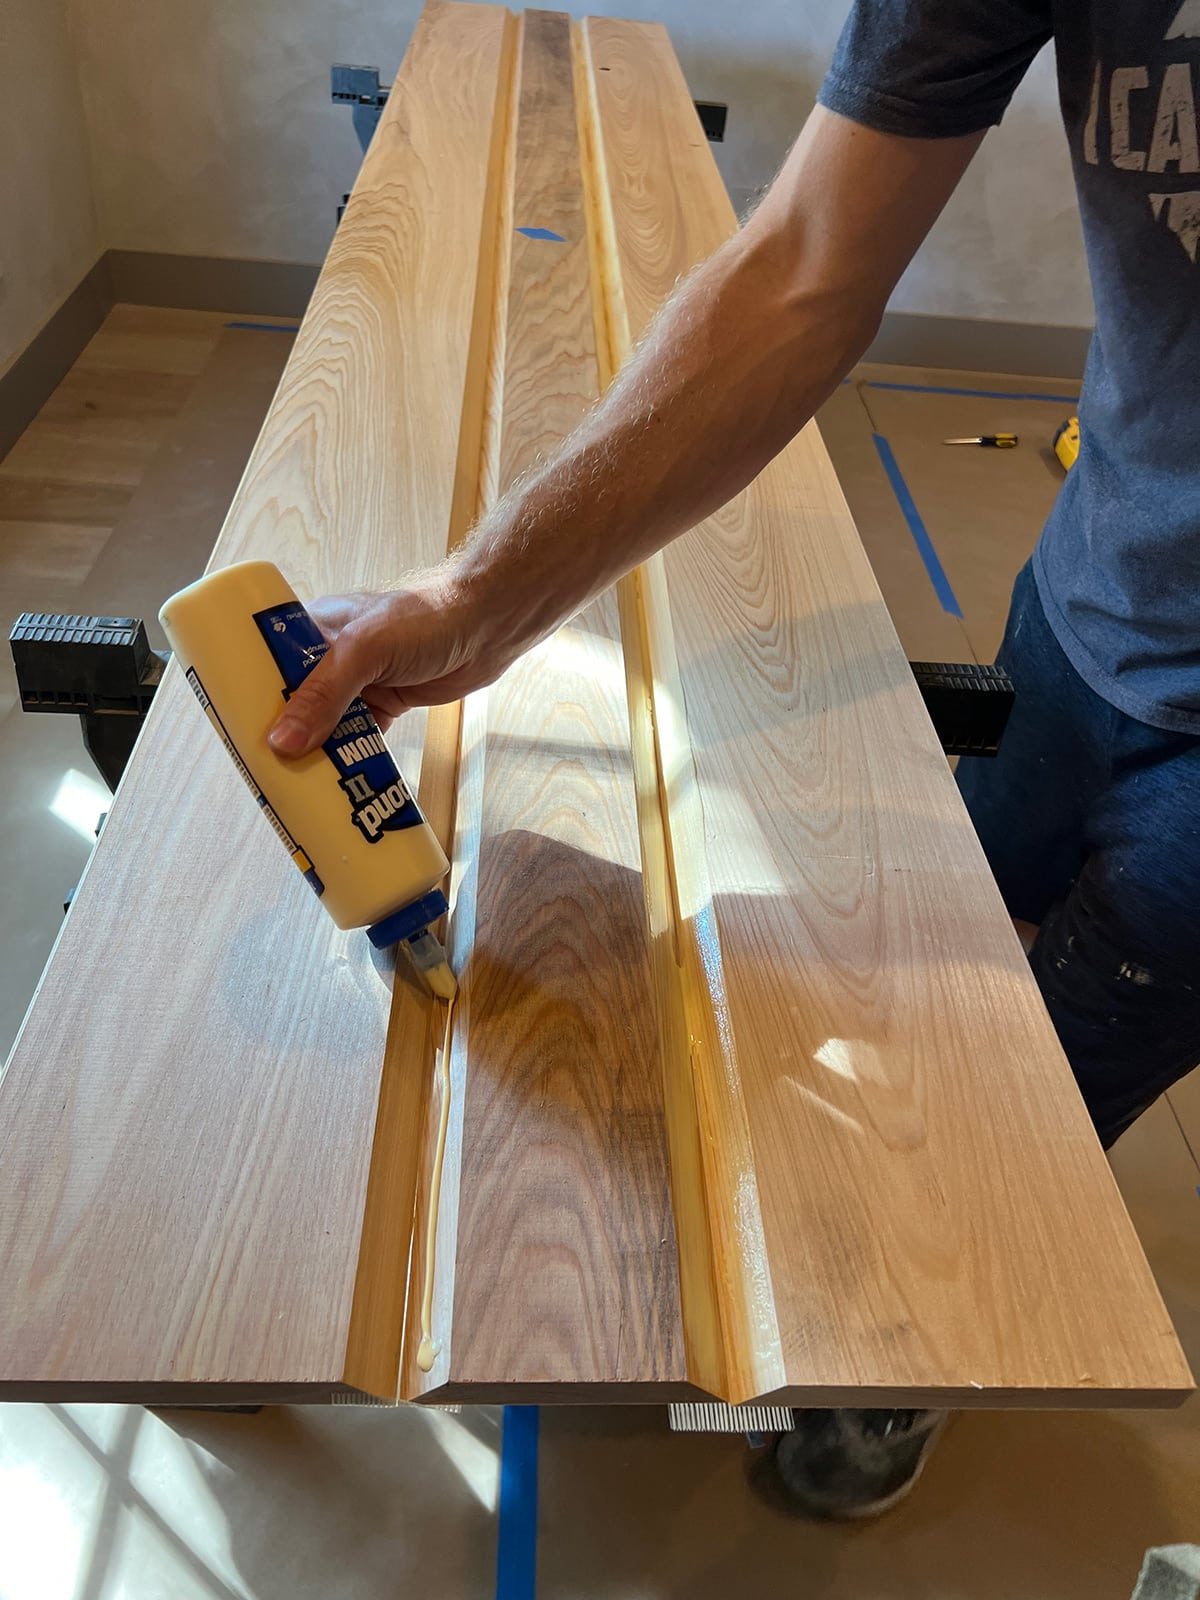
Apply wood glue along all four inside mitered edges. I used a foam brush to spread it out.

Place temporary 2×4' blocks along the center of the beam, and fold each side in. These blocks will ensure the beam stays square and will fit perfectly around the ceiling 2×4.
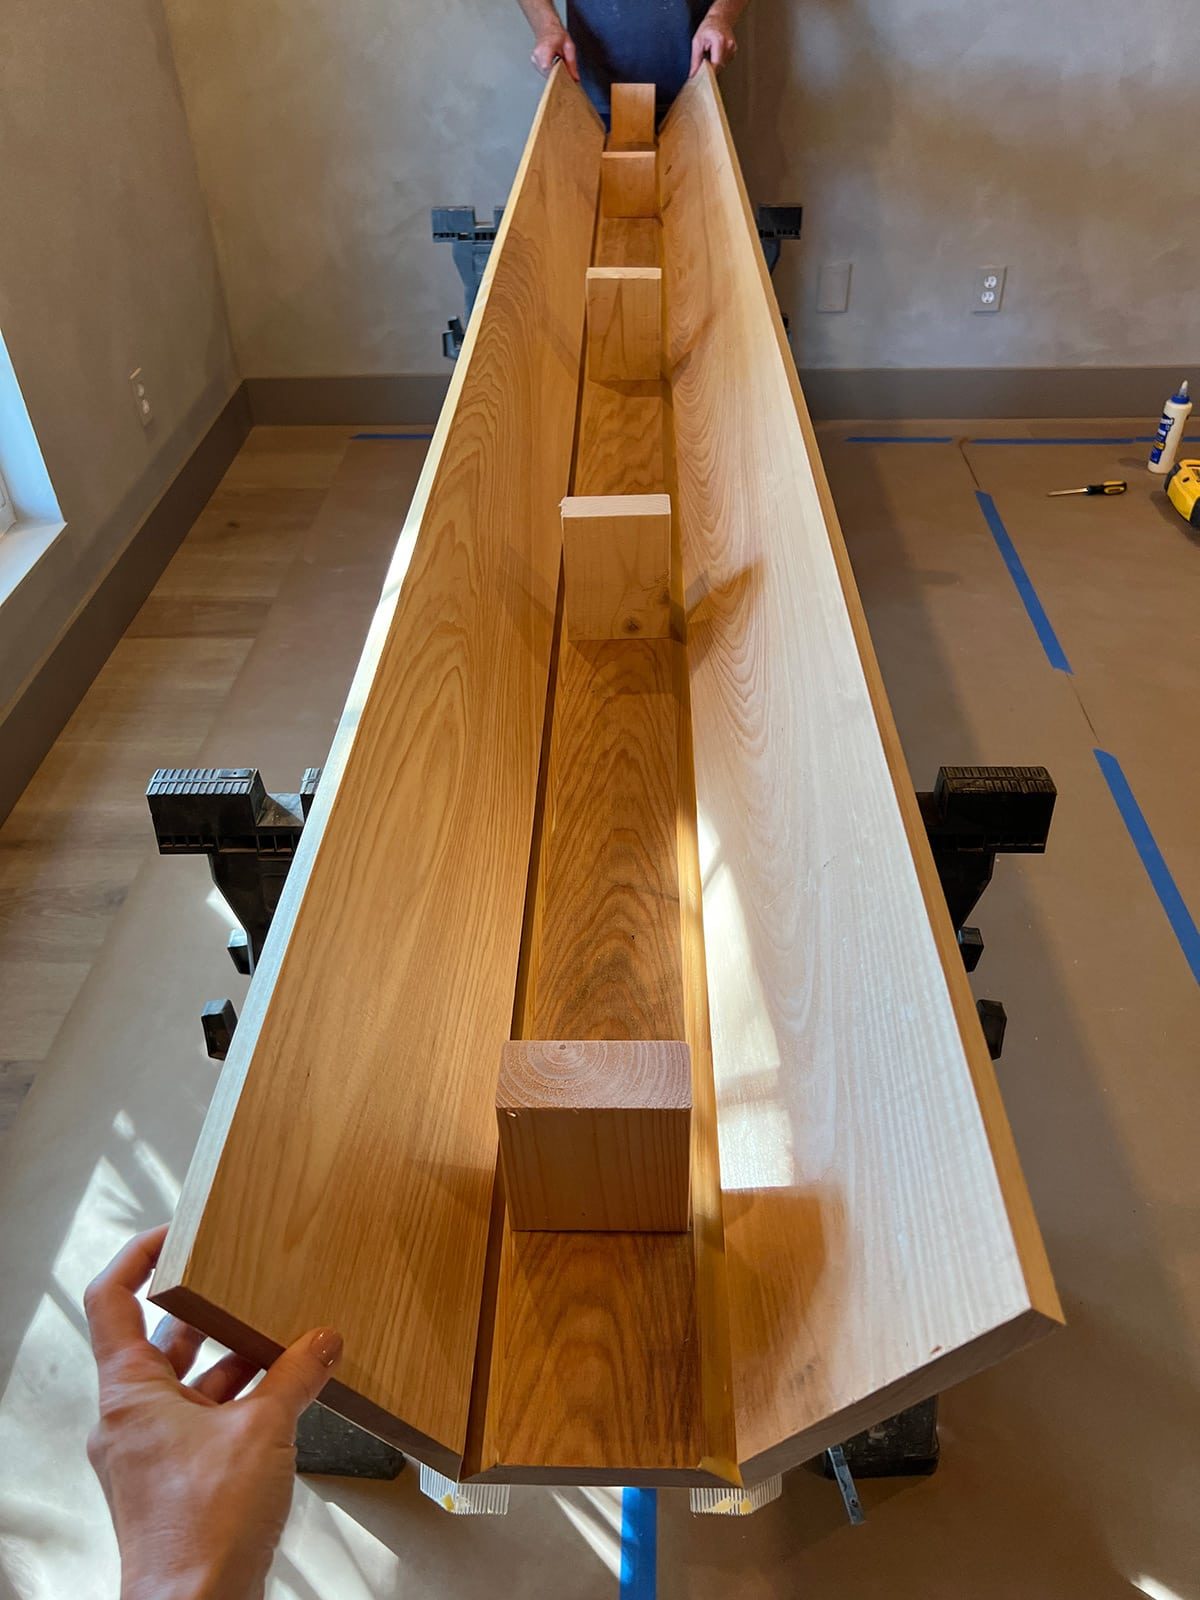
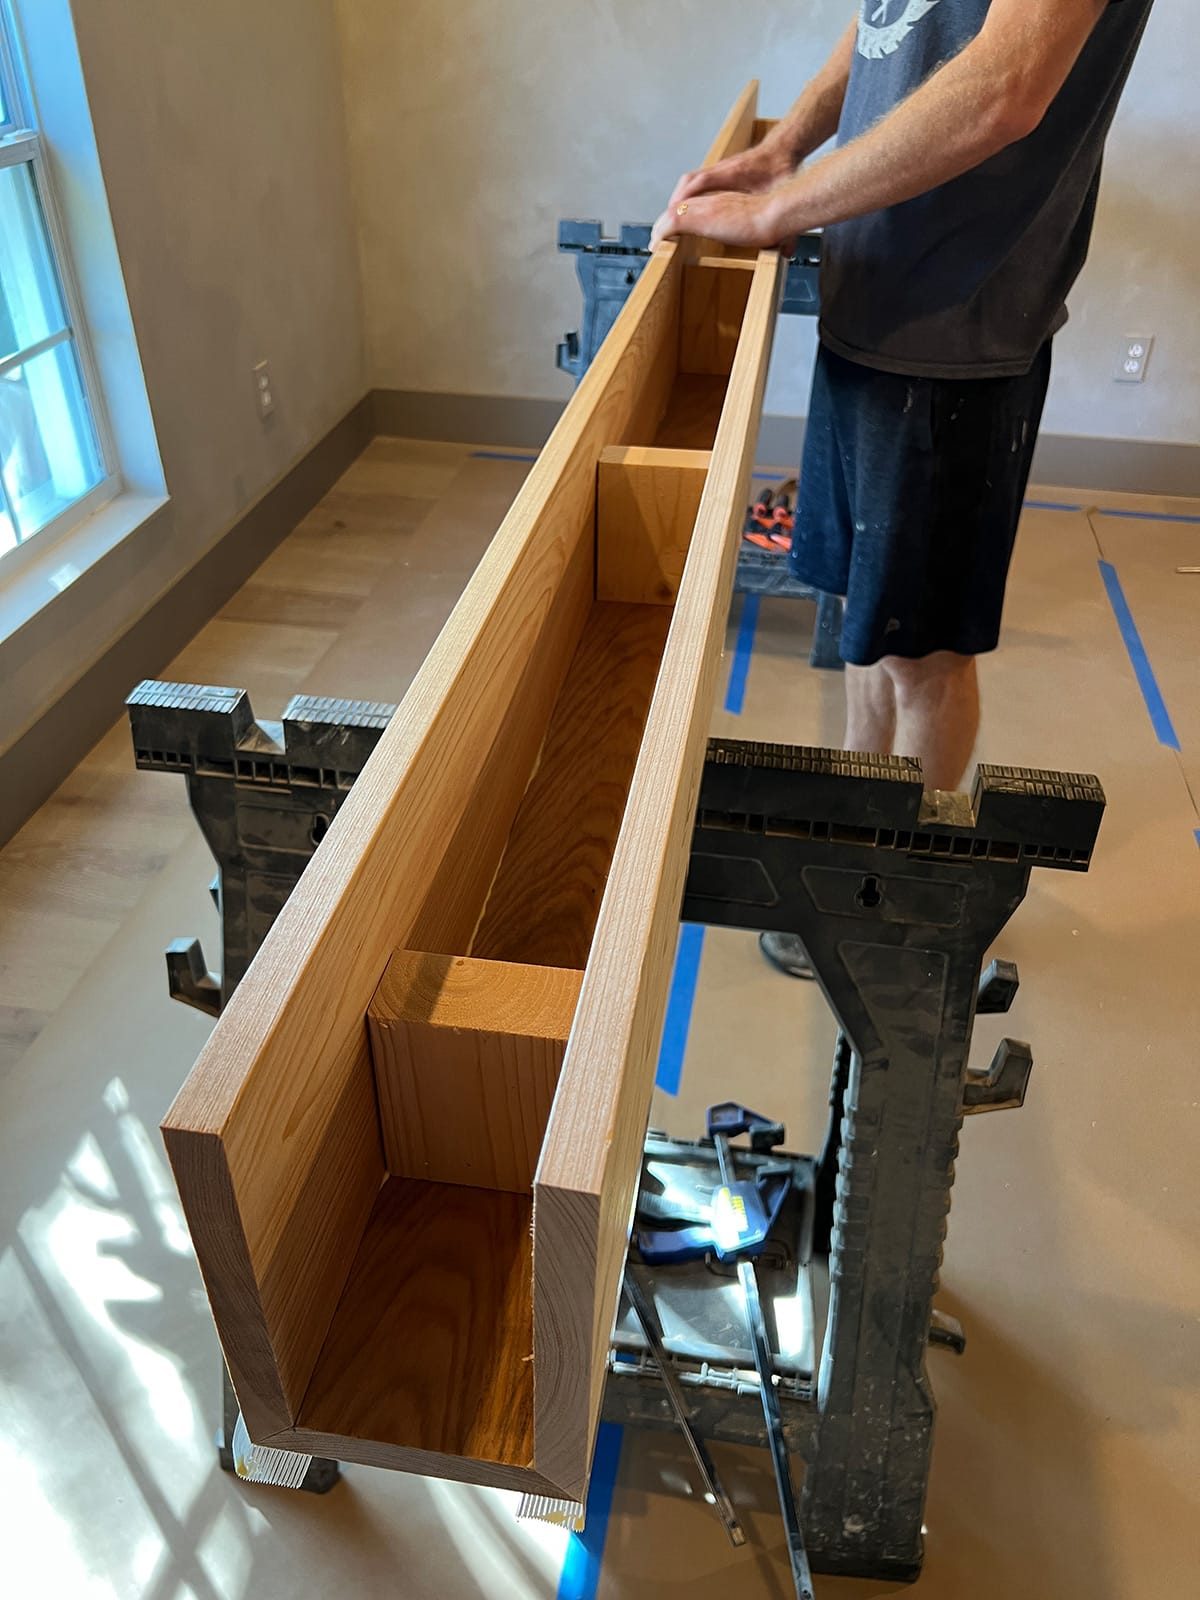
Finally, tape the sides of the beam together (you can also use clamps, but tape is easier!) This will hold everything in place while the glue dries. The glue will solidly bond the wood together—no nails or screws needed!


The final step is to run the edge of a screwdriver along the taped edges. This will close any small gaps and seal the corners together nicely.
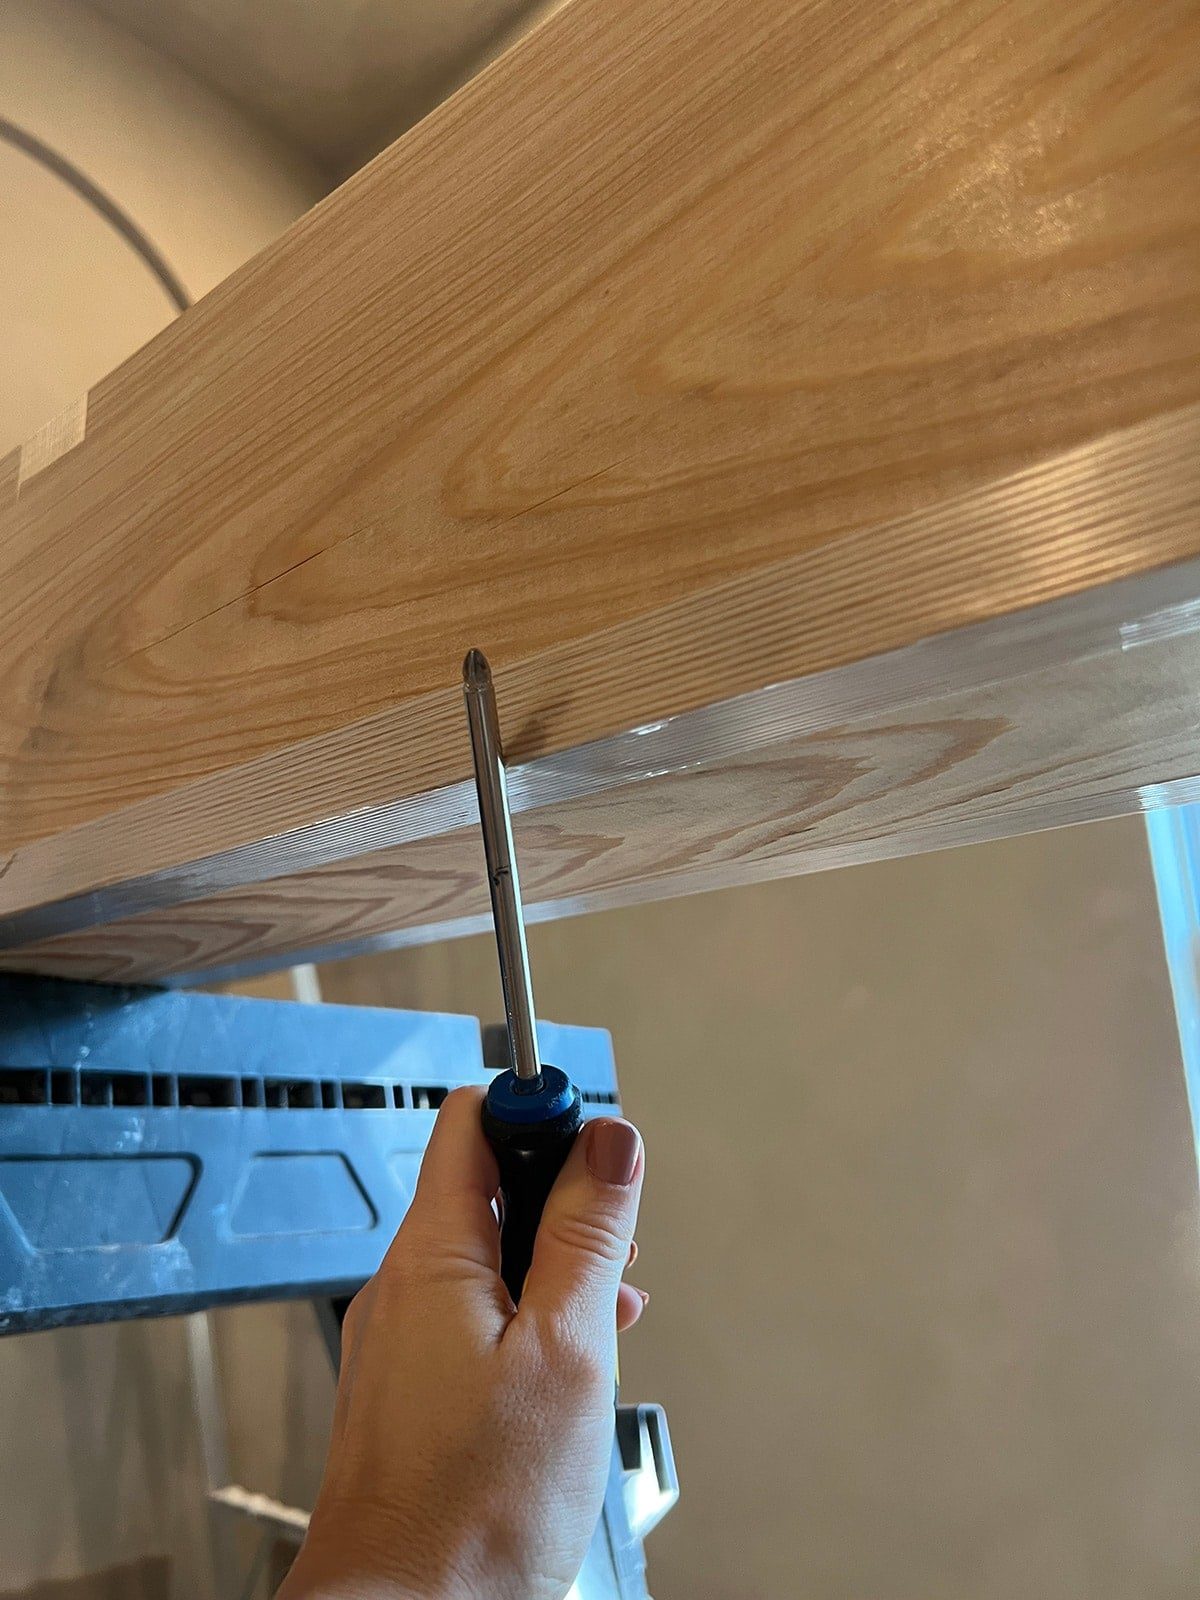
Note: we built L-shaped beams for each end of the ceiling. The process is exactly the same, except with only two boards.

Step 5: Sand and stain wood beams
After a few hours, you can remove the tape. Use an electric sander to remove any glue residue and prepare the board for staining.
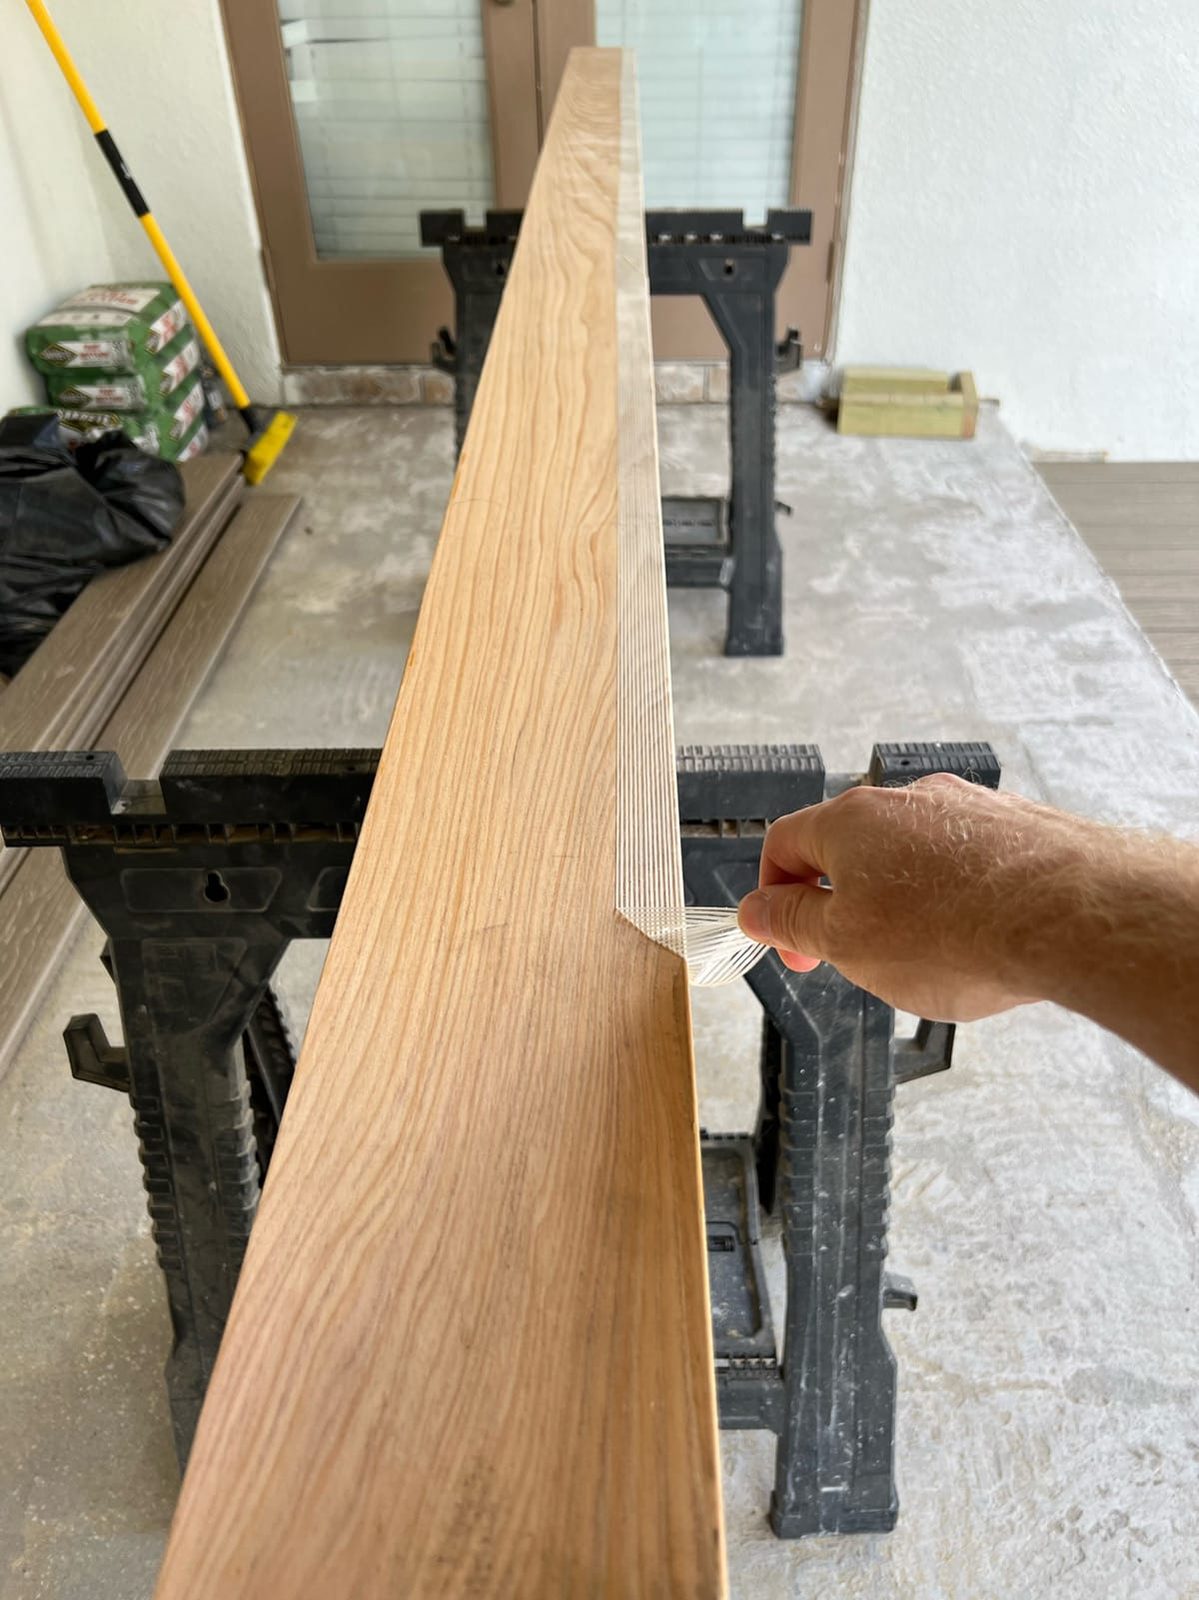

Before staining, it is a good idea to test fit your beams. Our ceiling was not completely flat, so we ended up with a few gaps. These usually are not too noticeable from the ground, but if you want a well suited fit, you can scribe the beam to the ceiling by sanding it down where needed.

Stain the beams in your color of choice (a pre-stain wood conditioner can also help the stain apply evenly). I chose Minwax Special Walnut.

Step 6: Install box beams
After allowing the stain to dry, it is time to install the beams. Simply position them around the 2×4's and nail them into the sides. We used our Dewalt cordless nailer which makes the job so much easier!
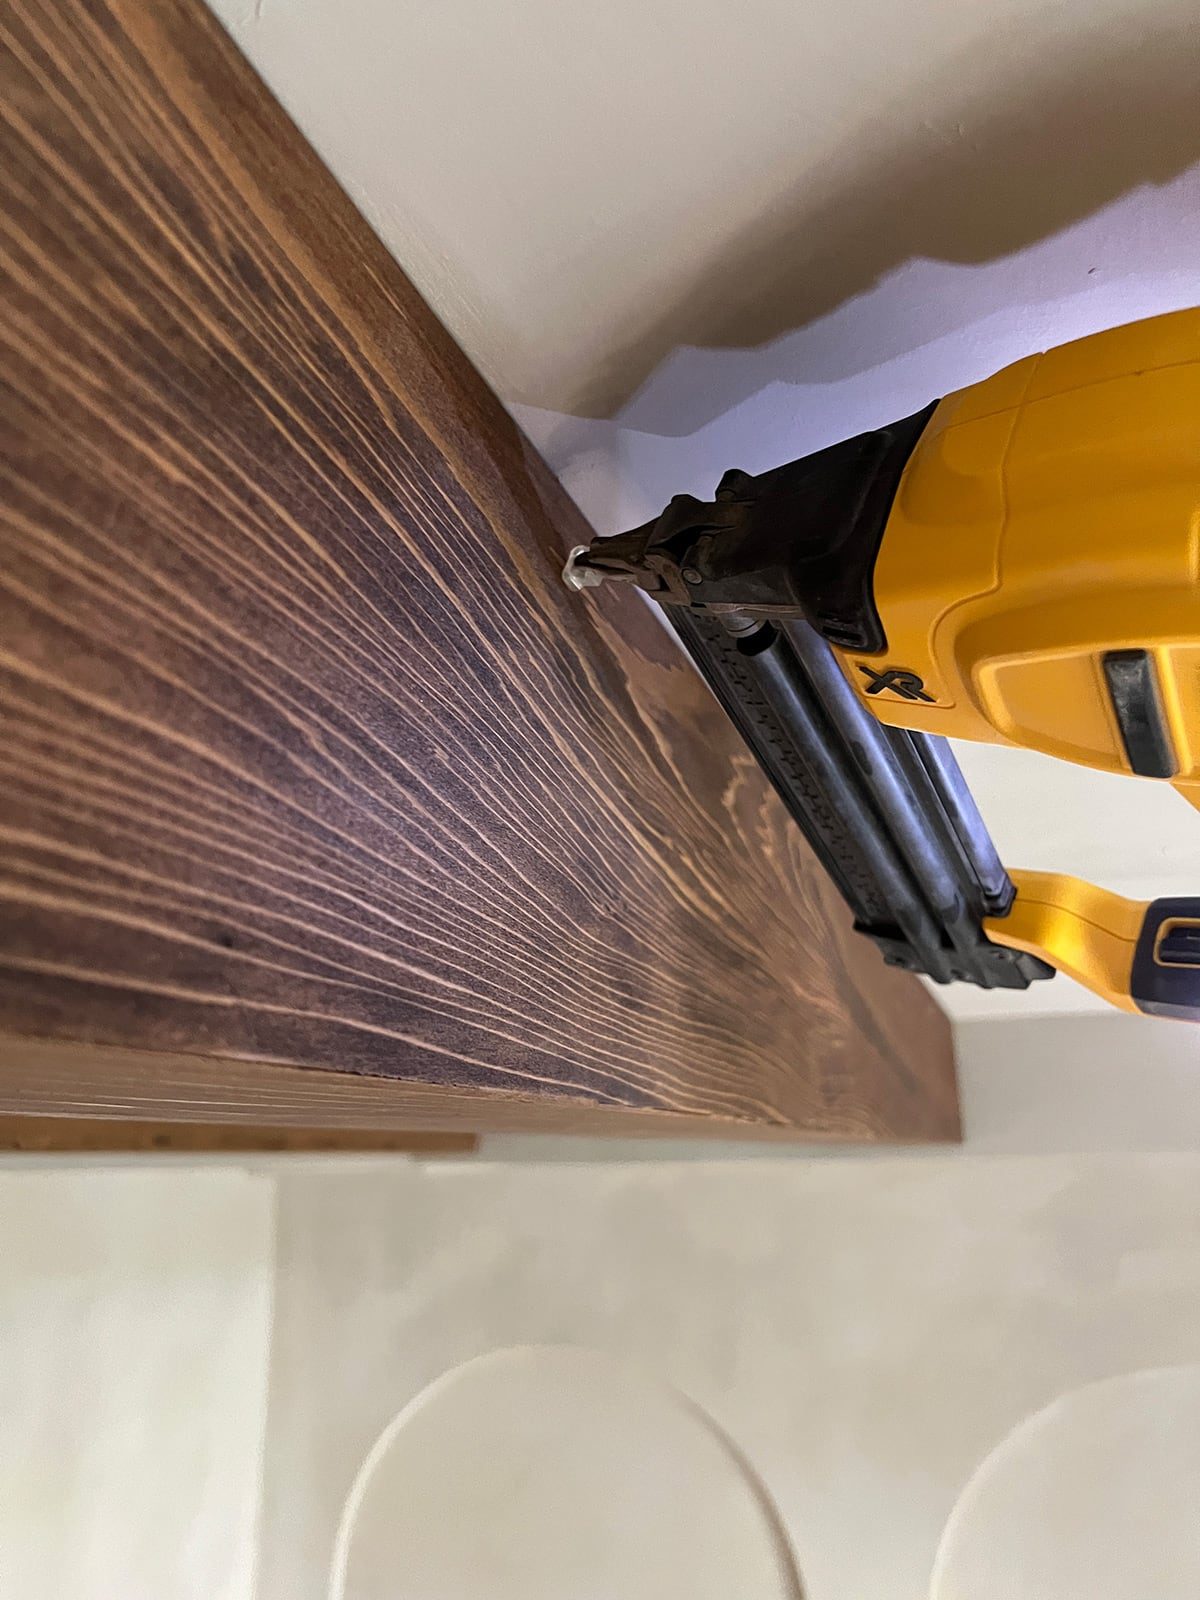
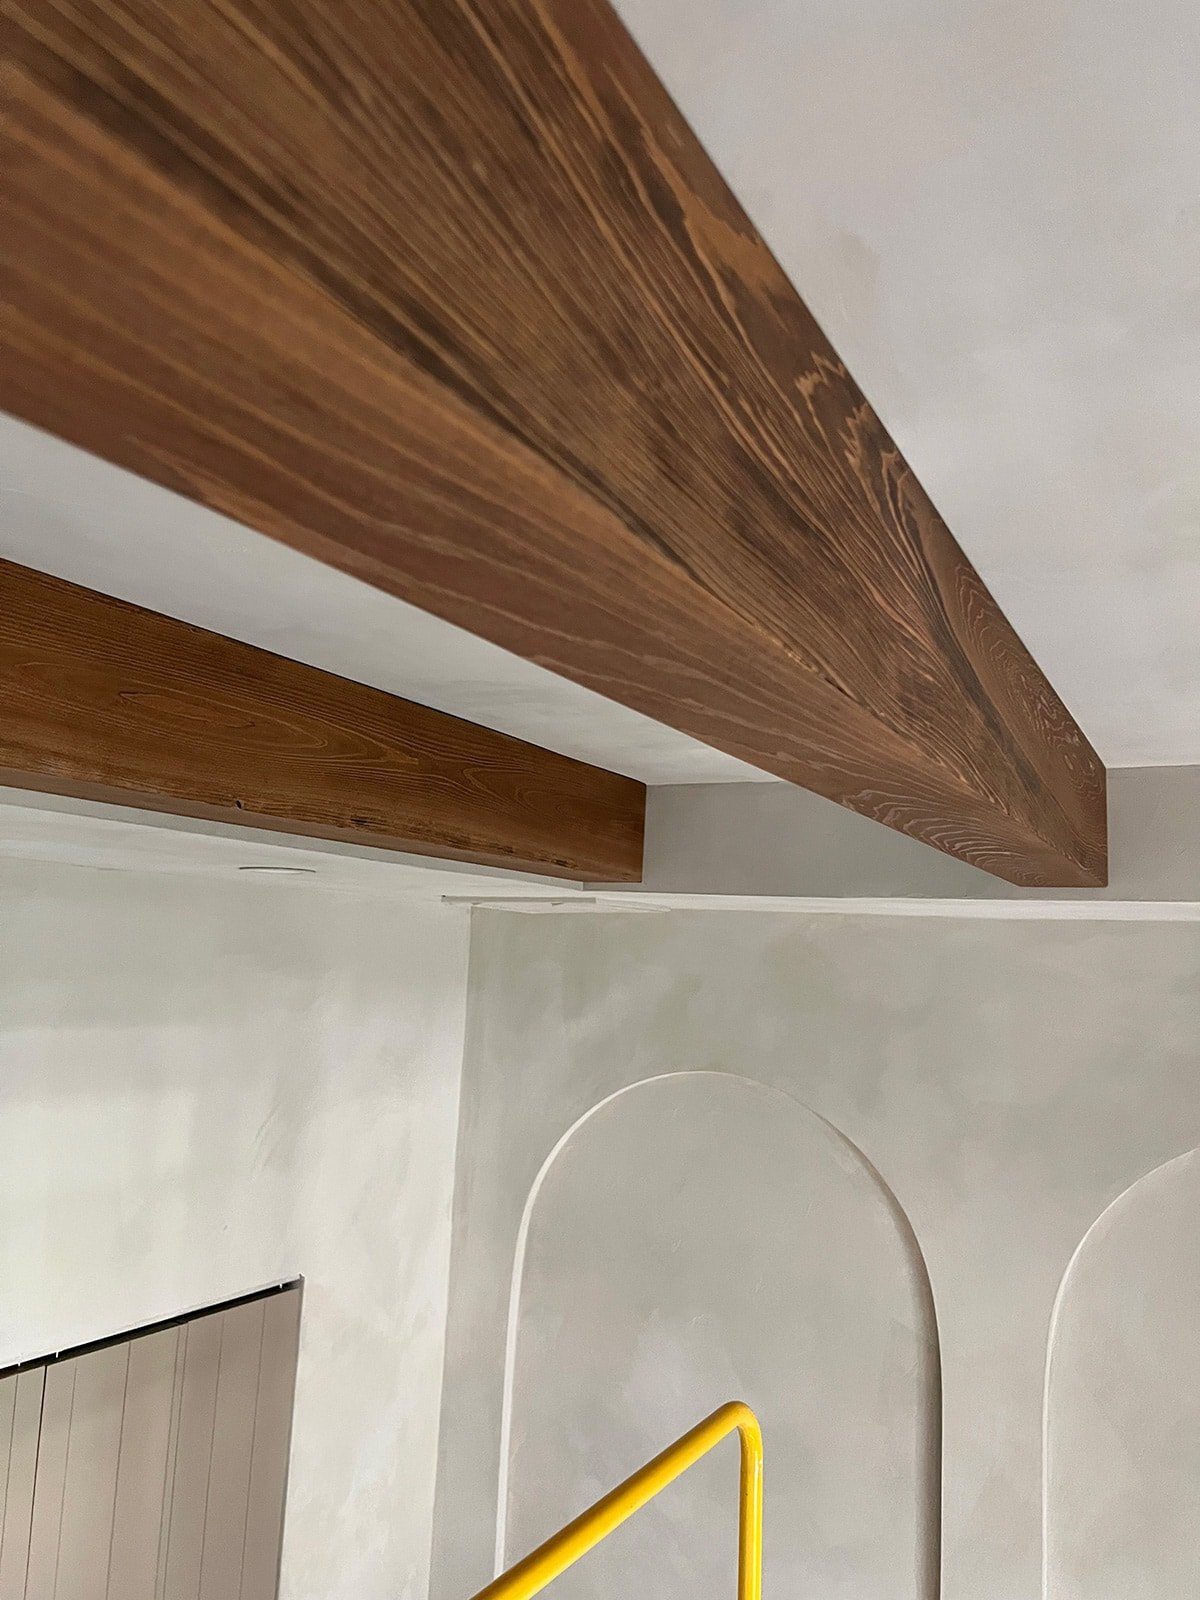
The nail holes are small and not visible from the ground—no need to fill them!
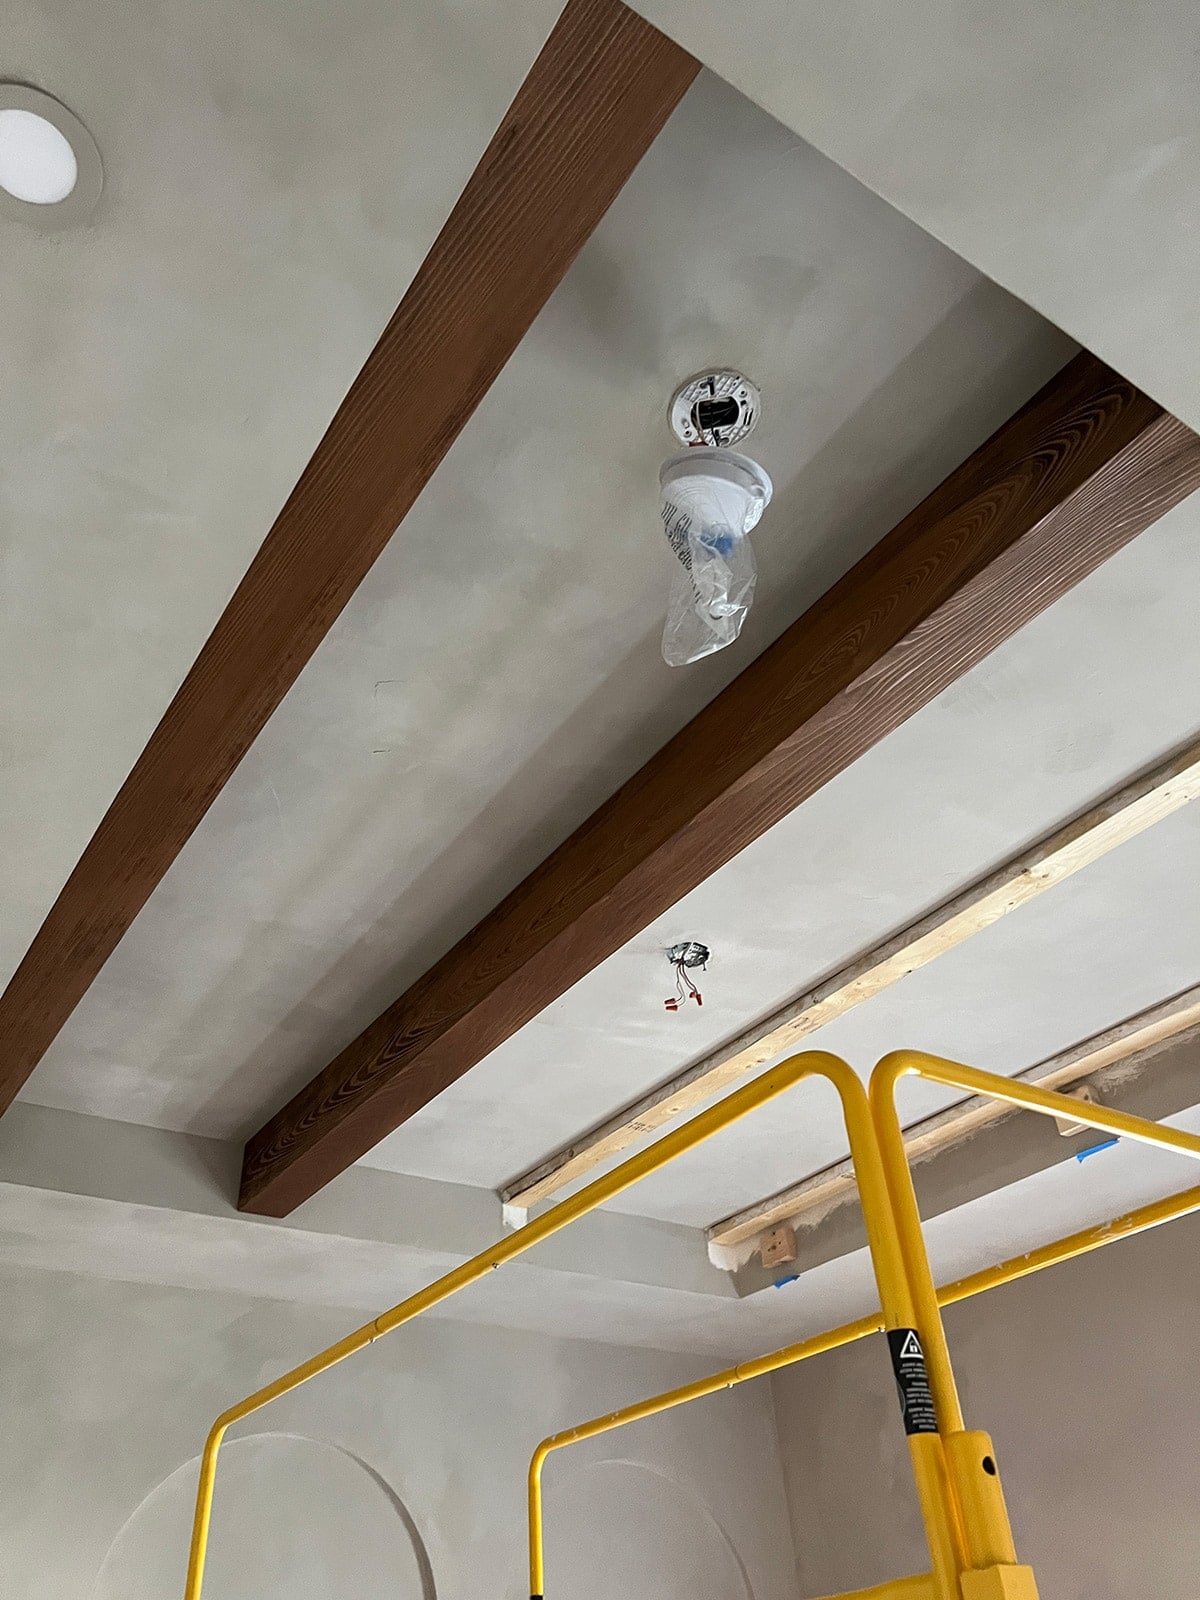
For the L-beams, we added blocking to attach the bottom of the beams to.

Reveal
I am so impressed with the way these turned out. Hands down my favorite DIY beam technique, and one we will use again and again (already starting on two more bedrooms!)
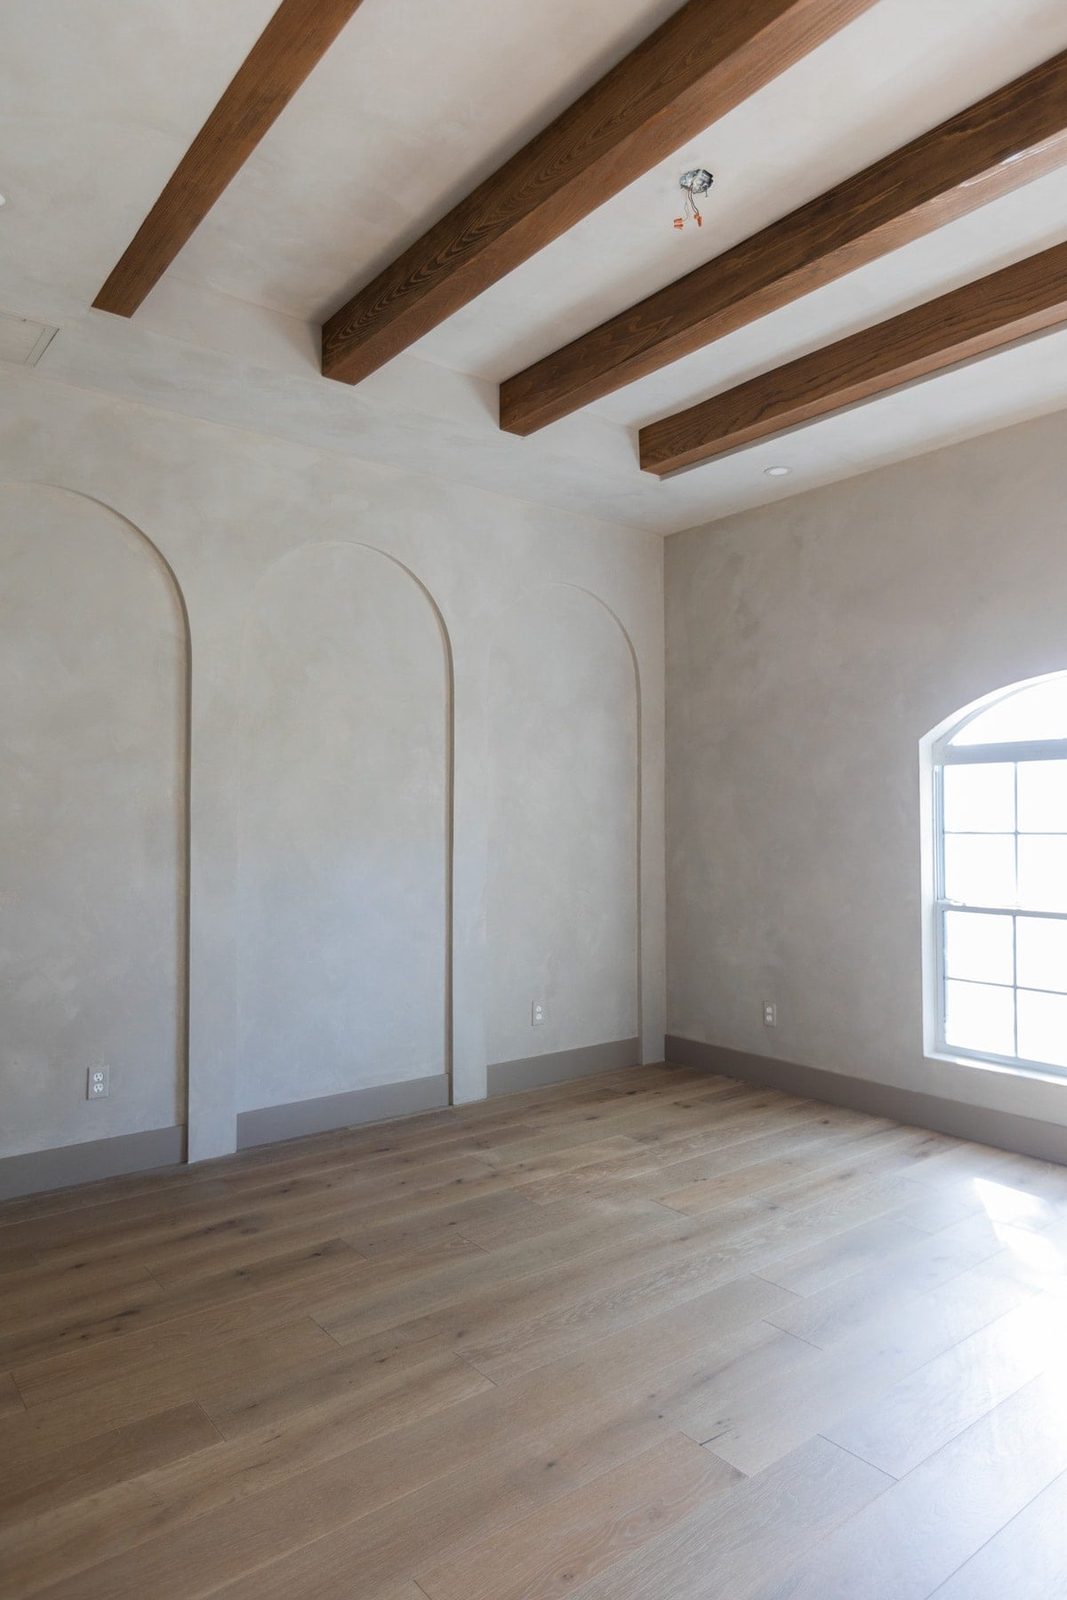
I would recommend this technique for beginners, as it is very straightforward and more fool-proof than other DIY methods (in my experience).
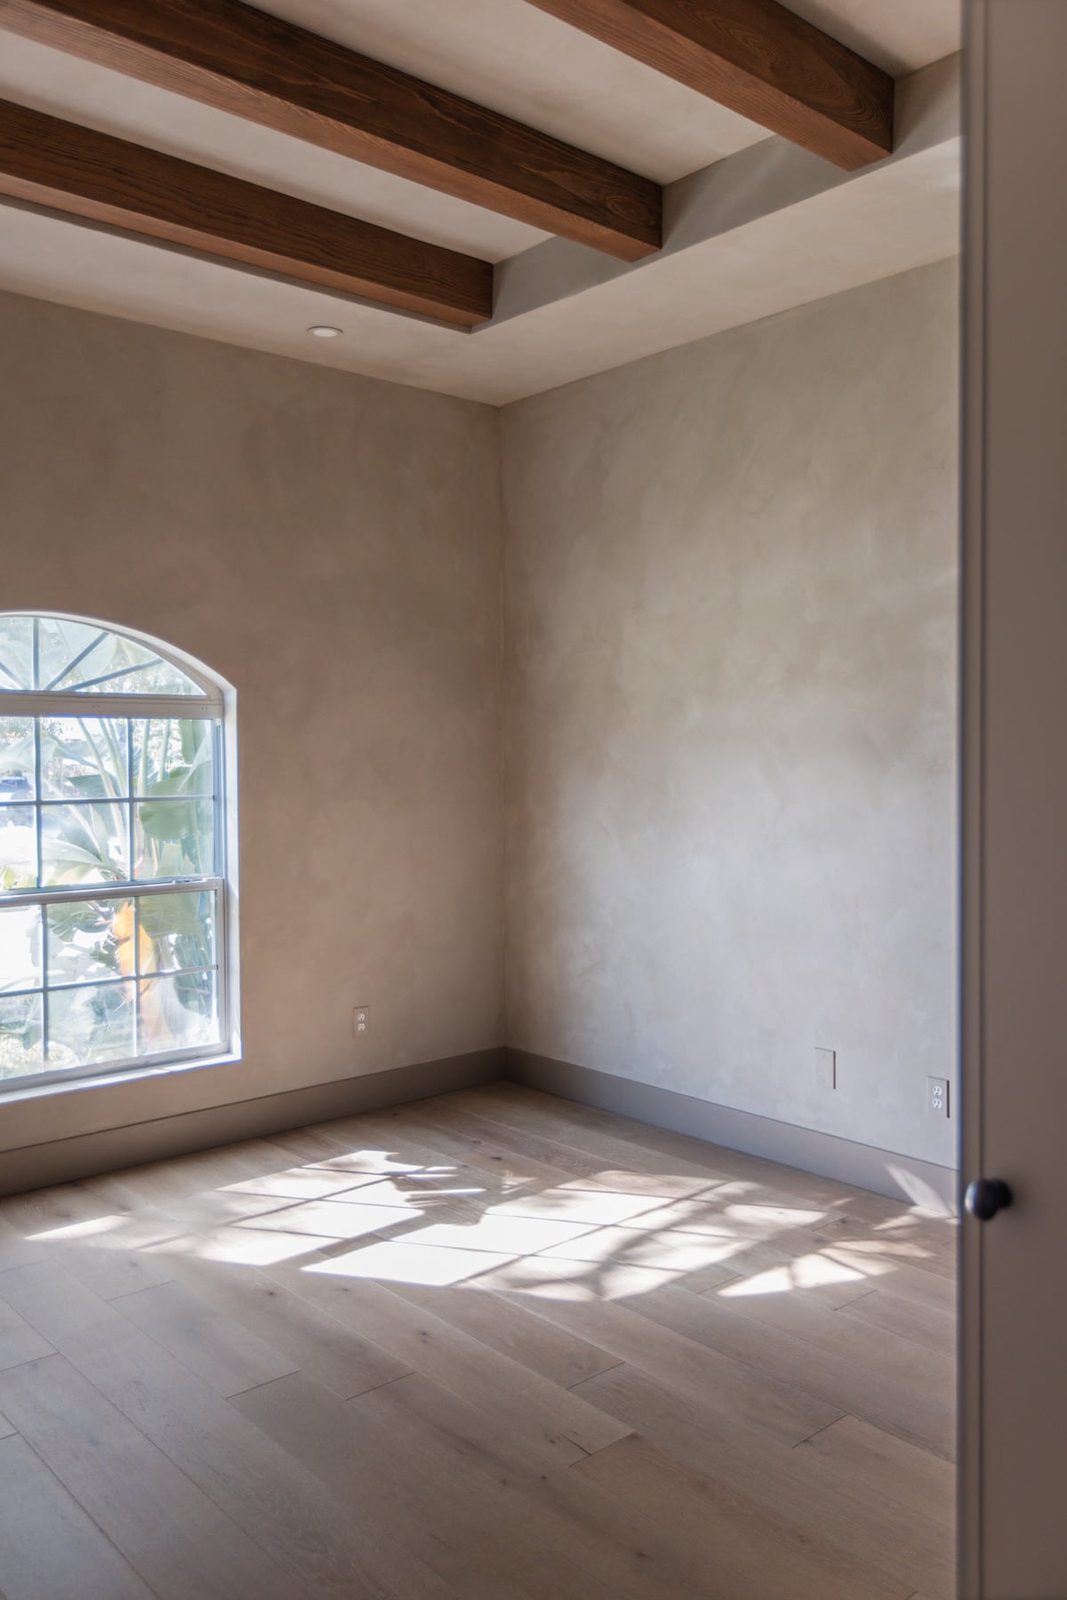
You can customize the size, wood type and stain to anything you desire, and the results look very professional.

This feature not only enhances the Mediterranean style of this home, it also draws your eyes up and makes the room feel taller. In fact, these would be well suited to make 8' ceilings appear taller like I did in this bedroom (just make the beams shorter, ~3-6″).

Now, off to furnish and finish this room! Stay tuned for the reveal here on the blog next week. In the meantime, you can follow more progress and sneak peeks on my Instagram!